Auto-Sync
This guide outlines the steps to enable the Auto-Sync feature for your project on CustomGPT.ai. Ensure your project data stays updated automatically by following these instructions.
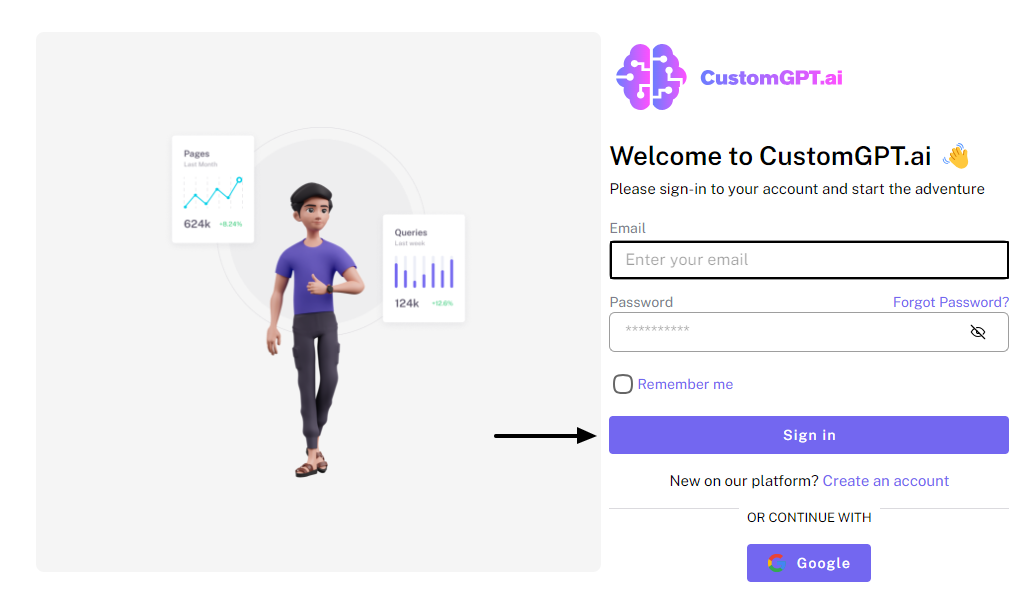
Step 1: Sign in
a) Sign in to https://app.customgpt.ai/.
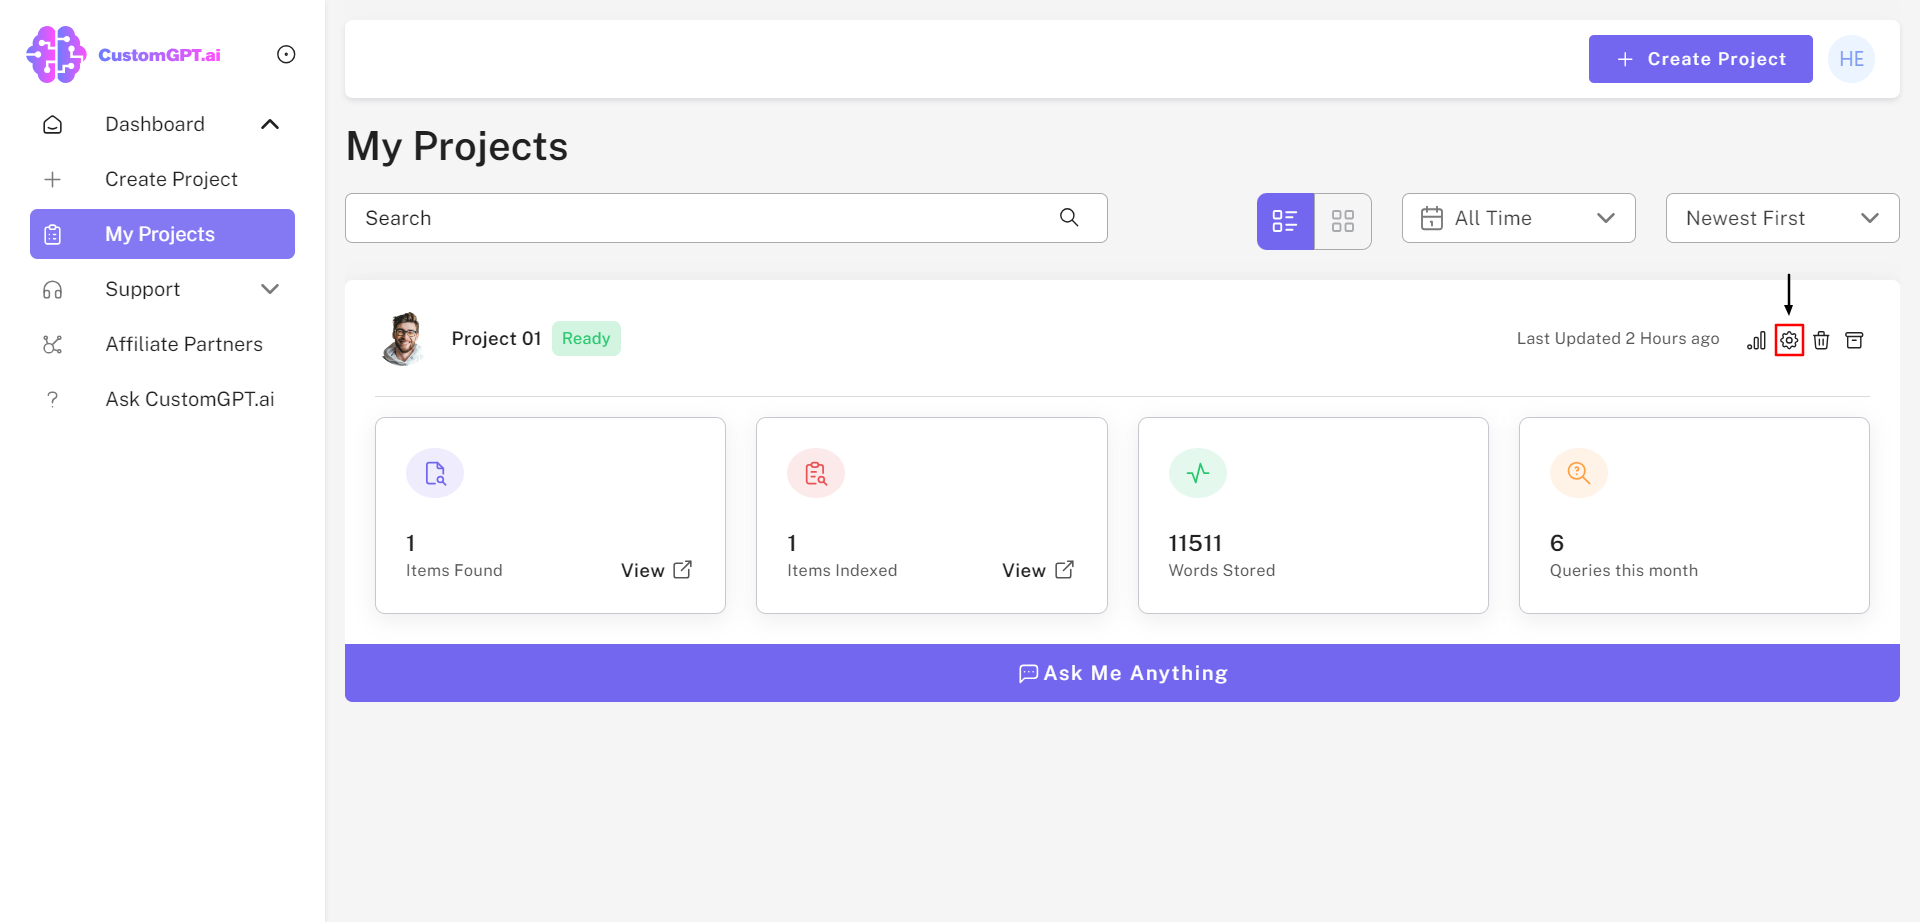
Step 2: Navigate to Project Settings
a) Click on "Project Settings".
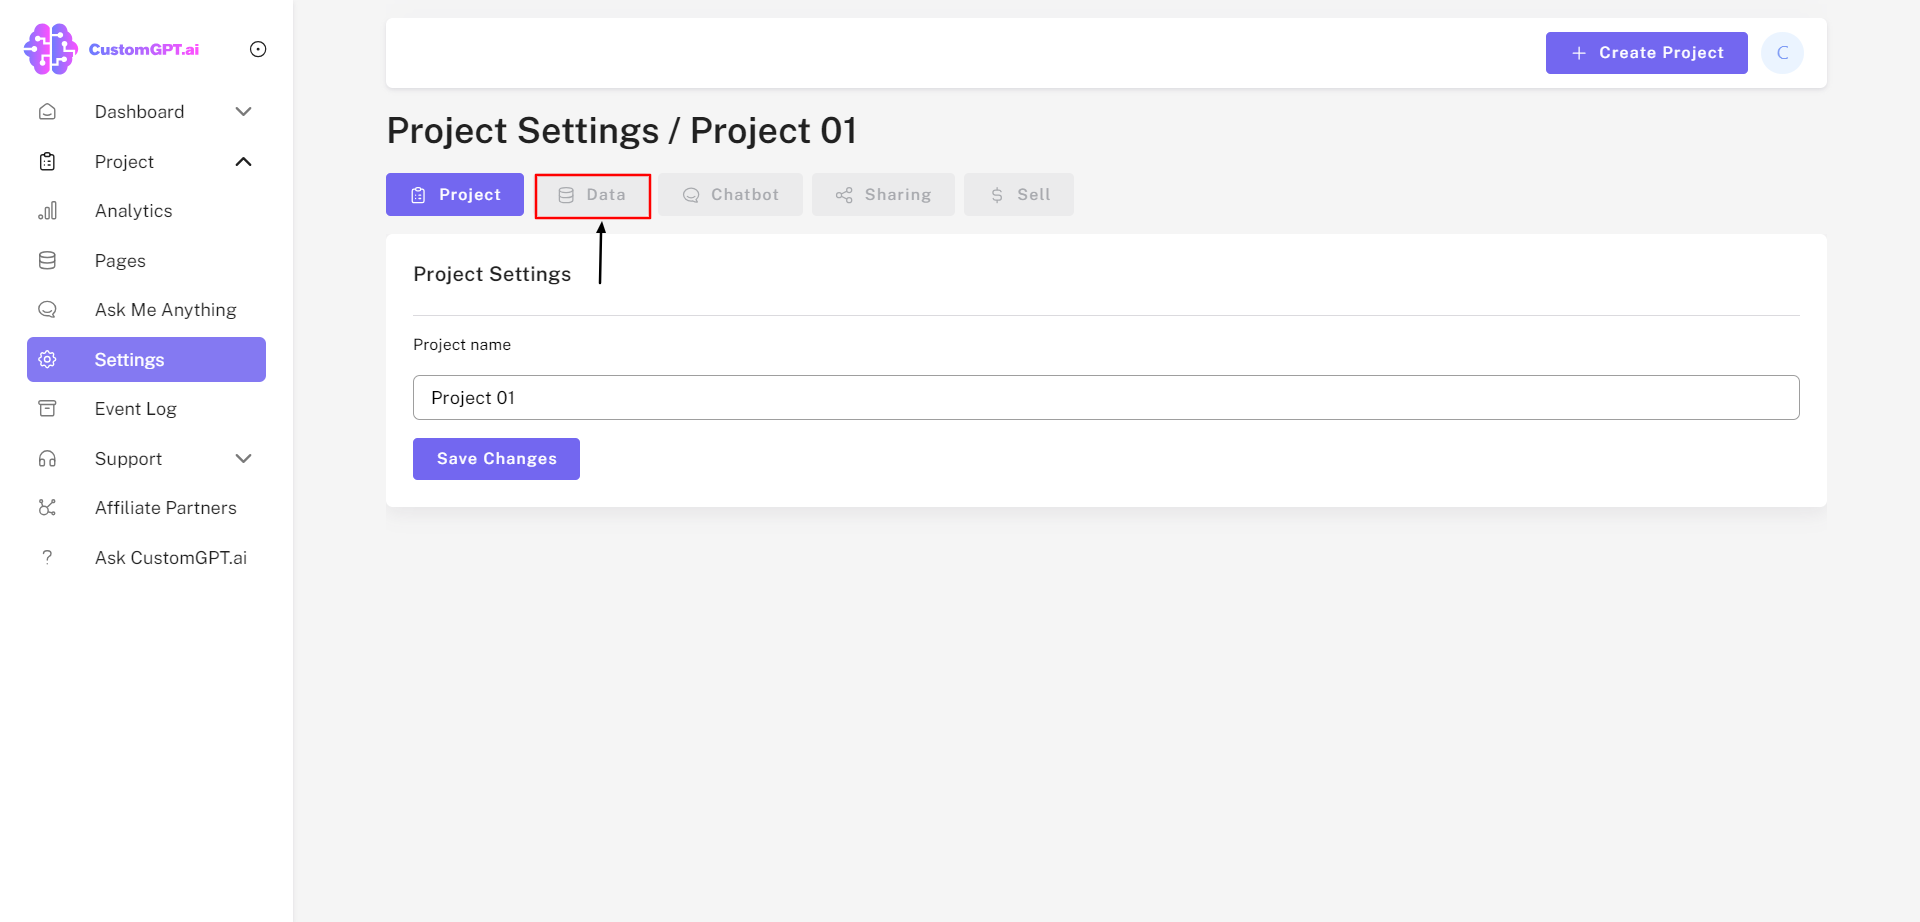
Step 3: Access Data Settings
a) Click on "Data."
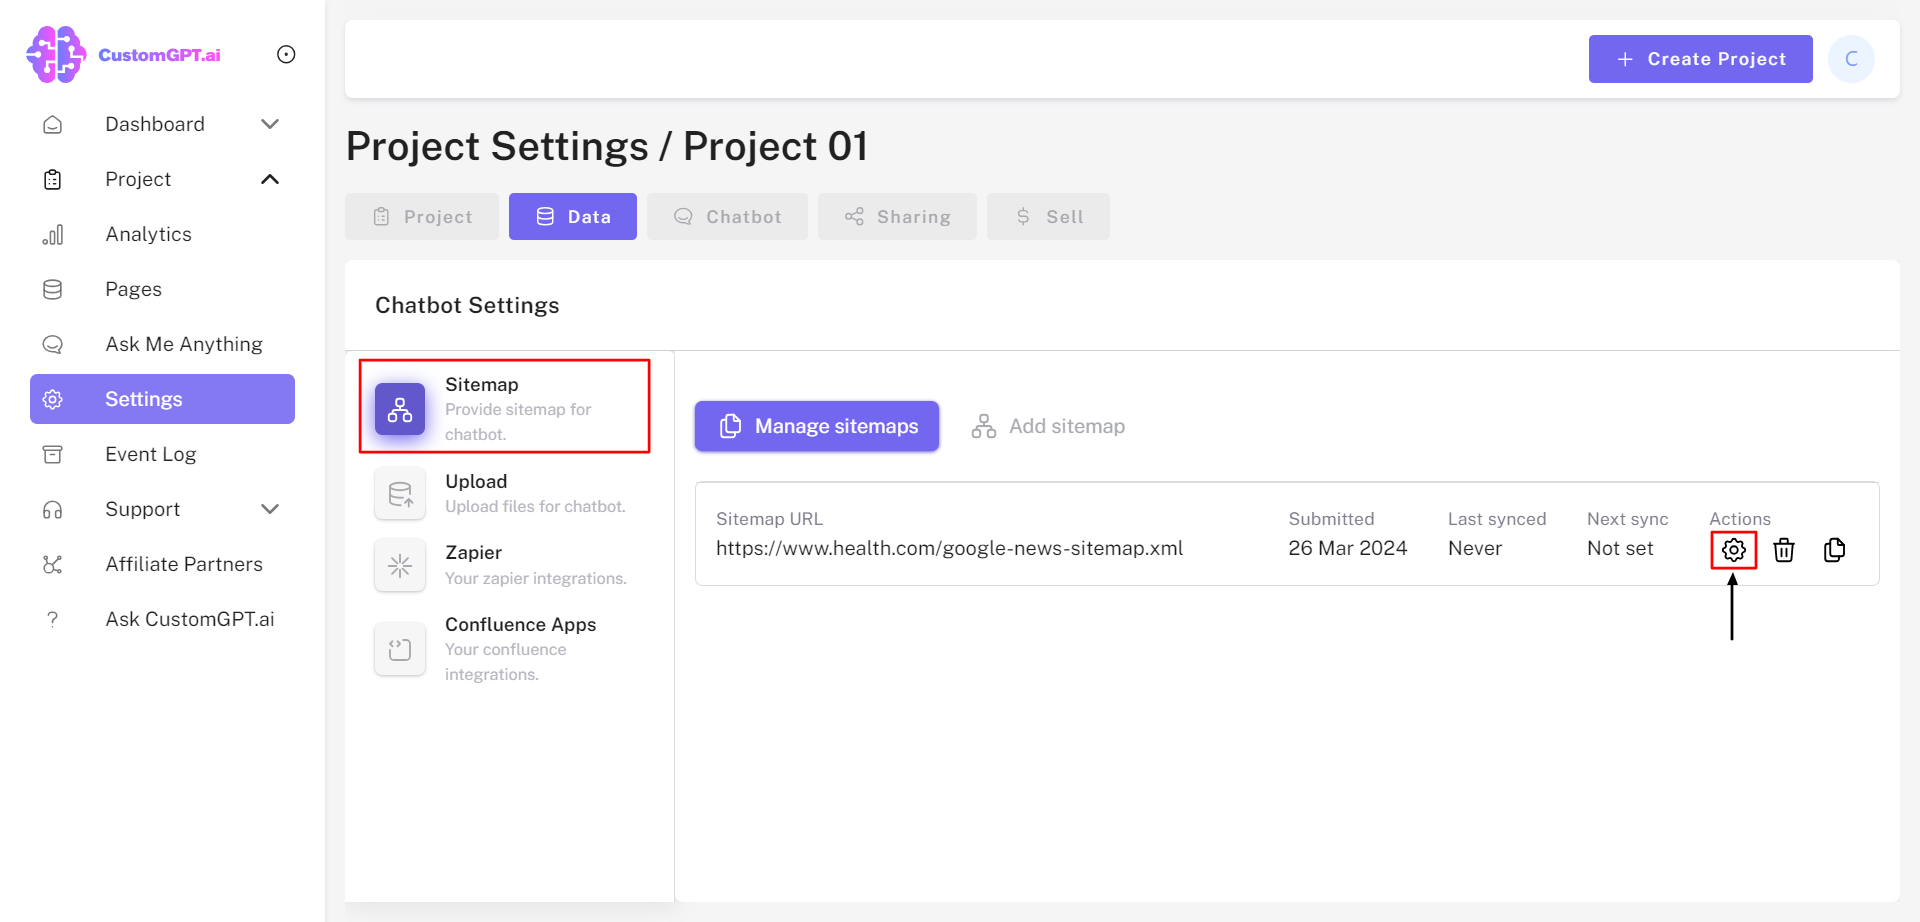
Step 4: Access Sitemap Settings
a) By selecting "Data", you'll be automatically redirected to the "Manage Sitemaps" tab.
b) Click on the "Settings" icon under Sitemap Actions.
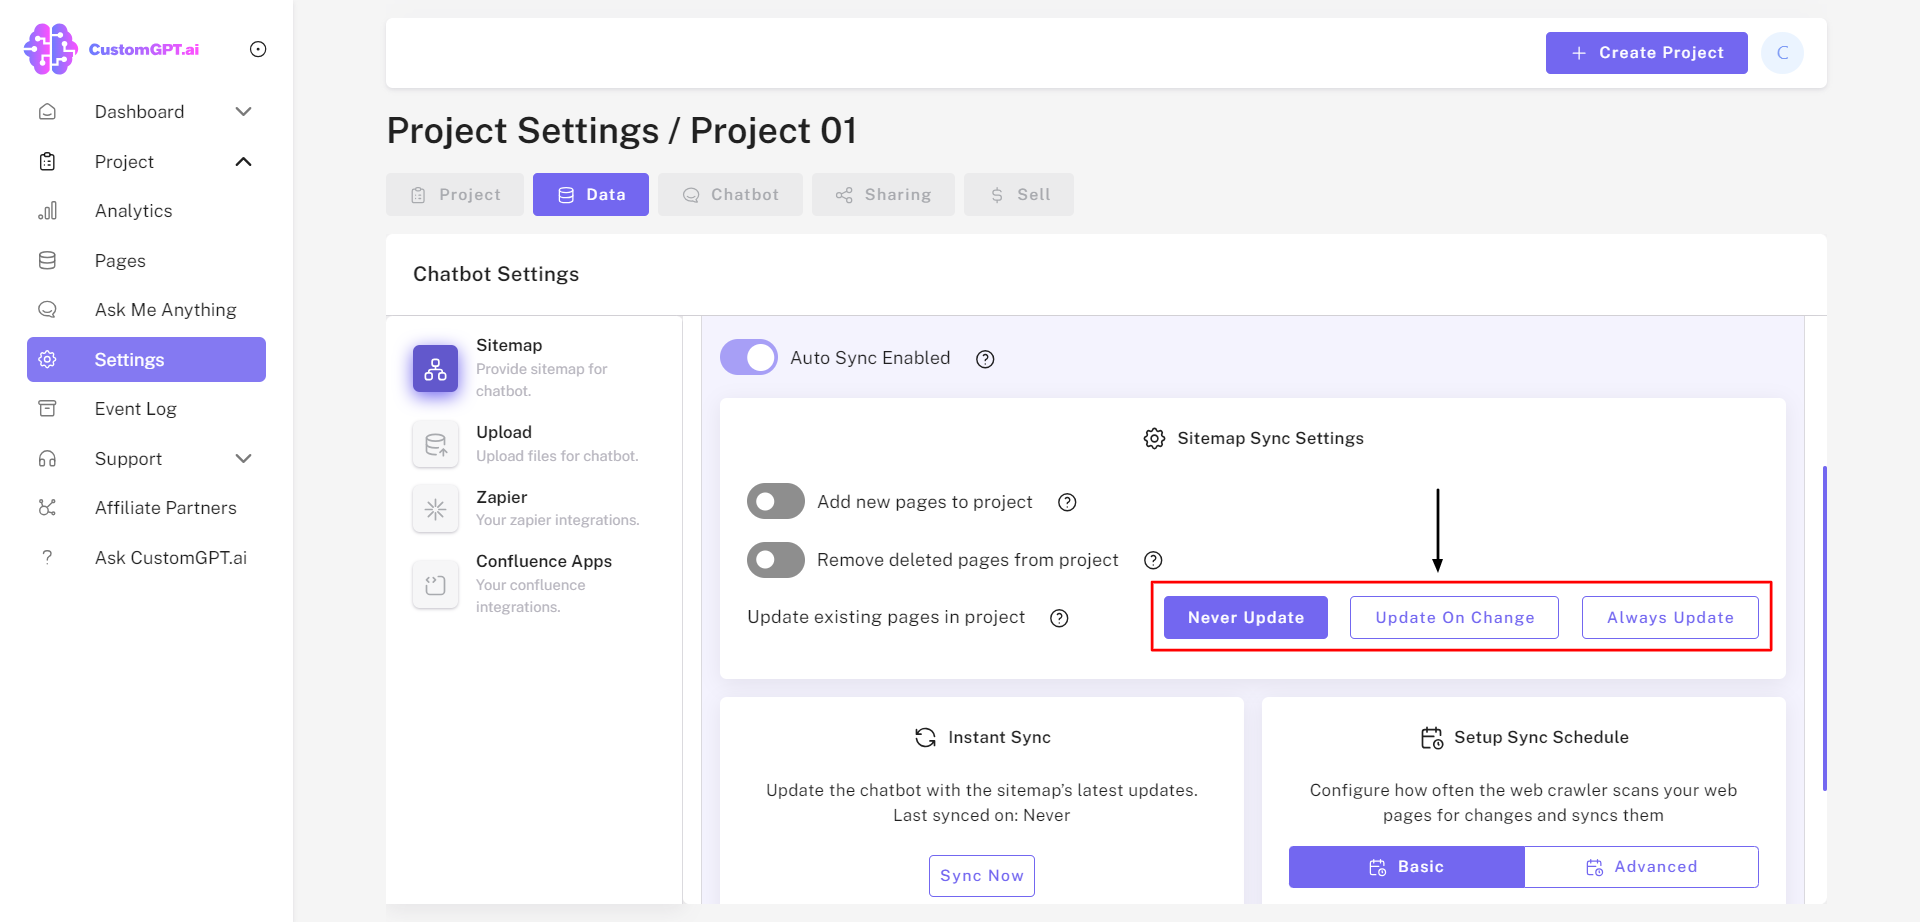
Step 5: Enable Auto-Sync
a) Slide the "Auto Sync Enabled" to the right to enable the Auto Sync feature.

Note: This feature requires a Premium plan or higher.
b) You have the option to add new pages and remove deleted pages from your project's AI agent by selecting "Add New Pages to Project" and "Remove Deleted Pages from Project", respectively.

c) Choose an option to update existing pages: "Never Update", "Update on Change", or "Always Update."
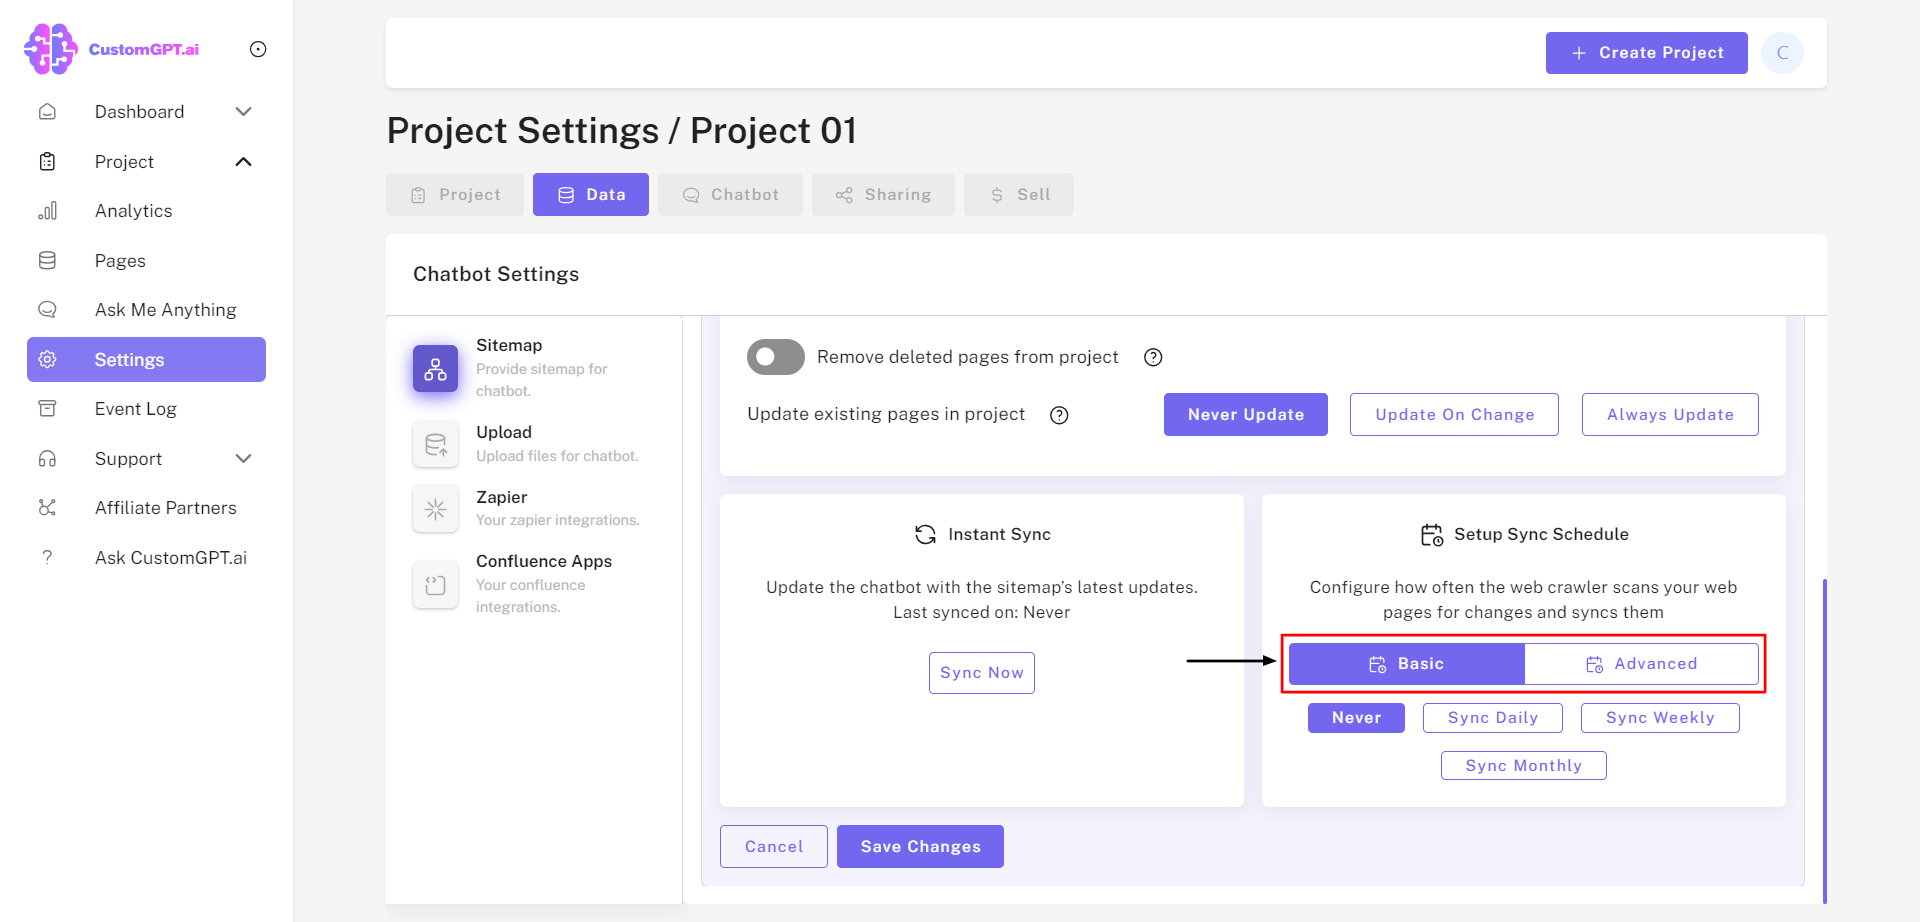
Step 6: Instant Sync Feature
"Click on "Sync Now" to instantly synchronize the AI Agent with the sitemap's latest updates.

Step 7: Setup Sync Schedule
a) Select either a "Basic" or "Advanced" option to set up your sync schedule.
b) "Basic" Setup Sync Schedule can set the sitemaps to be recrawled on Daily, Weekly, or Monthly intervals.
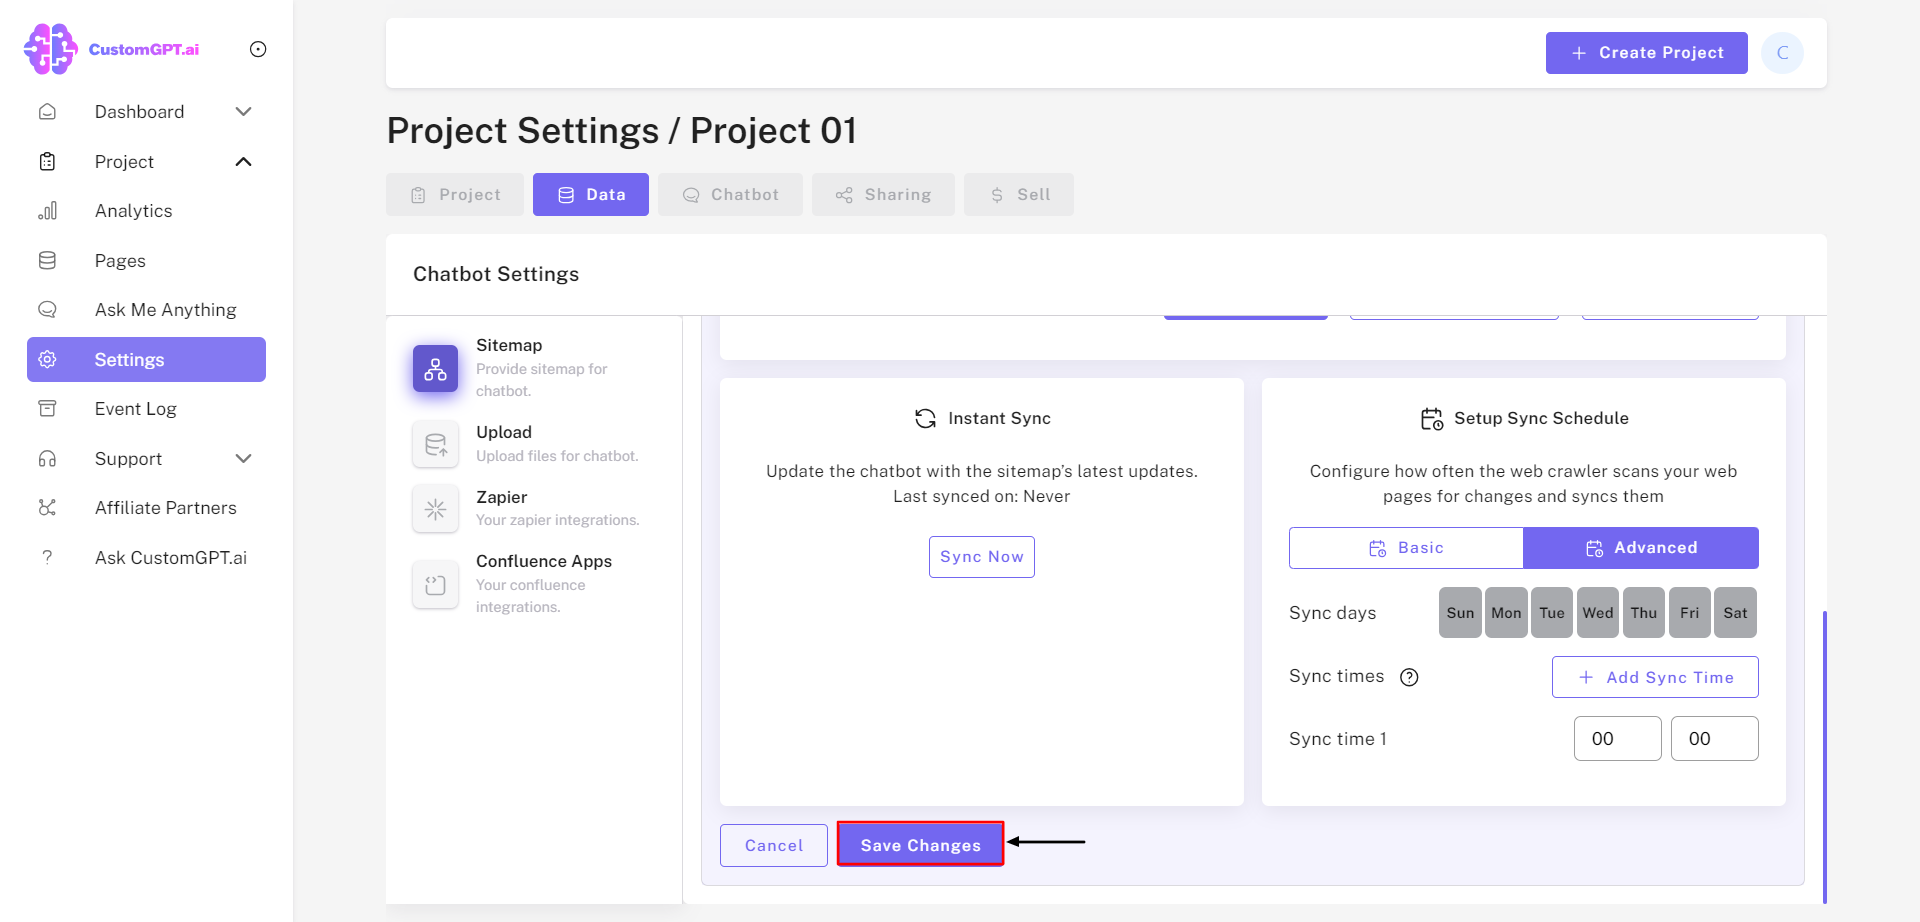
b) In "Advanced" Setup Sync Schedule, you can specify your desired"Sync Days" and "Sync Times".

Step 8: Save Changes
a) After configuring the auto-sync settings, click the "Save Changes" button at the bottom of the "Manage Sitemaps" page. This will apply the Auto Sync settings to your AI agent.
Congratulations! You've successfully enabled the Auto-Sync feature. With this achievement, your project is set to maintain its edge, ensuring data is continuously up-to-date and synchronized.
Updated 3 months ago