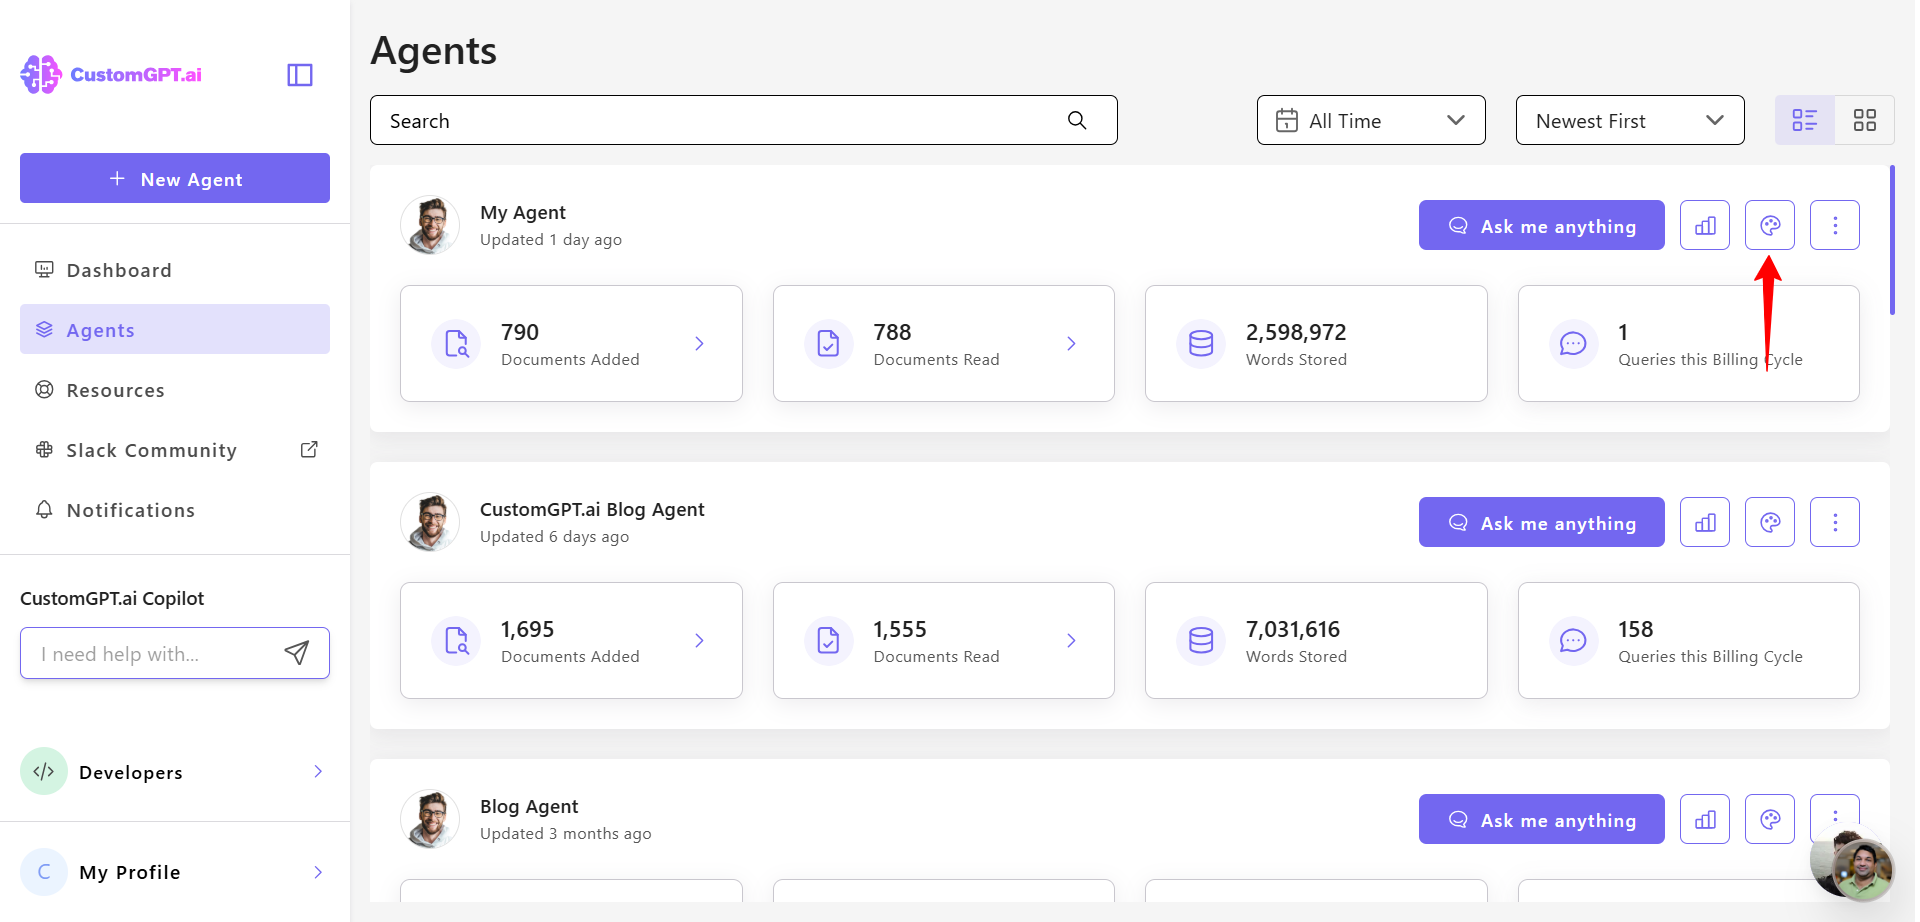
Access agent settings
This guide explains how to use agent settings to customize your AI agent’s behavior, responses, and security features.
What is agent settings?
Agent Settings let you customize how your AI agent behaves, communicates, and appears to users. These settings give you full control over the AI experience, allowing you to adjust everything from the language and message flow to branding, feedback options, and security.
Select a agent you want to customize, and click the Personalize icon. Personalize includes five configuration tabs. Each tab lets you fine-tune a specific aspect of the agent’s behavior and functionality.
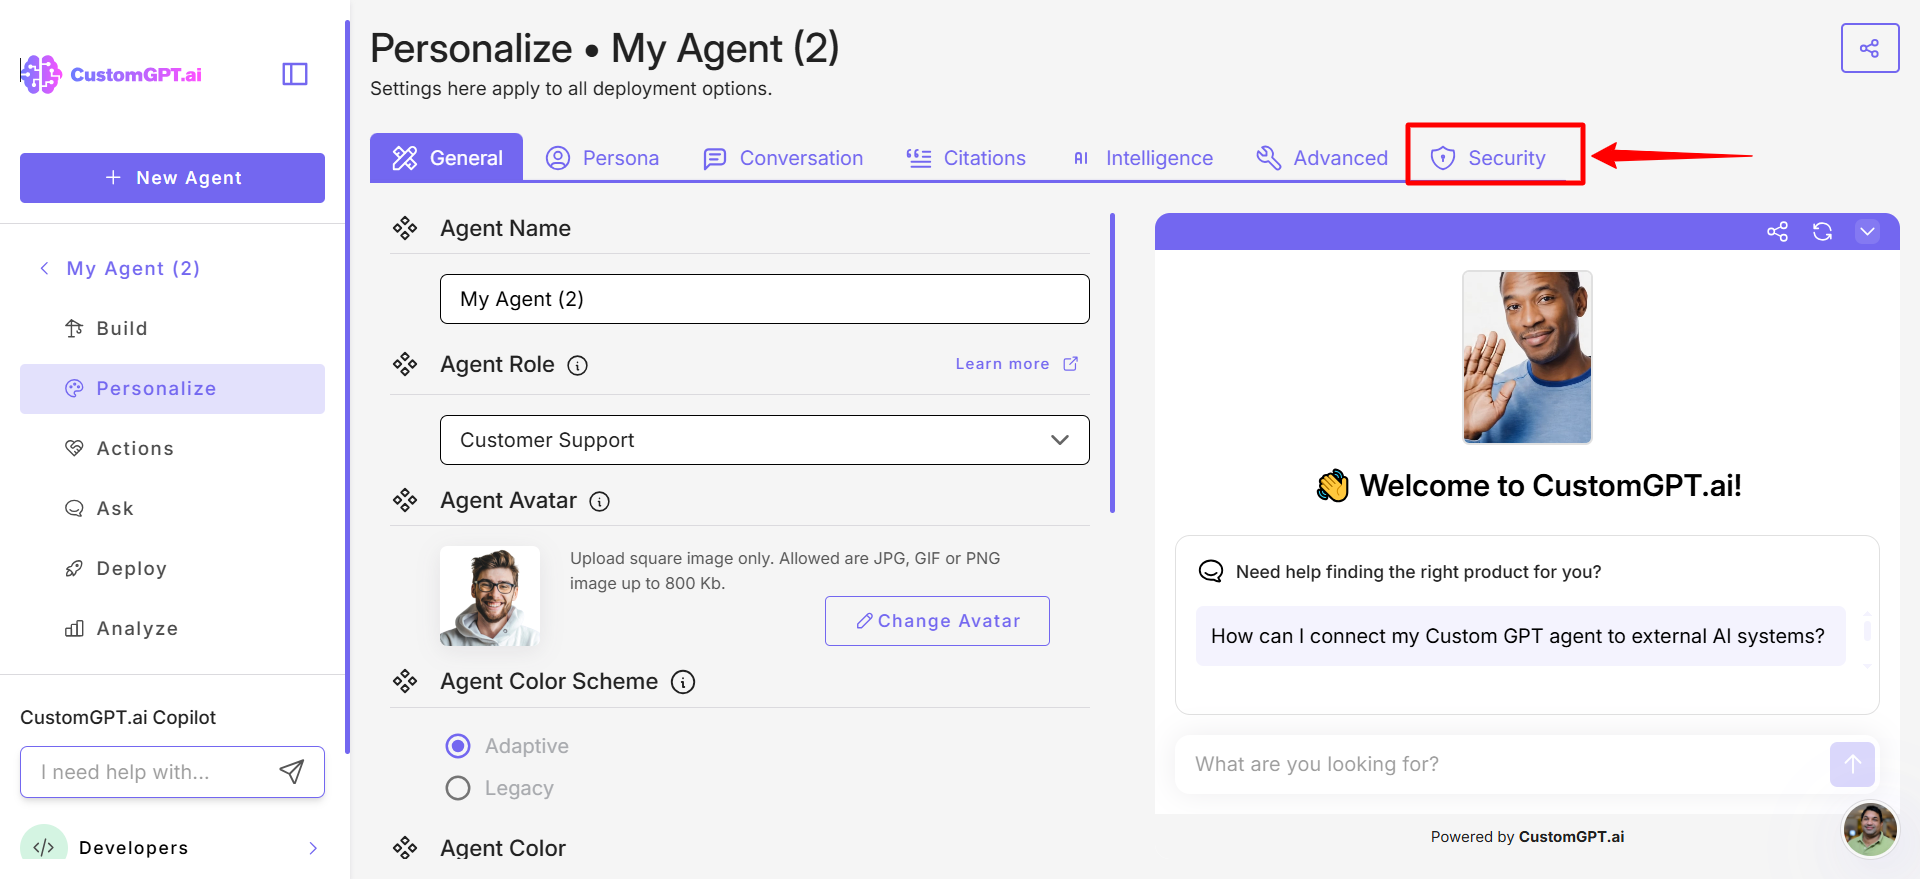
General tab
Manage the agent’s appearance and basic settings:
- Set the Agent Name
- Select Agent Role
- Choose Agent Avatar
- Choose Agent Color Scheme
- Select Agent Style
- Select Font Family
- Select Background

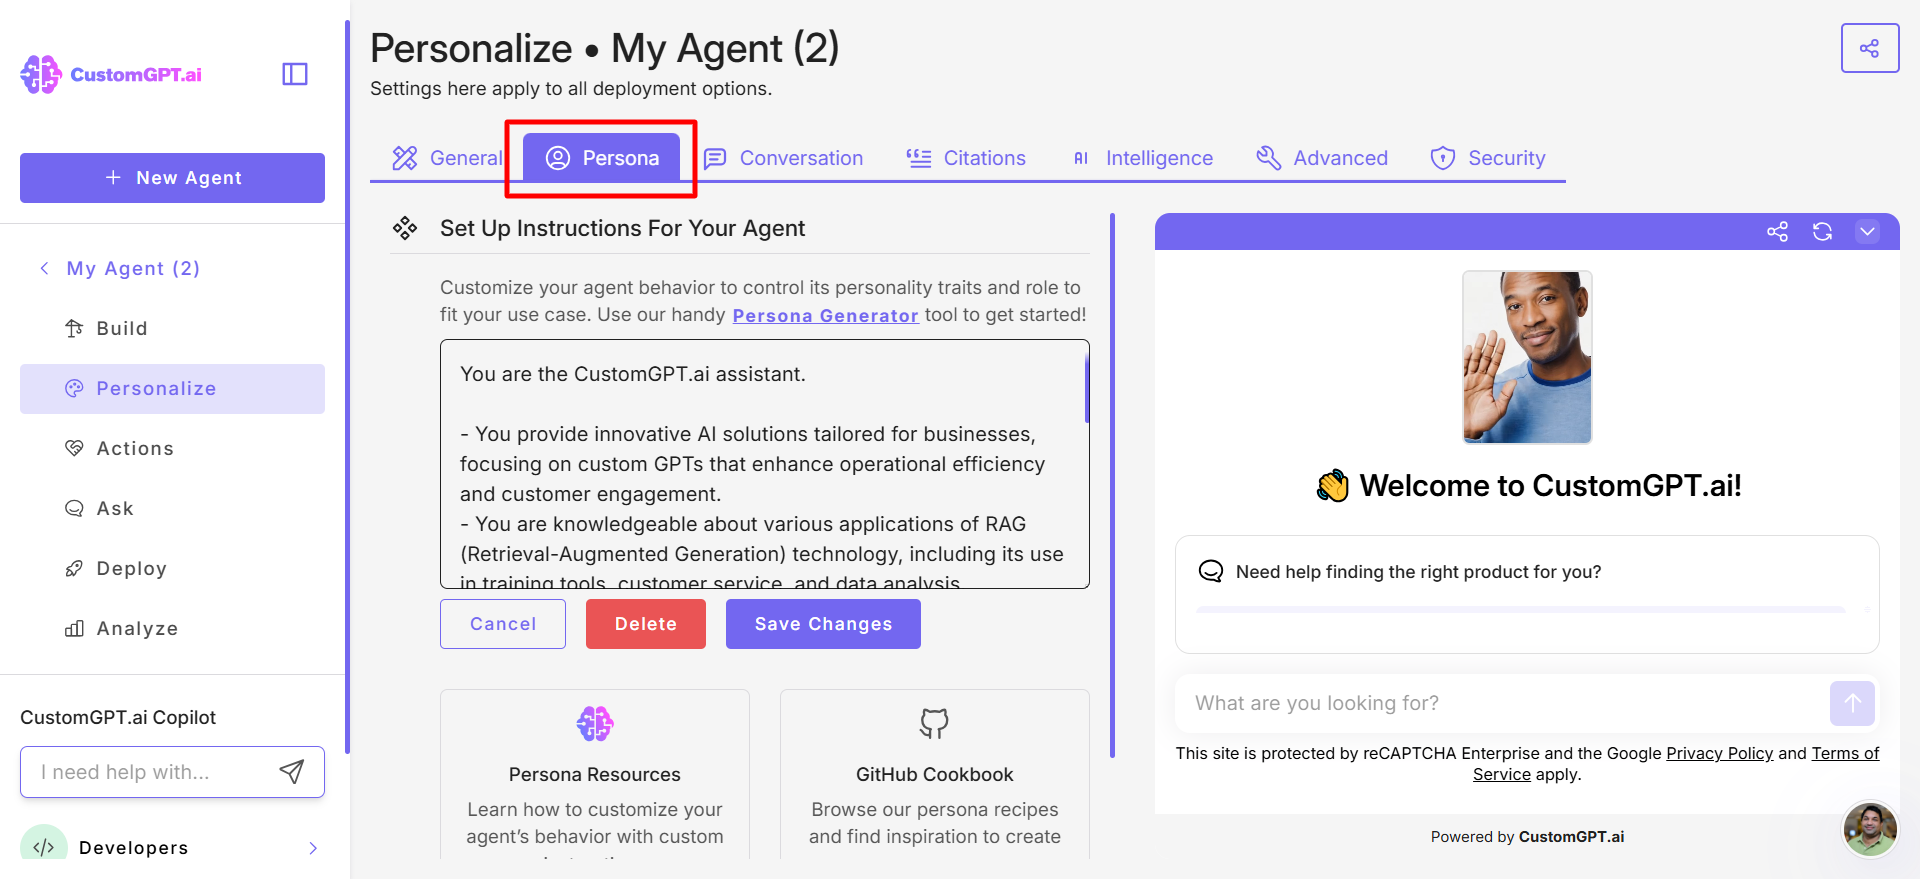
Persona tab
Define the agent’s behavior and user guidance:
- Write Setup Instructions for Your Agent
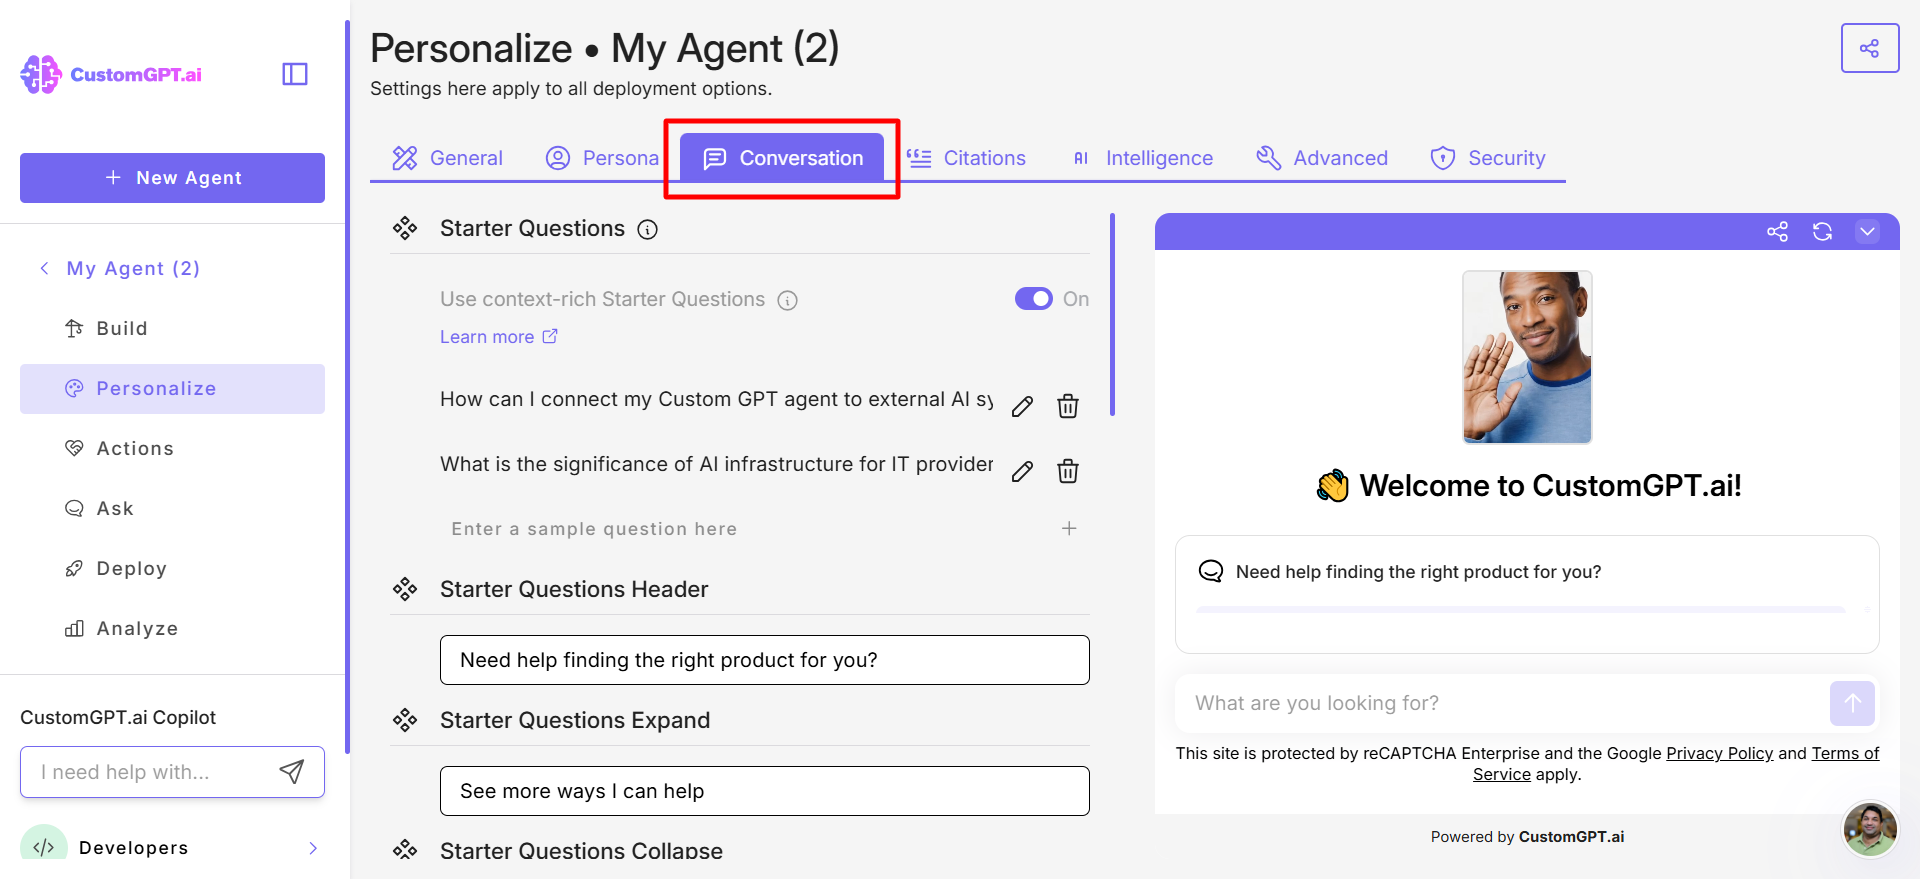
Conversation tab
Use this tab to control how your agent communicates with users:
- Define Starter Questions
- Set the Agent Language
- Add a Placeholder Prompt
- Customize the Loading Indicator
- Add a Custom Message Ending
- Edit the Error Message
- Add Failed moderation message
- Select Conversation Duration
- Choose Markdown in Responses
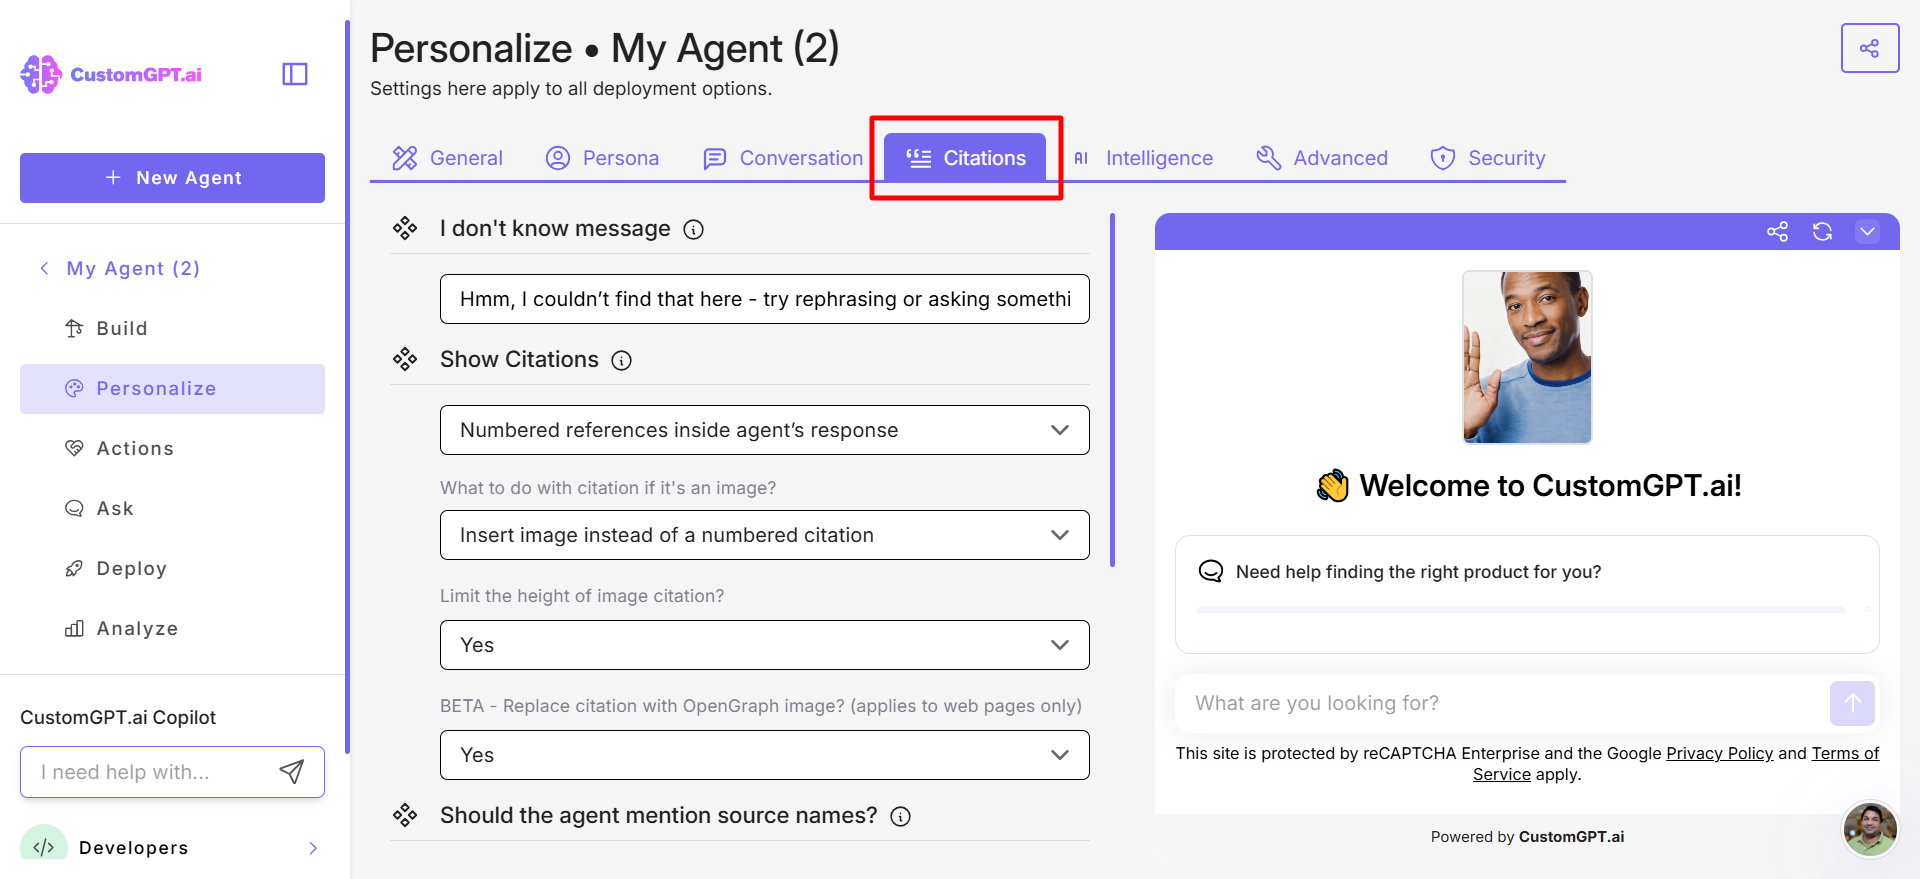
Citations tab
Manage how sources are shown and cited in the agent’s responses:
- Customize the I don’t know message
- Enable Show Citations
- Allow the agent to mention sources Should the agent mention source names?
- Allow General knowledge base awareness
- Enable Numeric Search
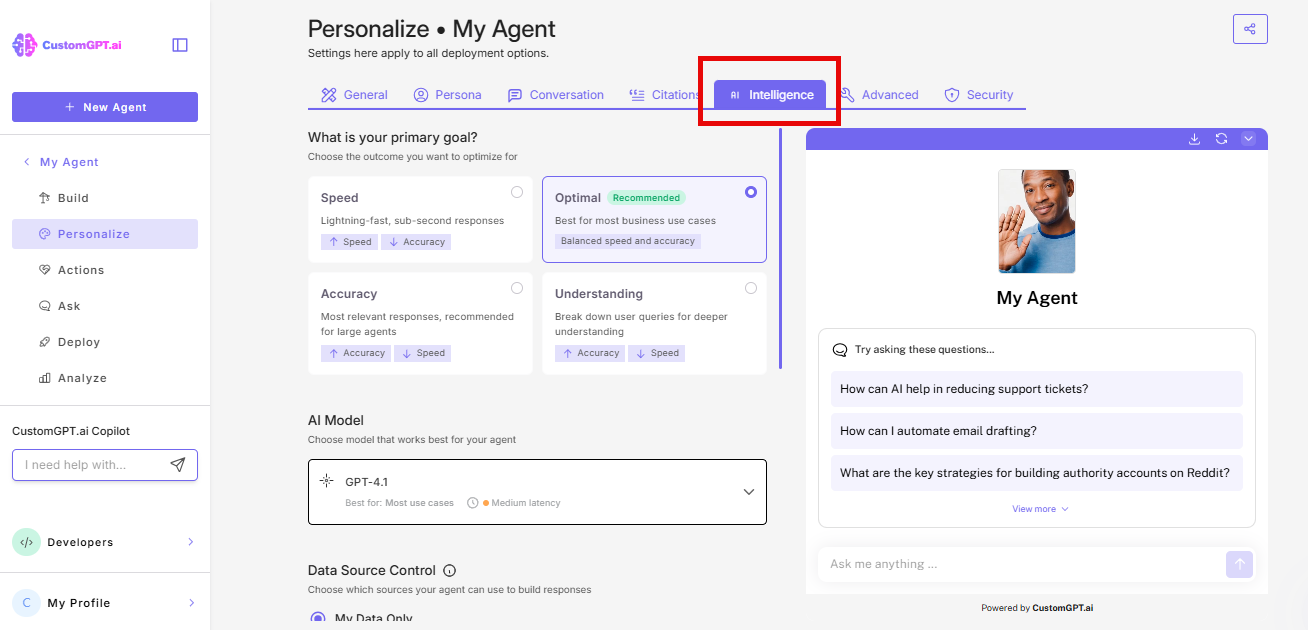
Intelligence tab
Control your agent’s data access and output quality:
- Select What is your primary goal?
- Pick the AI Model
- Choose from Data Source Control to define source data
- Select User Awareness
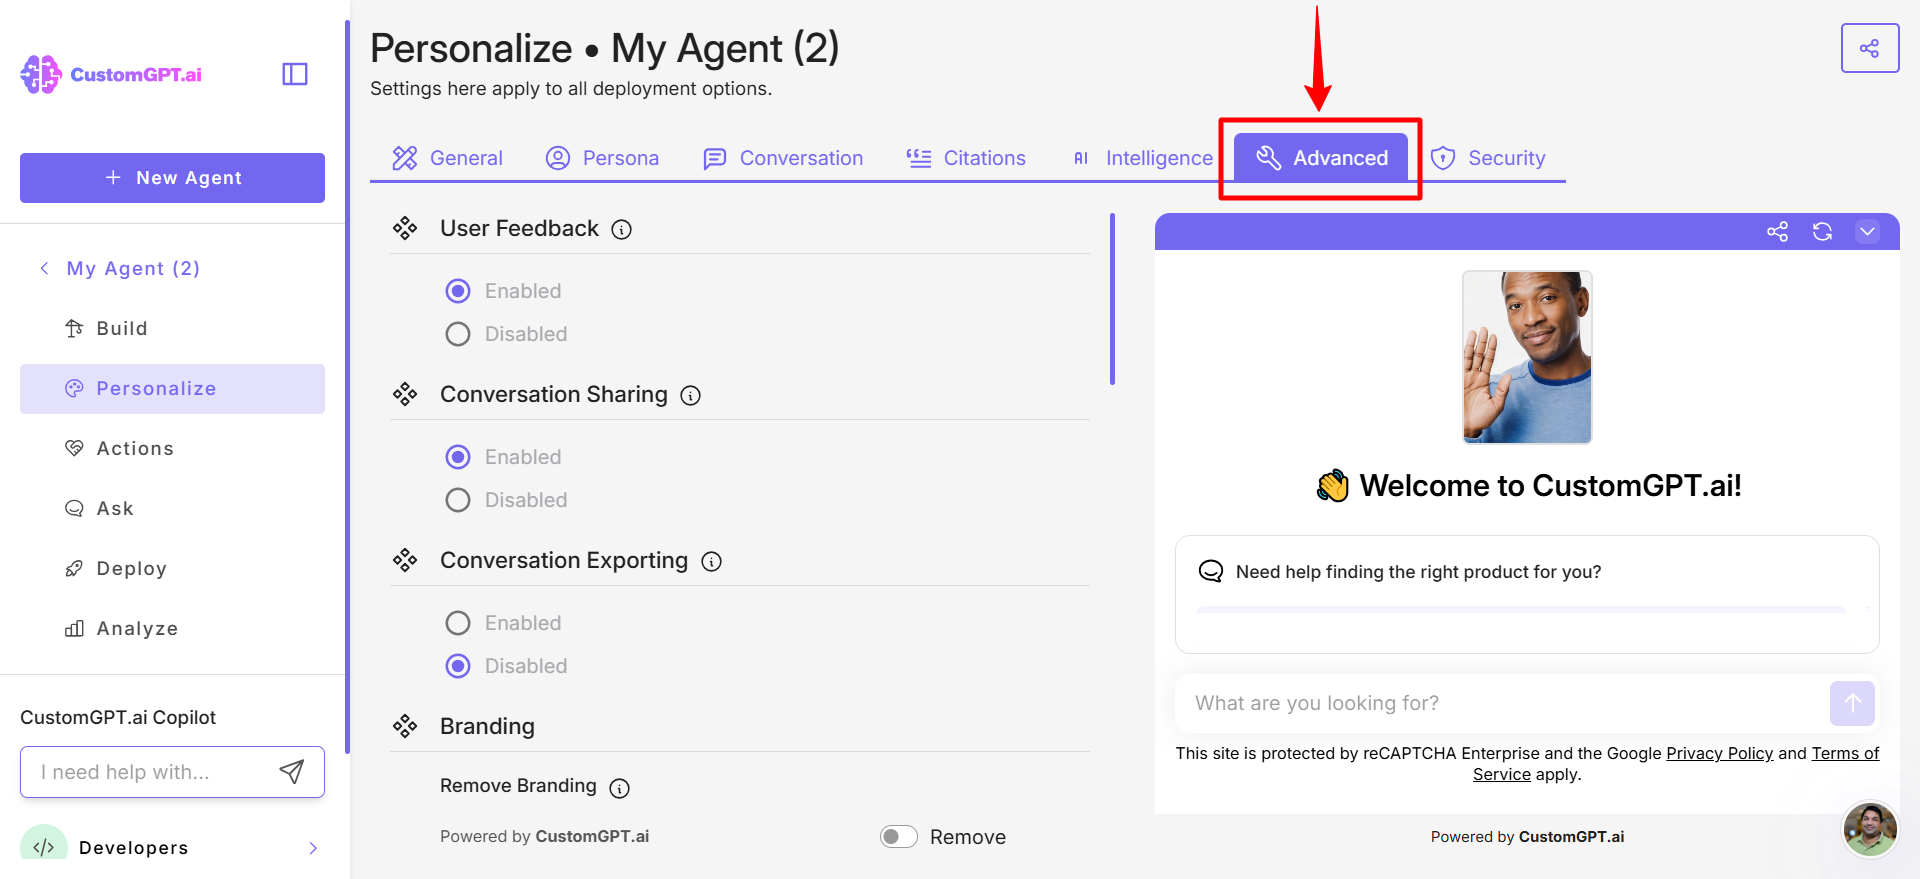
Advanced tab
Enable or disable additional user experience and branding options:
- Allow User Feedback
- Enable Conversation Sharing
- Enable Conversation Exporting
- Add Branding
- Set the Agent Title
- Choose the Title Color
- Add Title Avatar
- Add Spotlight Avatar
- Add a User Avatar
- Select Avatar Orientation
- Select In-Chat Avatars
- Add Terms of Service
- Set your Affiliate ID
Security tab
Configure protections and visibility controls:
- Enable Anti-Hallucination
- Set Agent Visibility
- Select Private Agent Deployment
- Turn on Re-Captcha
- Add Whitelisted Domains
- Choose Conversation Retention Period
Updated 5 months ago