Set the toolbar color
This guide explains how to change the toolbar color of your AI agent by updating the primary color.
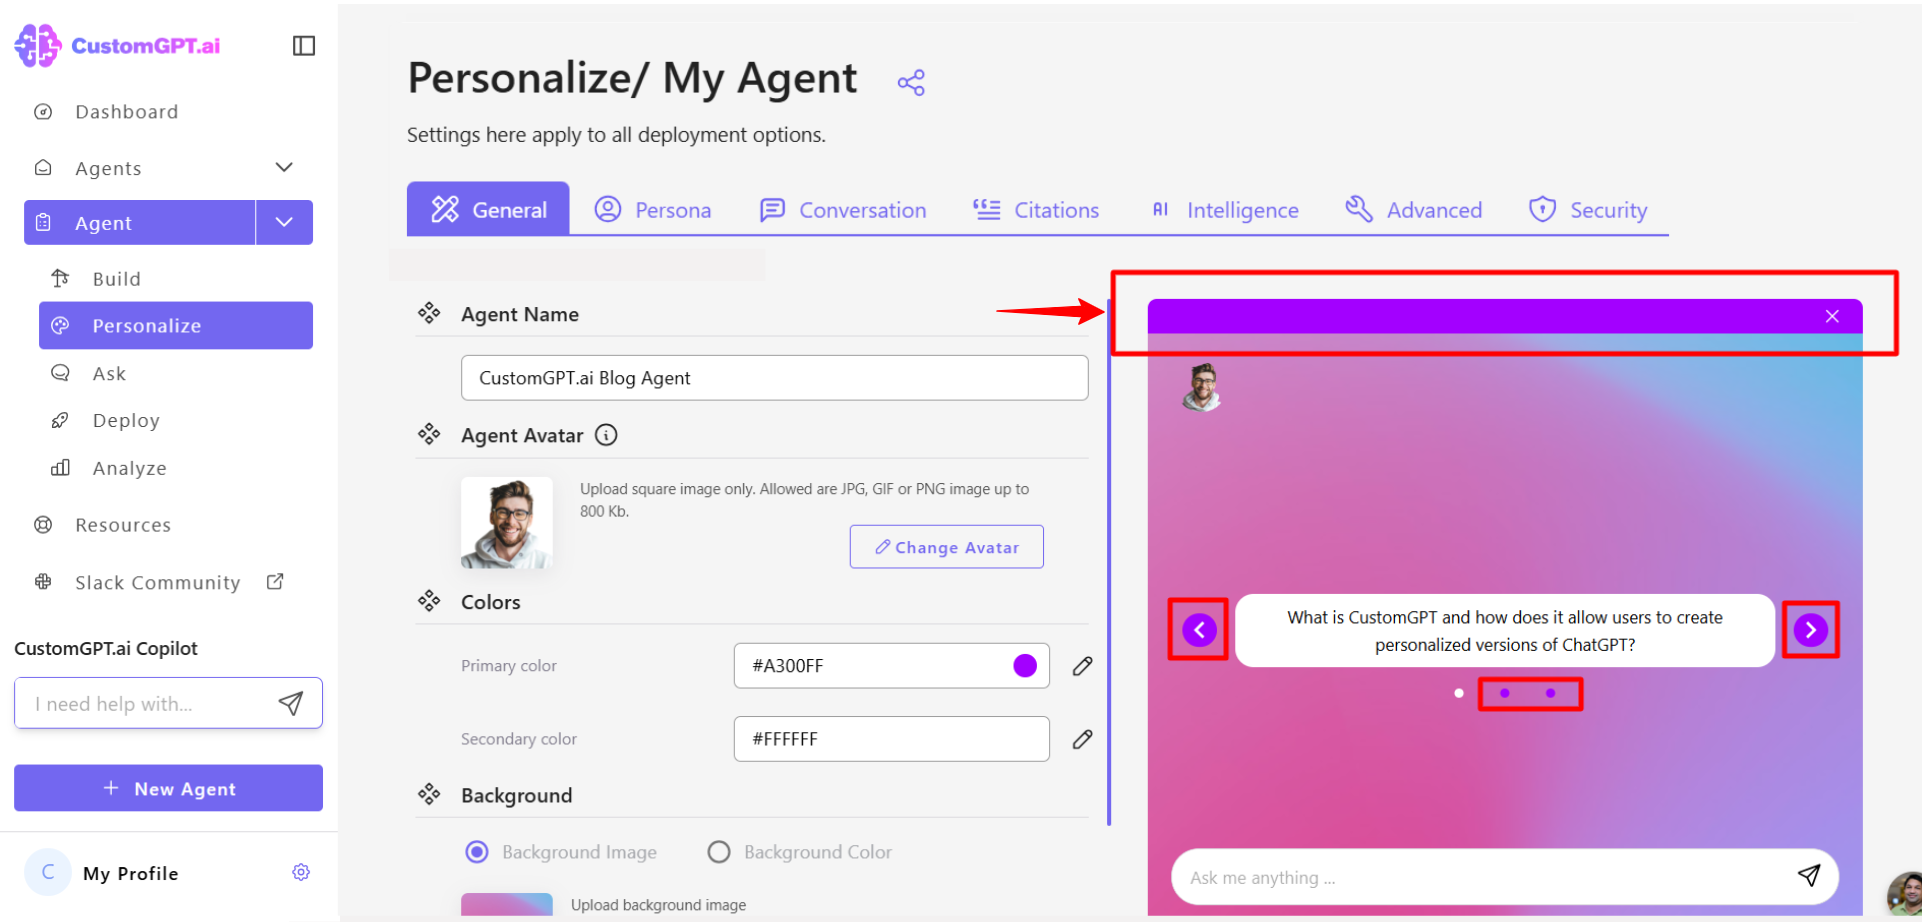
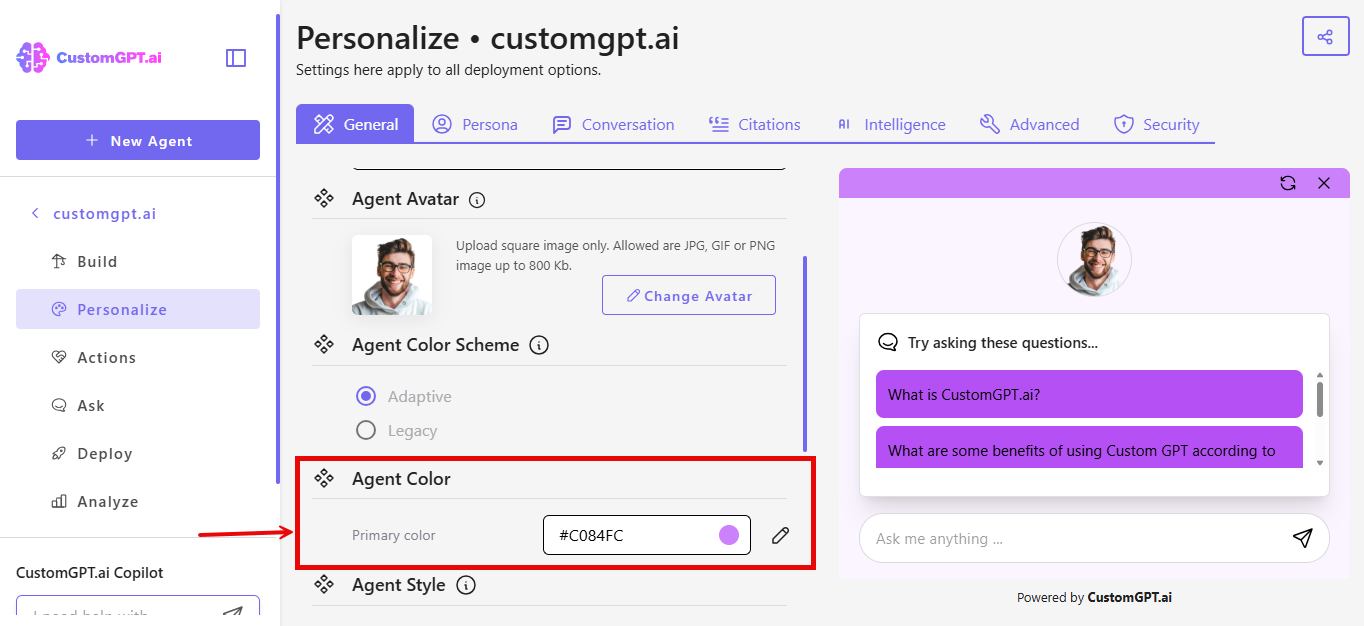
Primary color
The primary color controls several visual elements in the chat interface, including:
- The toolbar at the top of the chat
- The details inside starter questions
- The thinking dots shown while your AI agent is generating a response
How to change the toolbar color
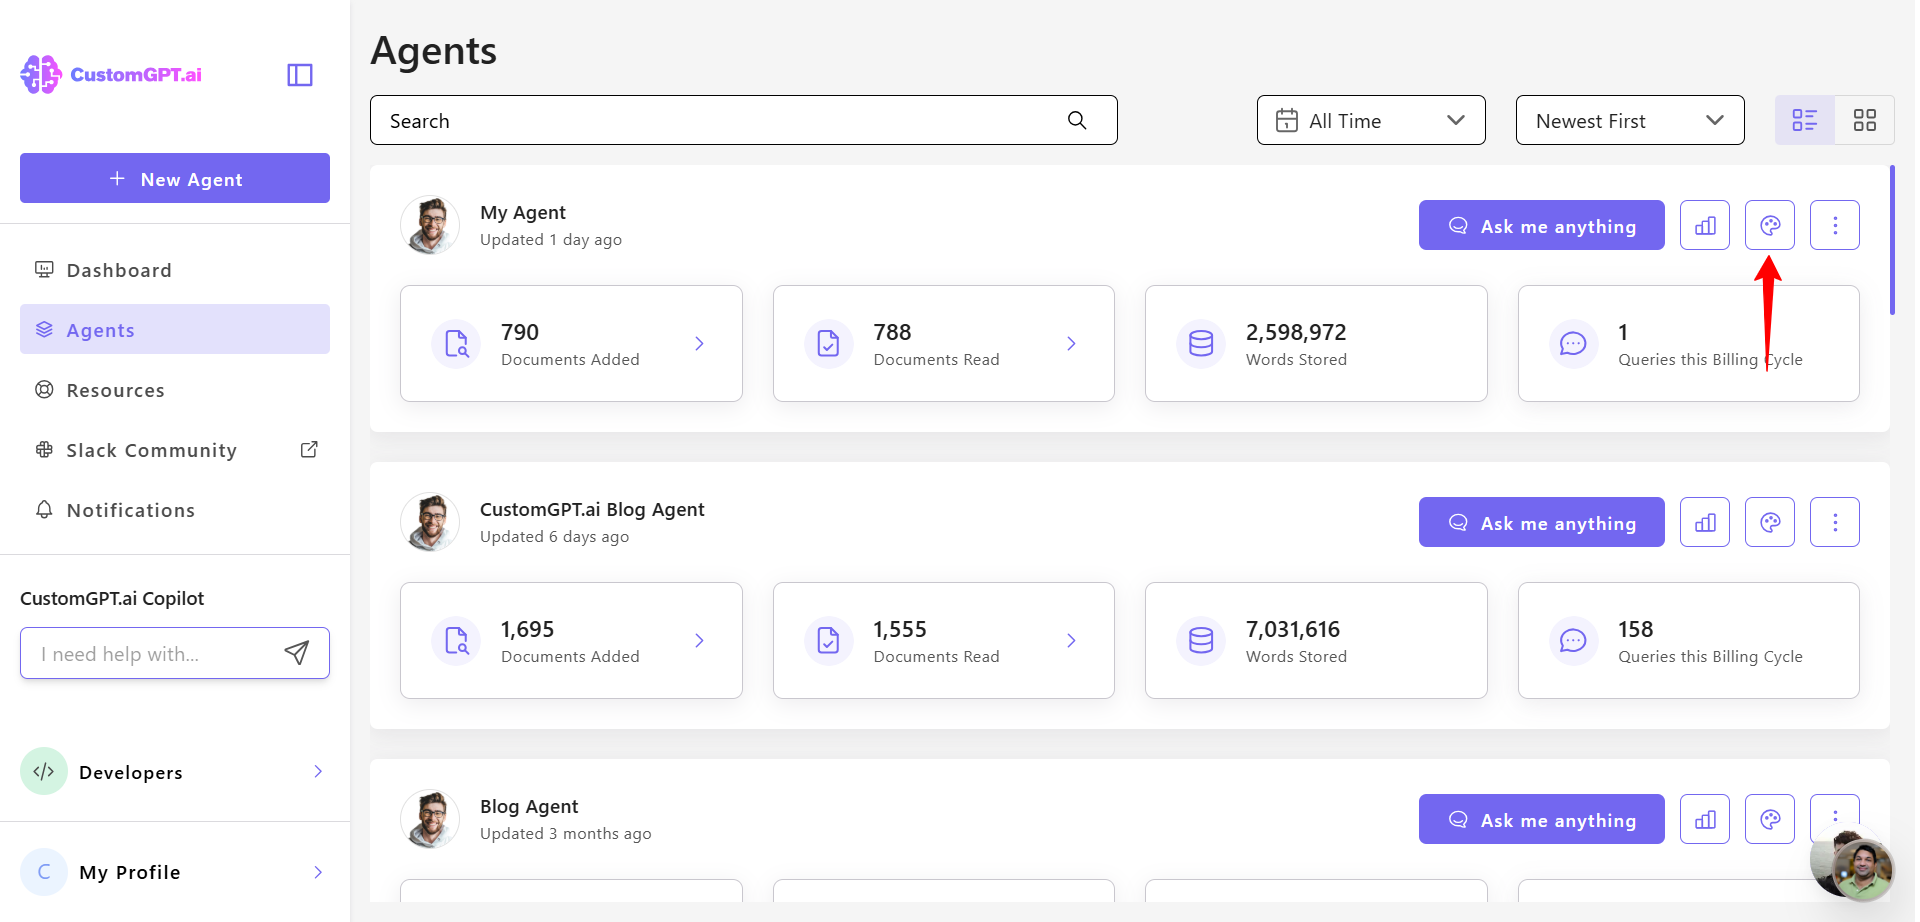
- Click the Personalize icon next to the agent you want to customize.
- Locate the Agent Color scheme section.
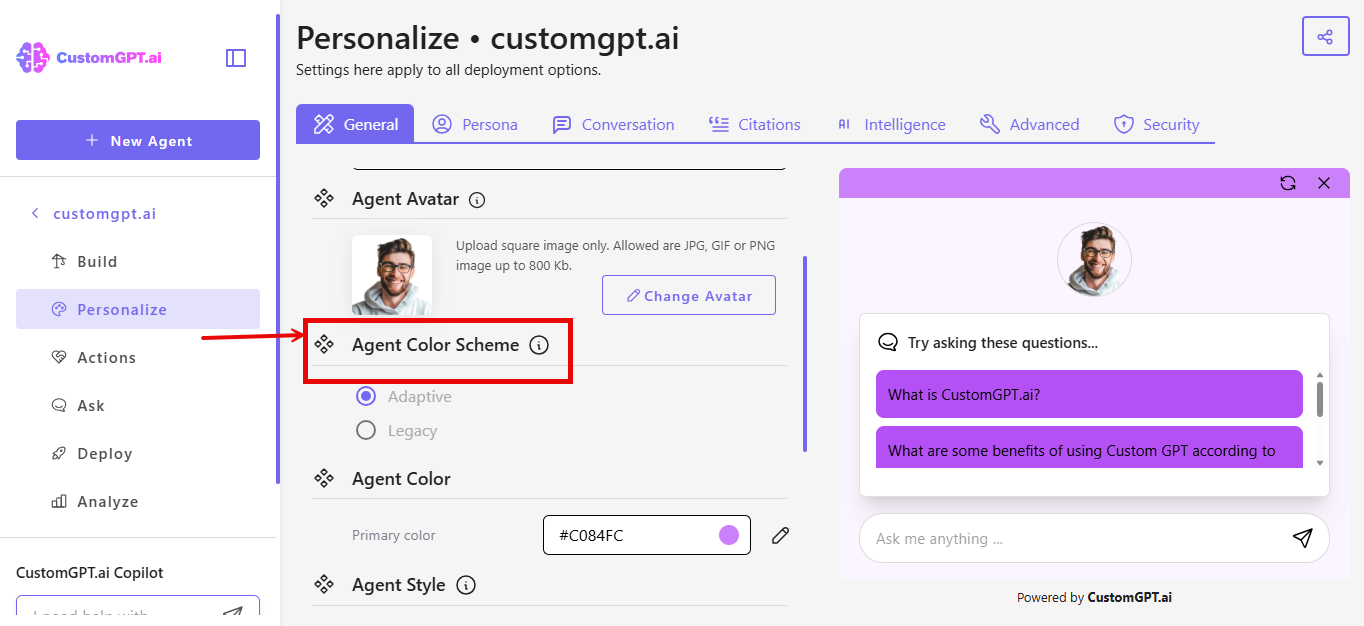
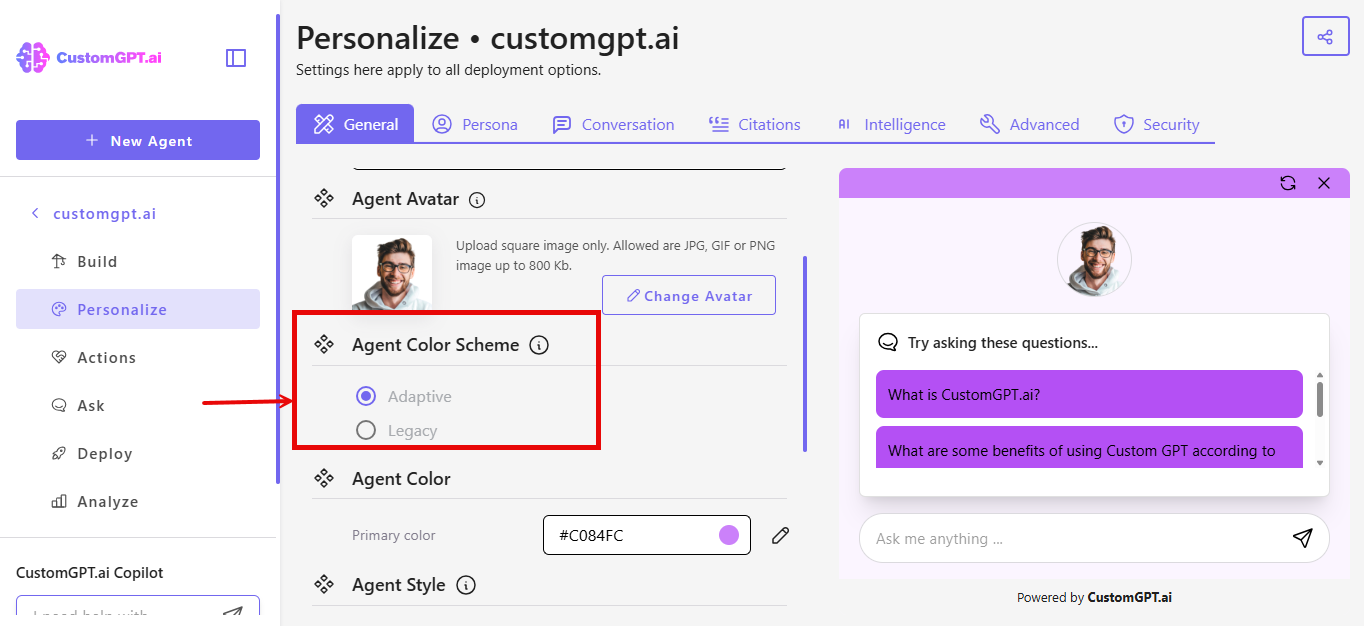
- Select your preferred scheme:
- Adaptive - Set one primary color, agent colors adjust automatically
- Legacy - Set toolbar and agent colors individually
If You Selected Adaptive
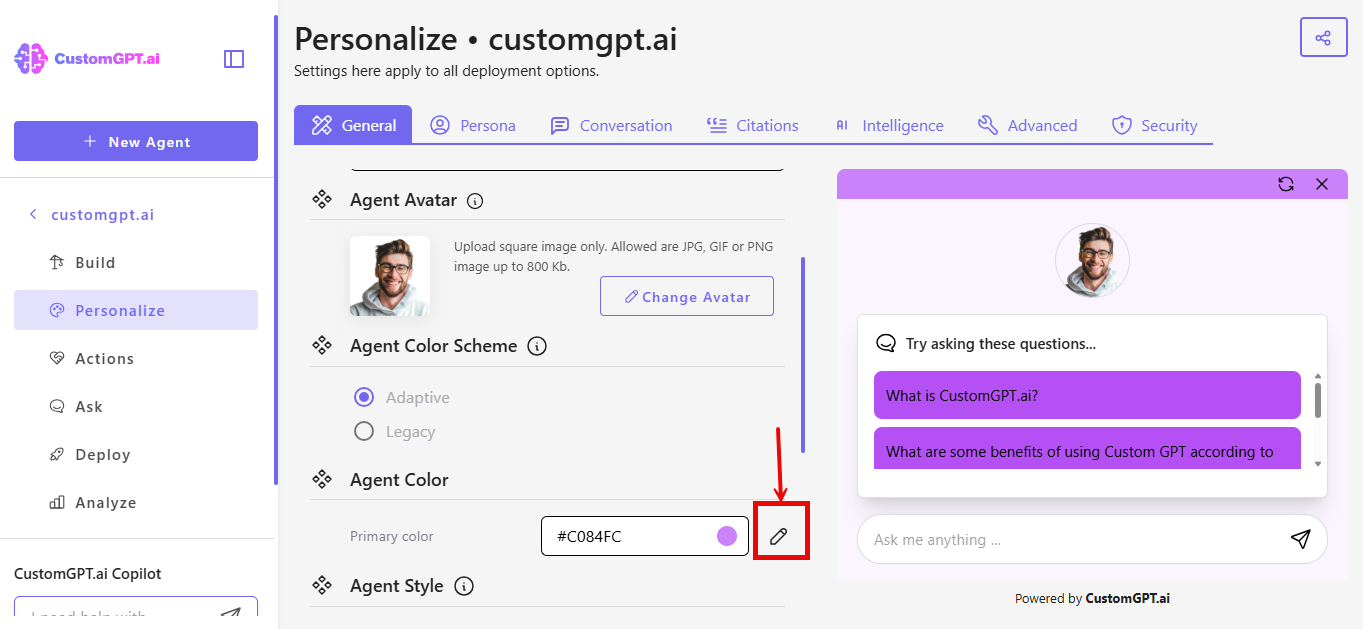
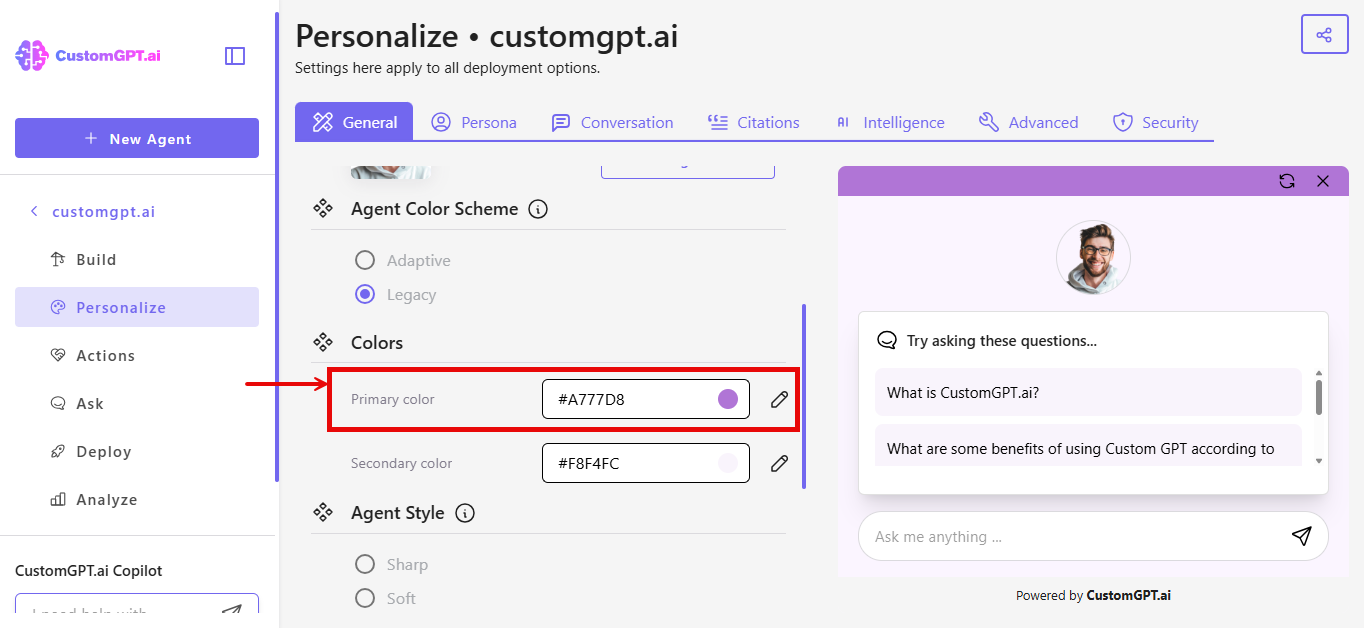
- Scroll to the Primary color field
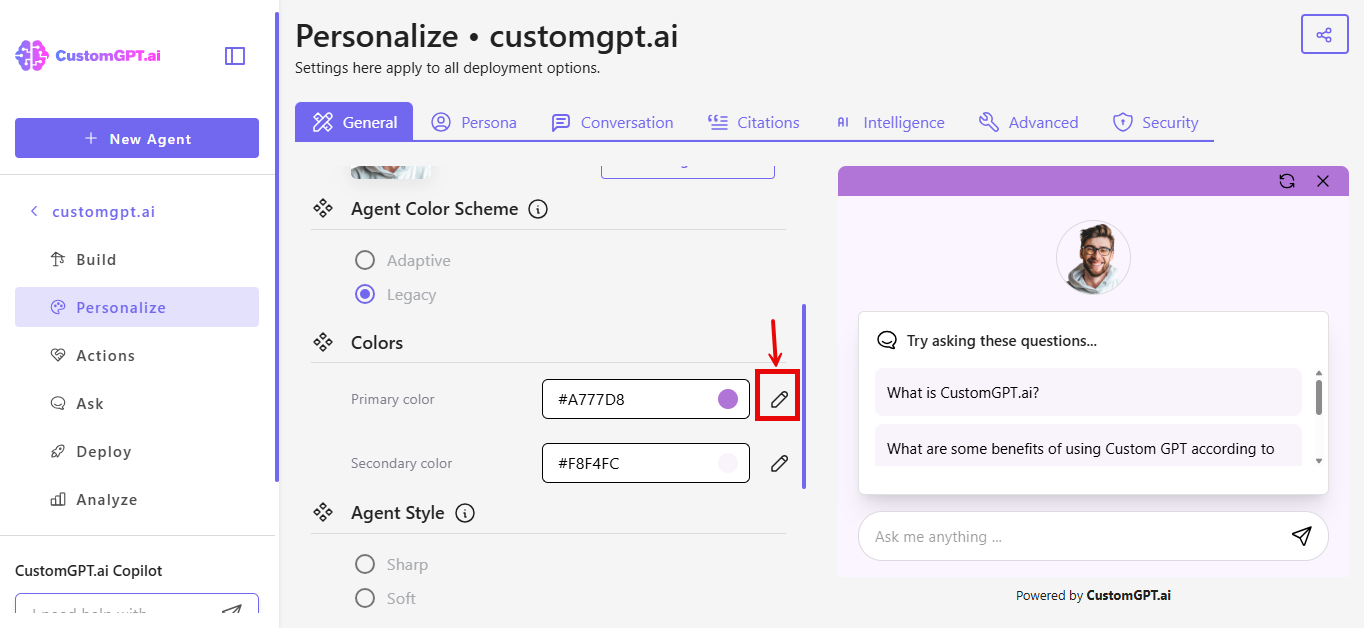
- Click the color icon to open the color picker.
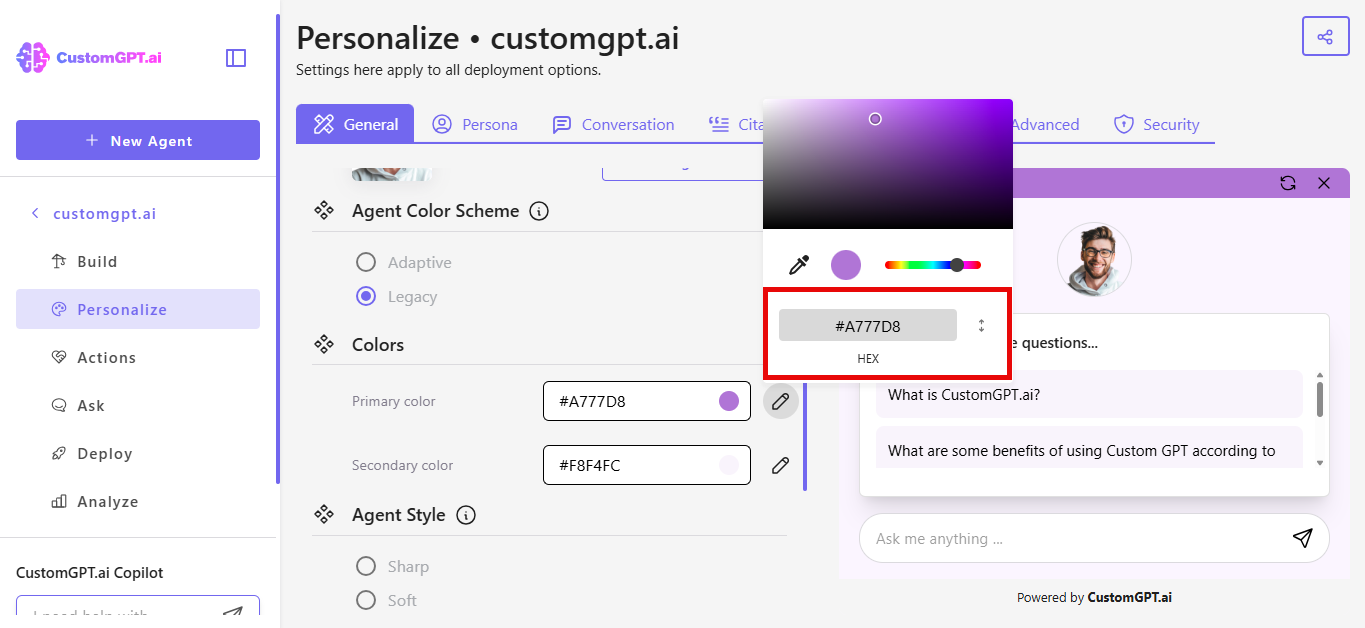
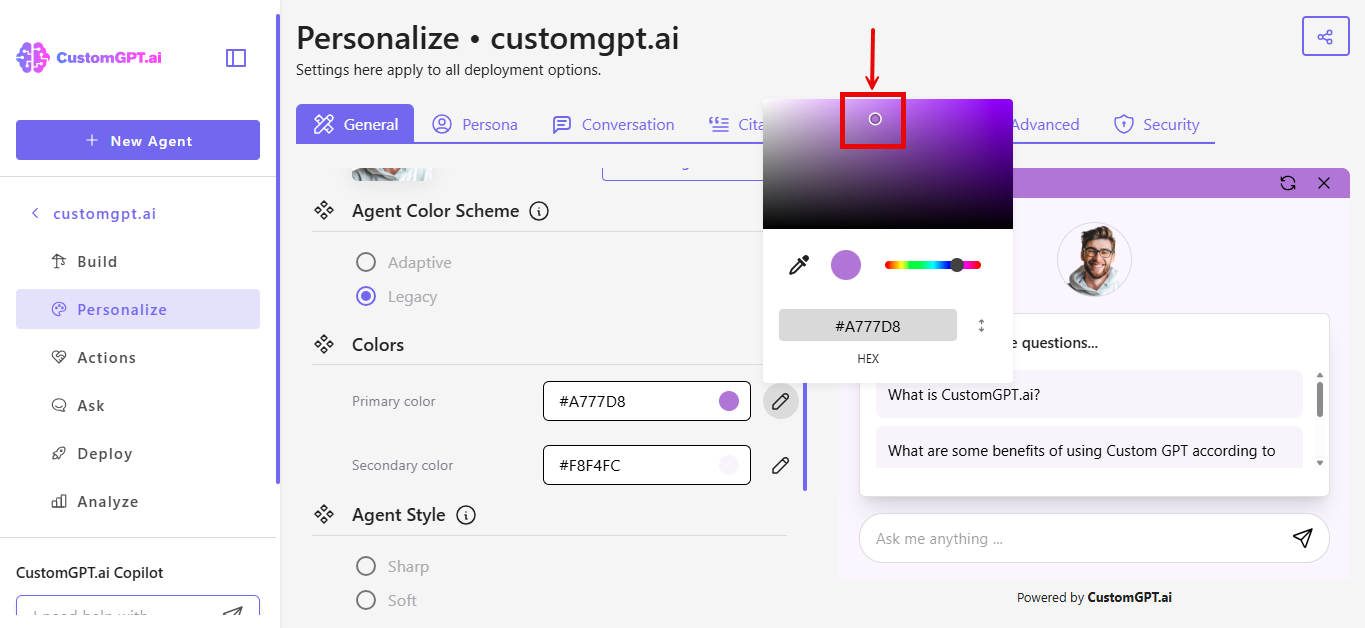
- Choose your toolbar color:
- Enter a HEX code for the desired color, or
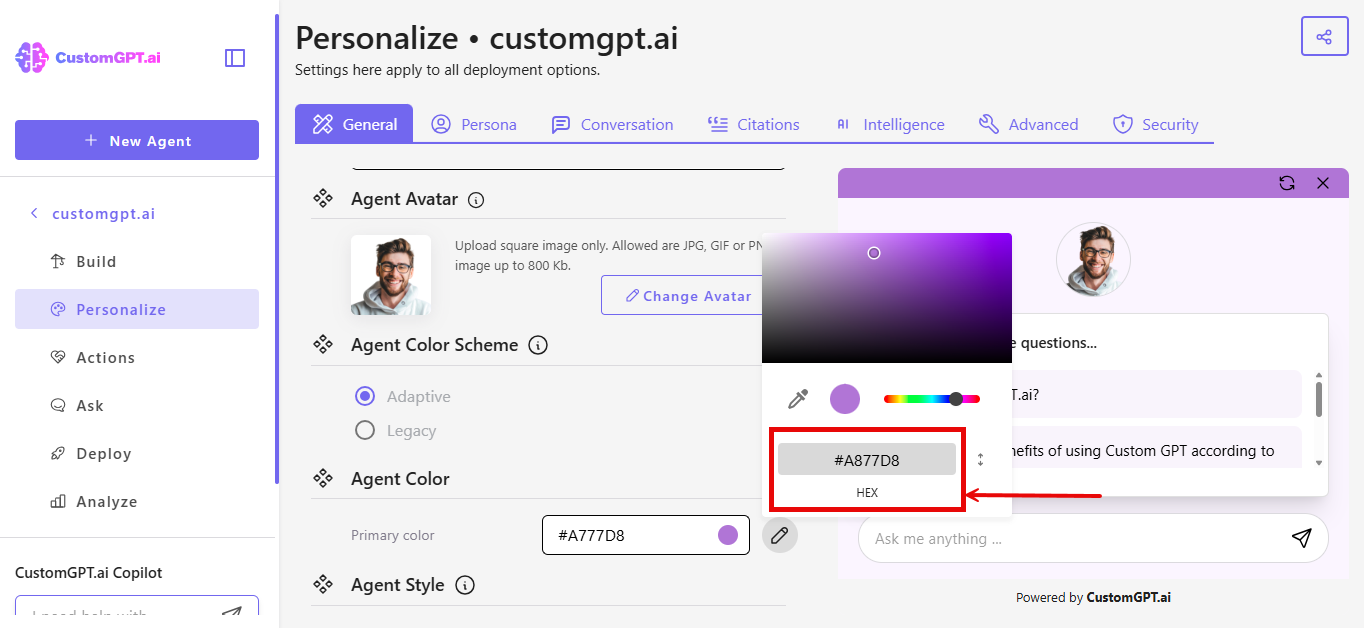
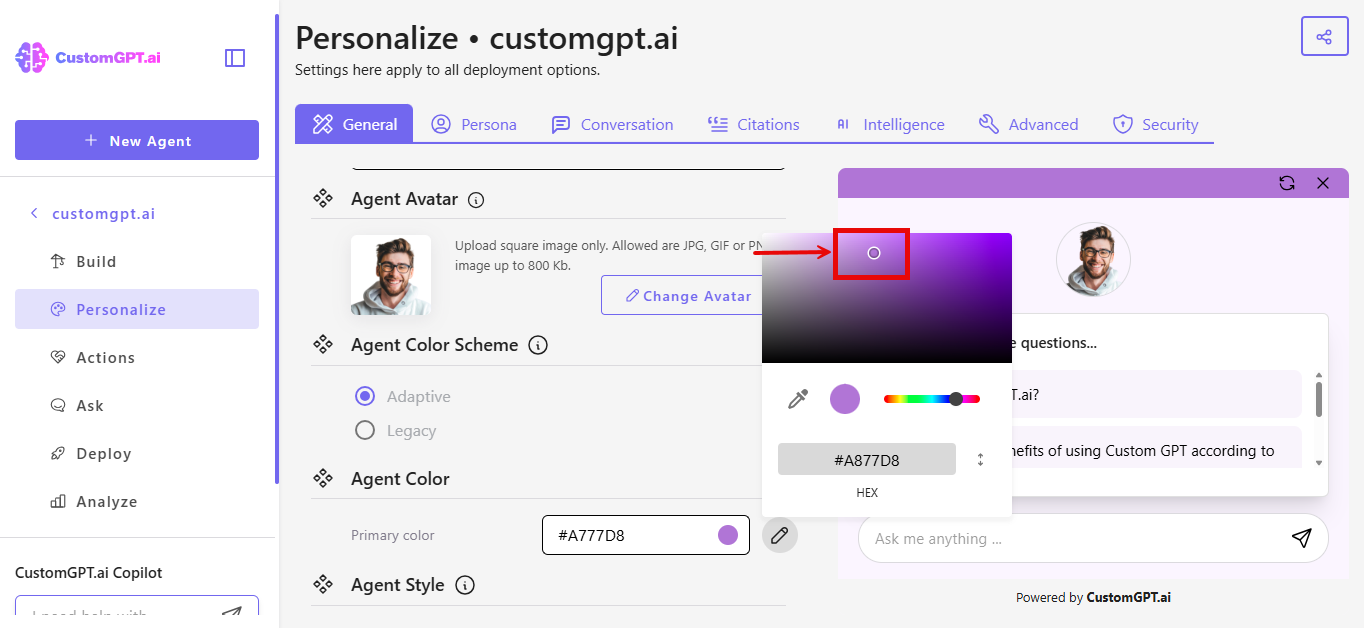
- You can move the color selector dot to choose a color manually.
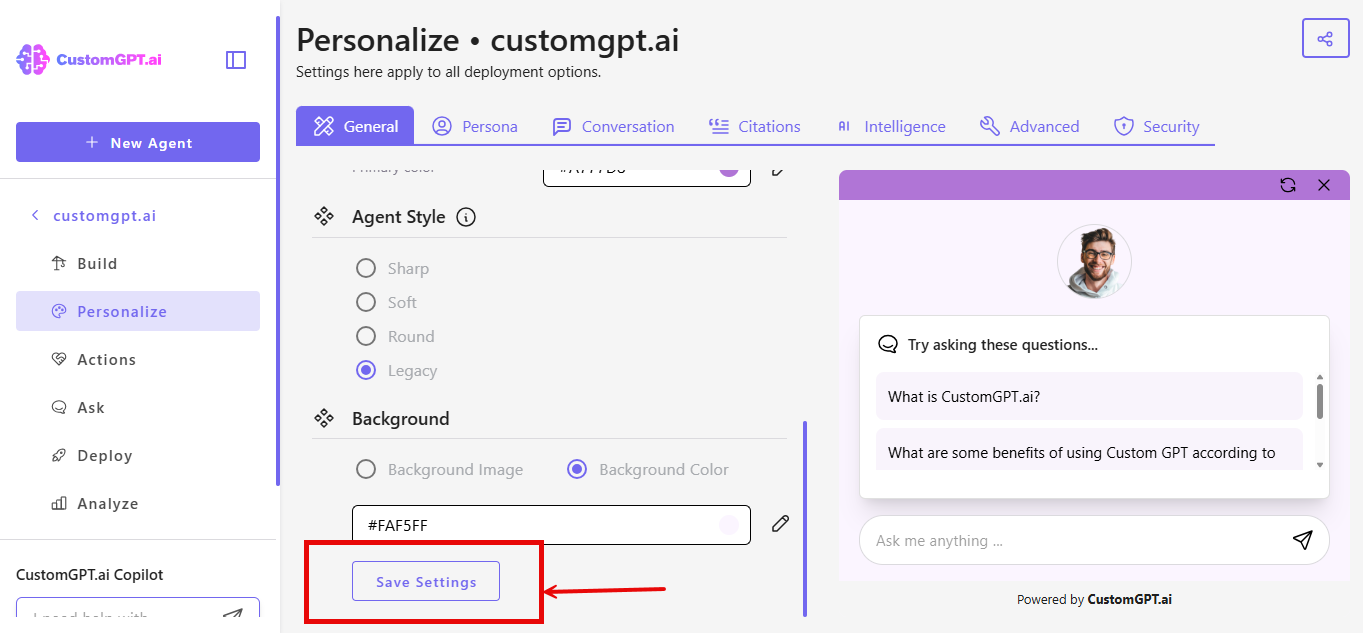
- Click Save Settings to apply the update.
Note:The agent color will automatically adjust to complement your primary color choice.
If You Selected Legacy
- Scroll to the Color section.
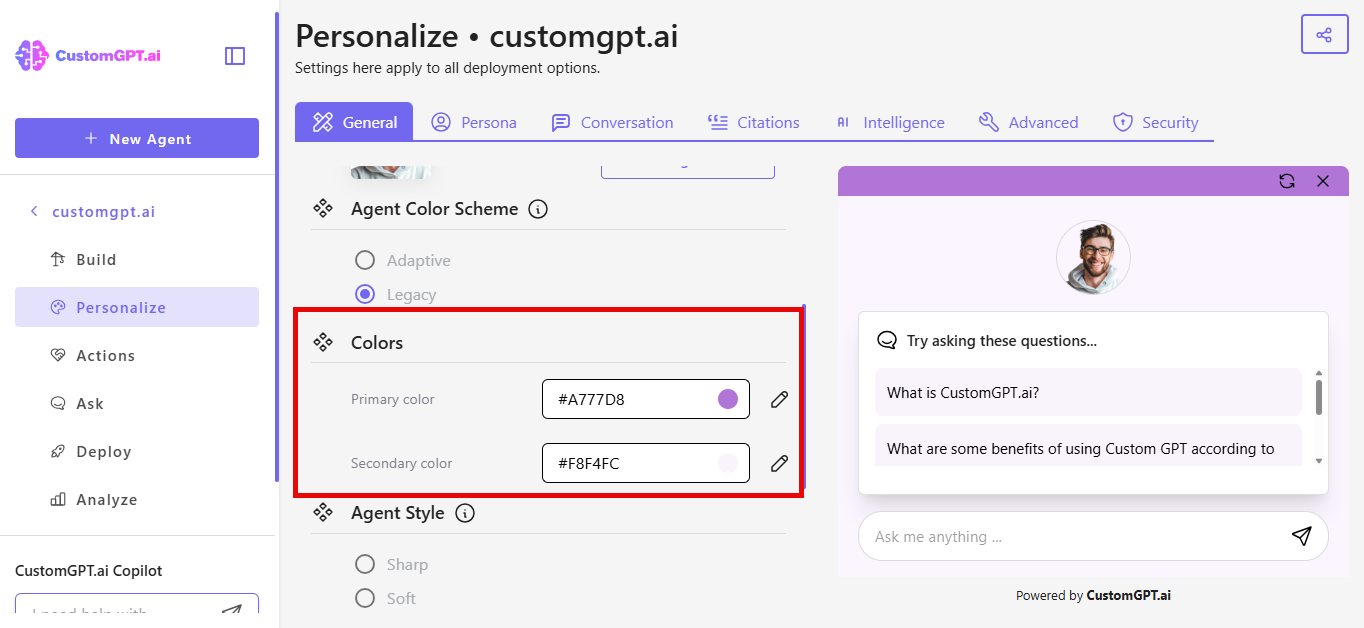
- Locate Primary Color field.
- Click the color icon to open the color picker.
- Choose a color:
- Enter a HEX code for the desired color, or
- Move the color selector dot to choose a color manually
- Click Save Settings to apply the update.

Looking to adjust user message color? See how to set user message color.
Updated 7 months ago
Did this page help you?