Activate OCR (premium feature)
This step-by-step guide explains how to activate the OCR (Optical Character Recognition) feature in CustomGPT.ai.
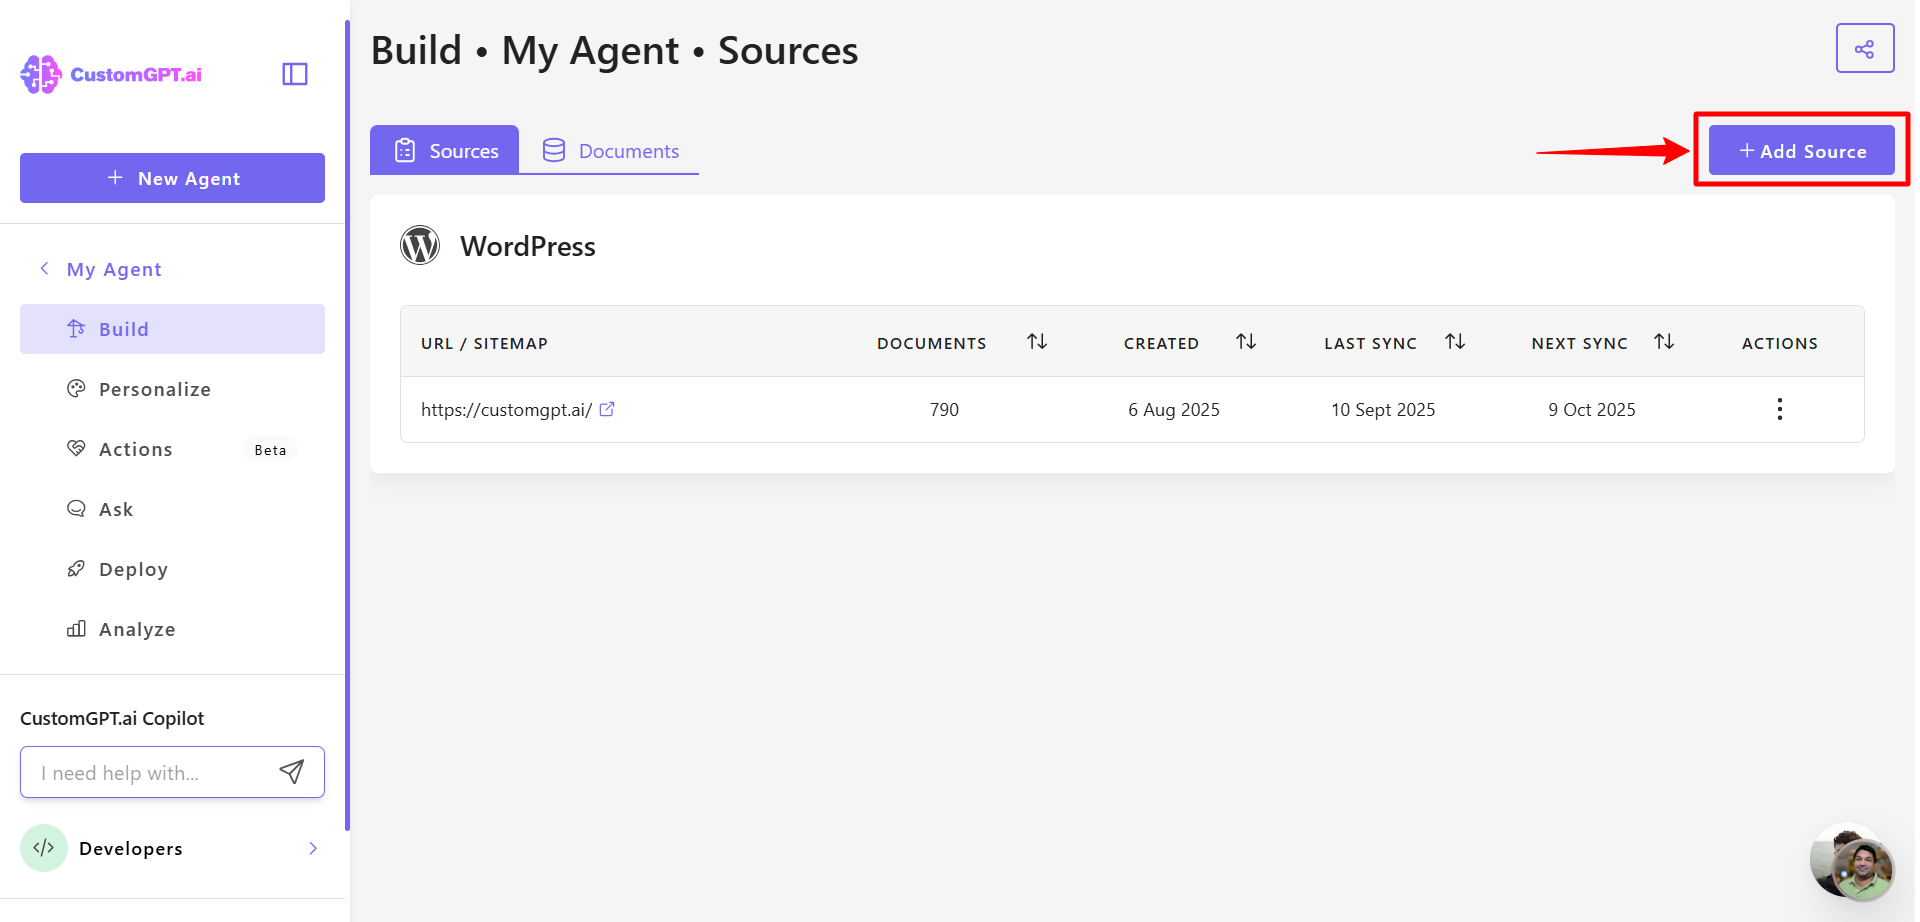
- Click the three dots next to your agent’s name, then select Build.

- Click Add Source.
- Select File Upload.

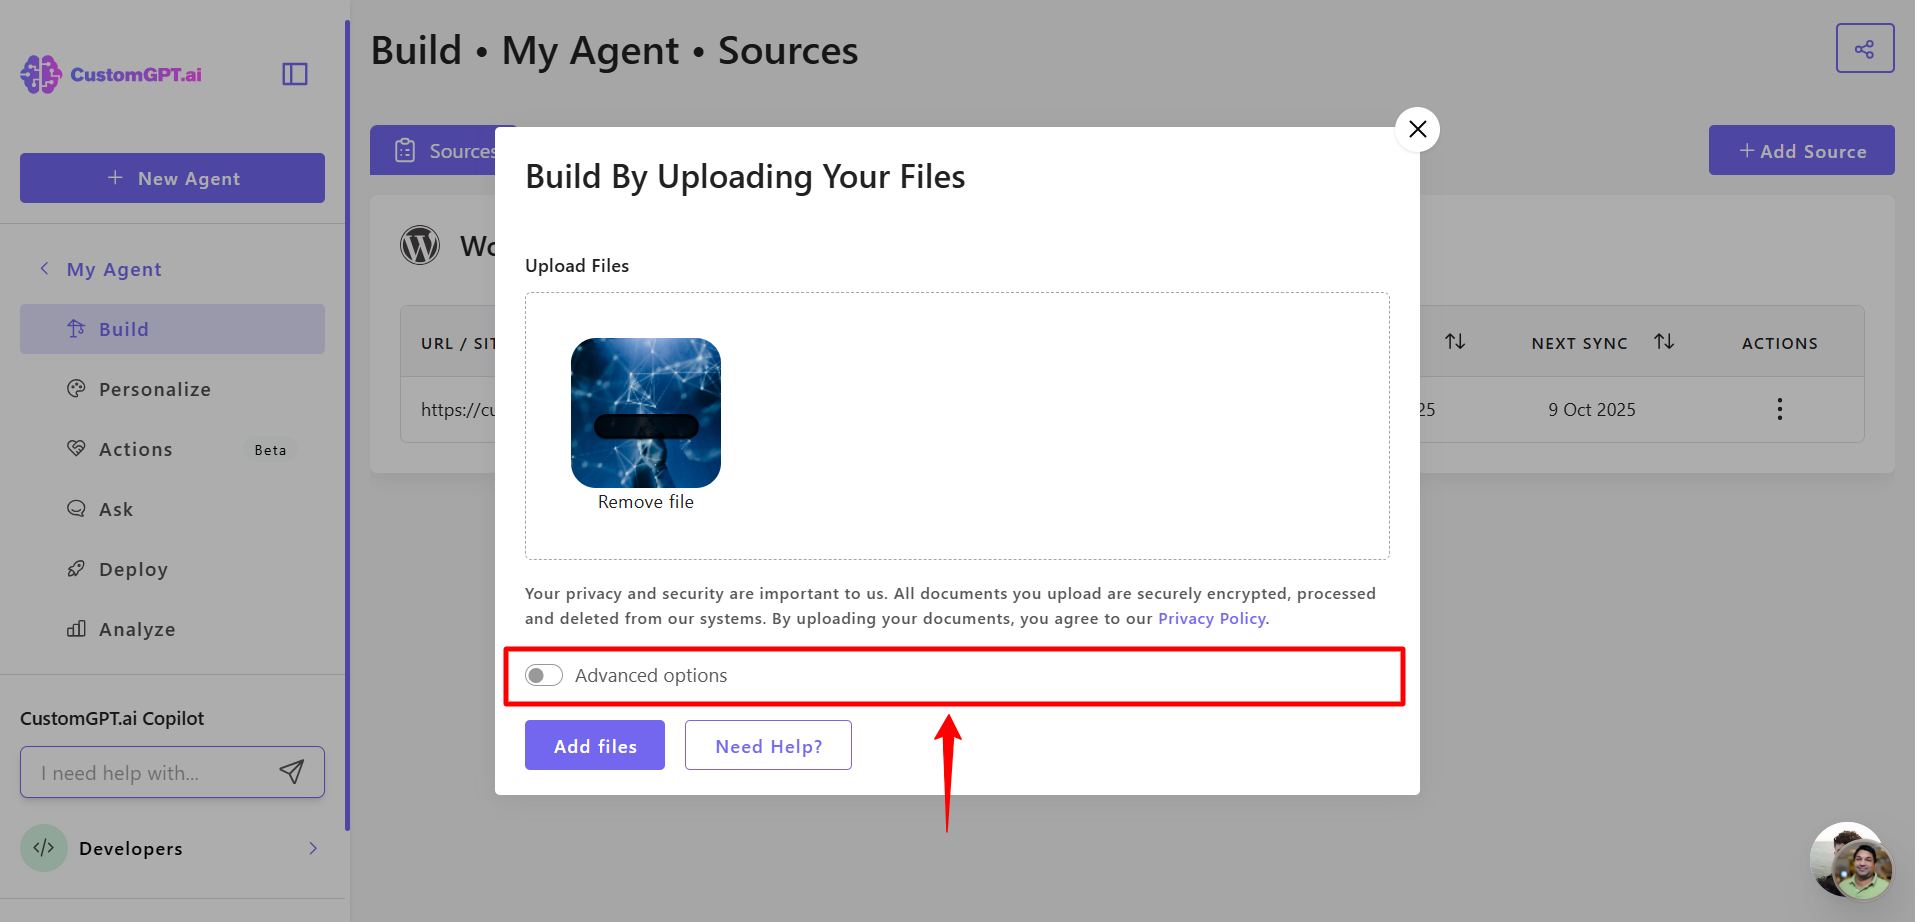
- Select one or more image files (e.g., JPG, PNG, or diagram screenshots) and click on Advanced Settings.
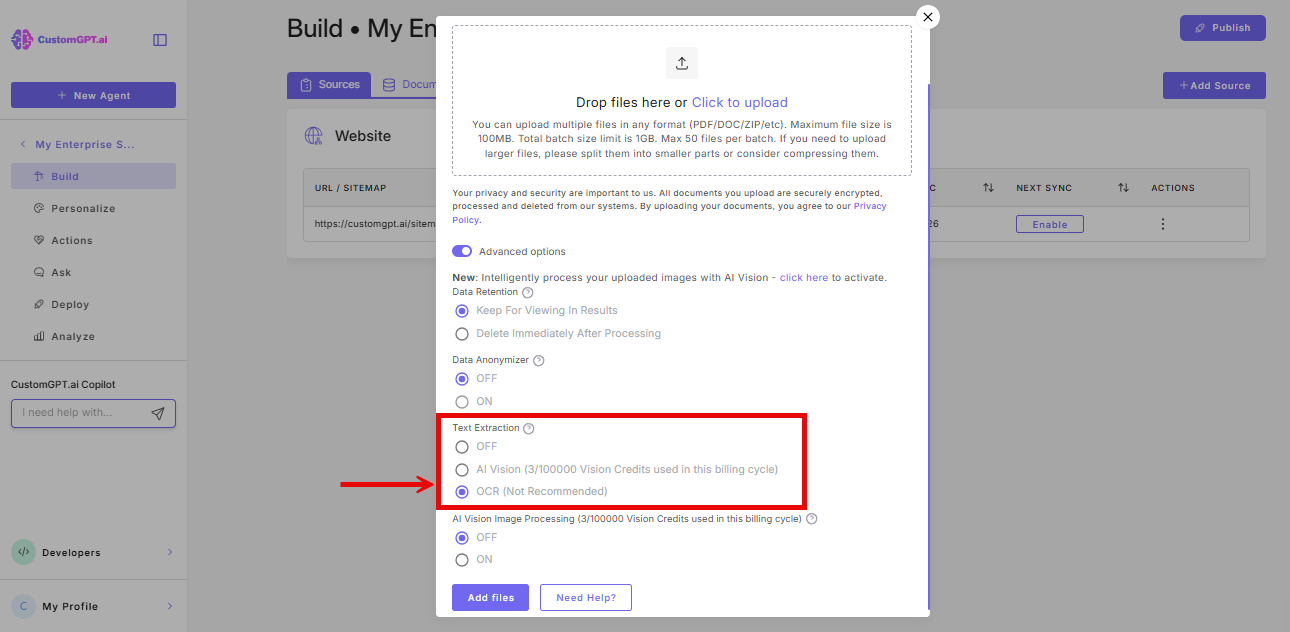
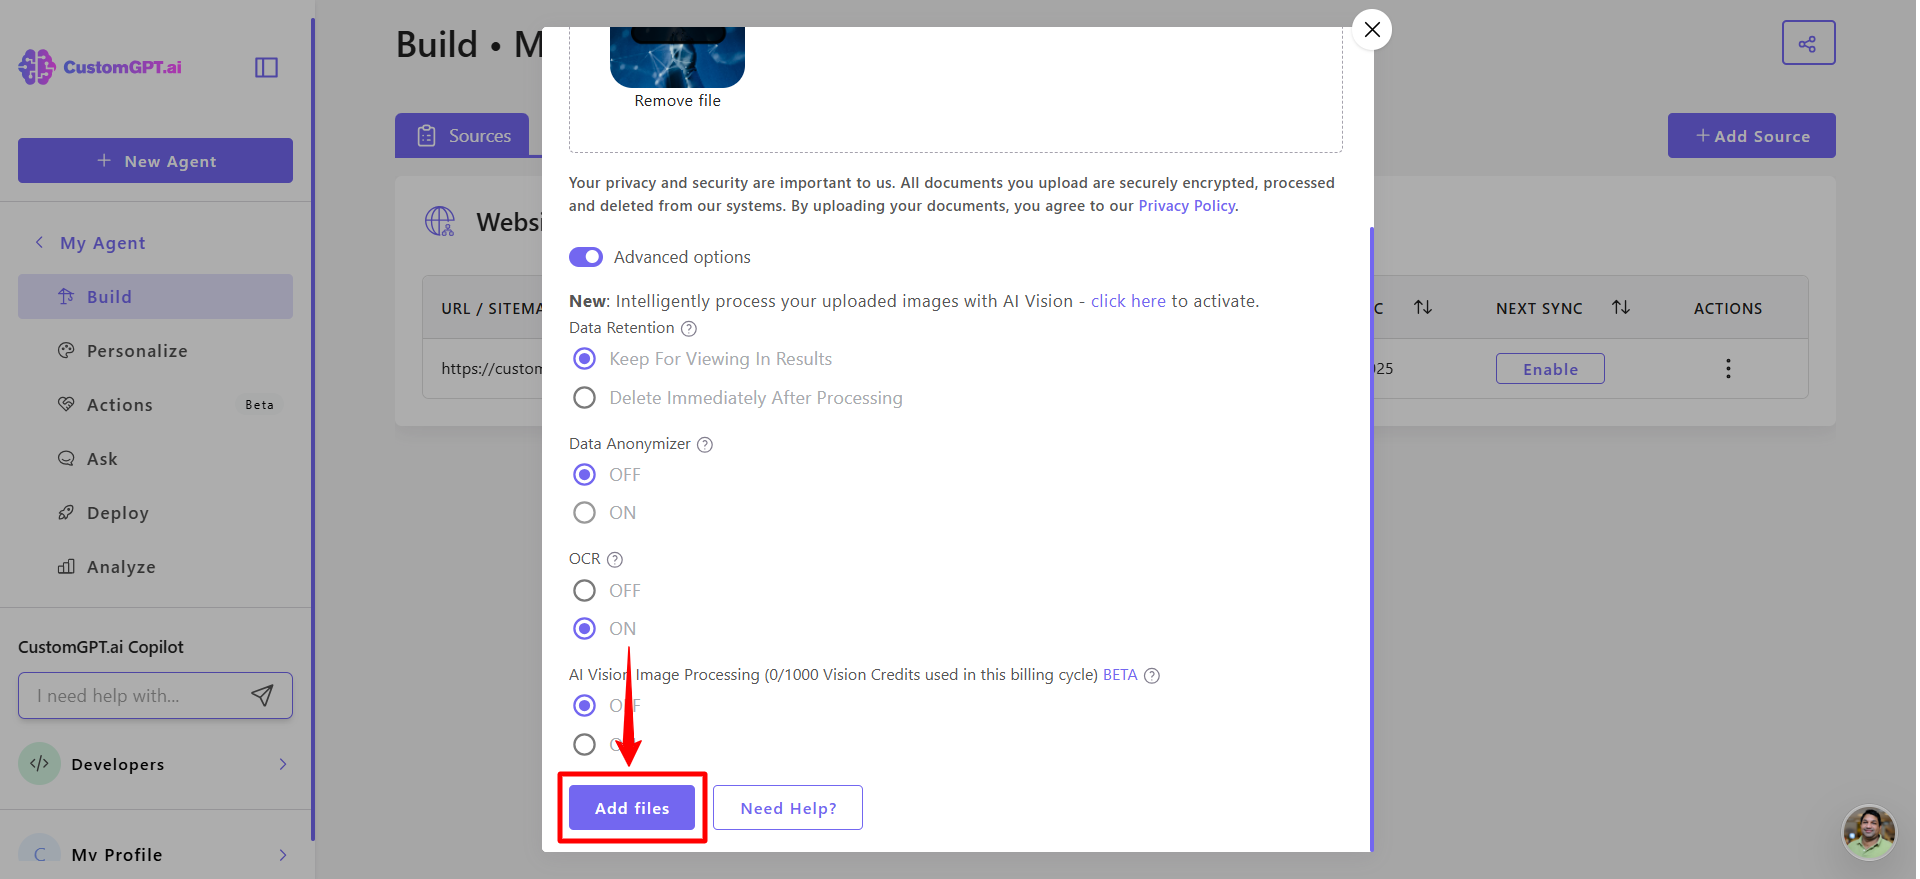
- Scroll down to Text Extraction and toggle OCR ON to enable optical character recognition.
- Click Add Files to submit your documents
OCR (Optical Character Recognition) is a separate option under Text Extraction in the File Upload modal. It is flagged Not Recommended and available on Premium plans only. AI Vision is the recommended option for extracting text from image-based or scanned documents and is available on all plans. Know more 👉How AI Vision works
Updated 5 months ago
Did this page help you?