Create AI agent from website
Follow these instructions to create a CustomGPT AI agent using a website URL or sitemap.
You can create a CustomGPT AI agent by providing a website URL, a sitemap, or by uploading files and documents. After setting up your account and completing your subscription, follow these steps to get started:
Website integration
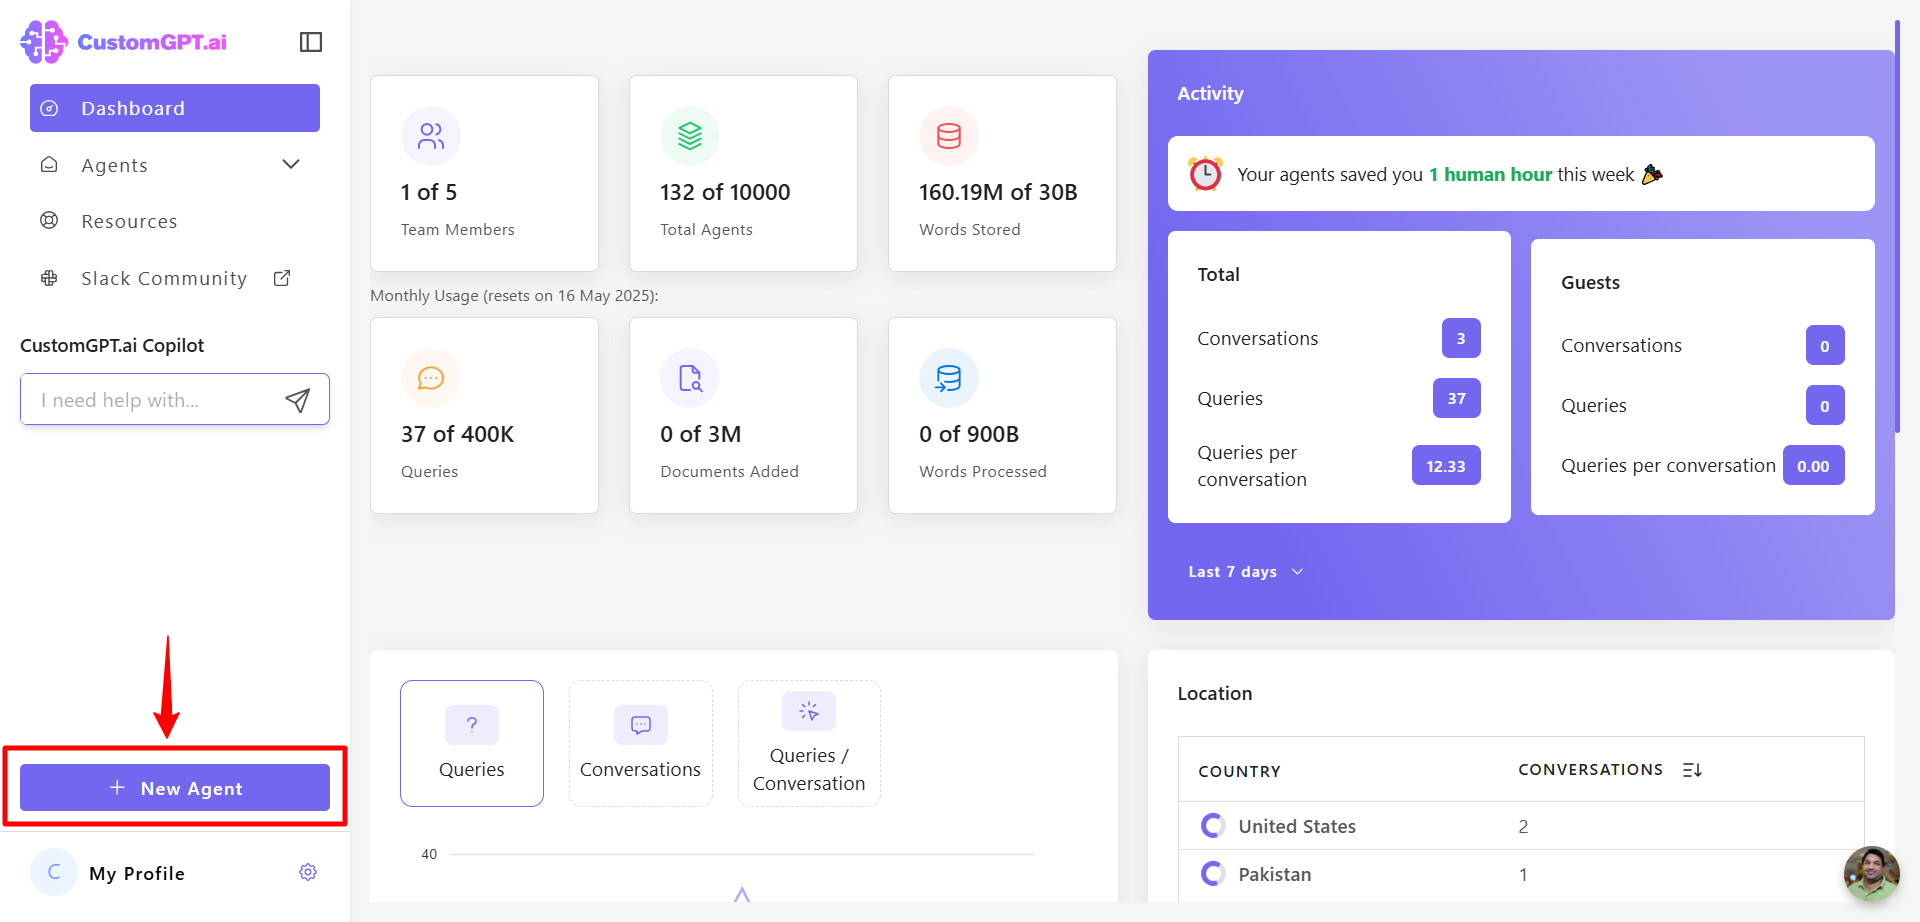
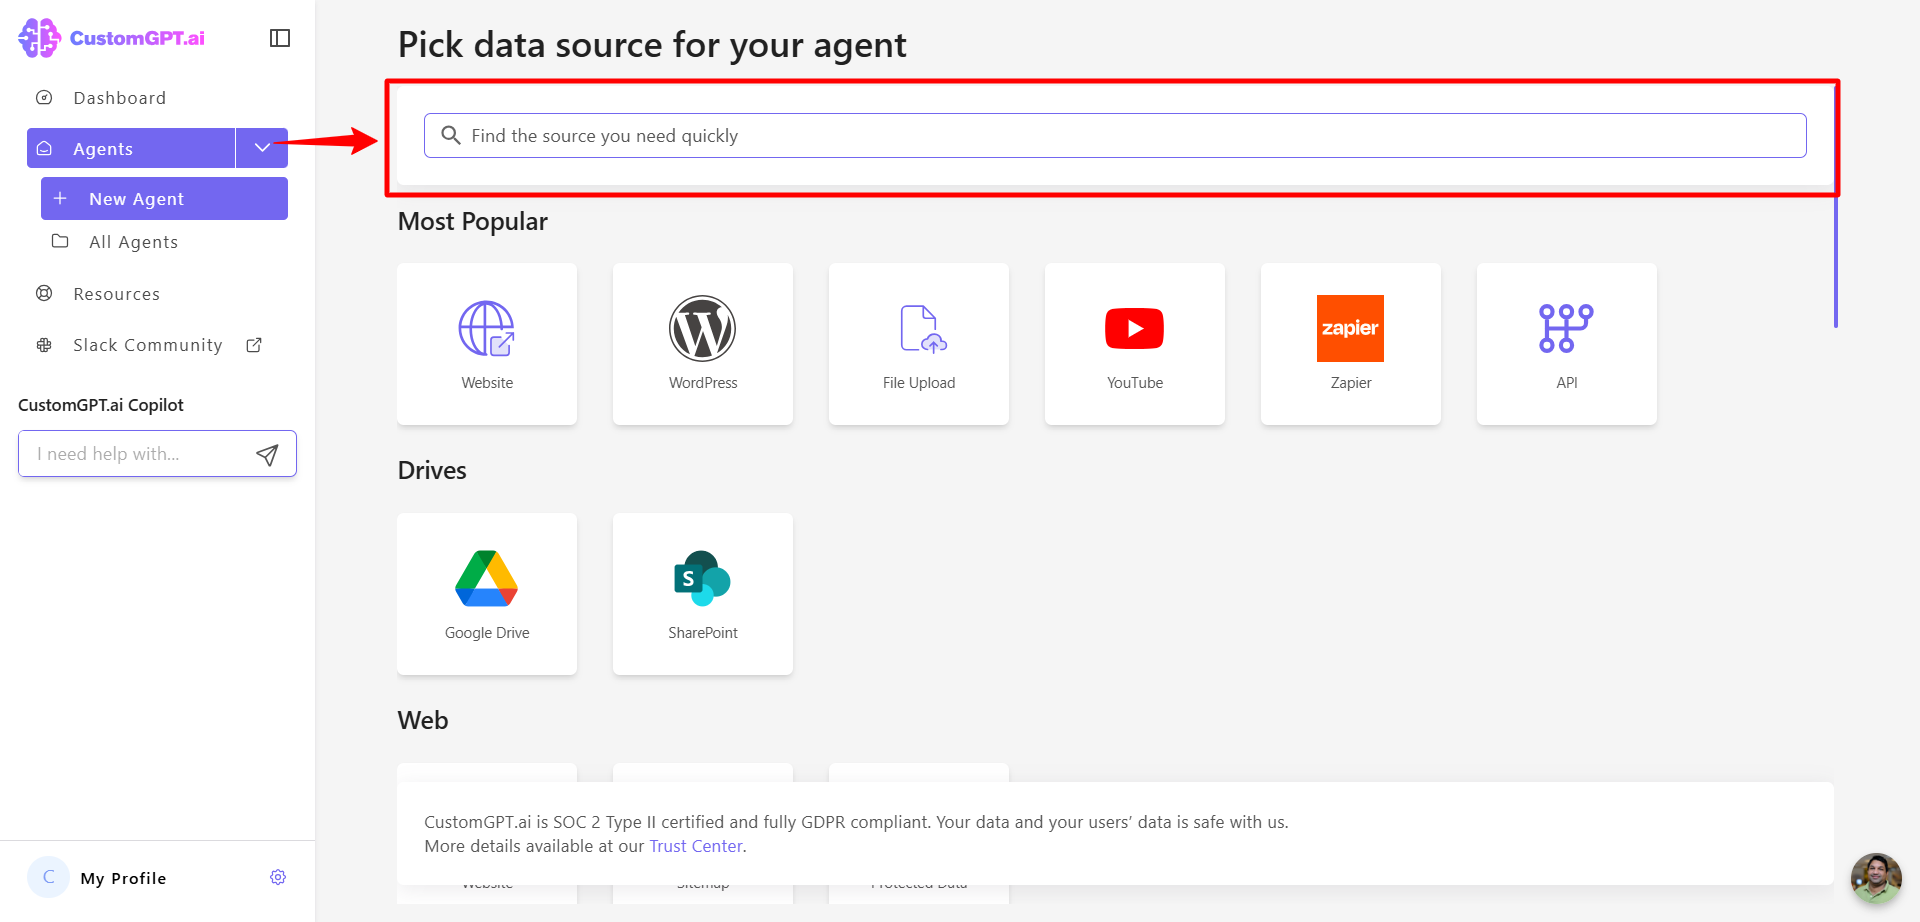
- On your CustomGPT dashboard, click the New Agent button in the top-right corner.
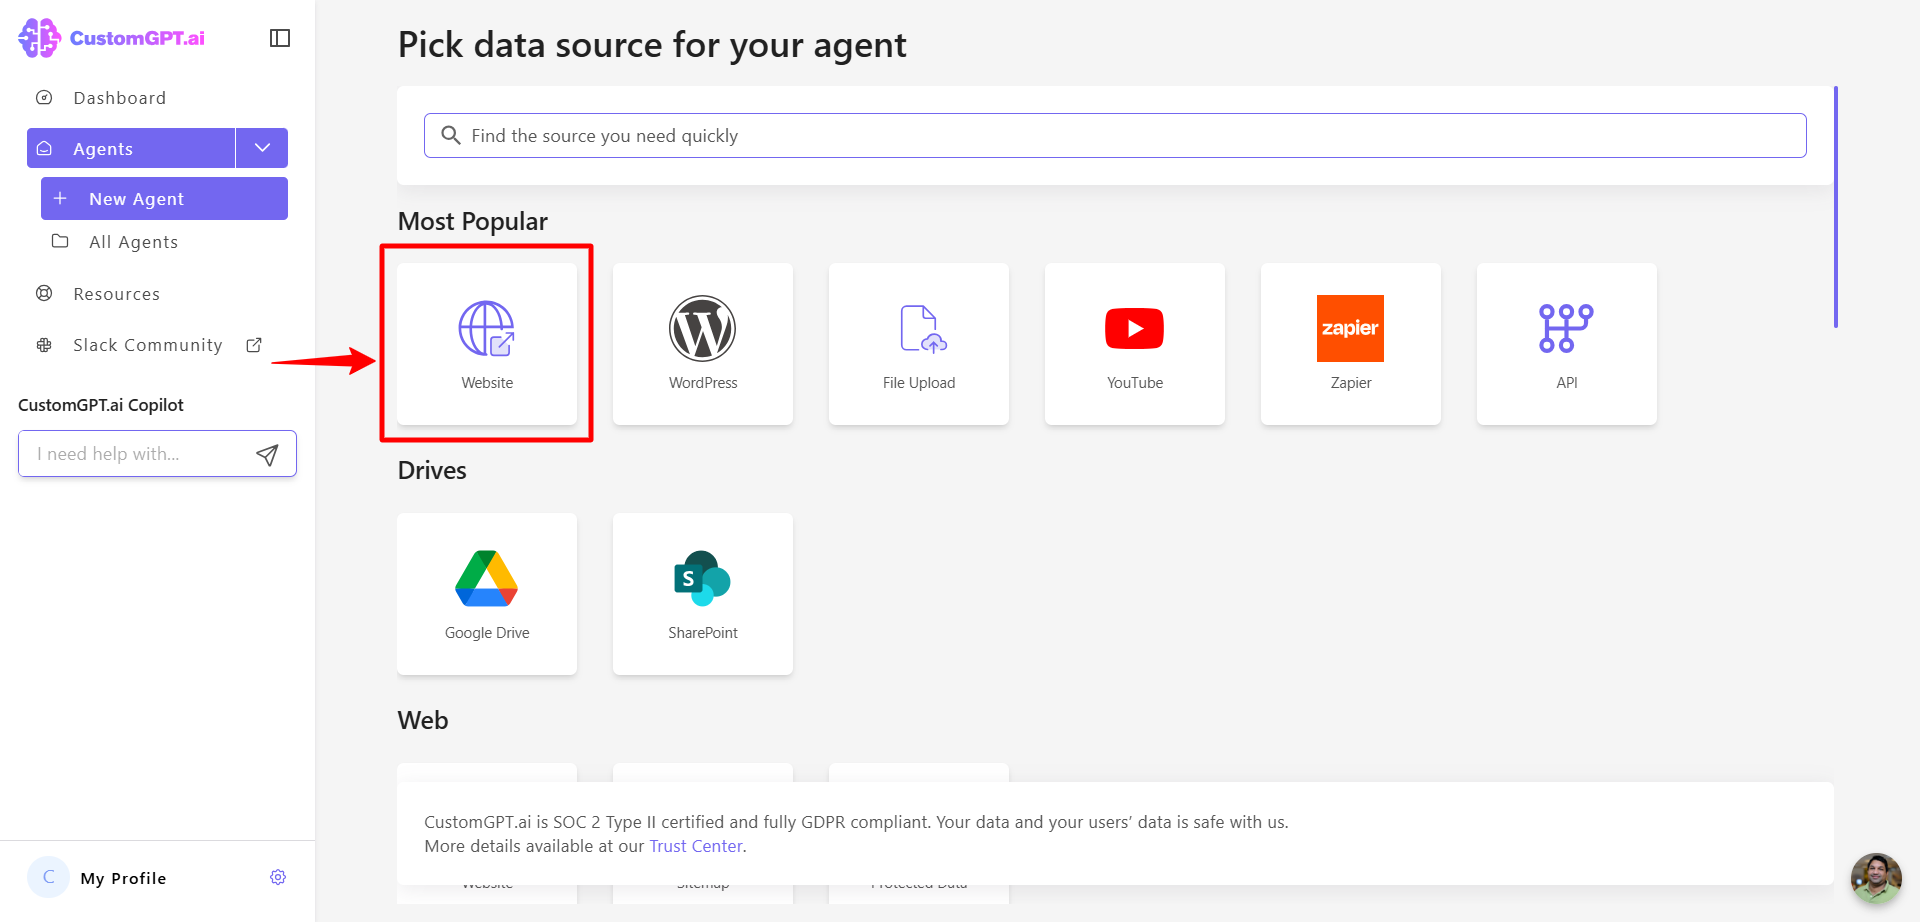
- Select Website as the source.
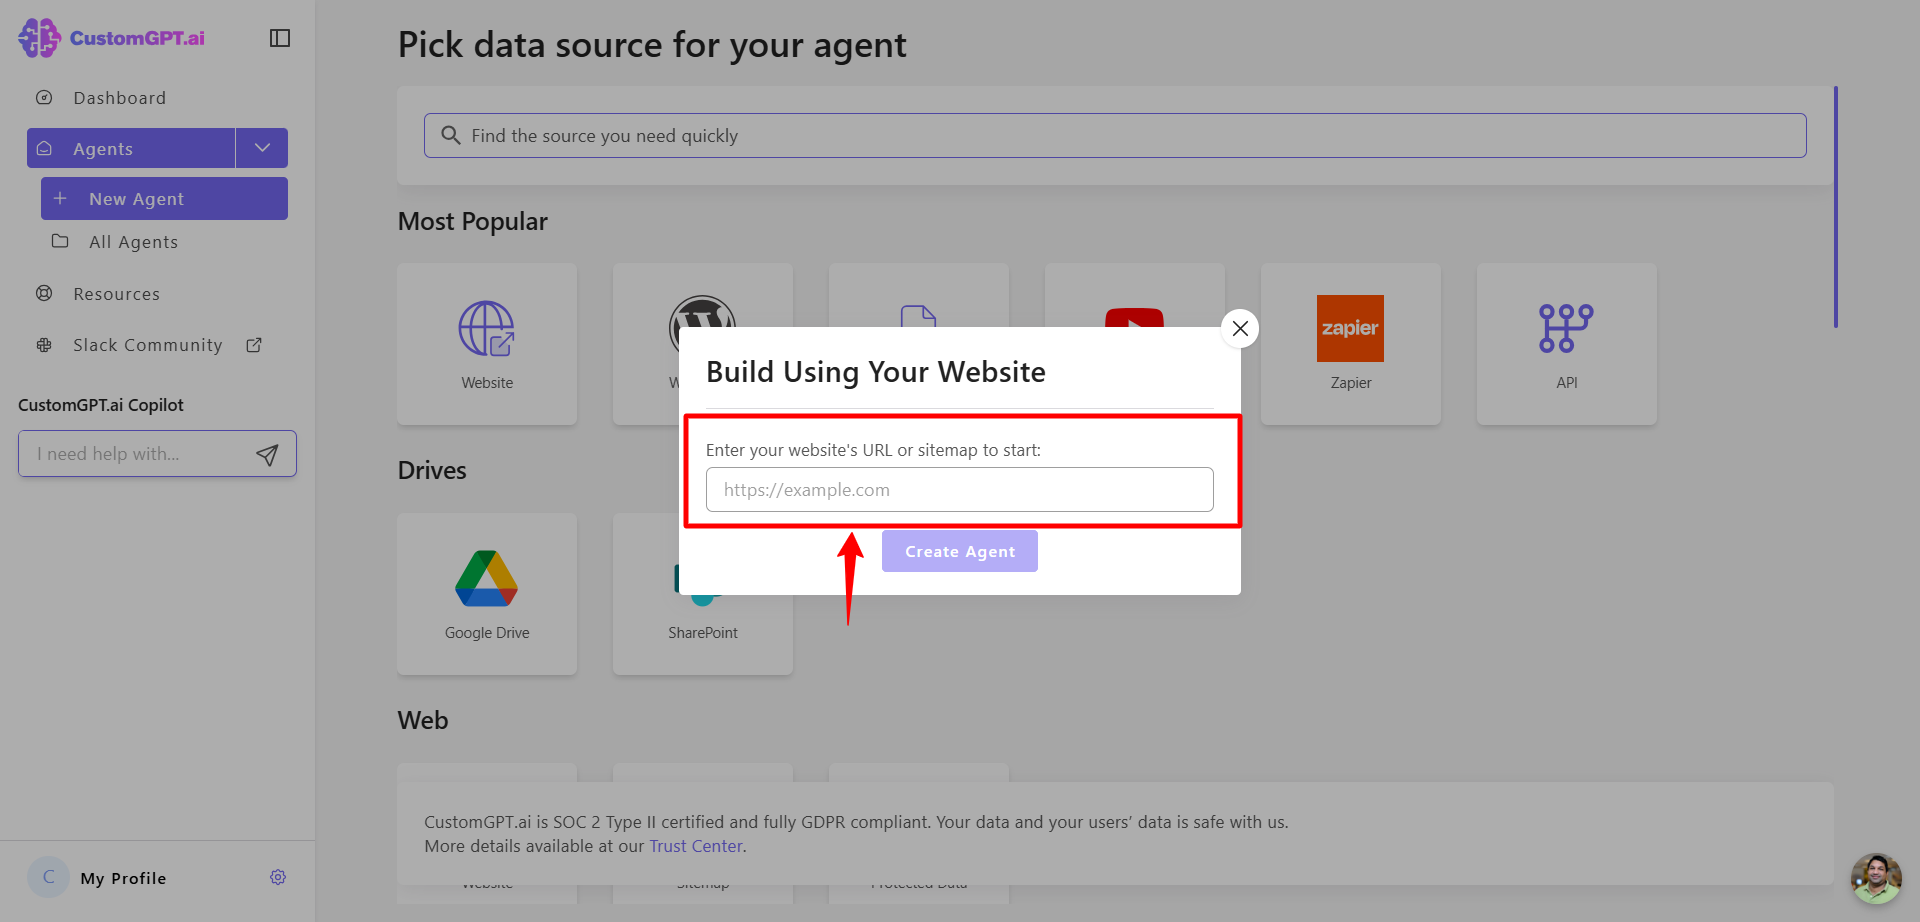
- In the Enter a URL or a sitemap field, enter your website’s URL or sitemap.
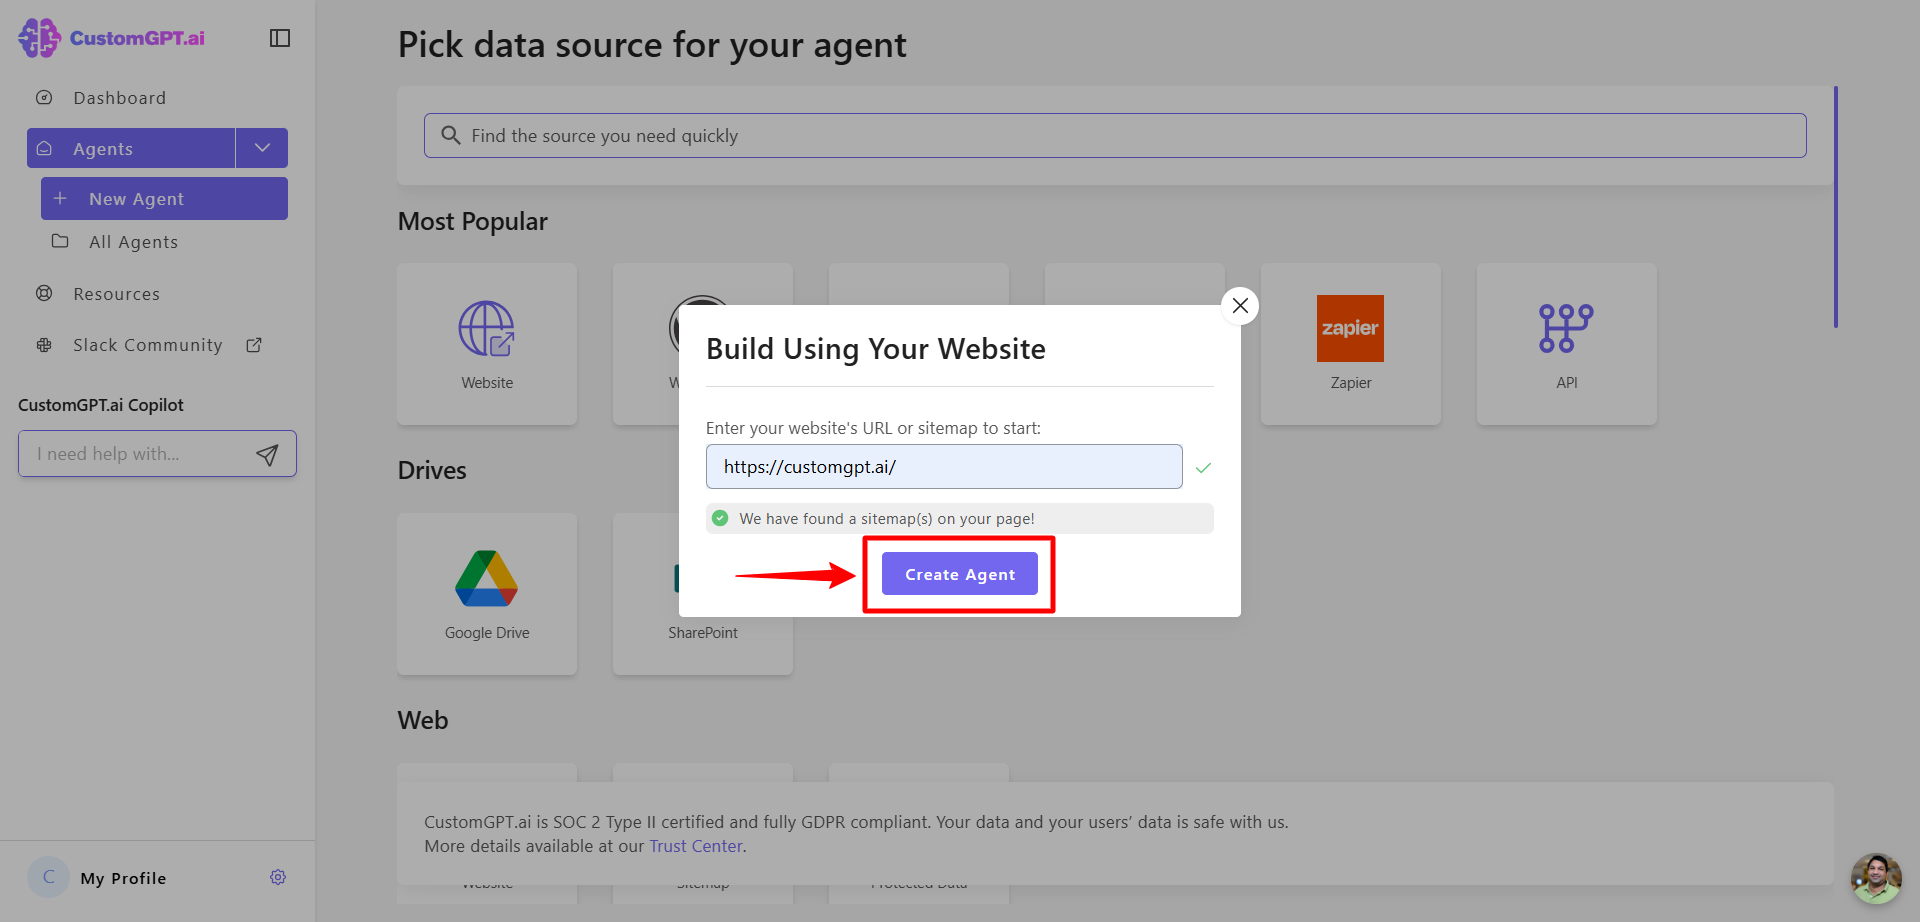
- Click Create Agent and CustomGPT will automatically detect and index the available pages to build your AI agent.
Additional options for data integration
You can also connect your agent to other platforms like Zapier, Wordpress, Youtube, Hubspot, Zendesk, Shopify, Confluence, WIX, SquareSpace, Weebly, and many more.
Note:If you want to ingest content from password-protected websites or combine multiple sources, contact our sales team for a custom integration.
Manage your agent’s data
To manage your AI agent’s data, see the data management guide [here]
Updated 5 months ago
Did this page help you?