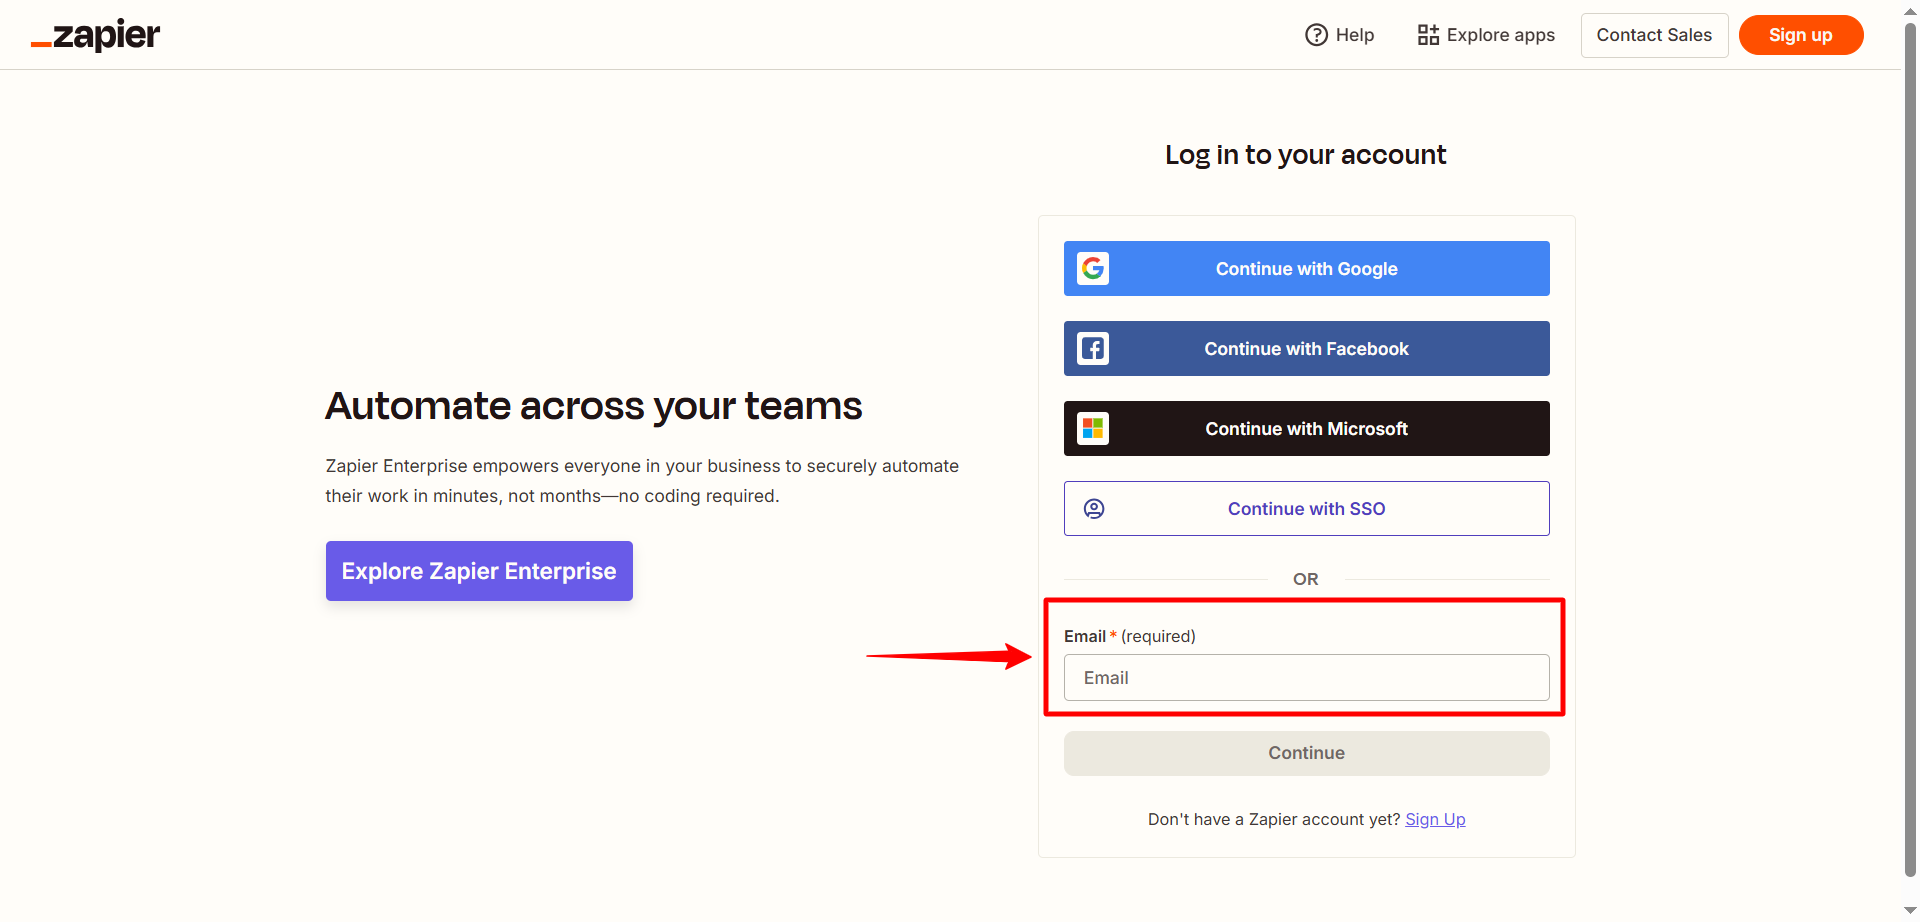
Connect to Zapier
This guide walks you through how to connect the CustomGPT.ai app in Zapier and build automated workflows using supported events and actions.
Use CustomGPT.ai as a Trigger Event
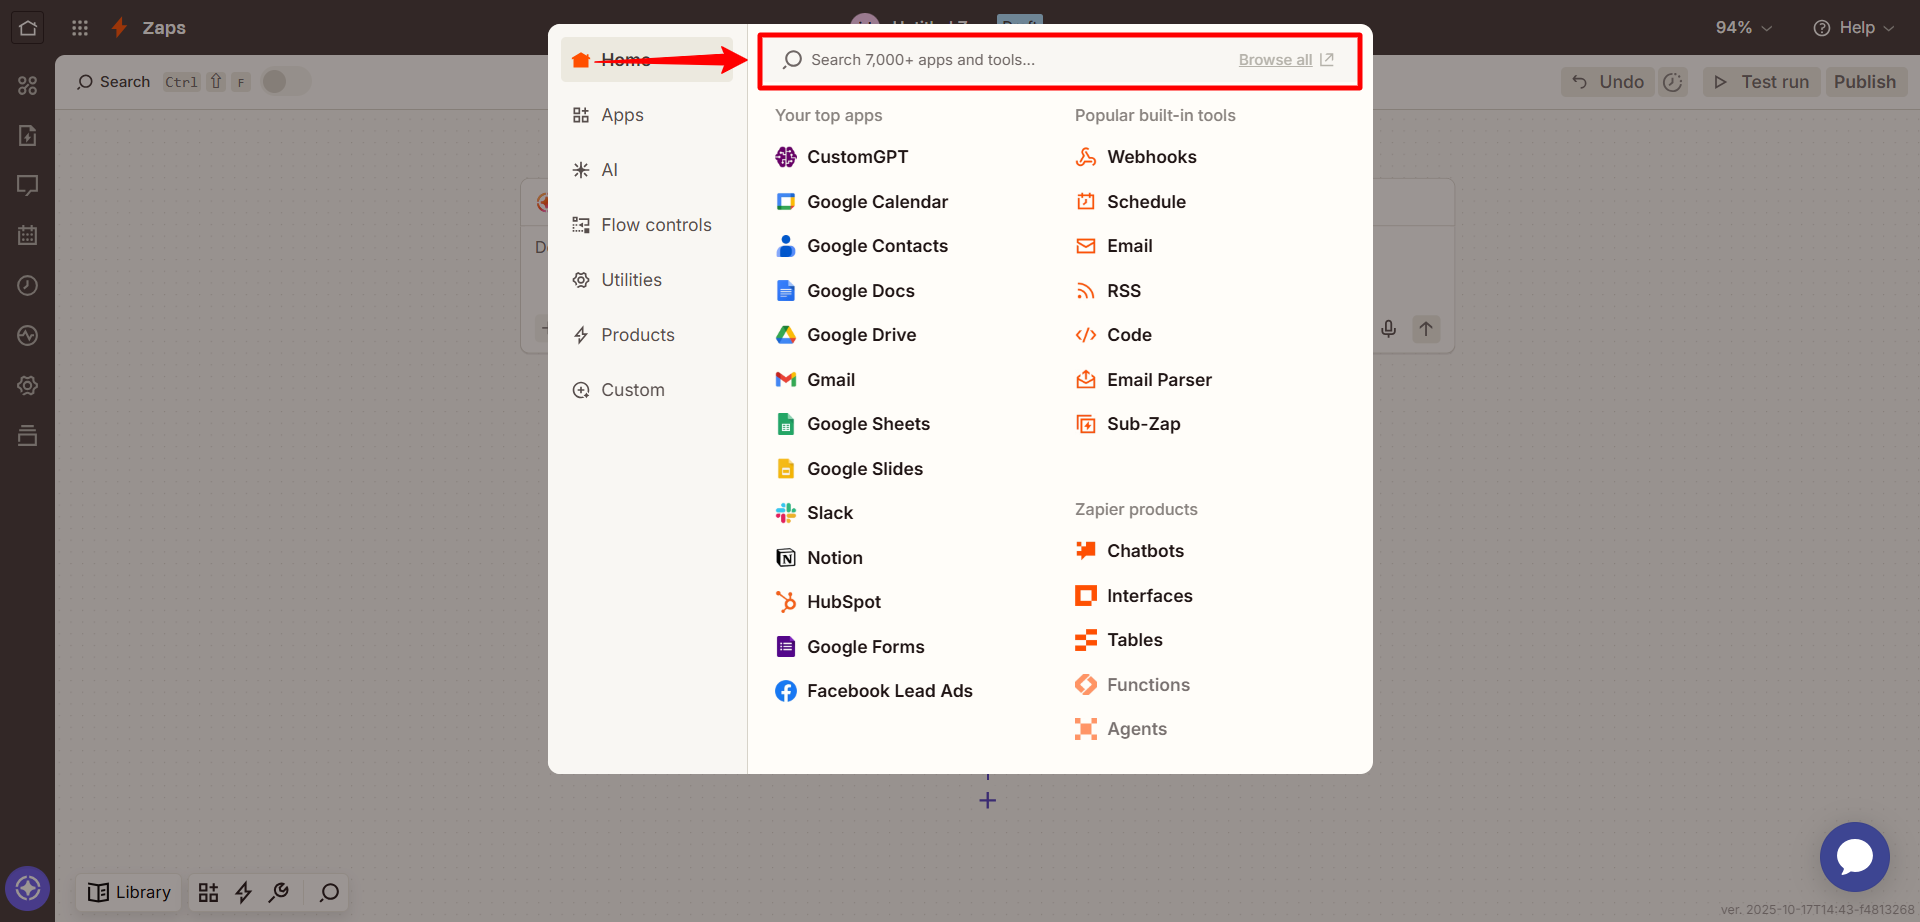
- Go to Zapier and click Create Zap.
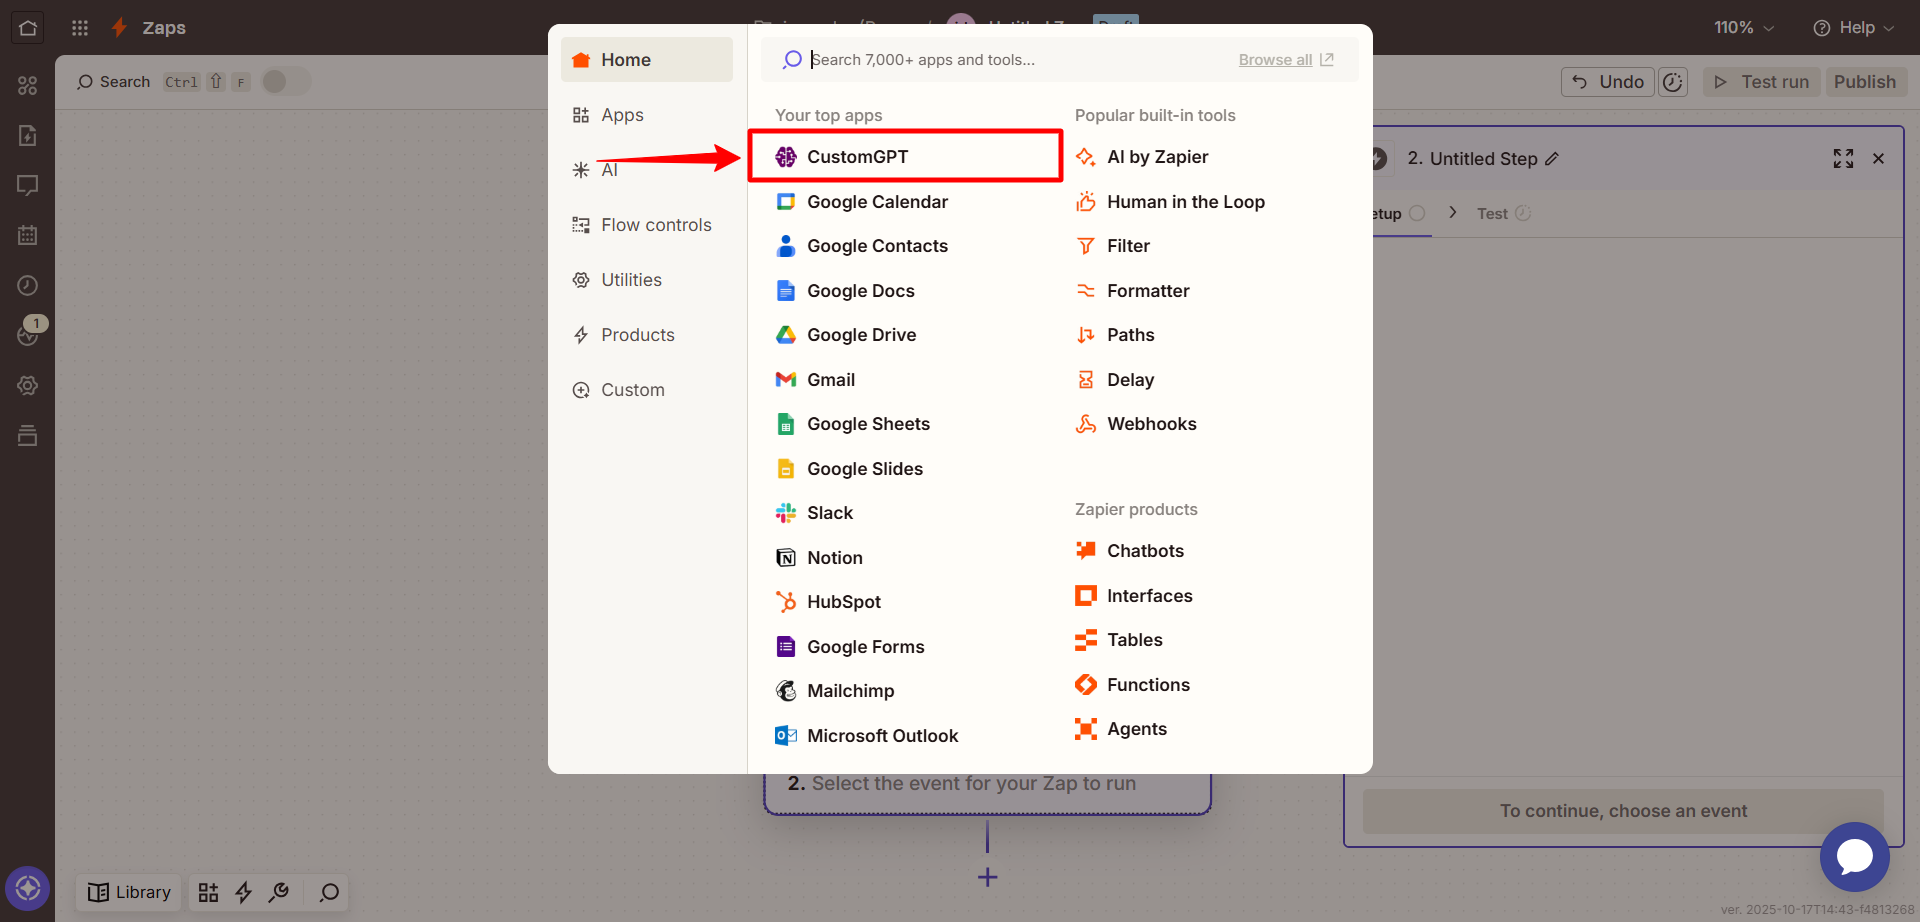
- In the Trigger section, select the CustomGPT app that will start the workflow.
- Select the event you want to use as a trigger:
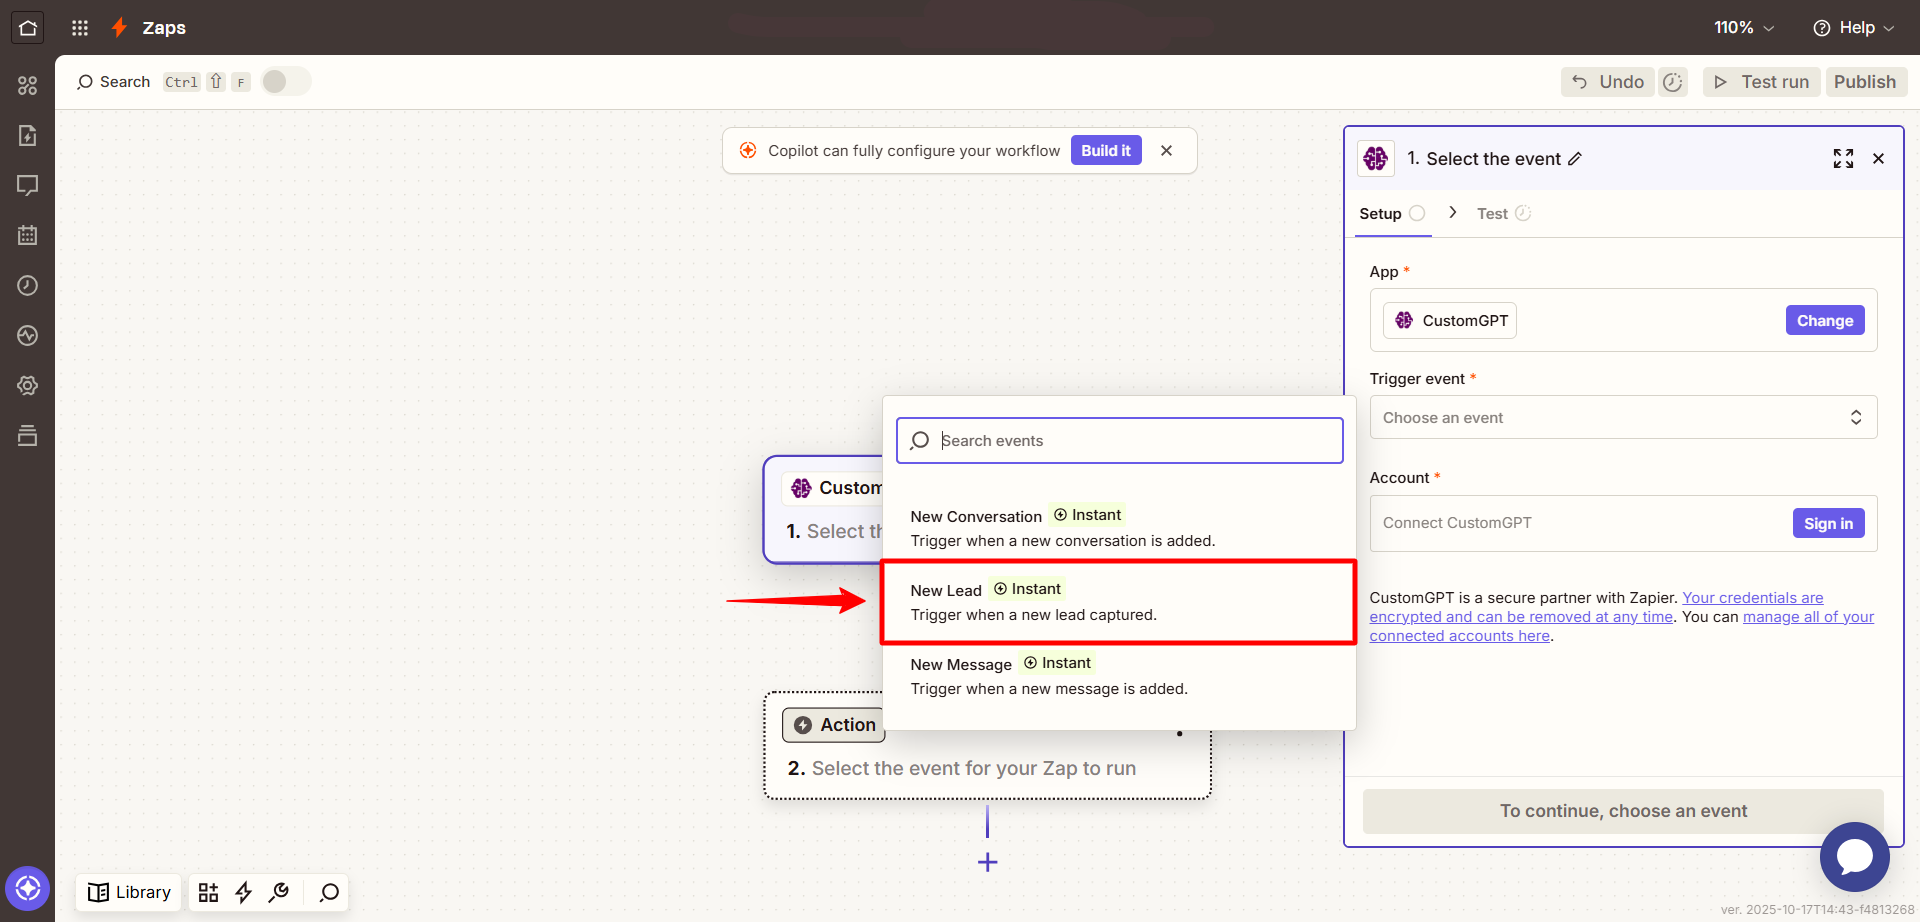
You can choose one of the following events:
- New Lead Captured – Send a captured lead via Zapier
- New Conversation Starterd – Process a new conversation in Zapier
- New Message Sent – Process a new message in Zapier
Use CustomGPT.ai Actions
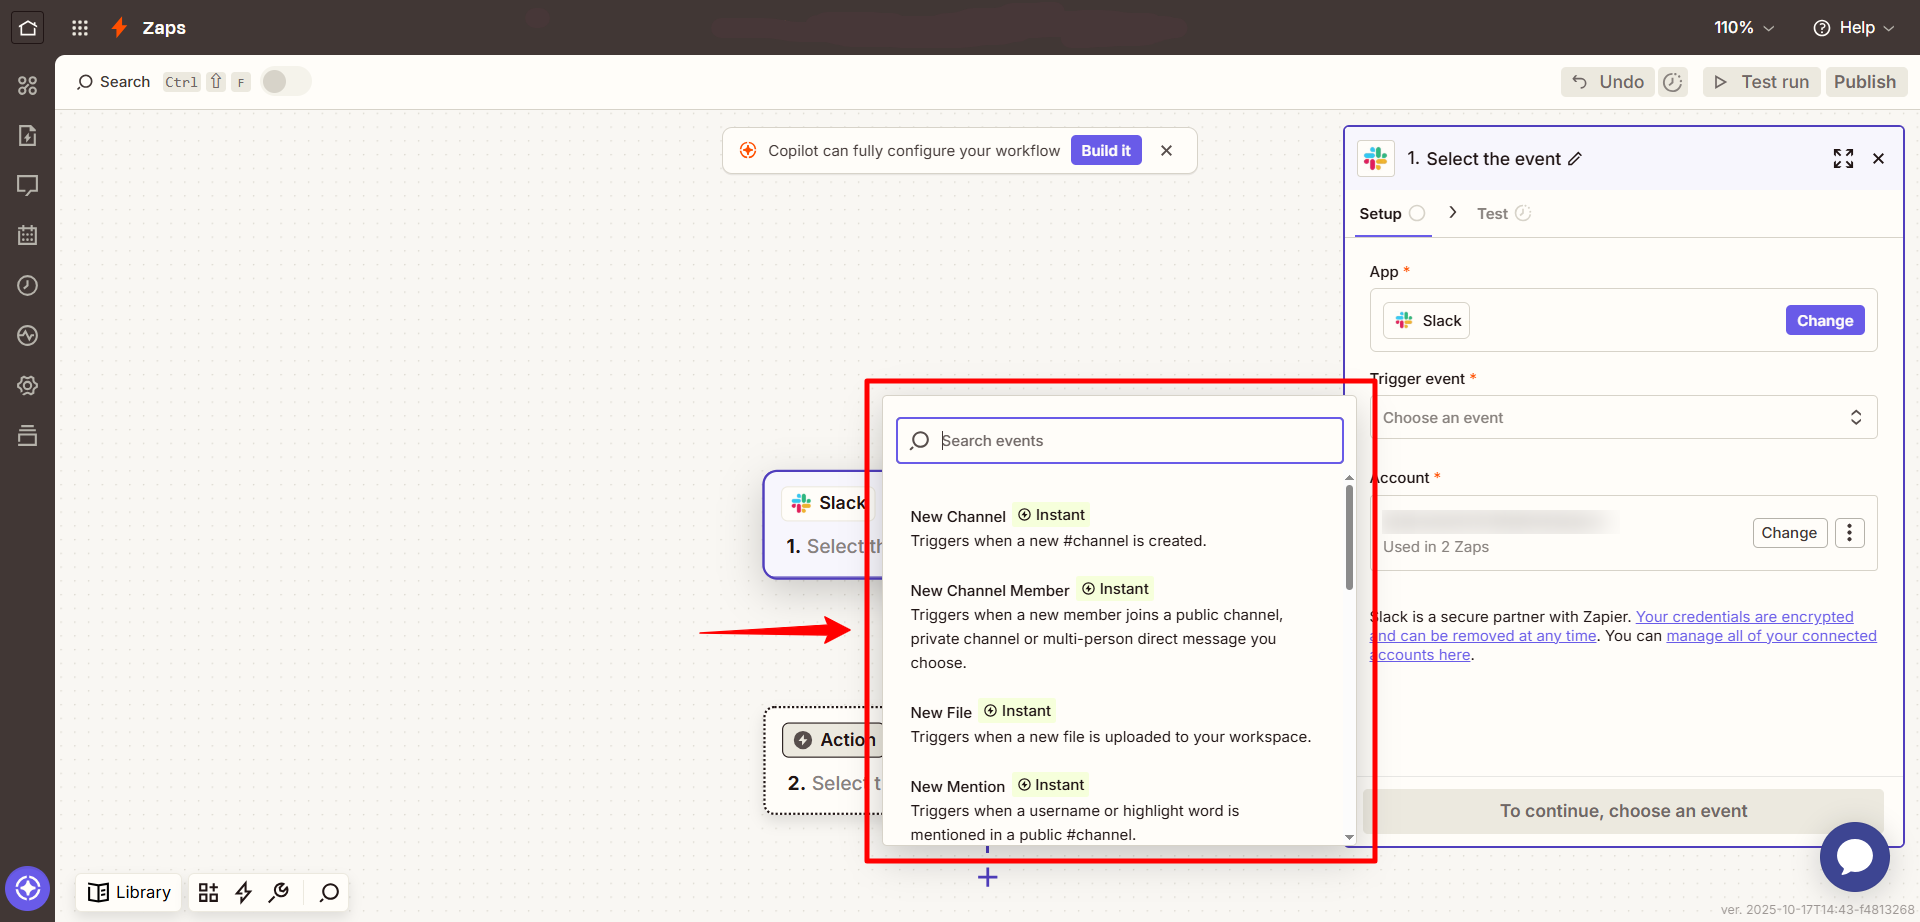
- Go to Zapier and click Create Zap.
- In the Trigger section, select the app that will start the workflow (e.g., Slack, Google Drive, orany supported Zapier app trigger.).
- Choose a trigger event, for example New file, New message, or Form submission.
- In the Action section, click App & Event and search for CustomGPT.
- Select the action you want to perform from the following supported actions:
- Create Agent – Creates a new agent
- Create Conversation – Starts a new conversation in an agent
- Delete Agent – Deletes an existing agent
- Send Message – Sends a message to a selected conversation
- Update Agent Settings – Updates agent configuration
Updated 9 months ago
Did this page help you?