Change your AI agent's language
This guide explains how to change your AI Agent's Language.
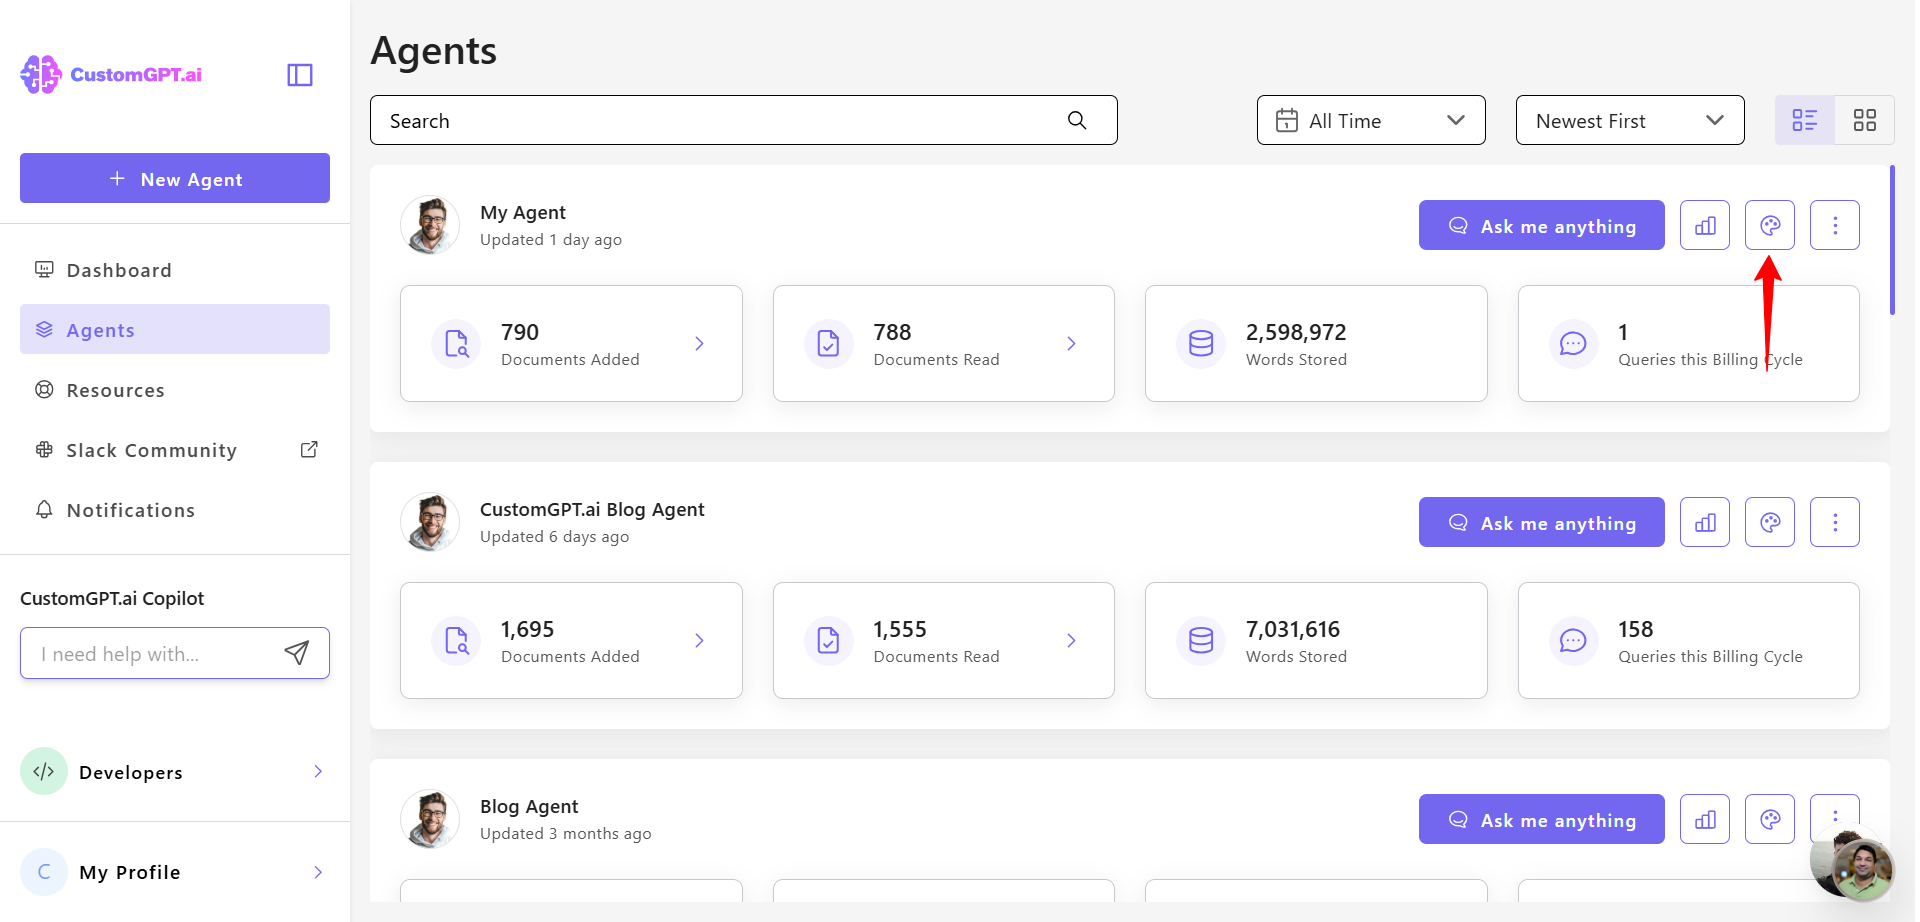
- On your dashboard, click Personalize.
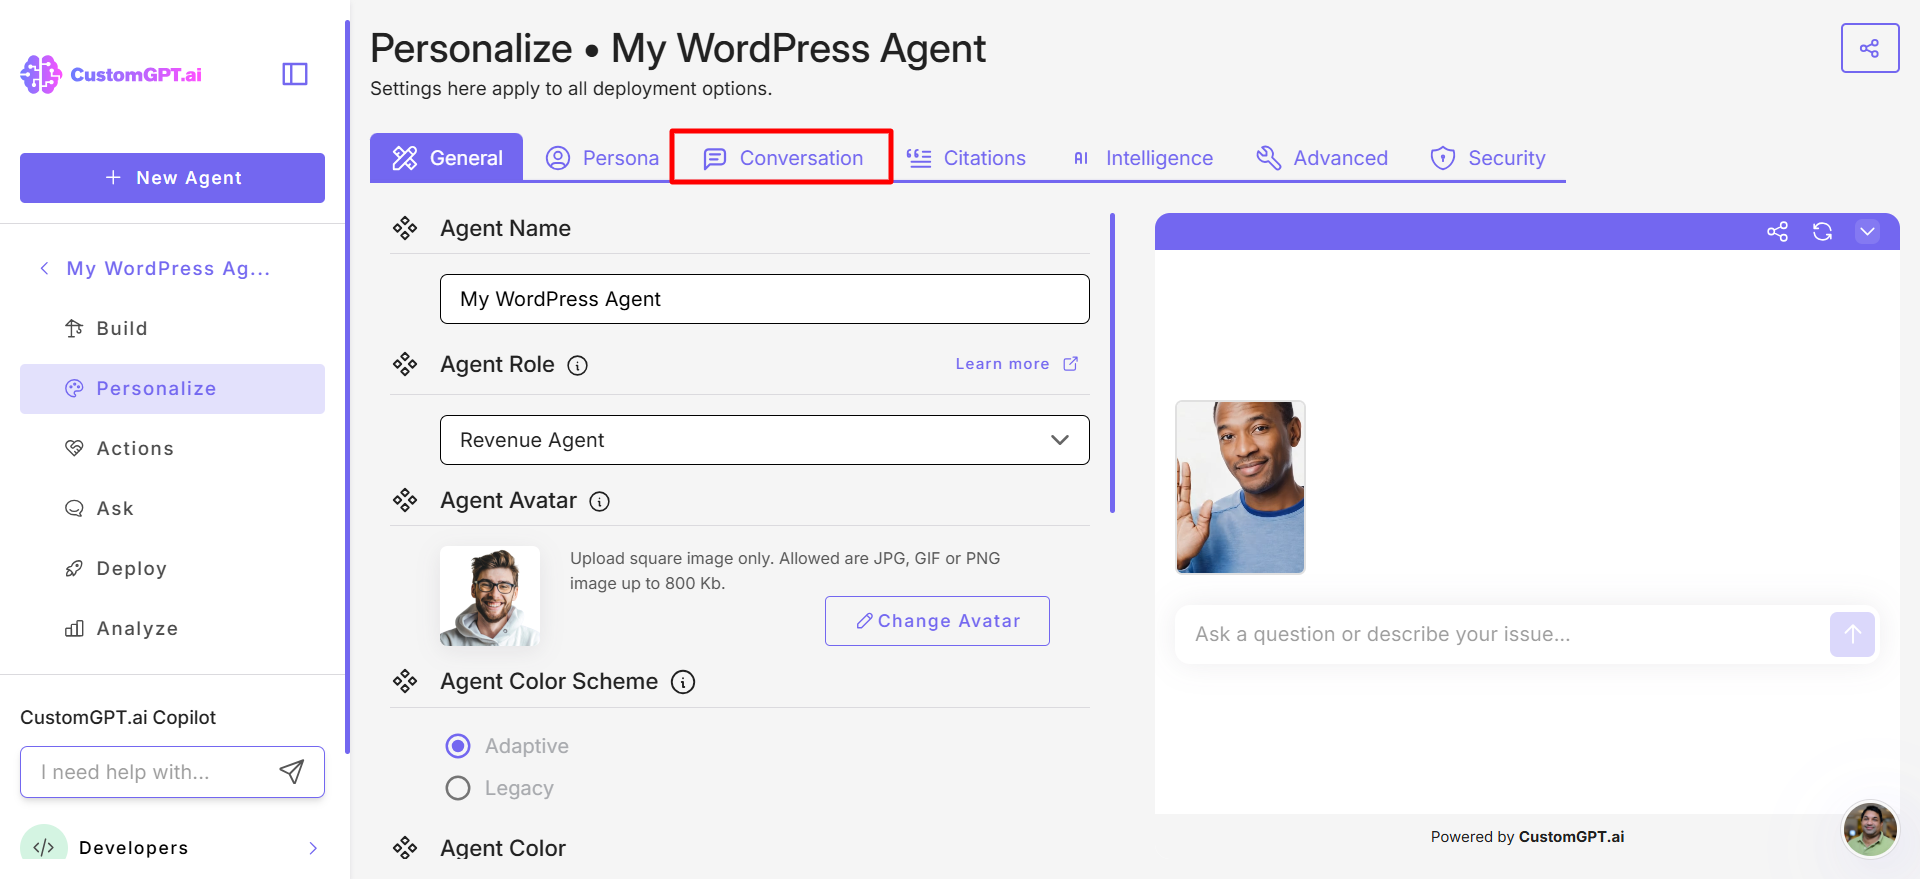
- Click Conversation tab.
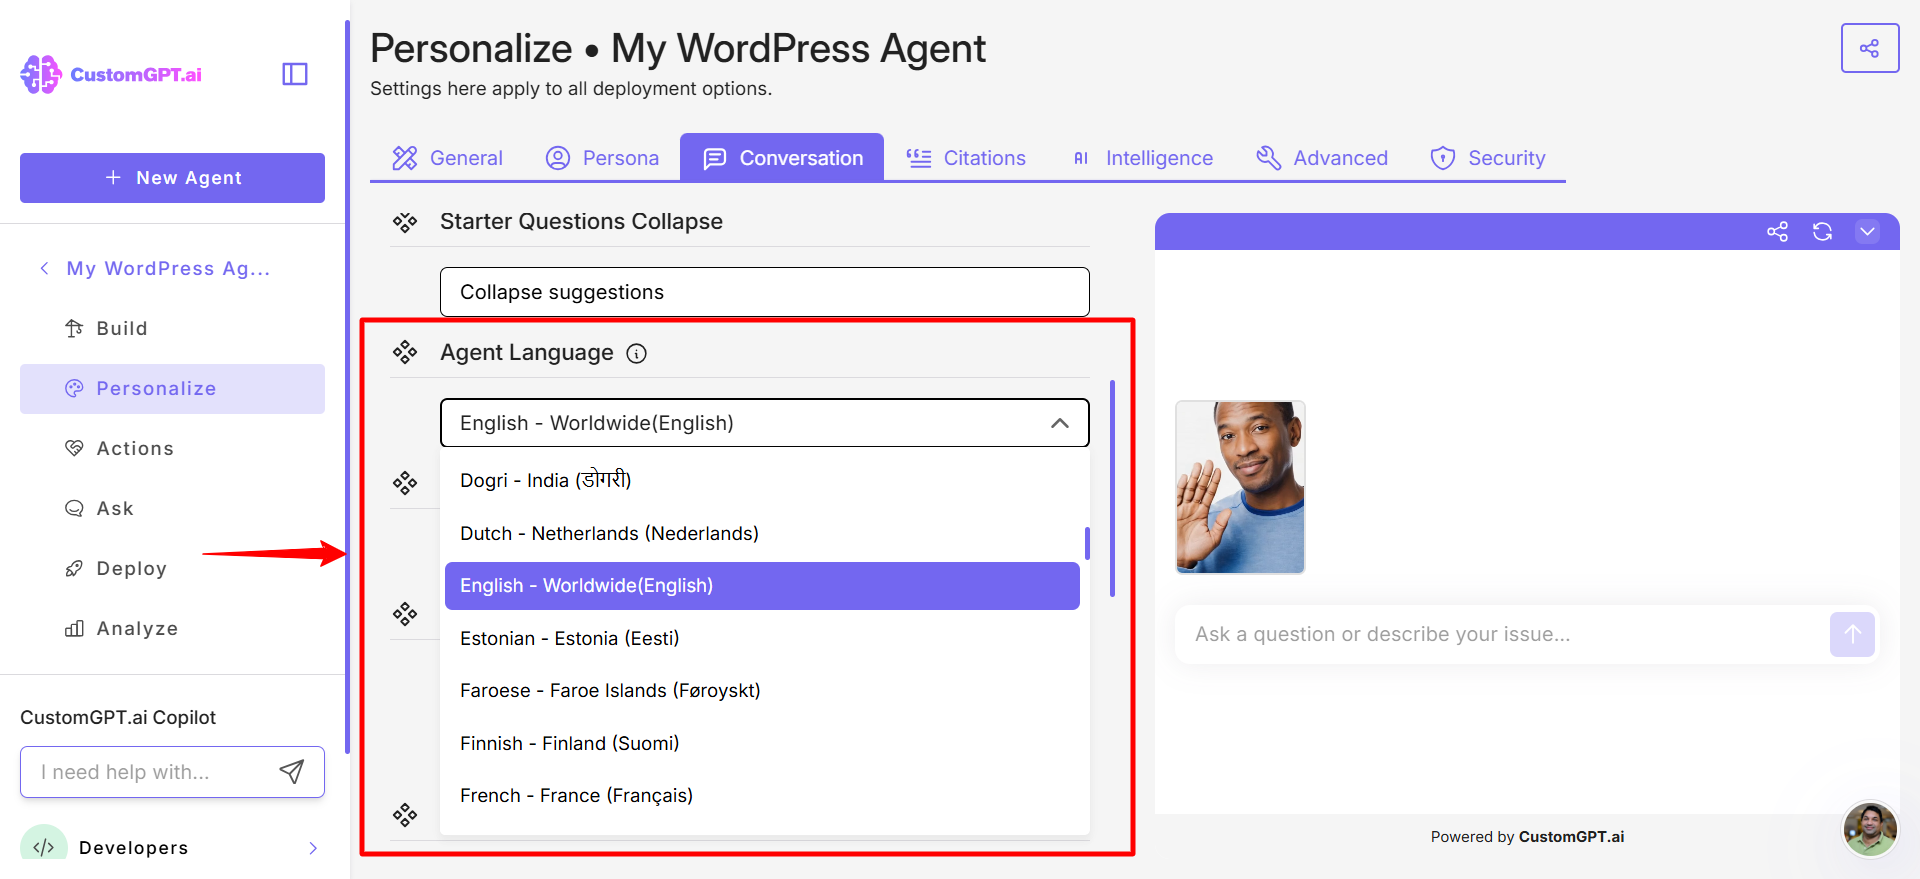
- Click the drop-down menu to view the list of supported languages.
- Scroll through the list and select the language you want your AI Agent to use.
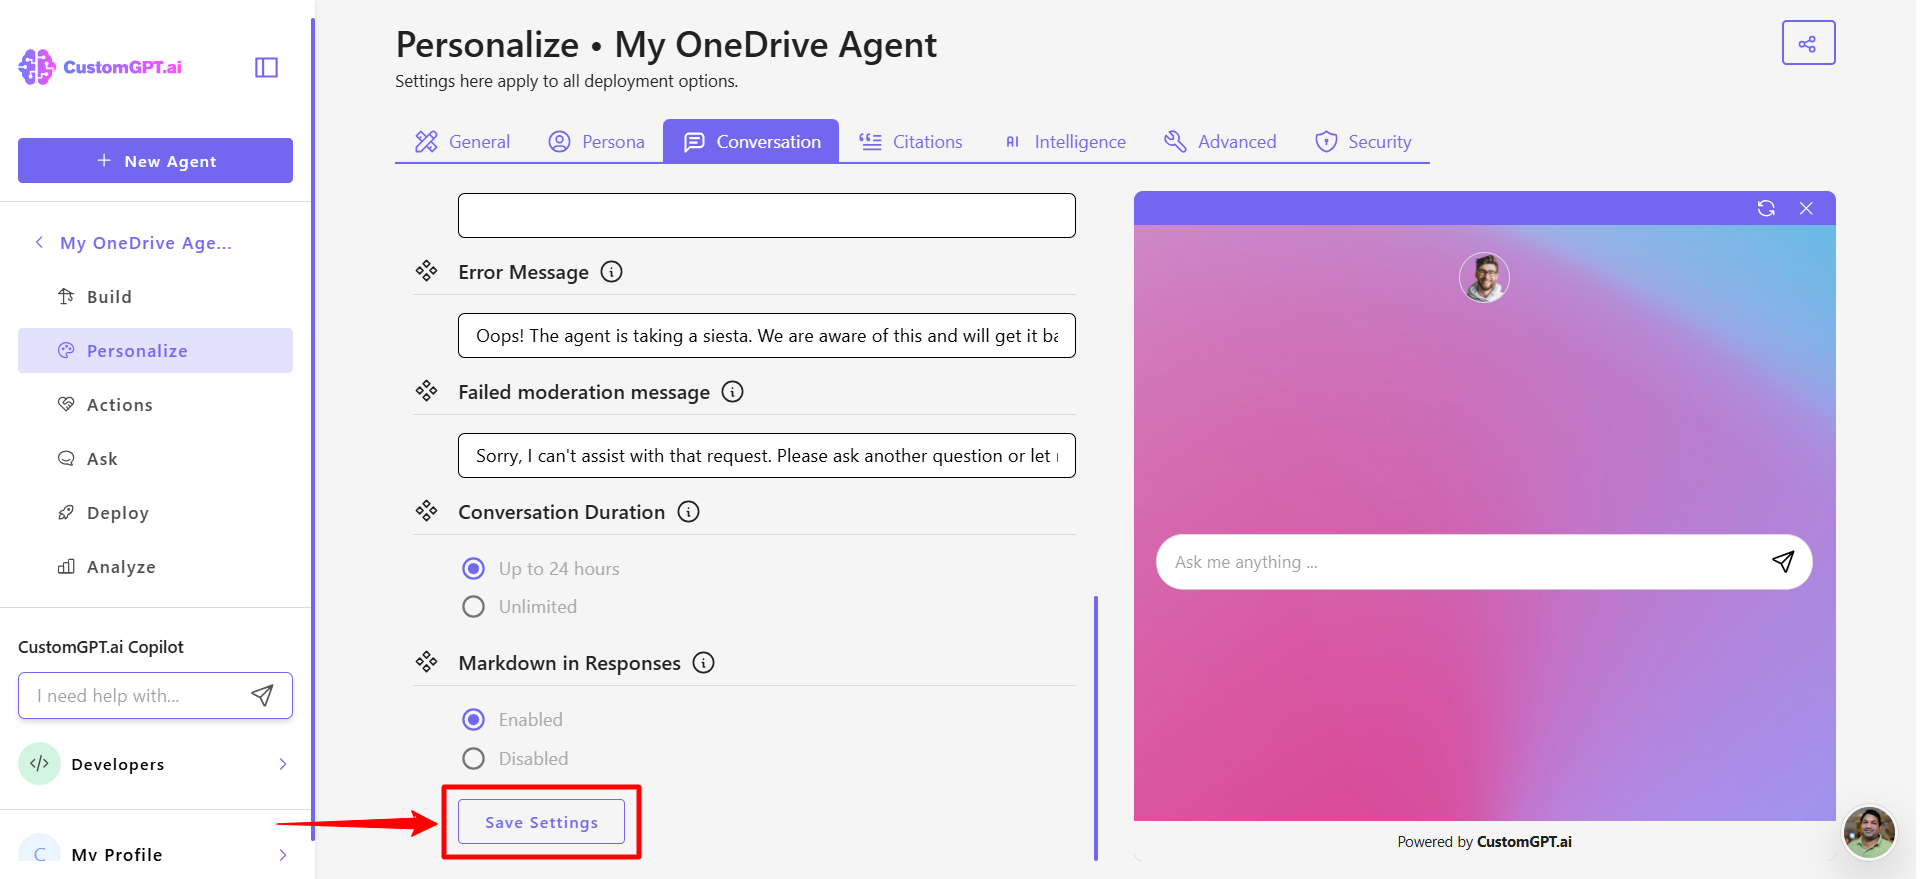
- Click Save Settings to apply the change.
Updated 6 months ago
Did this page help you?