How to Change your Avatar
📷 This guide will teach you how to change your AI Agent Avatar.
Step 1: Sign in
a) Sign in to https://app.customgpt.ai/.

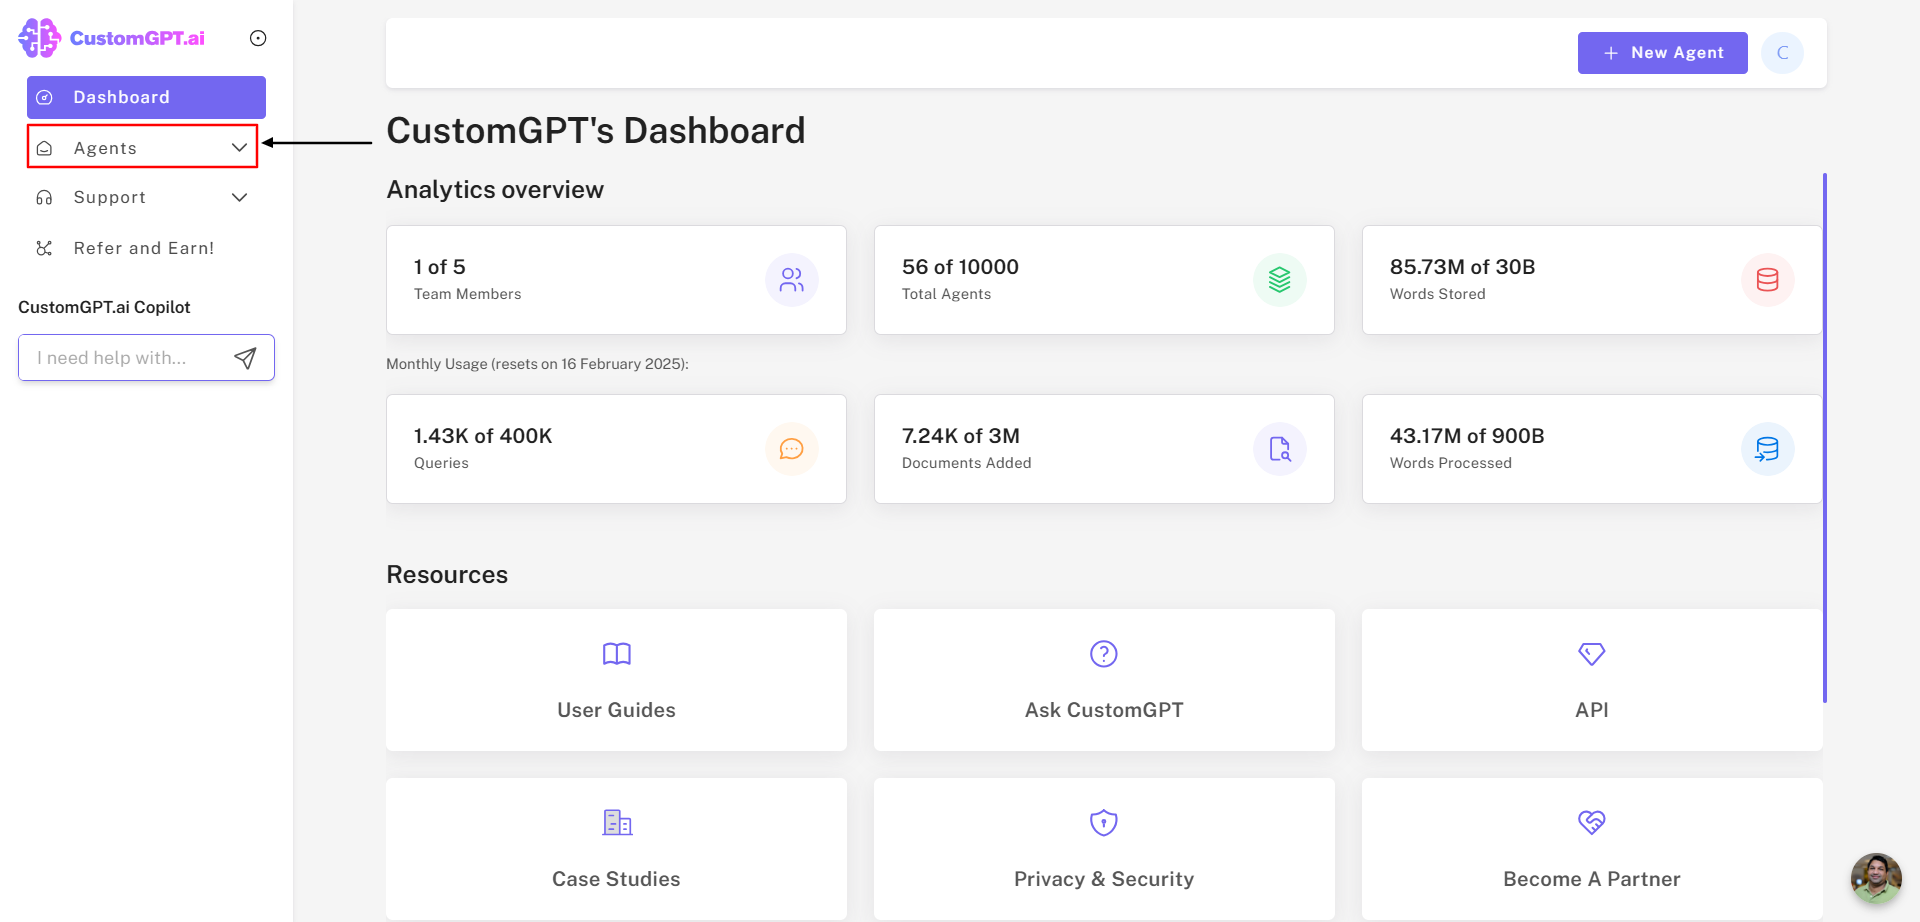
Step 2: Navigate to My Agents
a) Click on "My Agents"
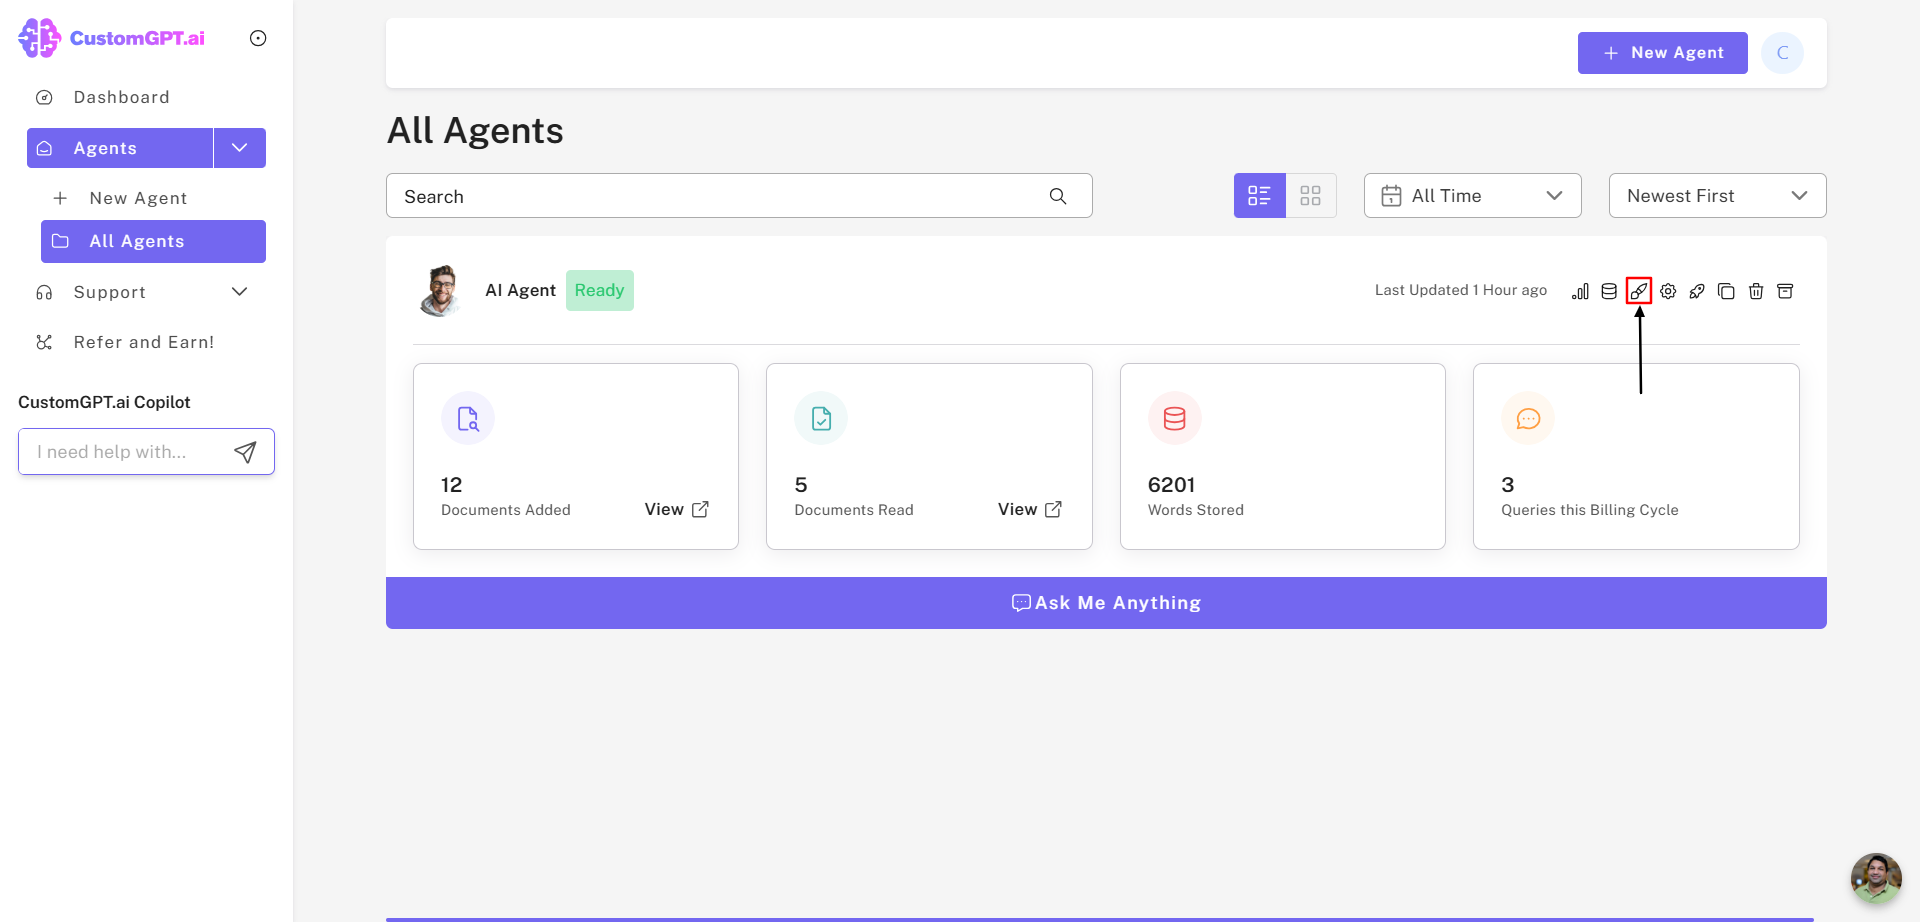
Step 3: Go to AI Agent Settings
a) Click on "AI Agent Appearance Icon".
Step 4: Upload Your Avatar
a) Click on "Upload Avatar".
b) Choose the image you want to use.
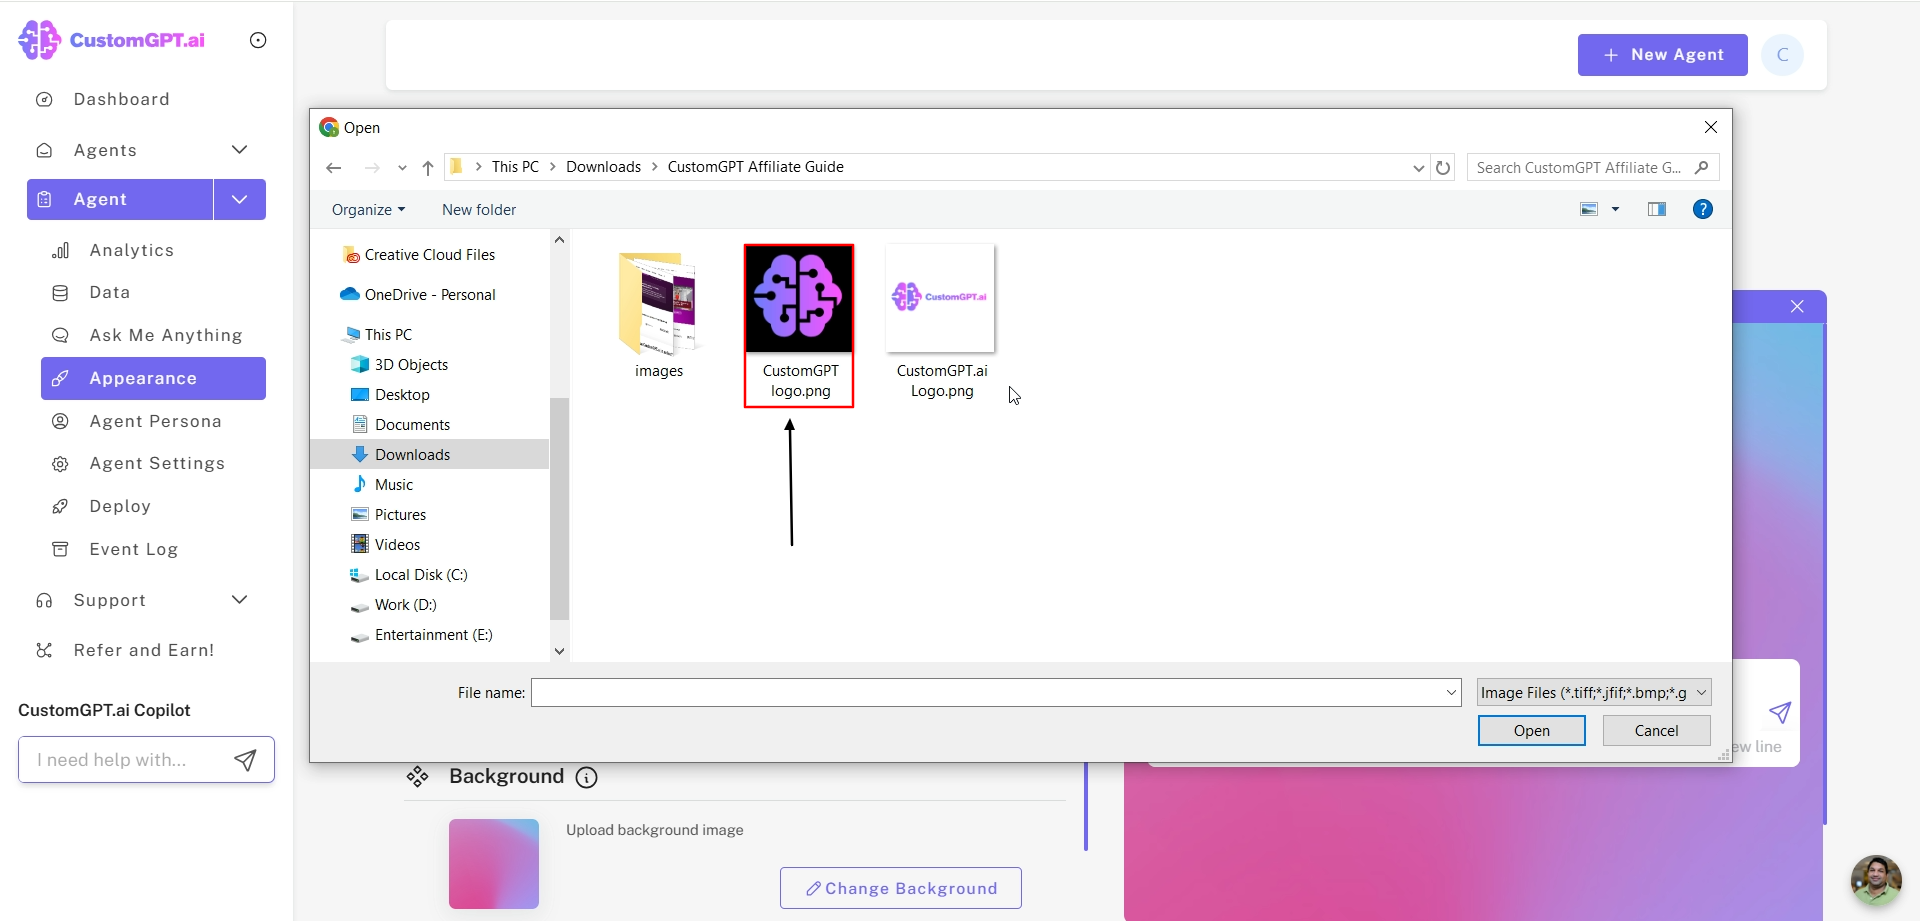
c) Click on "Open" to confirm your selection.

d) Review your Avatar to make sure it looks right.
Step 5: Save Your Changes
a) Click on "Save Changes".
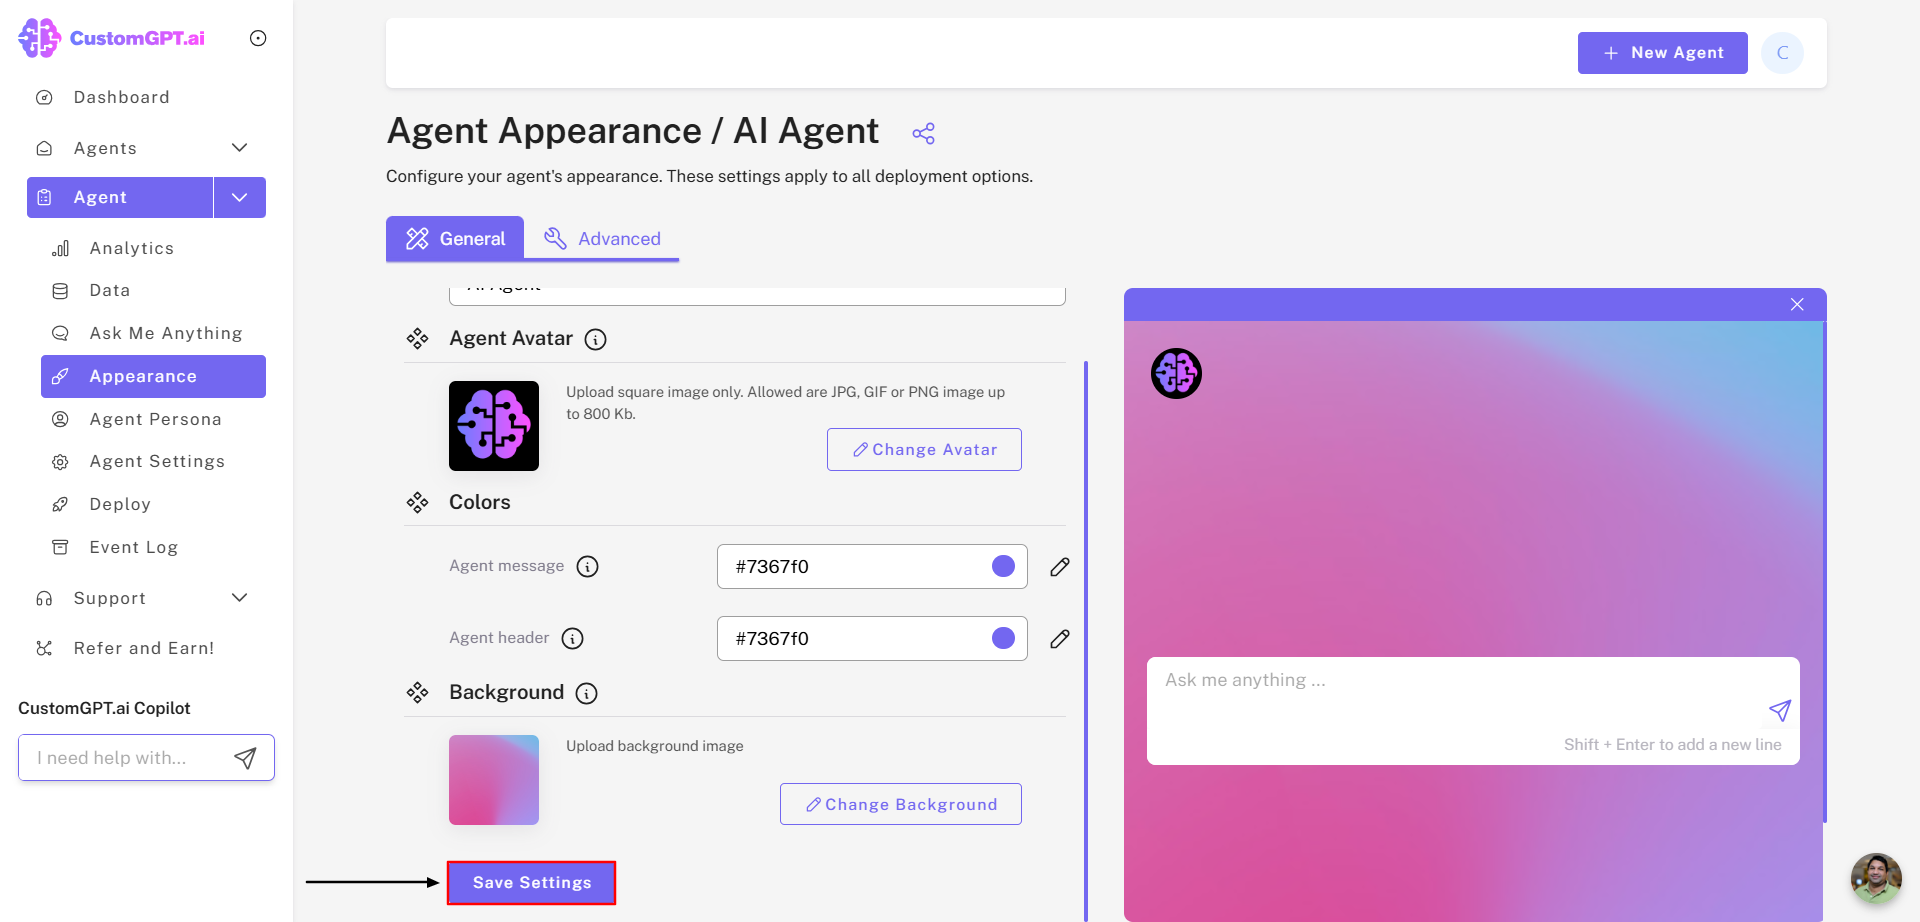
Congratulations! You have successfully updated your Avatar. This action allows you to personalize your profile by changing the image associated with your AI agent, adding a personal touch to it. ✔
Updated over 1 year ago
Did this page help you?