SSO setup
This step-by-step guide explains how to configure Single Sign-On (SSO) for your domain in CustomGPT.ai using identity providers like Google Workspace, Okta, and PingOne.
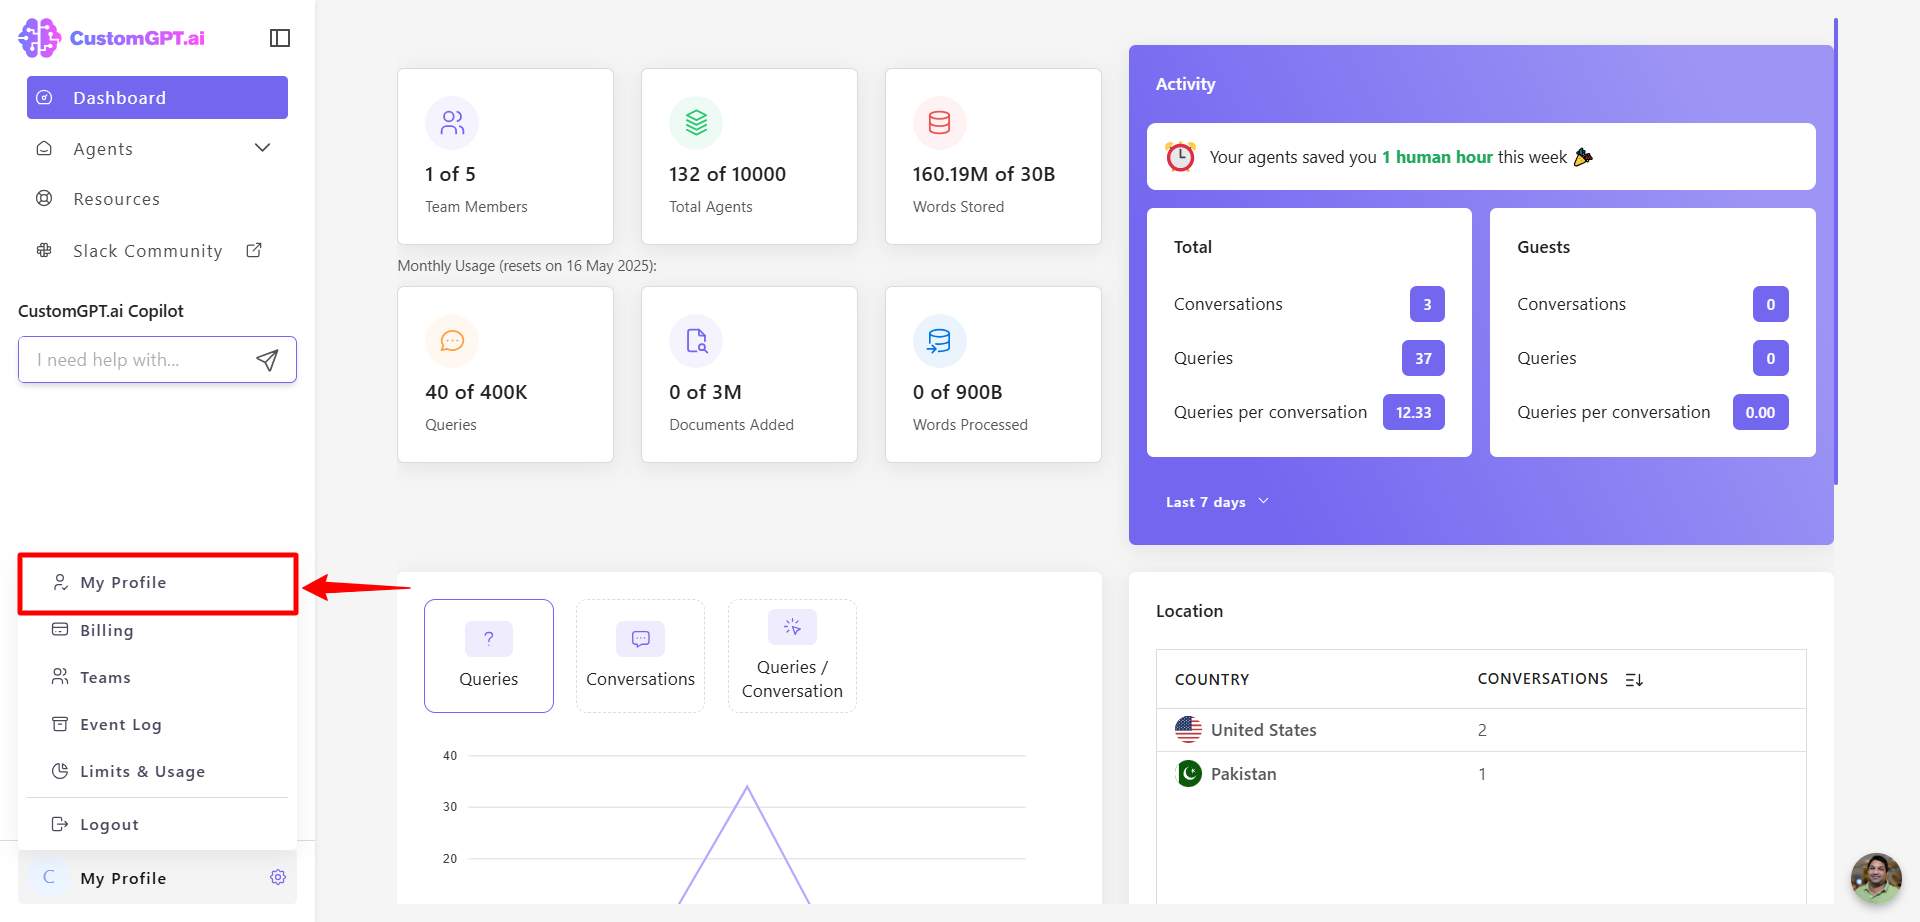
- On the bottom-left corner of the screen, click your profile icon or initials to access profile options.
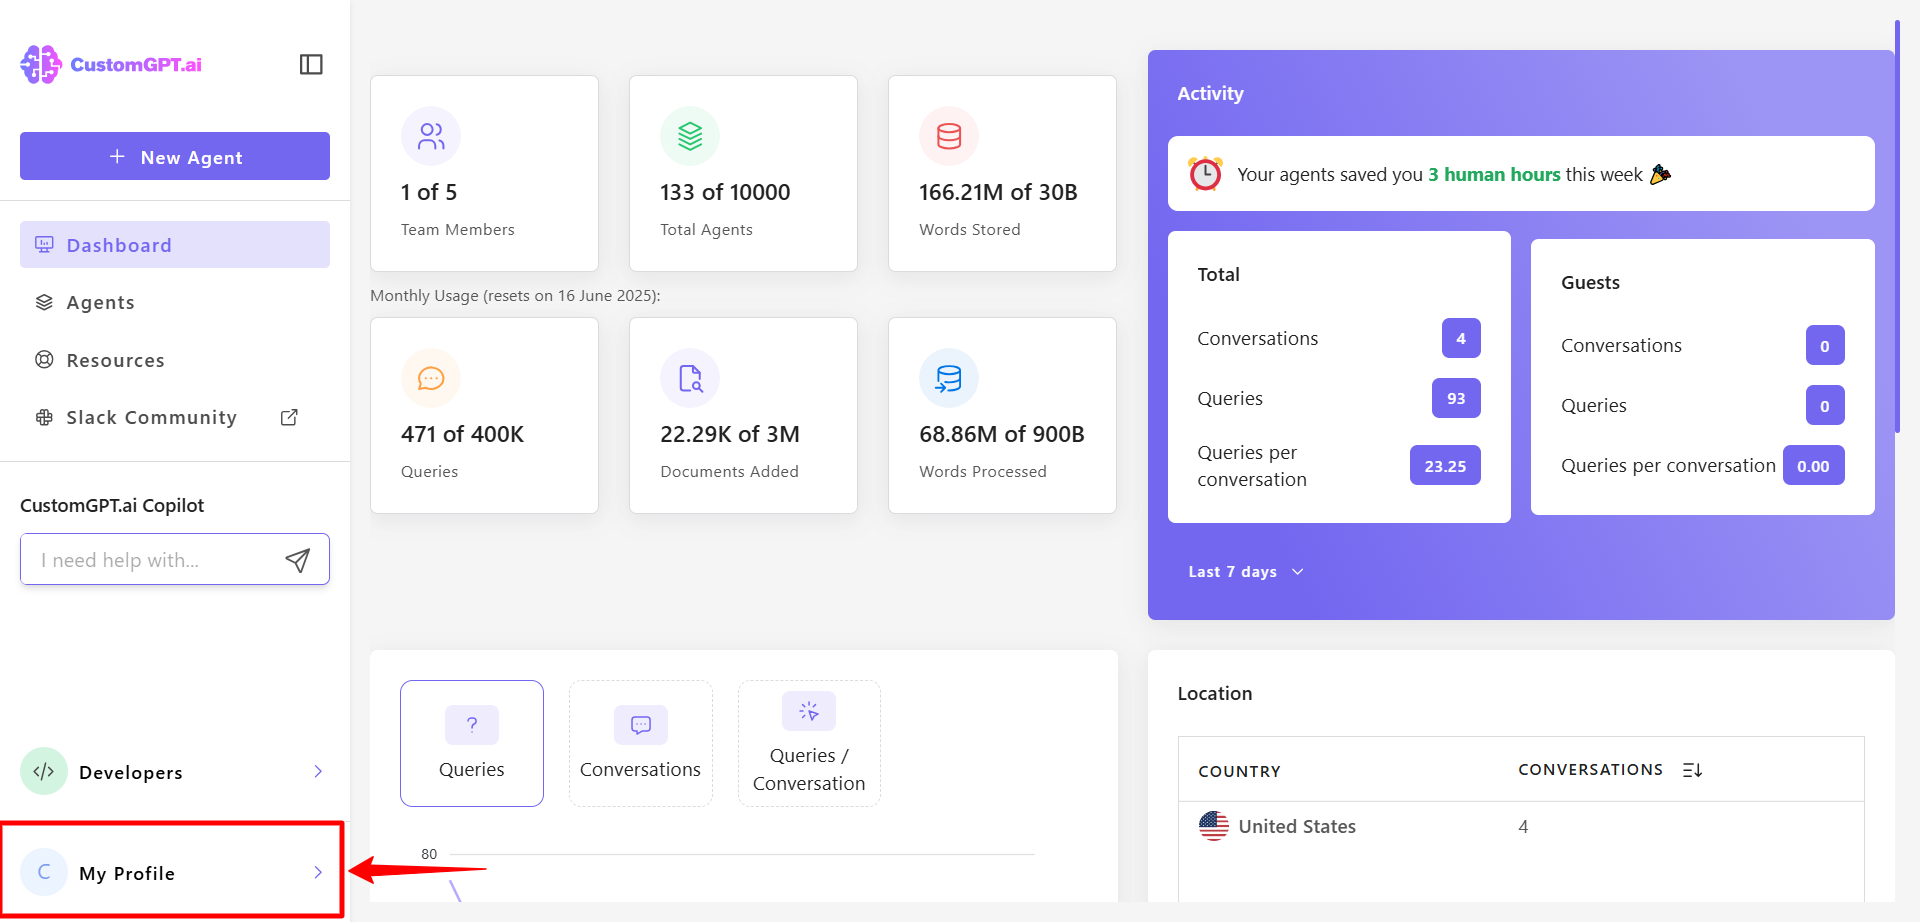
- Click My Profile from the dropdown menu to open your profile settings.
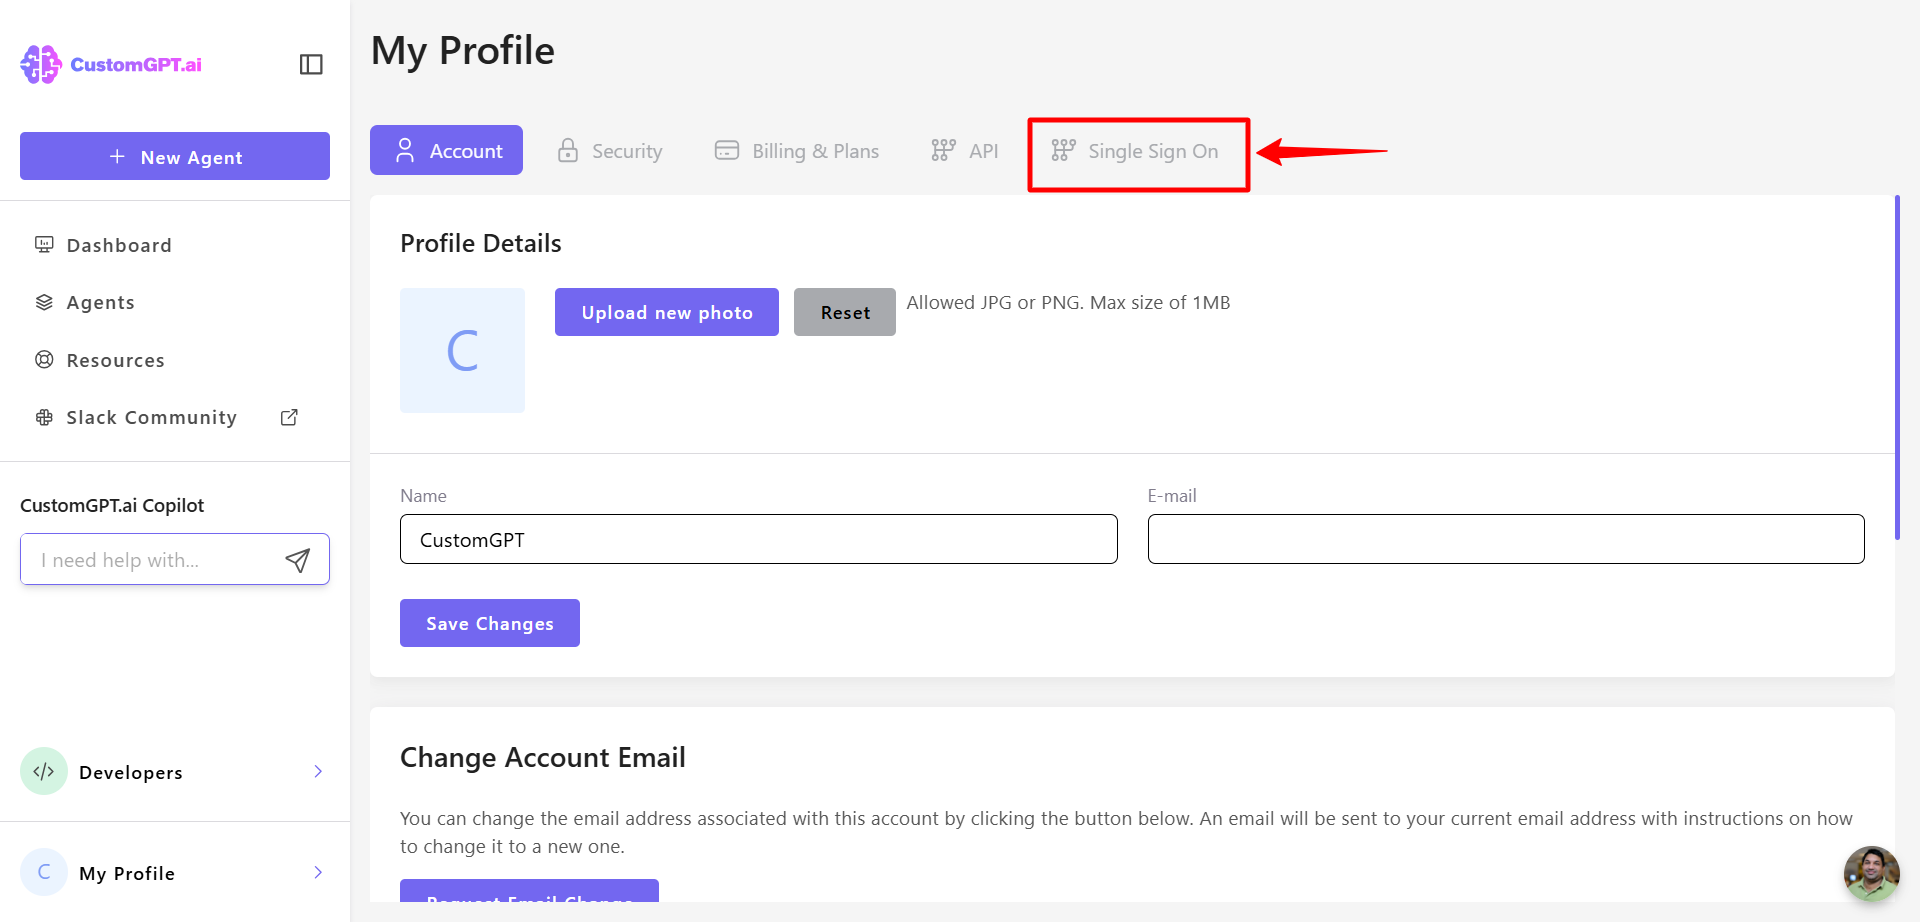
- In your profile, click the Single Sign On (SSO) tab in the top menu.
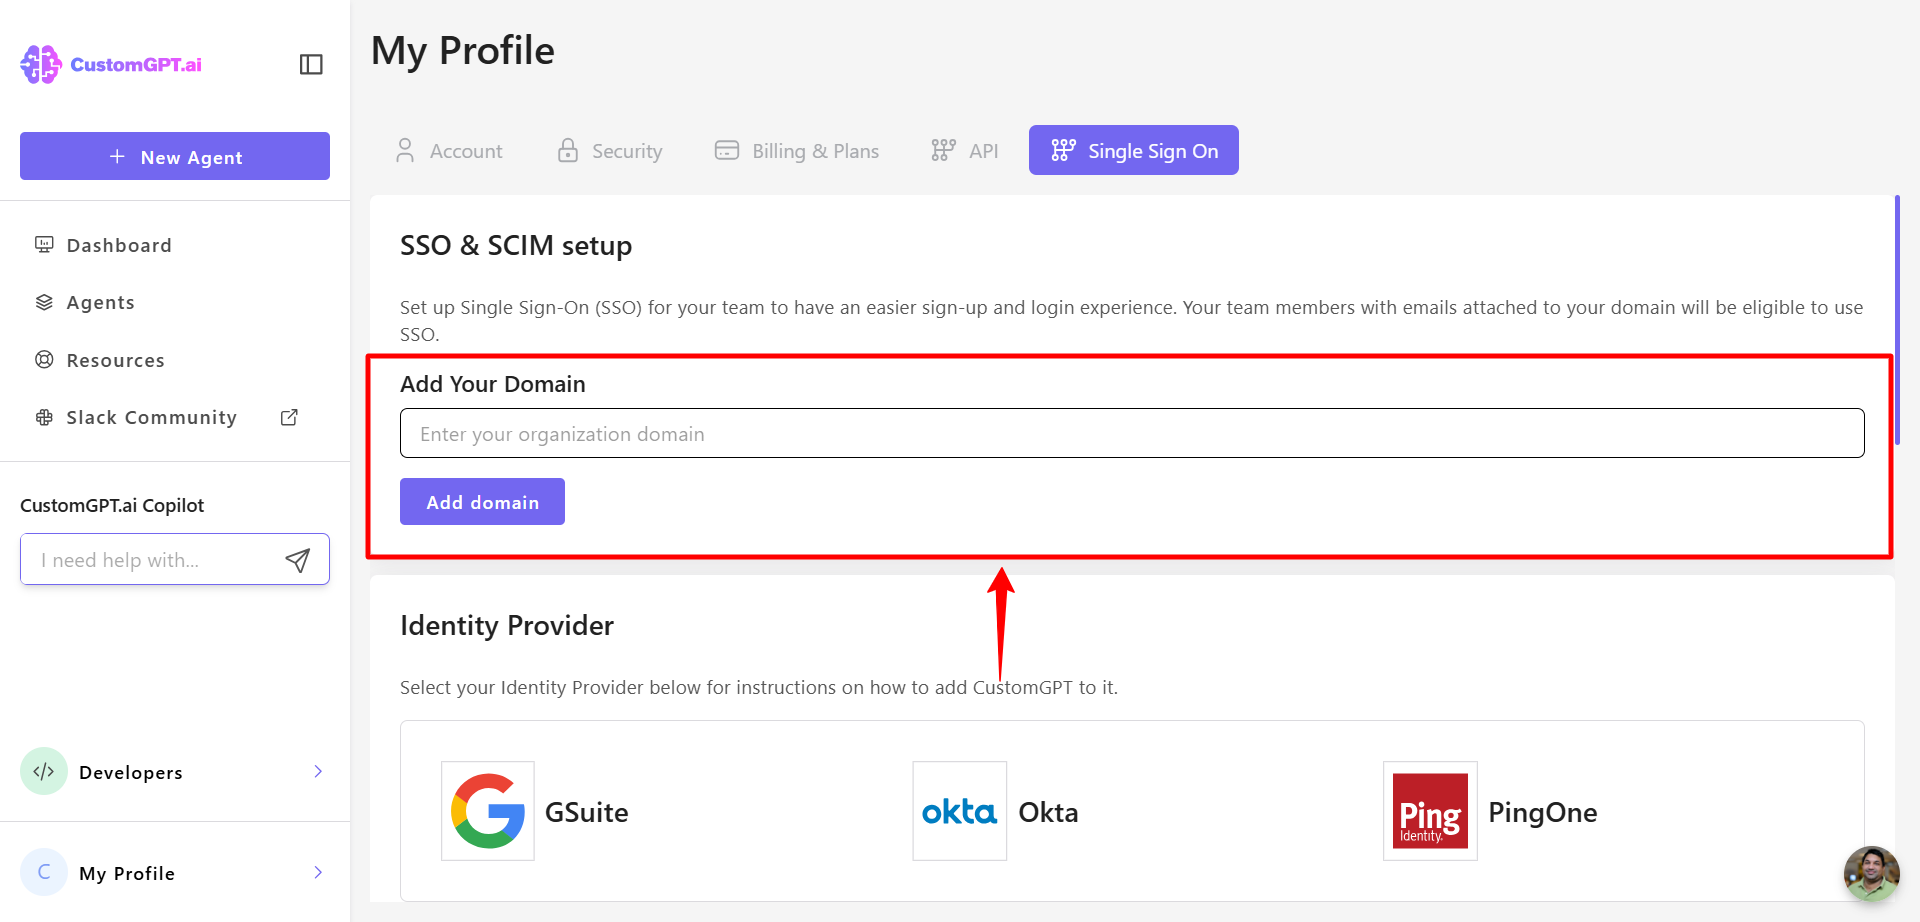
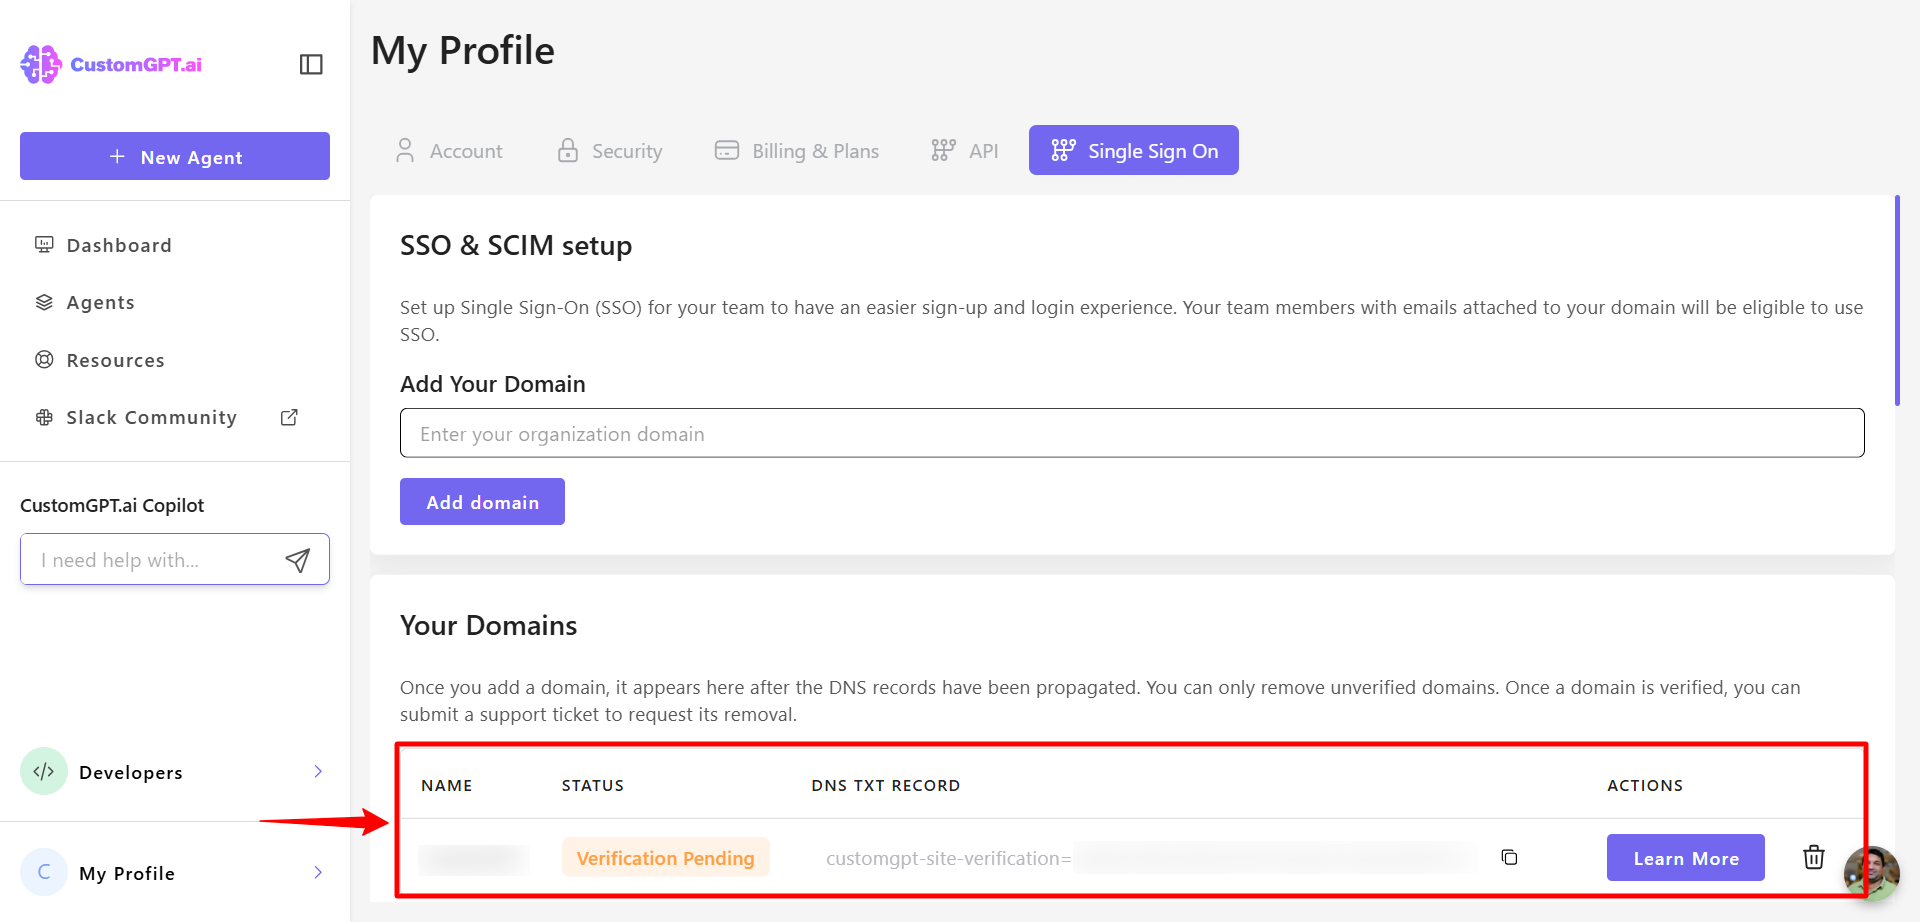
- Under Add Your Domain, enter the domain you want to use with SSO.
- Follow the on-screen instructions to update your DNS records with your DNS provider.
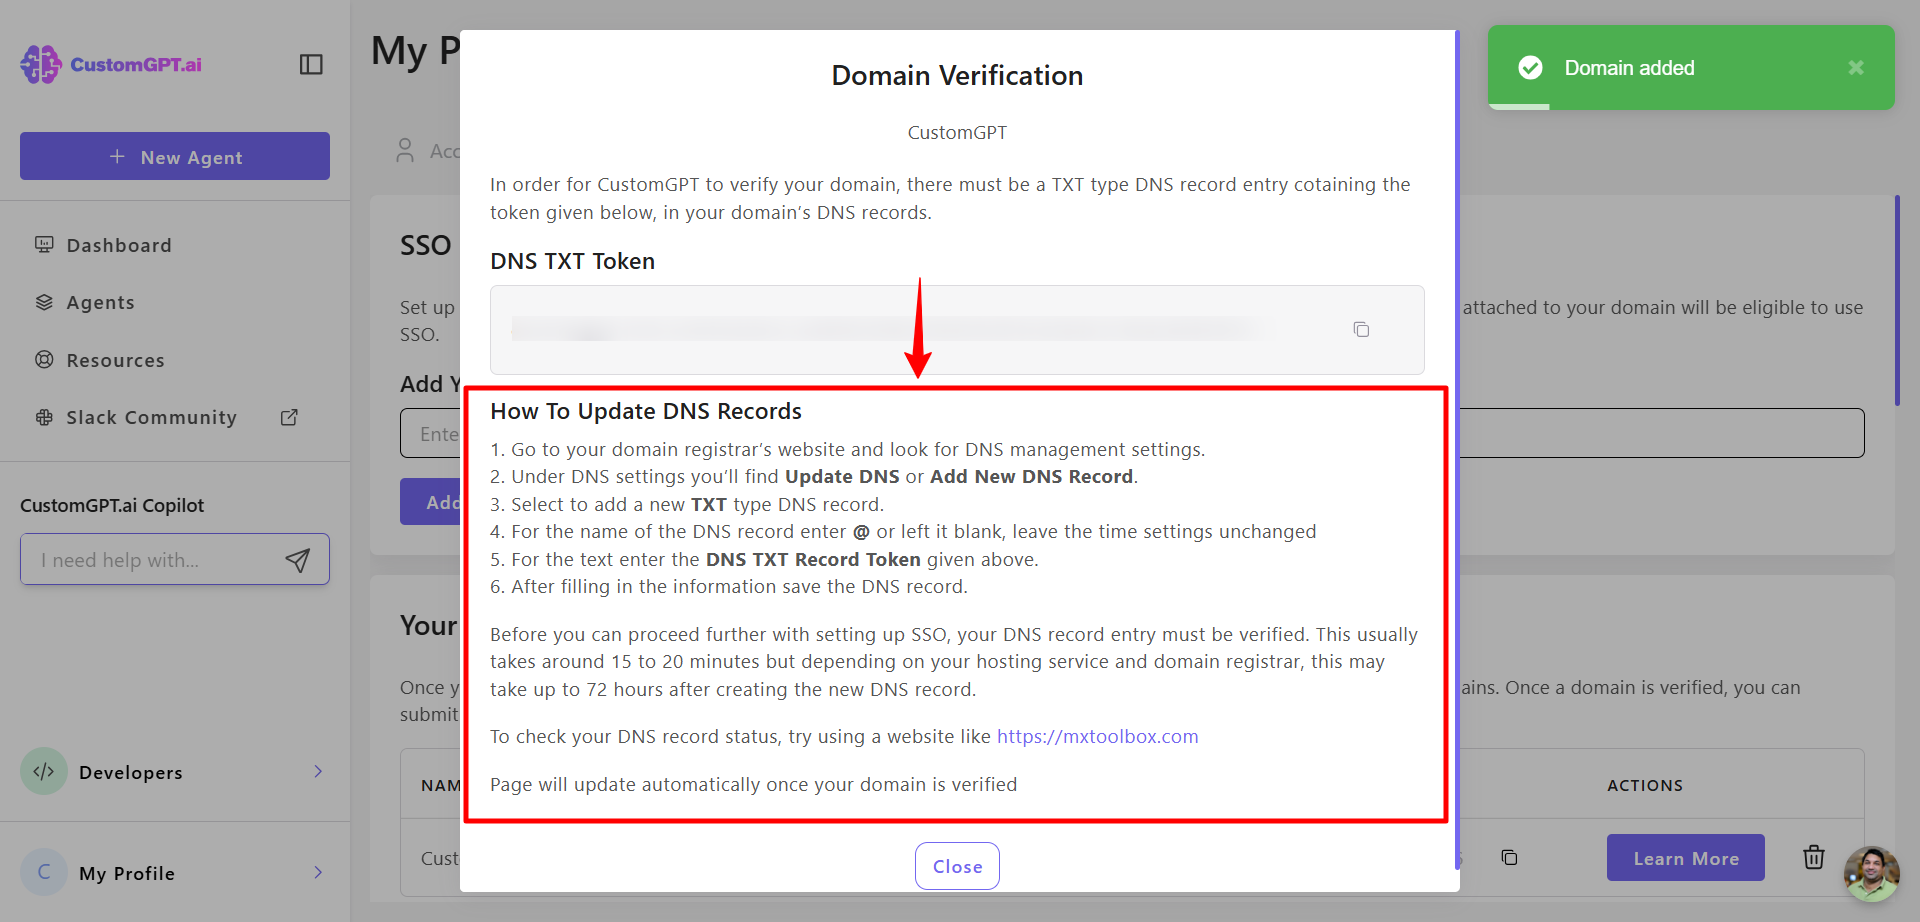
- The domain status will automatically update to Verified once DNS changes take effect. This typically takes 15–20 minutes, but may take up to 72 hours.
Note:If the domain is not verified after 72 hours, contact our support.
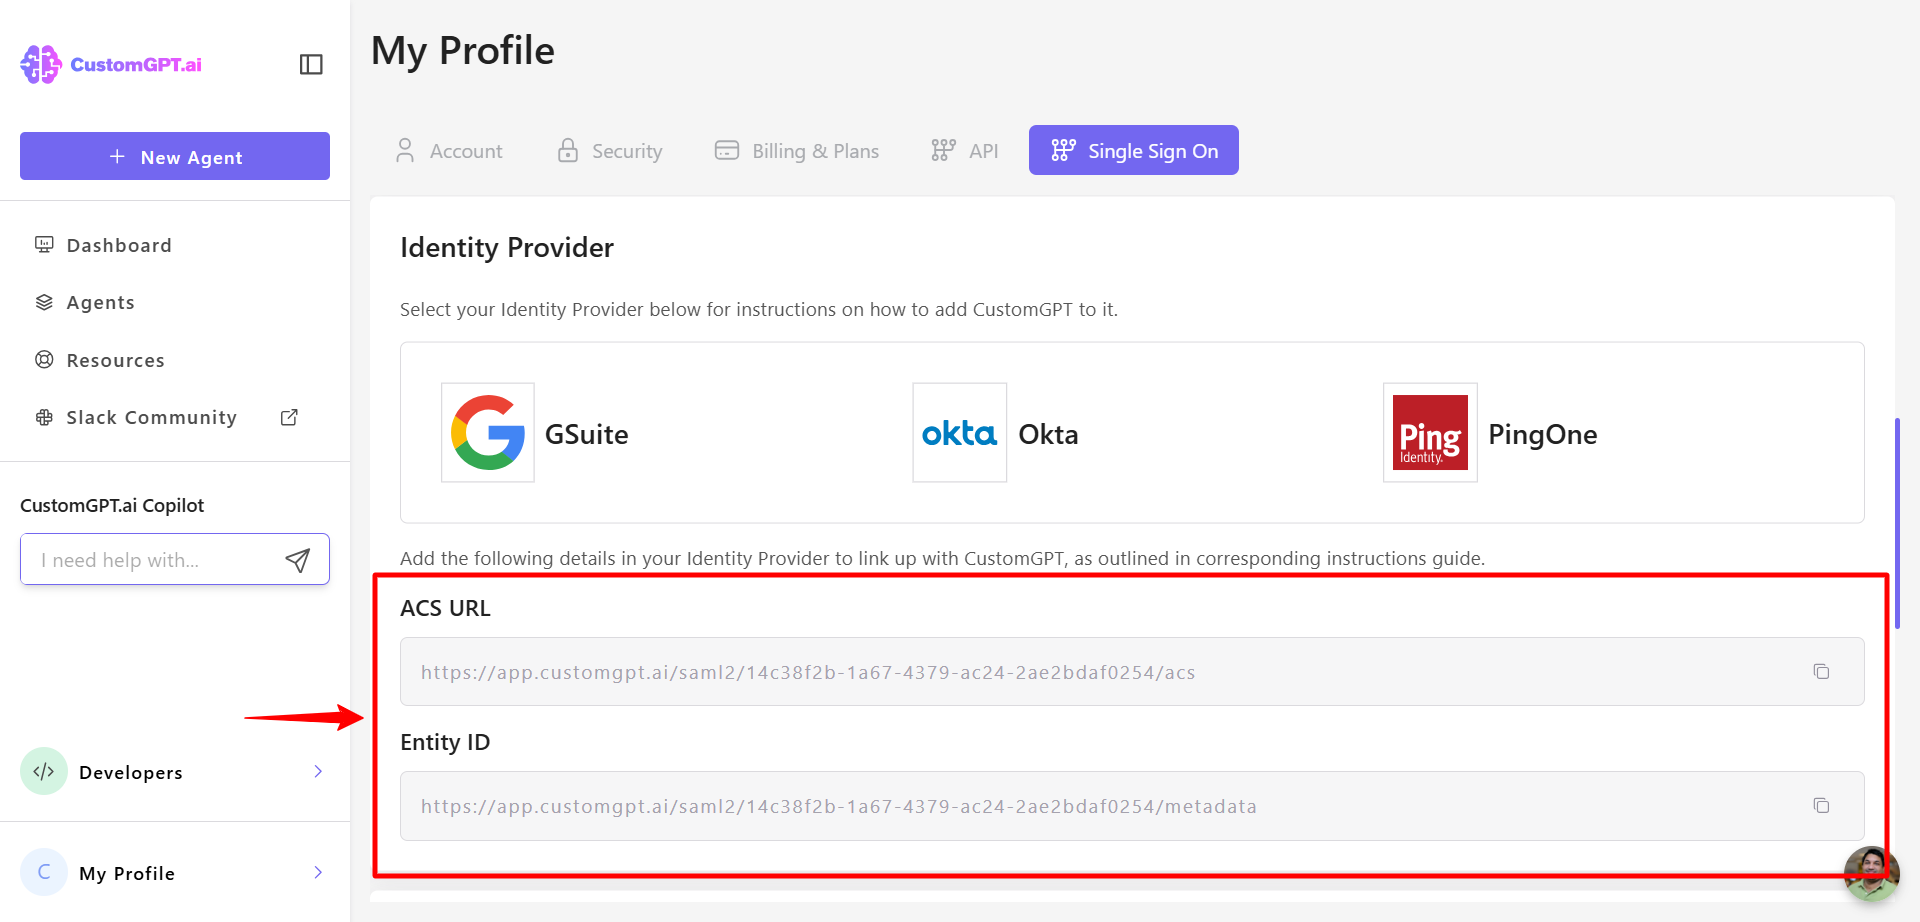
- Configure your identity provider by following the appropriate guide:
You will need the ACS URL and Entity ID, both provided on the SSO configuration page.
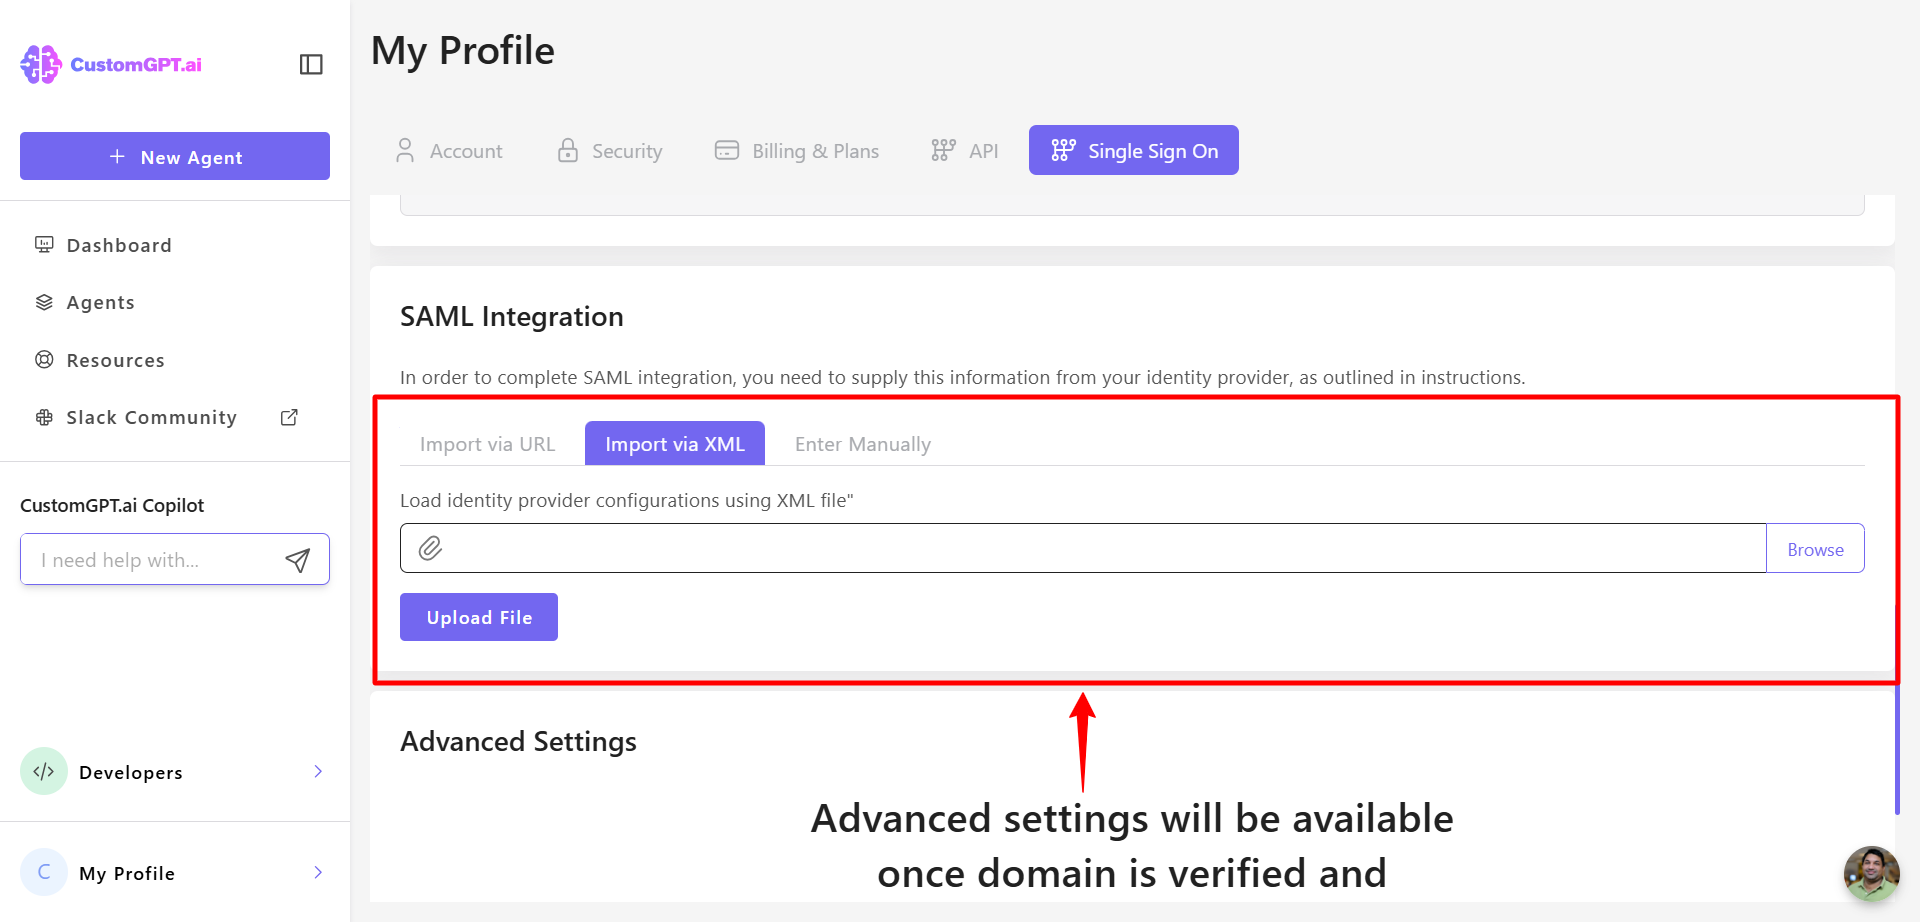
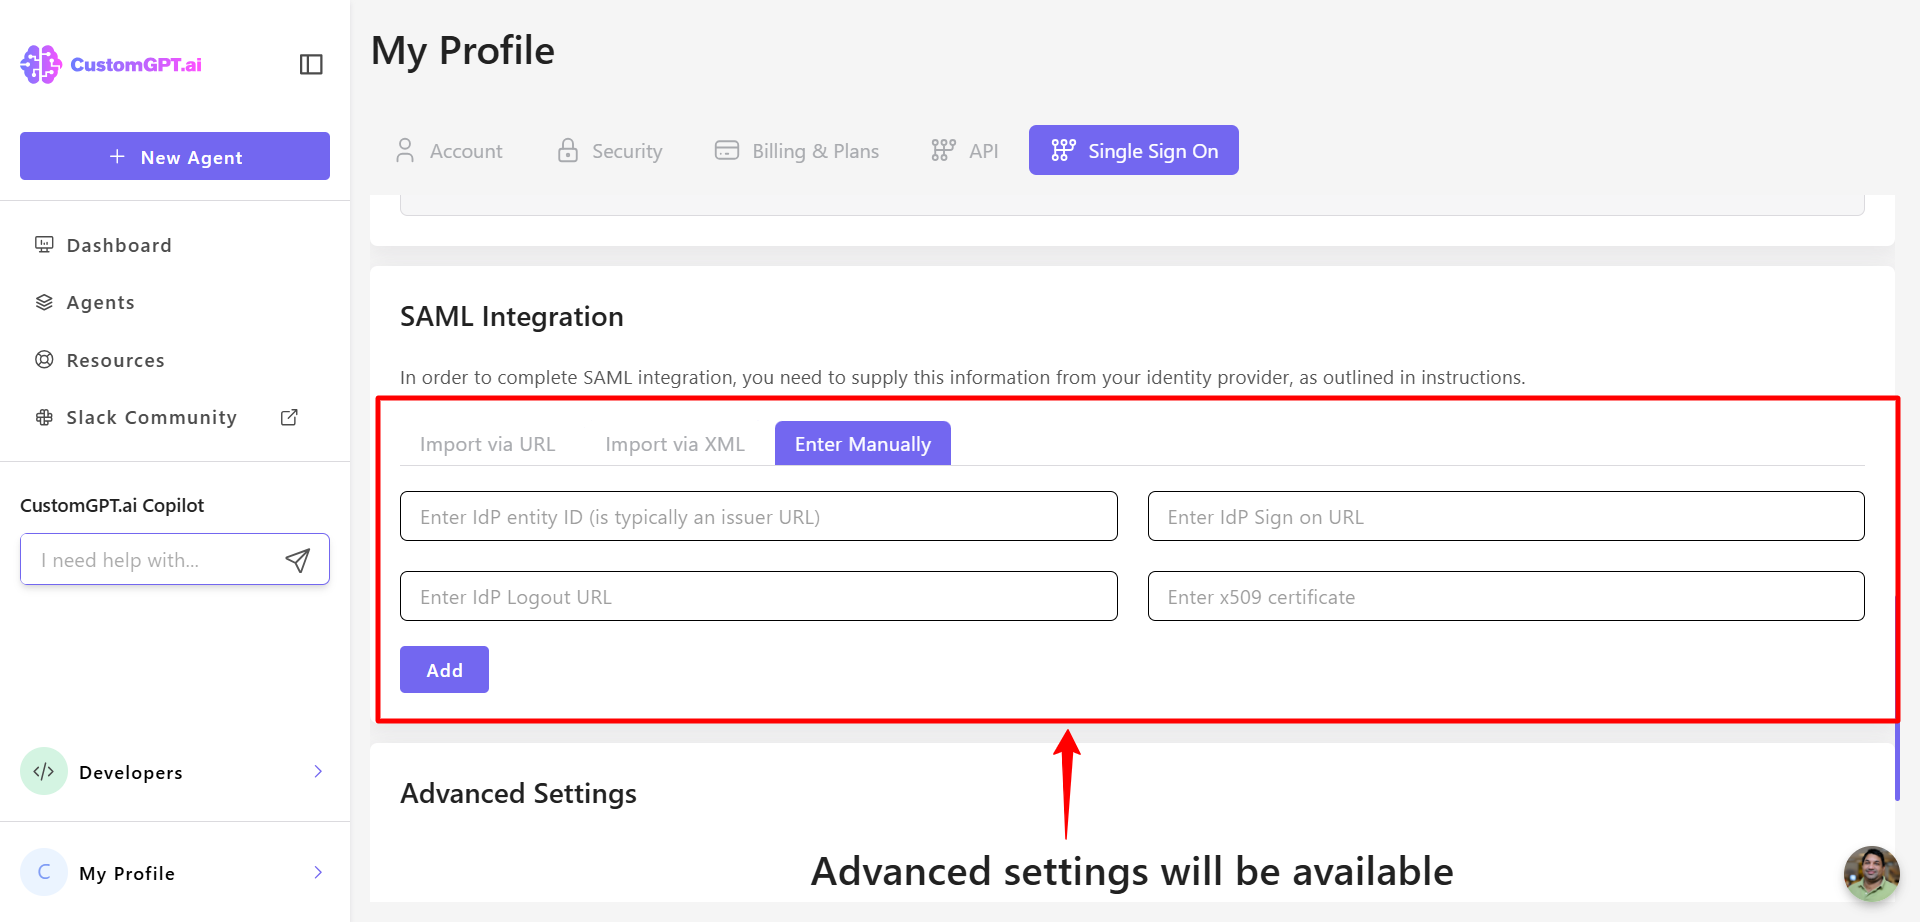
- Provide your identity provider’s SAML details in one of the following ways:
- Import via URL
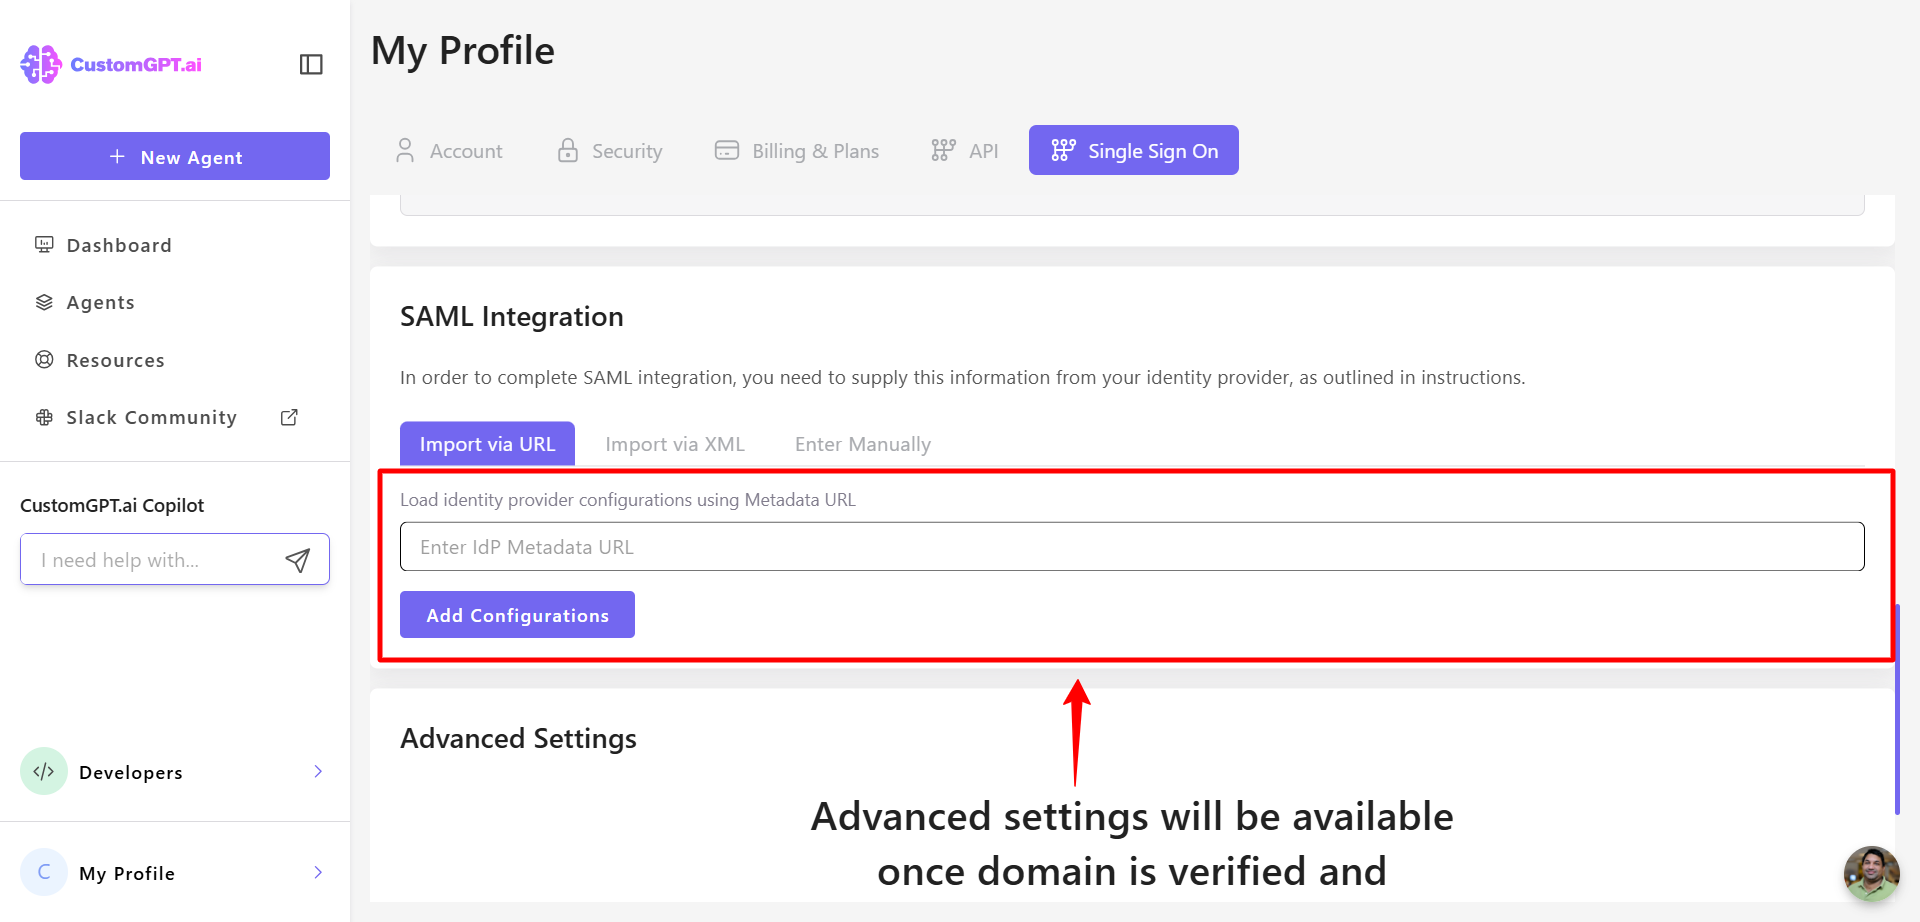
- Import via XML
- Enter manually
- After verifying your domain and completing SAML setup, customize your SSO configuration:
- Email authentication options: Allow login only using SSO or you can Allow login via SSO and email/password
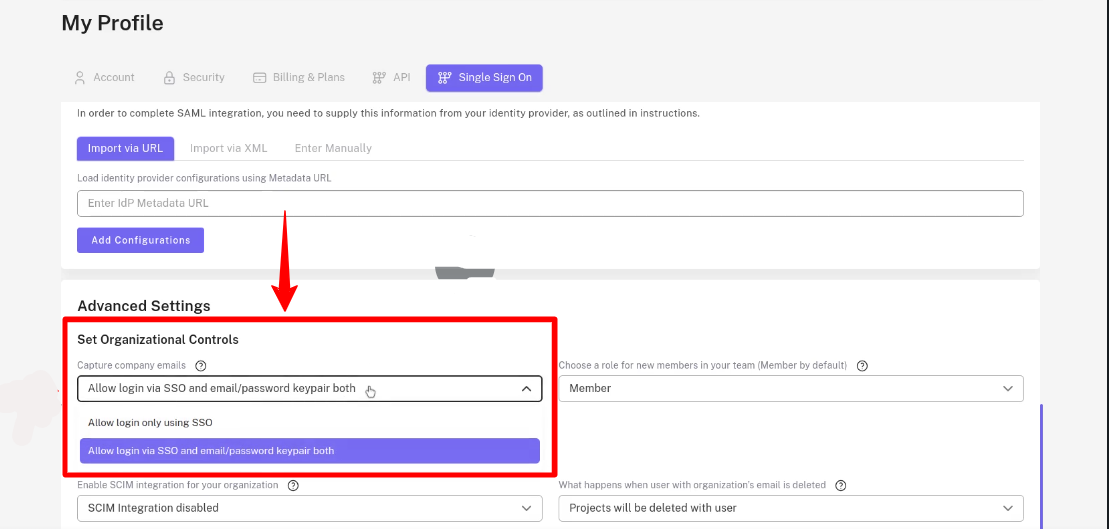
- User role configuration: Assign default roles for new users based on your team’s role settings.
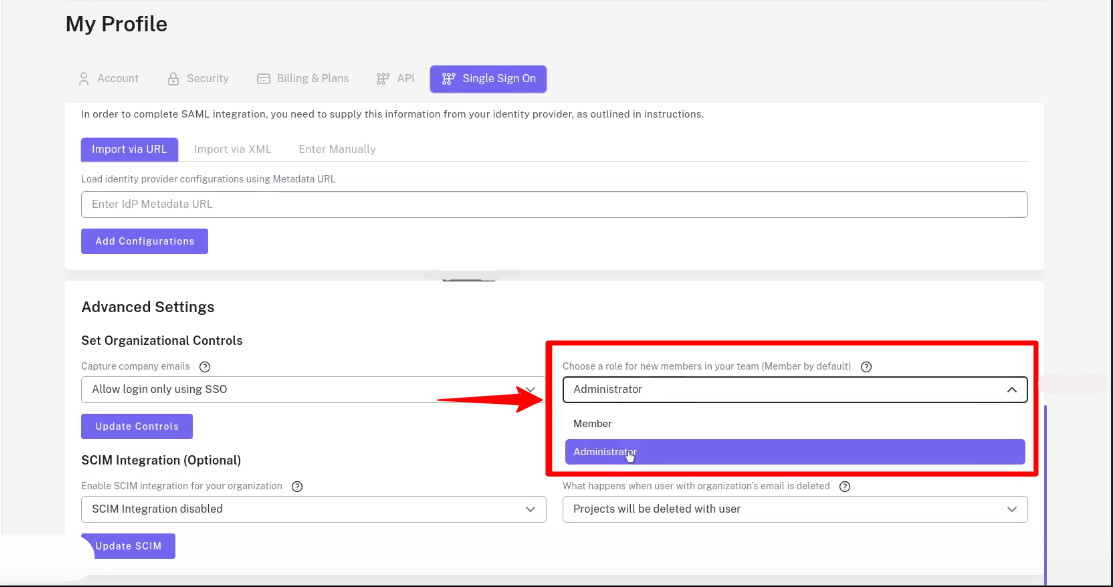
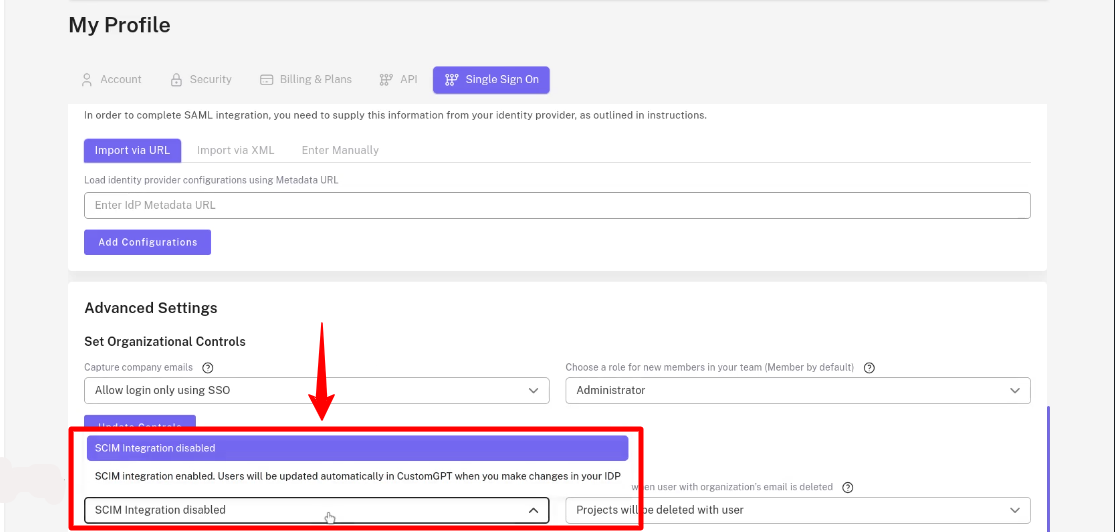
- SCIM integration: You can Disabled – No user sync or Enabled – Automatically sync user data (create/update/delete) based on identity provider settings.
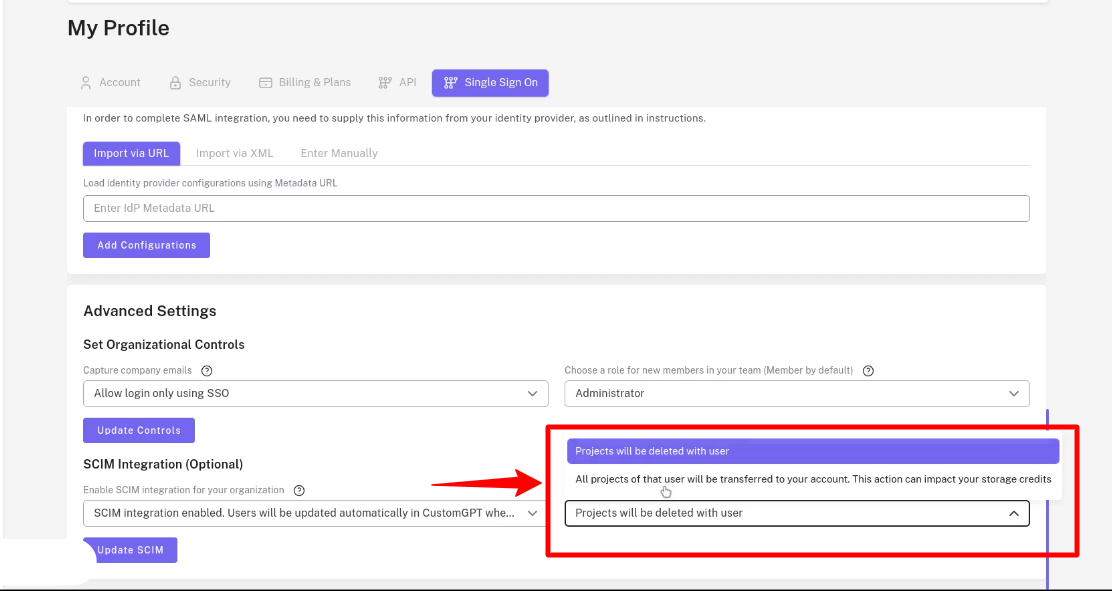
- Email deletion handling: You can Delete projects with user or Transfer projects to your account (may affect storage credits)
Updated 12 months ago
Did this page help you?