Add re-captcha to your AI agent
Follow these steps to add re-captcha to your AI agent.
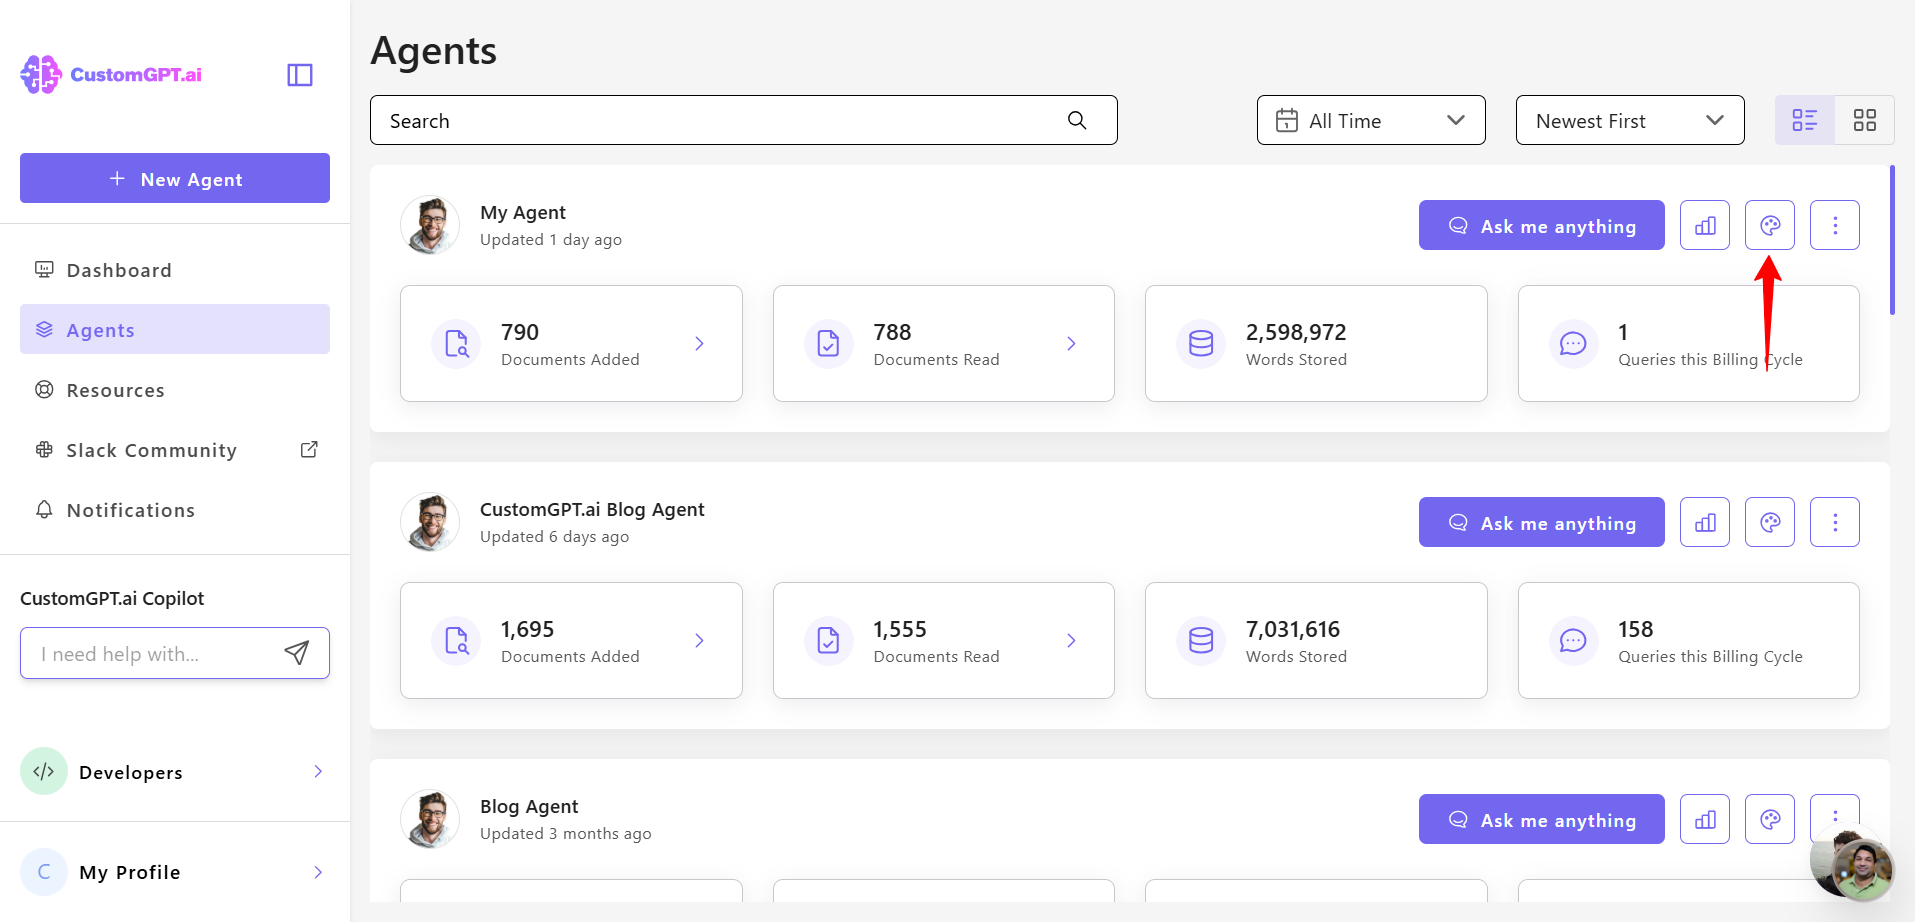
- On the right-hand menu, click Personalize.
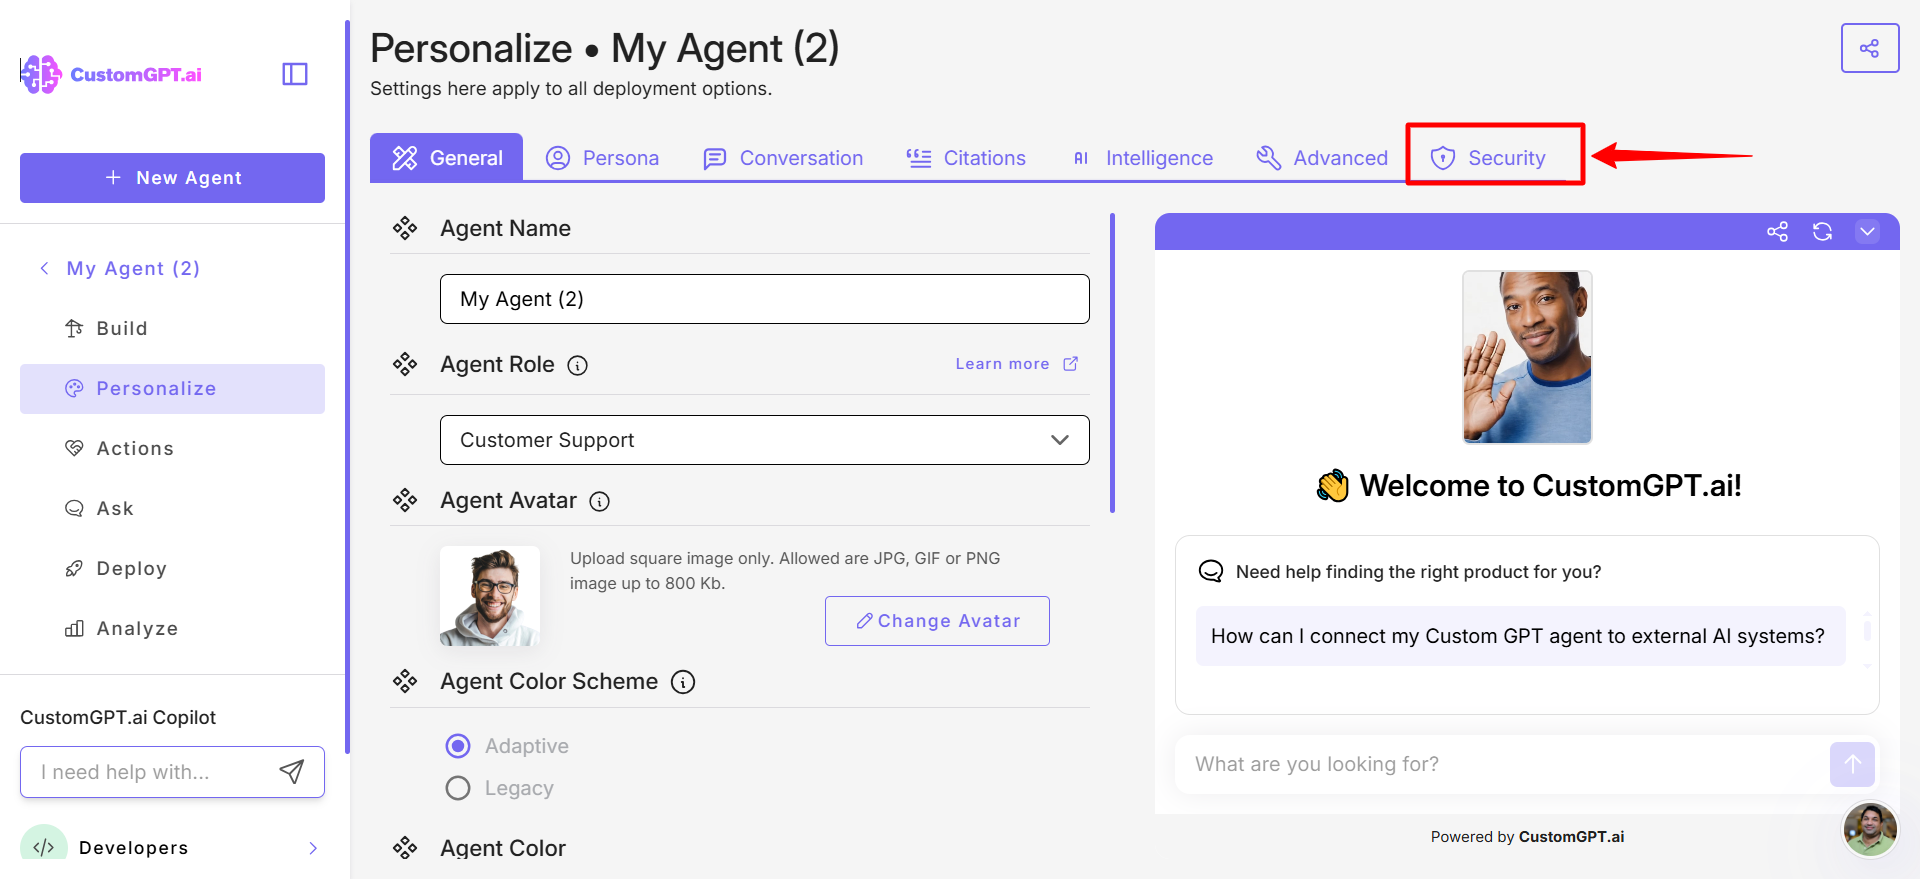
- Click Security tab.
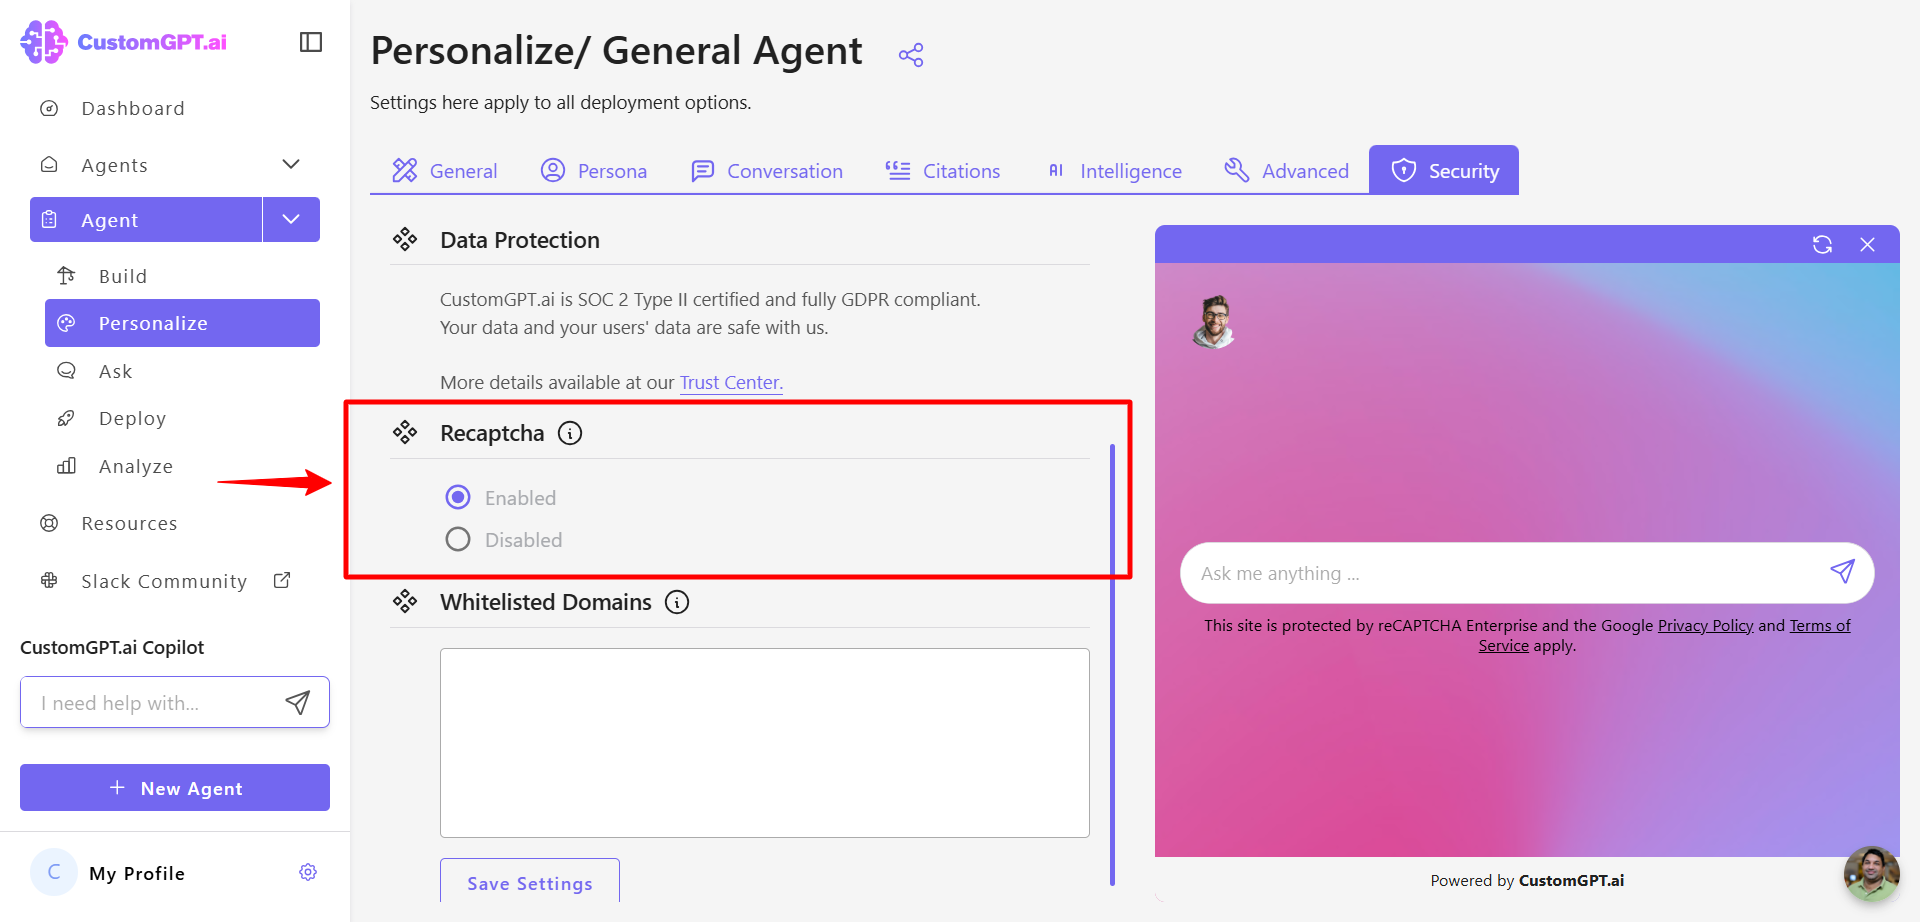
- In the Re-Captcha section, select Enabled.
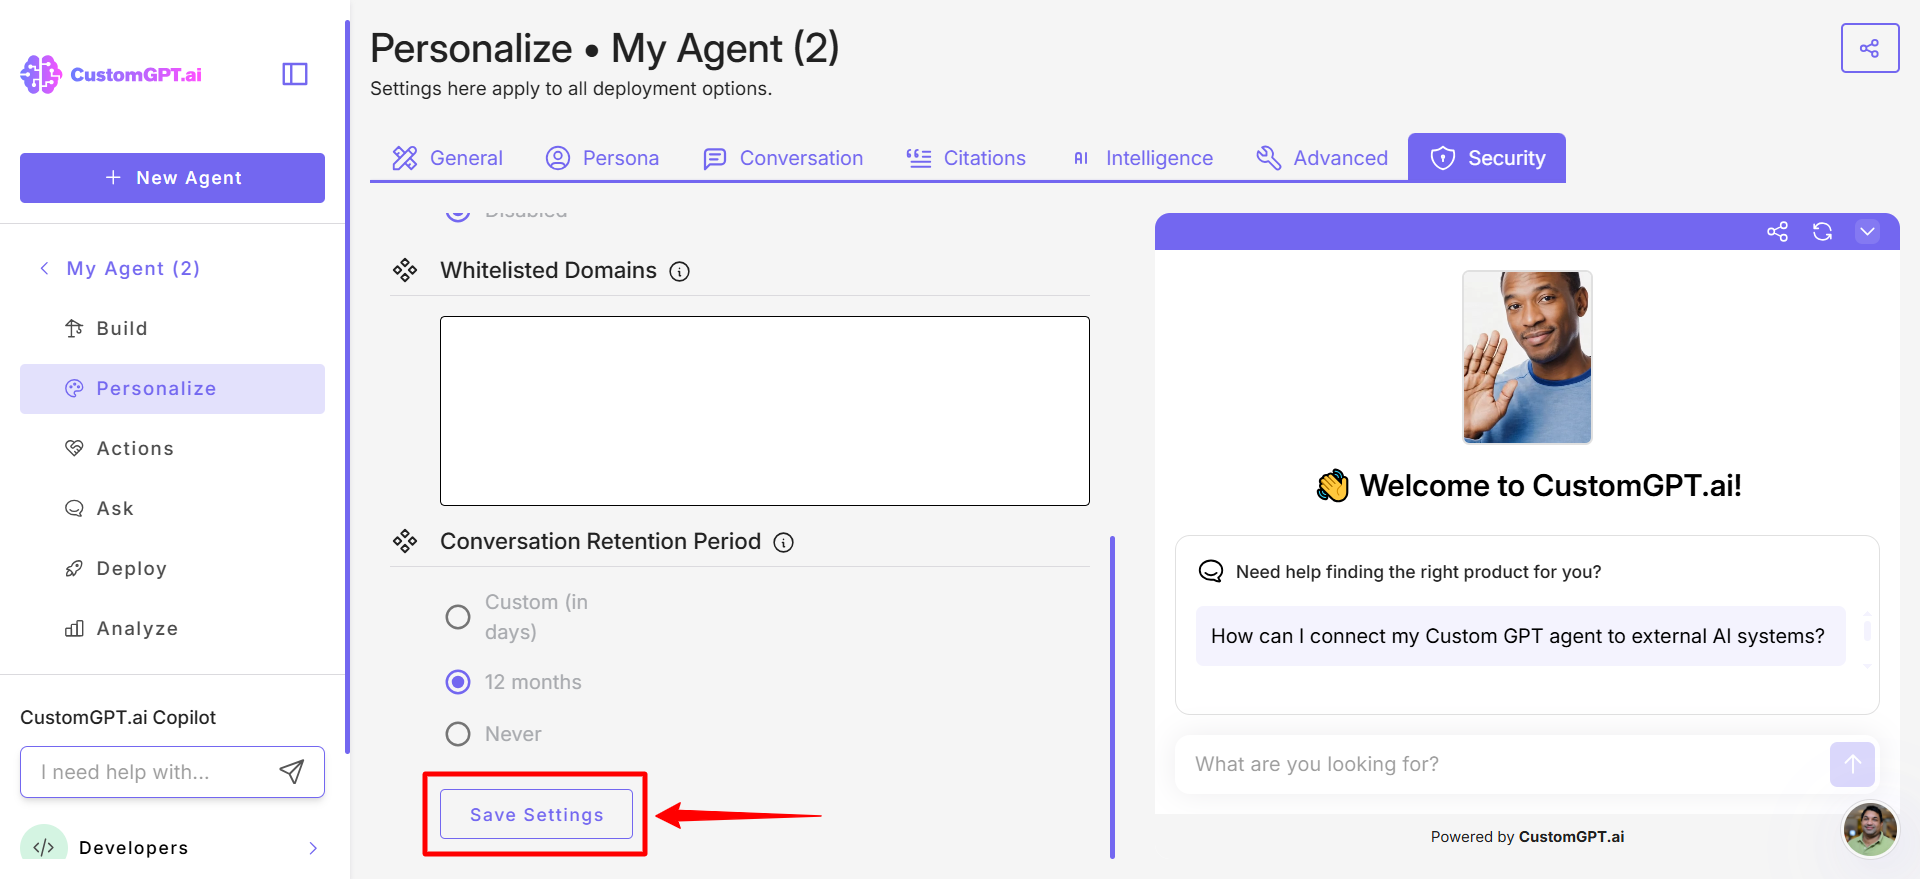
- Click Save Settings to apply your updates.
Updated 6 months ago
Did this page help you?