How to enable 2FA
This step-by-step guide explains how to enable two-factor authentication (2FA) to add an extra layer of protection to your CustomGPT account.
2FA helps secure your account by requiring both your password and a time-based code from an authentication app.
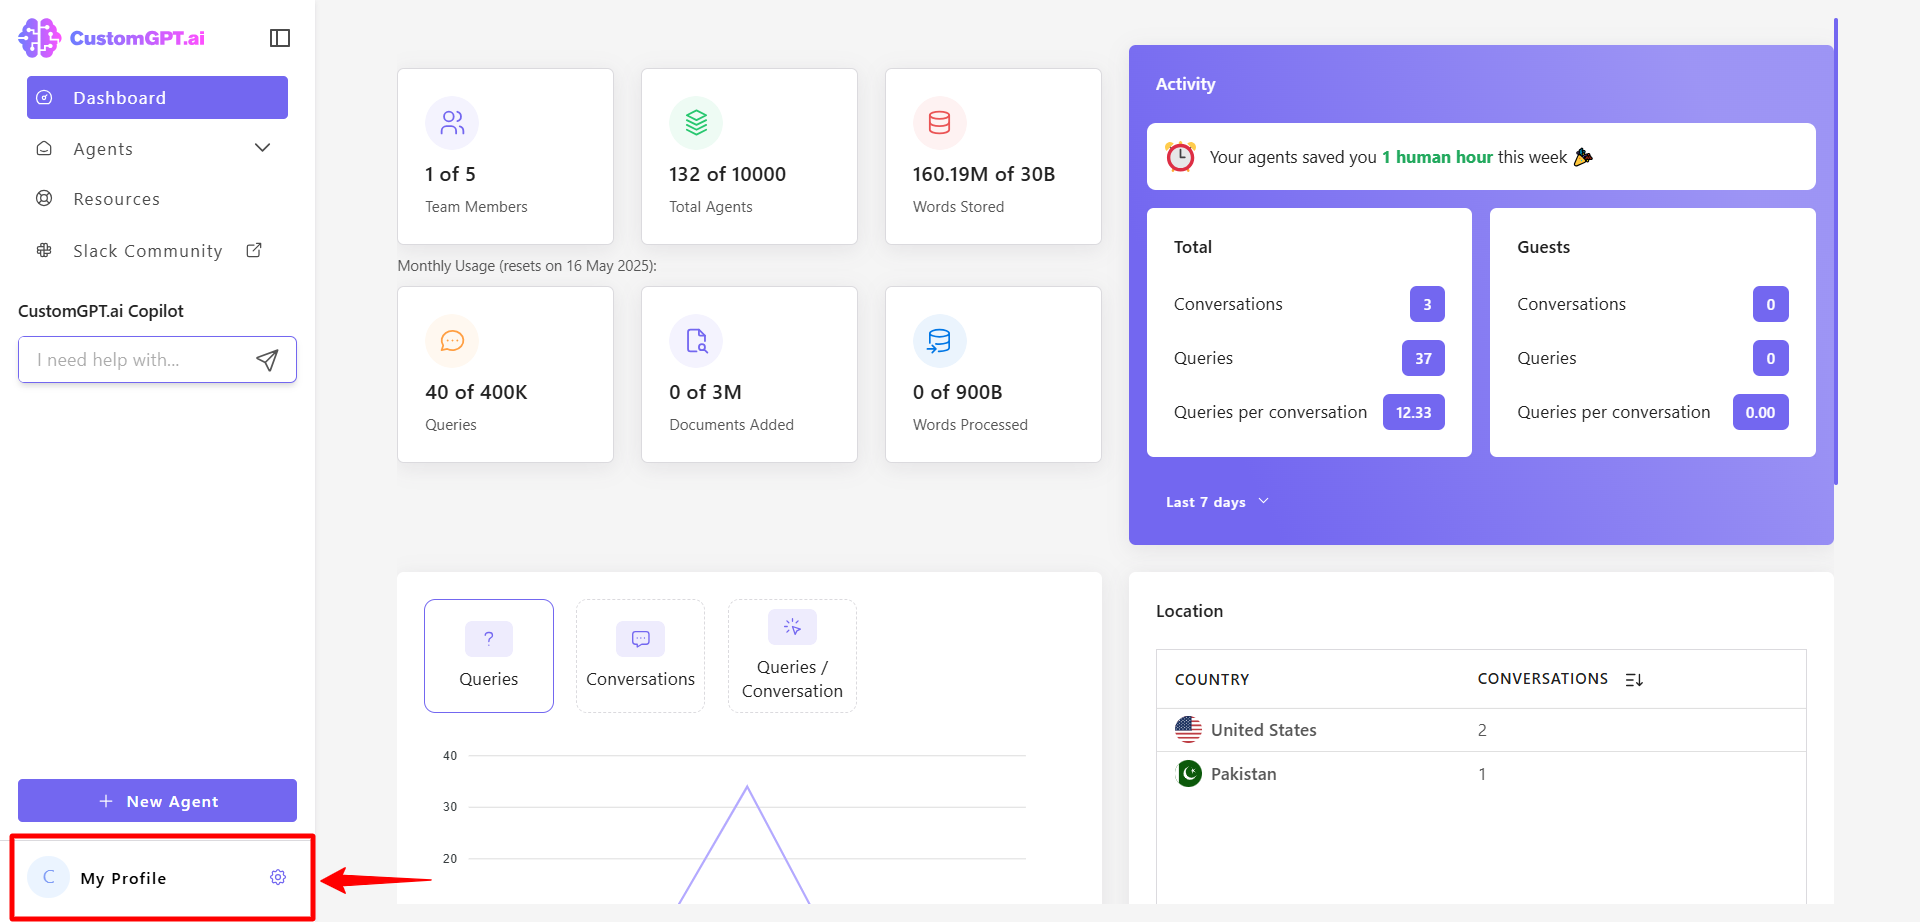
- On the bottom-left corner of the screen, click your profile icon or initials to access profile options.
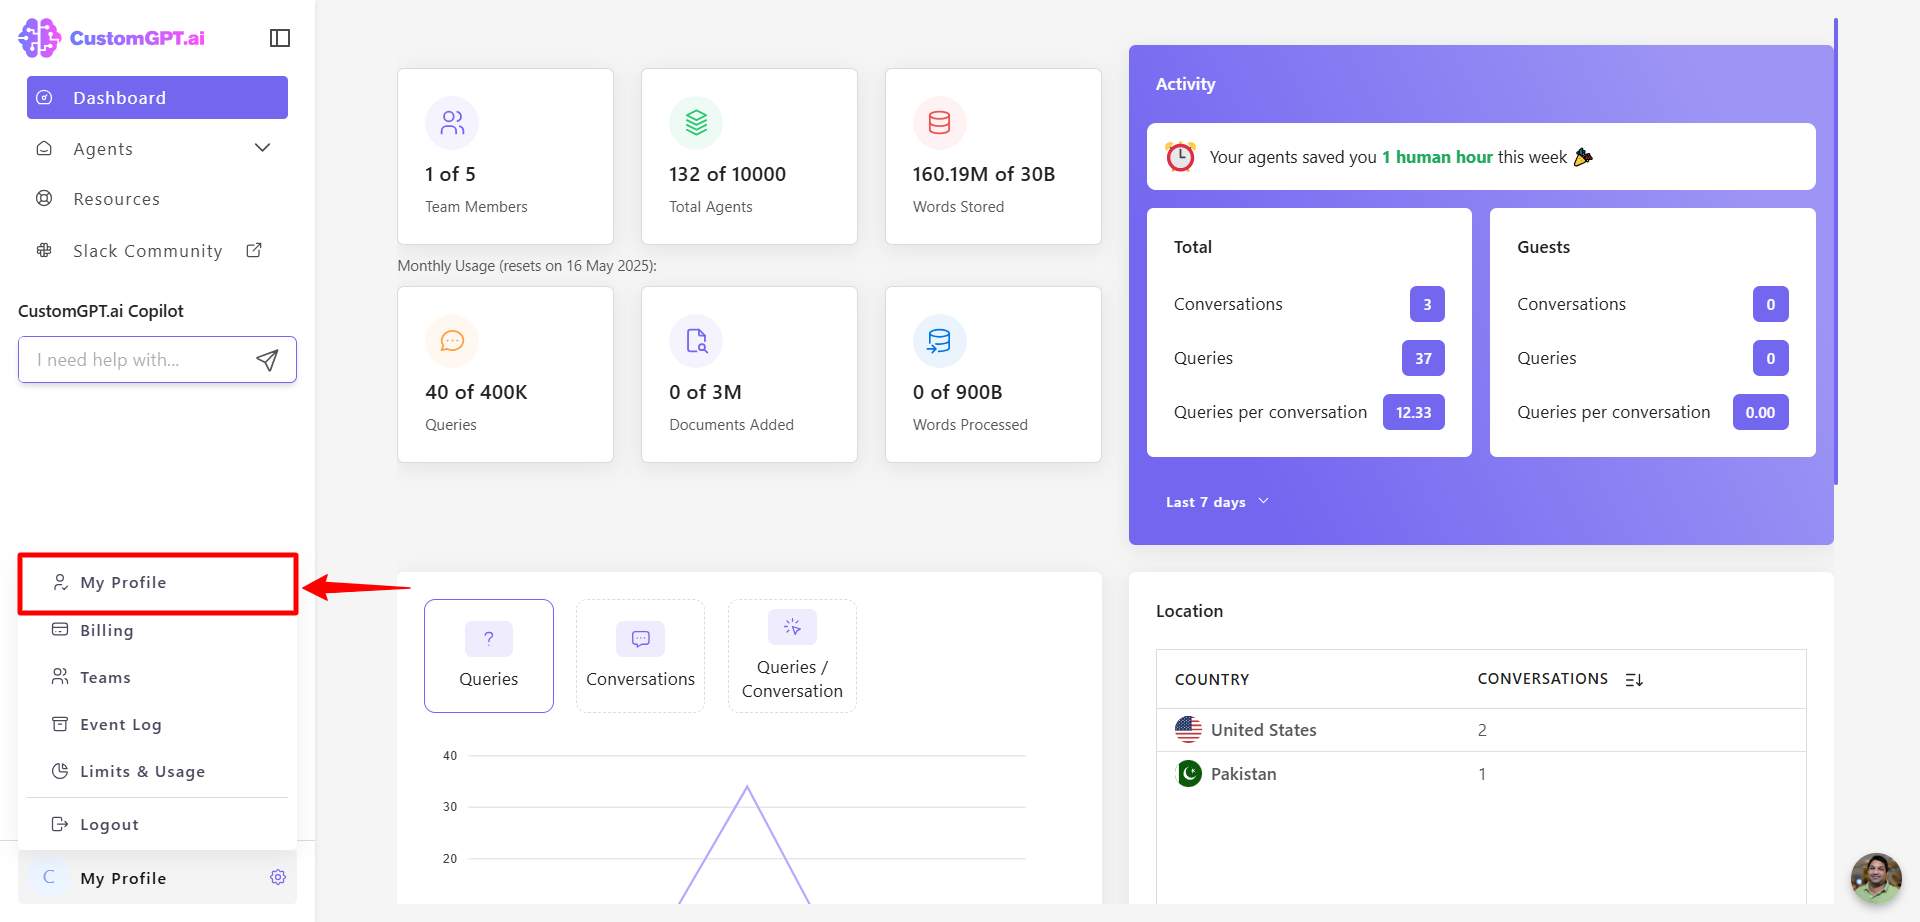
- Click My Profile from the dropdown menu to open your profile settings.
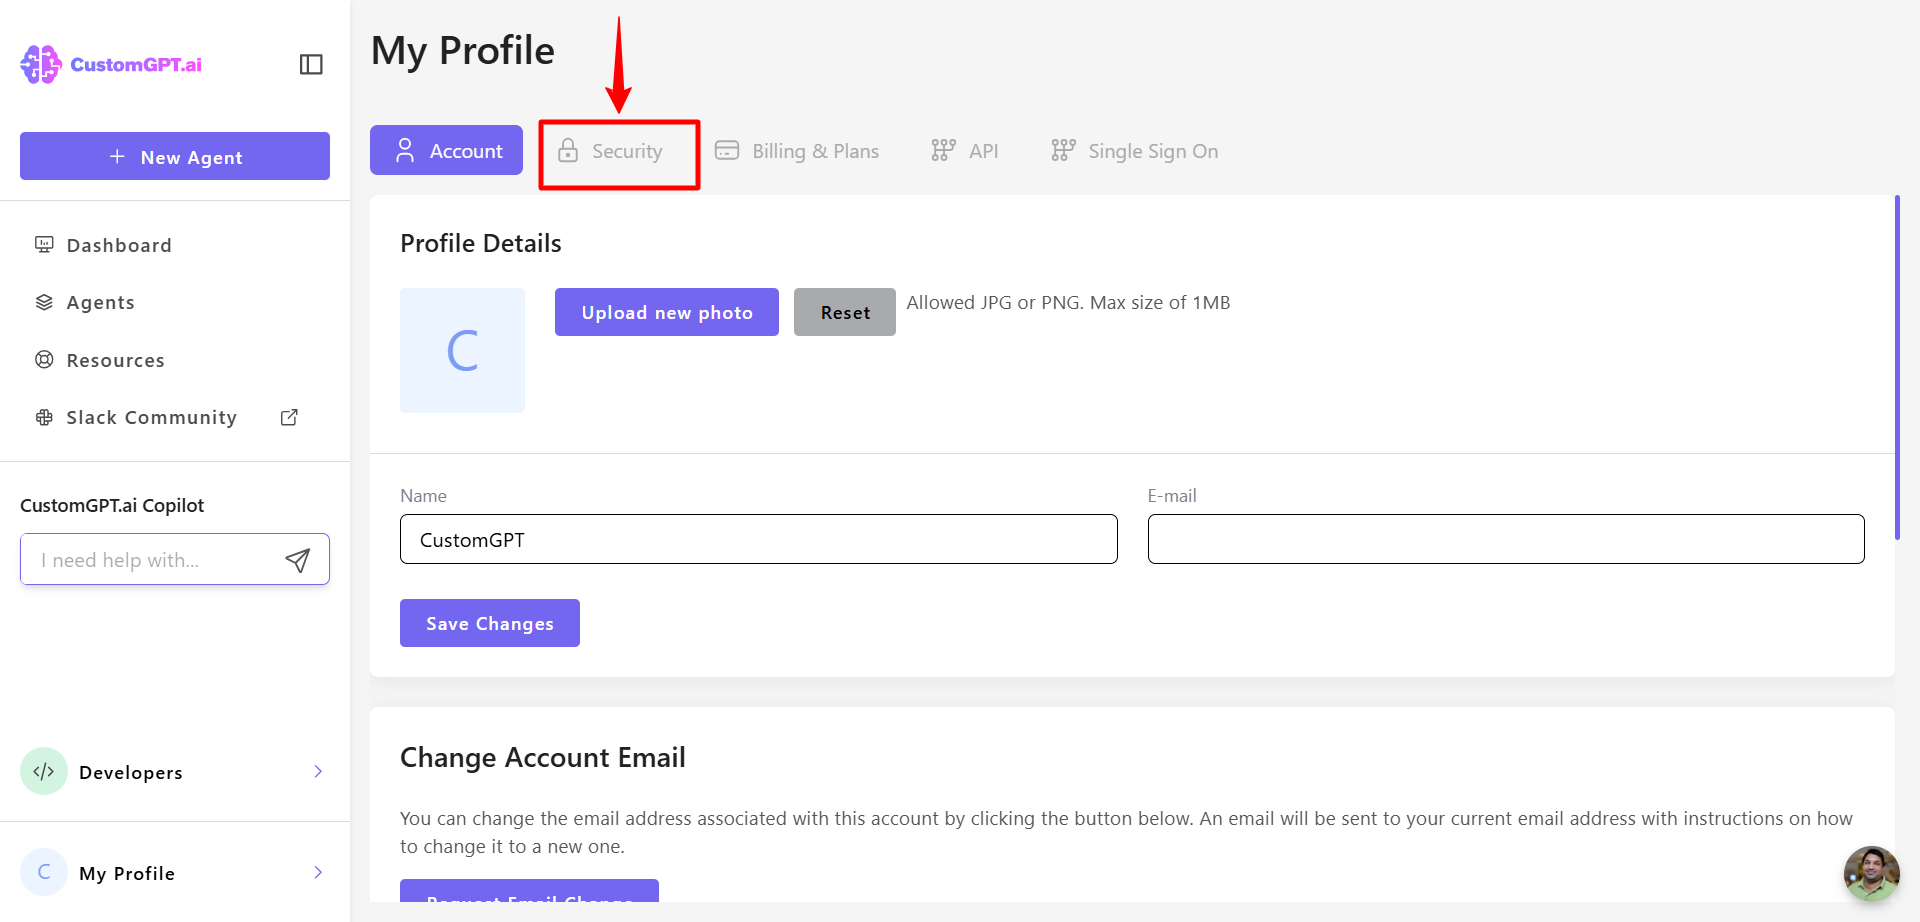
- Click the Security tab.
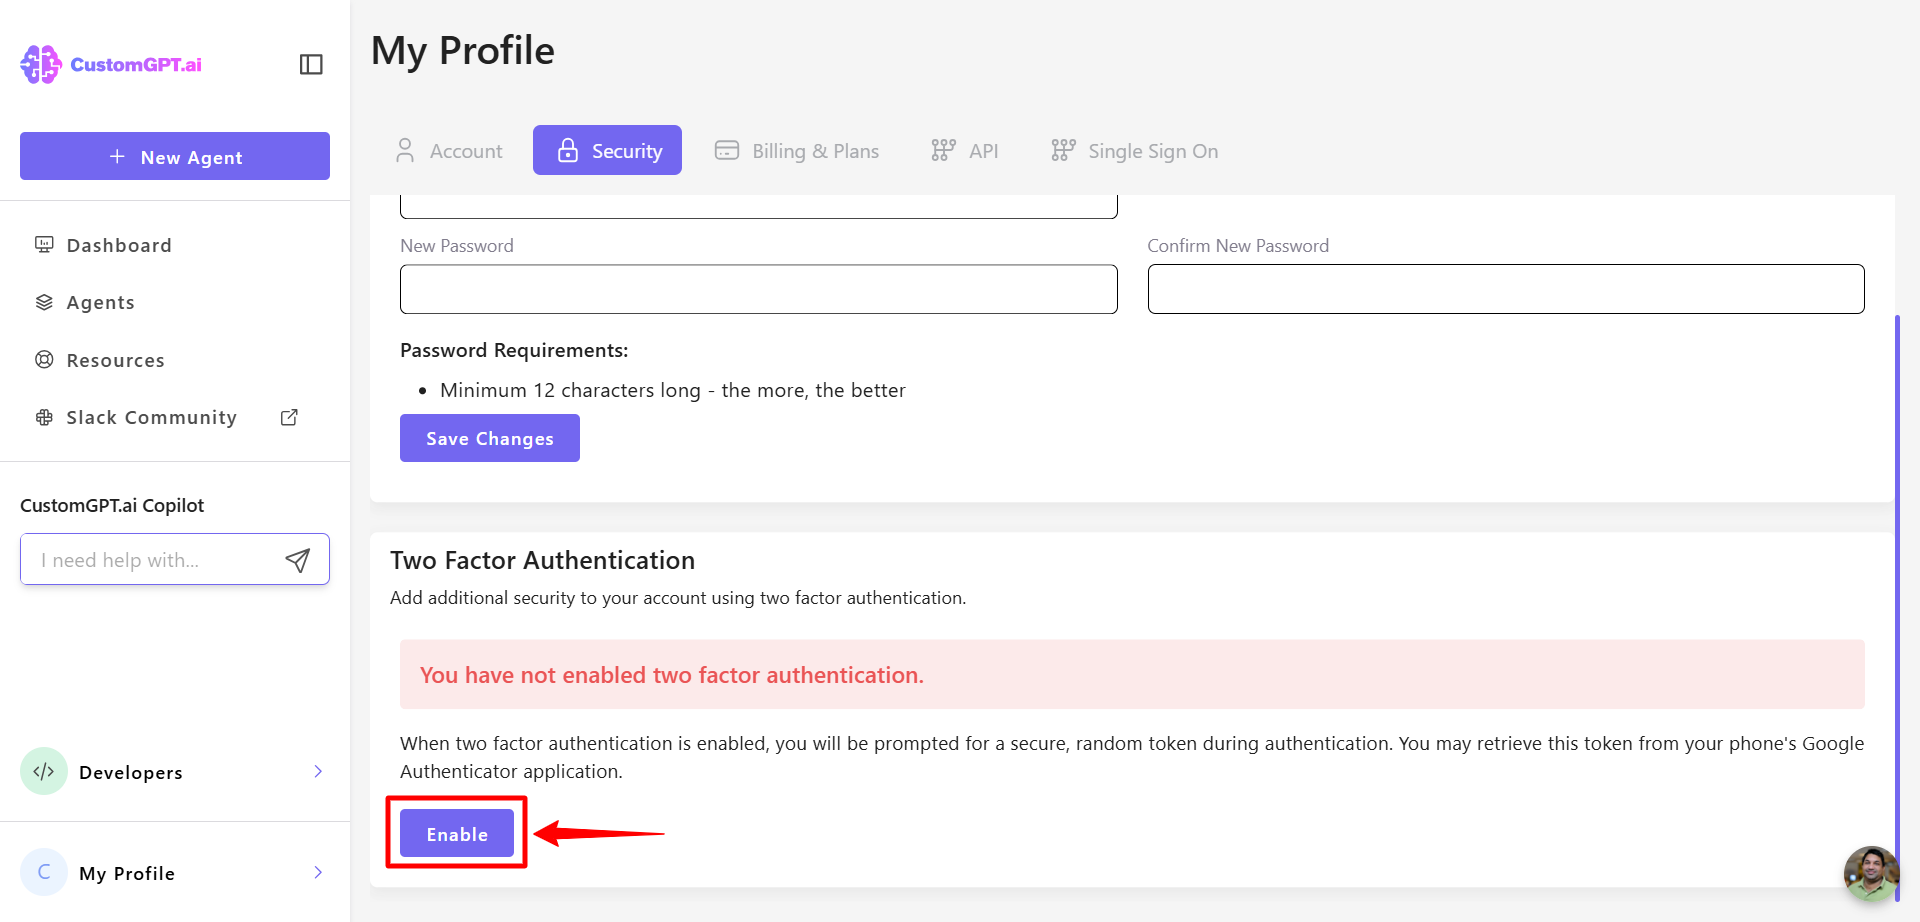
- In the Two-Factor Authentication section, click Enable.
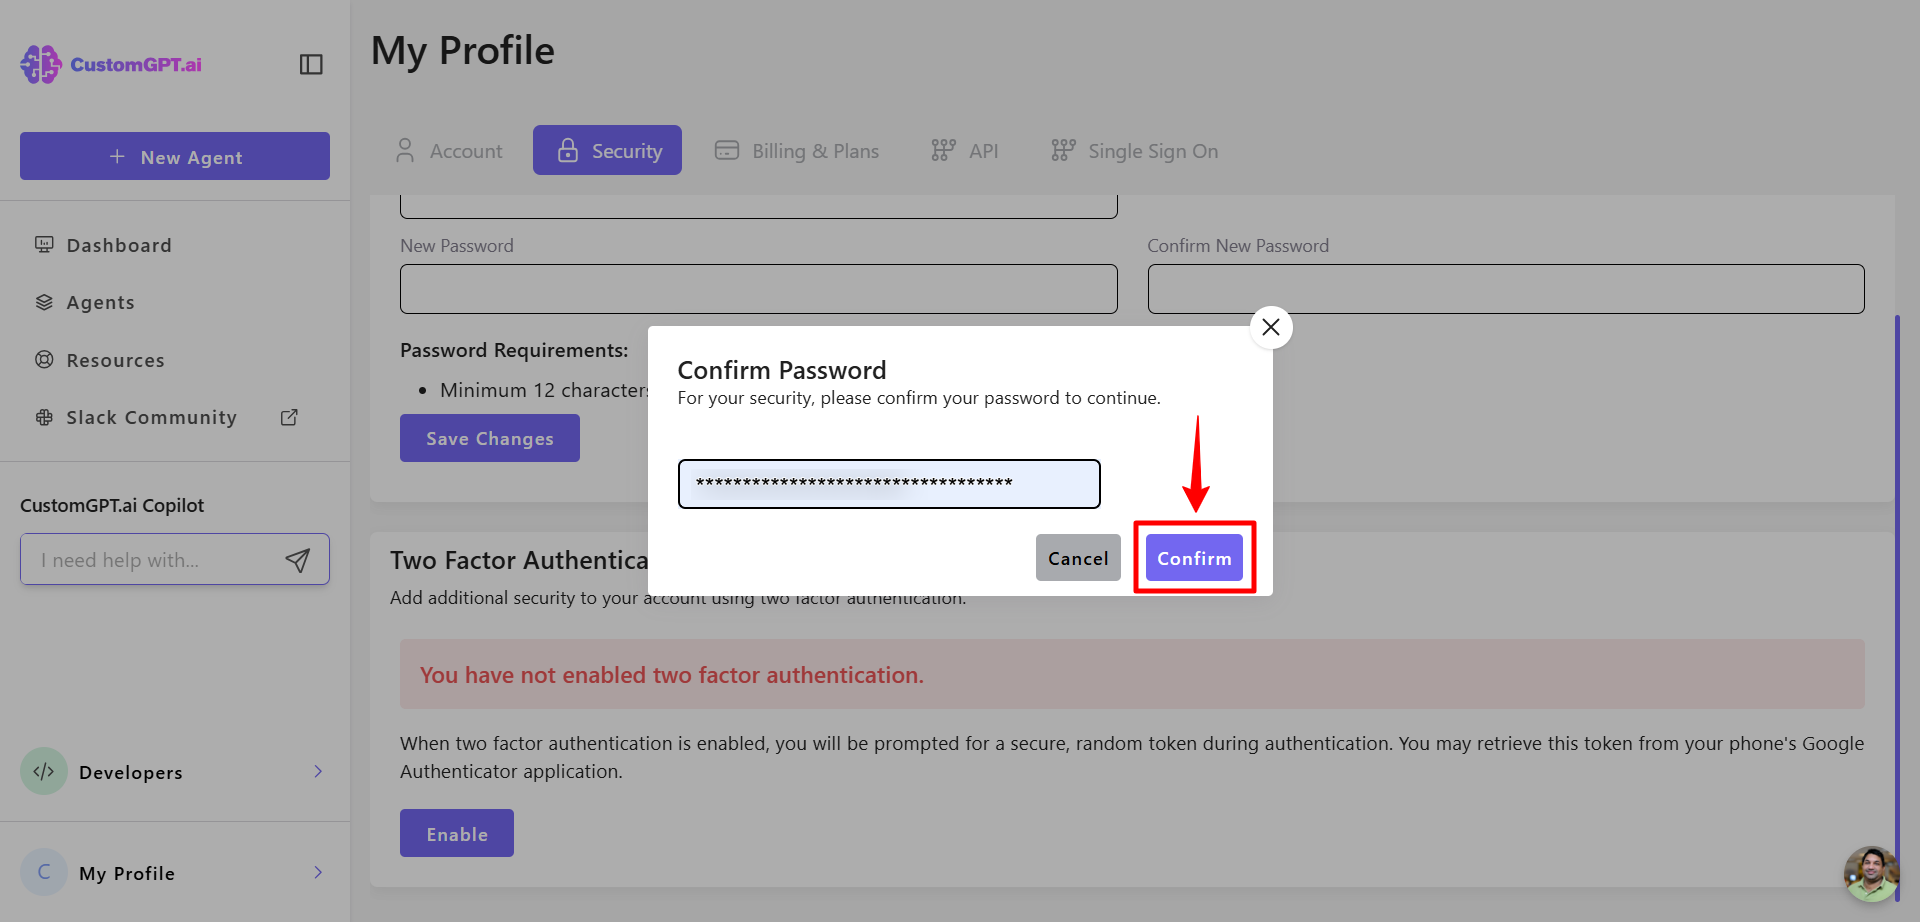
- Enter your password when prompted.
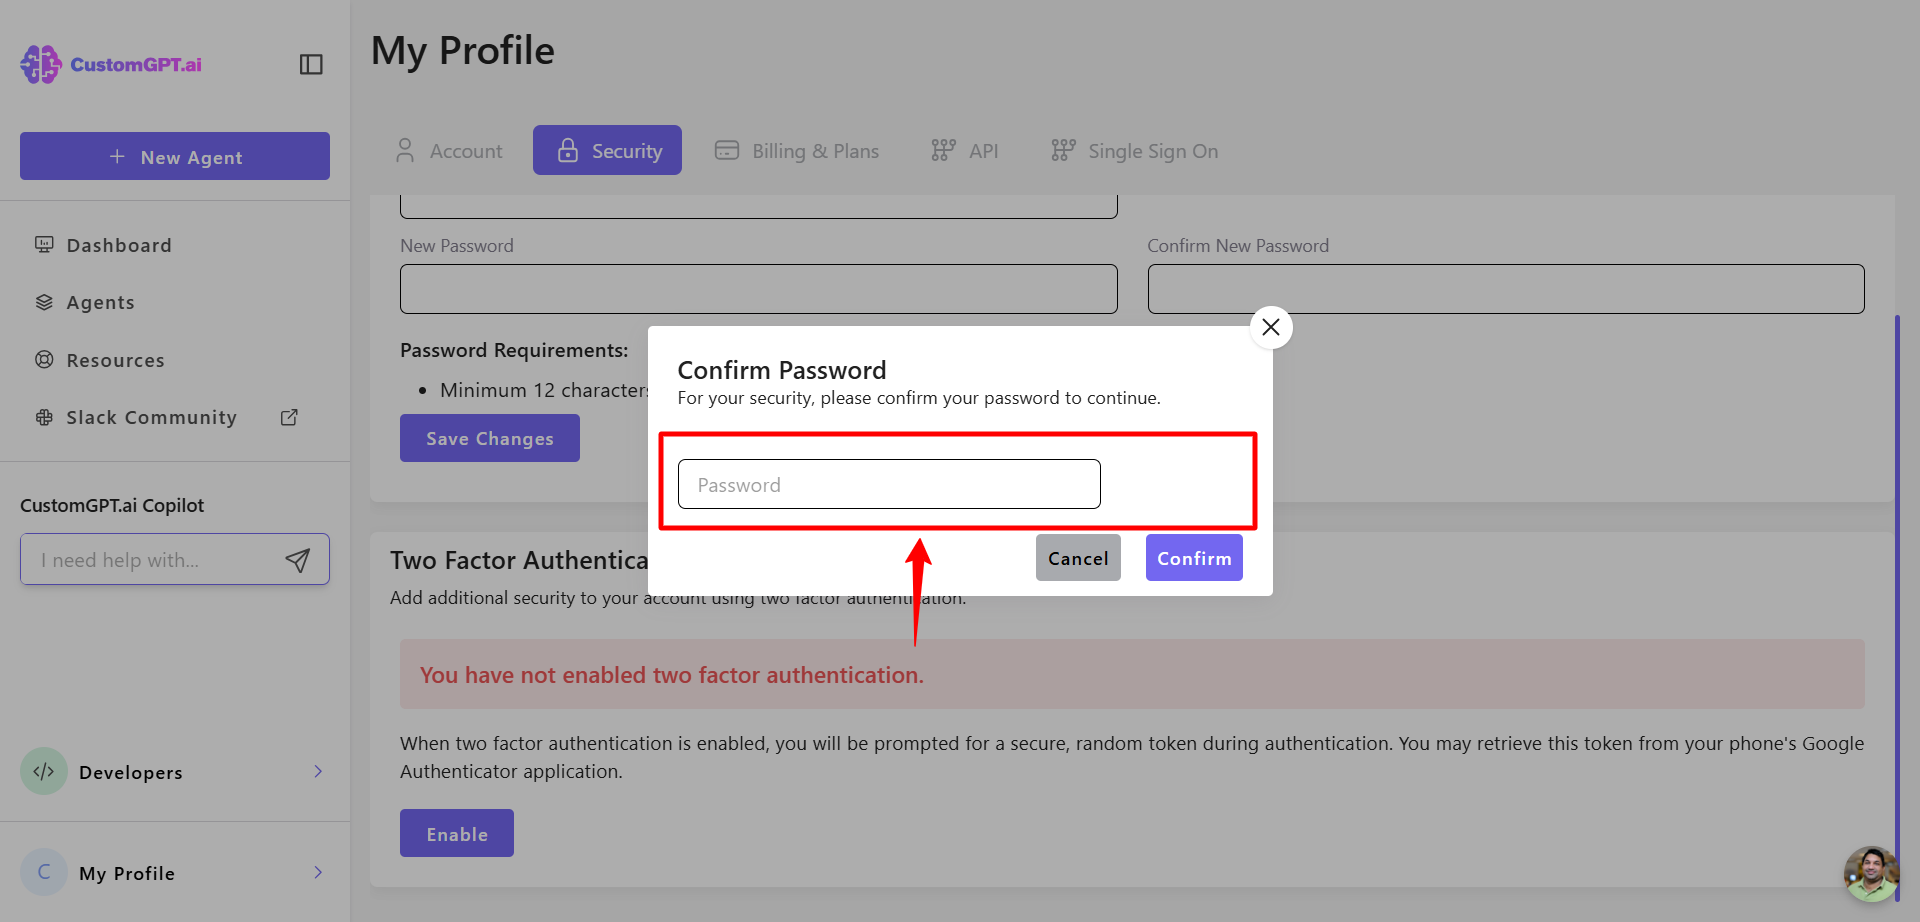
- Click Confirm to proceed.
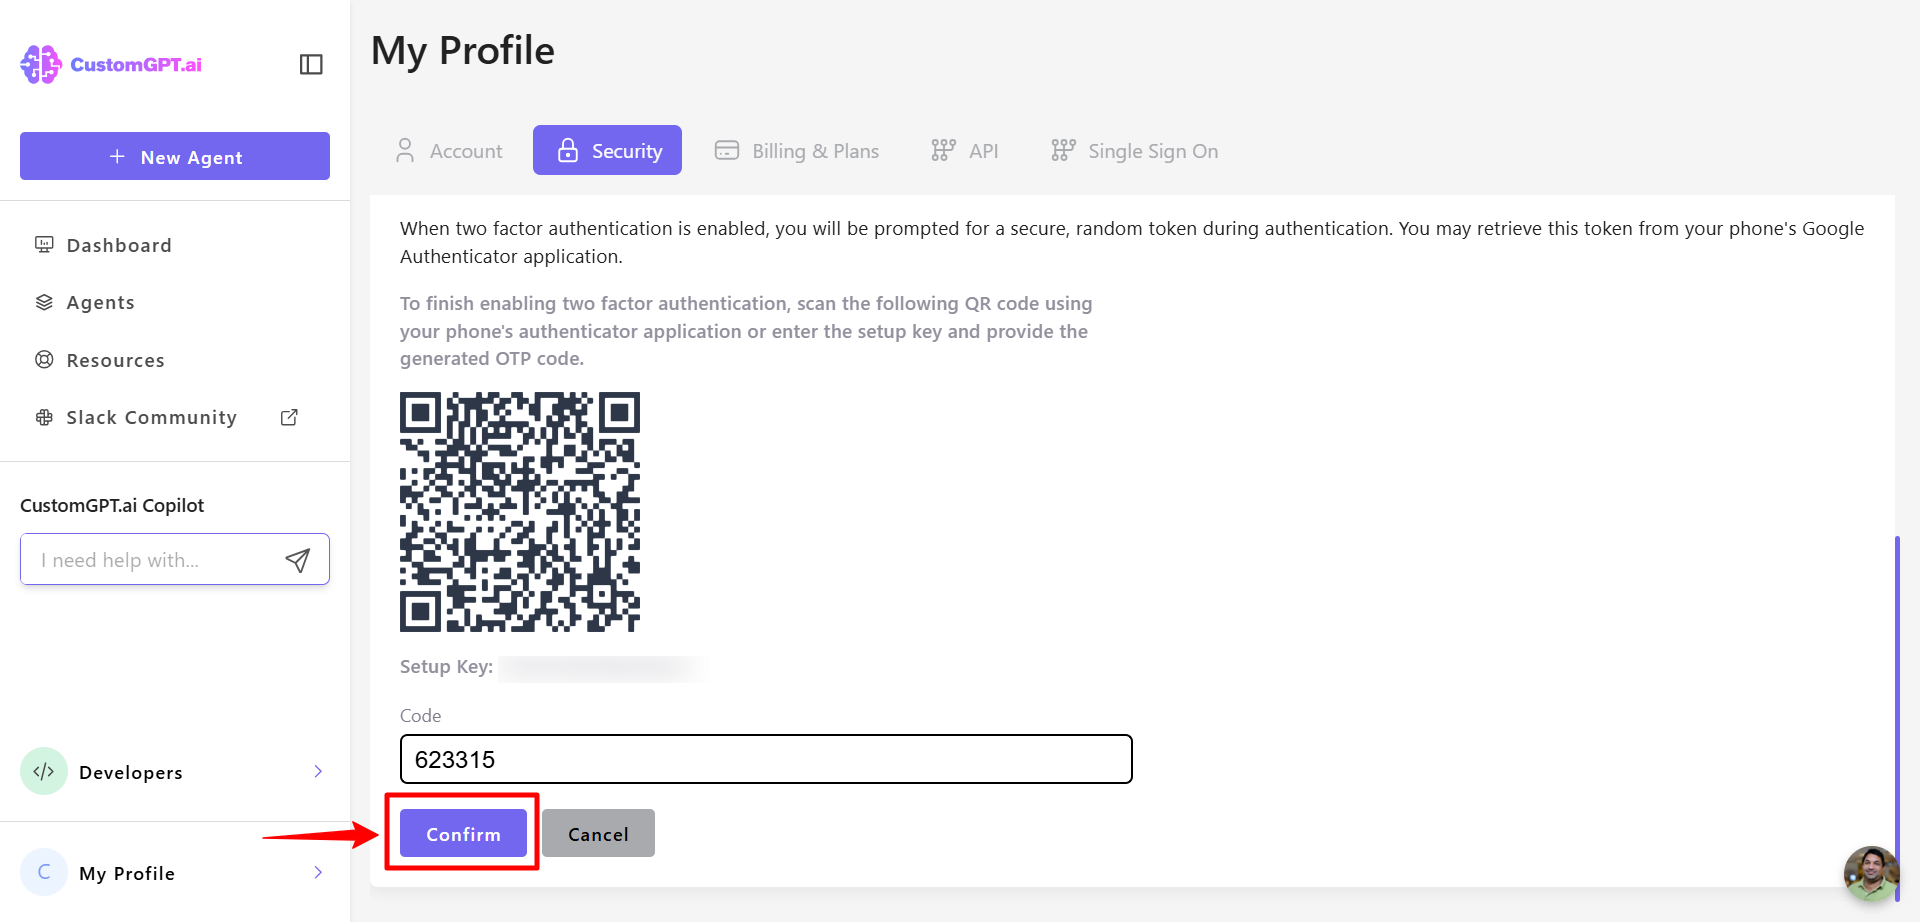
- Open an authenticator app (e.g., Google Authenticator or Authy) on your phone or browser.
- Choose to scan the QR code or enter the manual key displayed in your CustomGPT profile and add a nickname to the entry in your app.
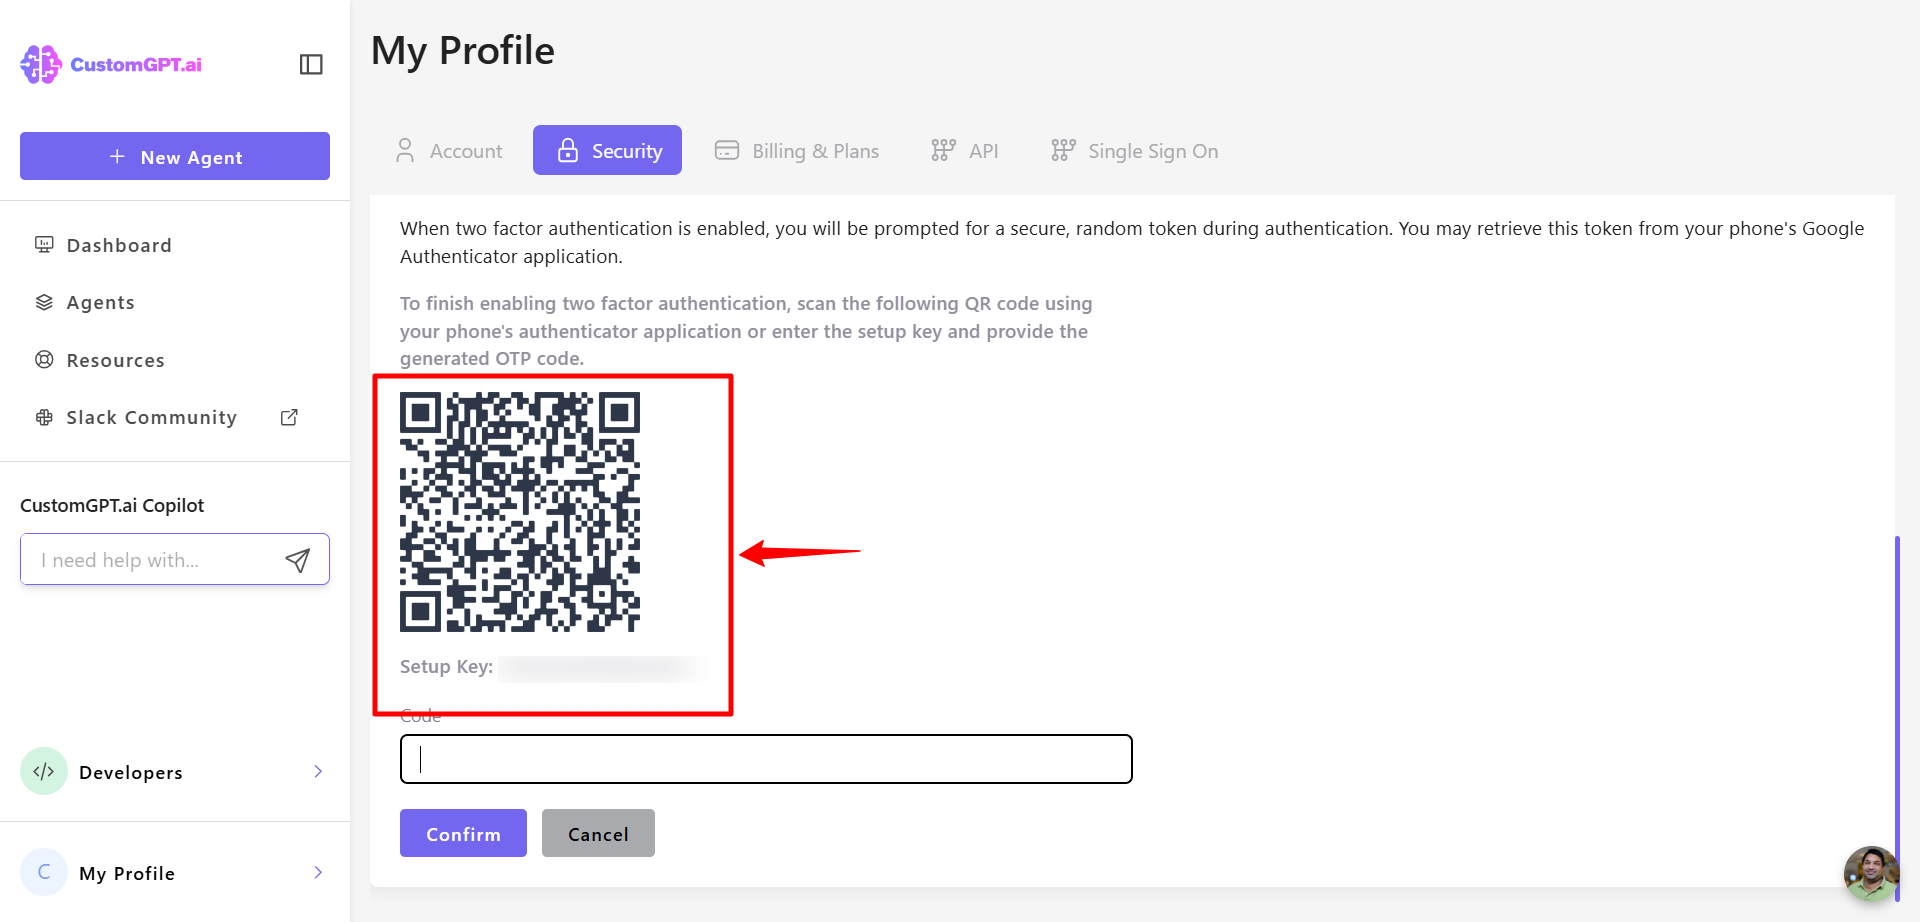
- Enter the 6-digit code from the app into the code field in your CustomGPT profile.
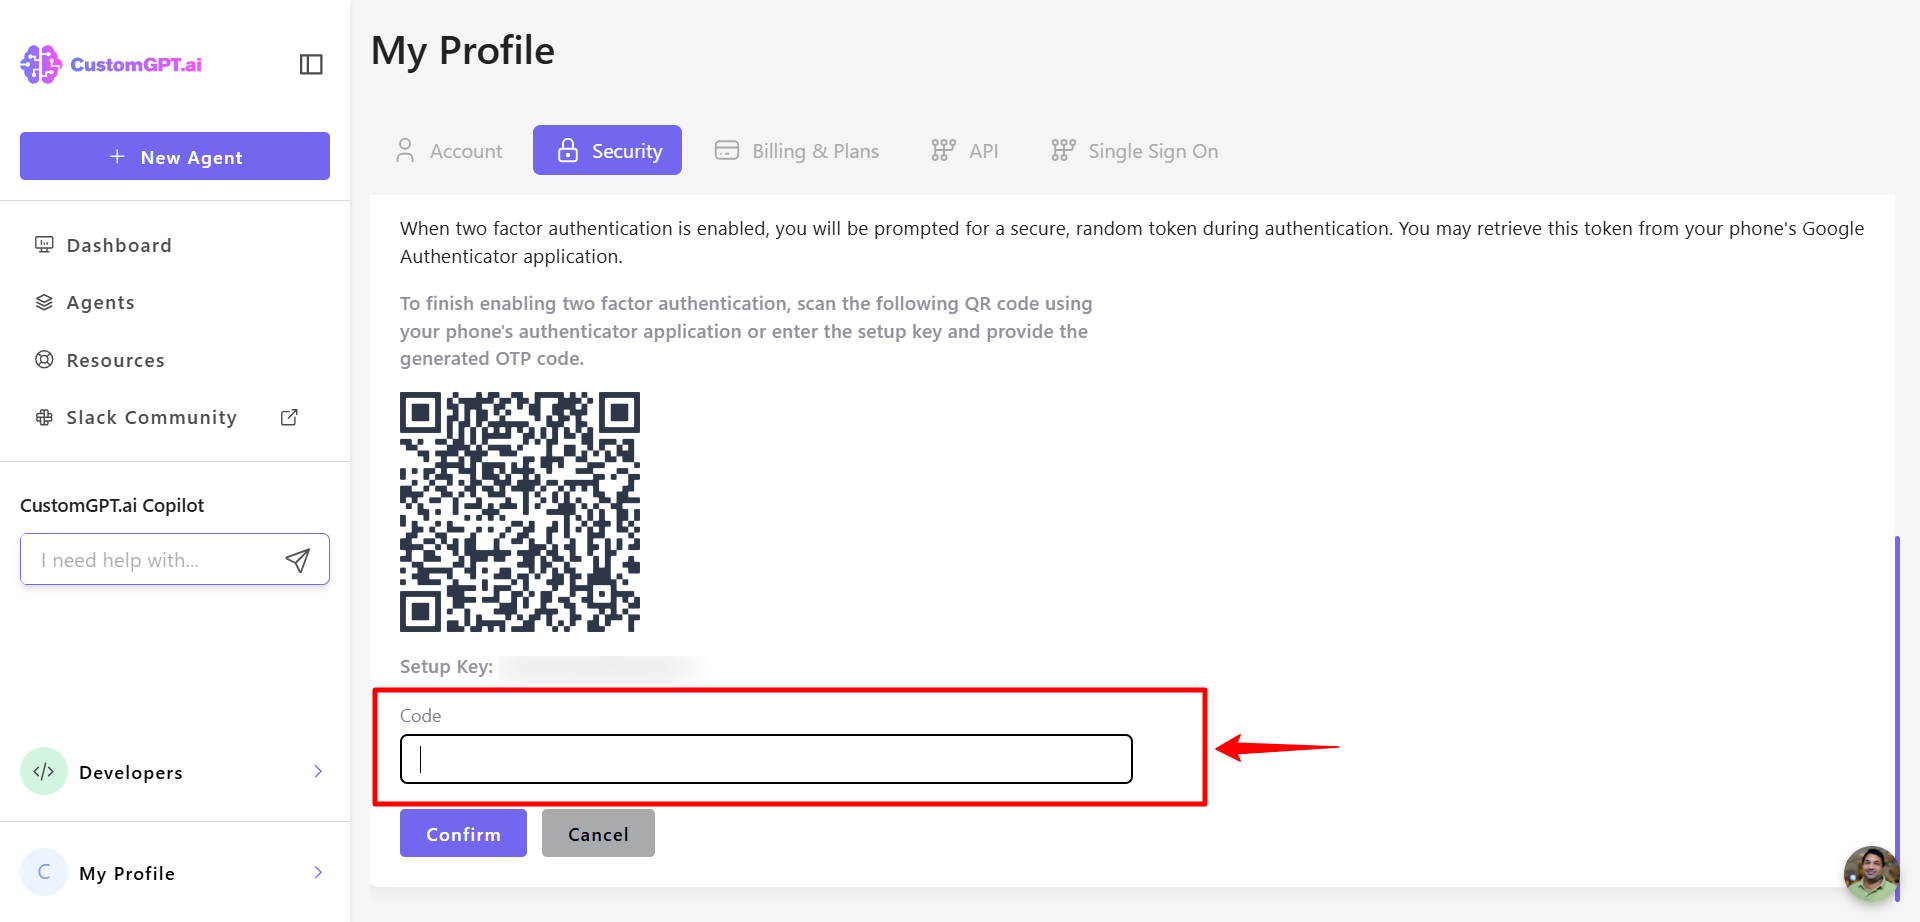
- Click Confirm to complete the setup.
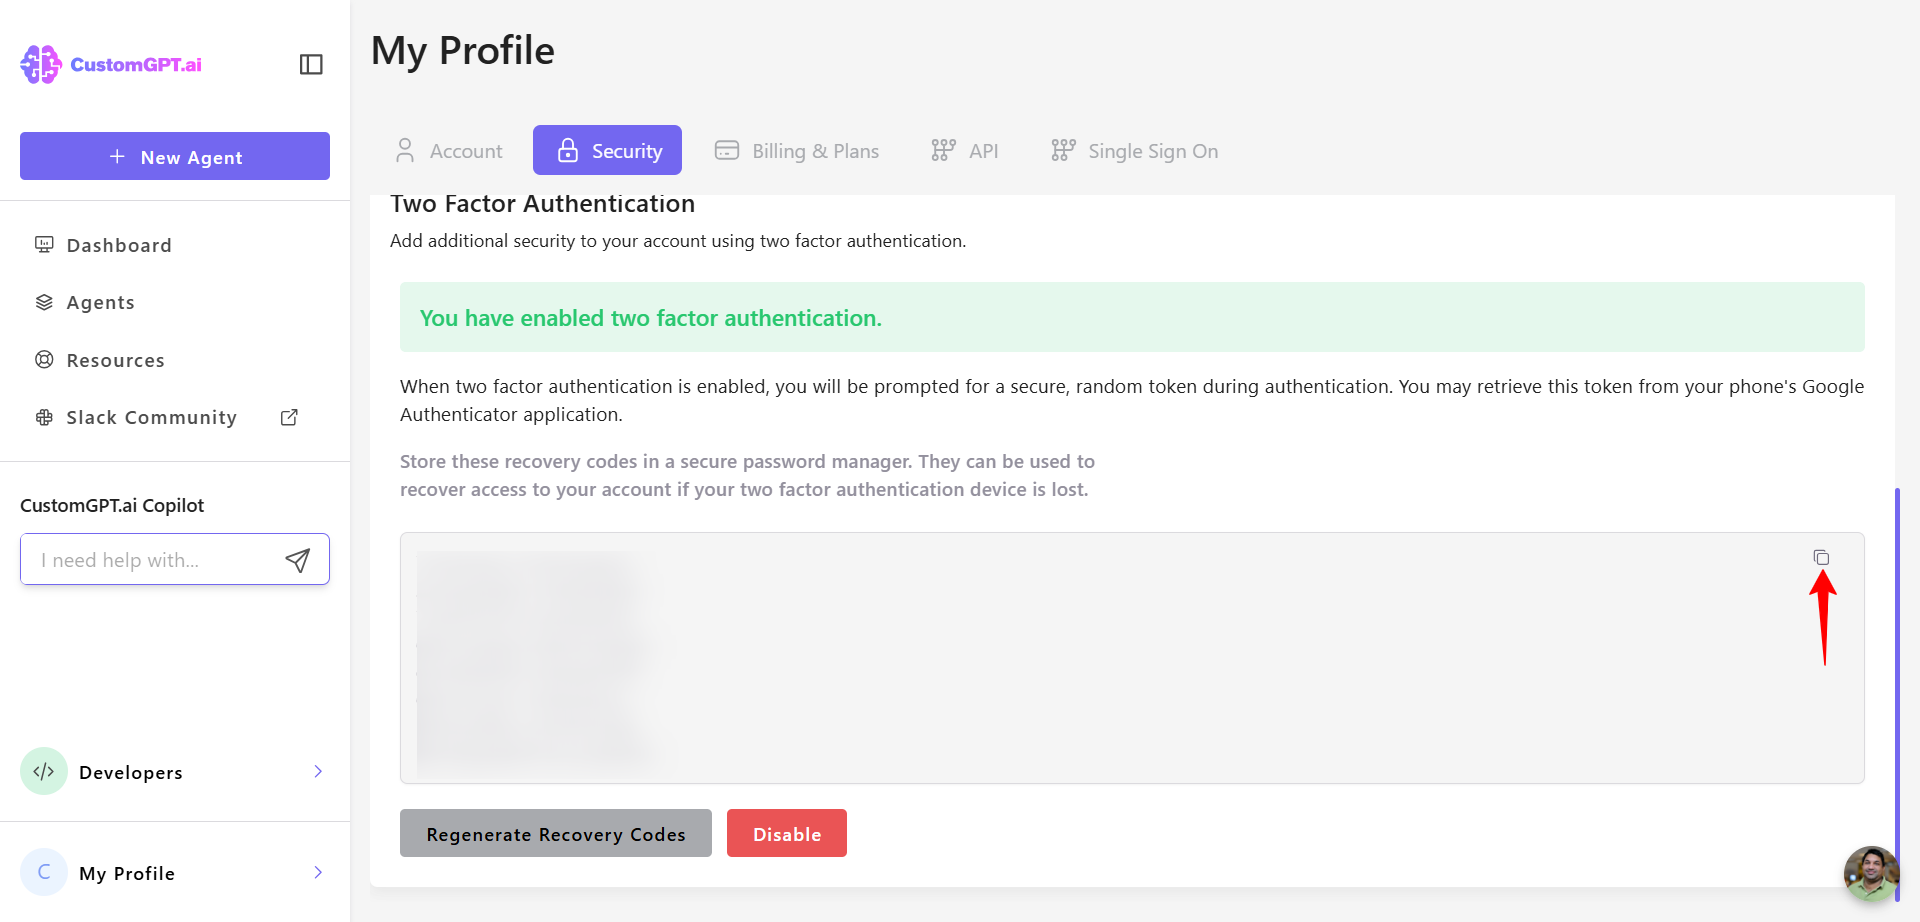
- Save your recovery codes in a secure location (e.g., a password manager). These can be used to regain access if you lose your authentication device.
Updated about 1 year ago
Did this page help you?