Add live chat to Wix
This step-by-step guide explains how to embed your CustomGPT Live Chat widget on your Wix website.
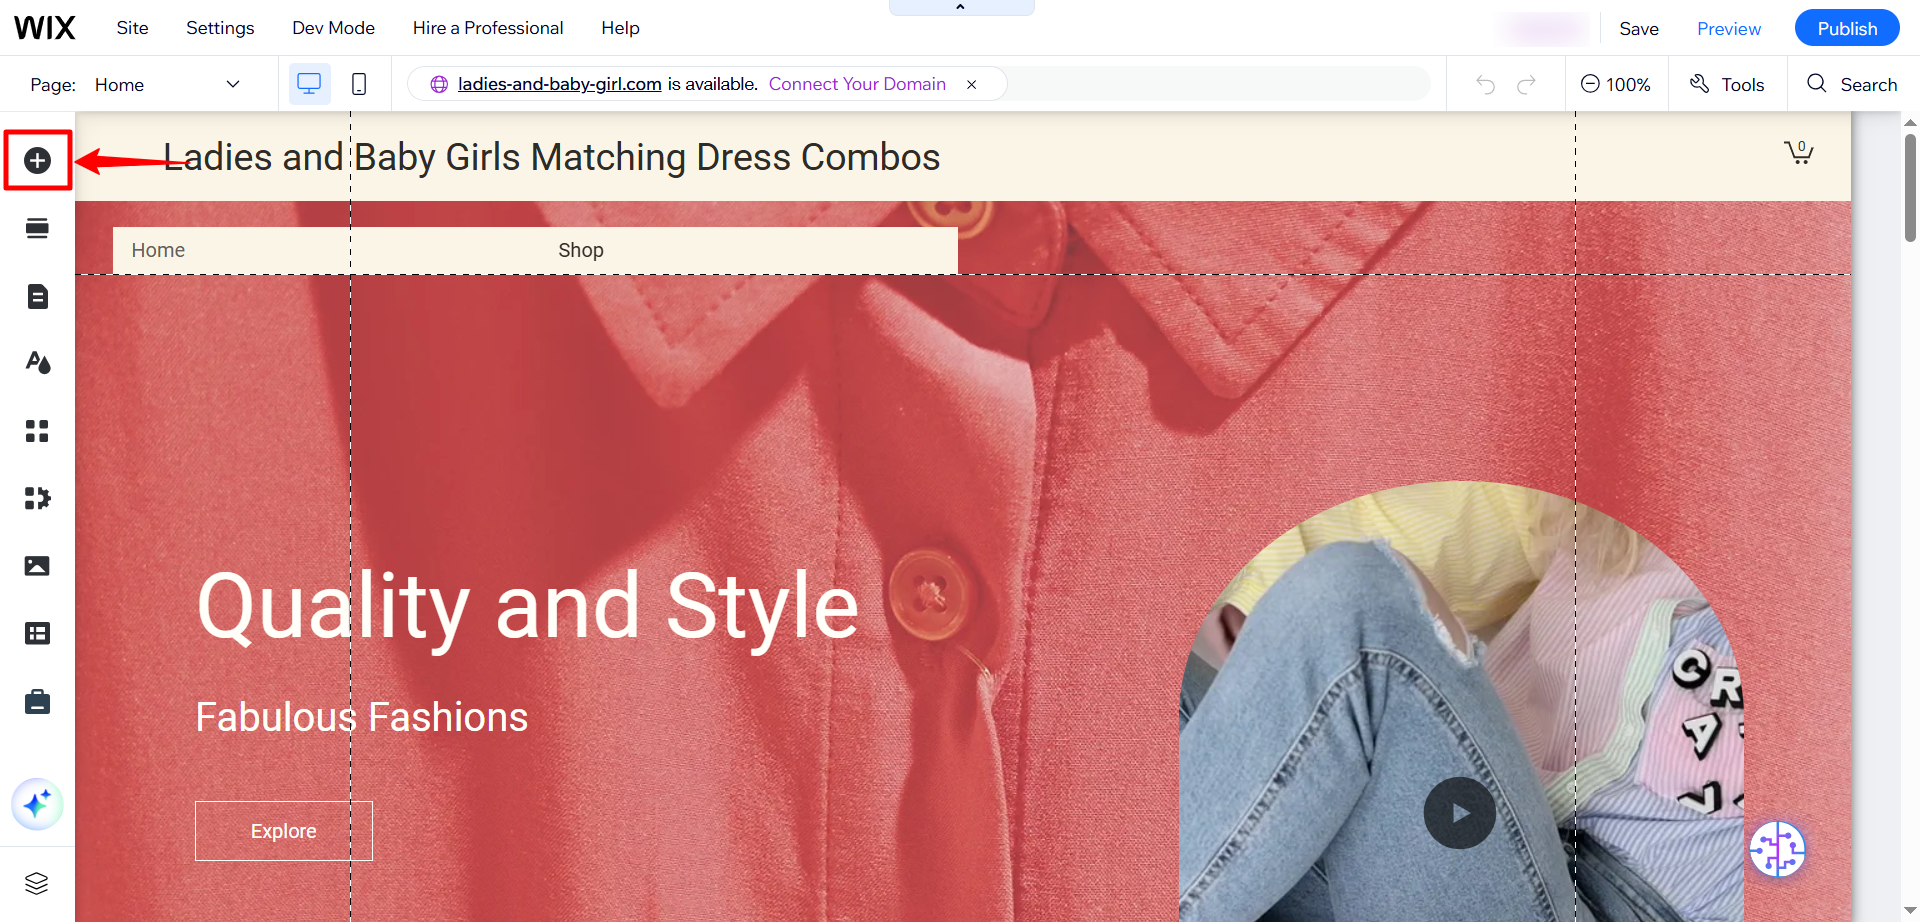
- In the Wix Editor, click Add Elements.
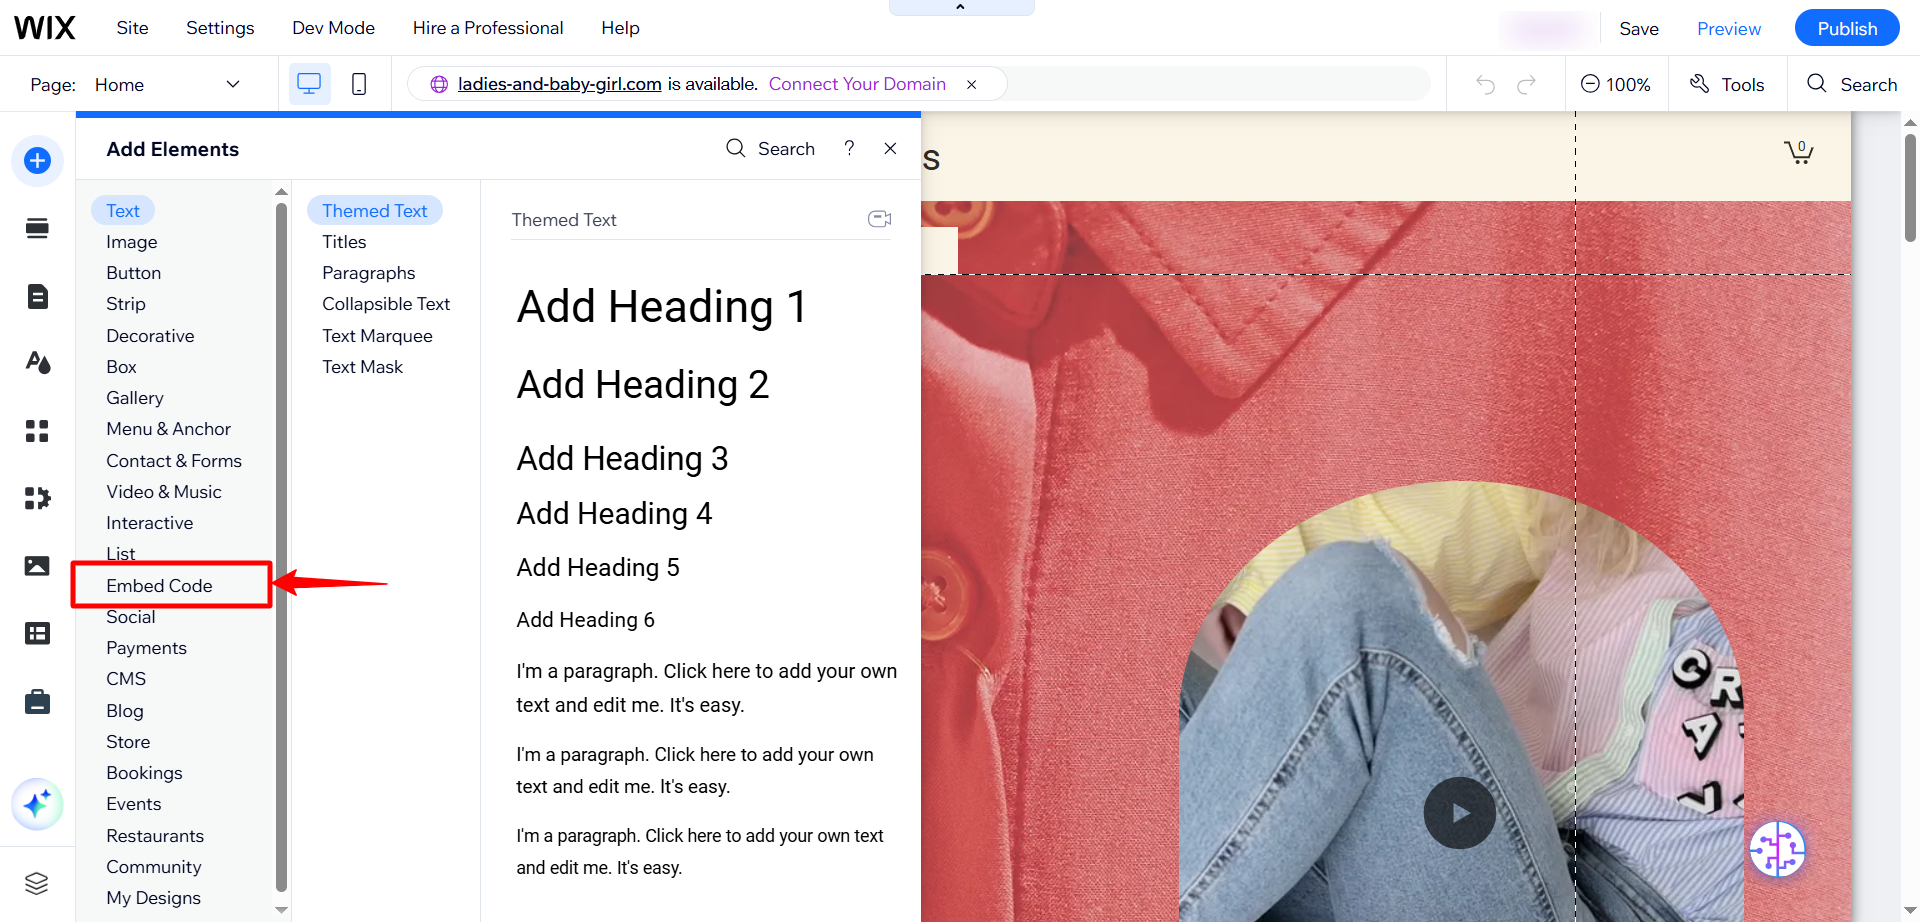
- Click Embed Code.
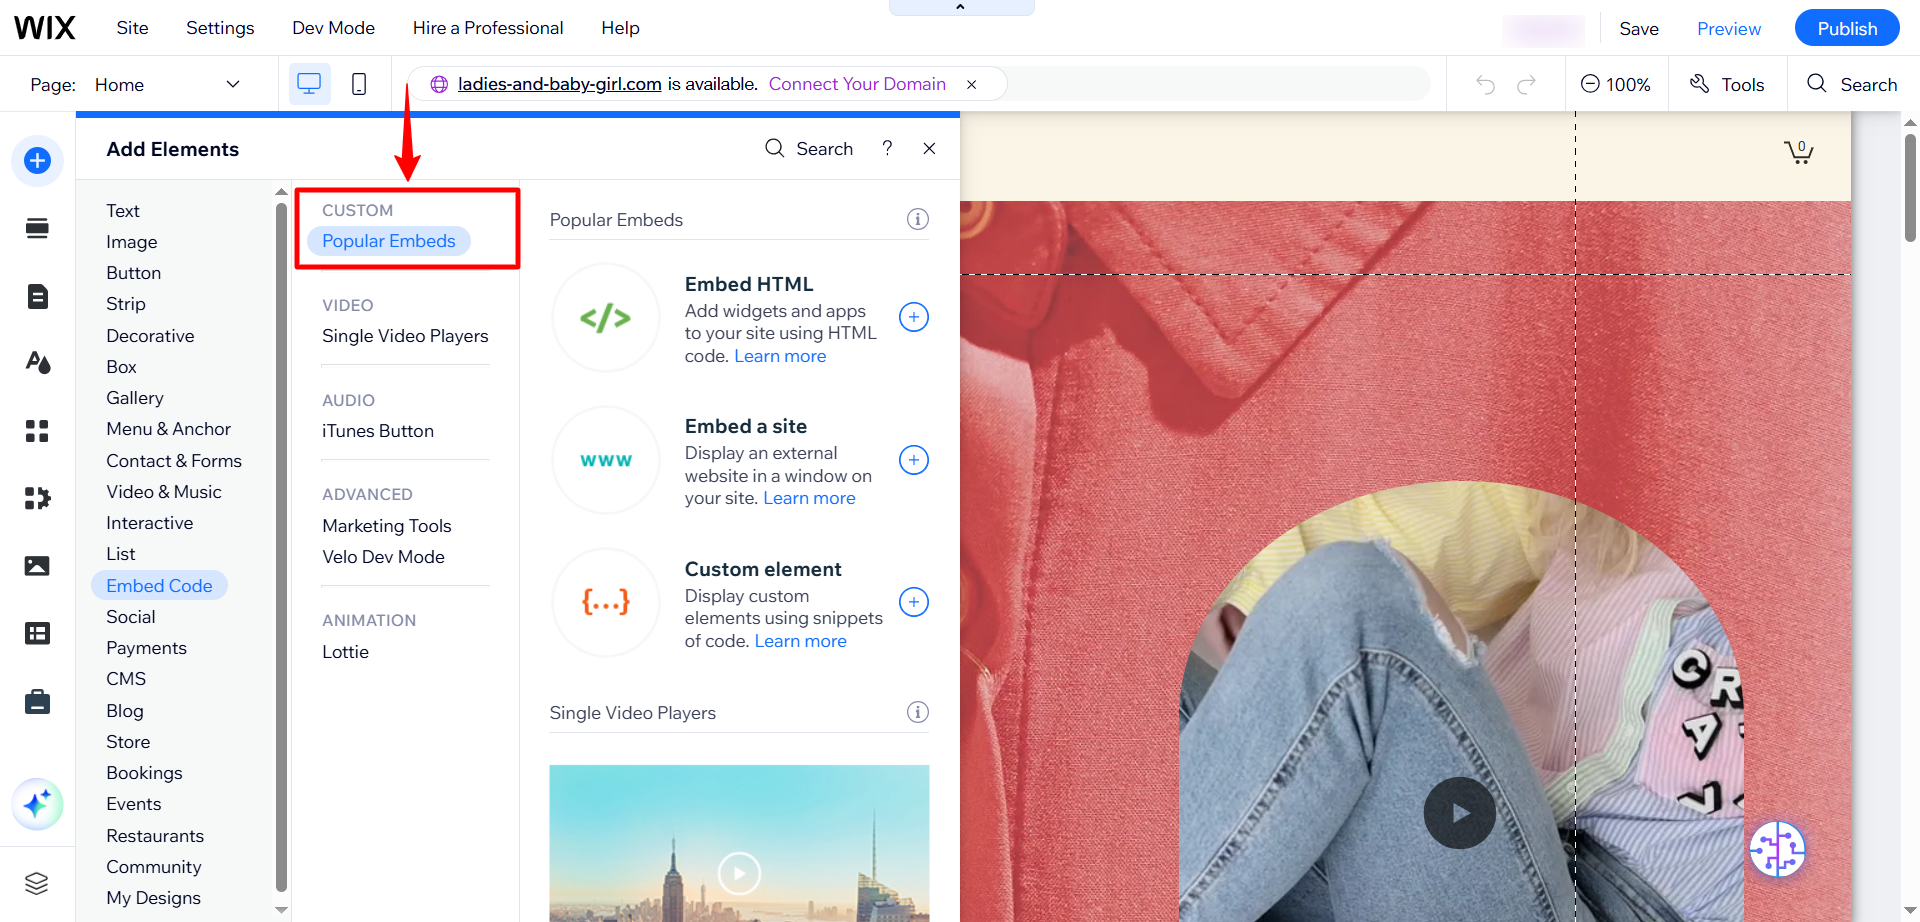
- Click Popular Embeds.
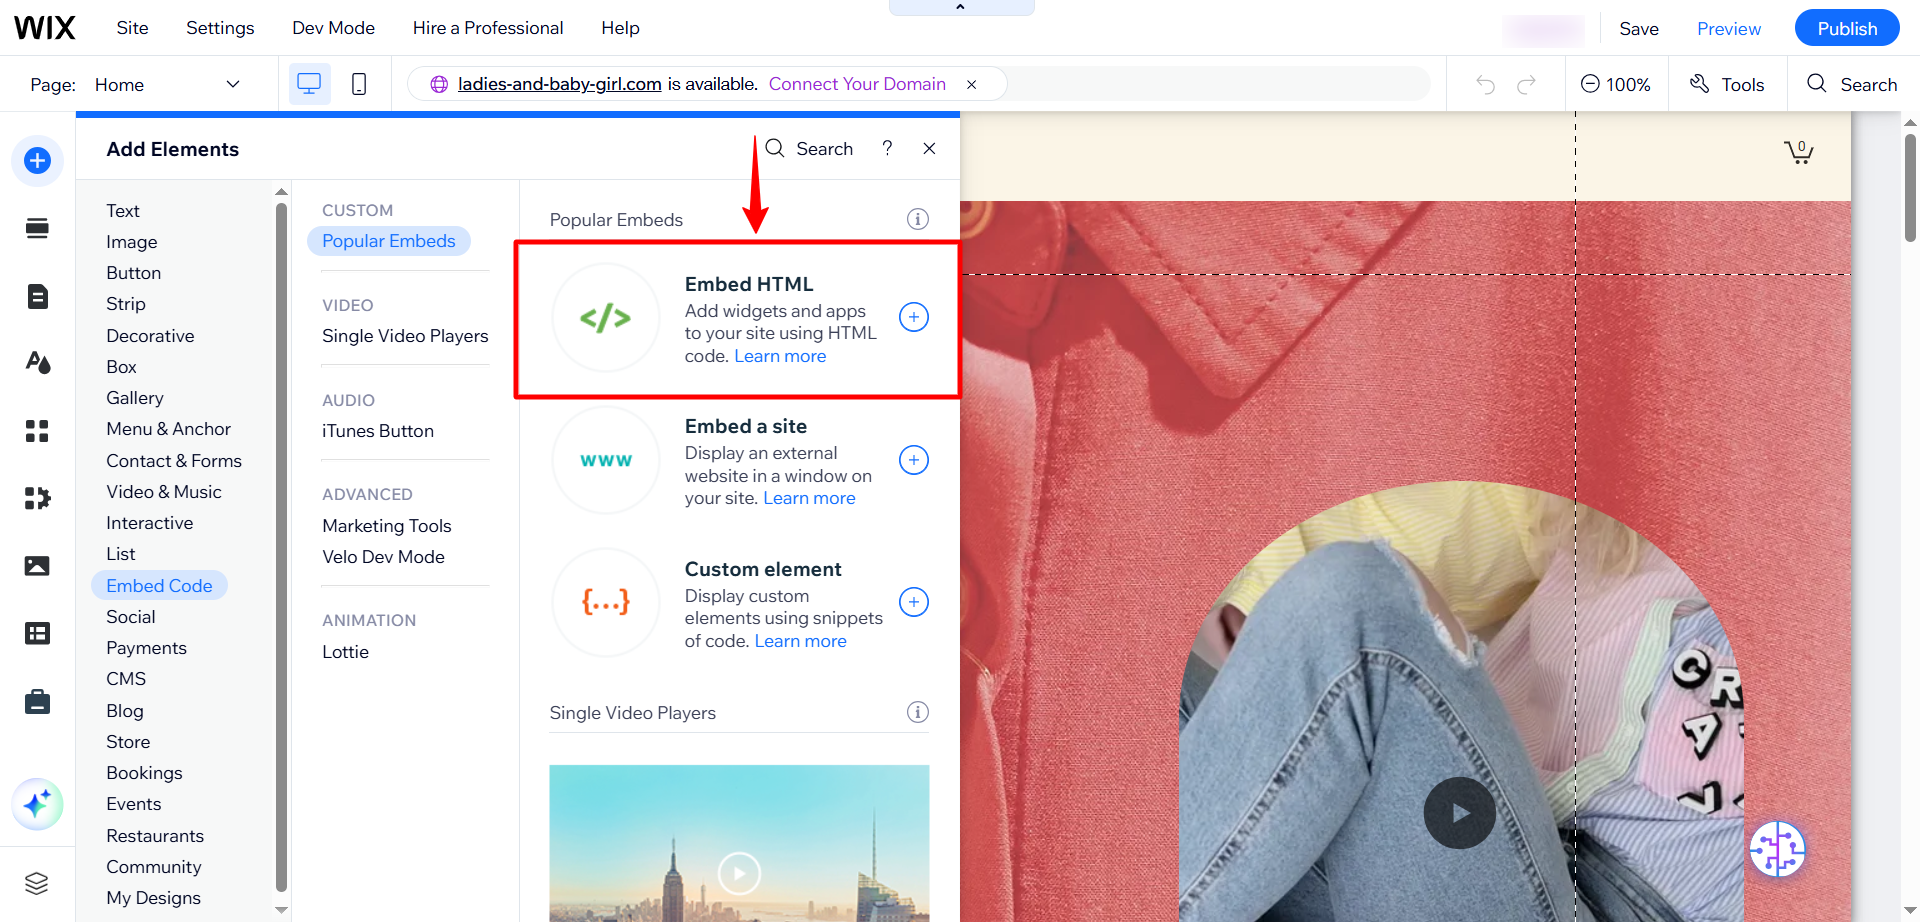
- Select Embed HTML.
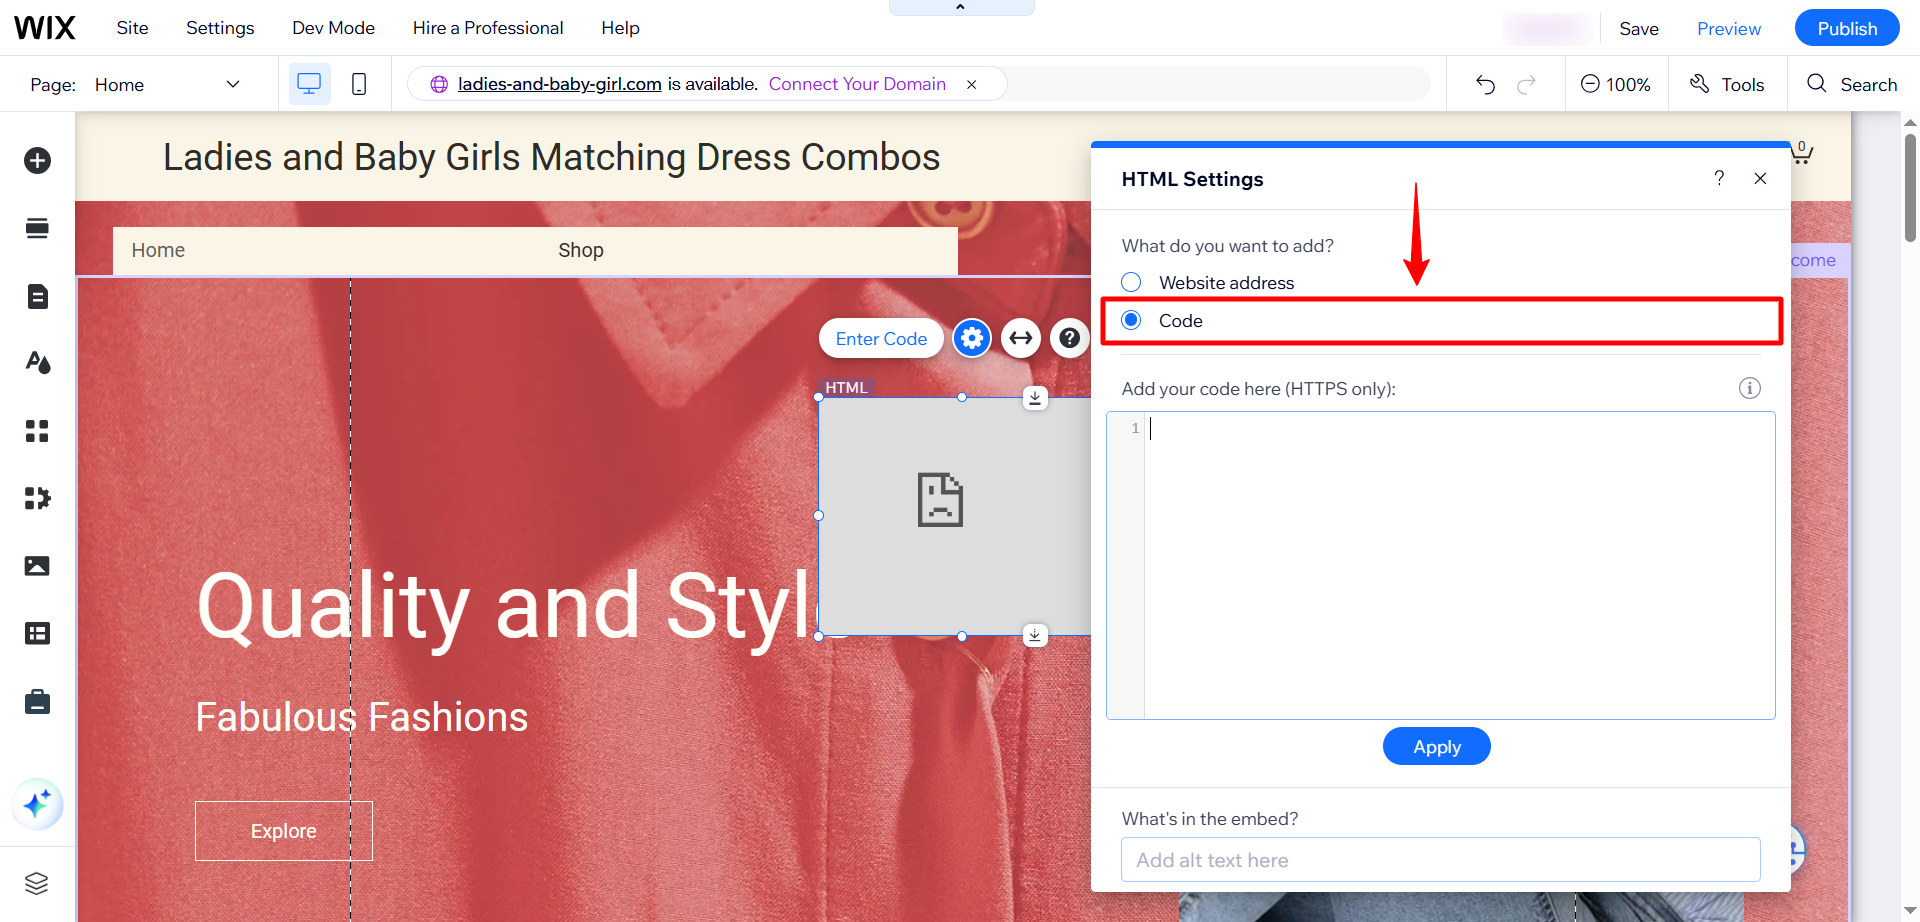
- Click Code to open the HTML input field.
- Paste your AI agent's embed code into the HTML field.
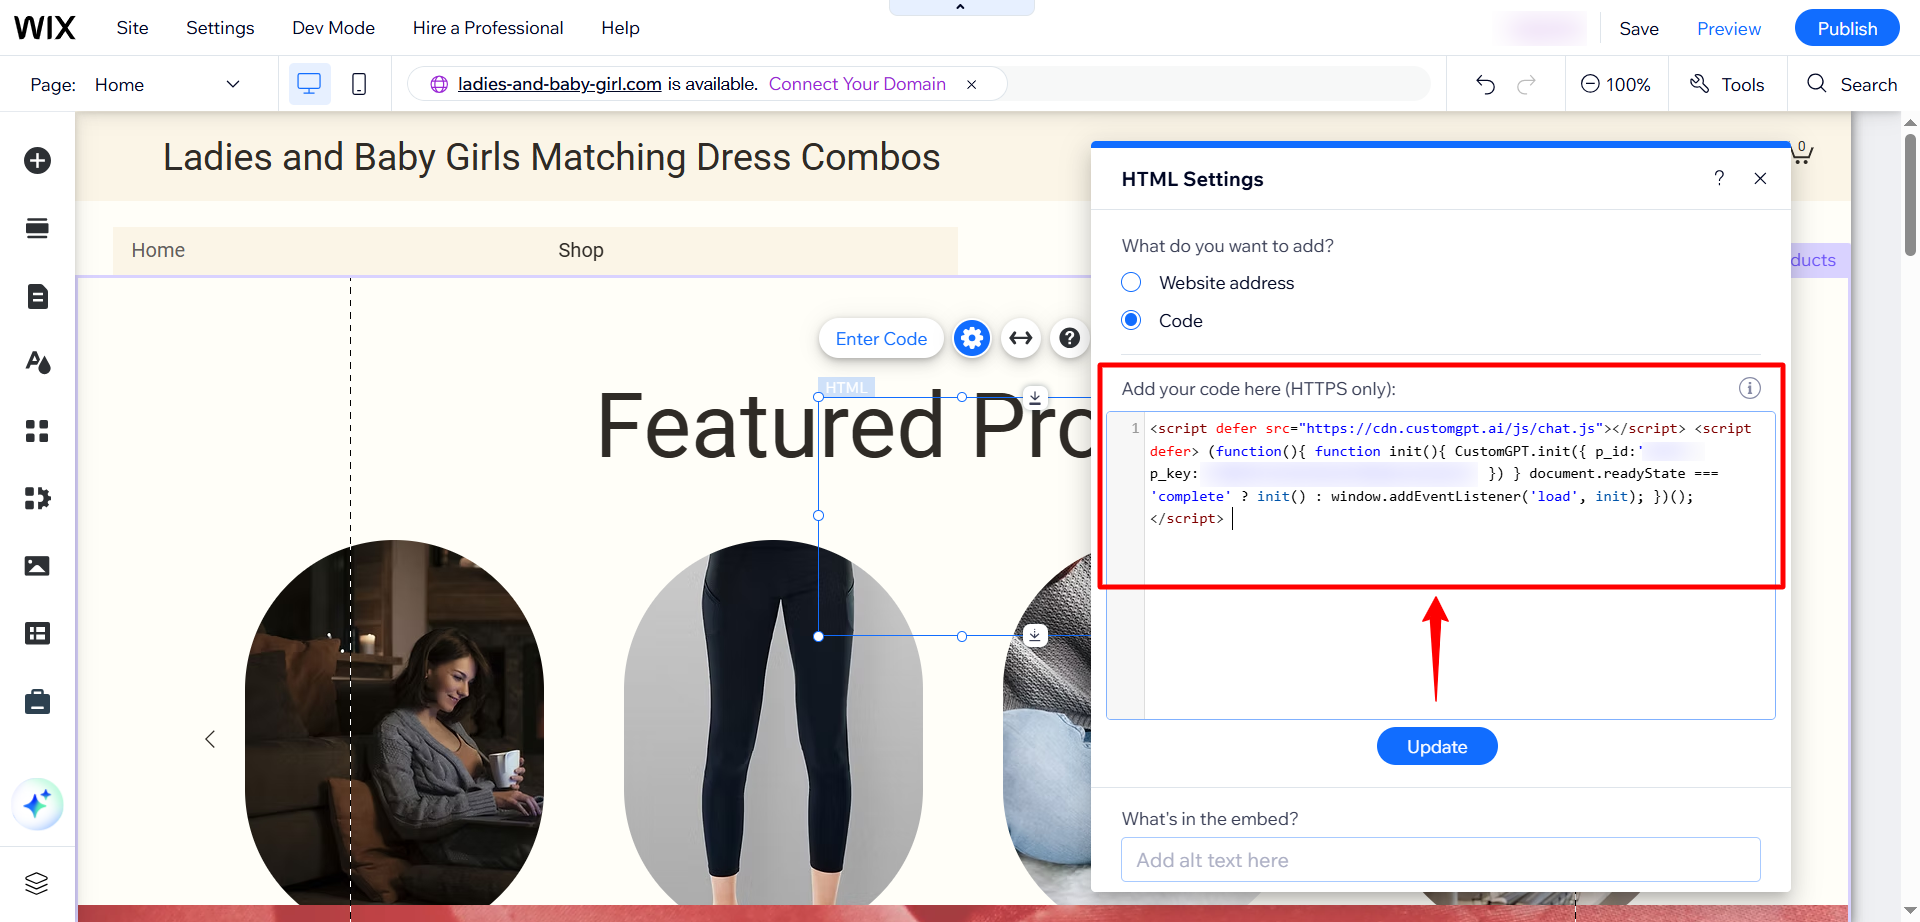
Note:To get the live chat code, follow this guide: Add Live Chat
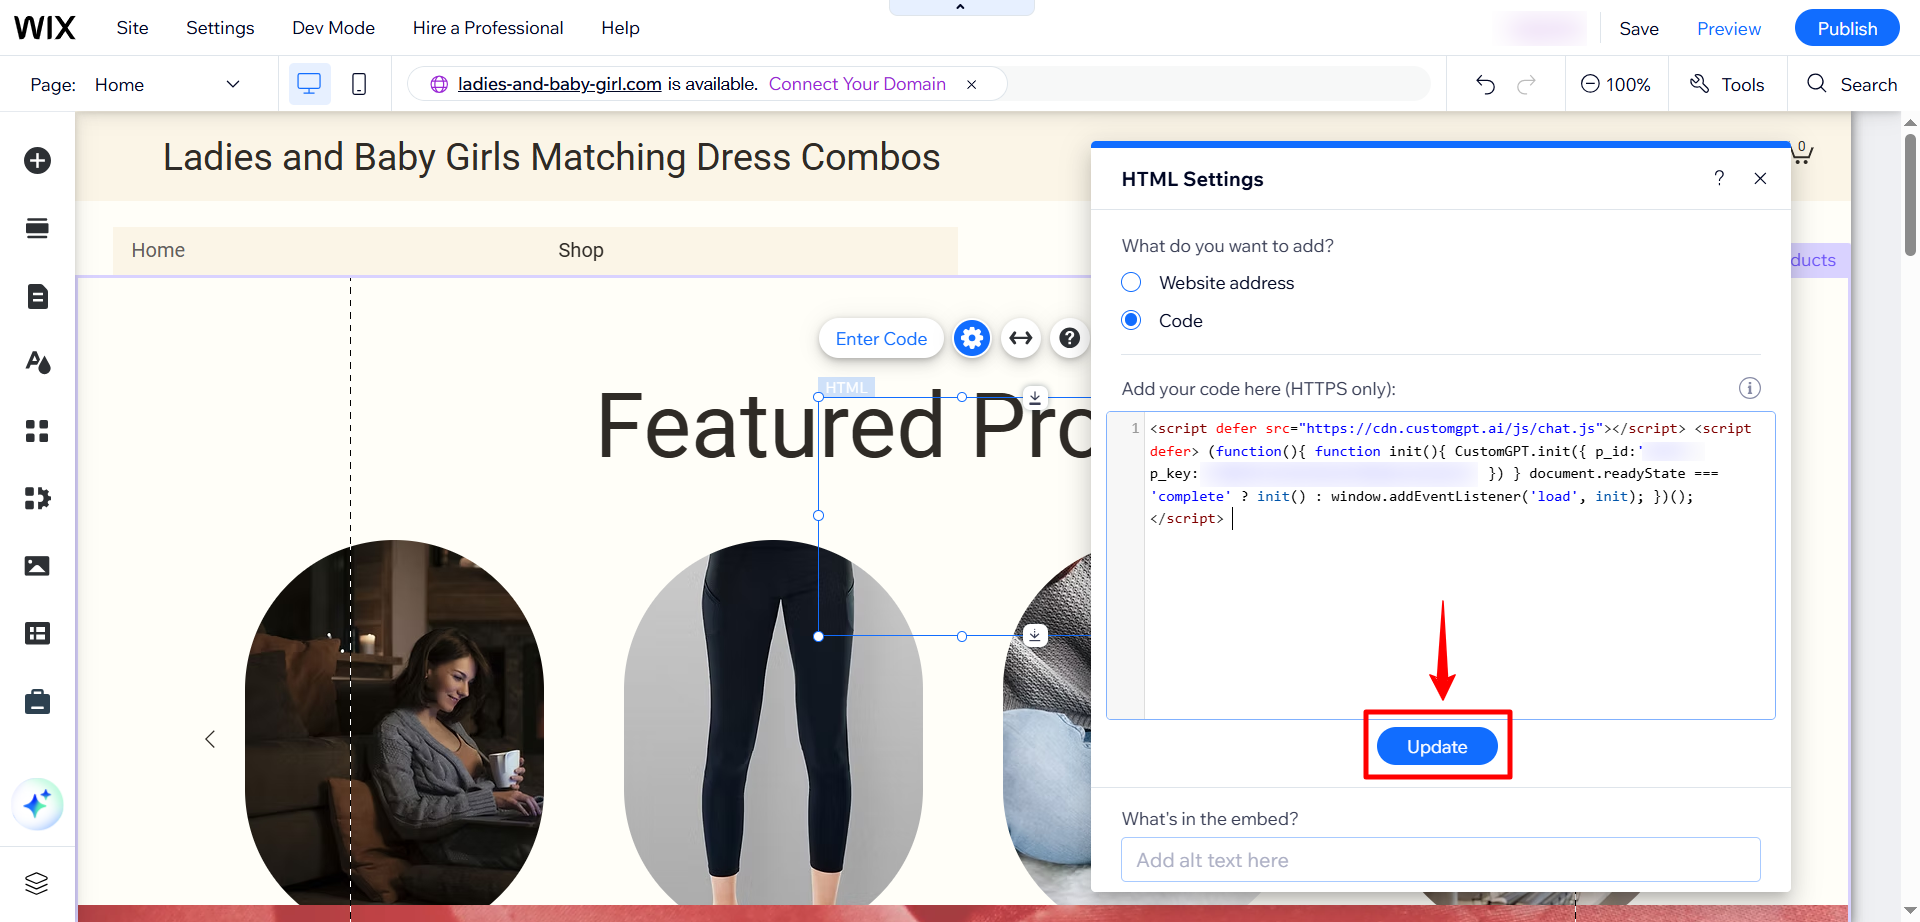
- Click Update to apply the changes.
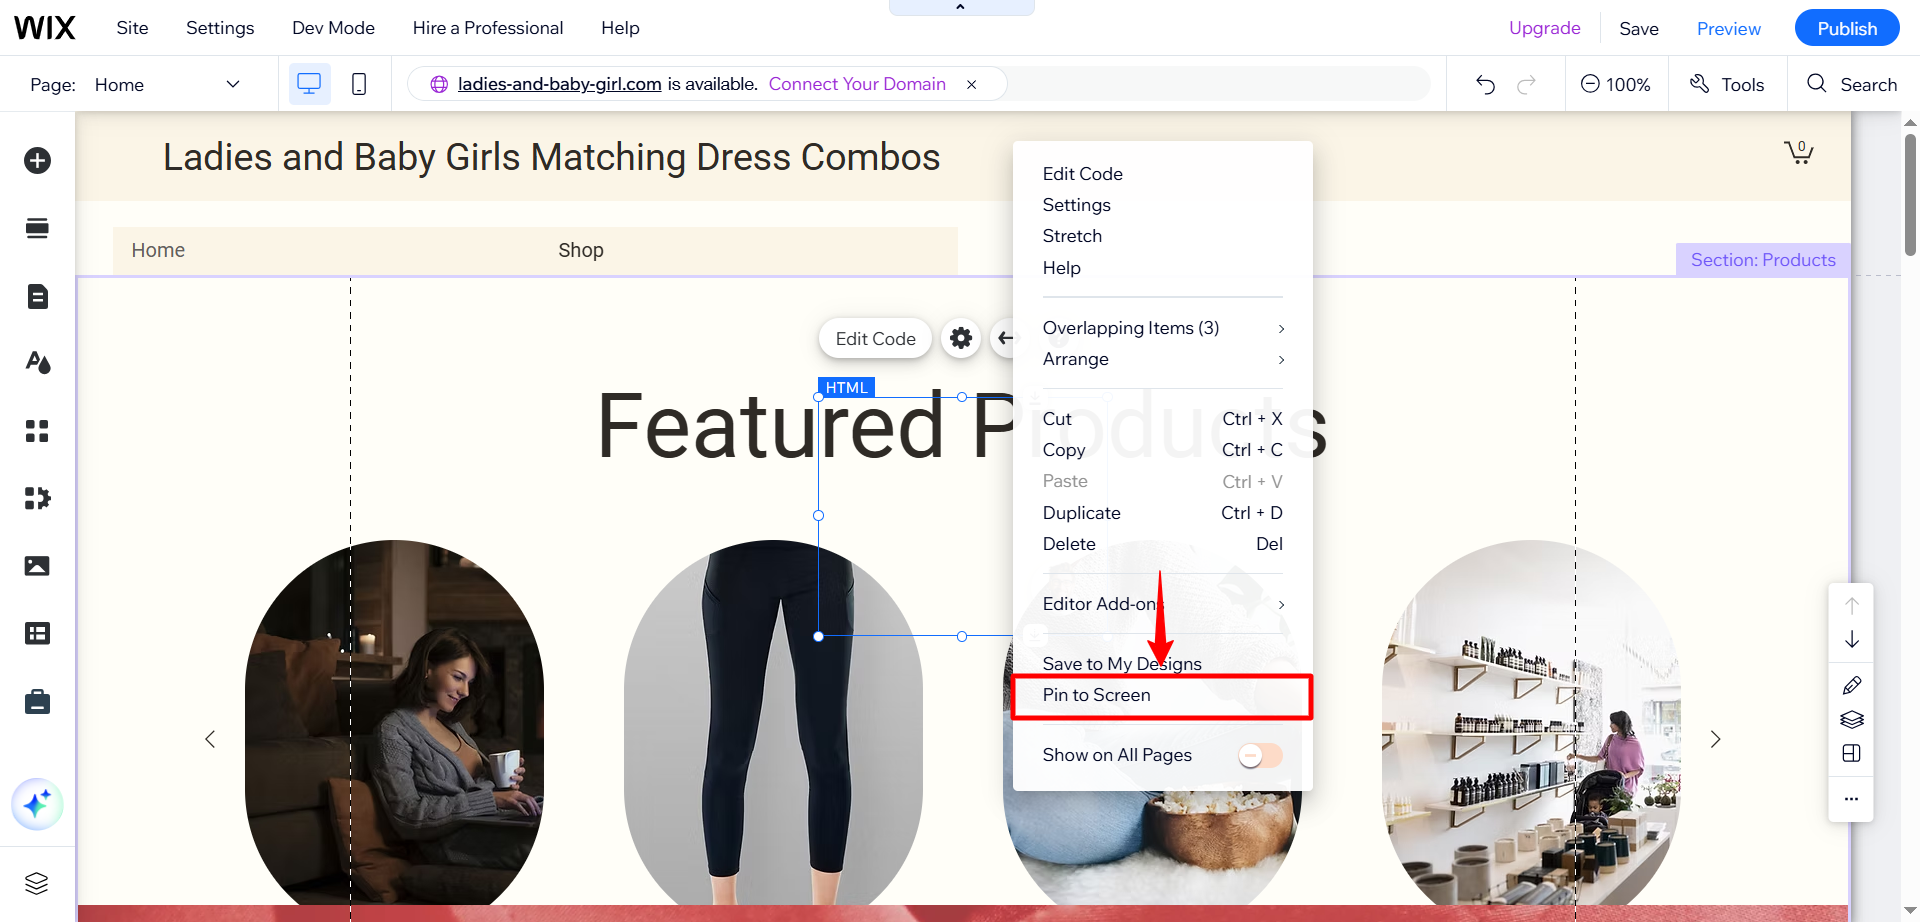
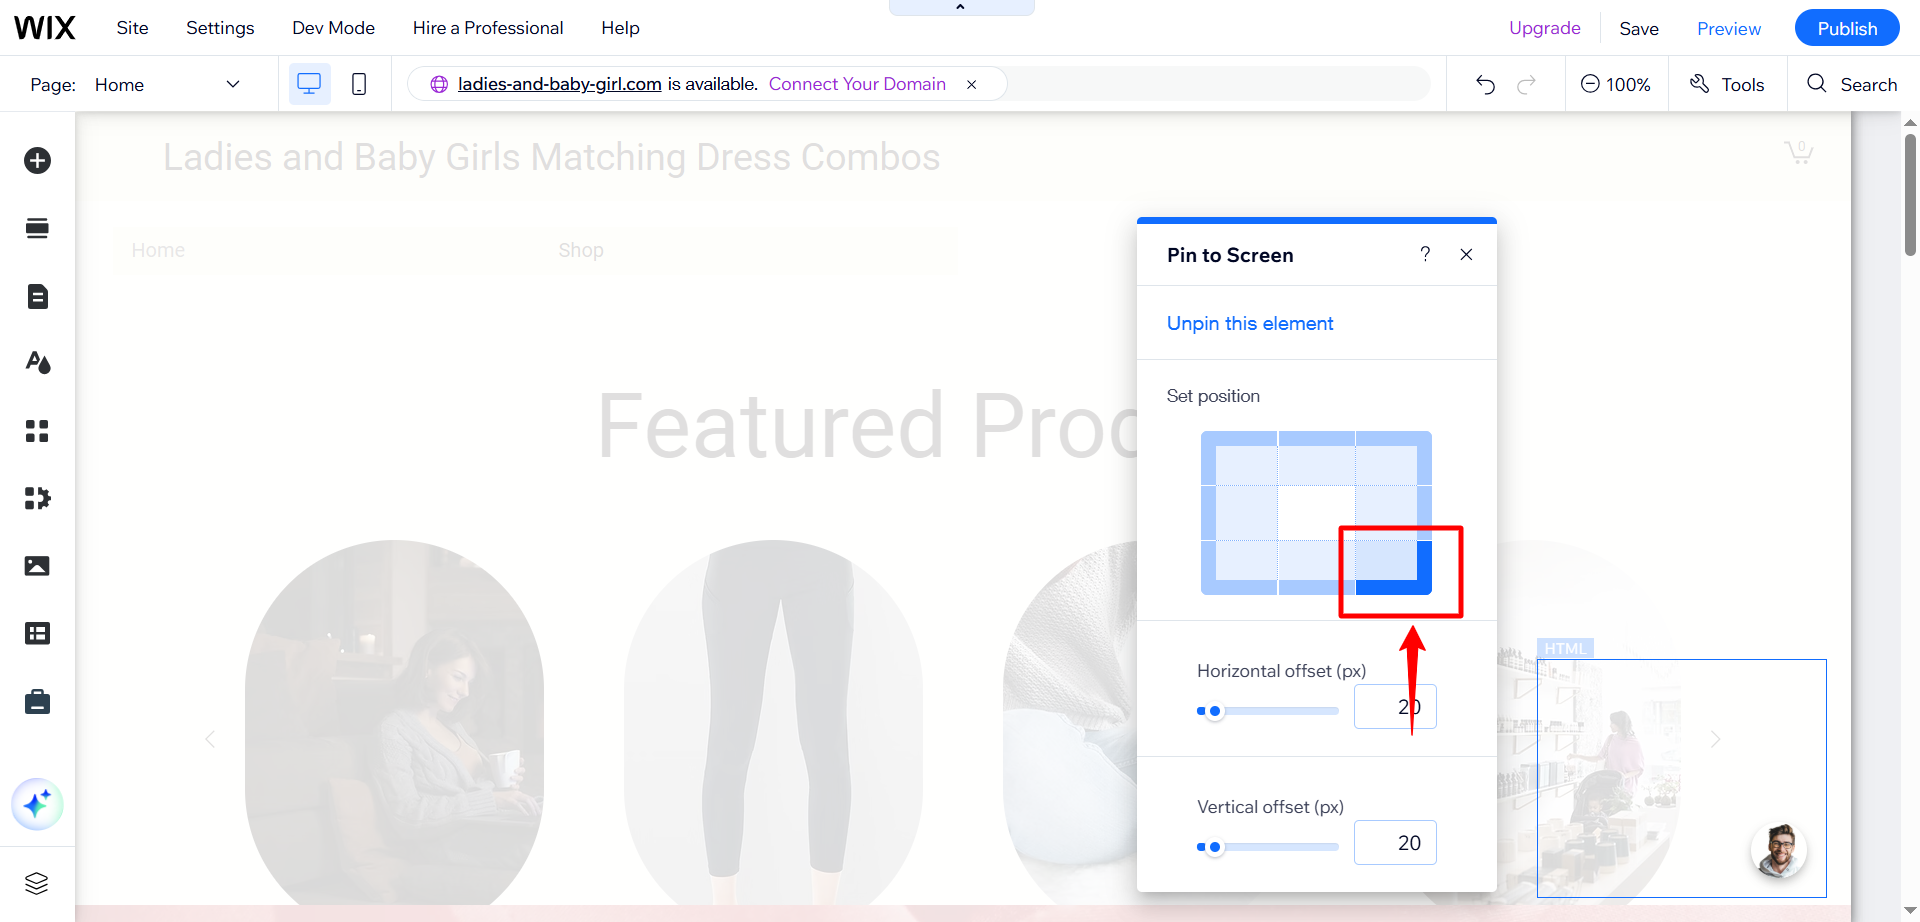
- Right-click on the Live Chat embed, then click Pin to Screen.
- Position the widget in the bottom-right corner of the screen.
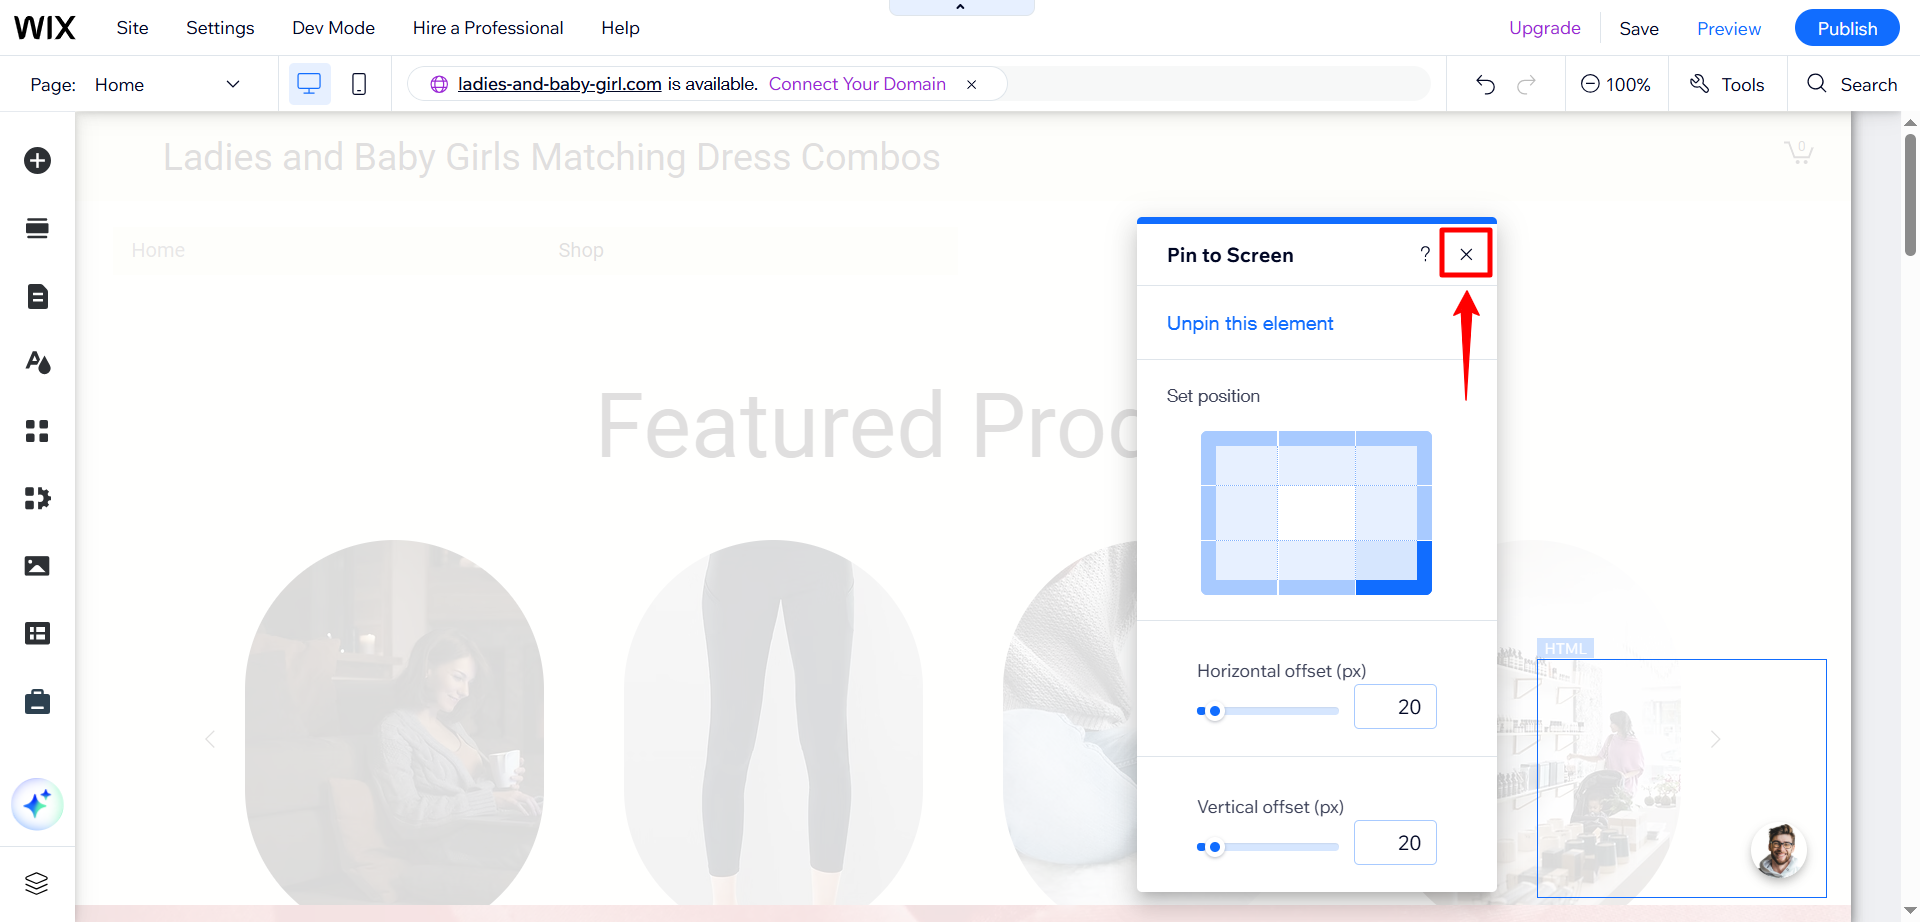
- Click the X icon to close the code editor.
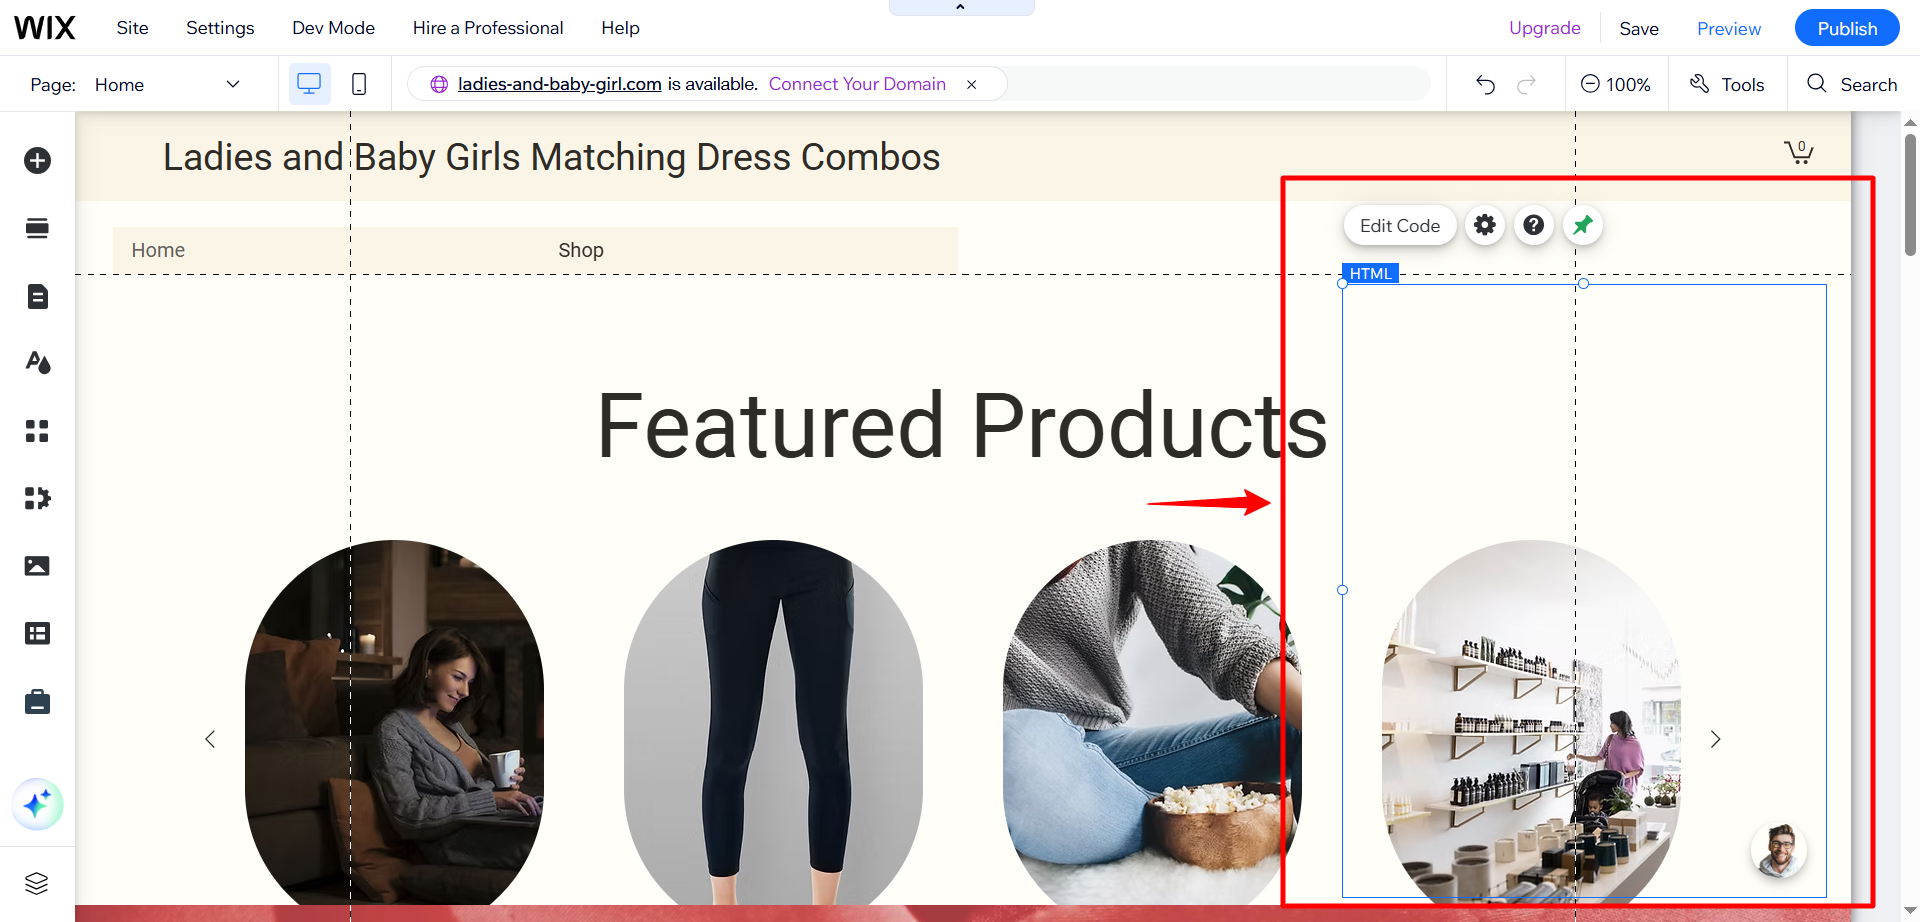
- Adjust the size of the Live Chat widget to fit your design.
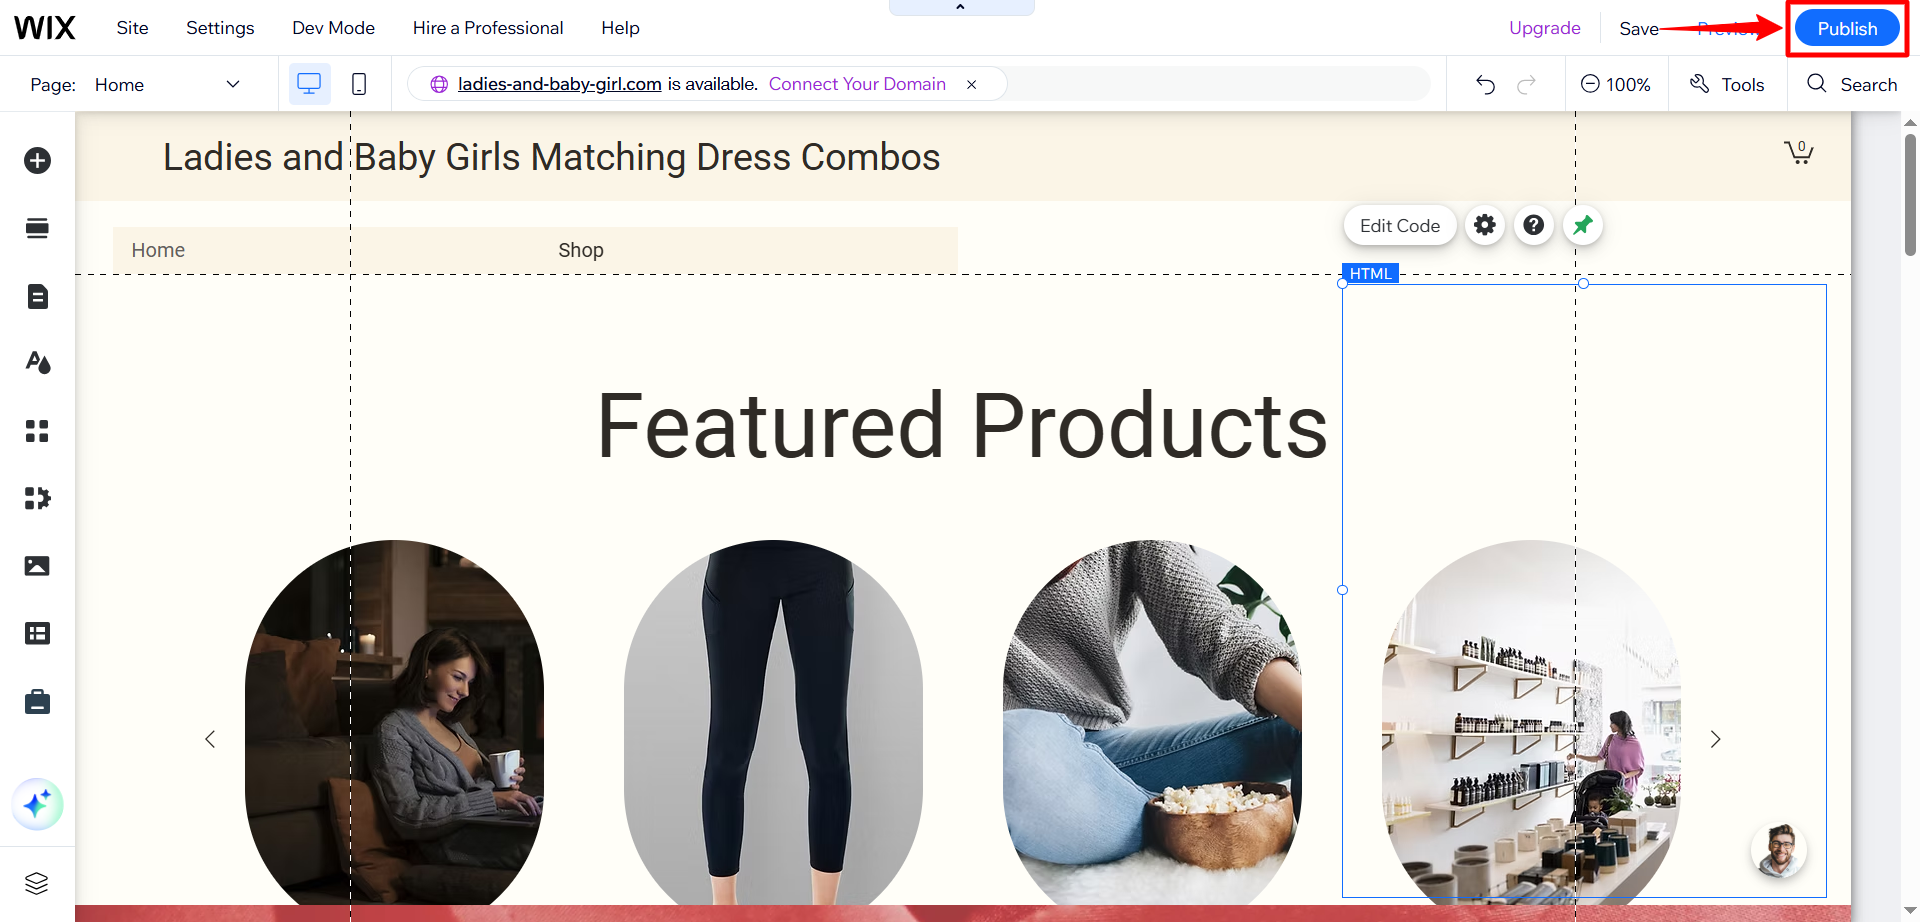
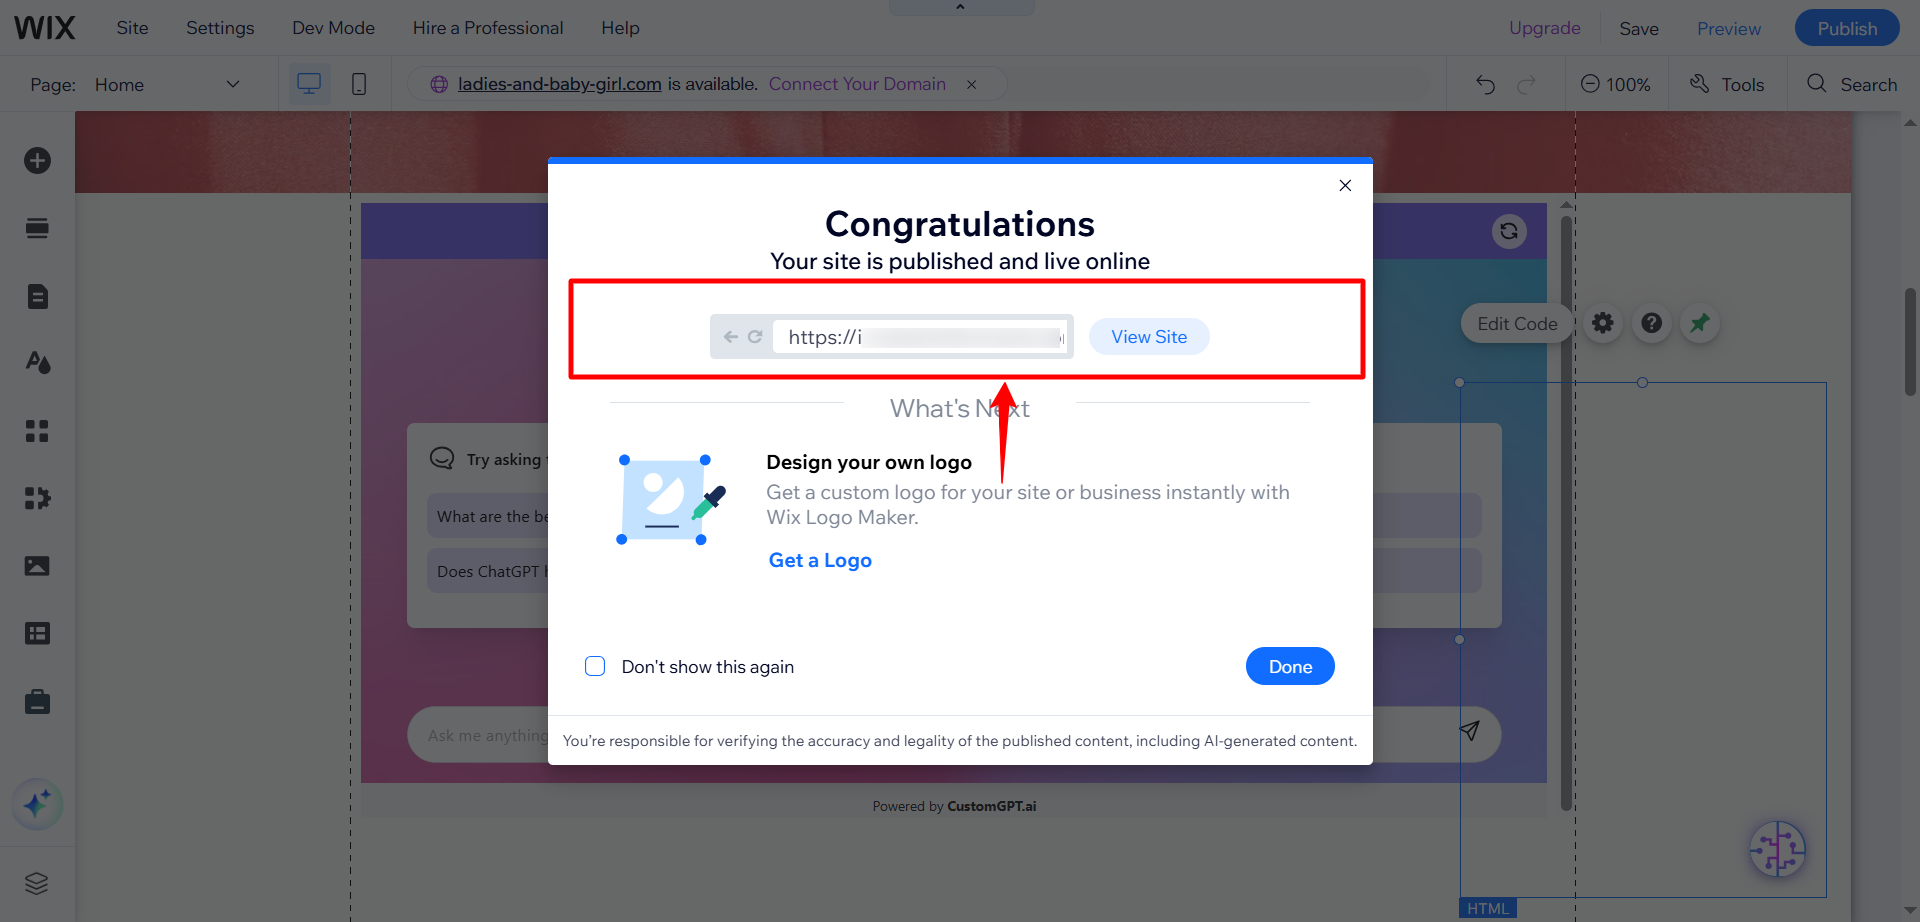
- Click Publish to save your changes.
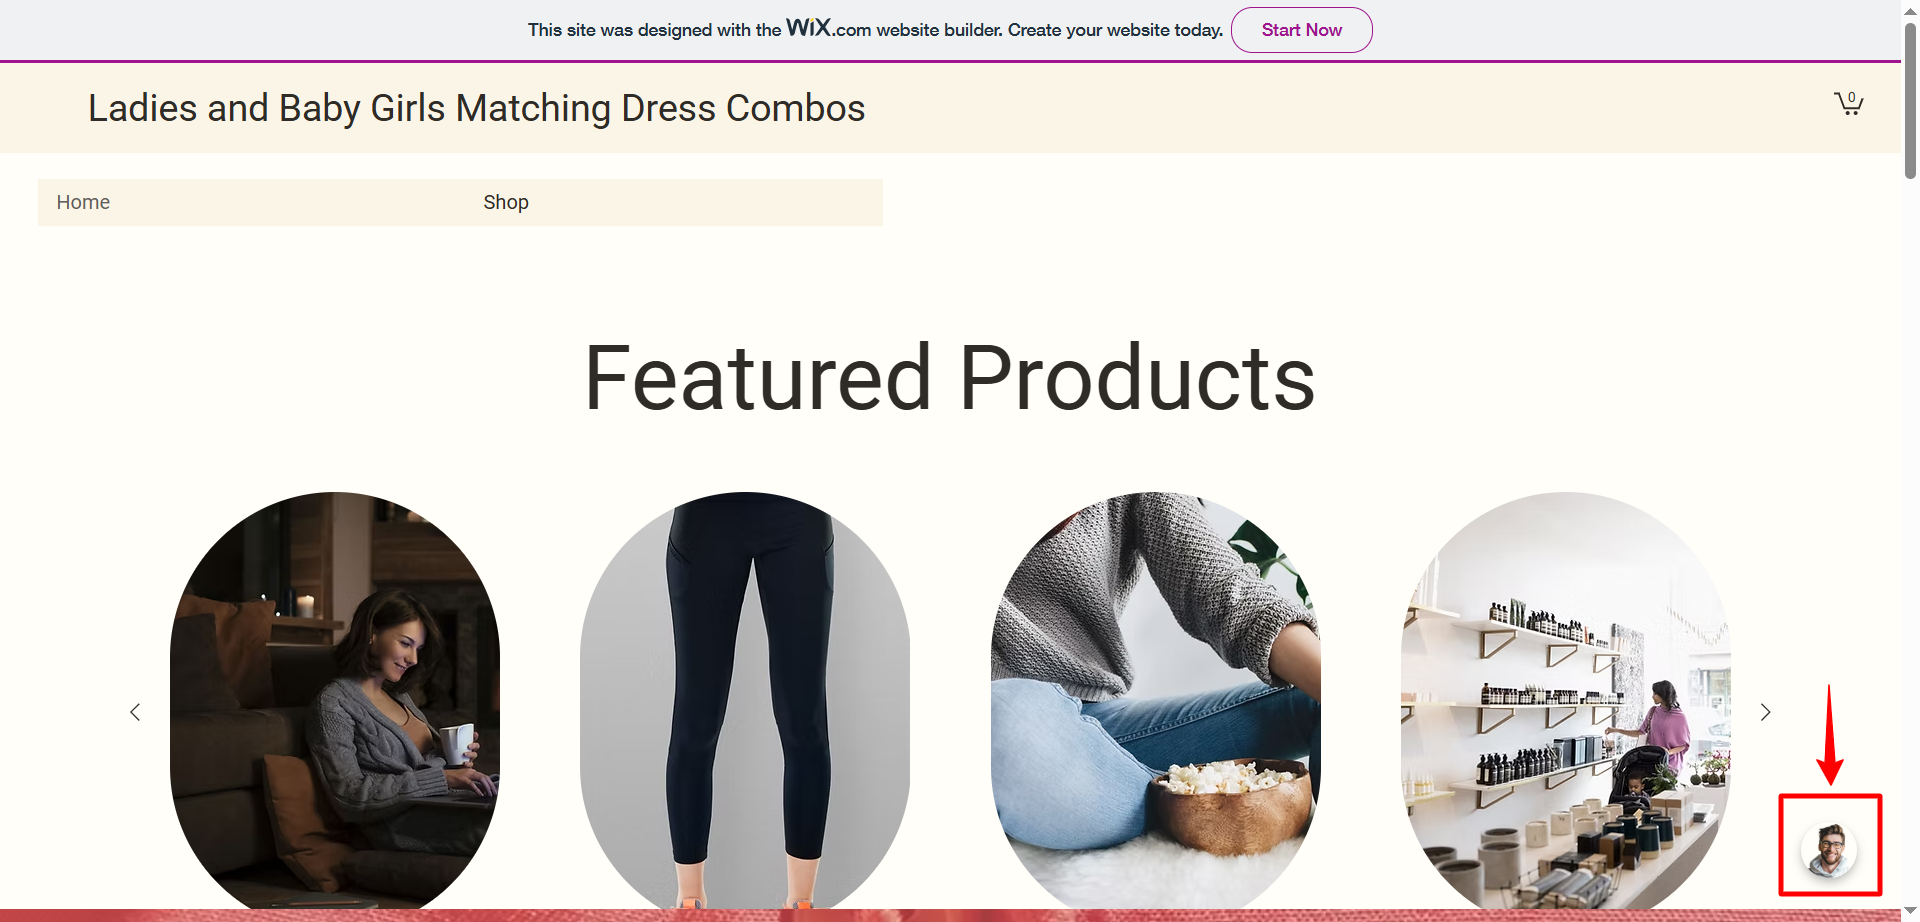
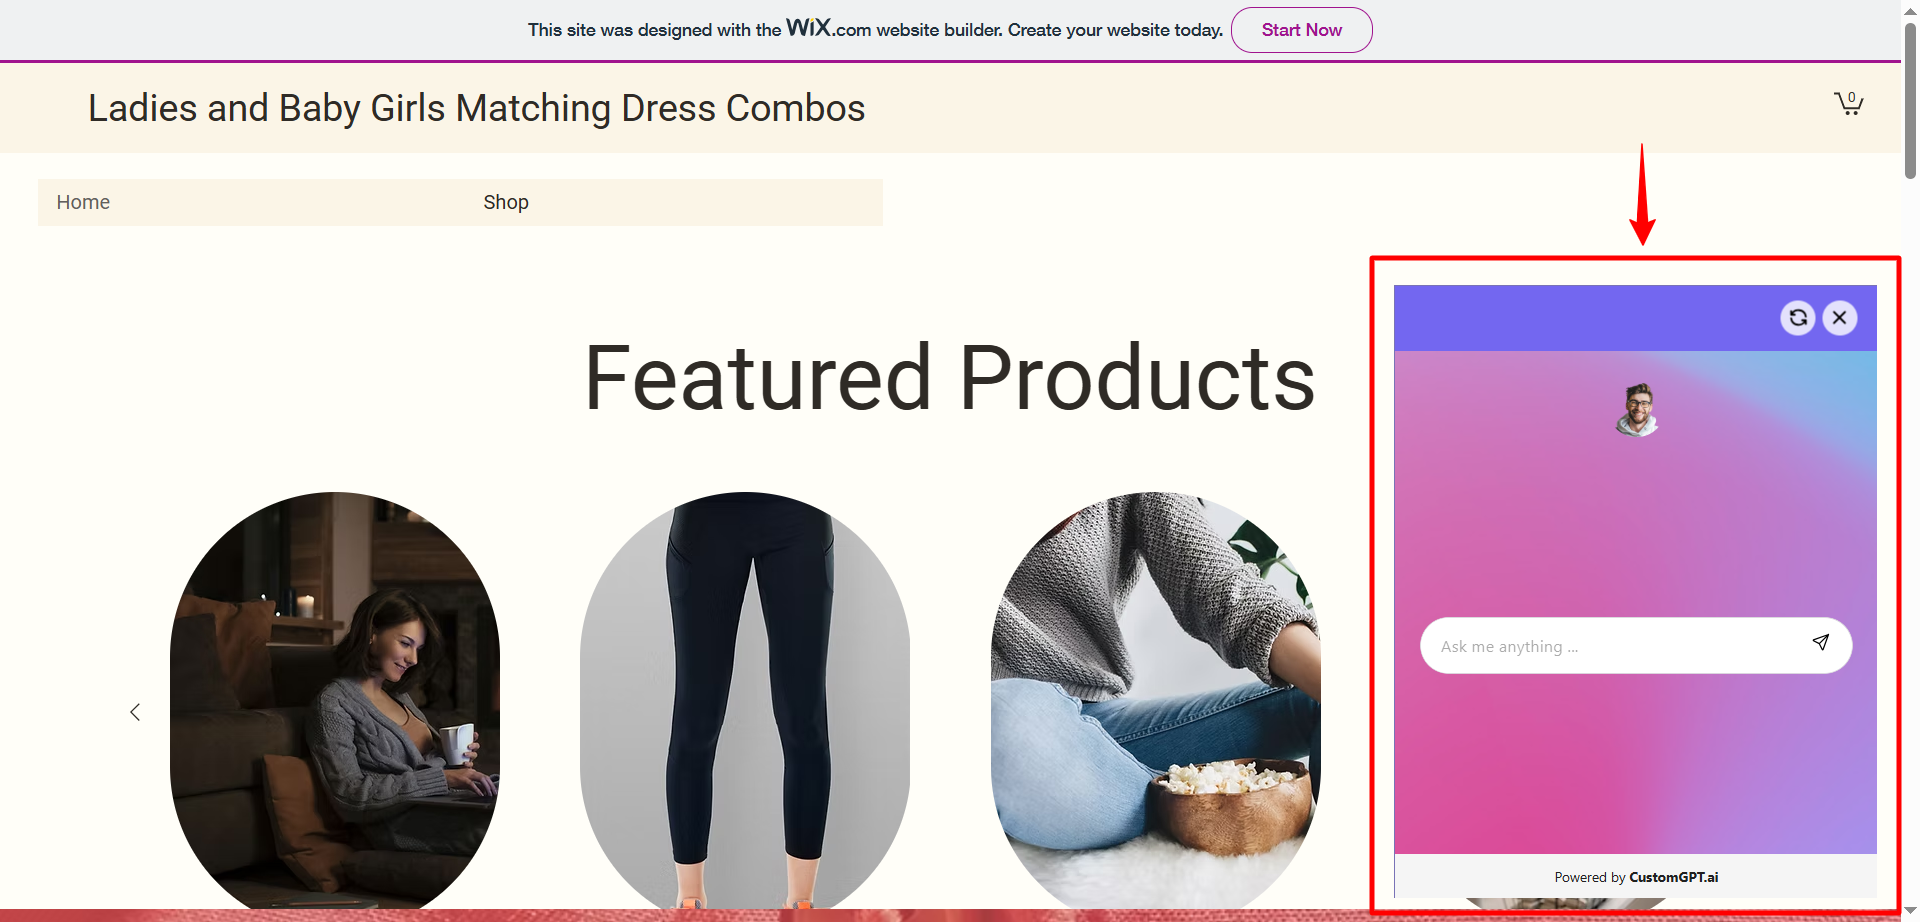
- Click View Site to see your Live Chat in action.
- Take a look at your embedded widget and adjust settings as needed for positioning, size, or styling.
Updated about 1 year ago
Did this page help you?