Activate data anonymizer (premium feature)
This step-by-step guide explains how to activate the Data Anonymizer, a premium feature that safeguards user privacy by removing personally identifiable information (PII) from your uploaded data.
- Click the three dots next to your agent’s name, then select Build.

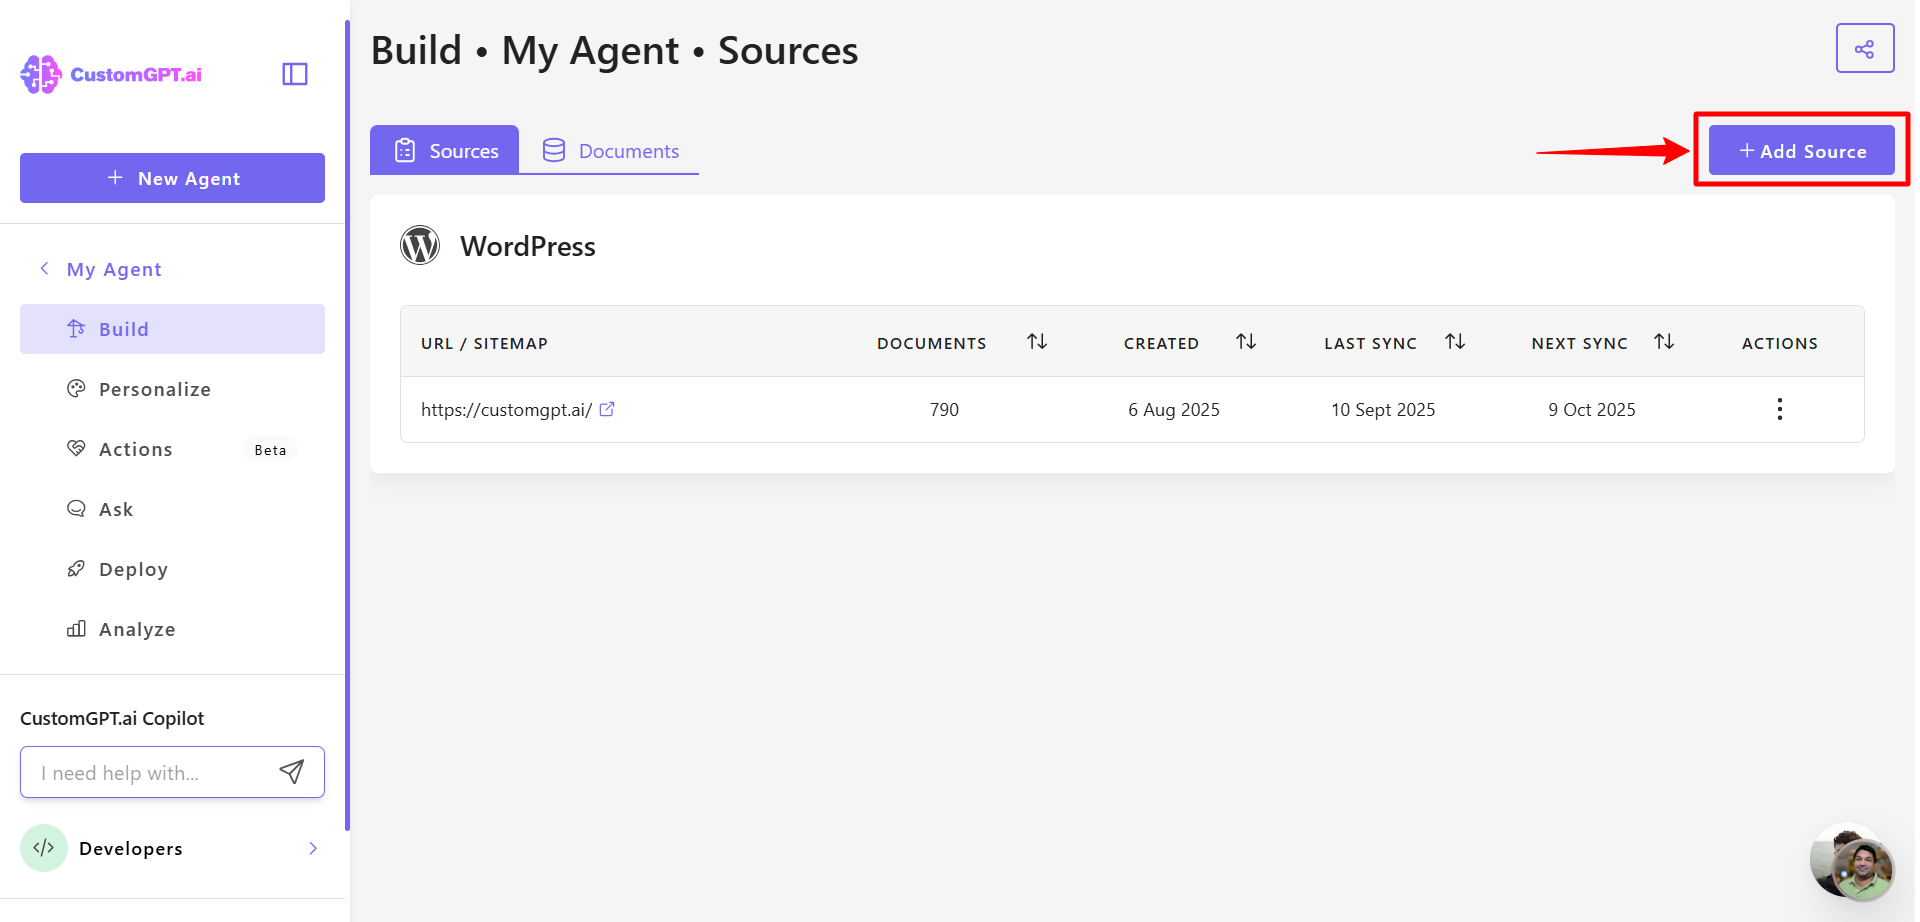
- Click Add Source.
- Select File Upload.

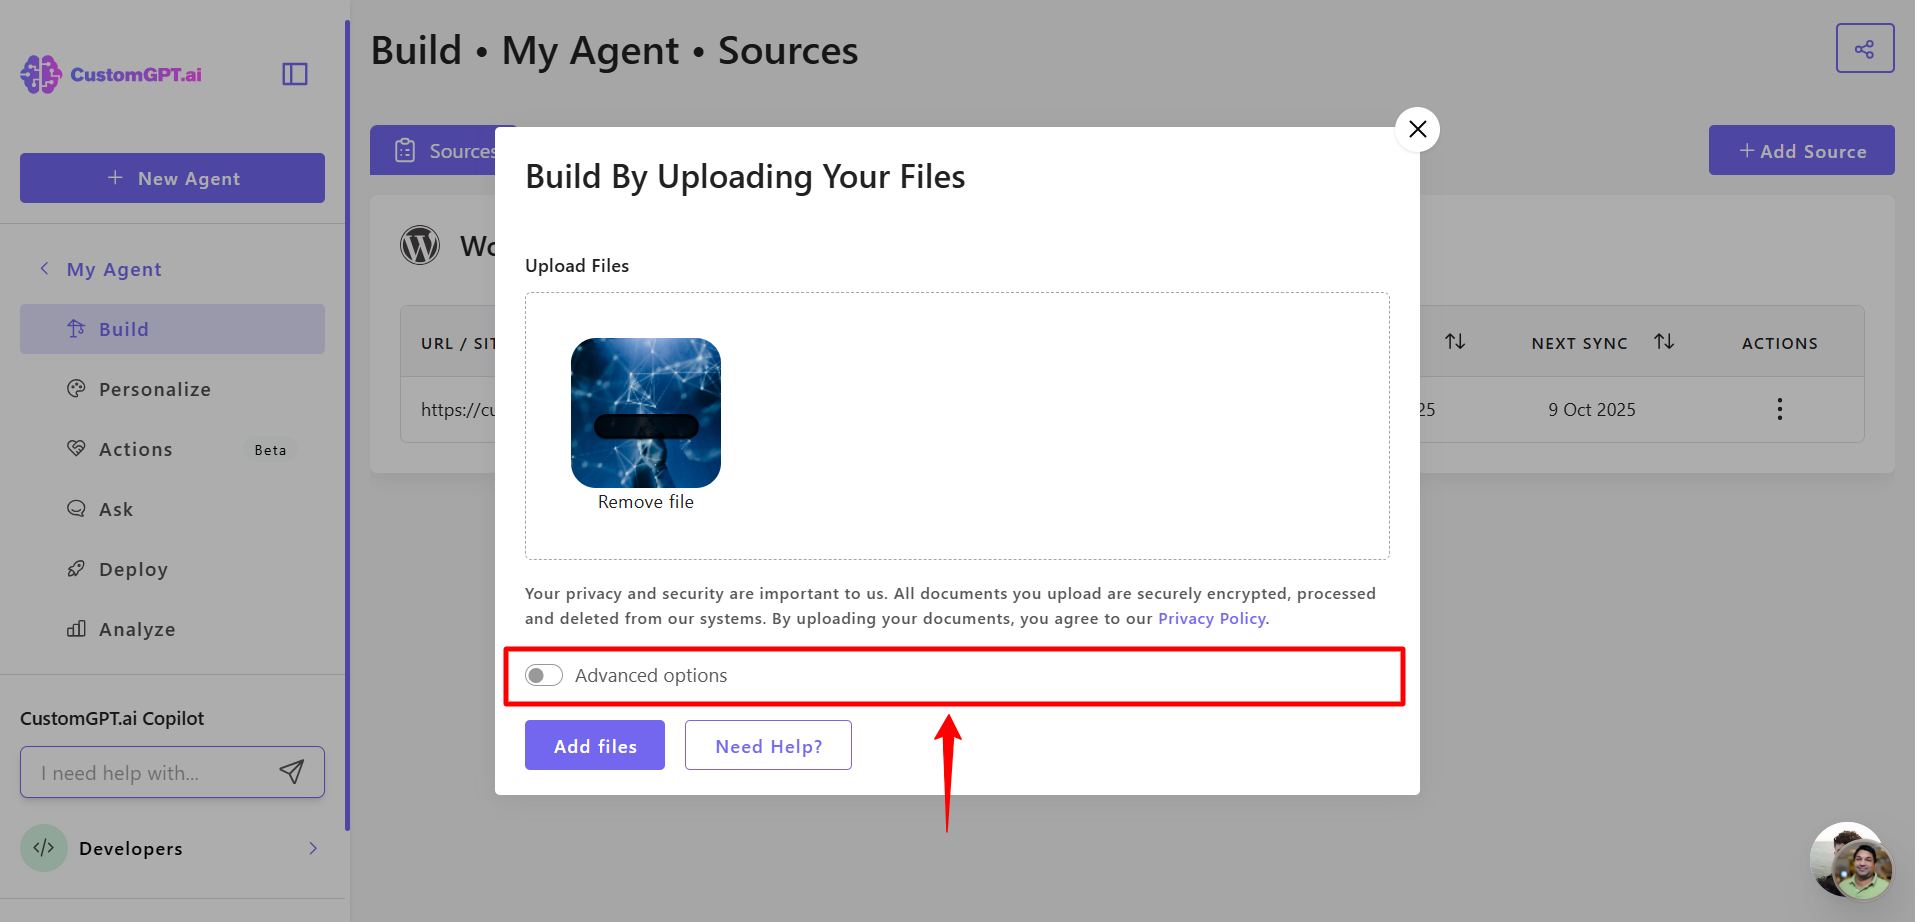
- Select one or more image files (e.g., JPG, PNG, or diagram screenshots) and click on Advanced Settings.
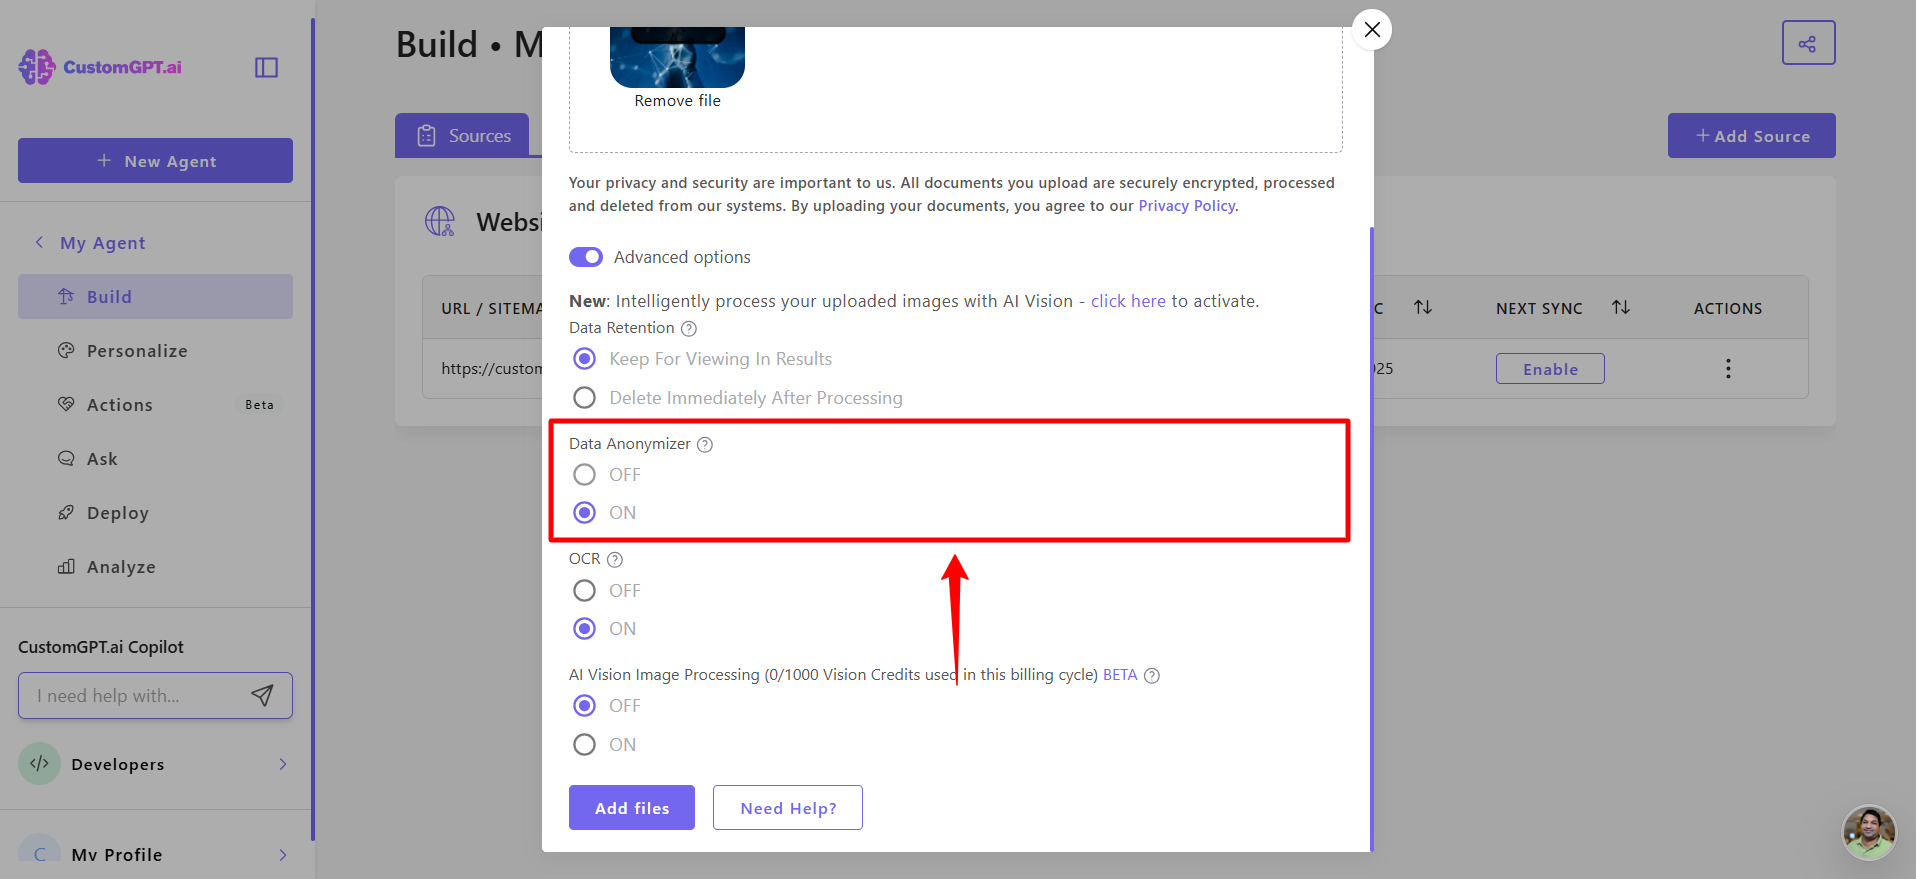
- Click Data Anonymizer, then click ON to enable the feature.
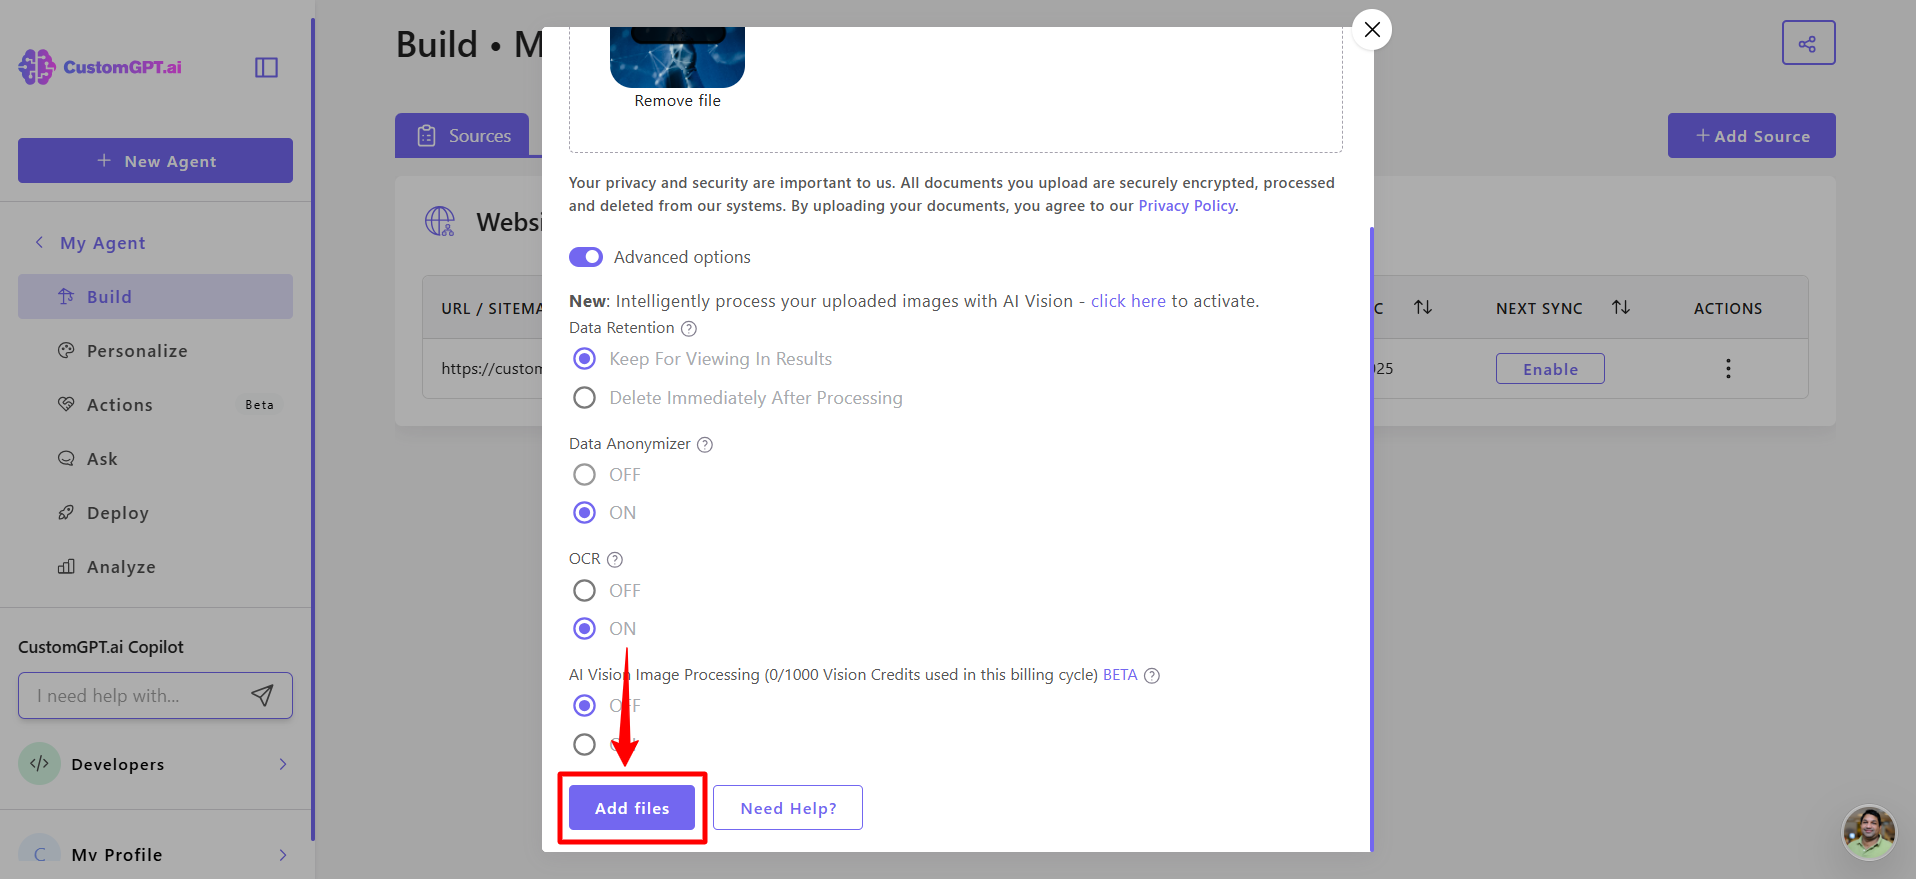
- Click Add Files to finalize the upload with anonymization enabled.
Updated 9 months ago
Did this page help you?