How to enable 2FA
🔐 In this guide, you will learn how to enable Two-Factor Authentication (2FA) for your account. 2FA is a crucial security measure that adds an extra layer of protection to your online accounts. By following the steps outlined below, you can easily activate this feature and enhance the security of your account.
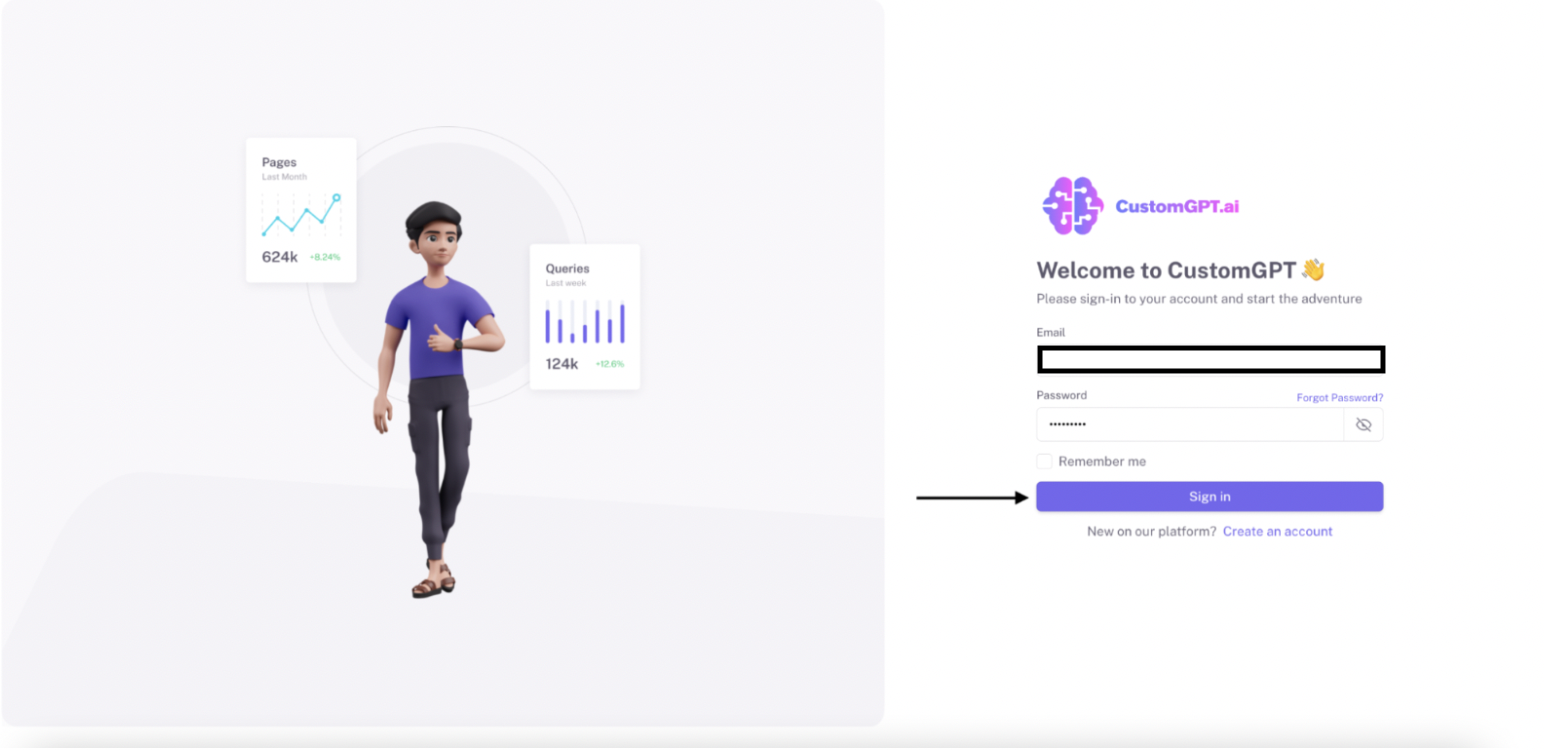
Step 1: Sign in
a) Sign in to https://app.customgpt.ai/.
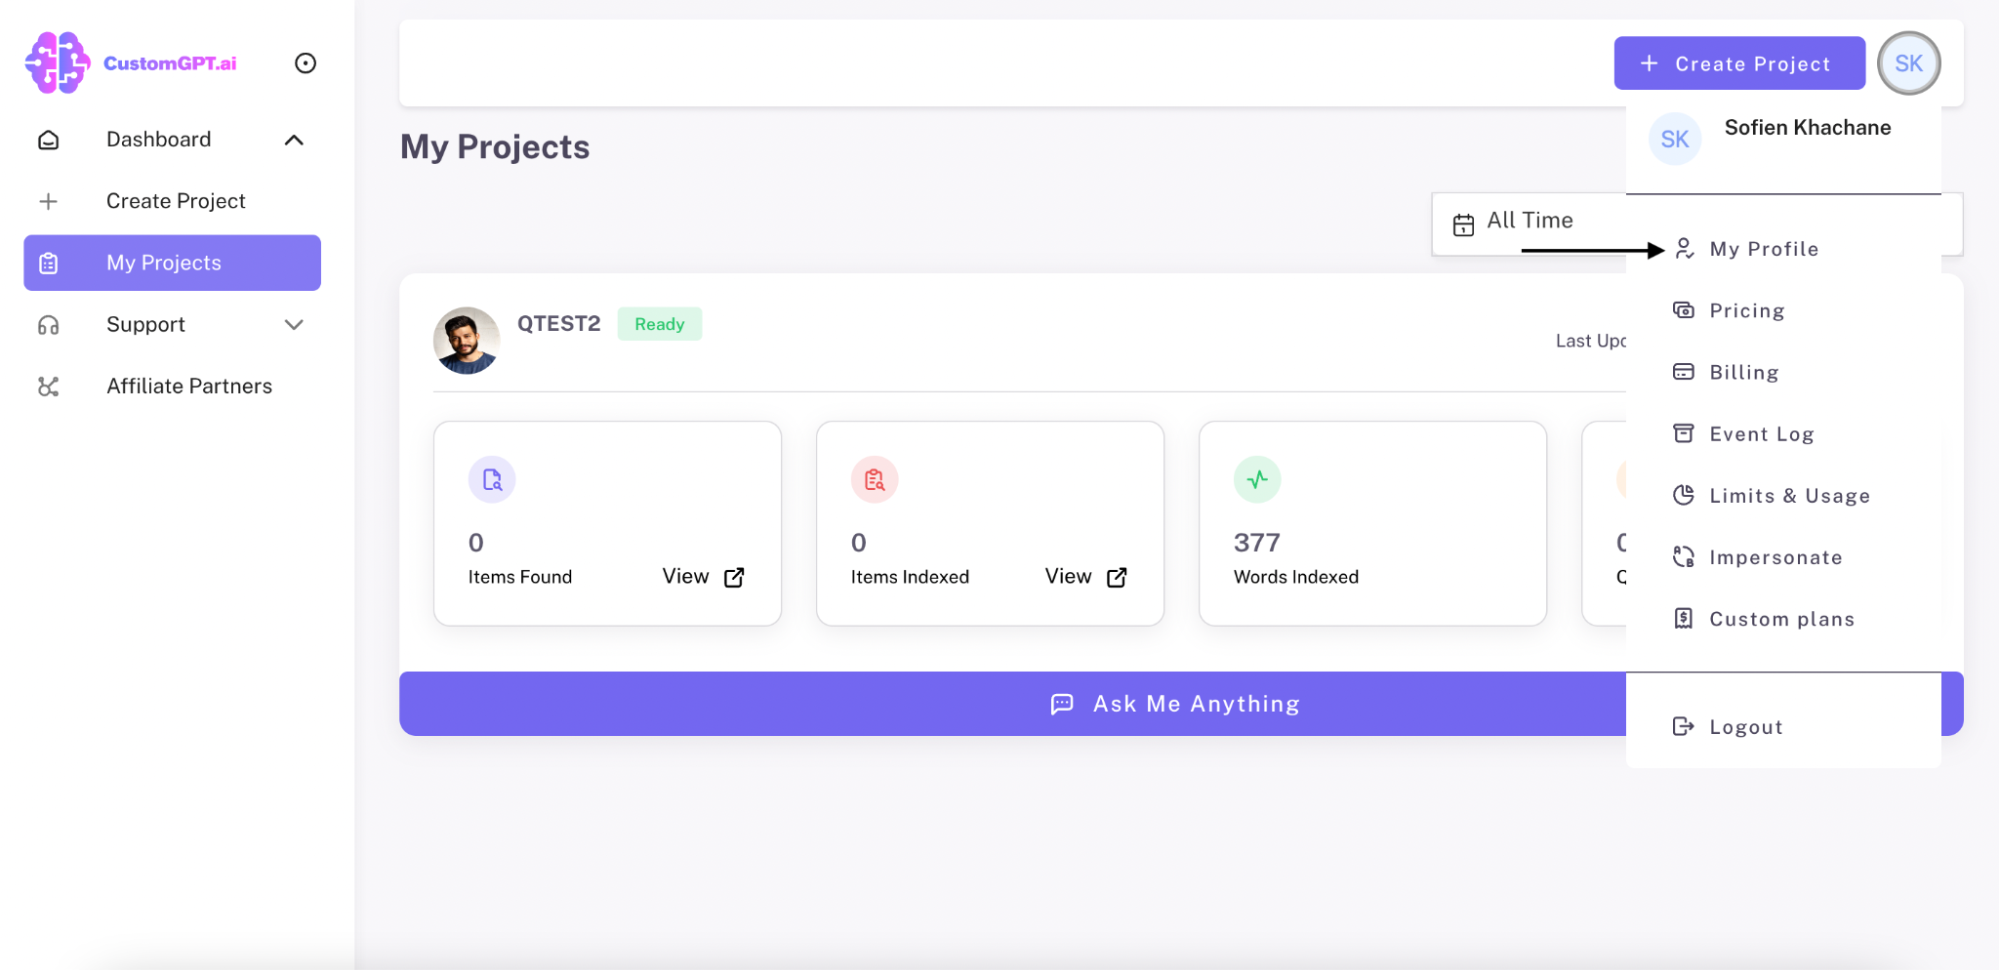
Step 2: Access My Profile
a) Click on "My Profile".
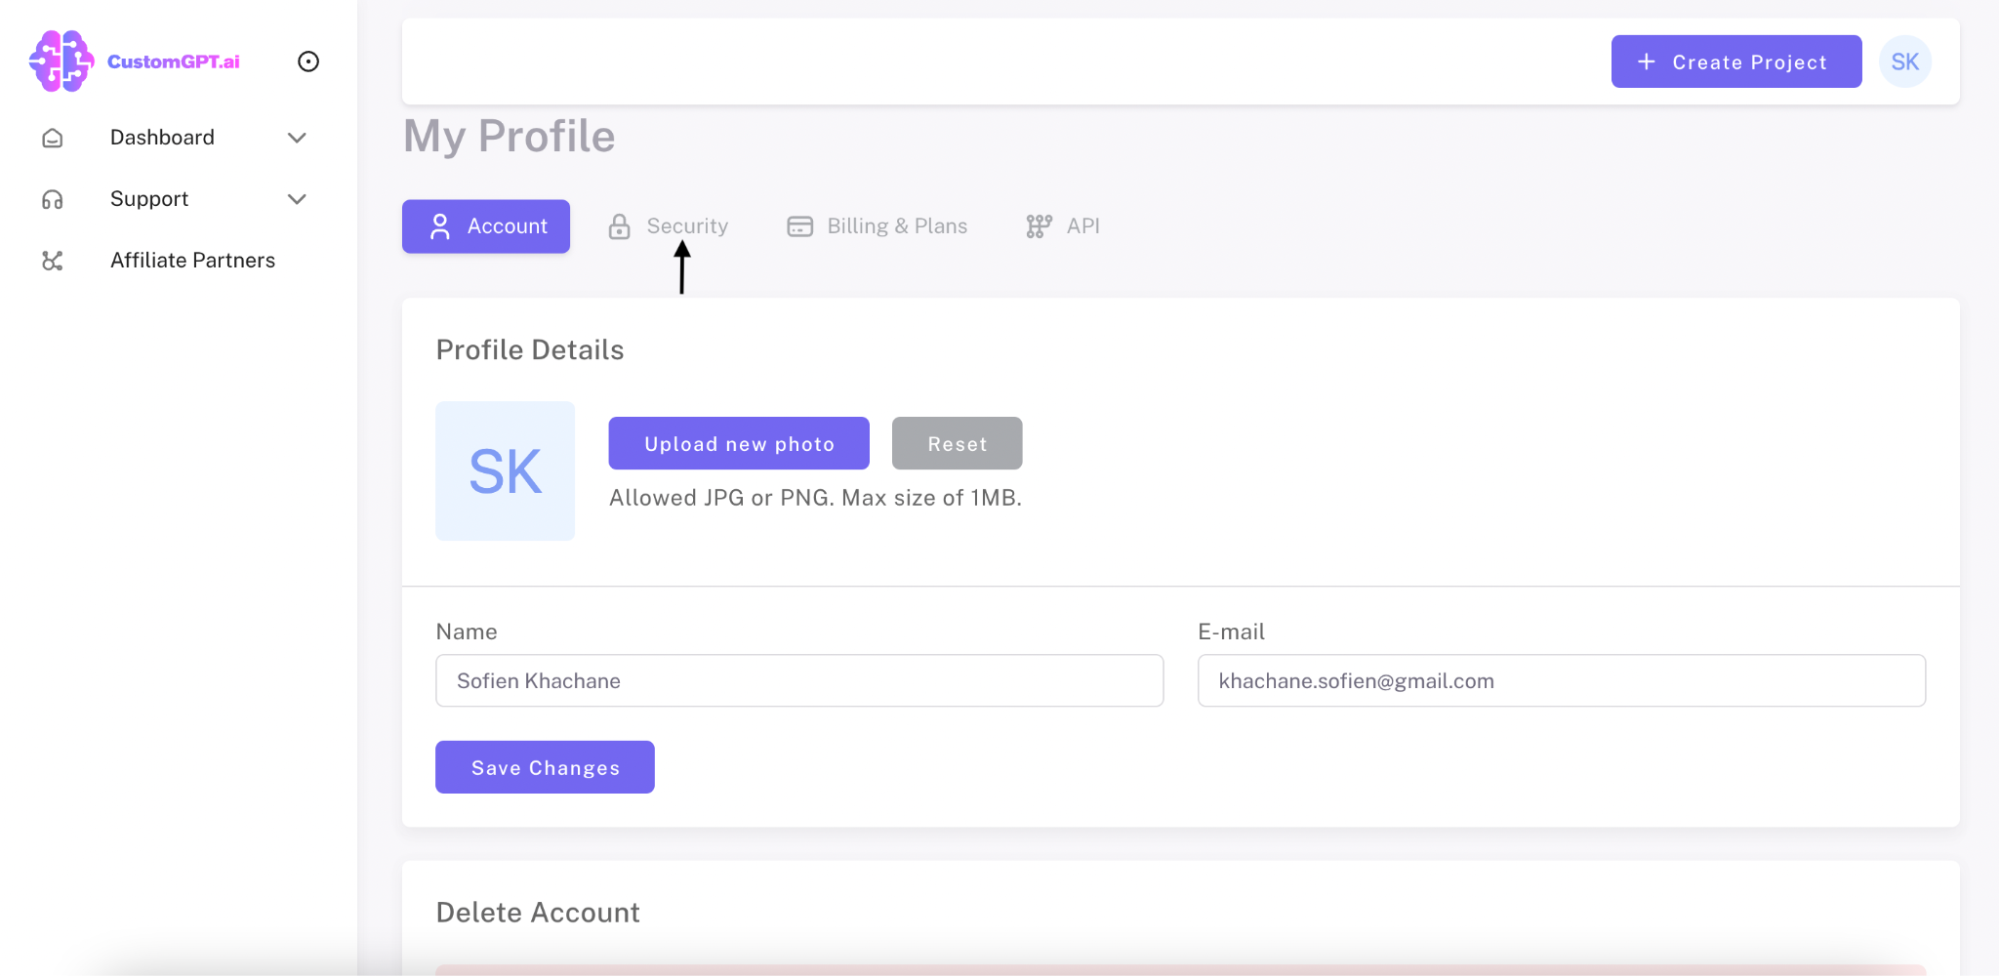
Step 3: Access Security
a) Click on "Security".
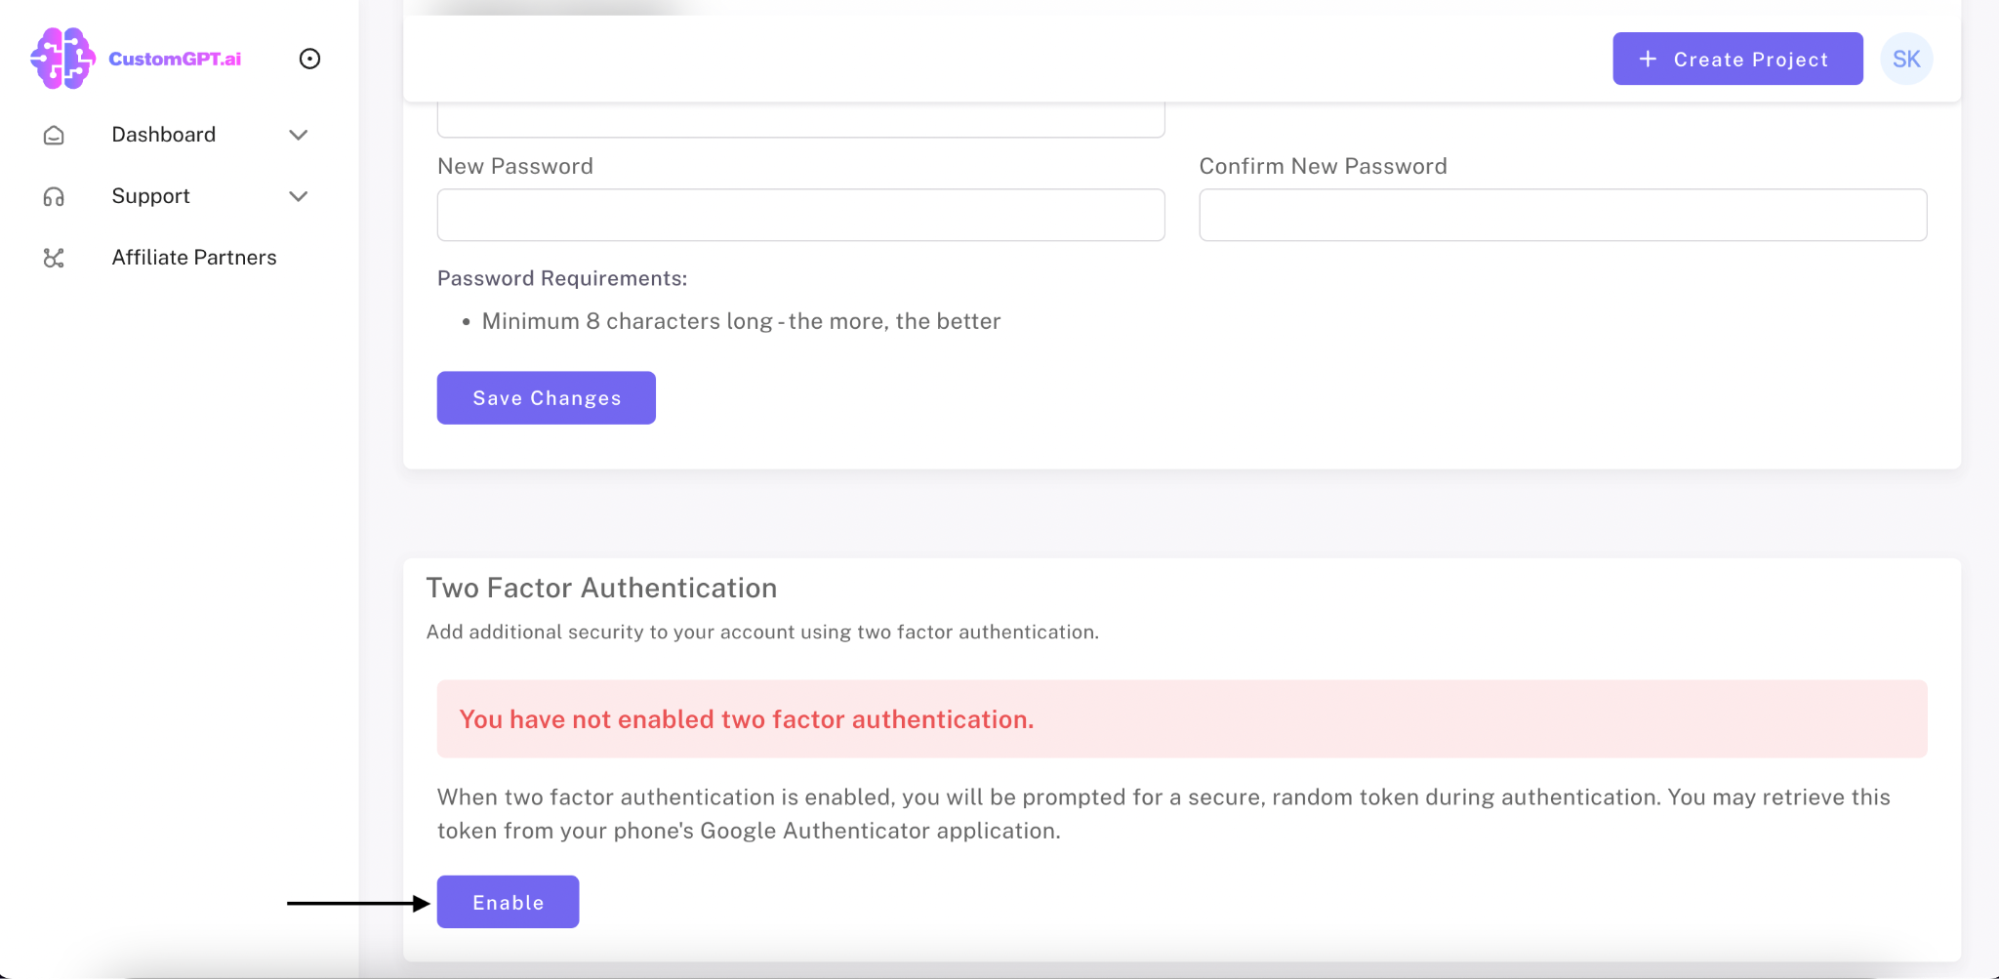
Step 4: Enable Two Factor Authentication (2FA)
a) Locate the Two Factor Authentication section.
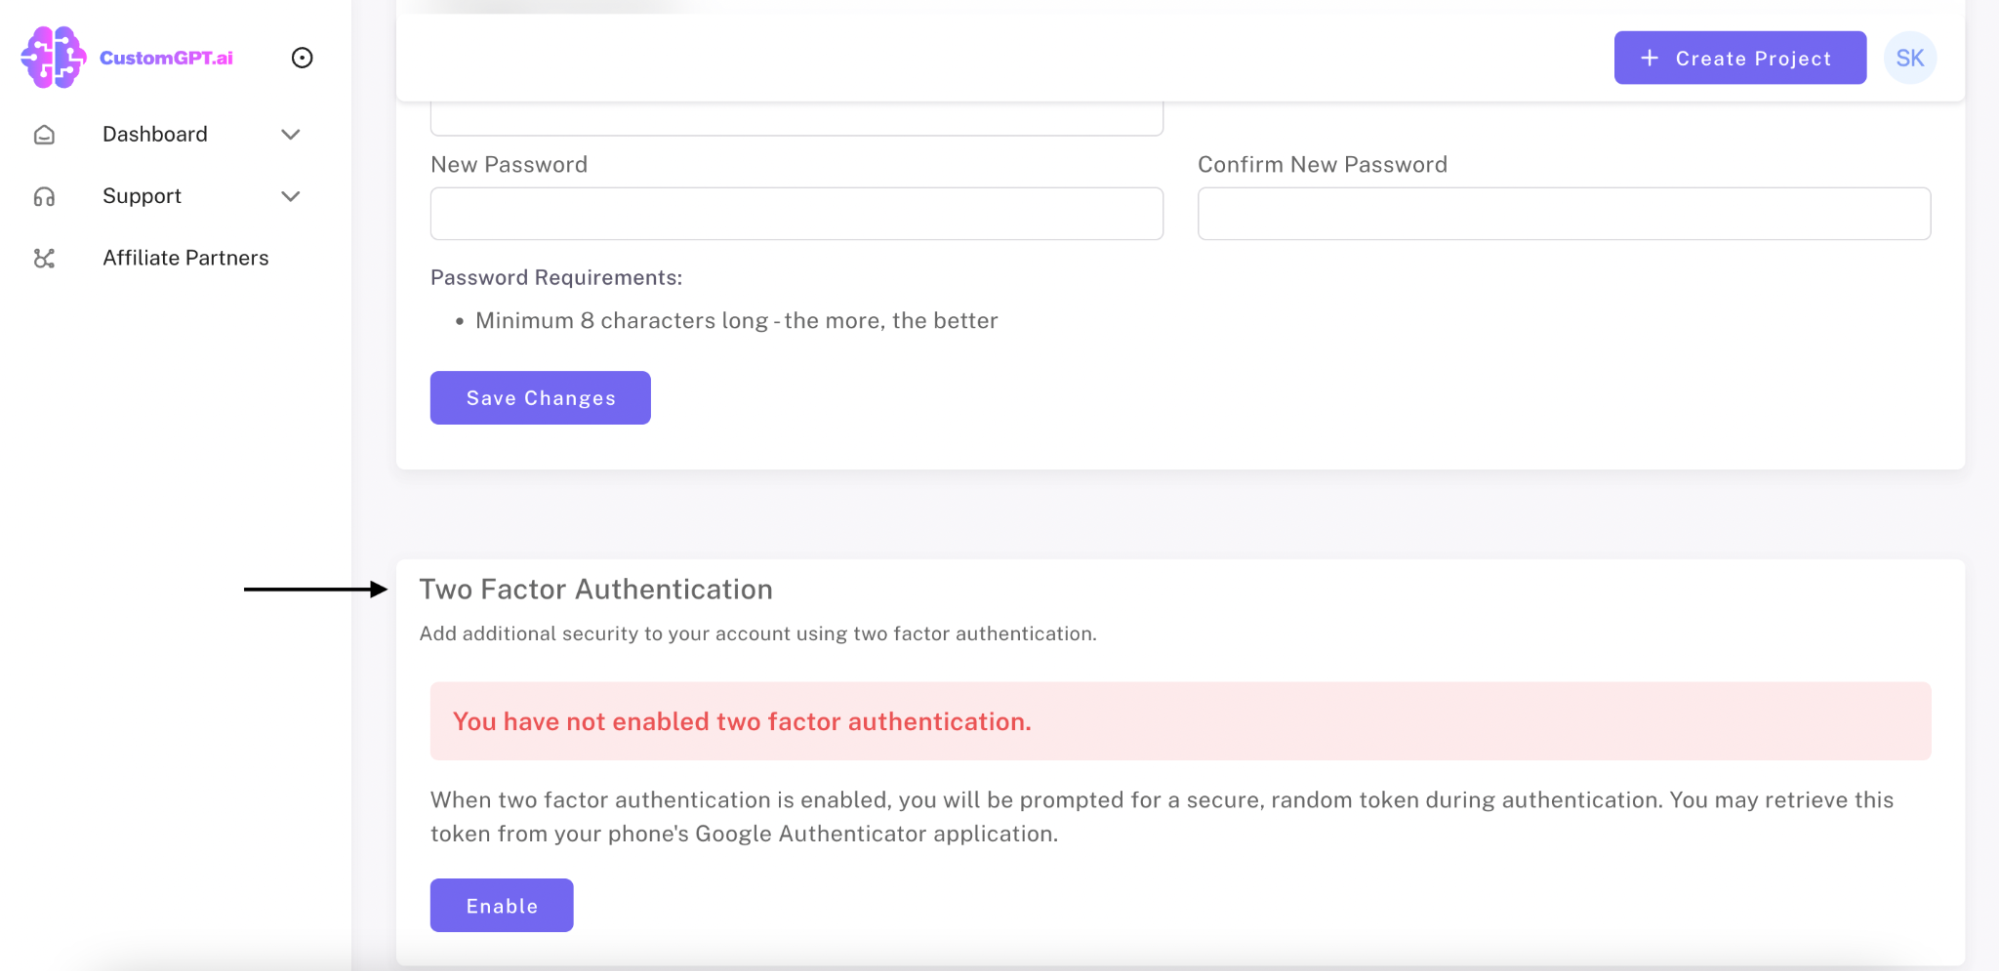
b) Click on "Enable".
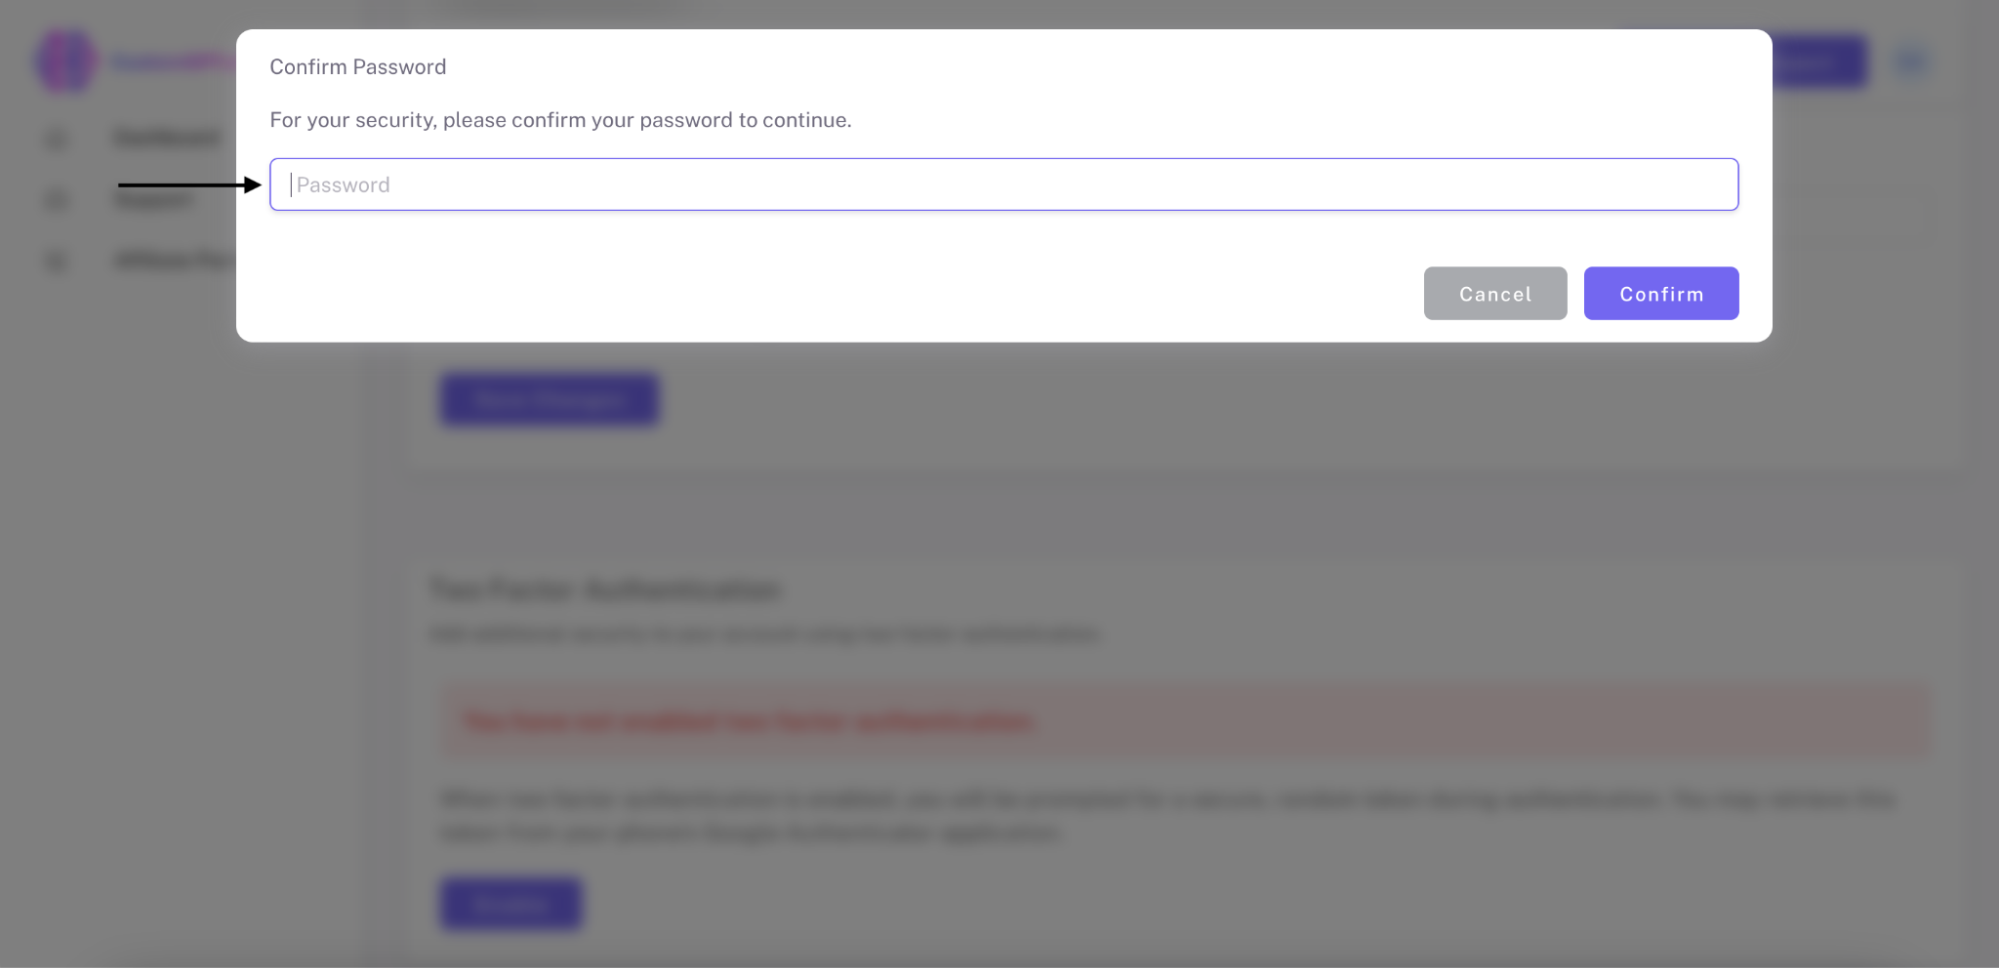
c) Input your Password.
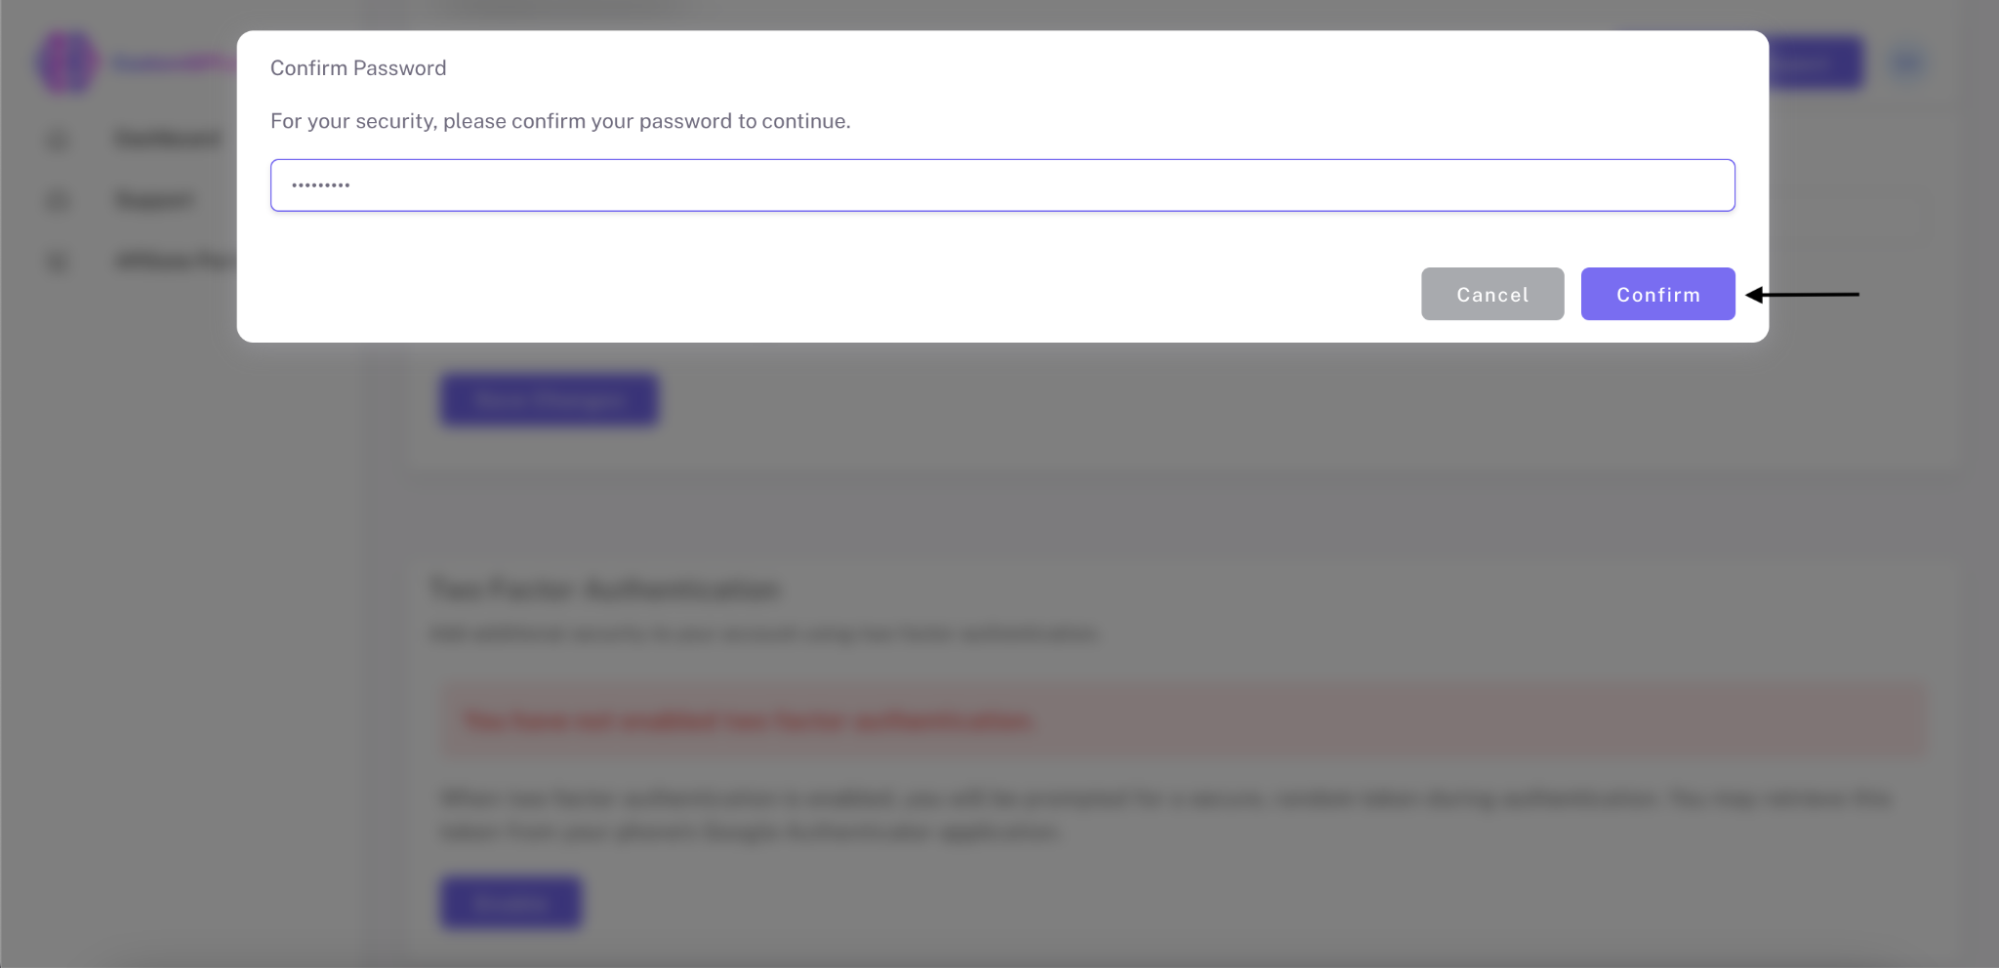
d) Click on "Confirm".
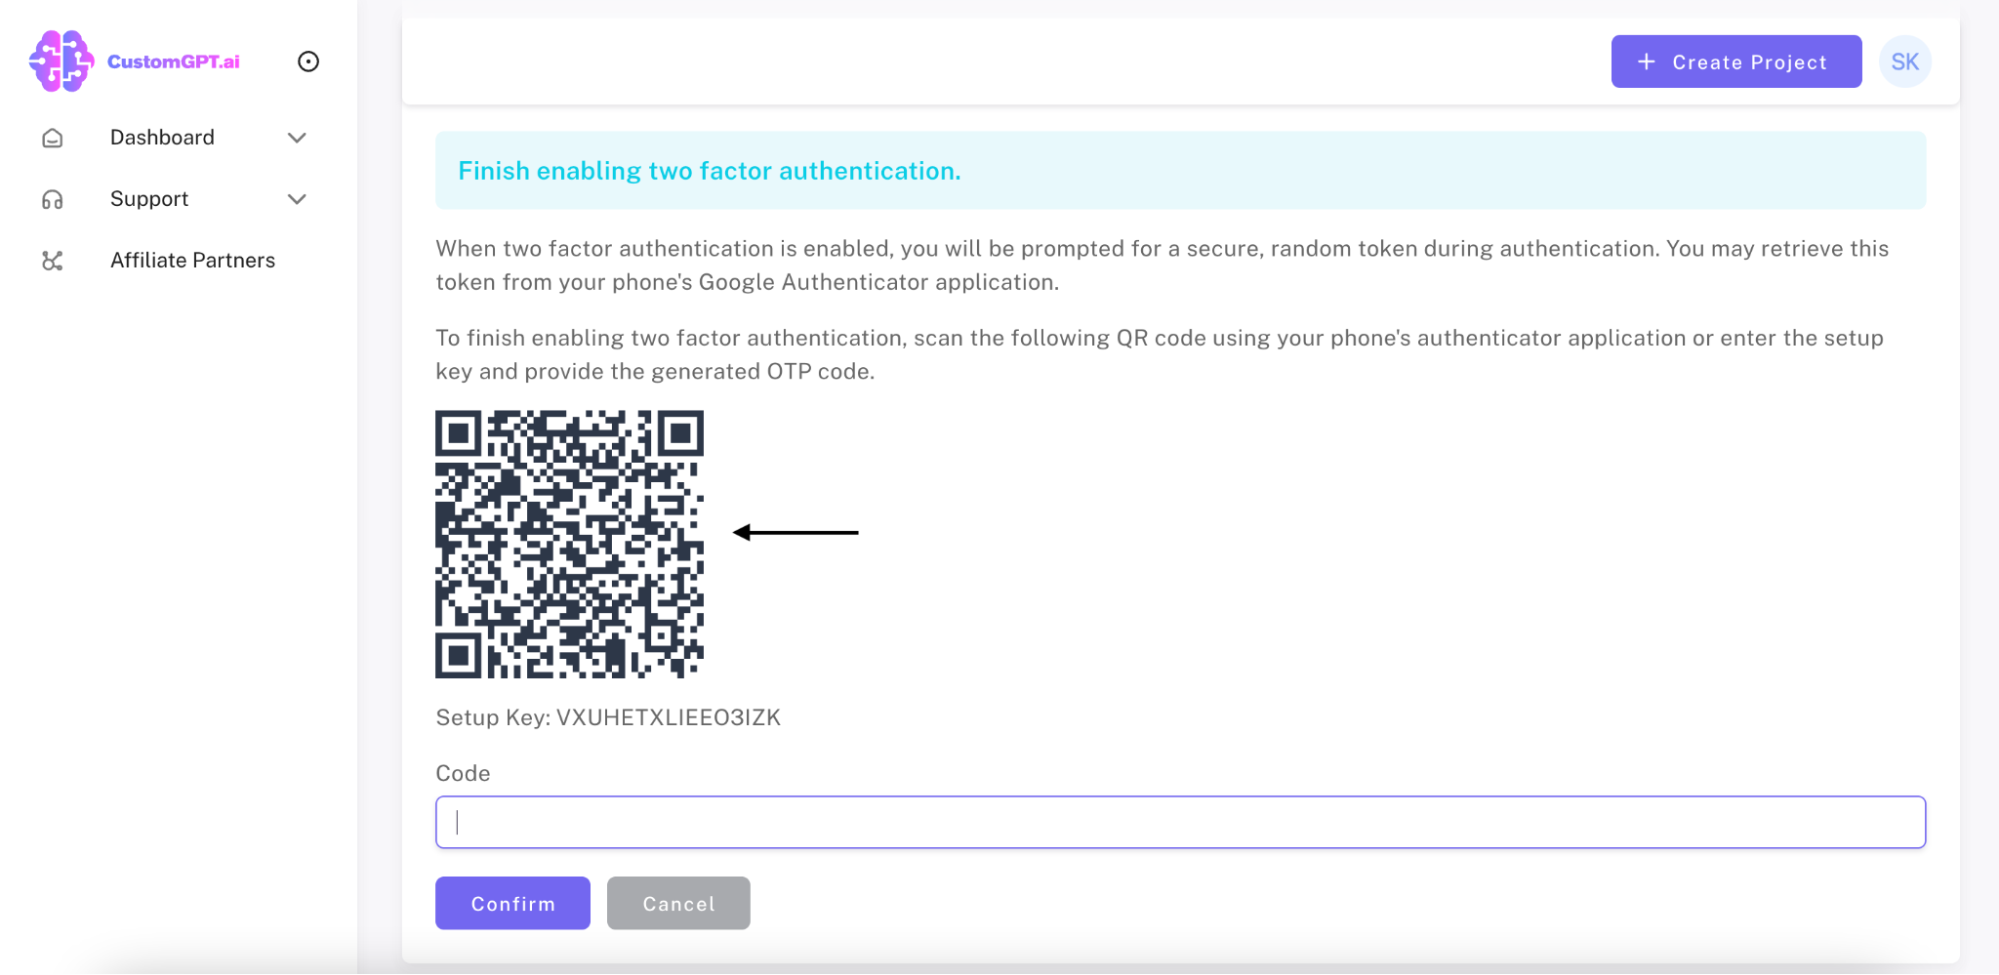
Step 5: Setup in Authentication App
a) Open your authenticator app (e.g., Google Authenticator, Authy…).
b) Click on "Scan QR Code".
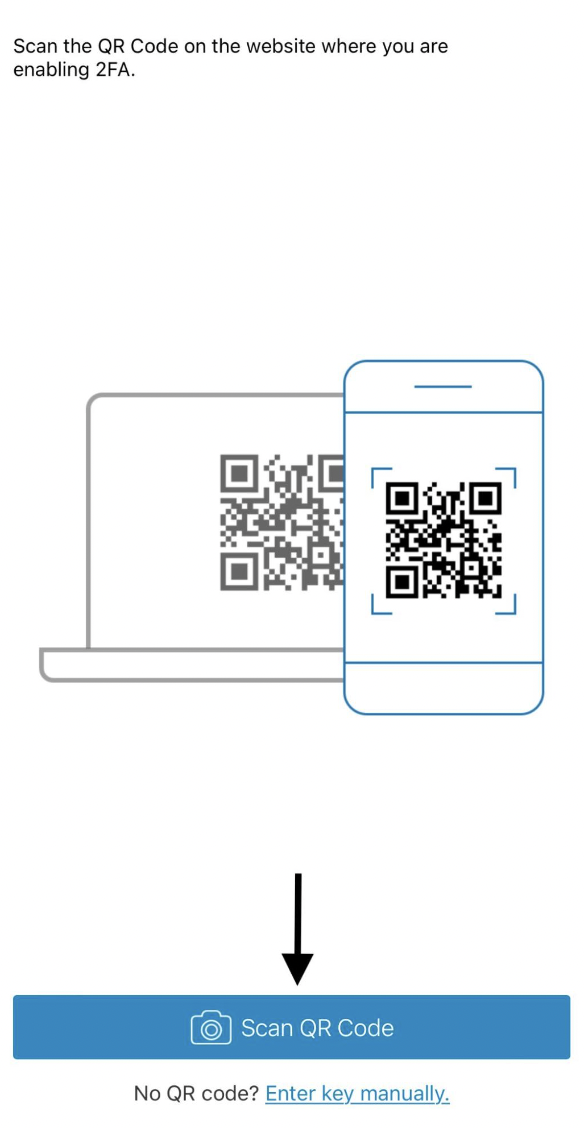
c) Using your smartphone or tablet, scan the QR Code generated on your CustomGPT profile.
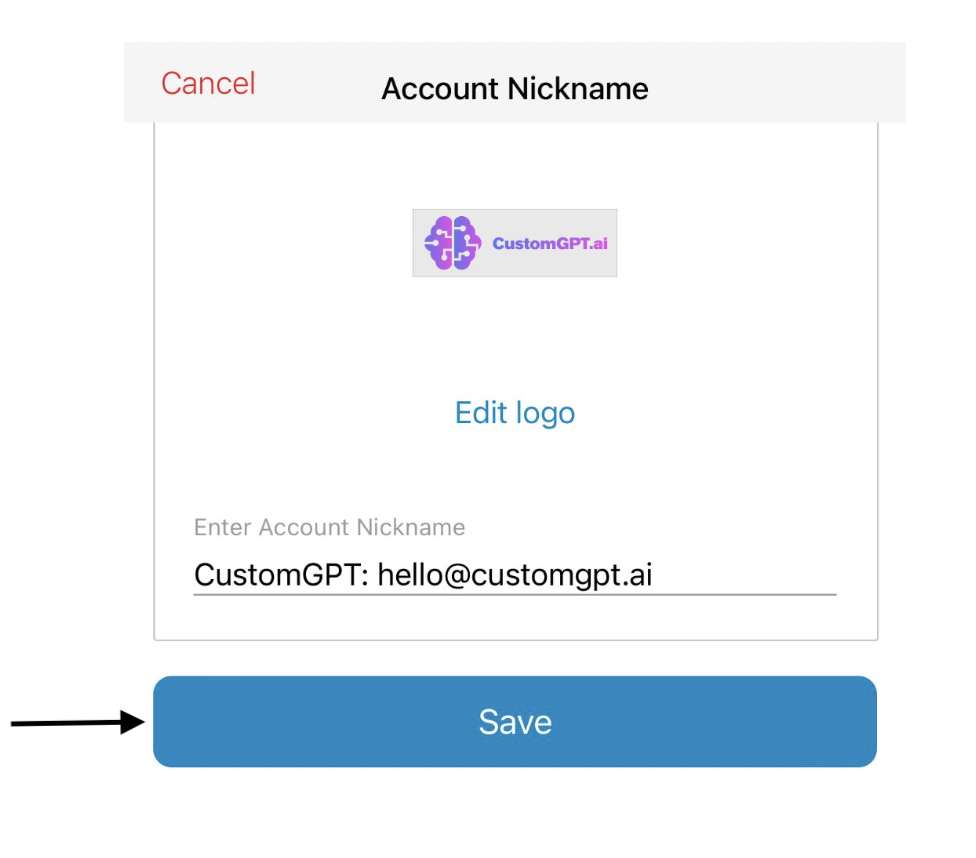
d) Create a nickname.

e) Click on “Save”.
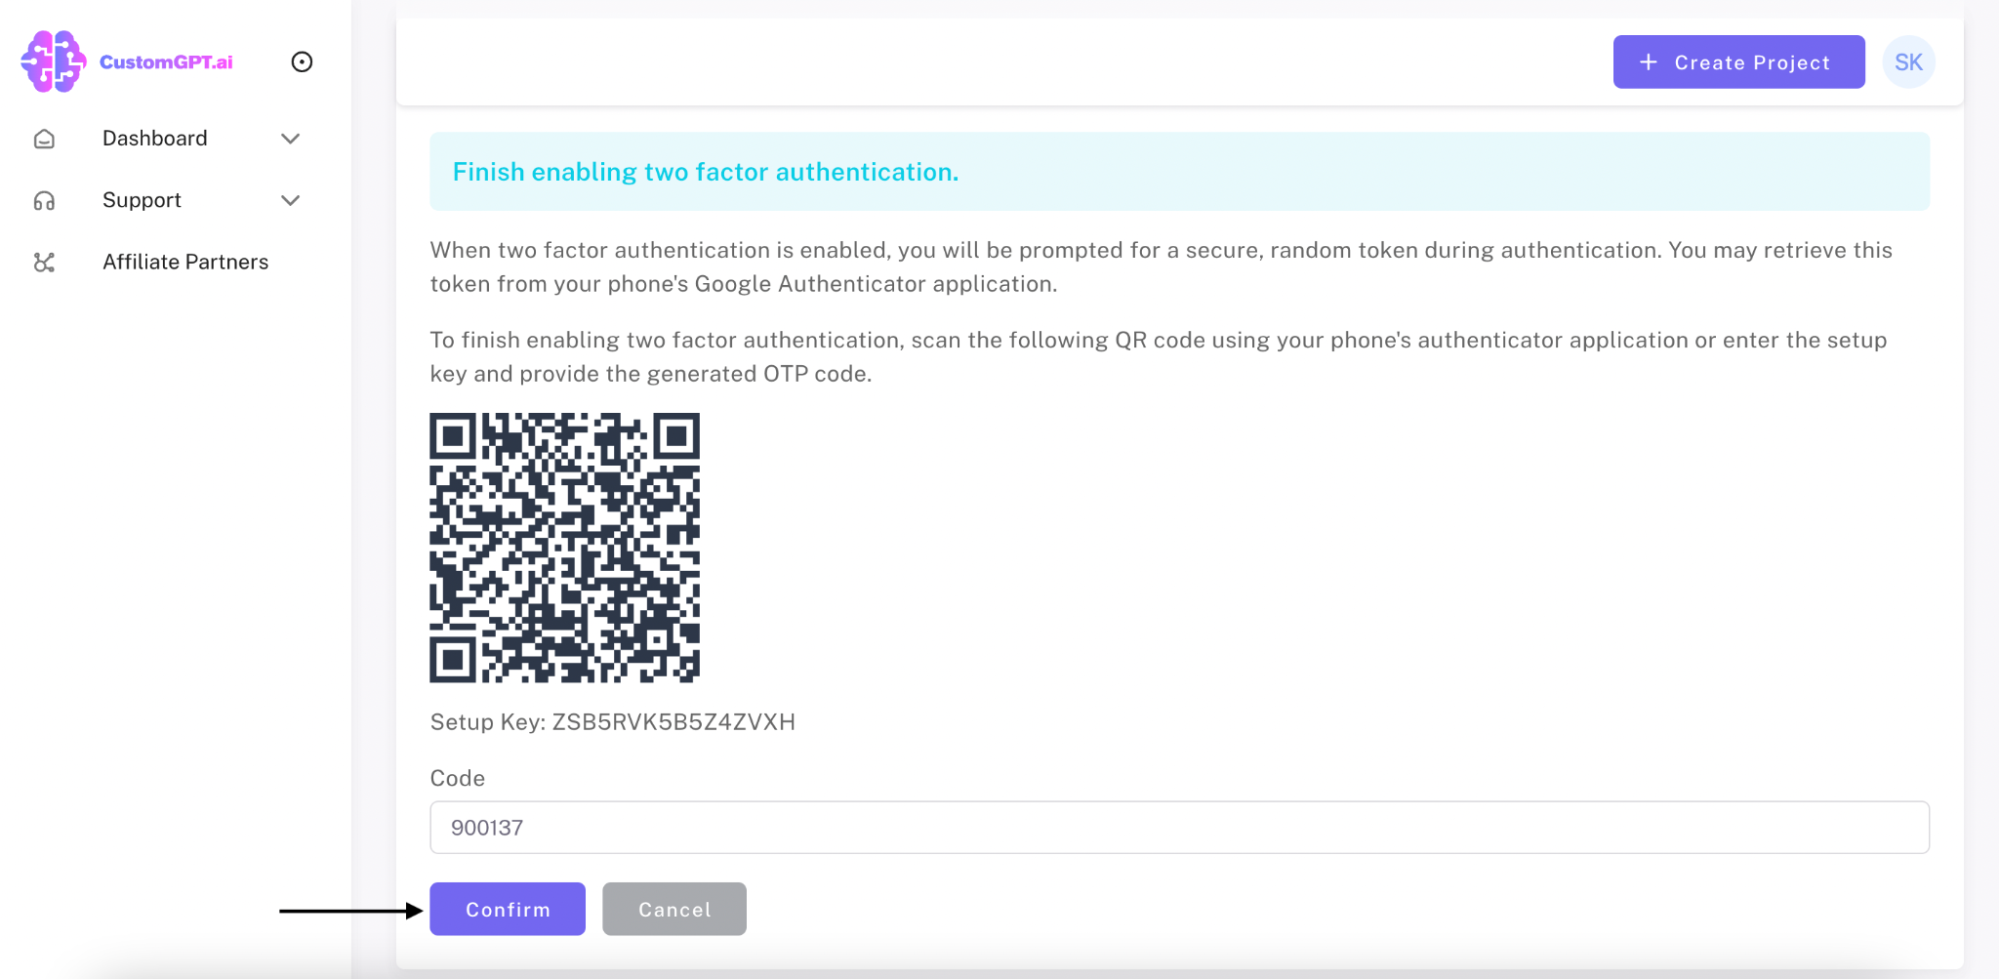
f) Use the 6-digit code provided and input it into the Code section of your CustomGPT profile.
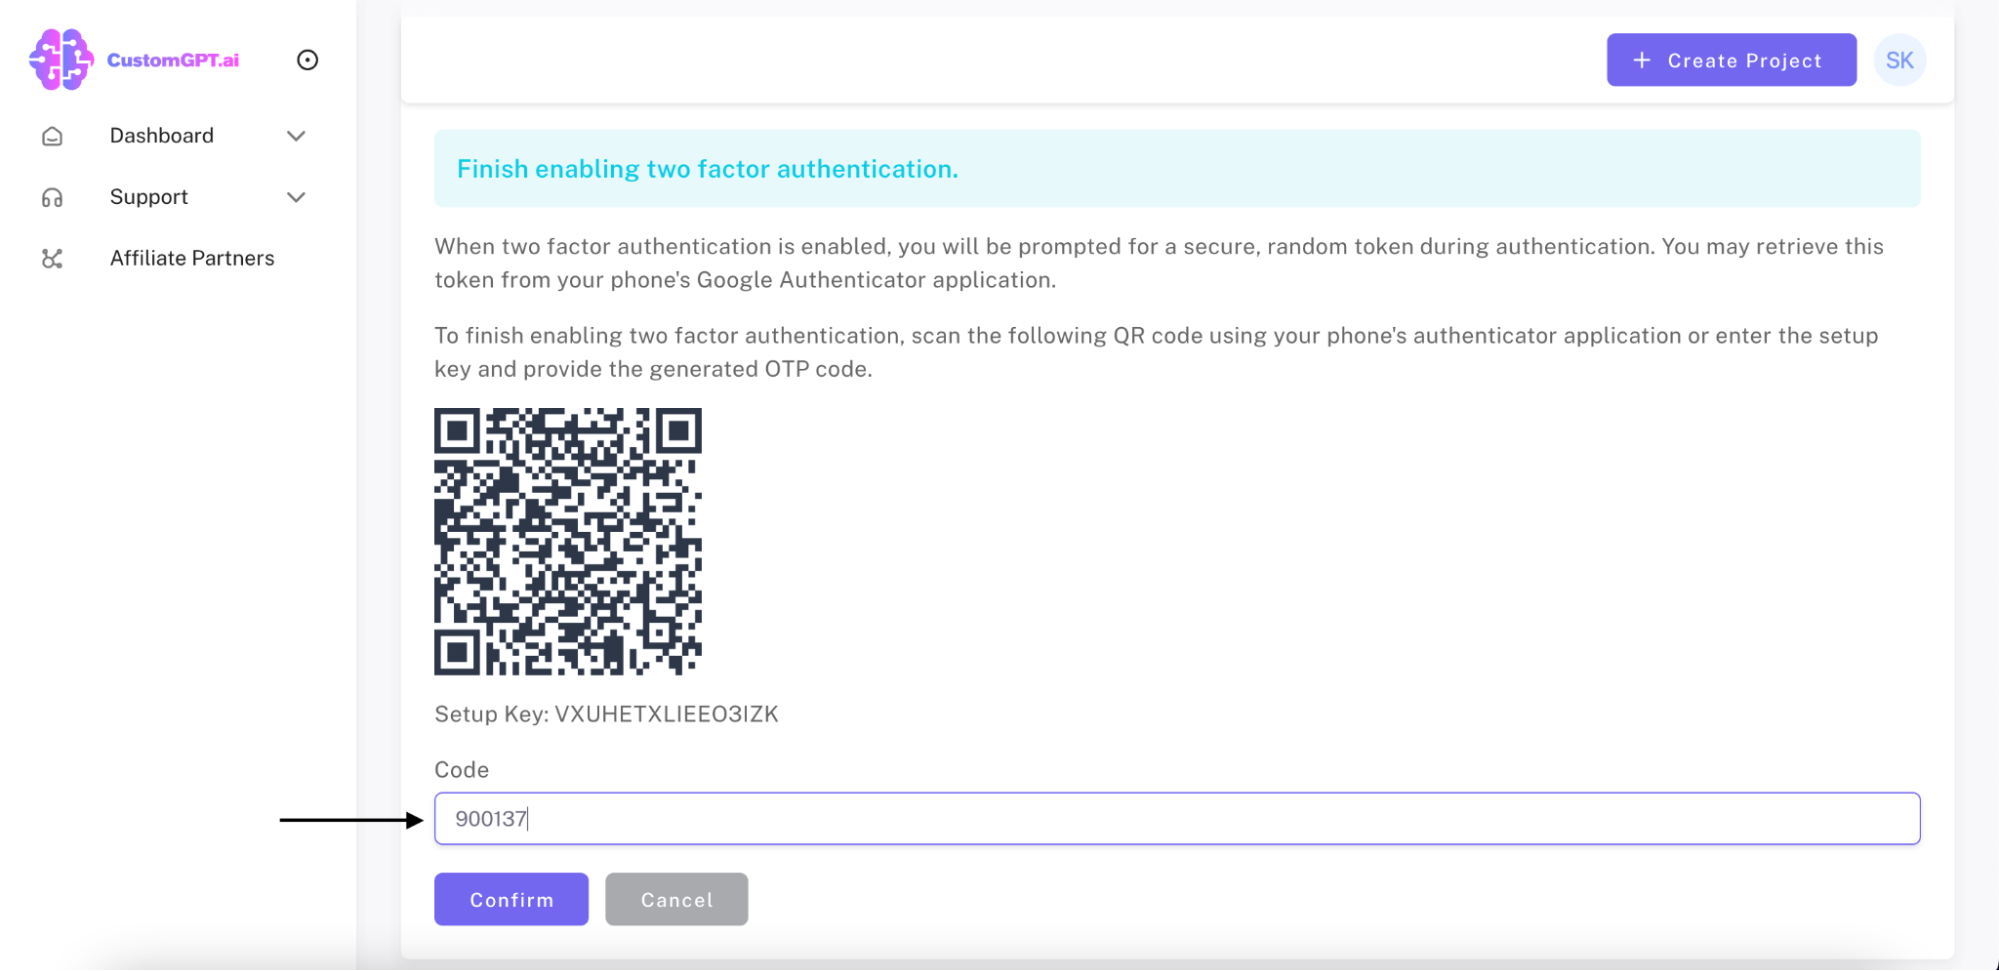
g) Click on “Confirm”.
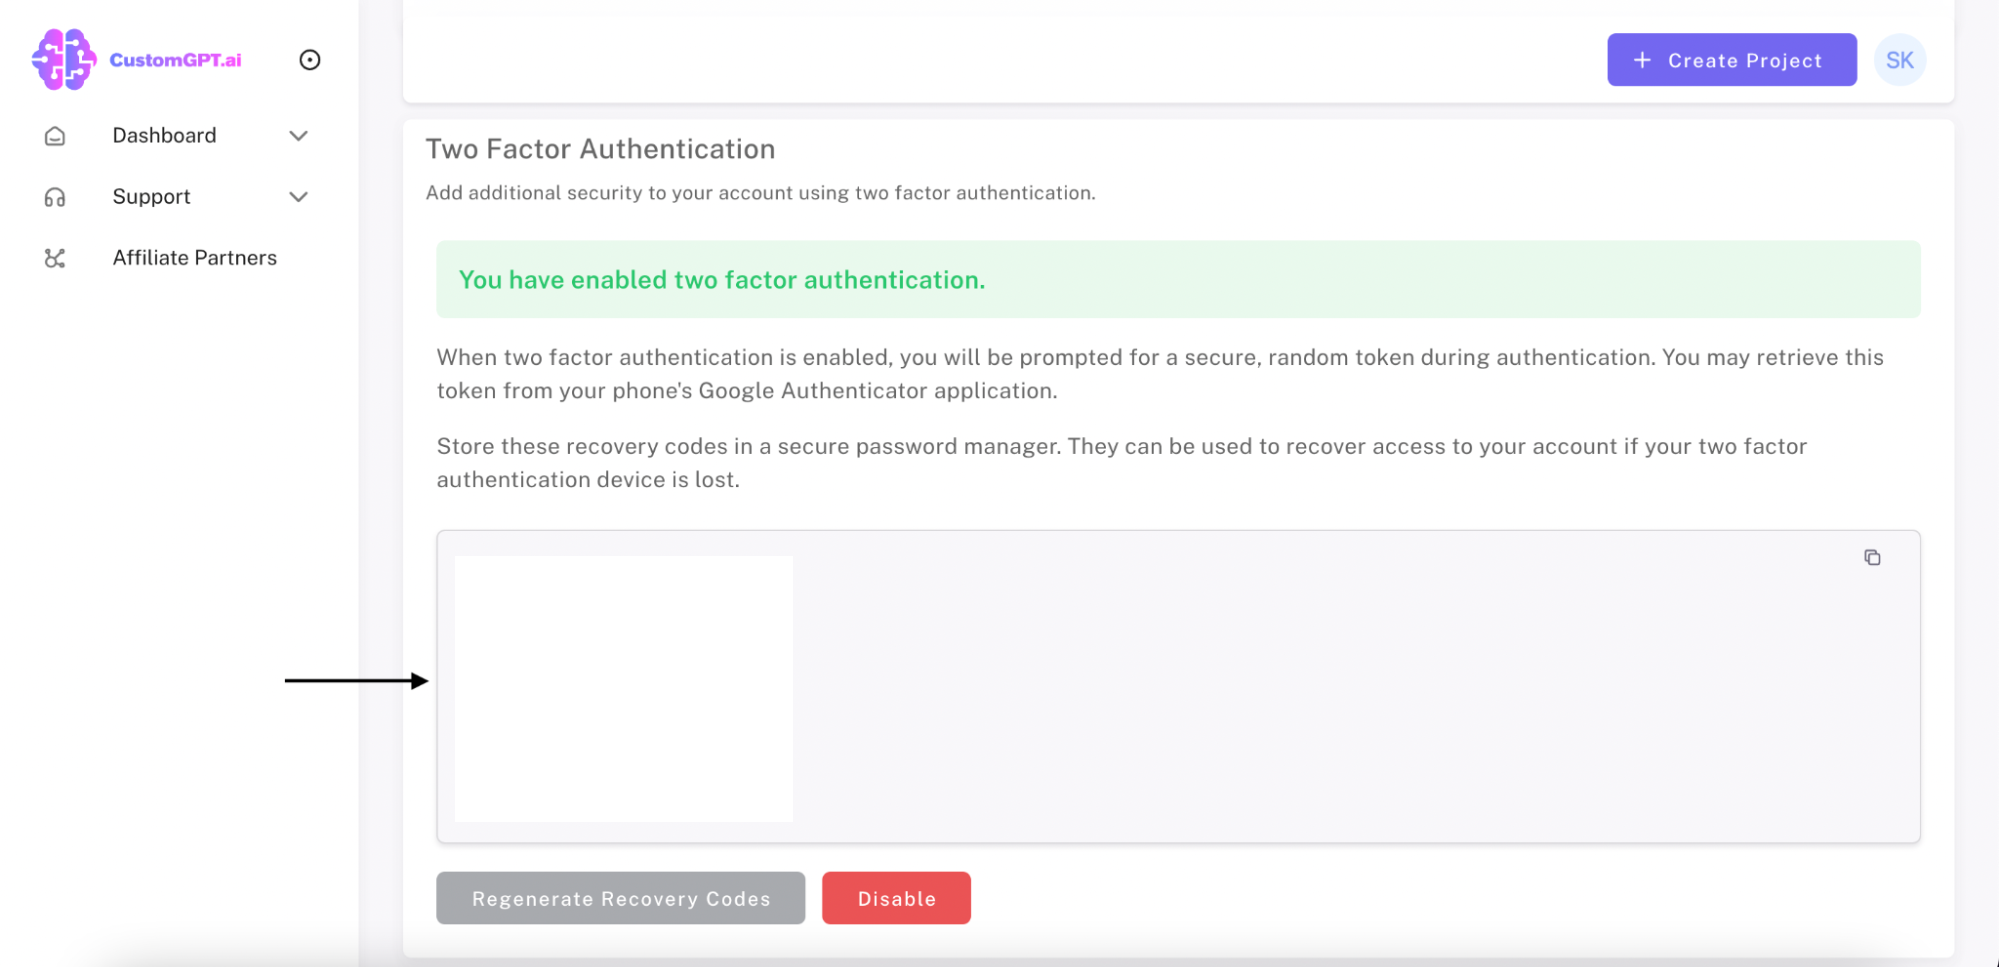
Step 6: Save Your Recovery Codes
Store these recovery codes in a secure place (eg. Password Manager). They can be used to recover access to your account if your two factor authentication device is lost.
Congratulations! You have successfully enabled Two-Factor Authentication (2FA) for your account. This crucial security feature will enhance your account's protection by requiring an additional layer of verification, ensuring both data privacy and security ✔
Updated about 1 year ago