Connect to Zendesk help center
This step-by-step guide explains how to integrate CustomGPT.ai with your Zendesk Help Center to enhance your customer support capabilities.
Note:CustomGPT.ai can only access your Zendesk help articles.
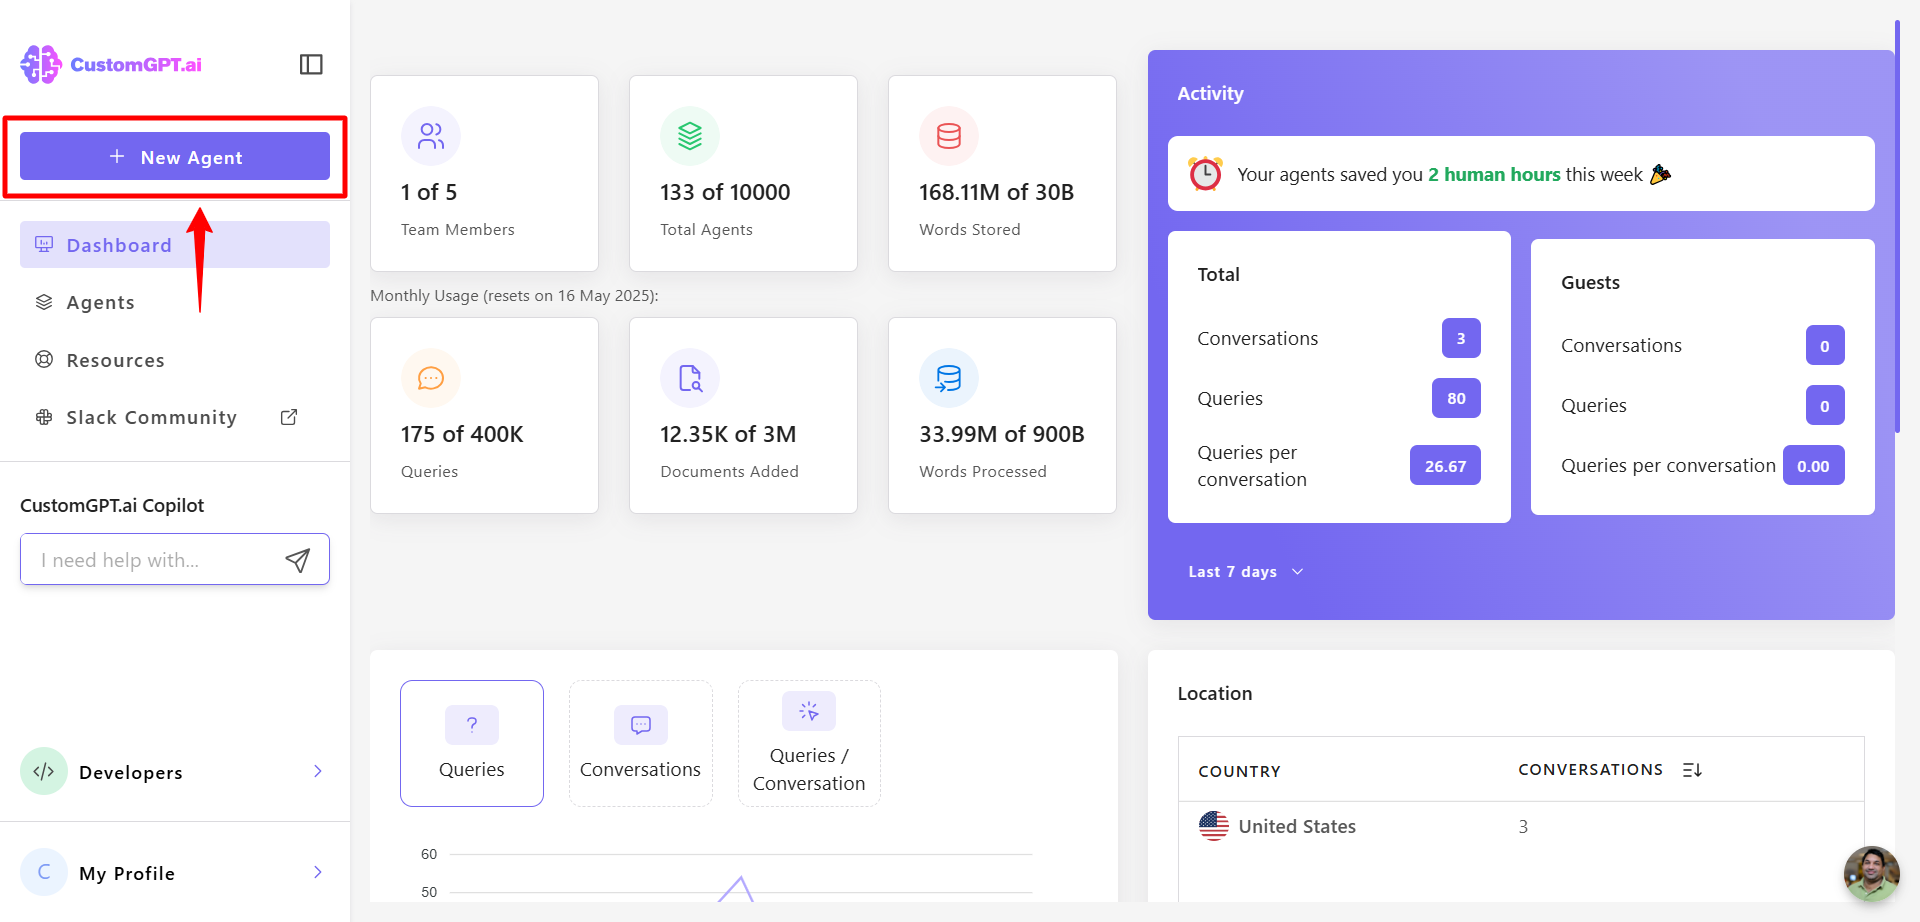
- Click New Agent to begin setting up your agent.
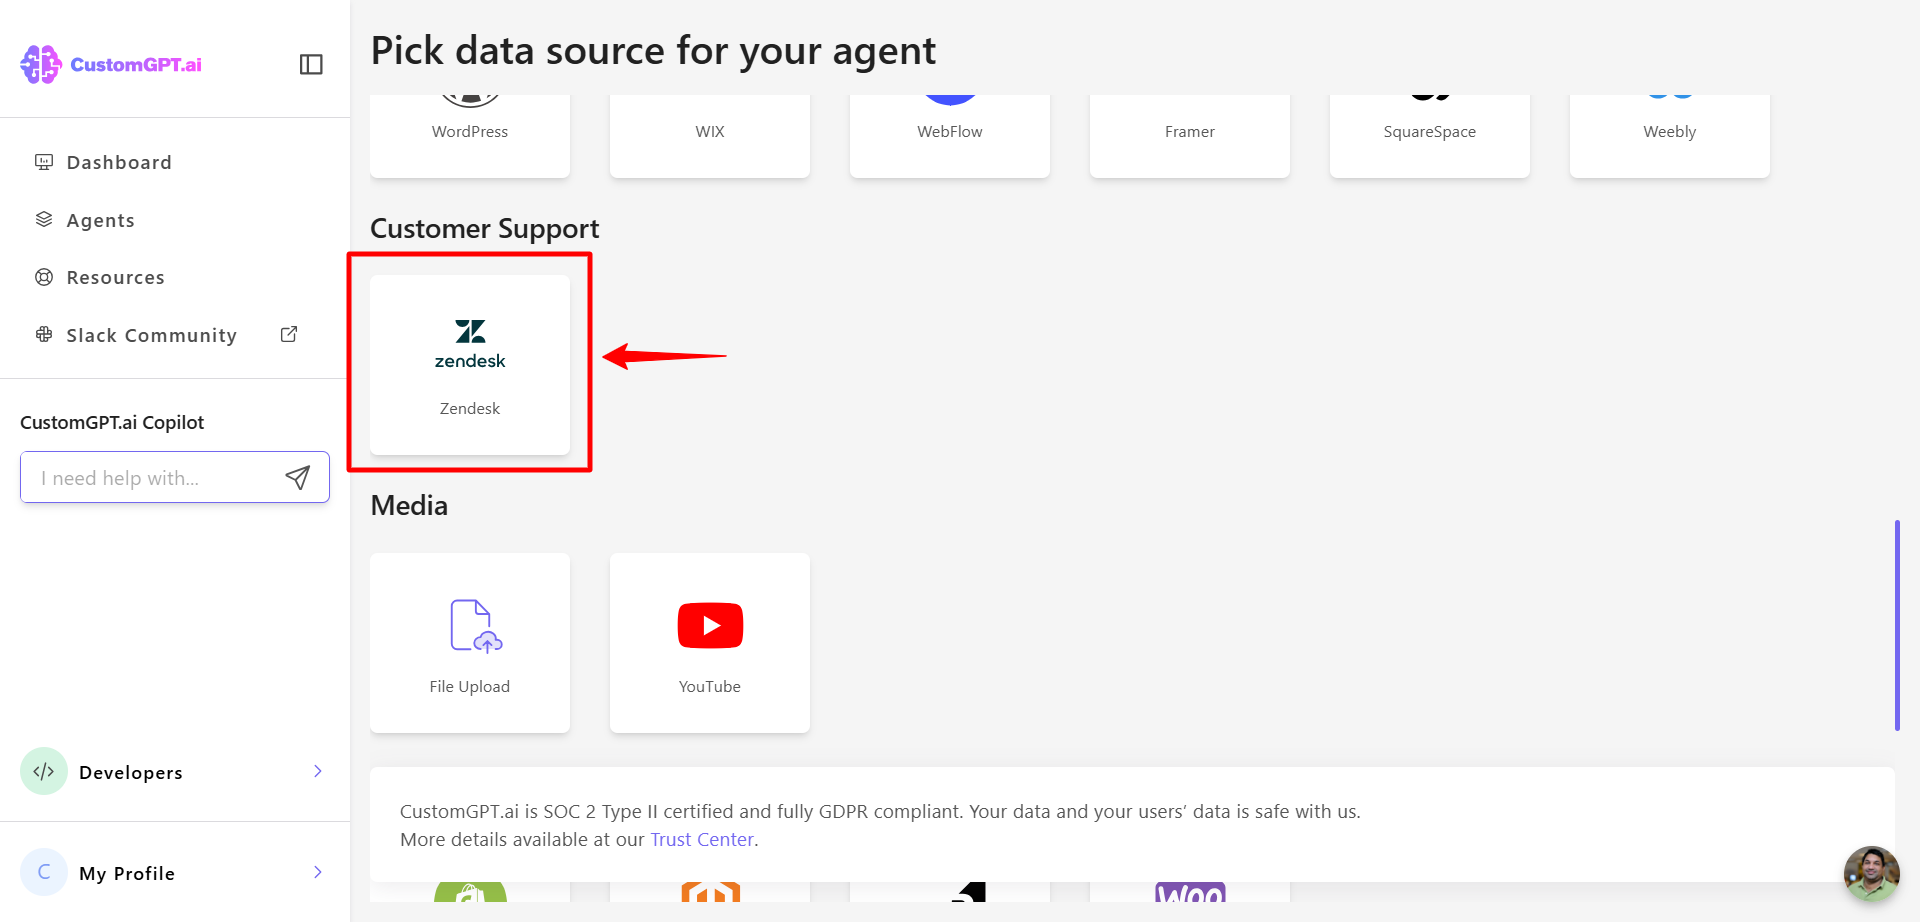
- Select Zendesk Integration to start connecting your Zendesk account.
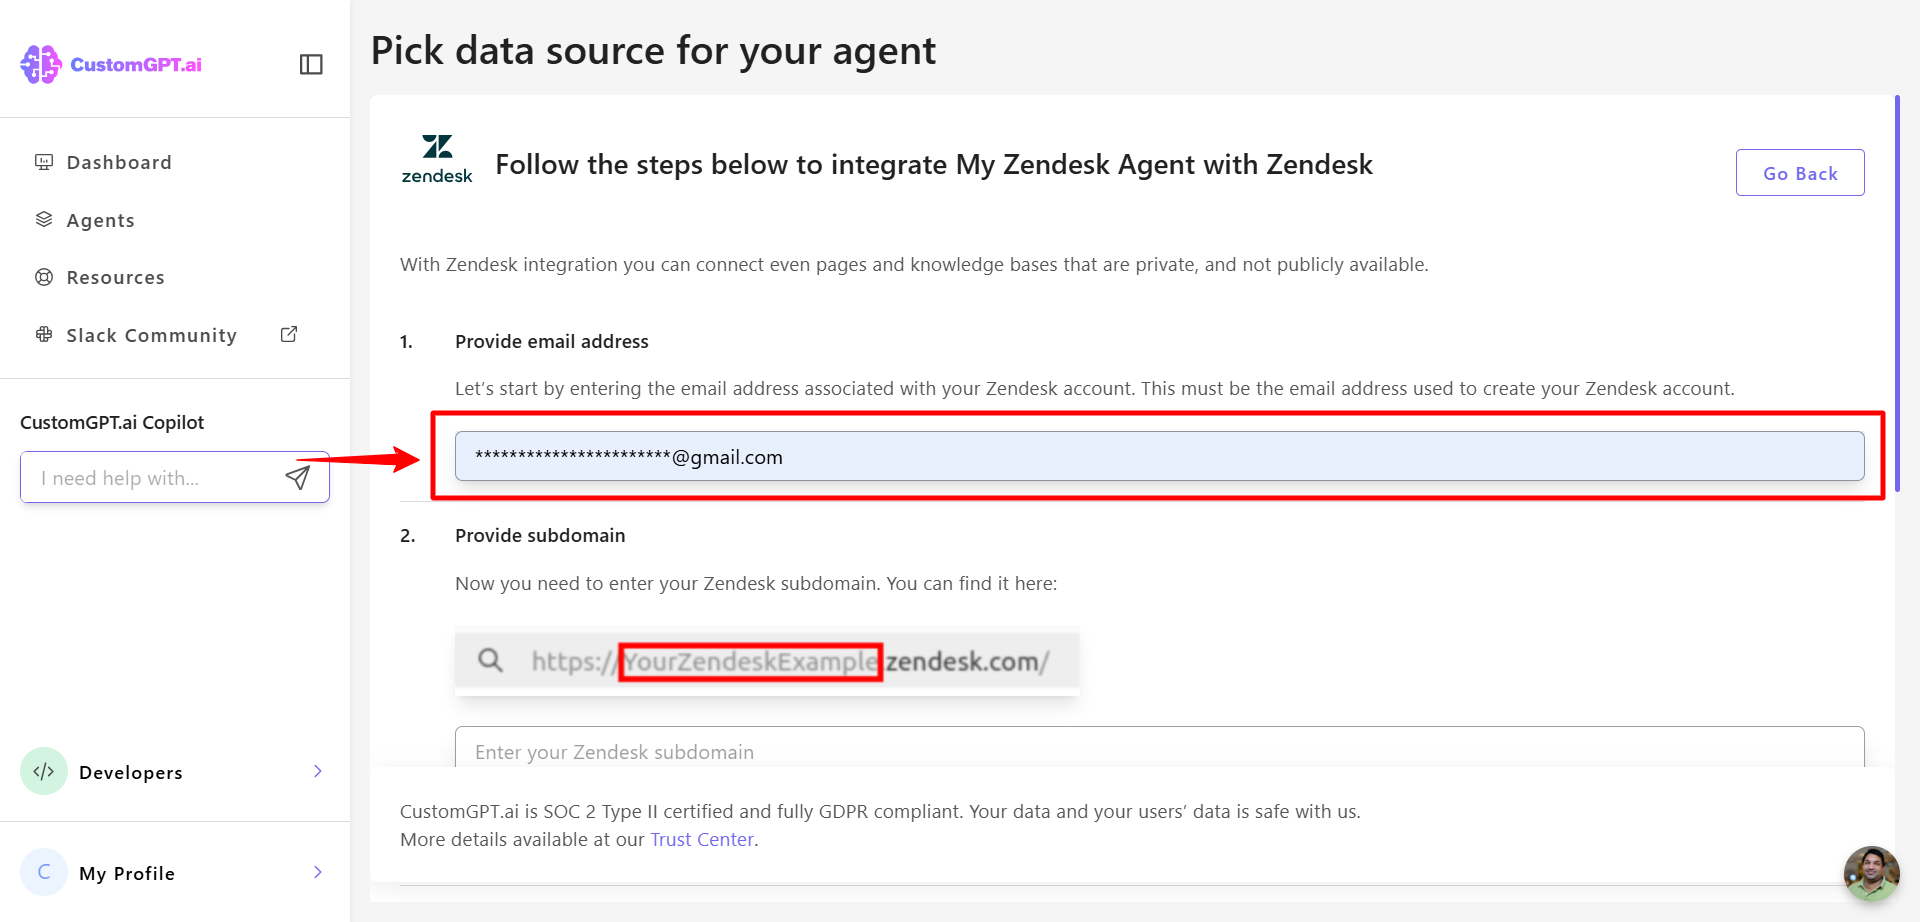
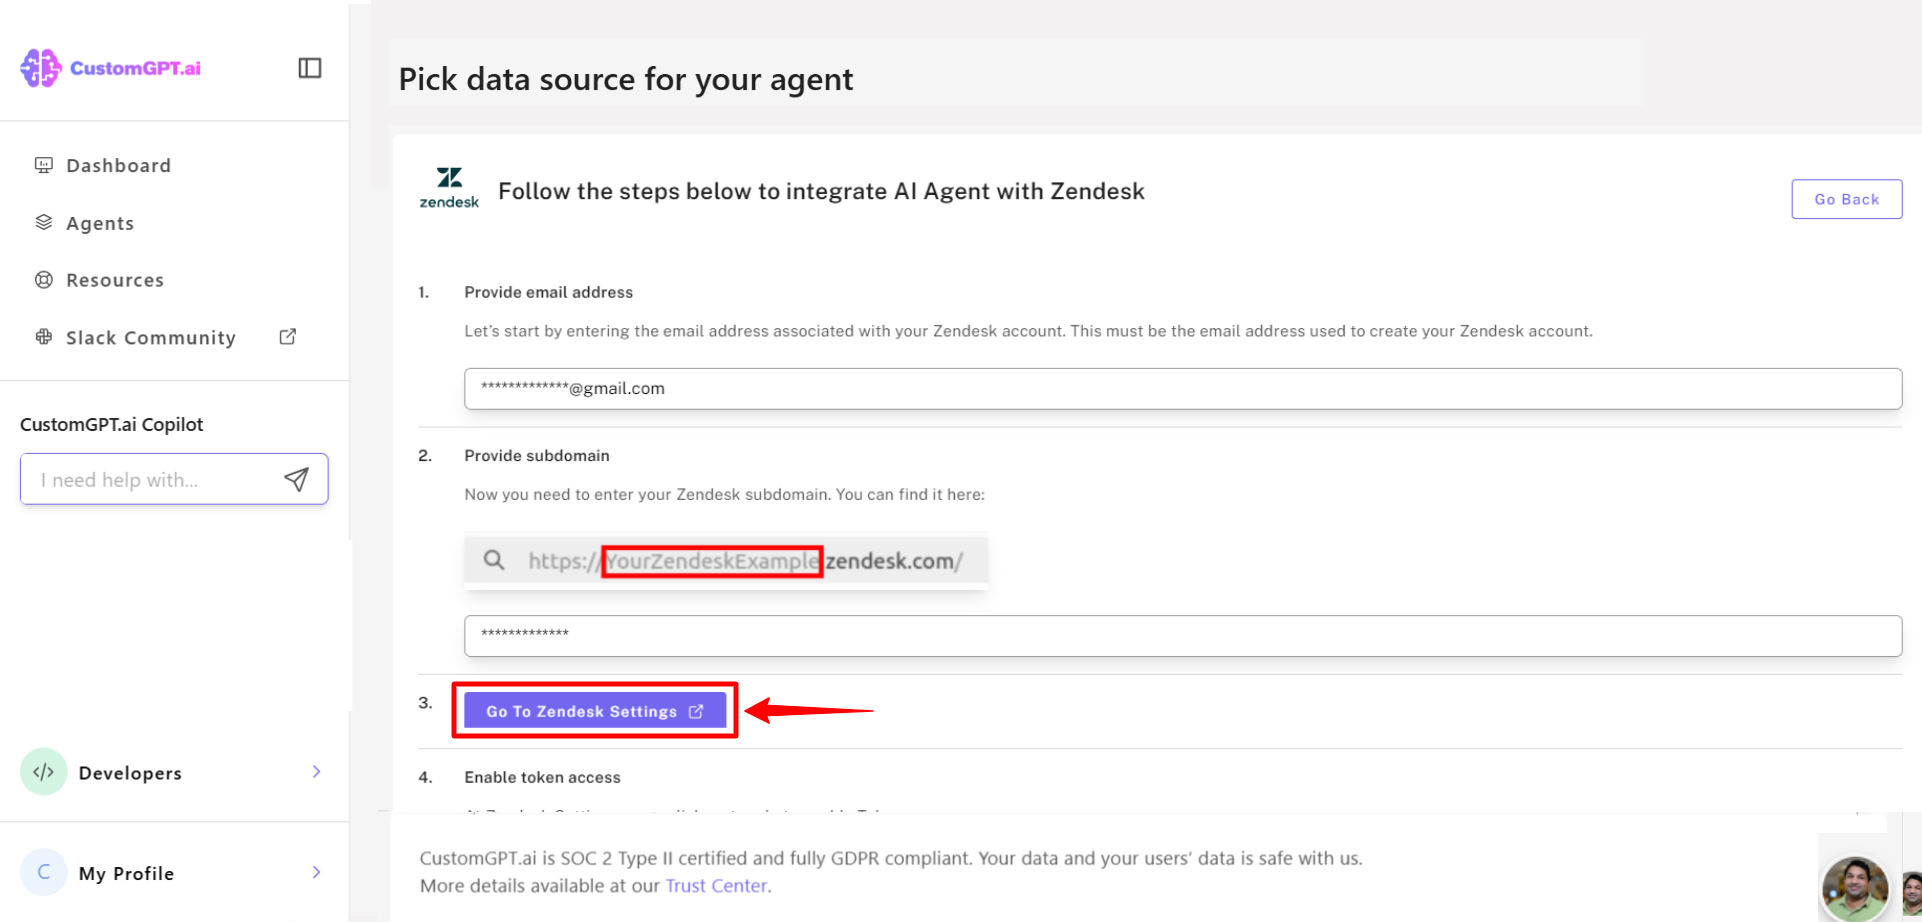
- Enter the email address associated with your Zendesk account. This must be the email of a user with the Administrator role.
- Enter your Zendesk subdomain.
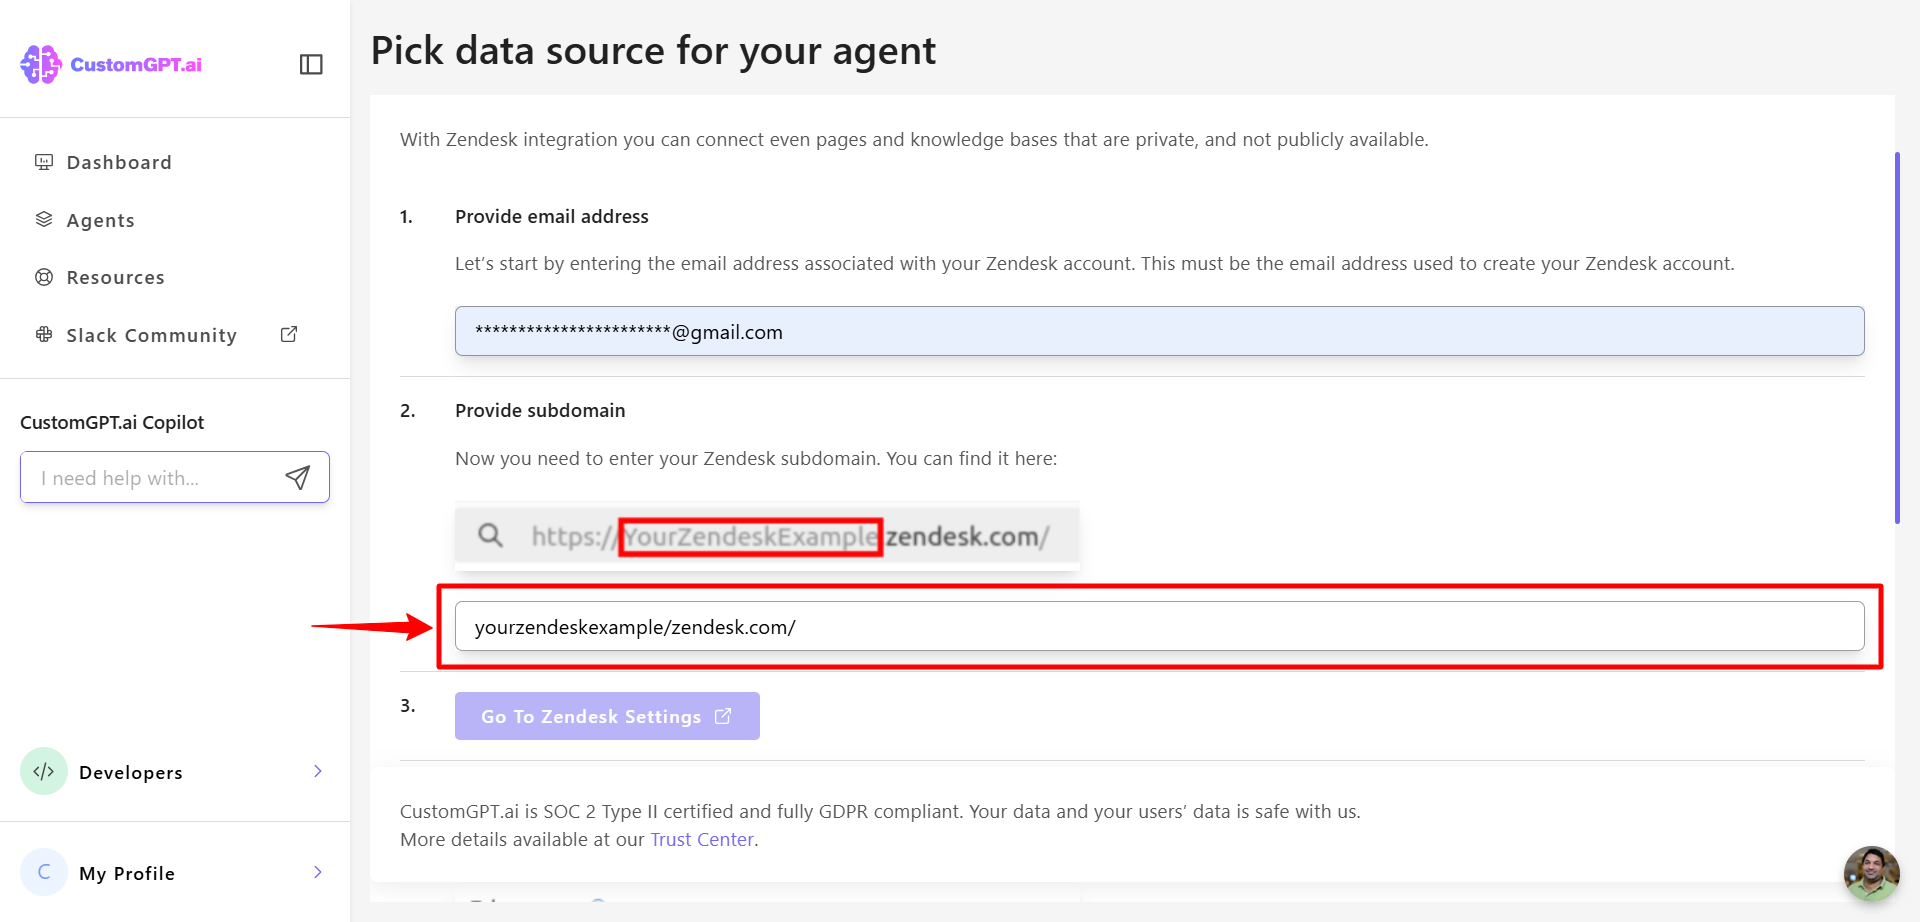
- Click Go to Zendesk Settings.
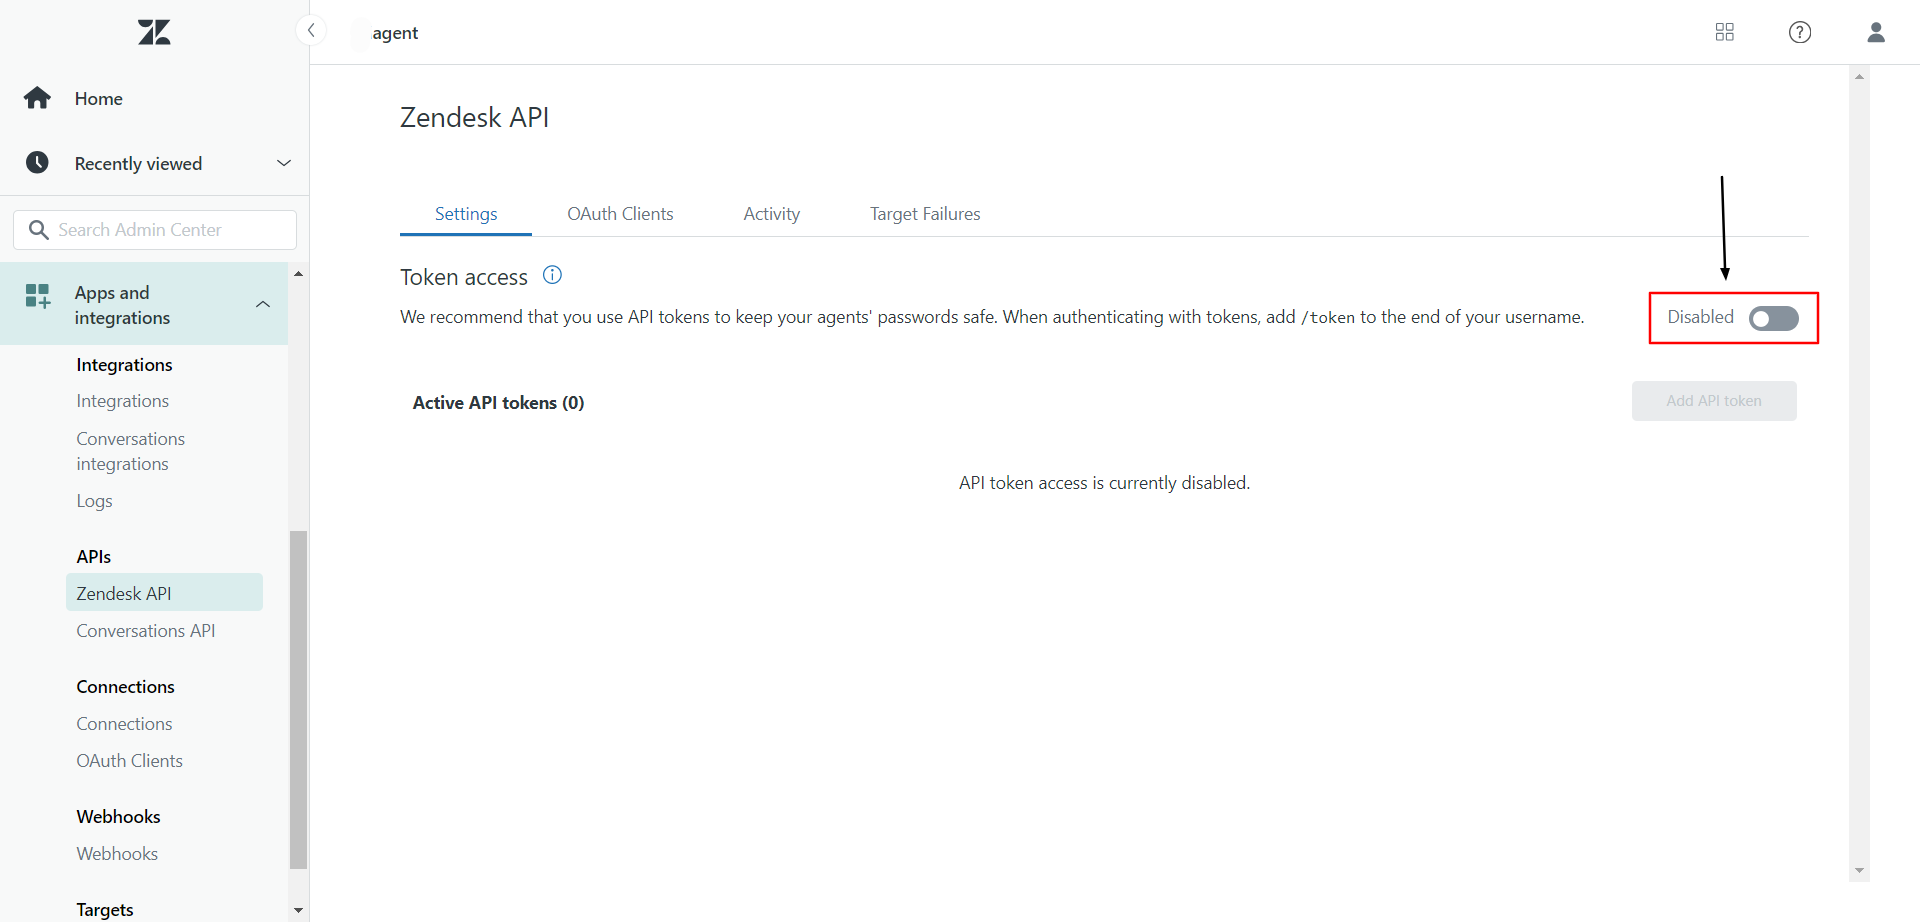
- In Zendesk, enable Token Access by toggling it on.
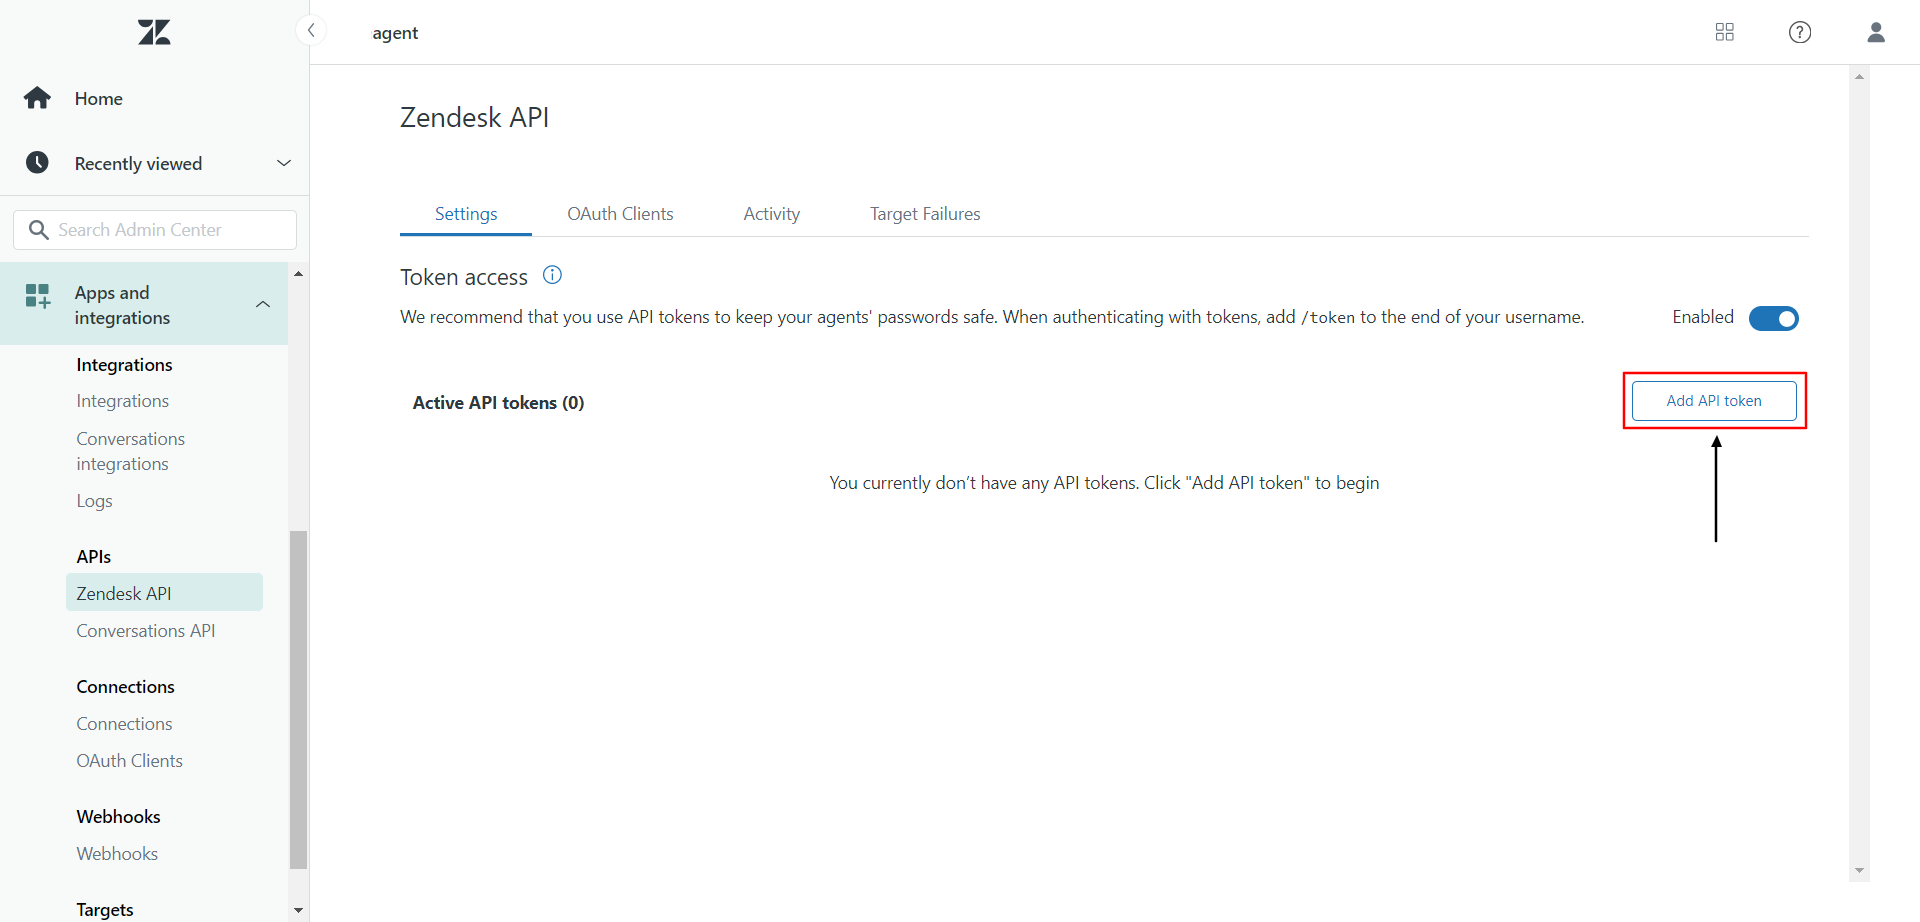
- Click Add API Token in your Zendesk settings.
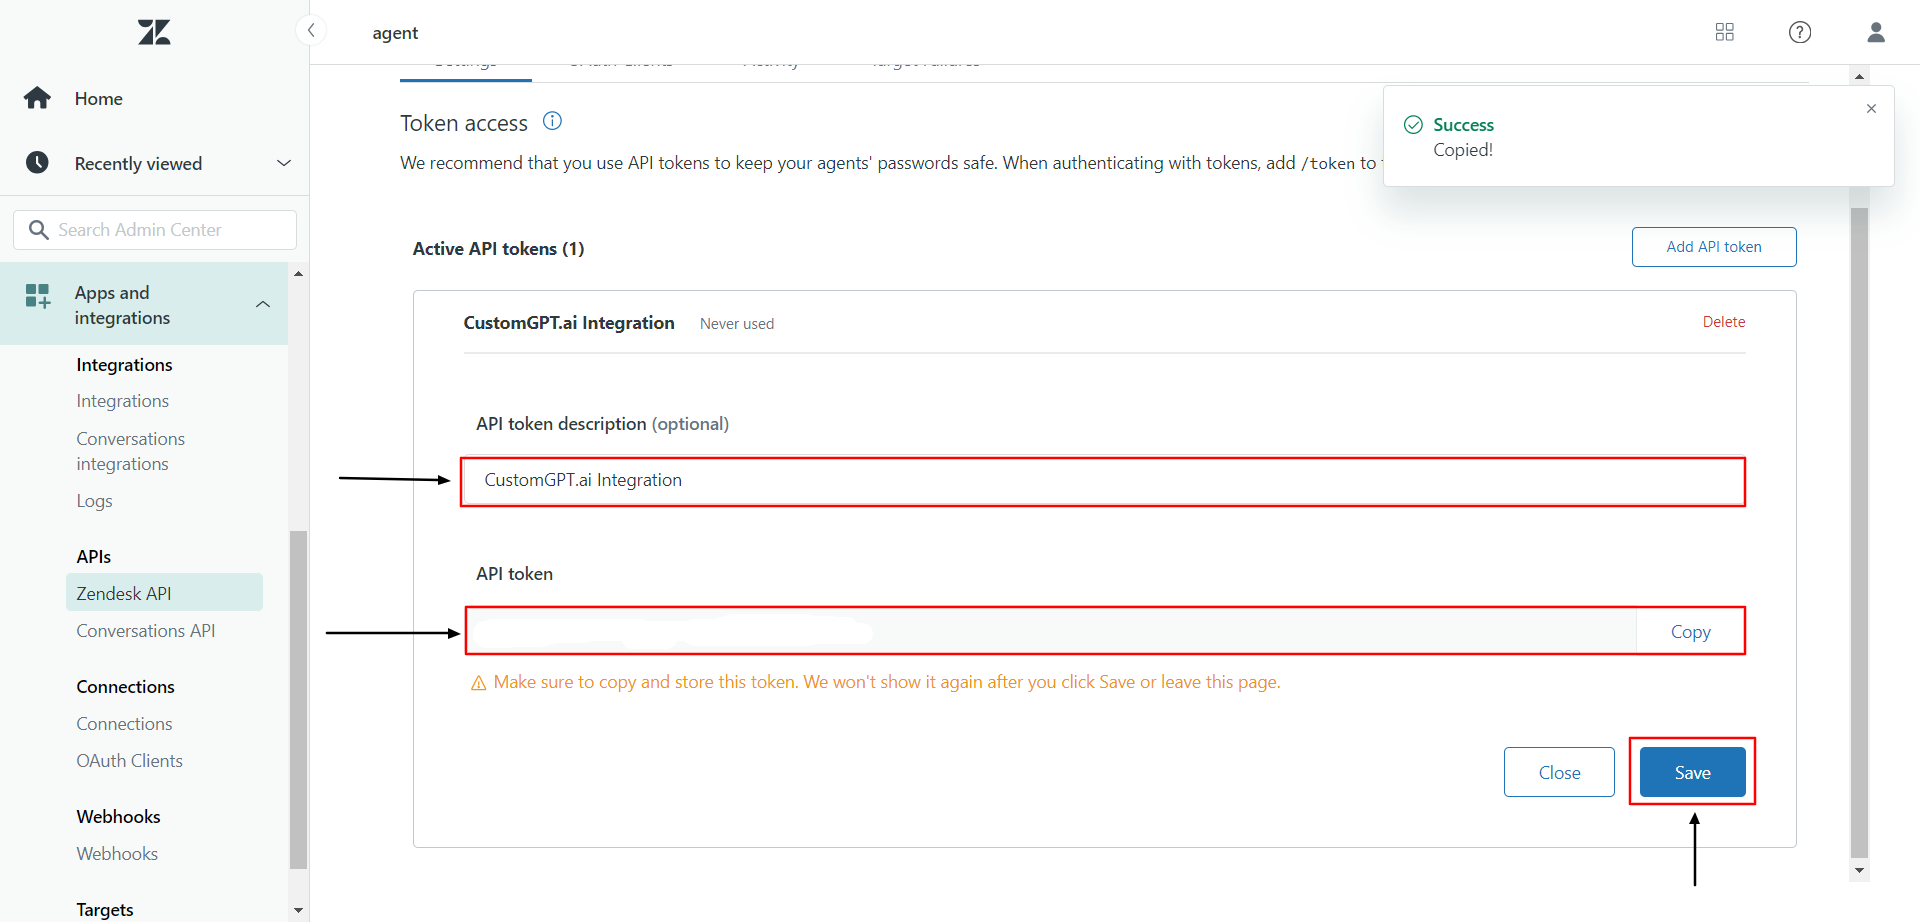
- When the dialog opens, click Copy to copy your token, then click Save.
- Paste the copied token into the designated field in CustomGPT.ai.
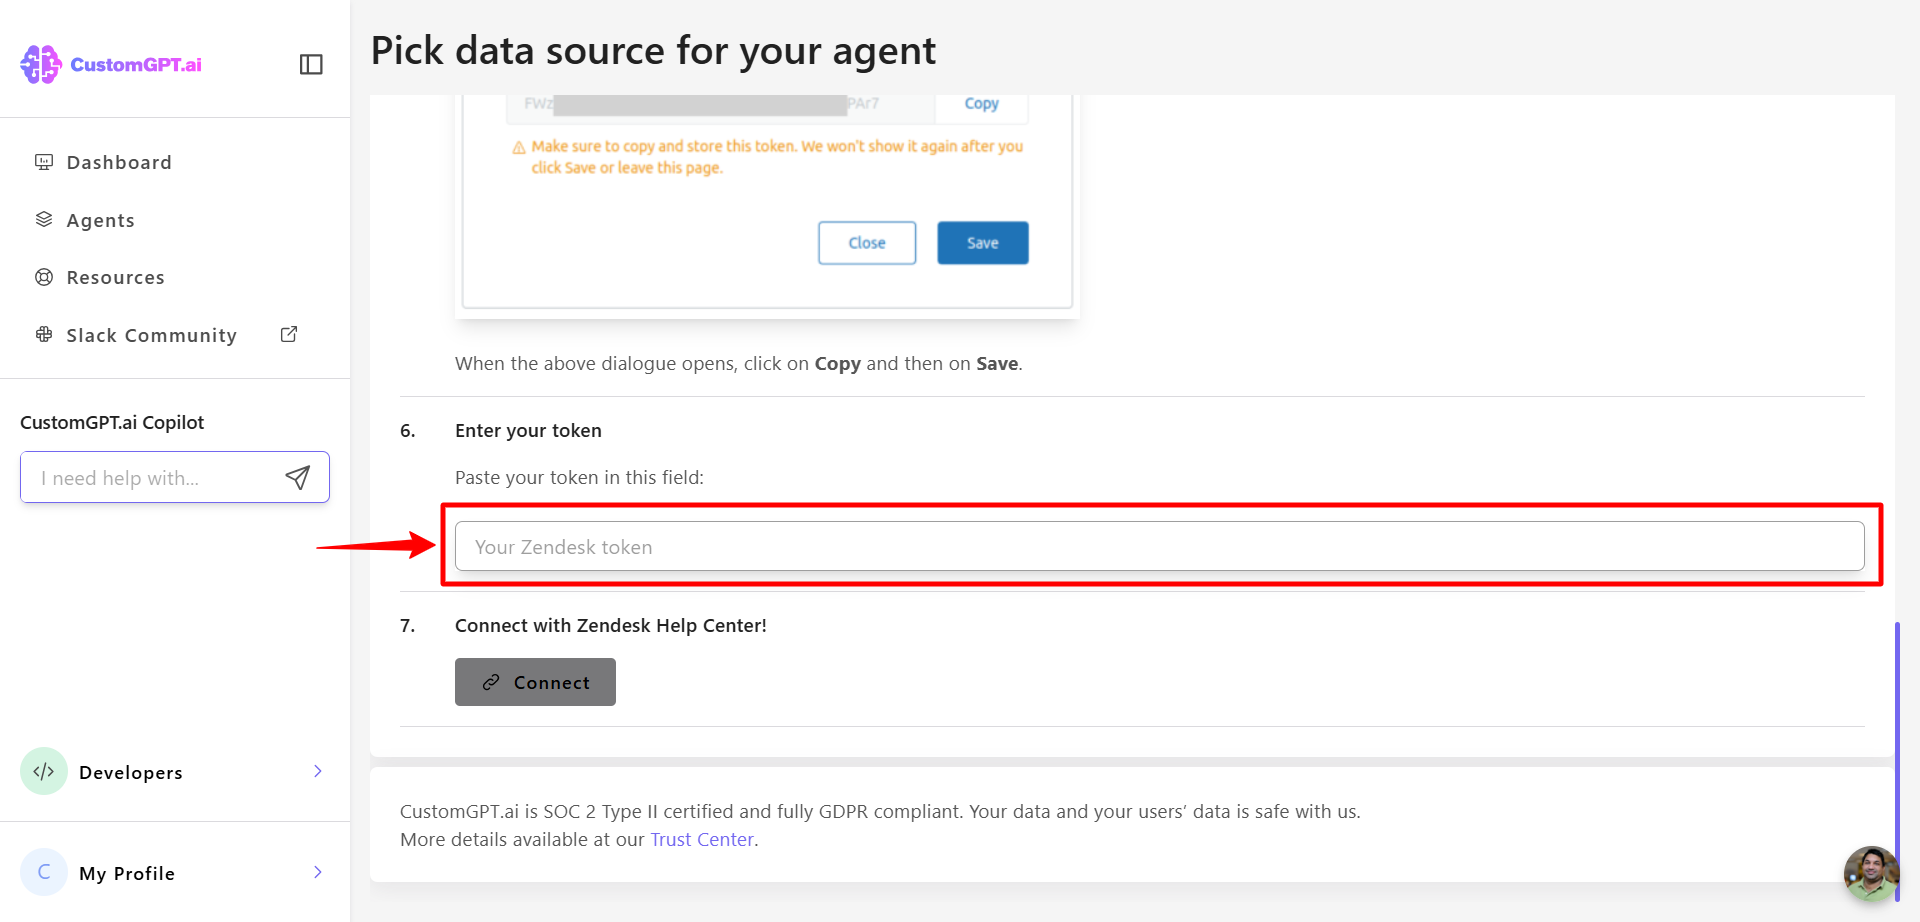
- Click Connect to complete the integration with your Zendesk Help Center.

Updated 9 months ago
