Deploy to WordPress via plugin
This step-by-step guide explains how to install and configure the official CustomGPT.ai plugin on your WordPress website.
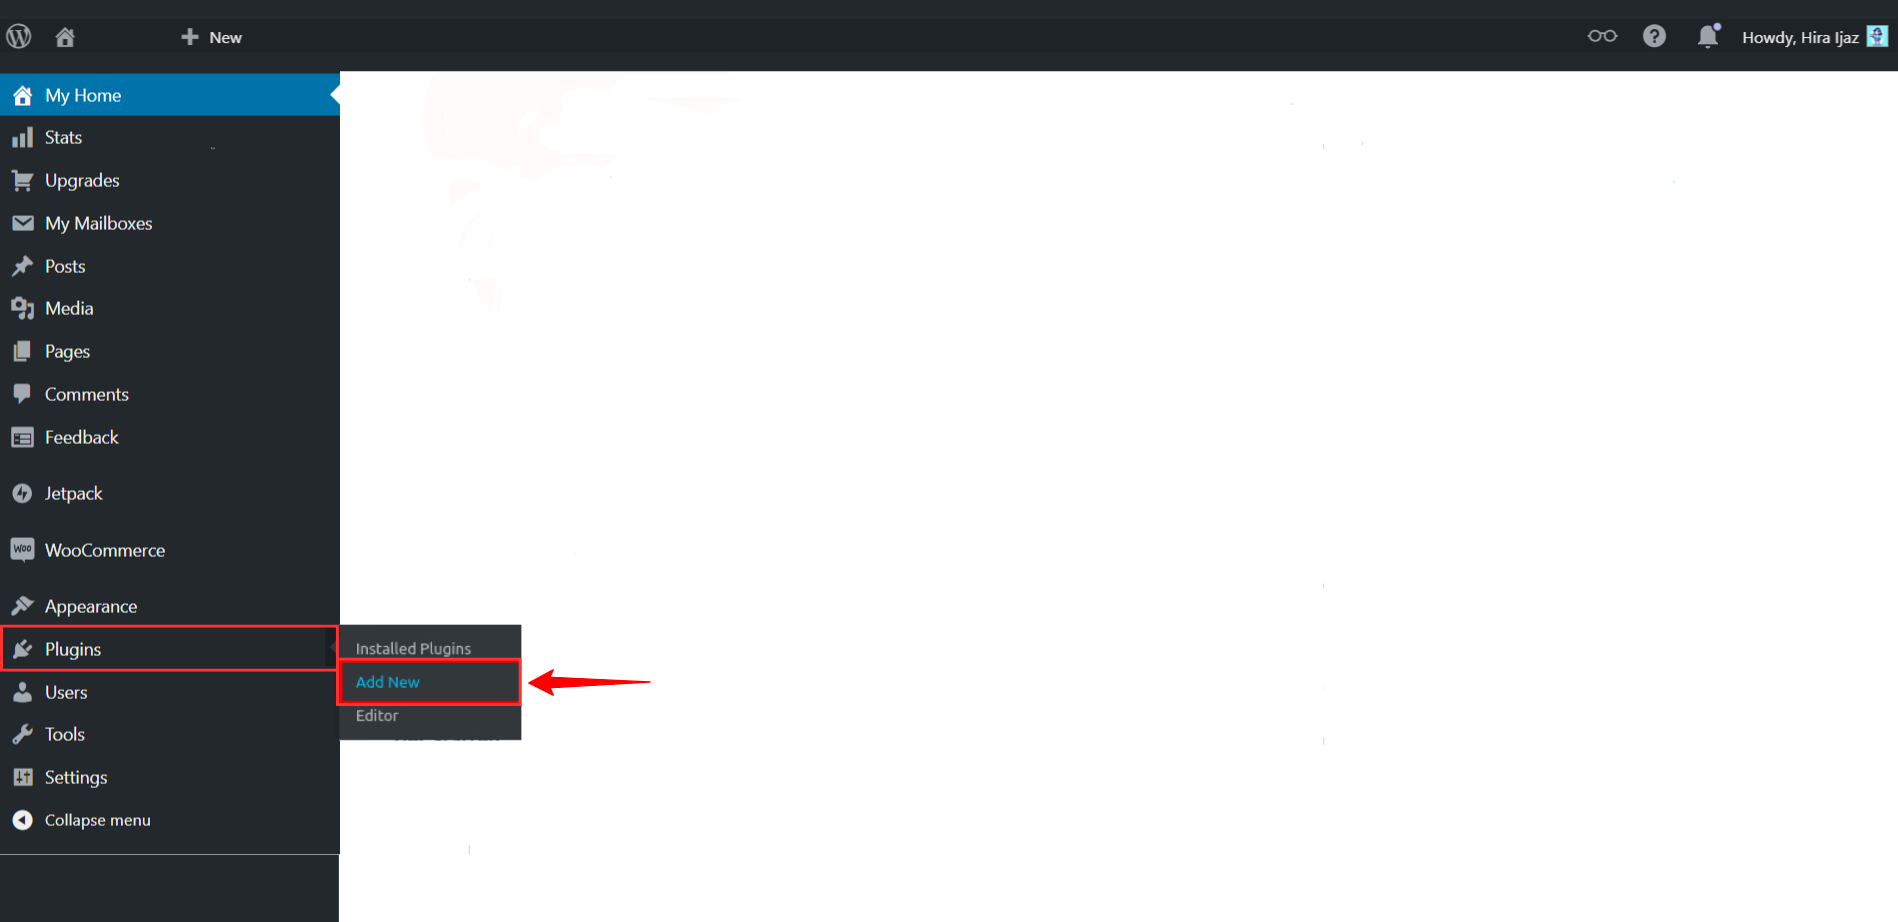
- Make sure you are logged in to your WordPress site as an administrator. Then, in your WordPress dashboard, go to Plugins and click Add New.
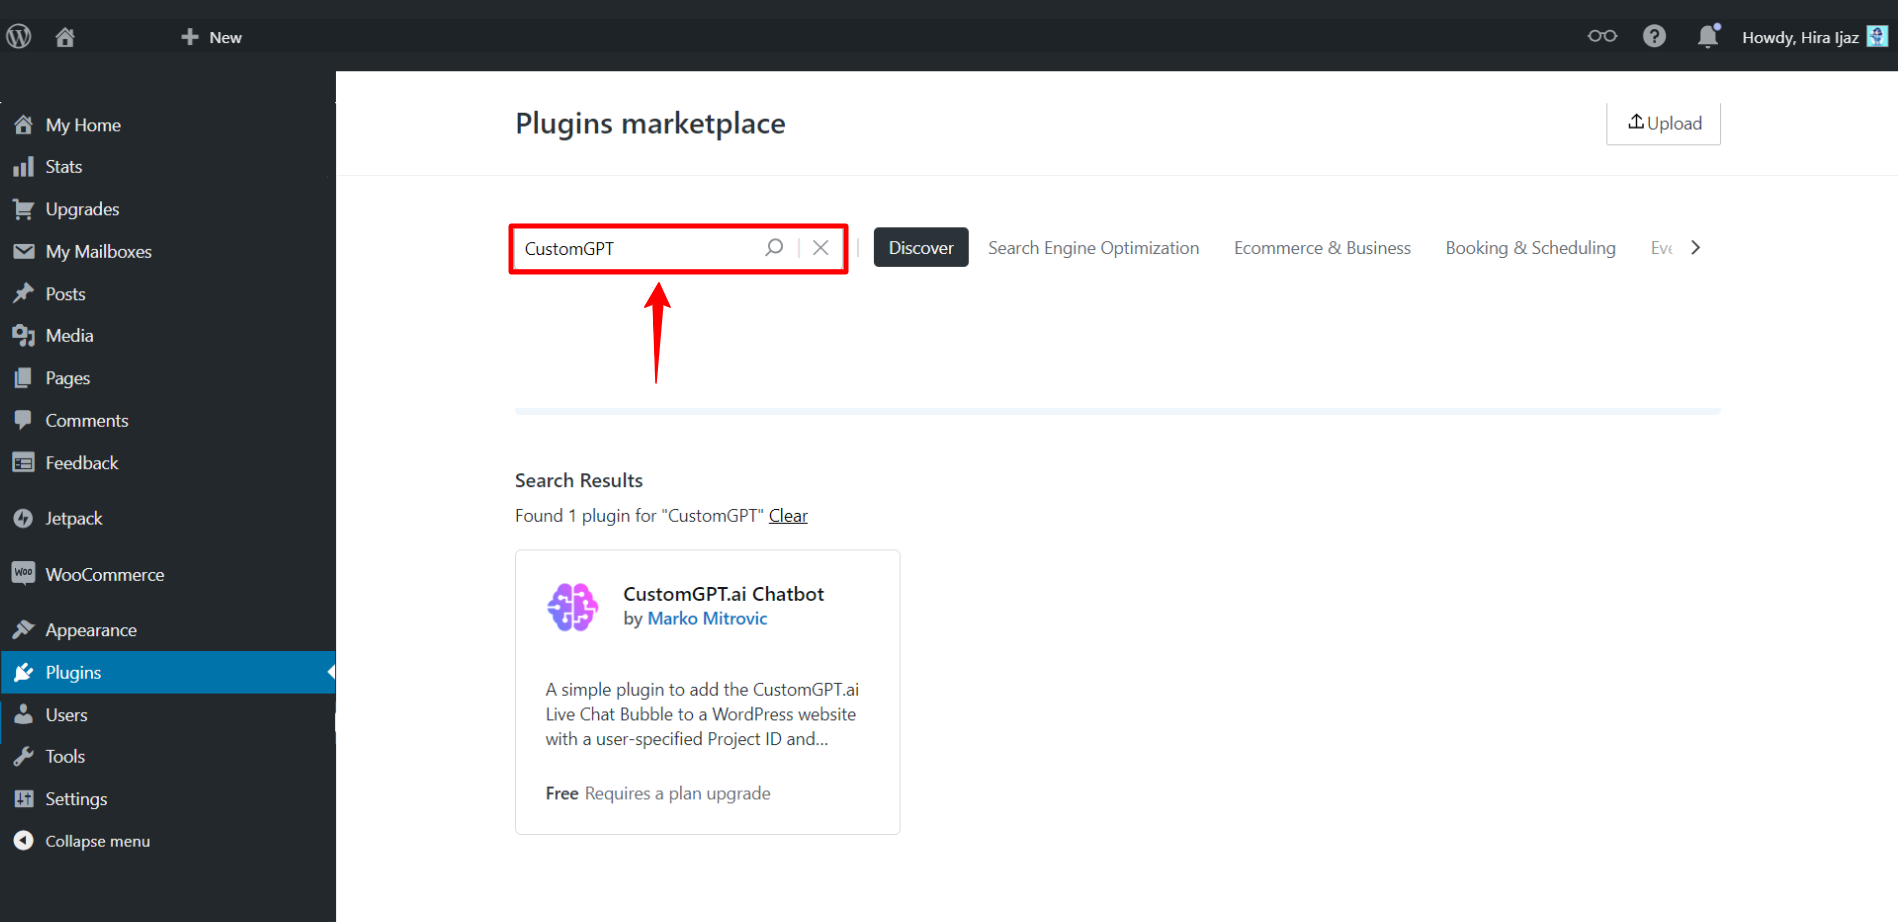
- In the search bar, type CustomGPT.
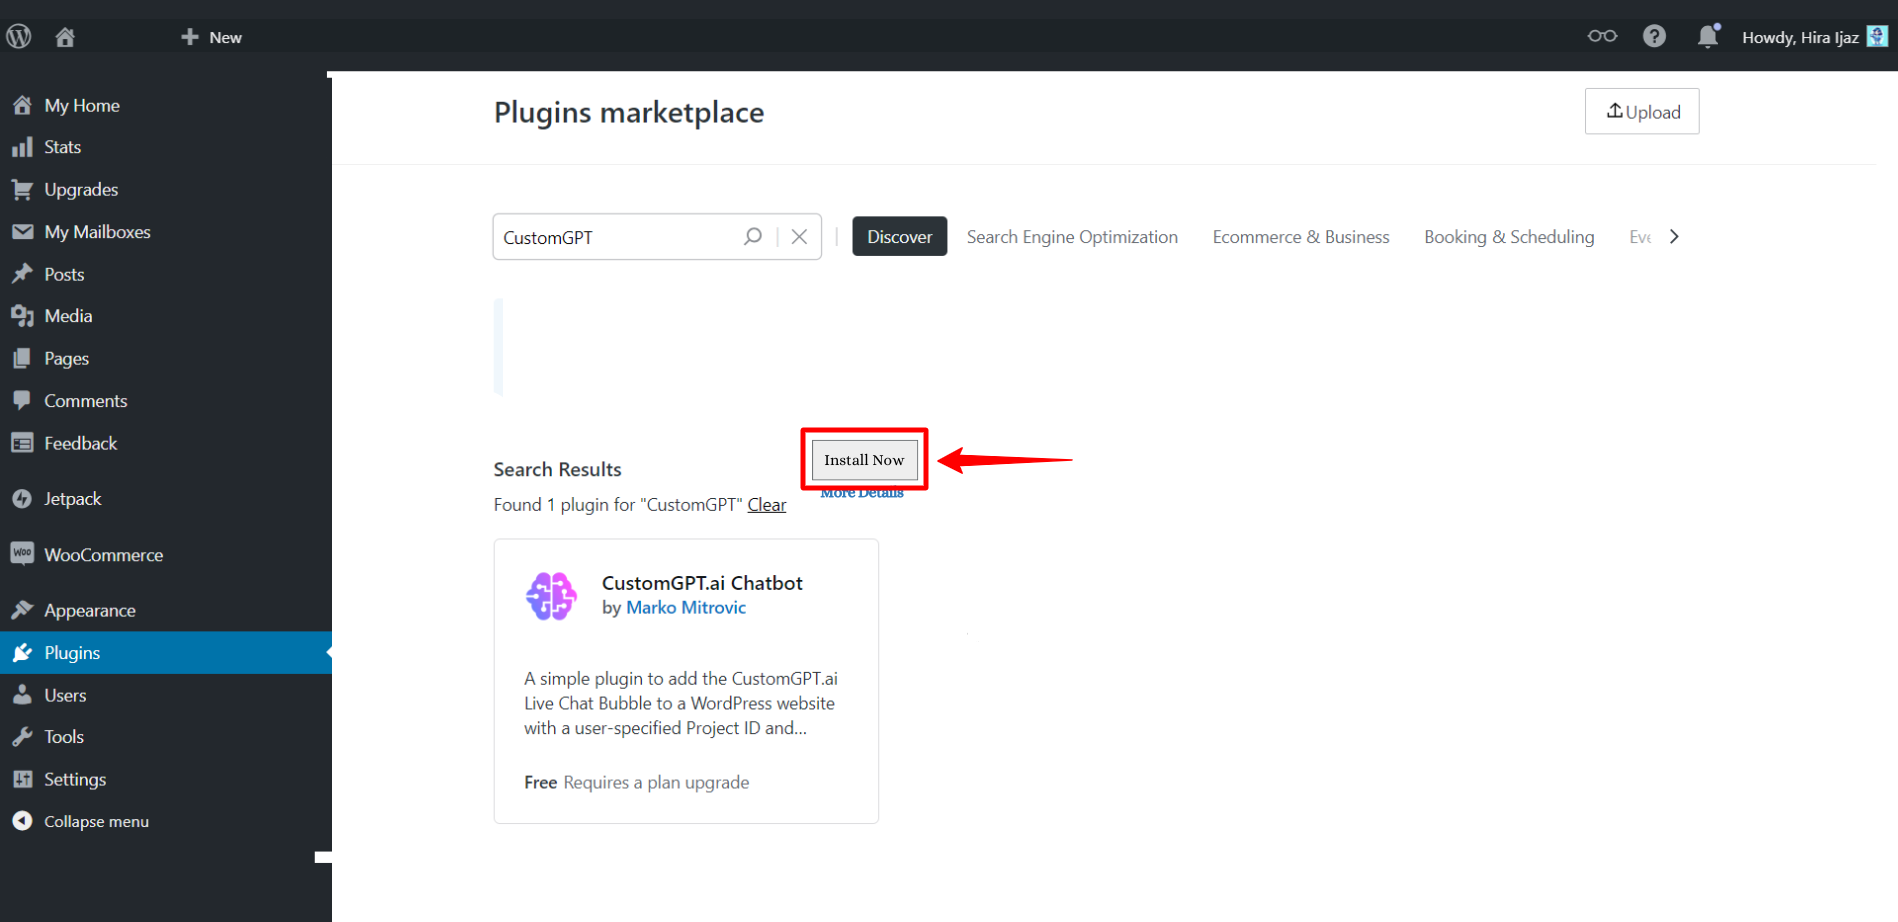
- When the CustomGPT.ai plugin appears, click Install Now.
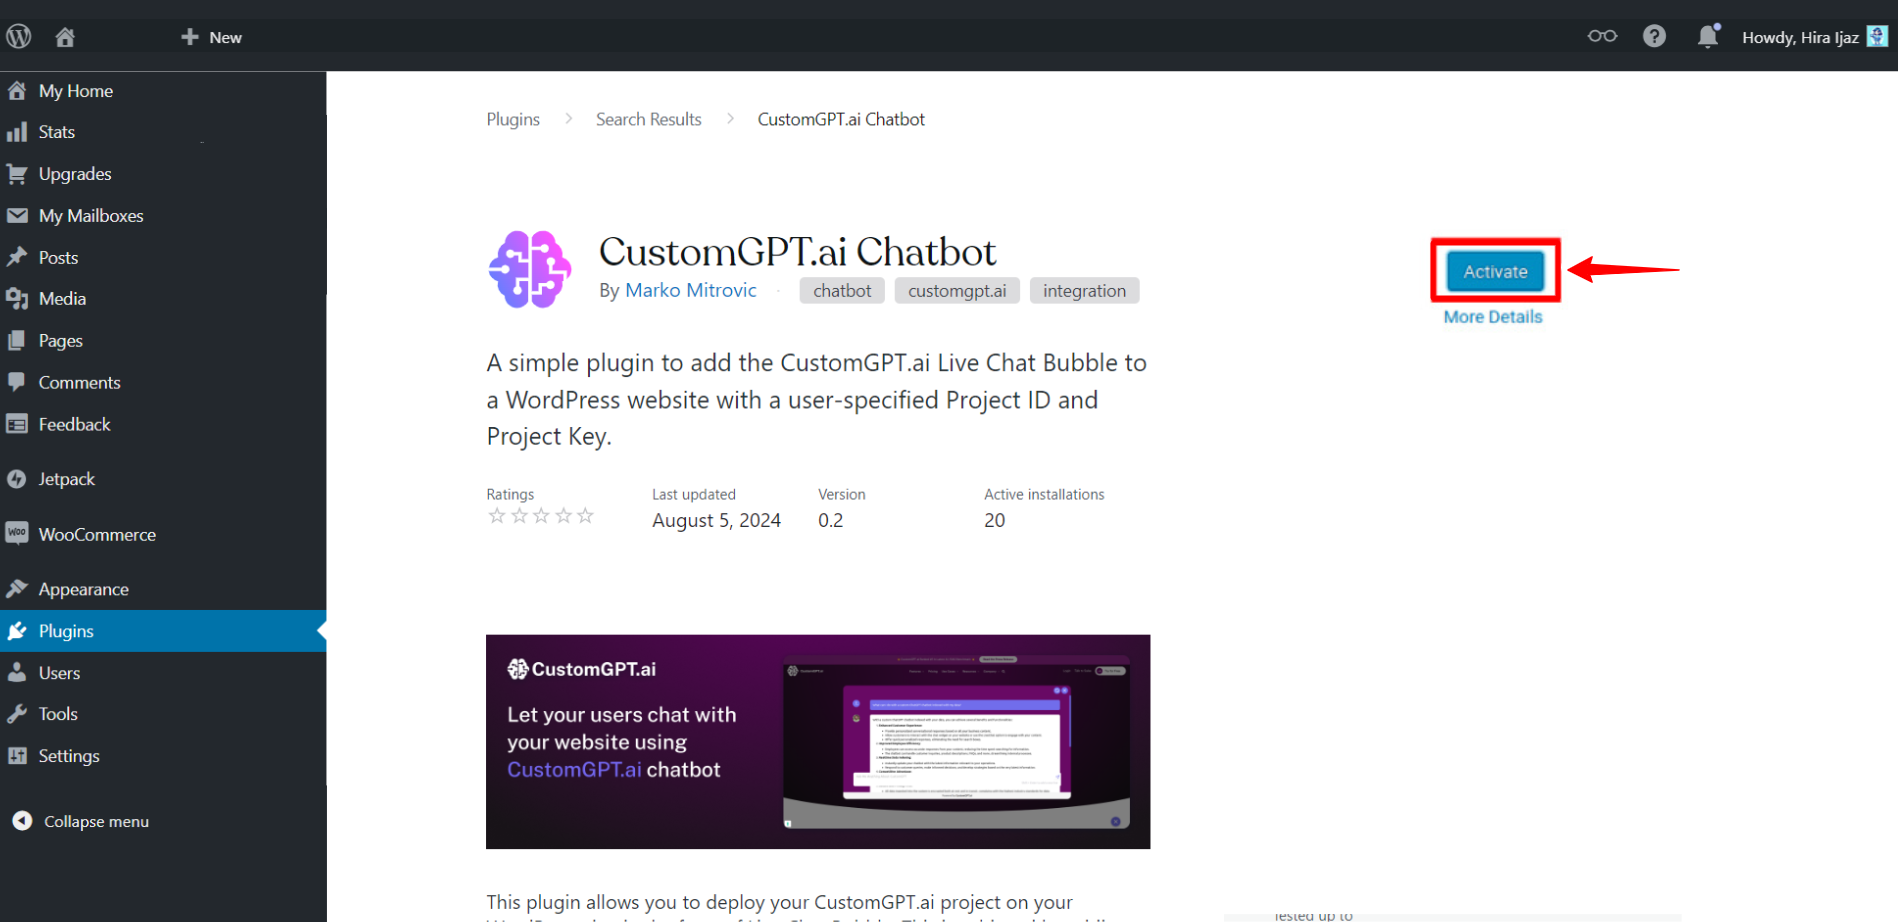
- After installation is complete, click Activate.
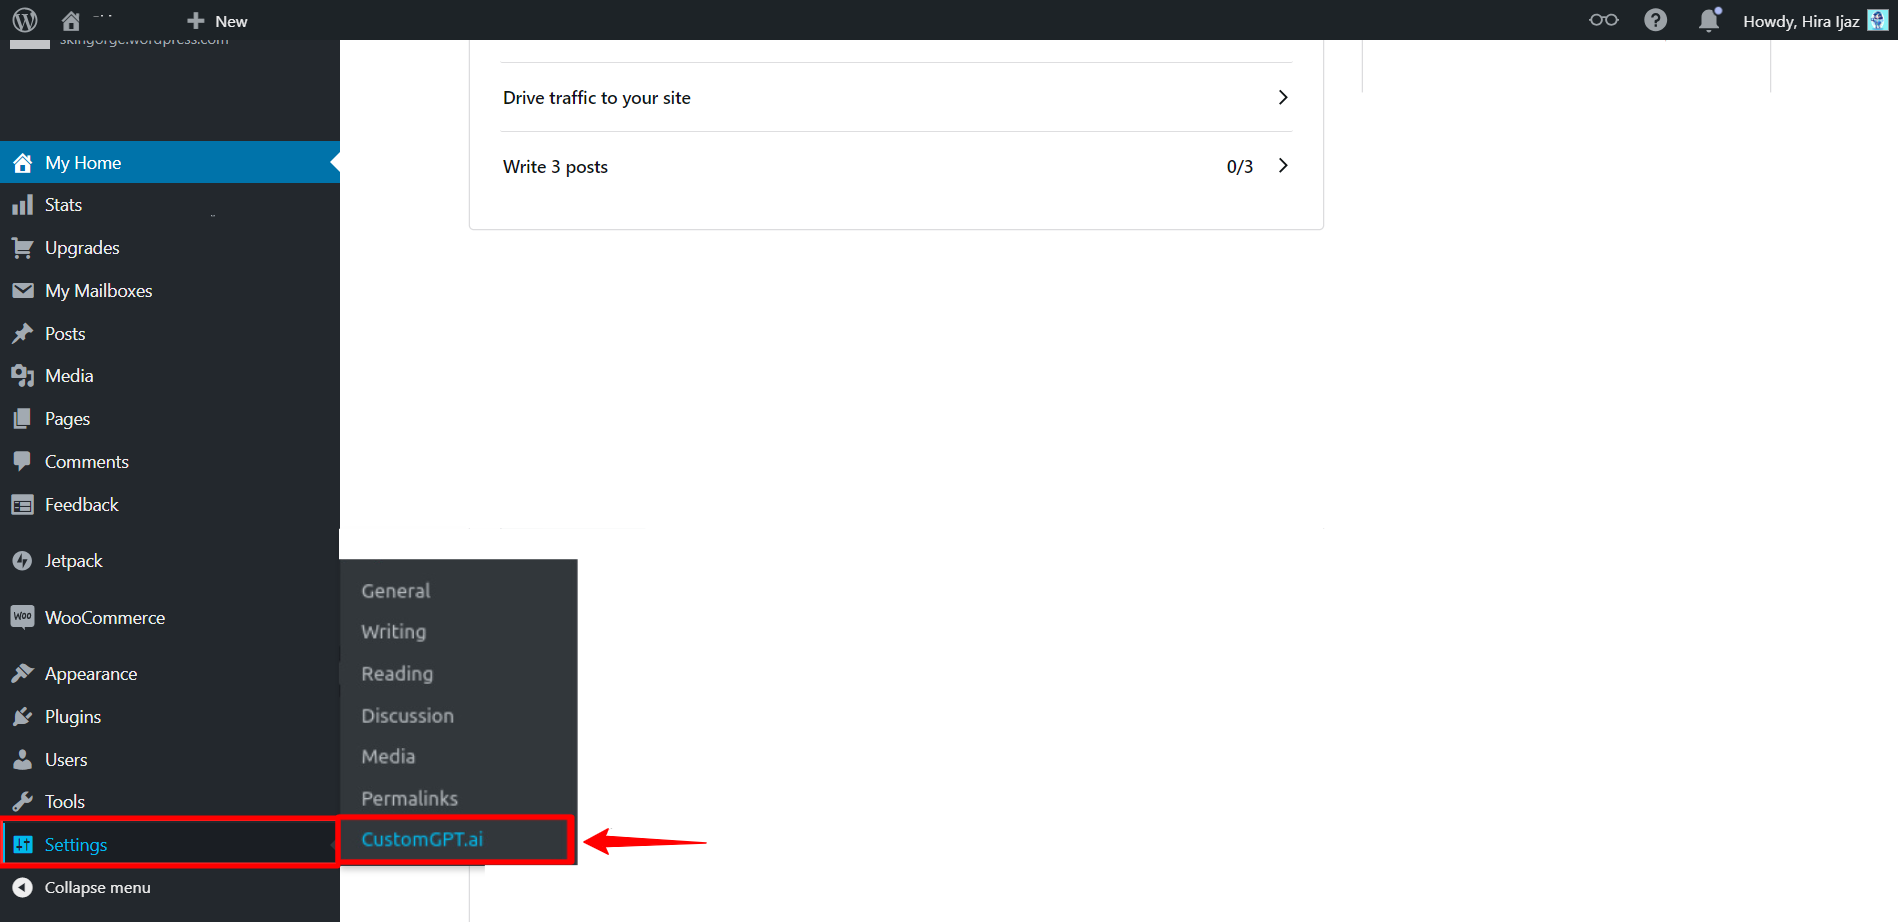
- In the left sidebar, go to Settings and click CustomGPT.ai.
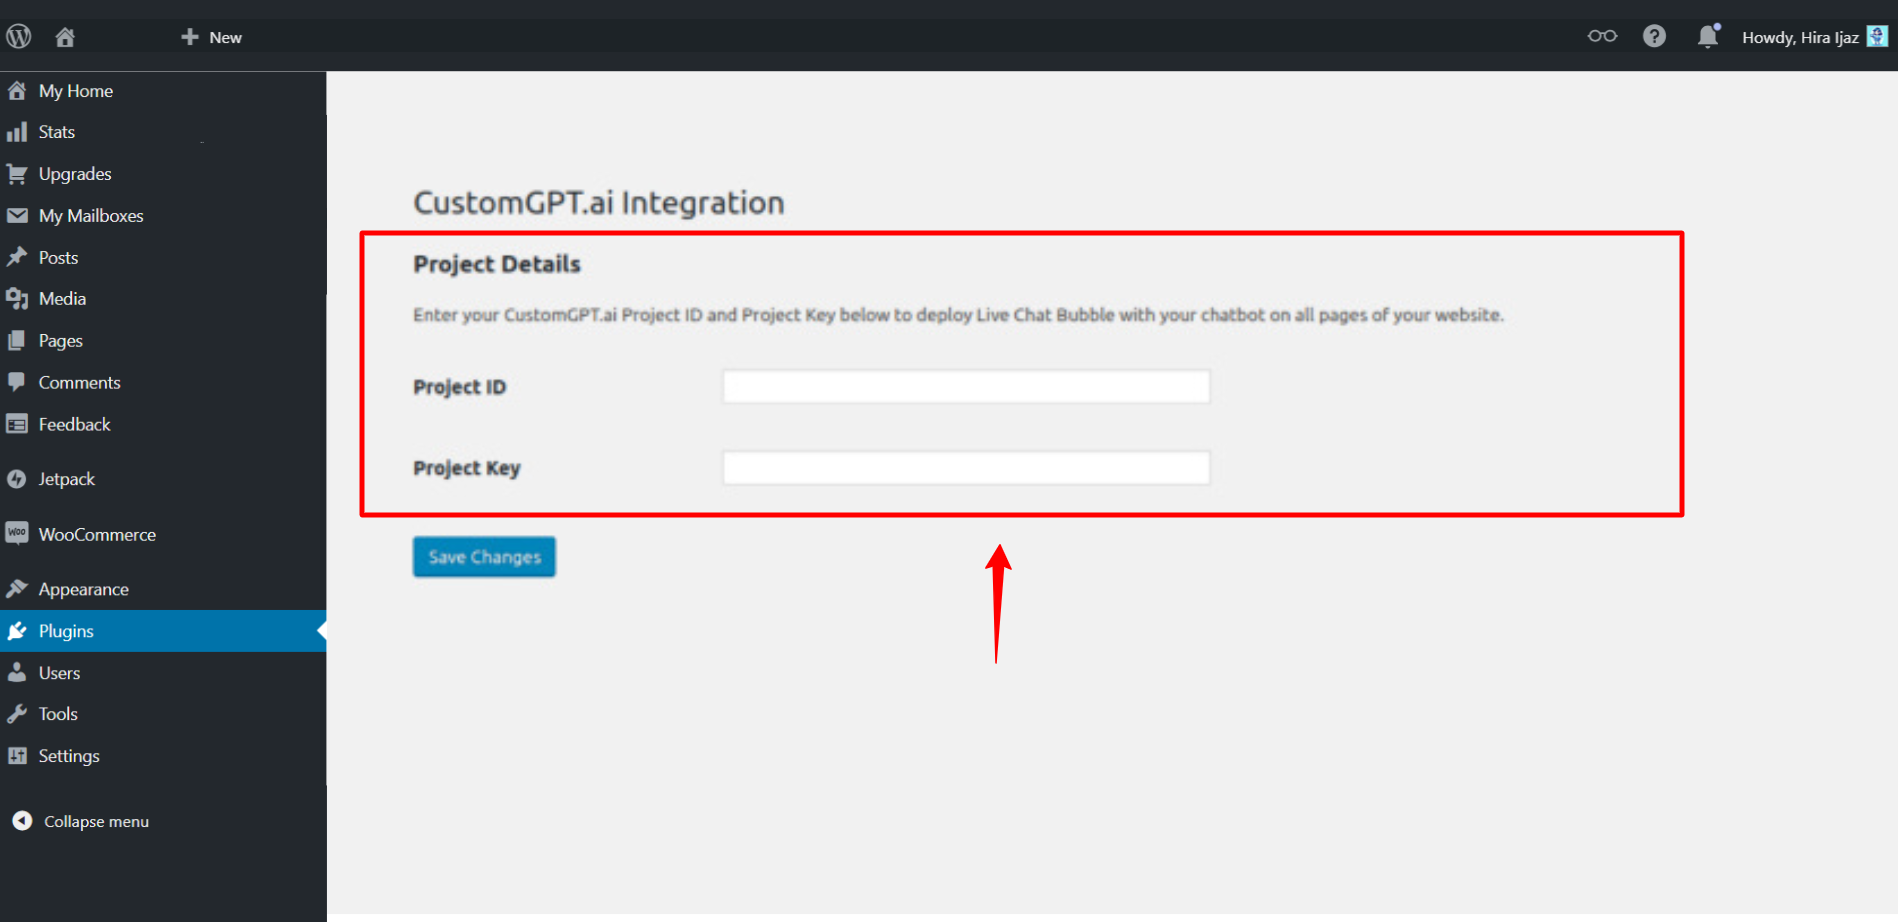
- Under Agent Details, enter the following:
- Agent ID
- Agent Key
You can find both in your CustomGPT Agent Deployment Settings.
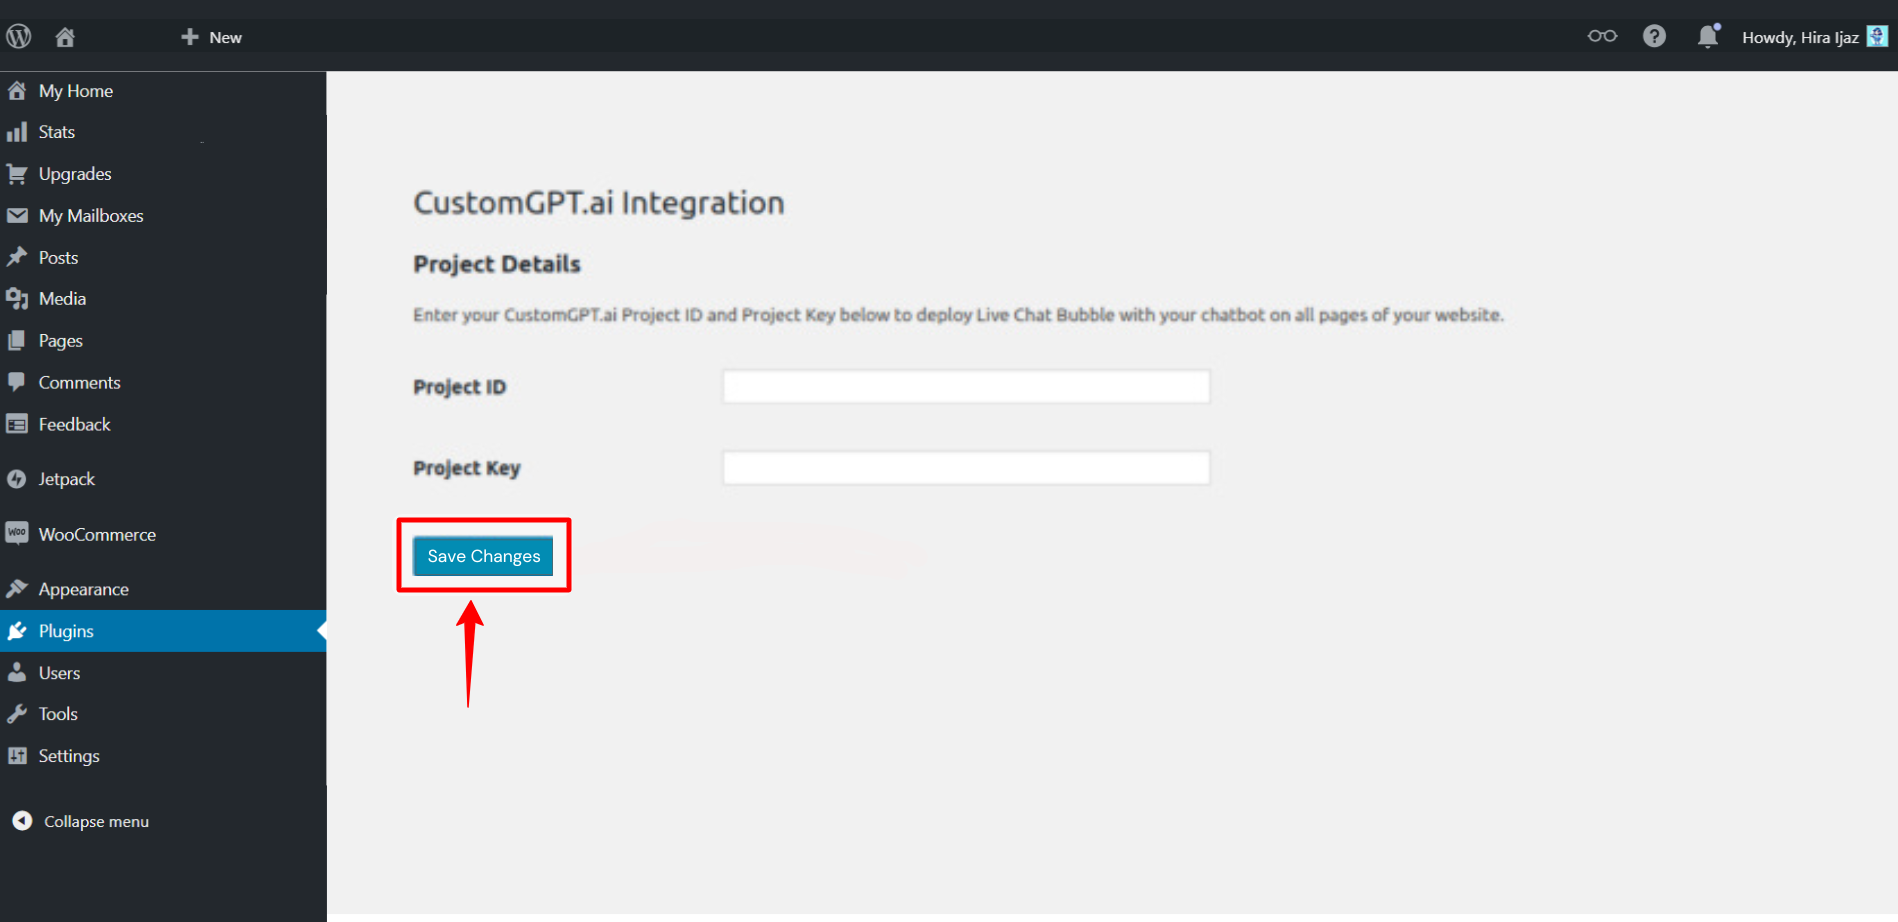
- Click Save Changes.
Updated about 1 year ago
Did this page help you?