Connect to Confluence
This step-by-step guide explains how to connect your Confluence site to CustomGPT.ai for enhanced content management and automatic synchronization.
How to connect your Confluence
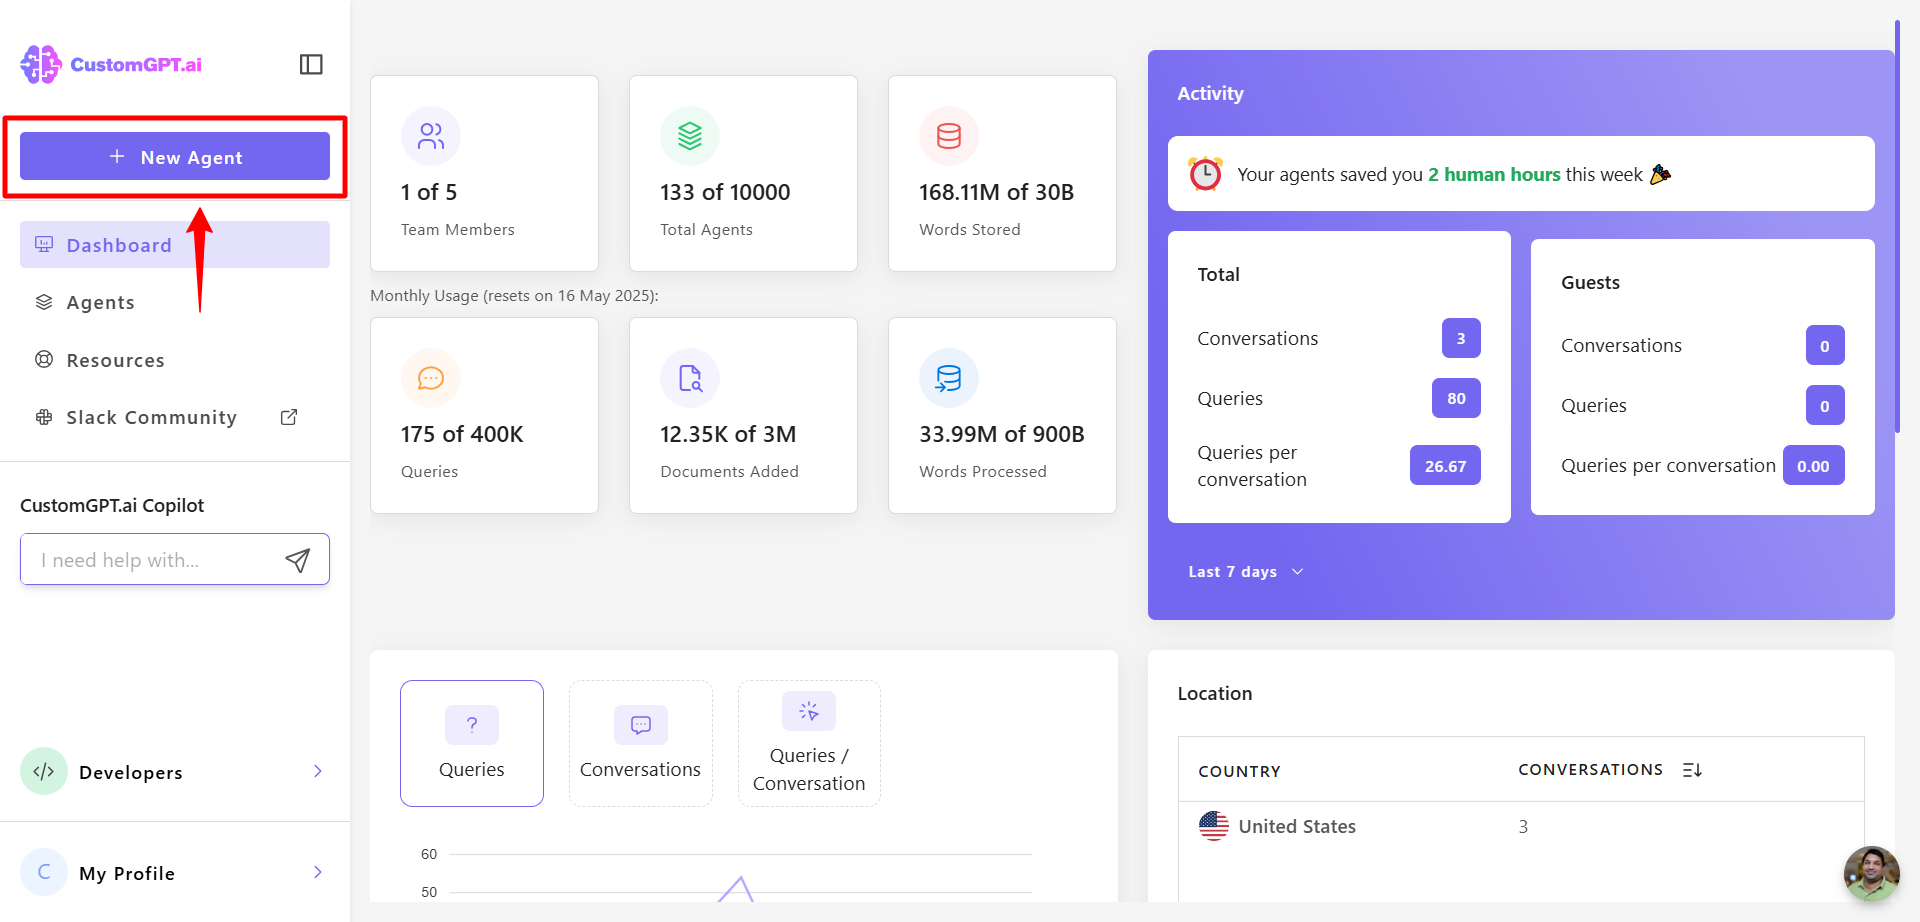
- Click New Agent to create a new AI agent.
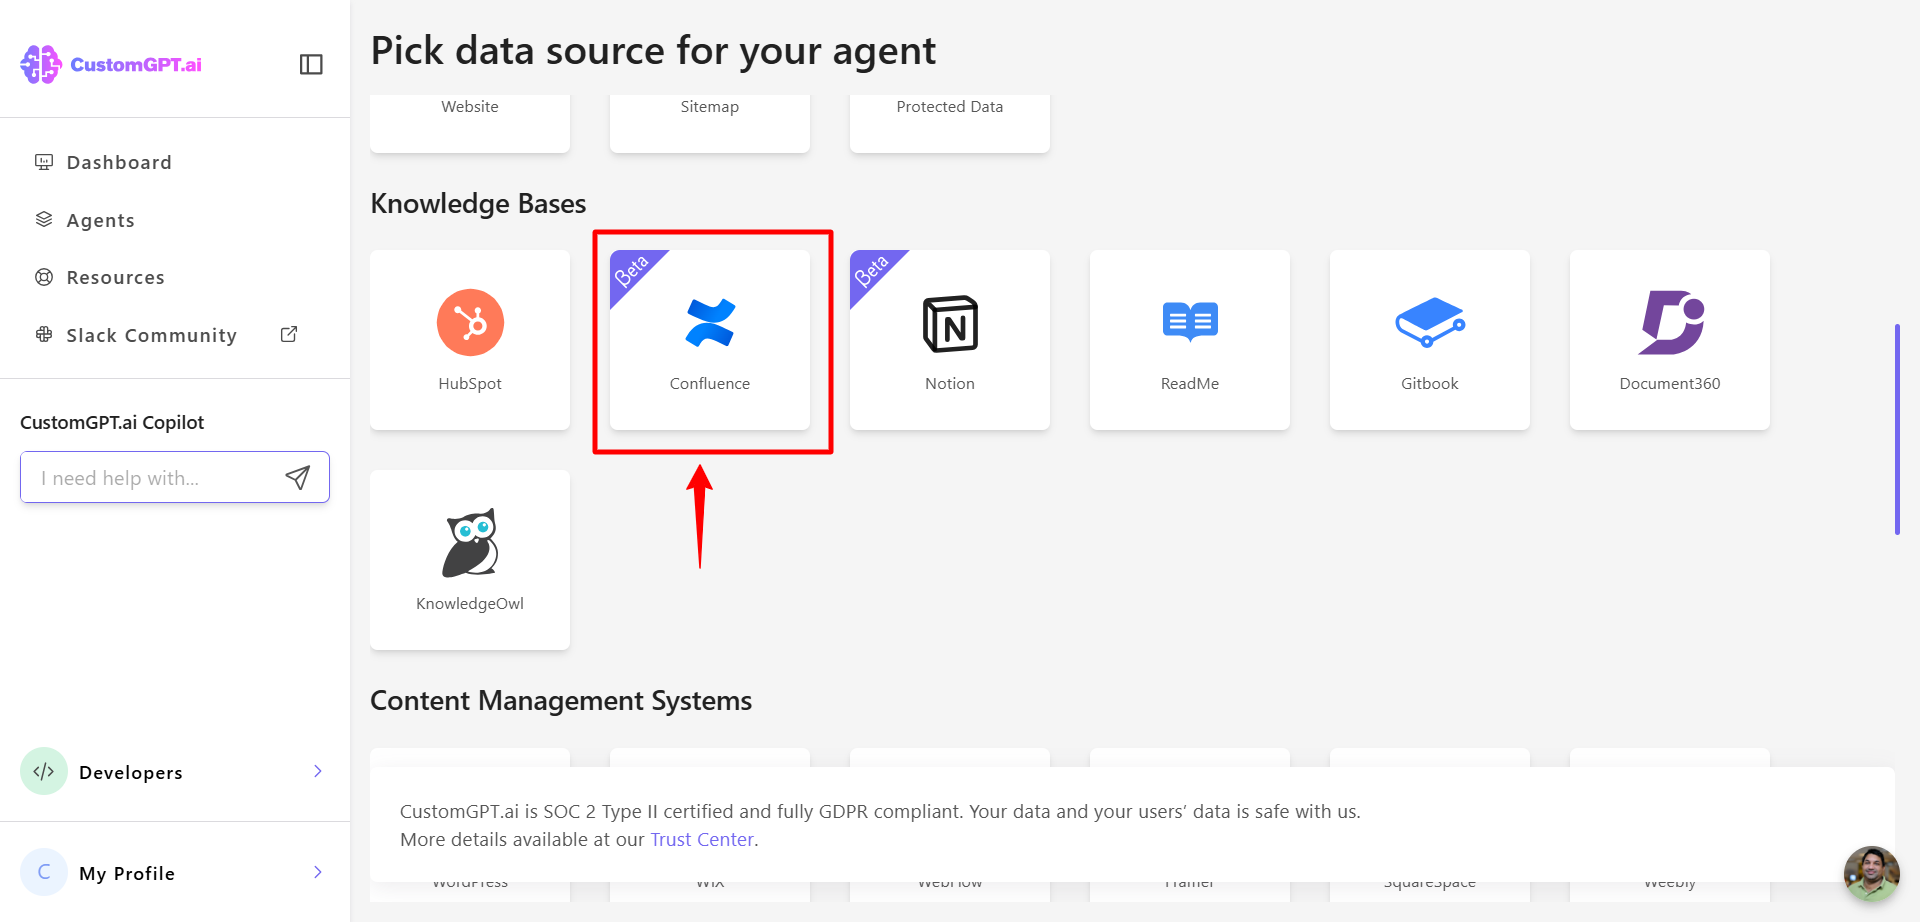
- Scroll to the Knowledge Bases section and click Confluence.
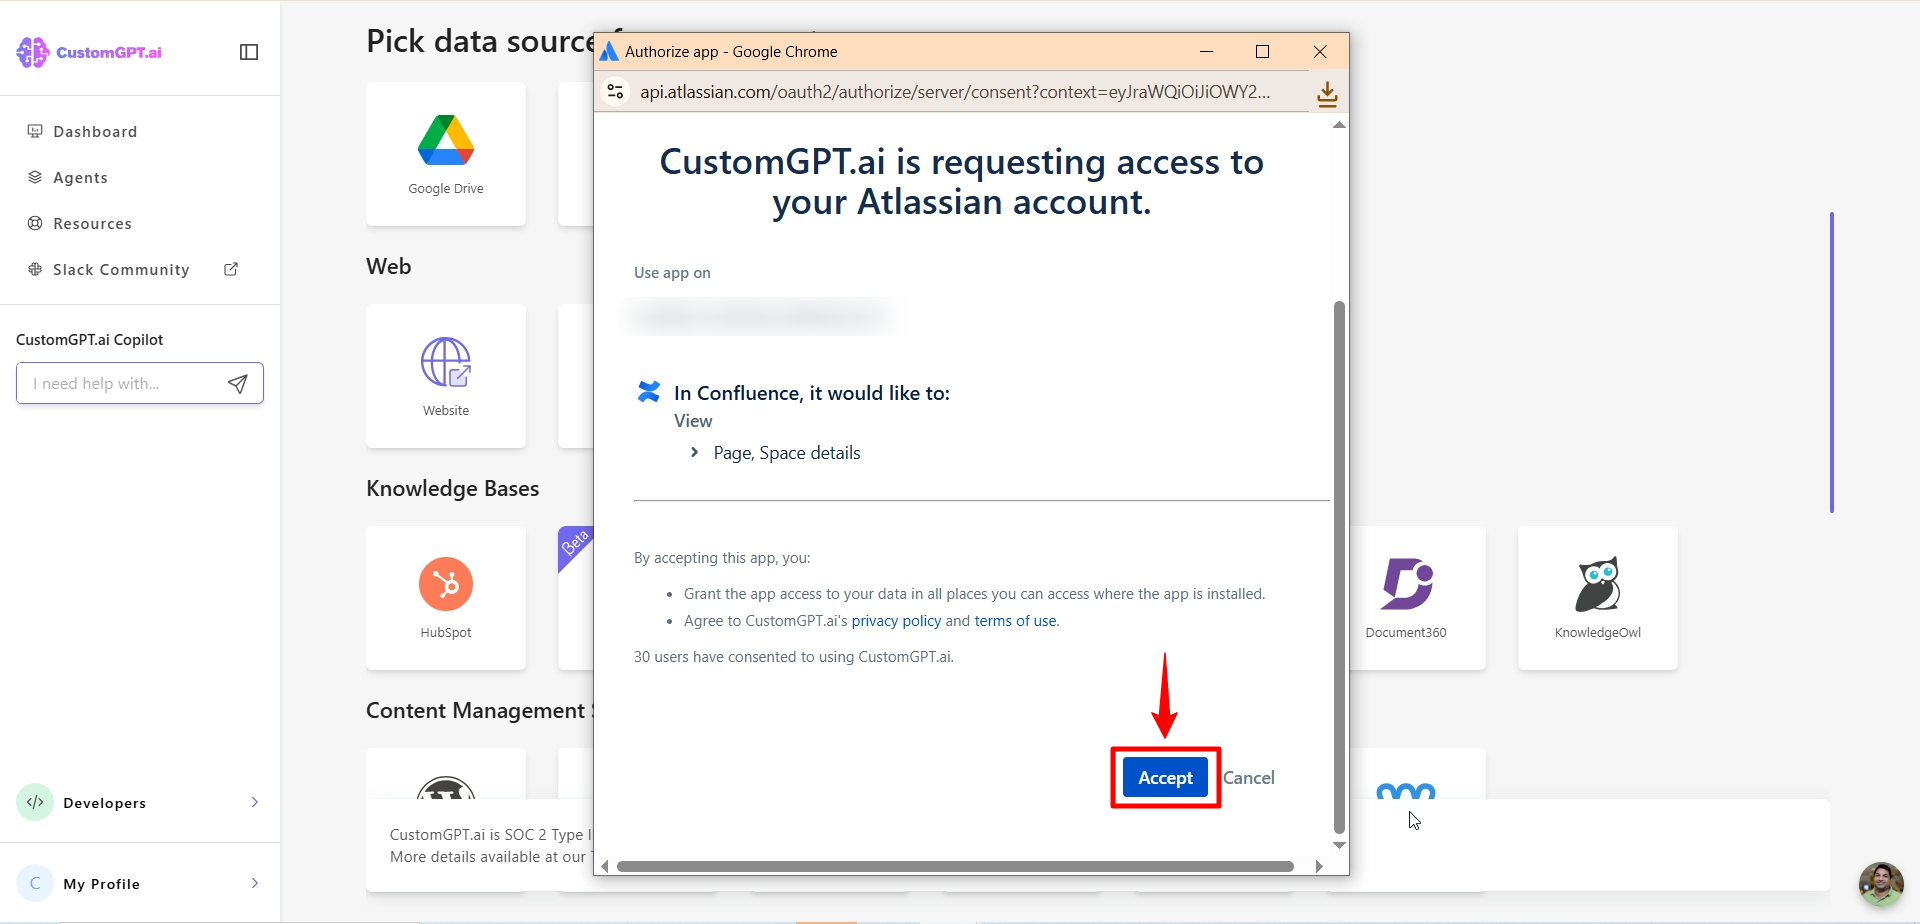
- Sign in to your Atlassian account and approve the requested permissions.

- Click Accept.
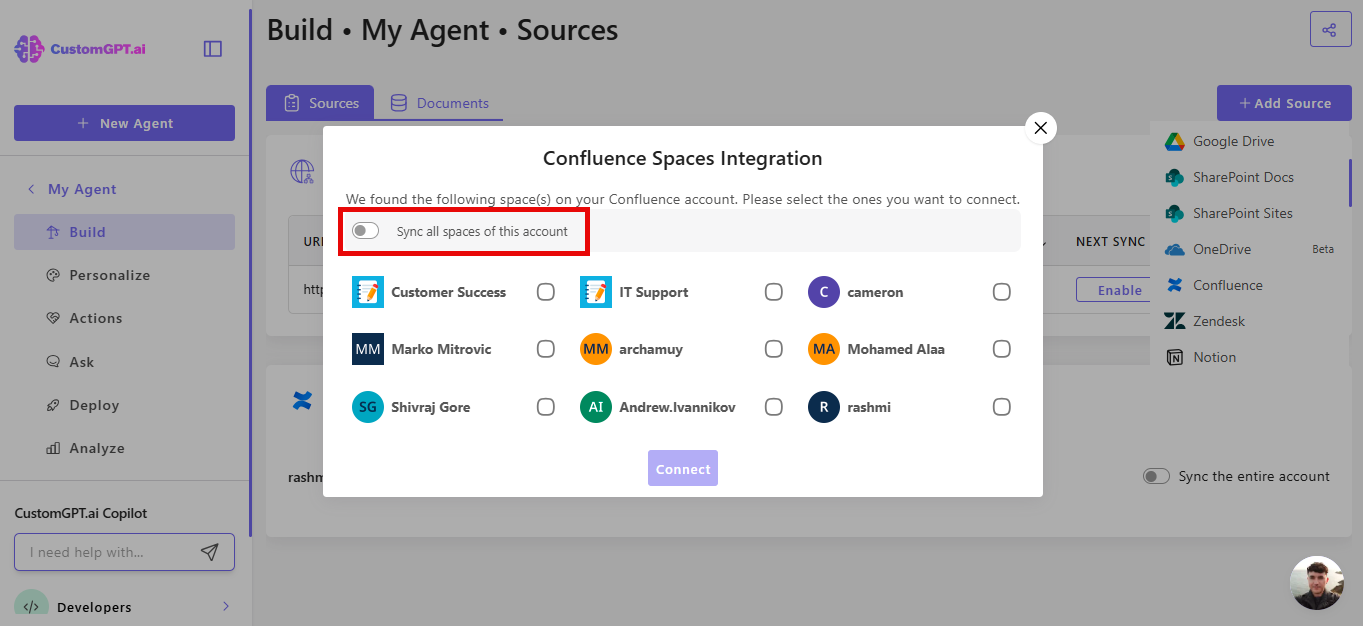
- After authentication, a list of available Confluence spaces will appear. Select the spaces you want to connect. (Optional: Toggle on "Sync attachments in selected spaces" to include files attached to your Confluence pages. This is off by default.)
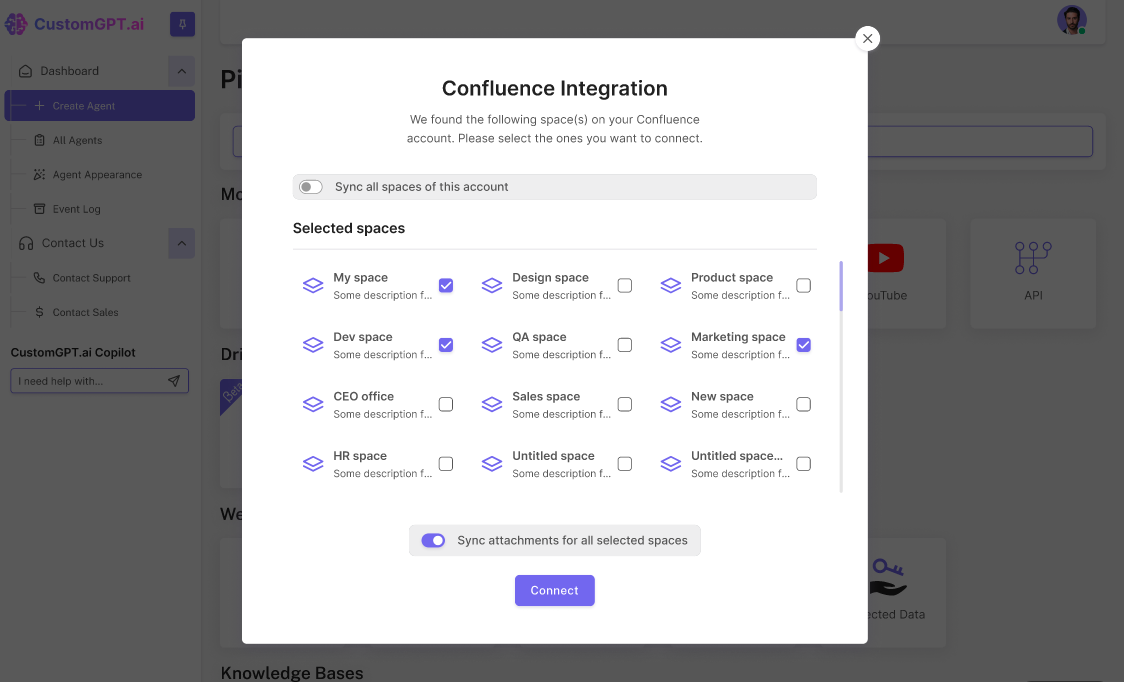
- Once selected, your agent will begin syncing content from the chosen spaces. Customize your AI agent in the Personalize settings and adjust its appearance, language, and style to match your brand.
Sync all spaces automatically
You can also sync all available Confluence spaces at once instead of selecting them individually.
When connecting Confluence:
- Authenticate with your Confluence account
- Toggle Sync all spaces of this account to ON.
- Click Connect
All spaces available to your account will be added automatically.
If Sync the entire account is enabled, all Spaces added to your account in the future will be synced with the agent automatically, while removed Spaces will be deleted.
Our system will check for new Spaces every day at 03:00 UTC.
Note: Auto-sync still needs to be configured for each Space individually!
Updated 6 months ago
Did this page help you?