Enable and use pre-prompt
This guide will help you enable the Pre-Prompt feature for your CustomGPT.ai agent, allowing your AI Agent to automatically trigger the first response as soon as the conversation is opened.
What are pre-prompts?
Pre-prompt is the first message the AI agent will respond to, as soon as the conversation is opened. Unlike welcome messages, they allow for more flexibility. For example, you could push form submissions as the initial message.
Important things to know before getting started
- This is not a welcome message. The AI Agent will start responding immediately upon page load and will consume 1 query credit.
- The feature will not work without updating the code snippet on your website.
- This feature is available on the following deployment options: Embed, Live Chat, Website Copilot and Instant Viewer.
- Due to its requirement to start conversation immediately upon loading, this feature doesn’t support the Search Generative Experience deployment option.
Enable pre-prompt
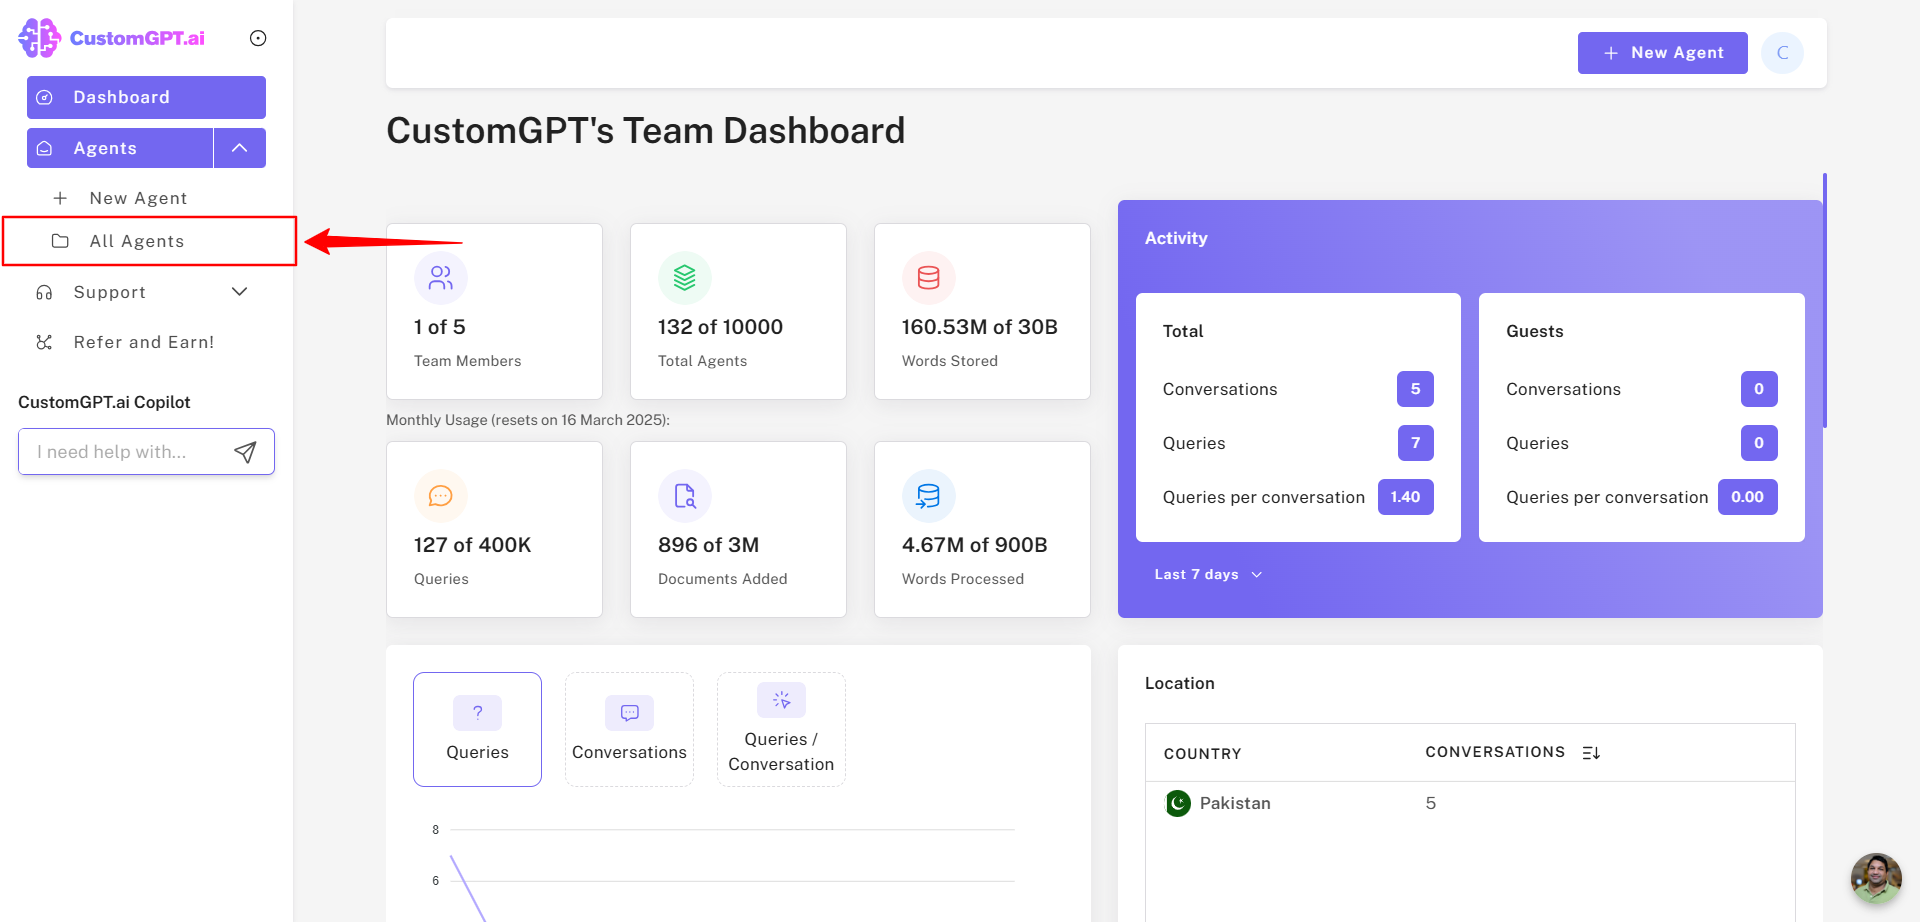
- On the left sidebar, navigate to All Agents.
- Scroll to the AI agent of interest on the right and click the Deploy Agent icon.
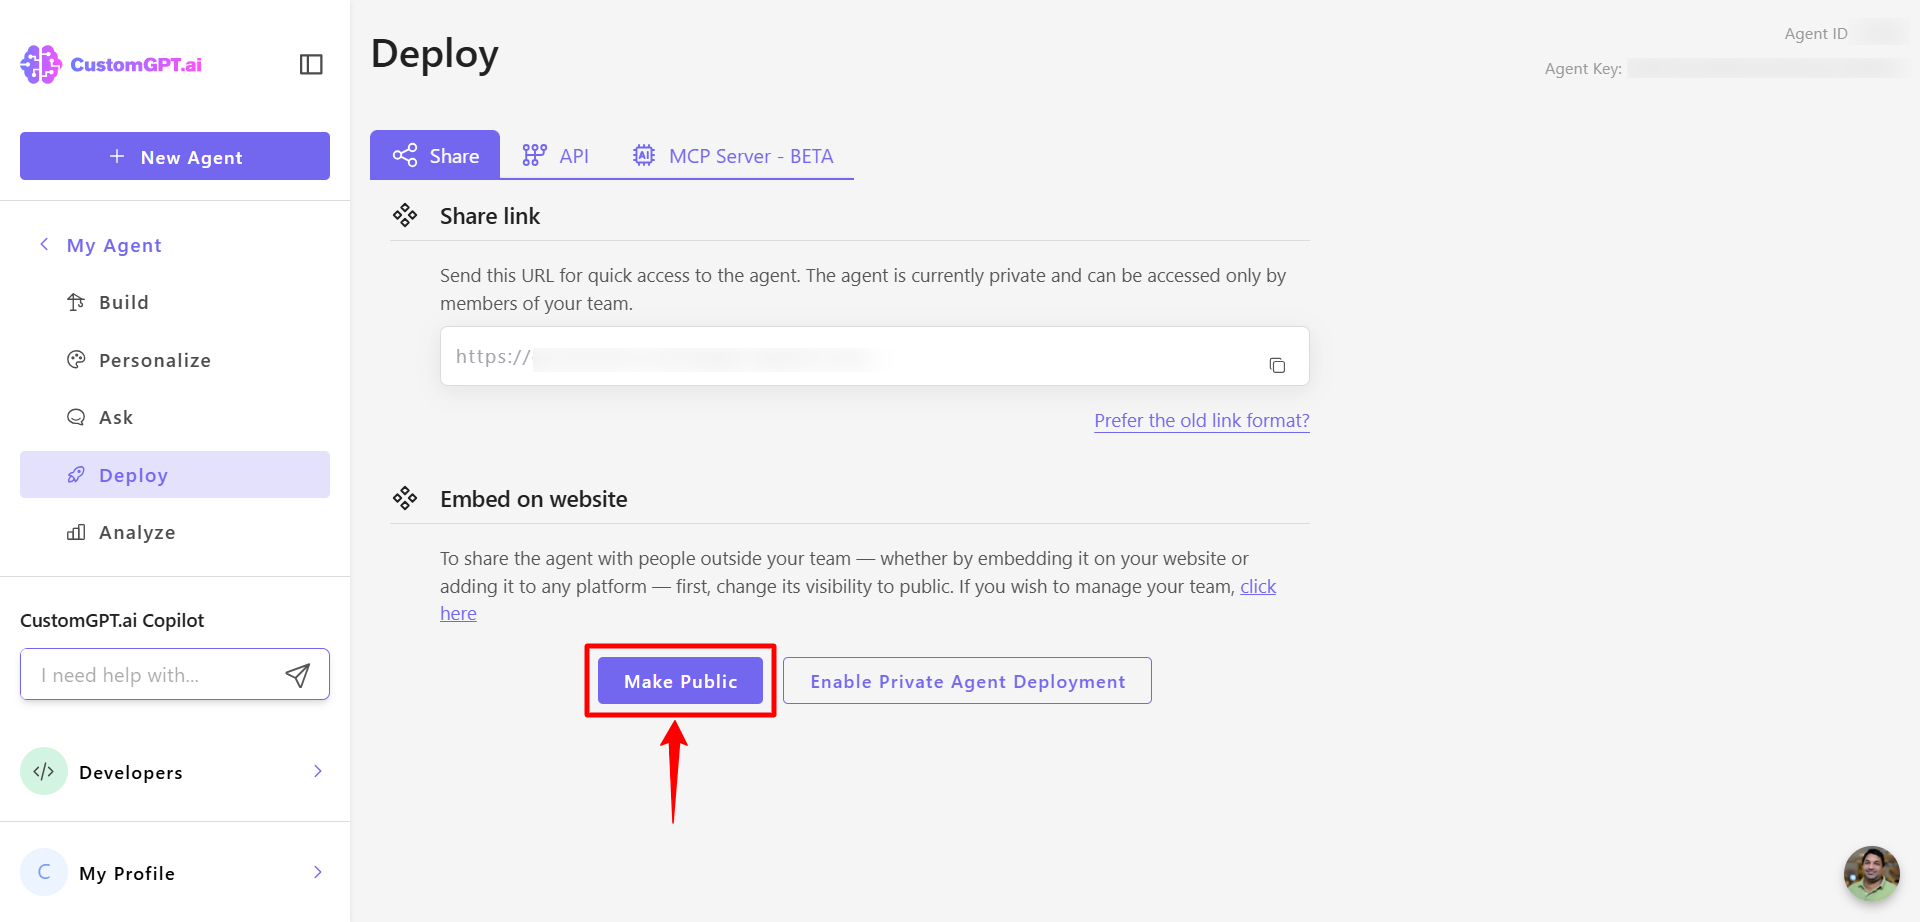
- If the agent is private, click the Make Public button. If it’s already public, go to the next step.
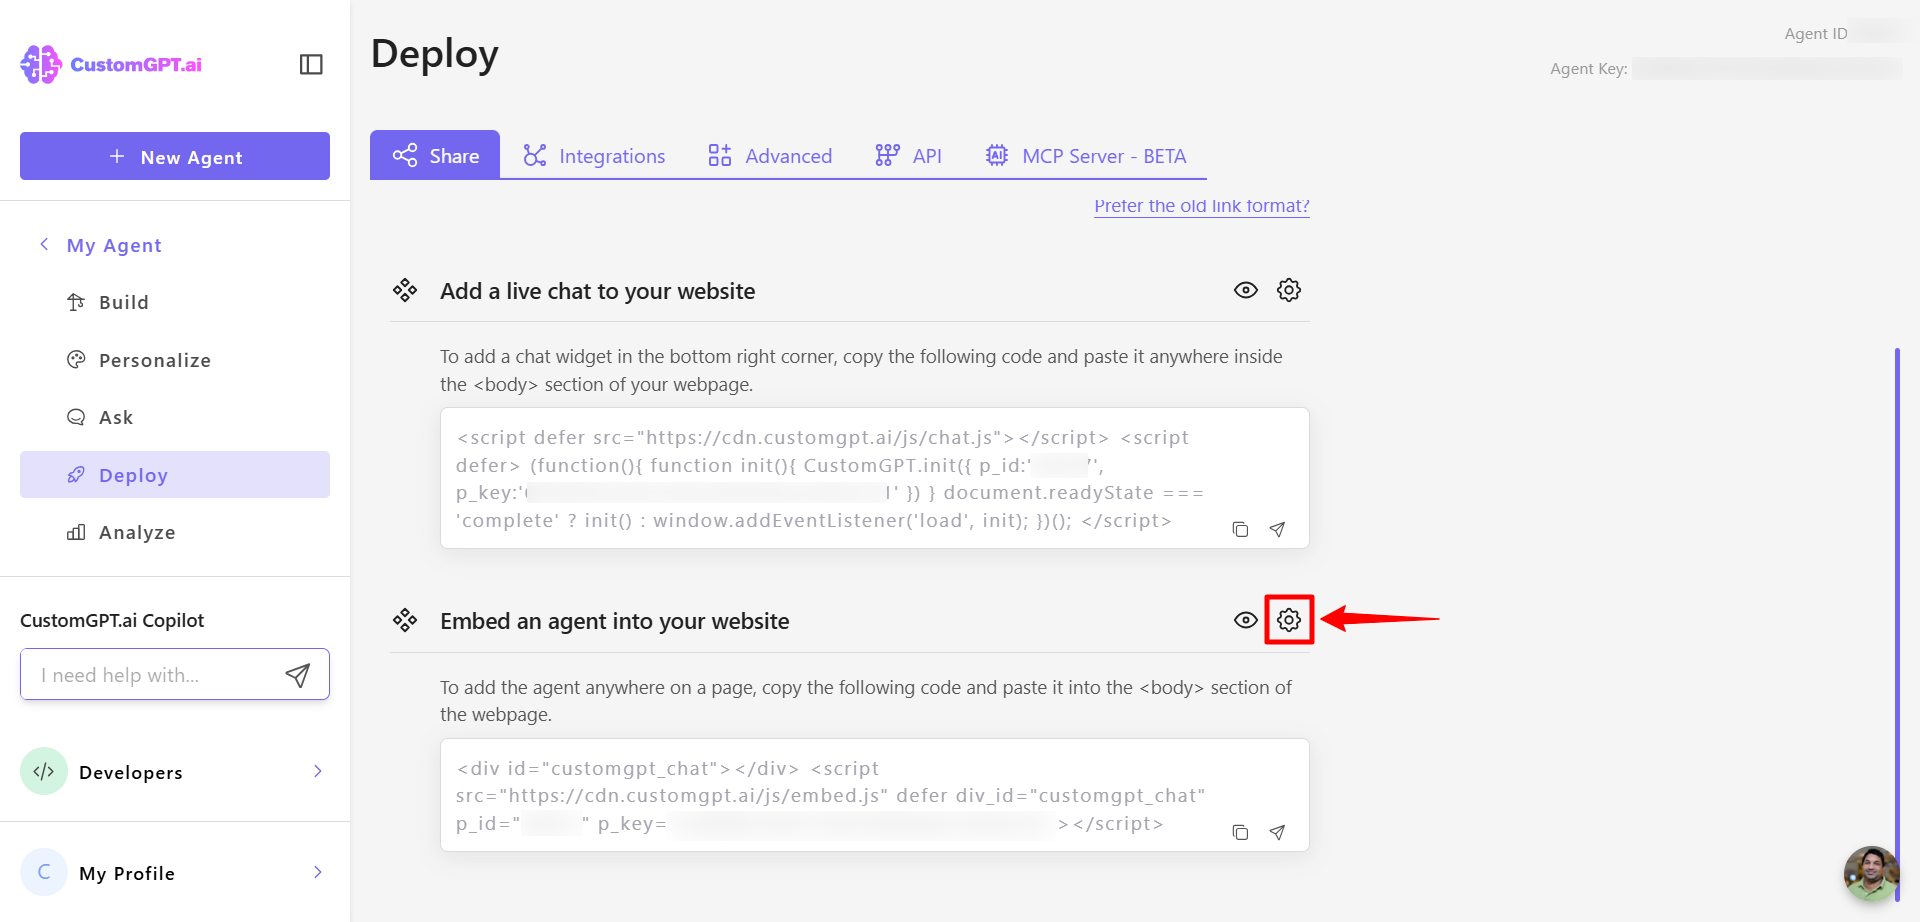
- Select the deployment option of interest (except Search Generative Experience which is unsupported) and click the gear icon.
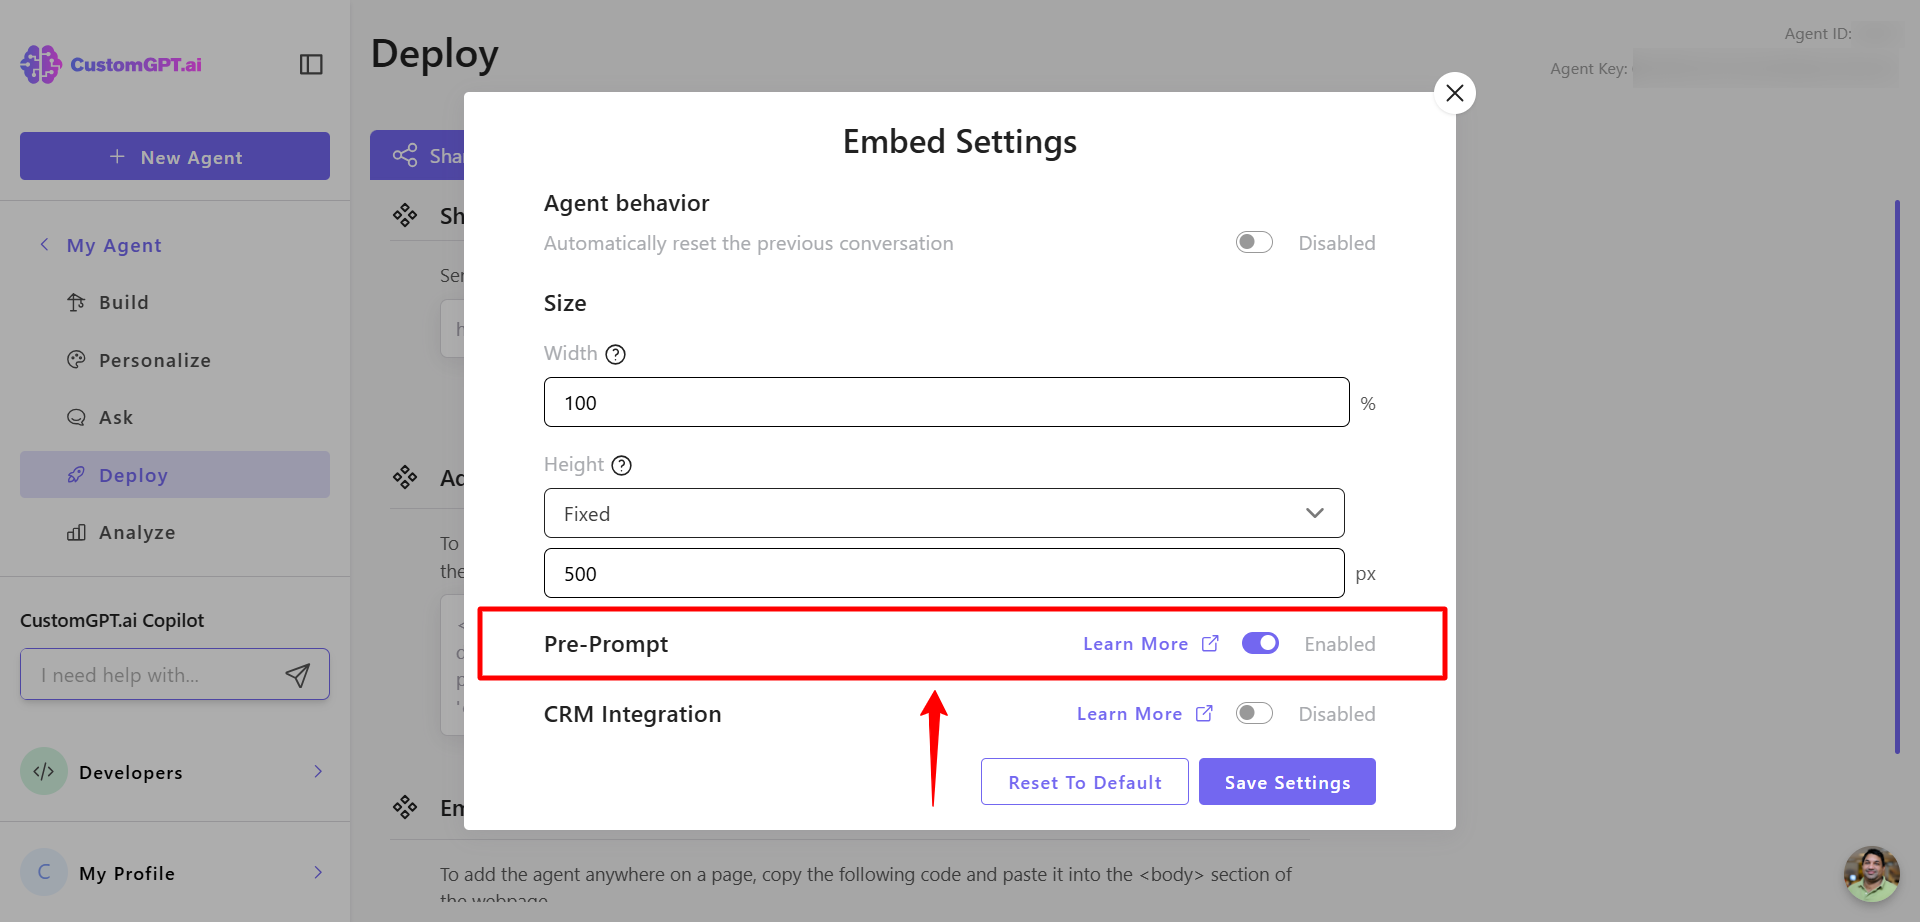
- On the newly opened page, turn on the Pre-Prompt Integration.
- Open your web page template, locate the embed code, add
prompt="value"to the embed snippet, and save the template. Example:
<div id="customgpt_chat"></div>
<script src="https://cdn.customgpt.ai/js/embed.js"
defer
div_id="customgpt_chat"
p_id="123456"
p_key="abcdefgh"
prompt="Hello!"></script>
Note:Replace the values of p_id, p_key, and prompt with your specific Agent ID, key, and desired initial message. In the above example, the pre-prompt is “Hello!”. However, the pre-prompt can contain any variable passed from your system.
Disable pre-prompt
To disable the Pre-Prompt feature:
- Navigate to deployment settings and toggle off Pre-Prompt.

This will stop the pre-prompt from triggering, even if prompt="" is still present in your code snippet.
- Open your web page template, remove the
prompt=""from the embed code, and save the template.
Updated about 1 year ago