Enable Google Drive auto-sync
This step-by-step guide shows you how to enable the Google Drive Auto-Sync feature in CustomGPT, keeping your data automatically updated and synchronized.
Note:This feature is available on our Enterprise plans. If you're interested in enabling it, please contact our sales team.
- Click the three dots next to your agent’s name, then select Build.

- In Google Drive section, find your connected Google Drive, click the three-dot menu next to it, and select Auto Sync.

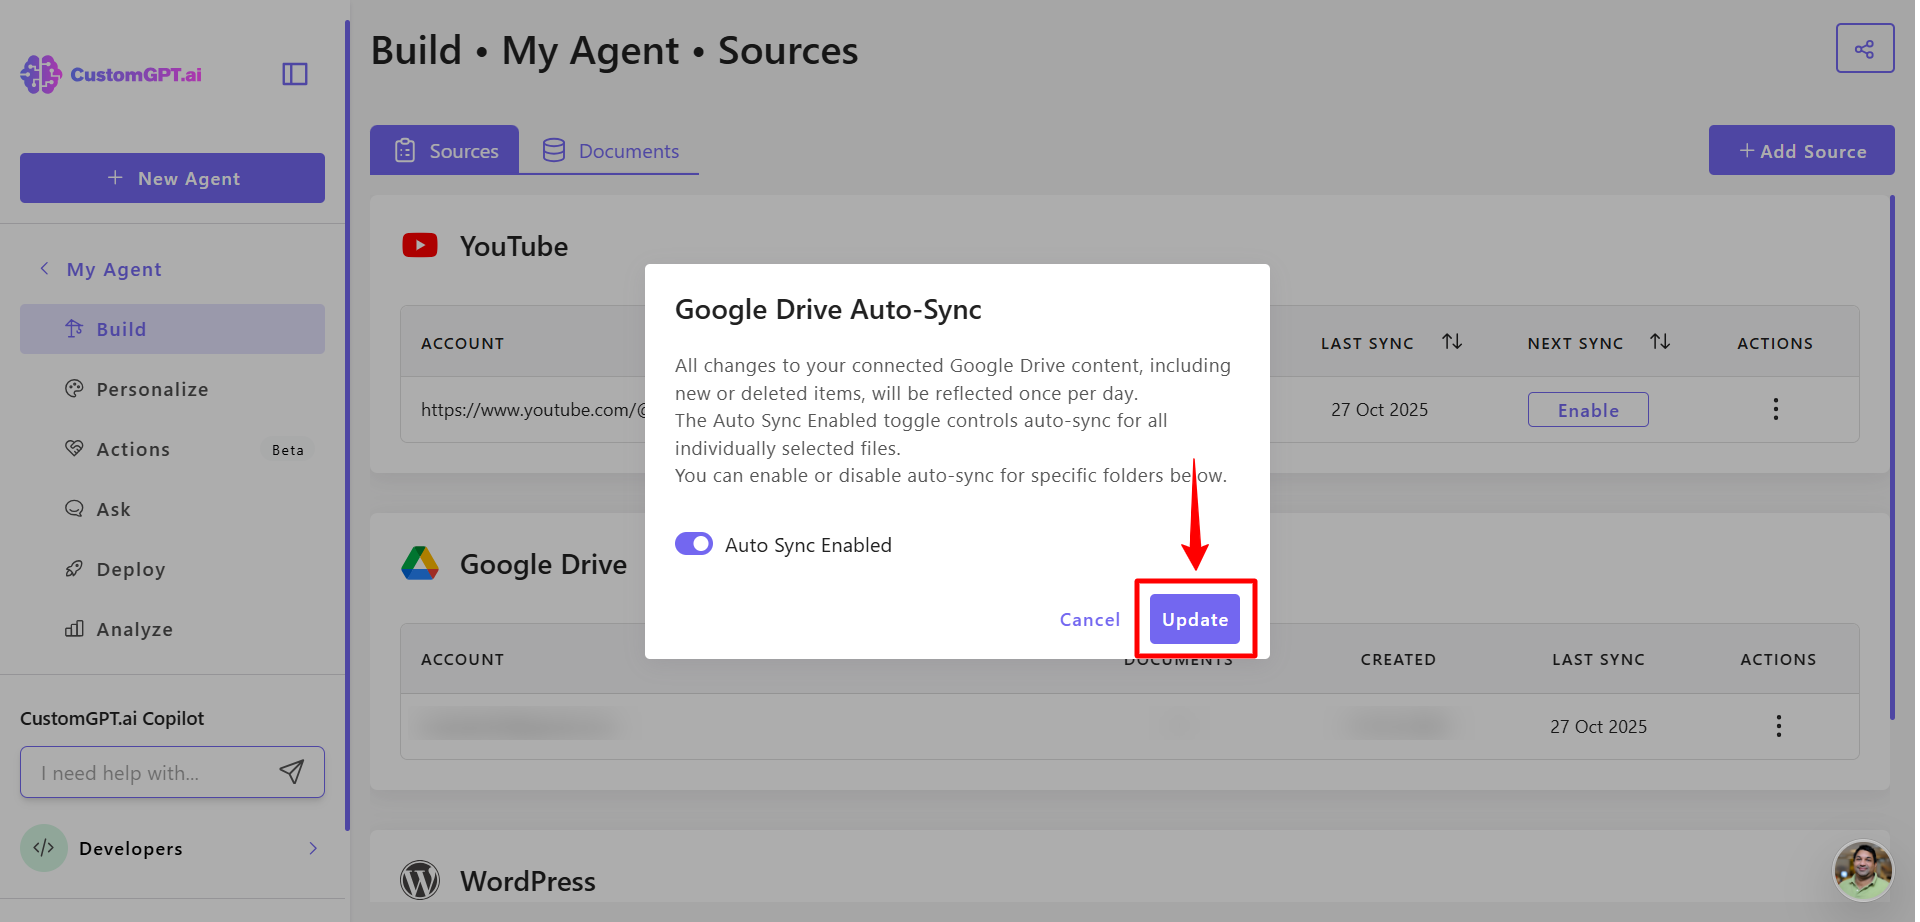
- Toggle Auto Sync Enabled to activate syncing.
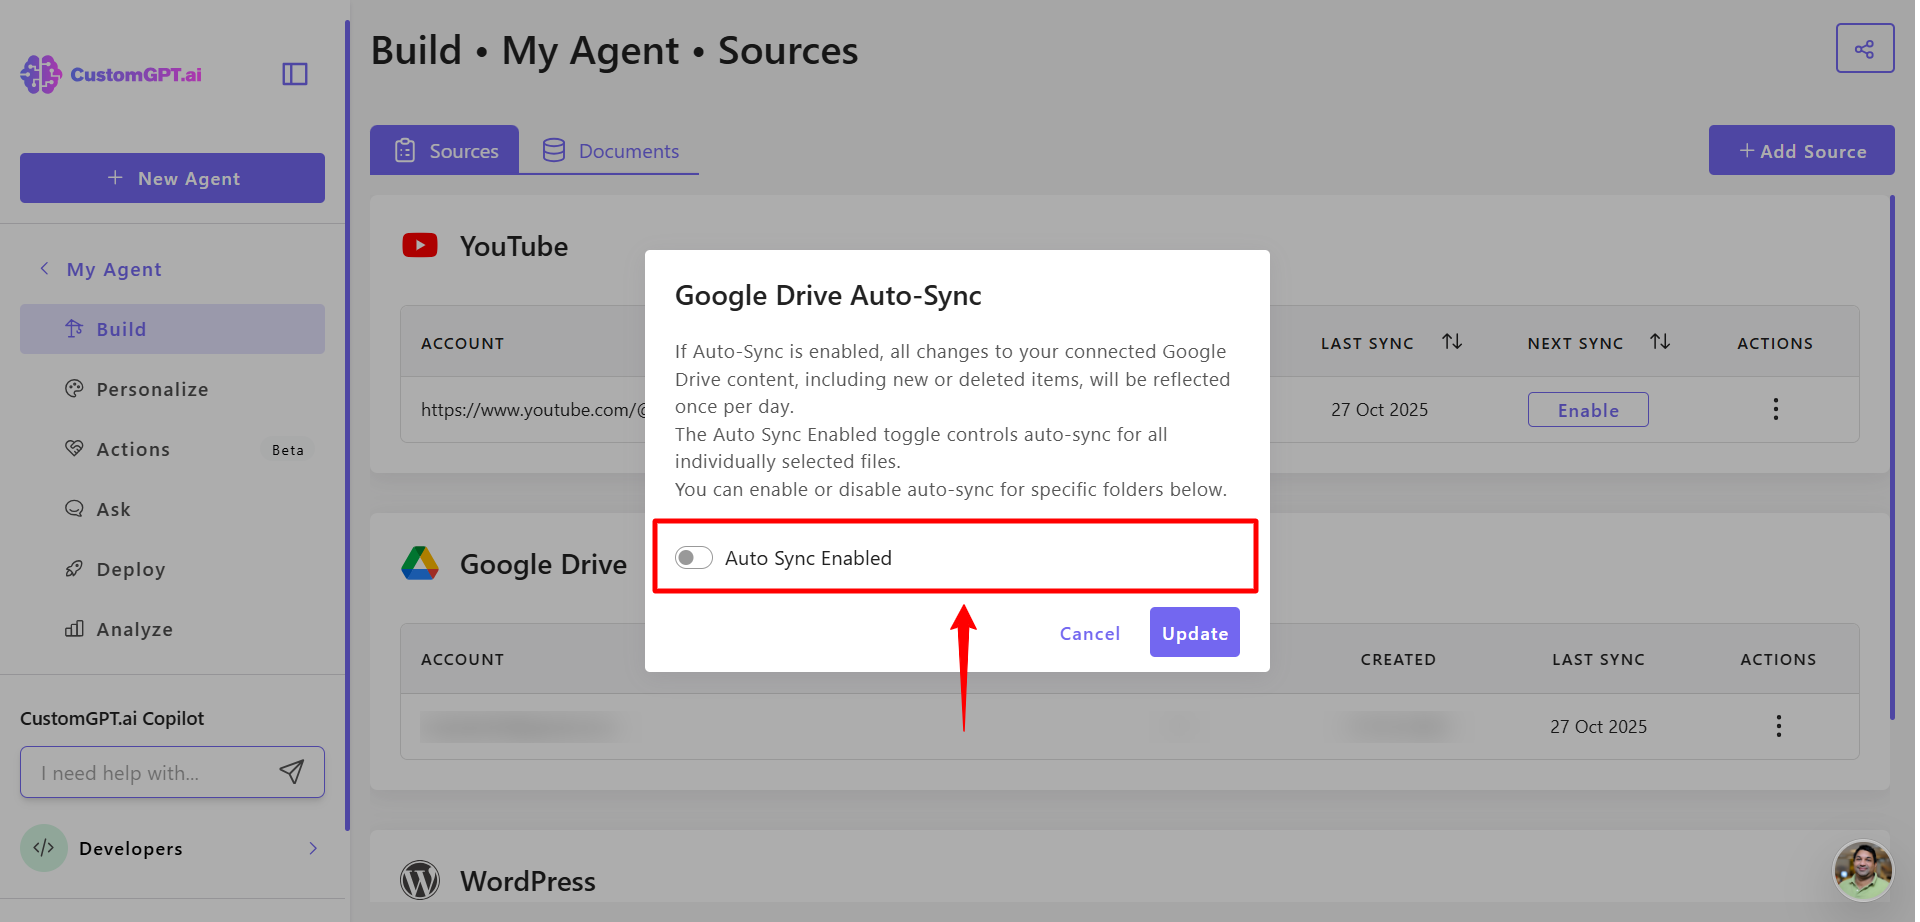
Note:Once enabled, syncing runs automatically once per day.
- Select the folders you want to sync with your agent, then click Update.
Note:Subfolders are included up to five levels deep. If you require more than five levels of folder depth, please contact customer support.
- Once Auto-Sync is enabled, any changes, additions, or deletions in your Google Drive will sync automatically once per day.
Note:Only folders can be synced, not individual files. To sync a file, move it into a folder and select that folder.
Updated 9 months ago
Did this page help you?