Connect to a Slack workspace
This step-by-step guide explains how to connect your CustomGPT.ai account to your Slack workspace.
What this integration does
This integration lets you bring your AI agent directly into Slack to support conversations, answer questions, and streamline team operations.
- Allows your AI agent to respond to messages inside Slack channels
- Supports role-based access control (everyone or selected users)
- Connects using your agent's API key for secure integration
How to connect to a Slack workspace
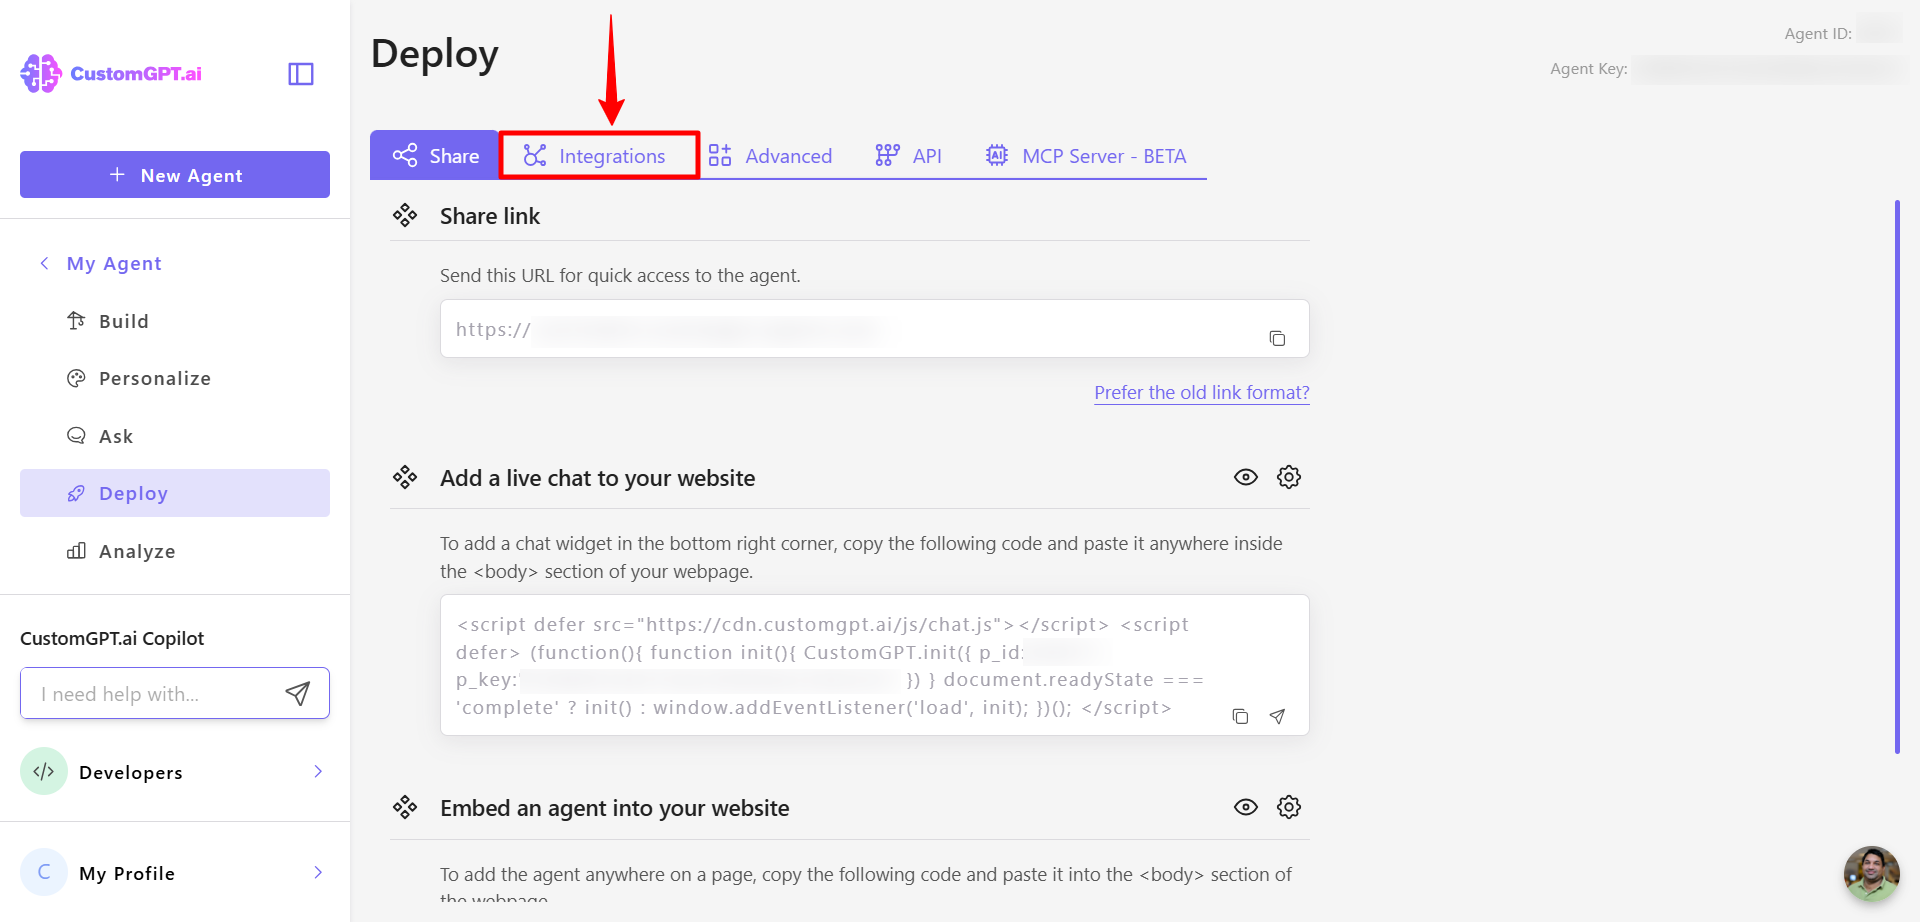
- On your CustomGPT.ai dashboard, click the three dots menu and selectDeploy Agent icon.

- Go to the Integrations tab.
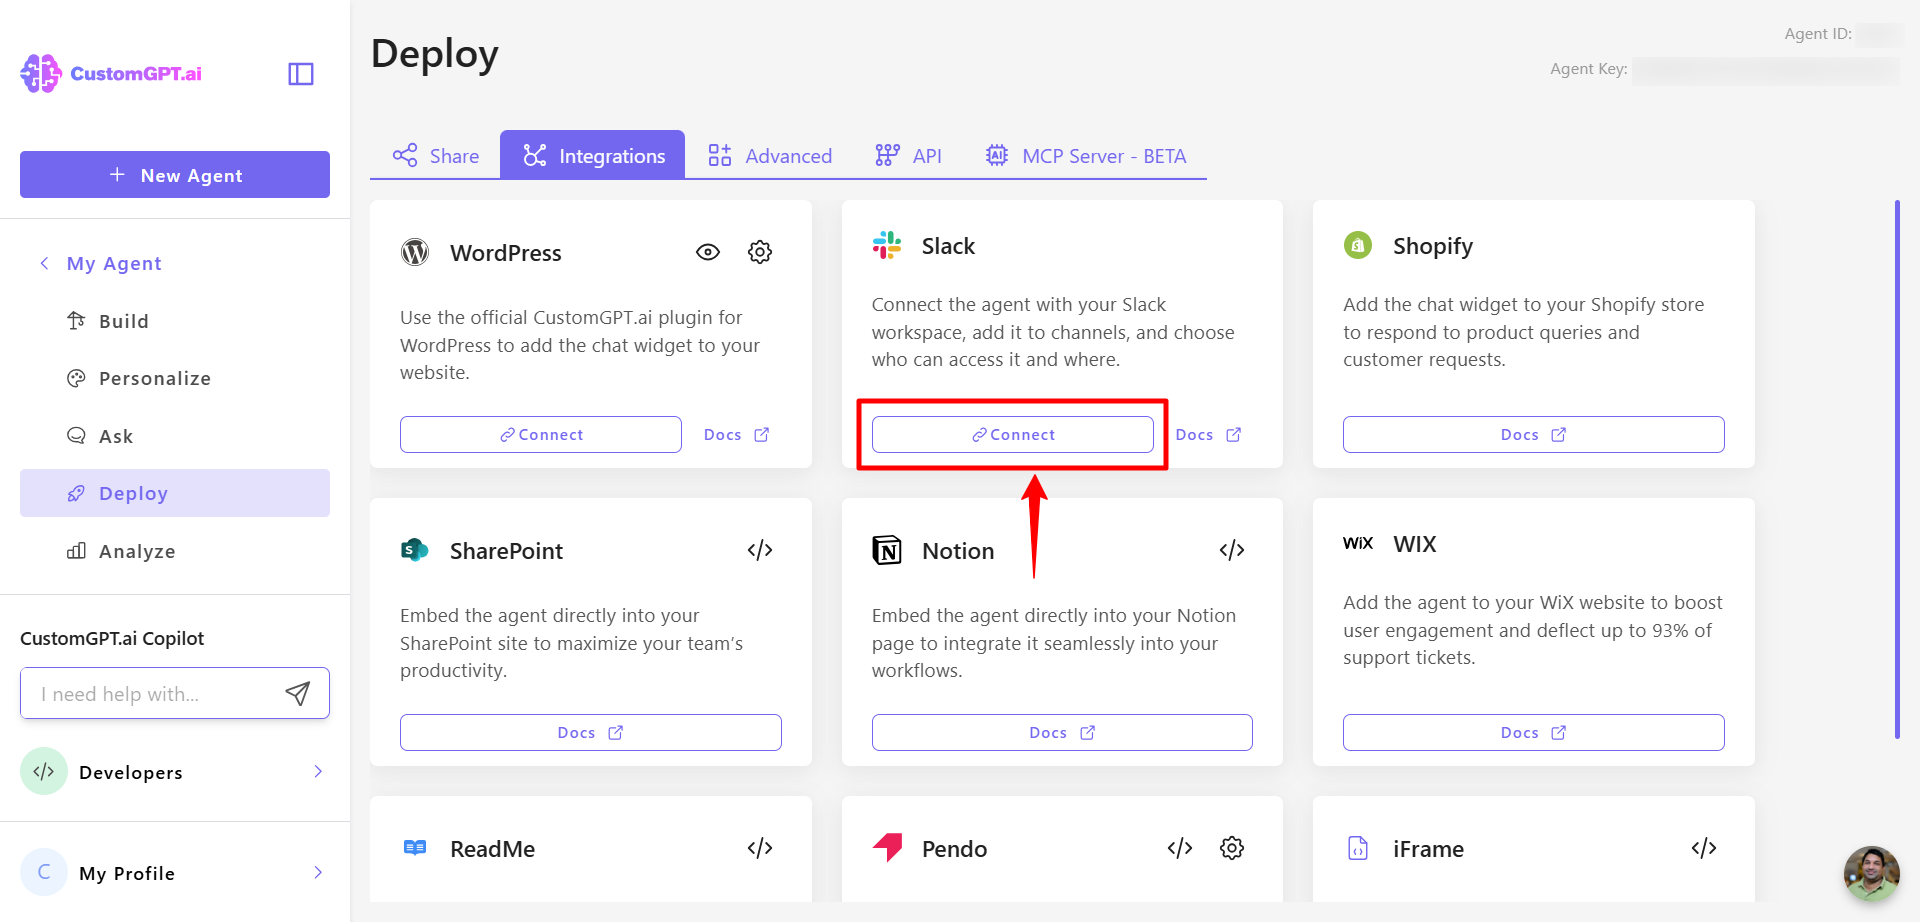
- Find the Slack integration and click Connect.
- When prompted, click Allow to authorize the CustomGPT.ai app in your Slack workspace.
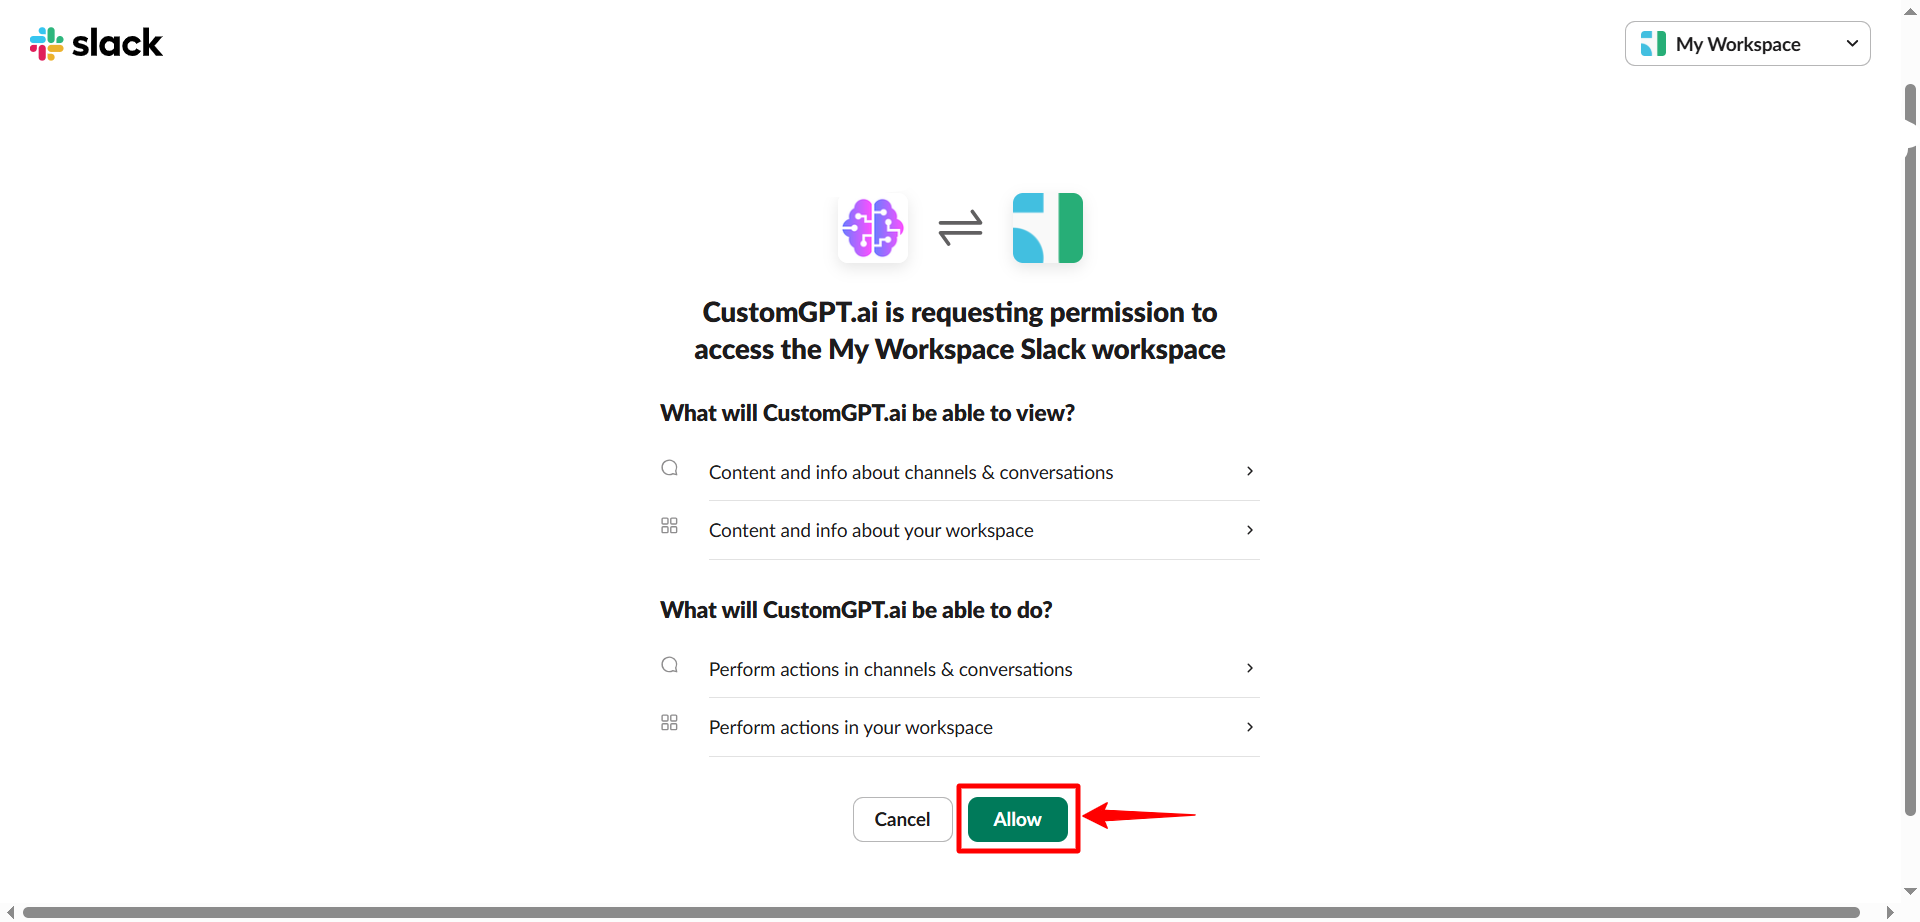
Note:Only Slack workspace administrators can invite agents to channels.
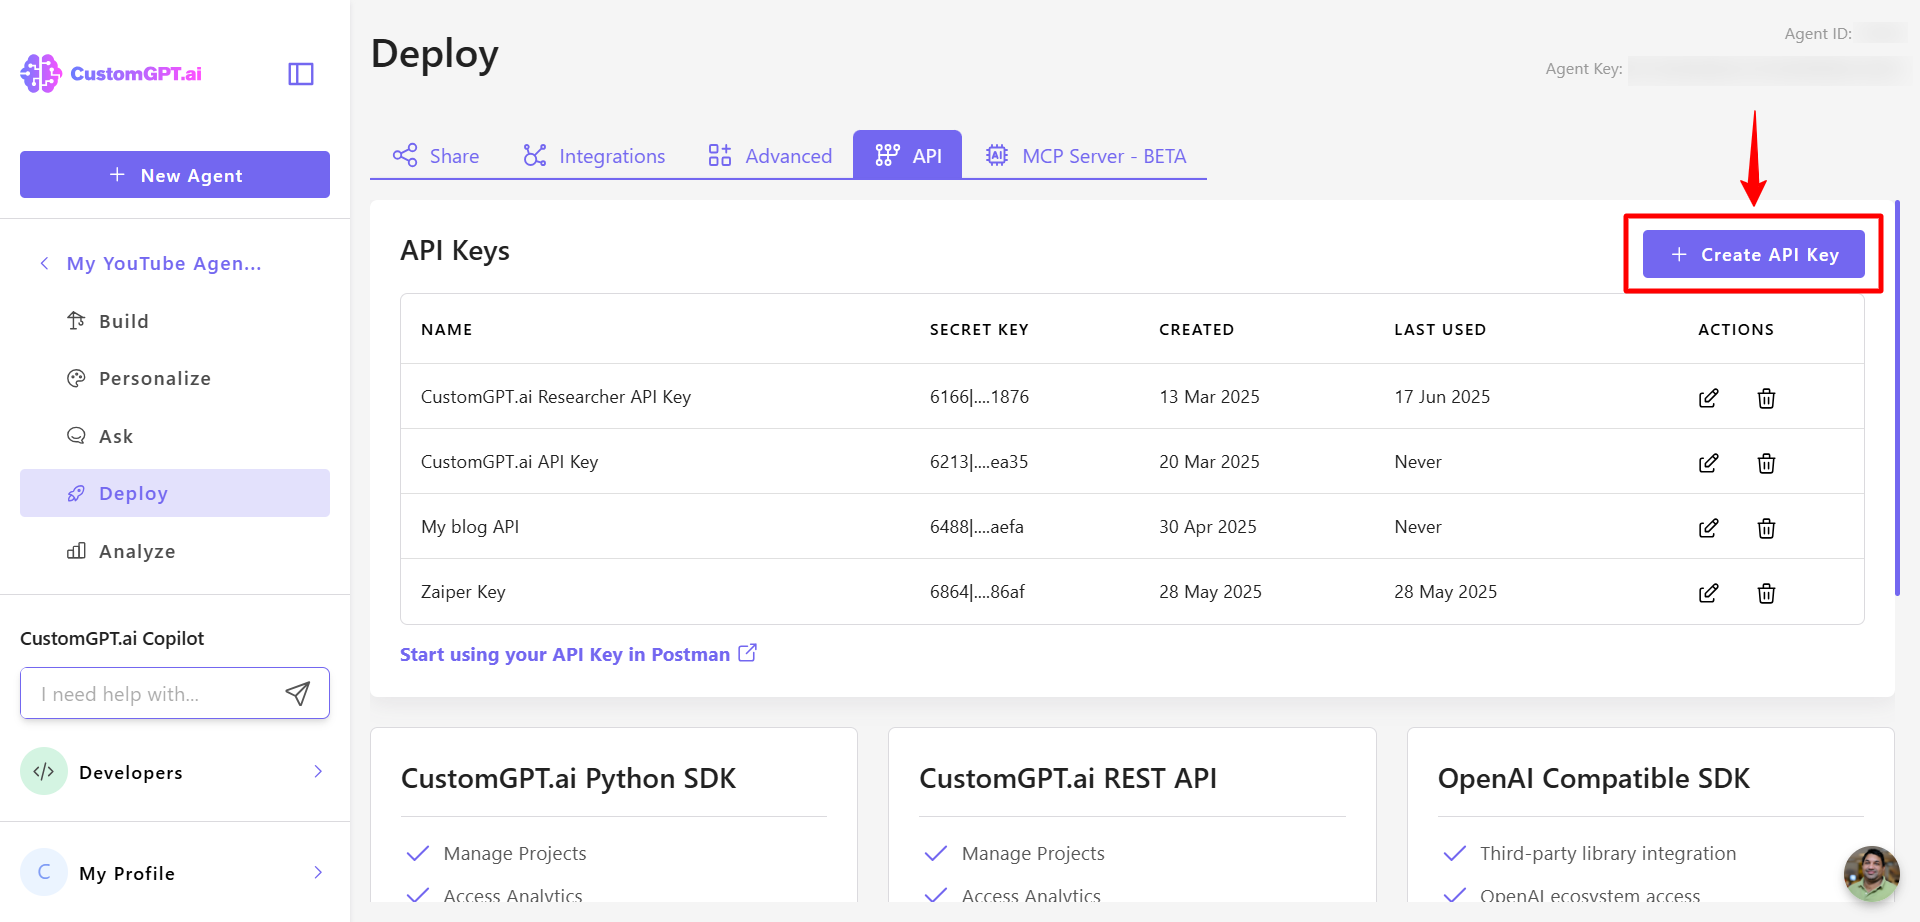
- Go to the API tab.
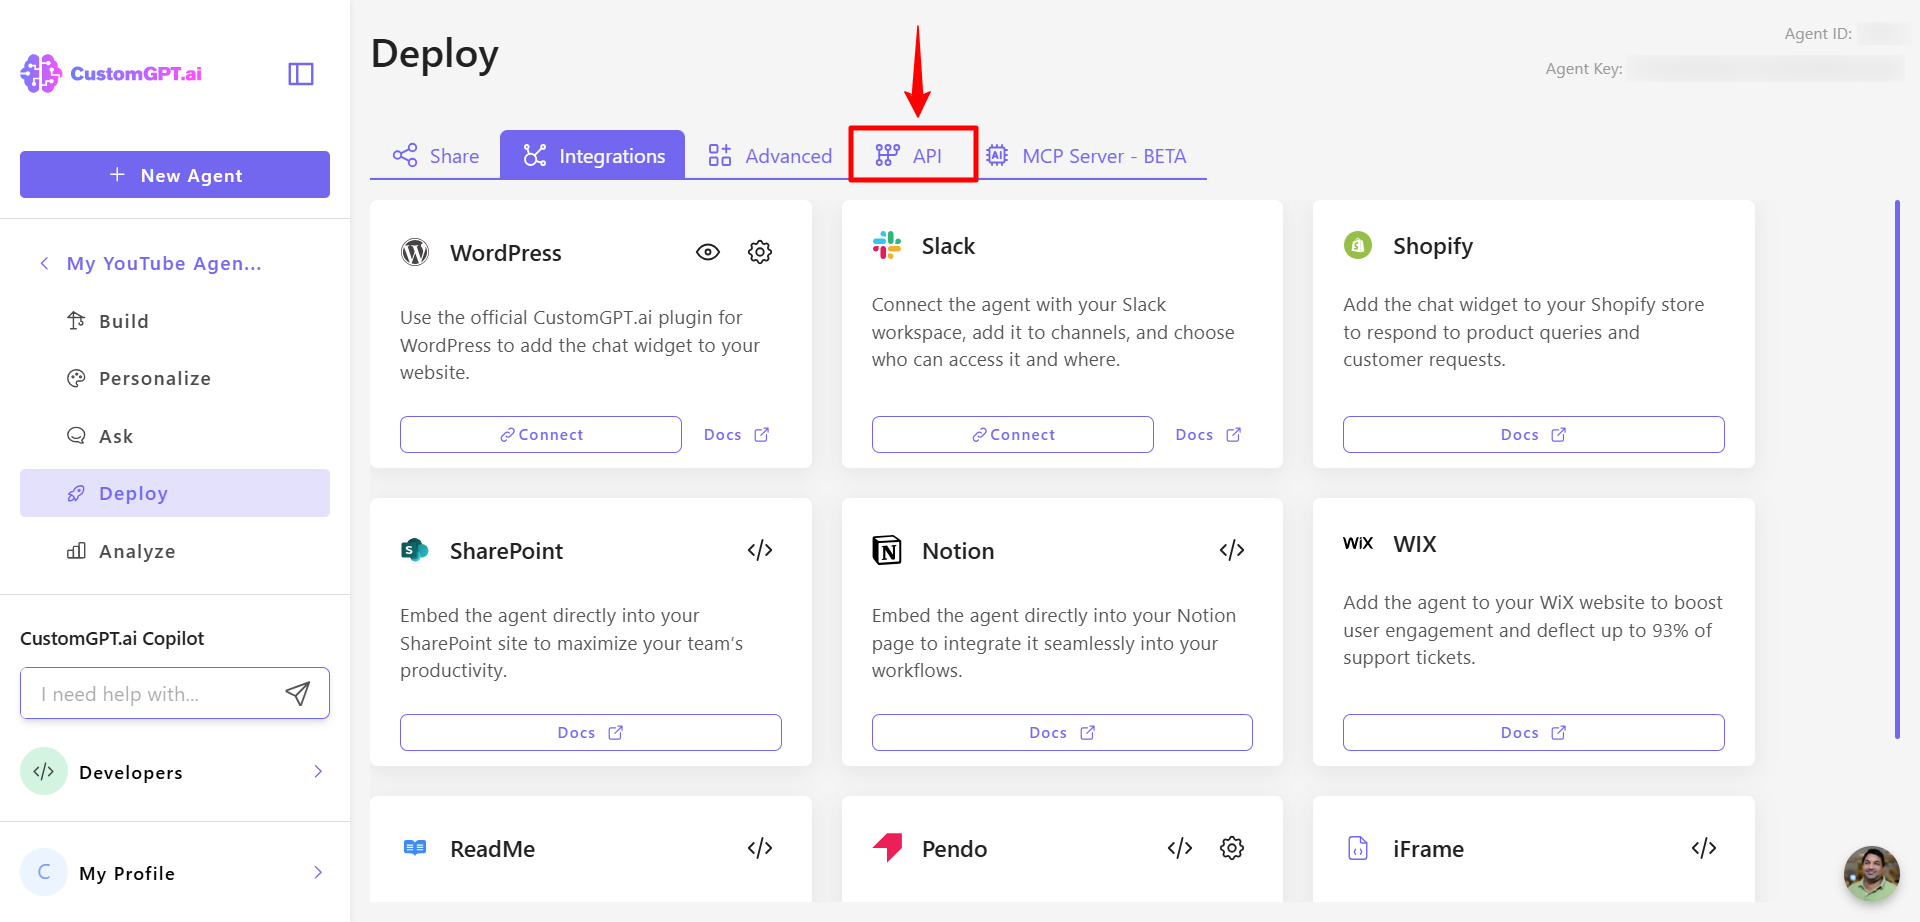
- Click Create API Key in CustomGPT.ai.
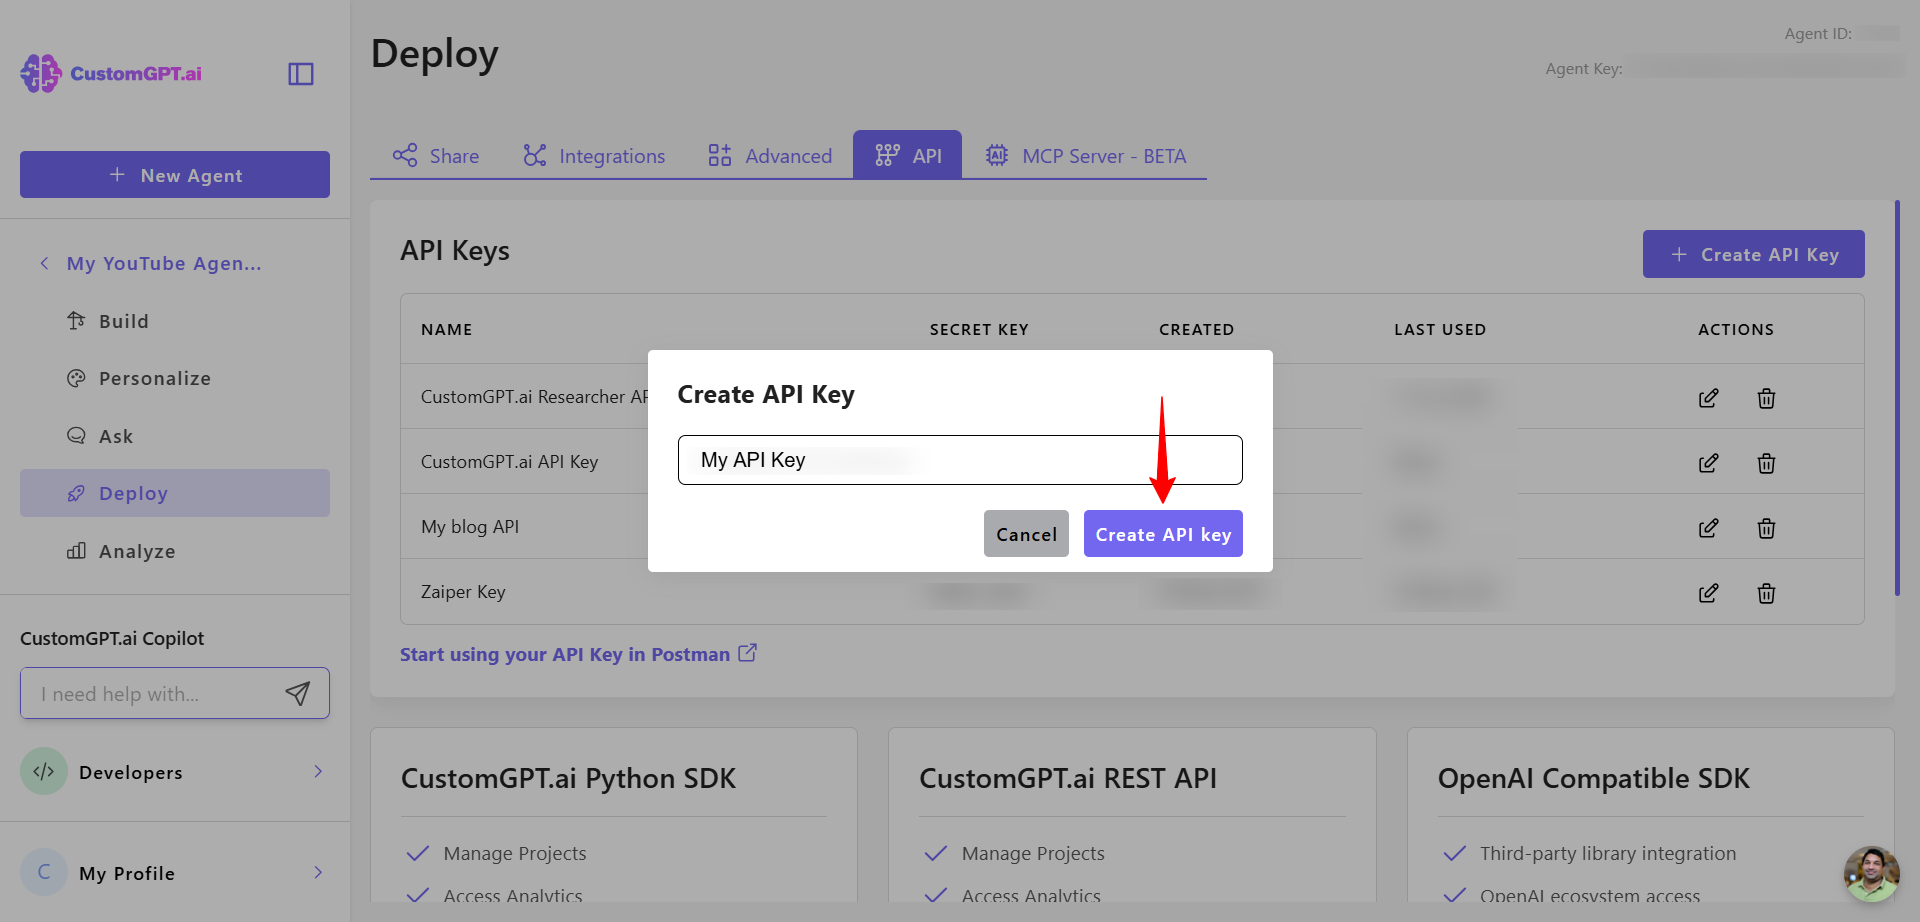
- Enter a name and click Create API Key.
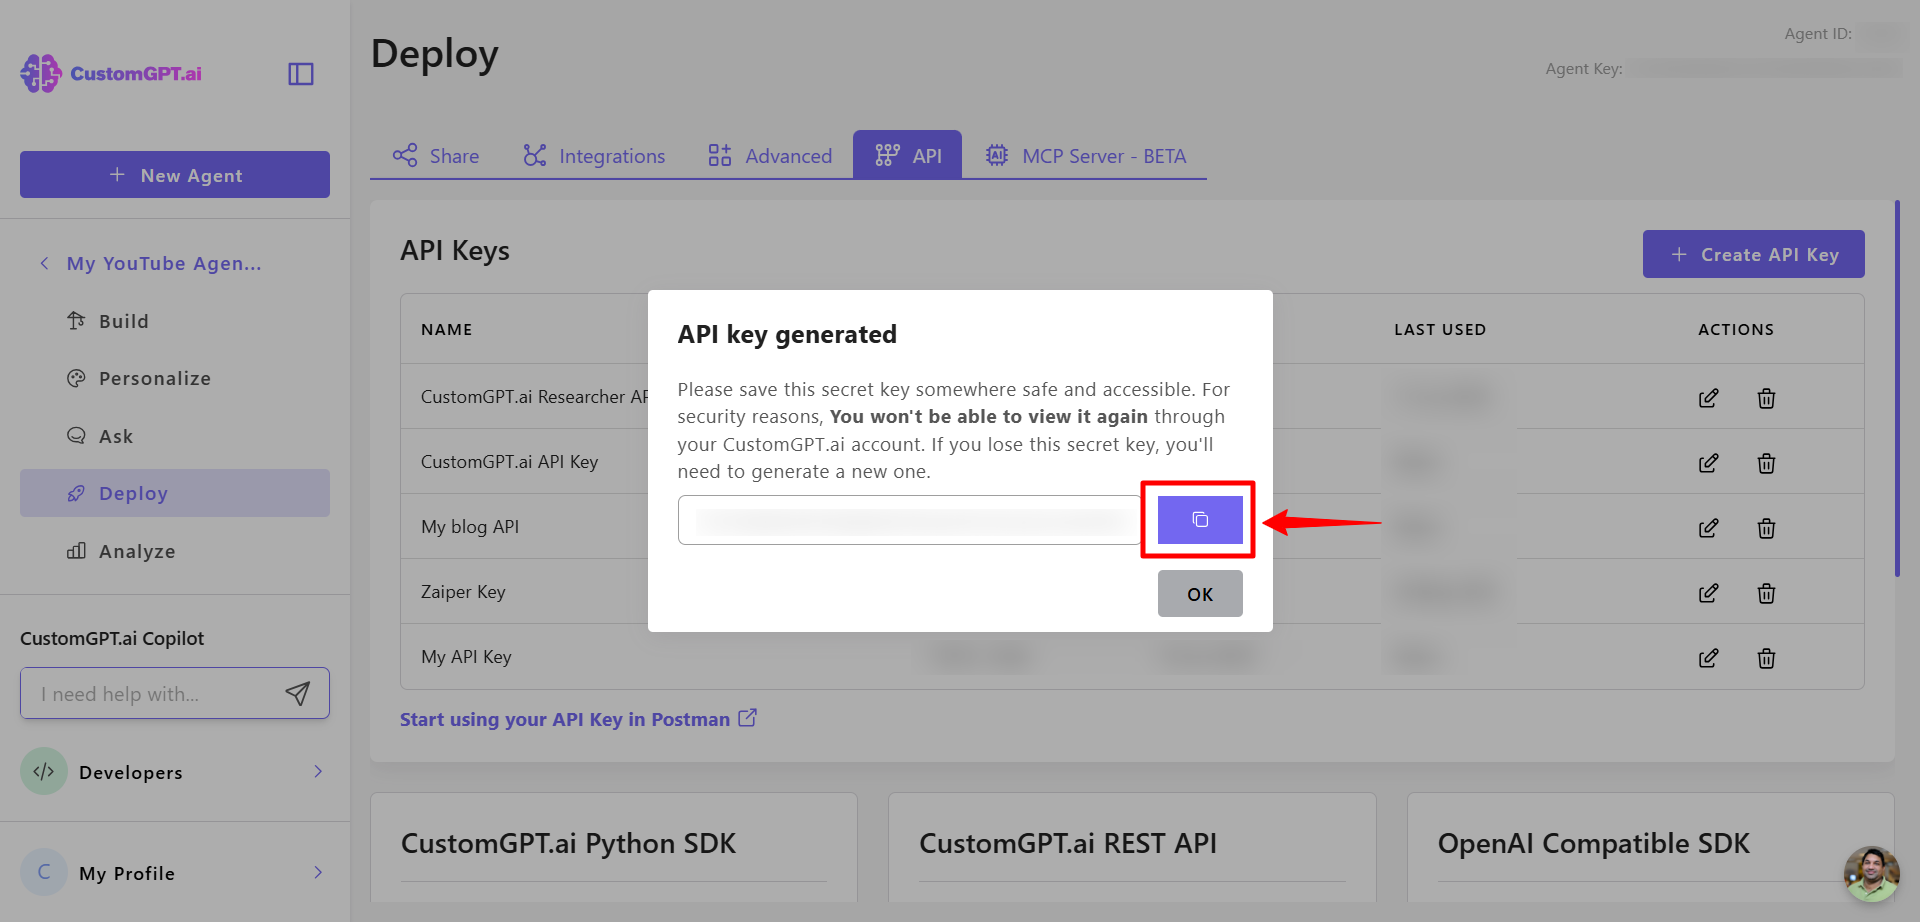
- Copy the generated API key.
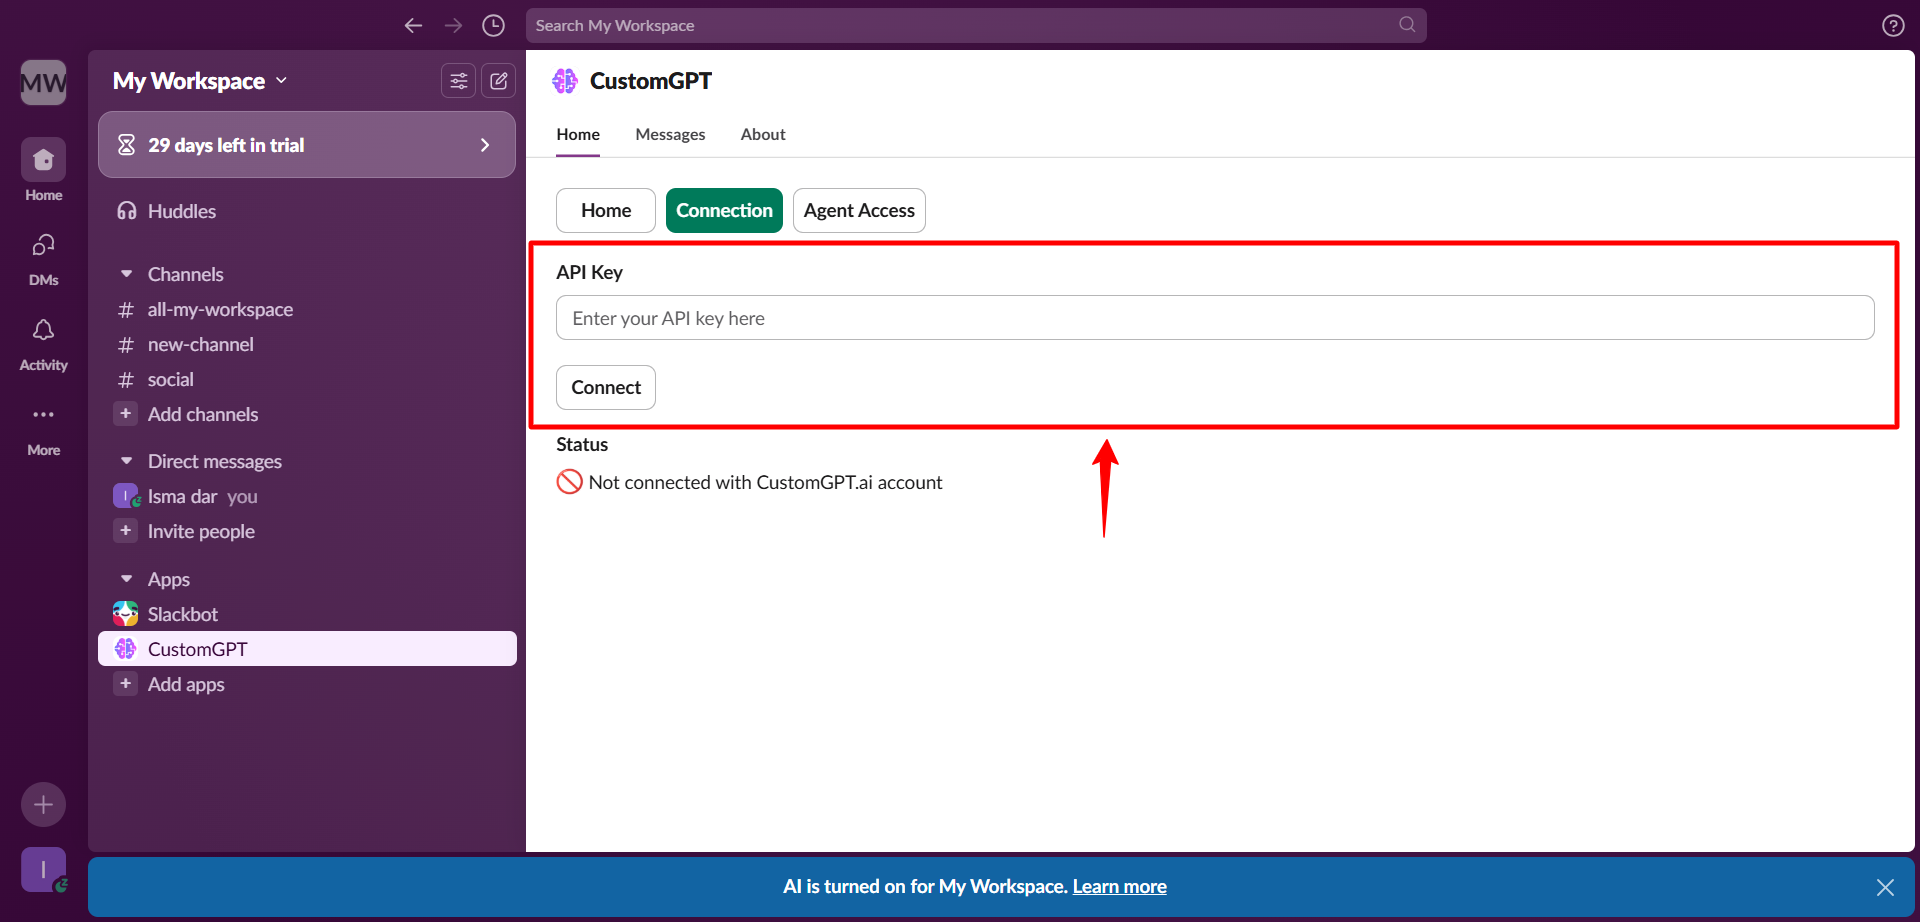
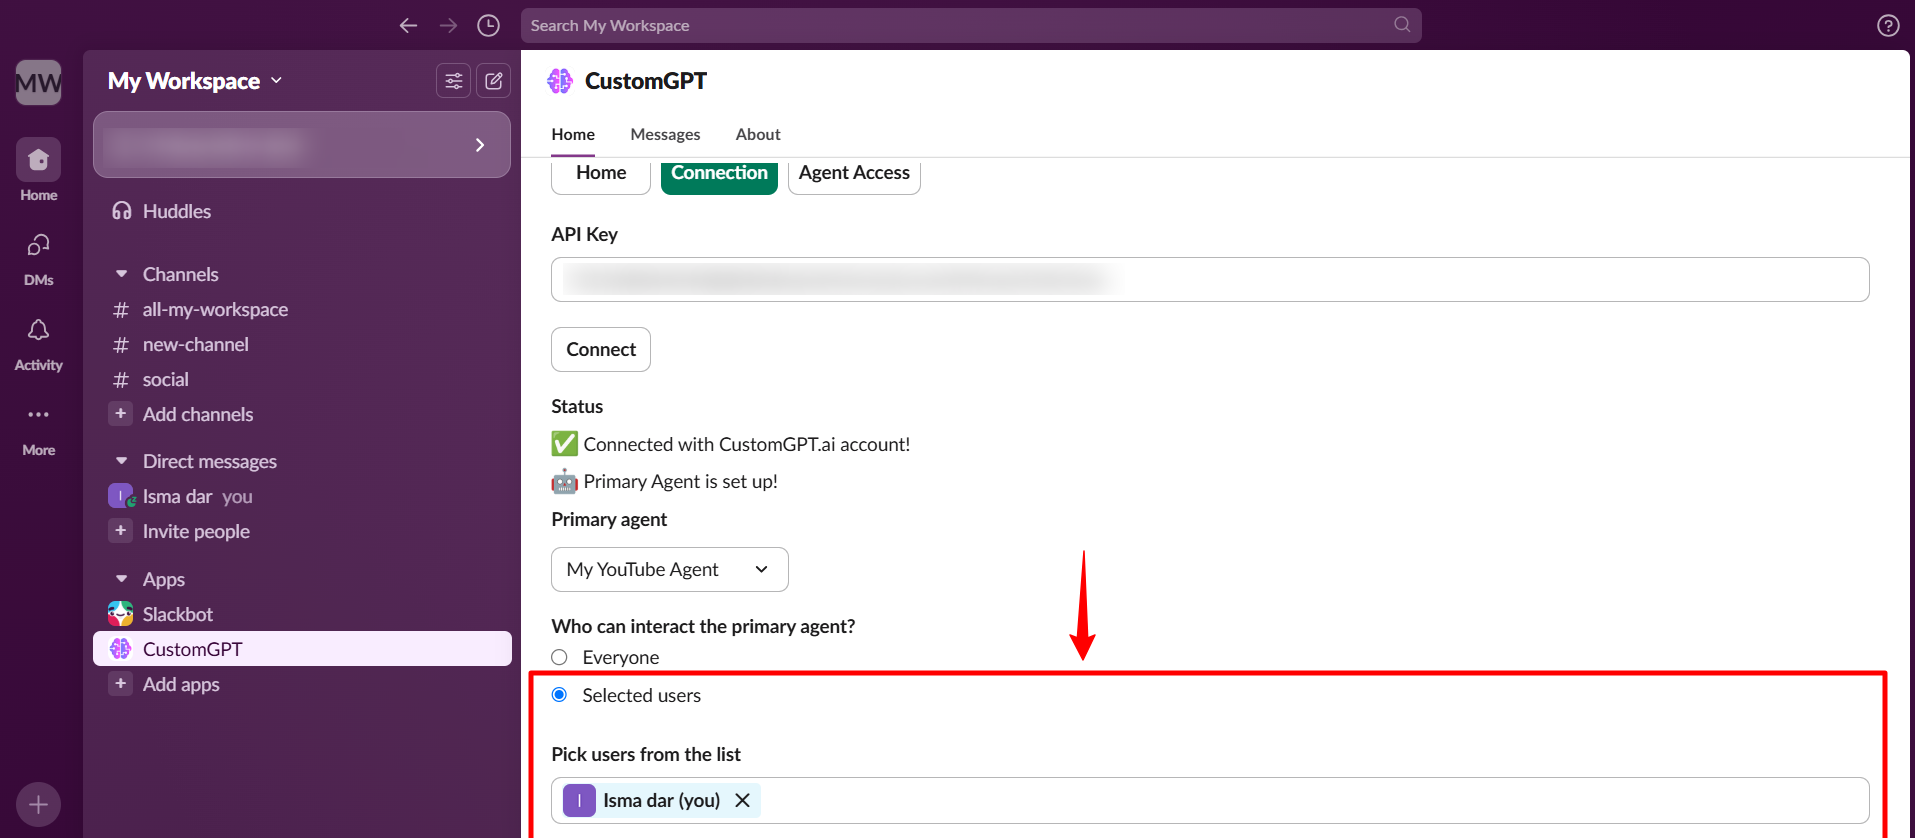
- In Slack, go to CustomGPT, open the Connection tab, and paste the API key.
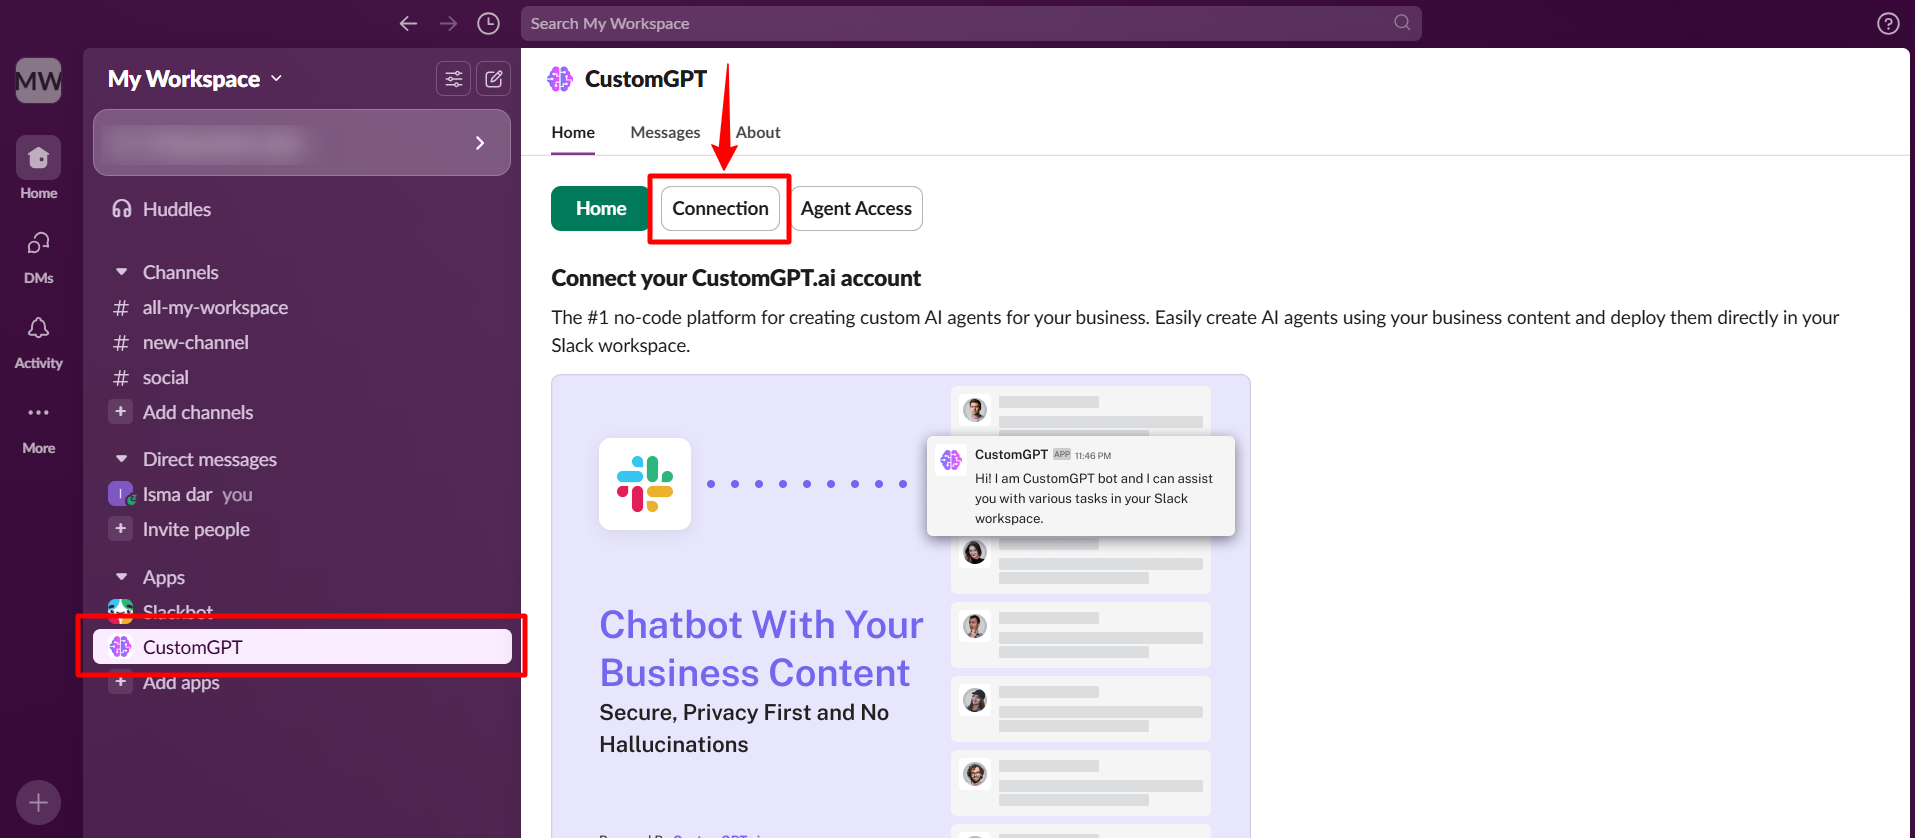
- Paste your API key and click Connect.
- Scroll down to the Primary Agent section.
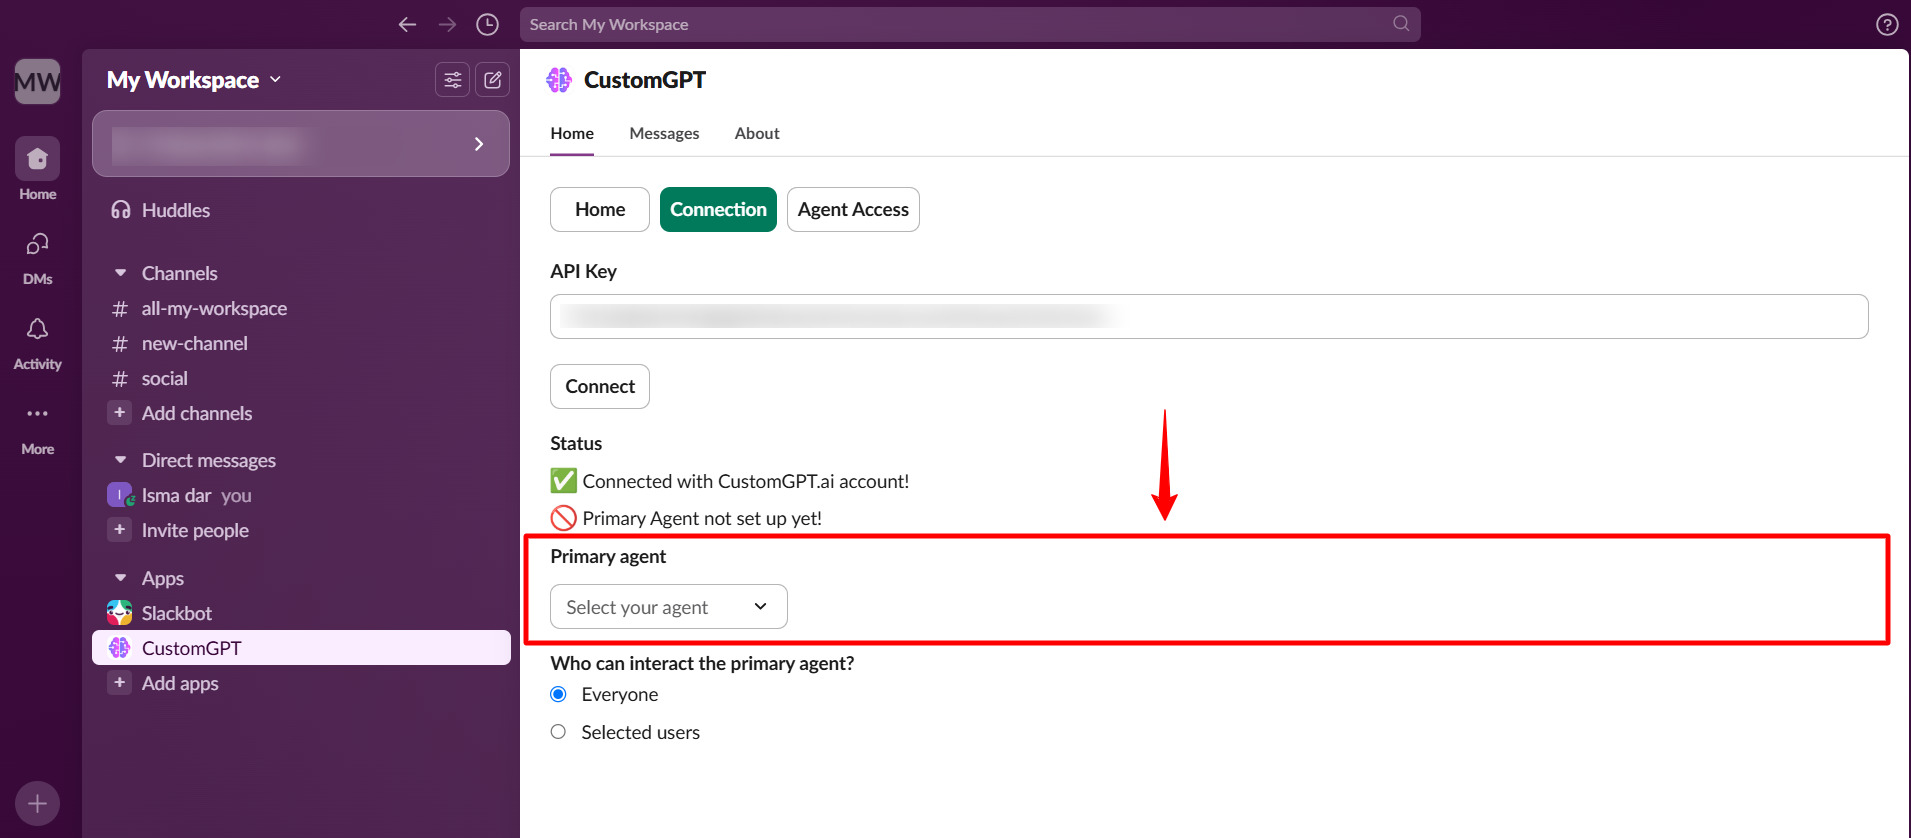
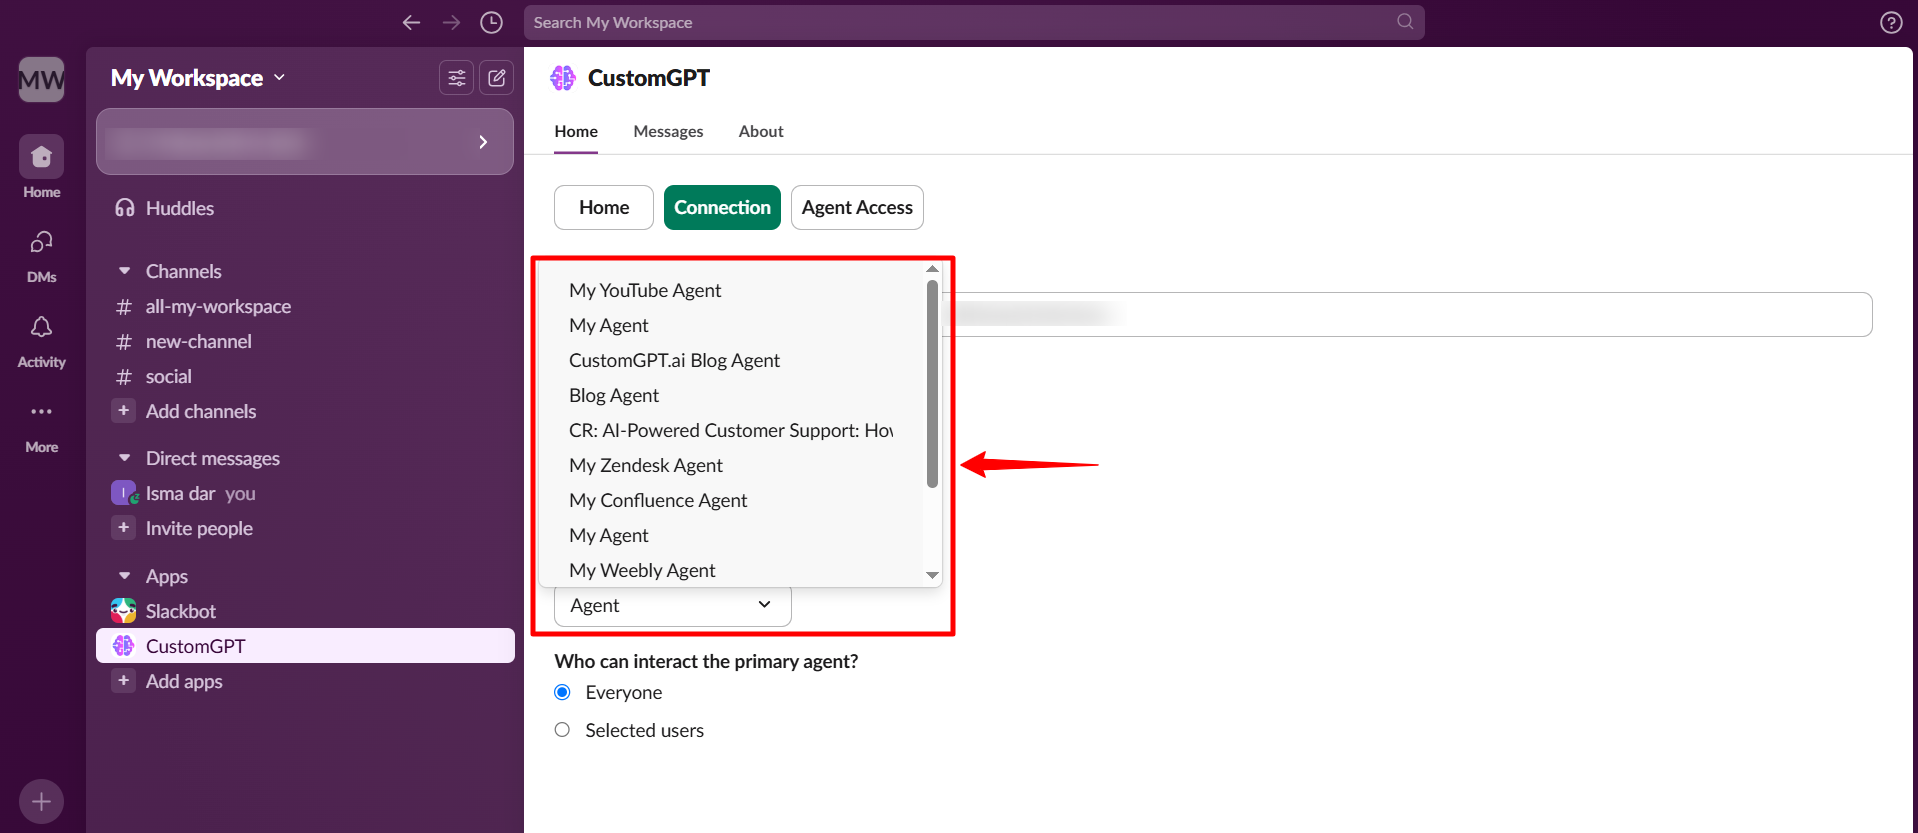
- Select your agent from the dropdown menu.
- Choose who can access the agent:
- Everyone in the workspace
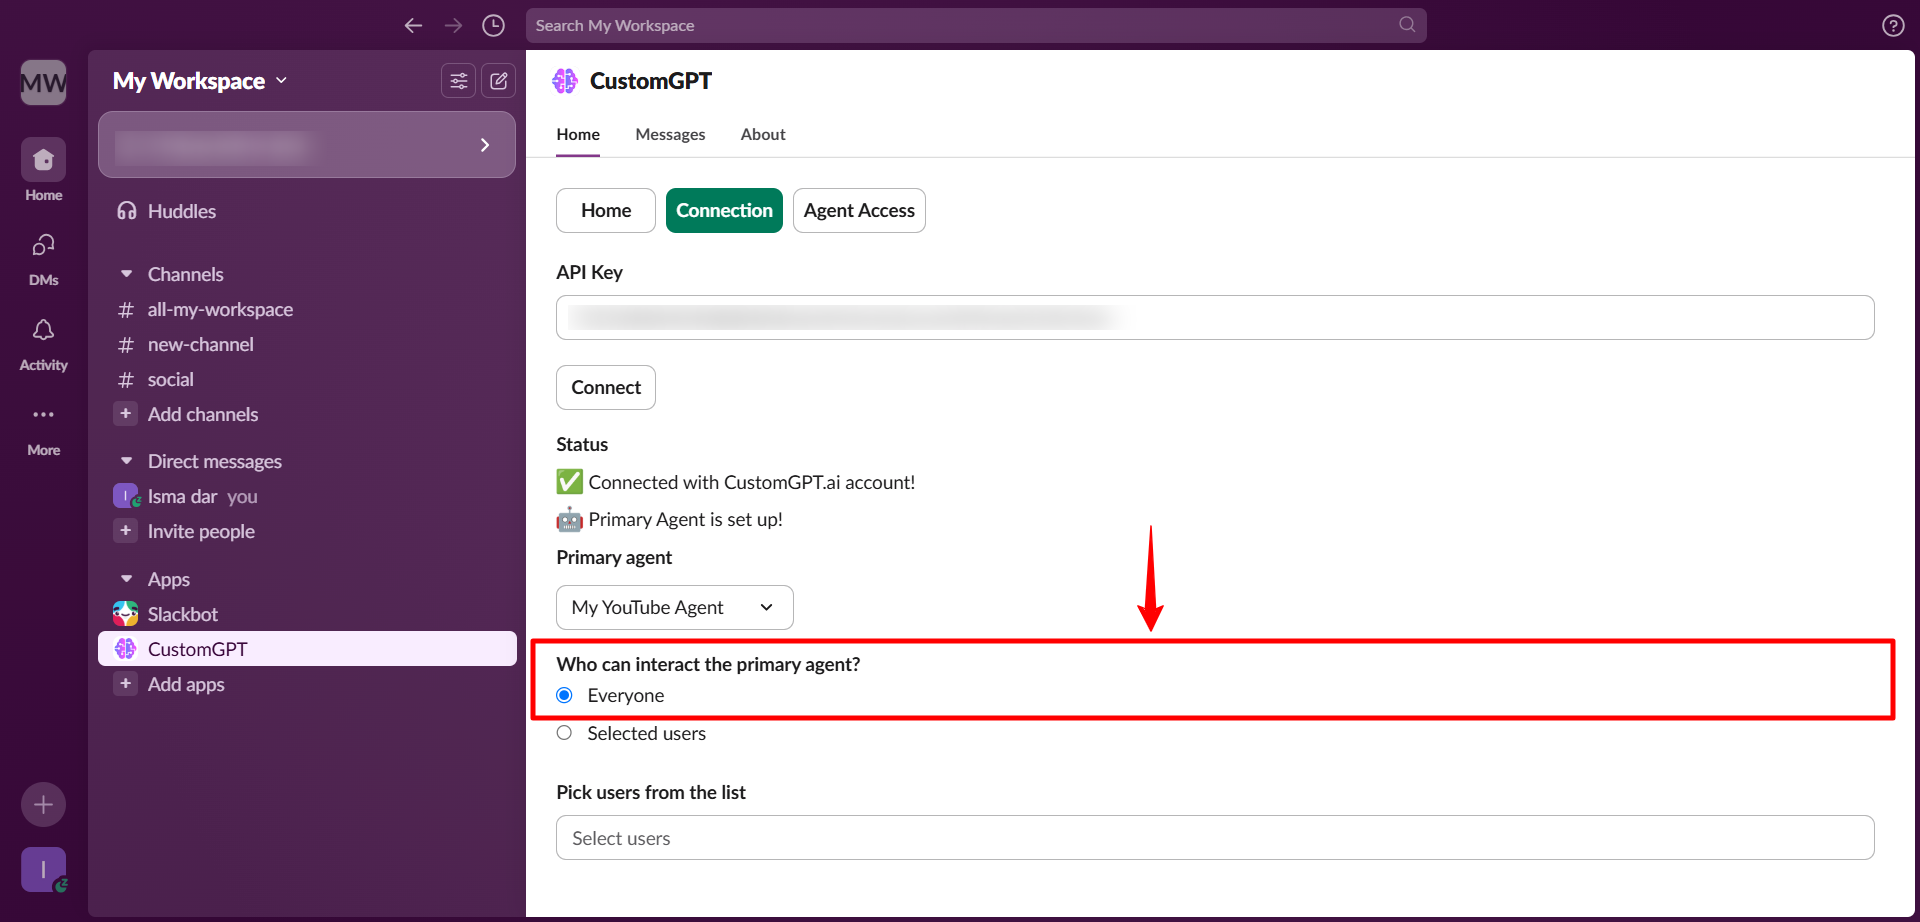
- Only selected users
Check our user guide to learn "How to Deploy your agent to Slack channel" and "How to set agent access in Slack workspace".
Updated 10 months ago
Did this page help you?