Connect to a Shopify website
This step-by-step guide explains how to integrate a CustomGPT.ai agent with your Shopify website to improve customer engagement and boost sales.
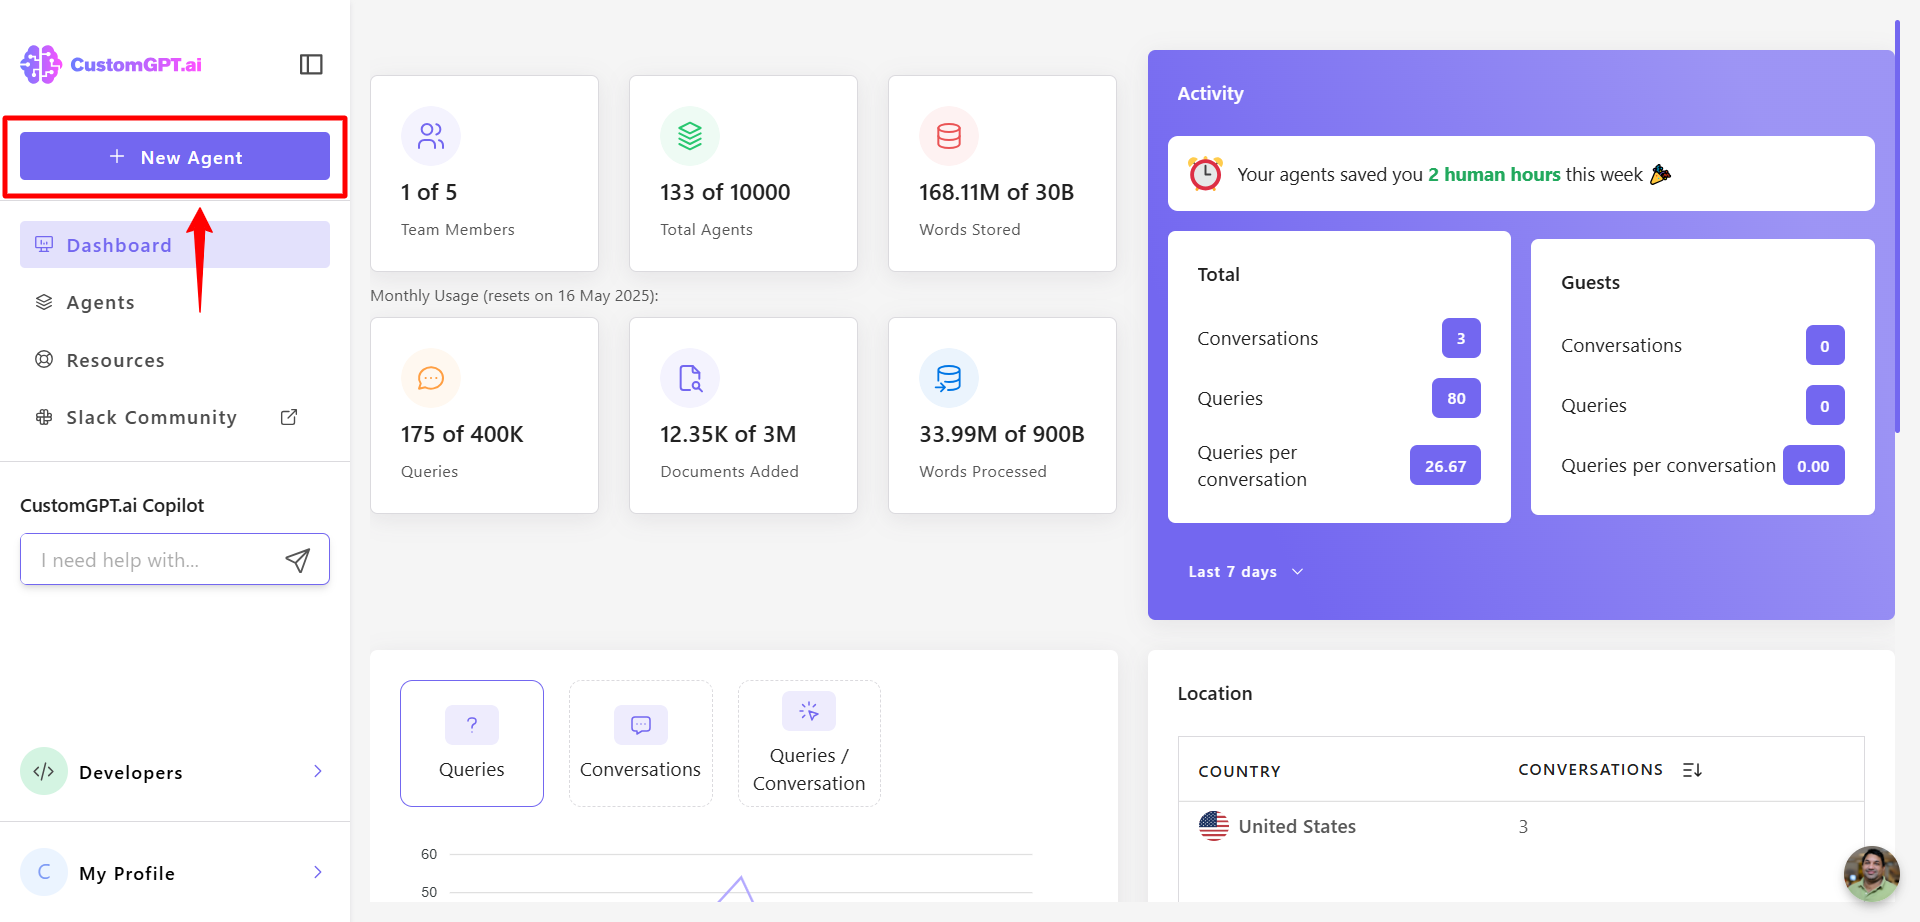
- From the dashboard, click New Agent to create a new AI agent.
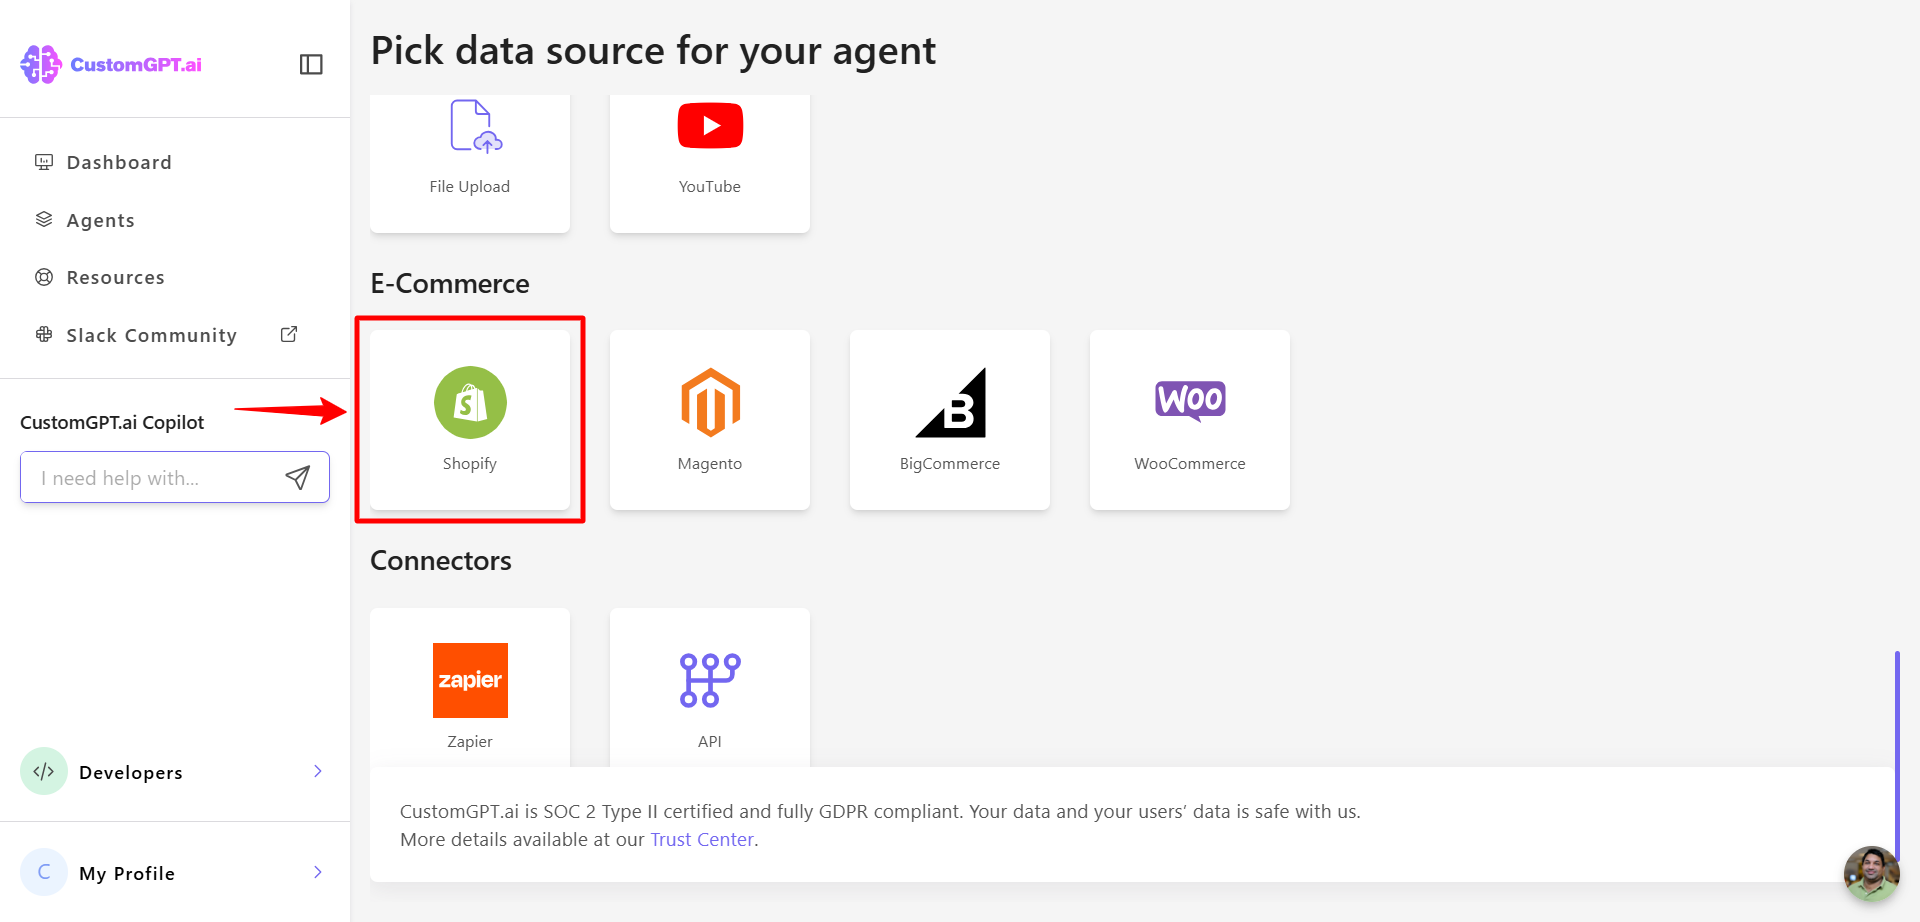
- Click Shopify.
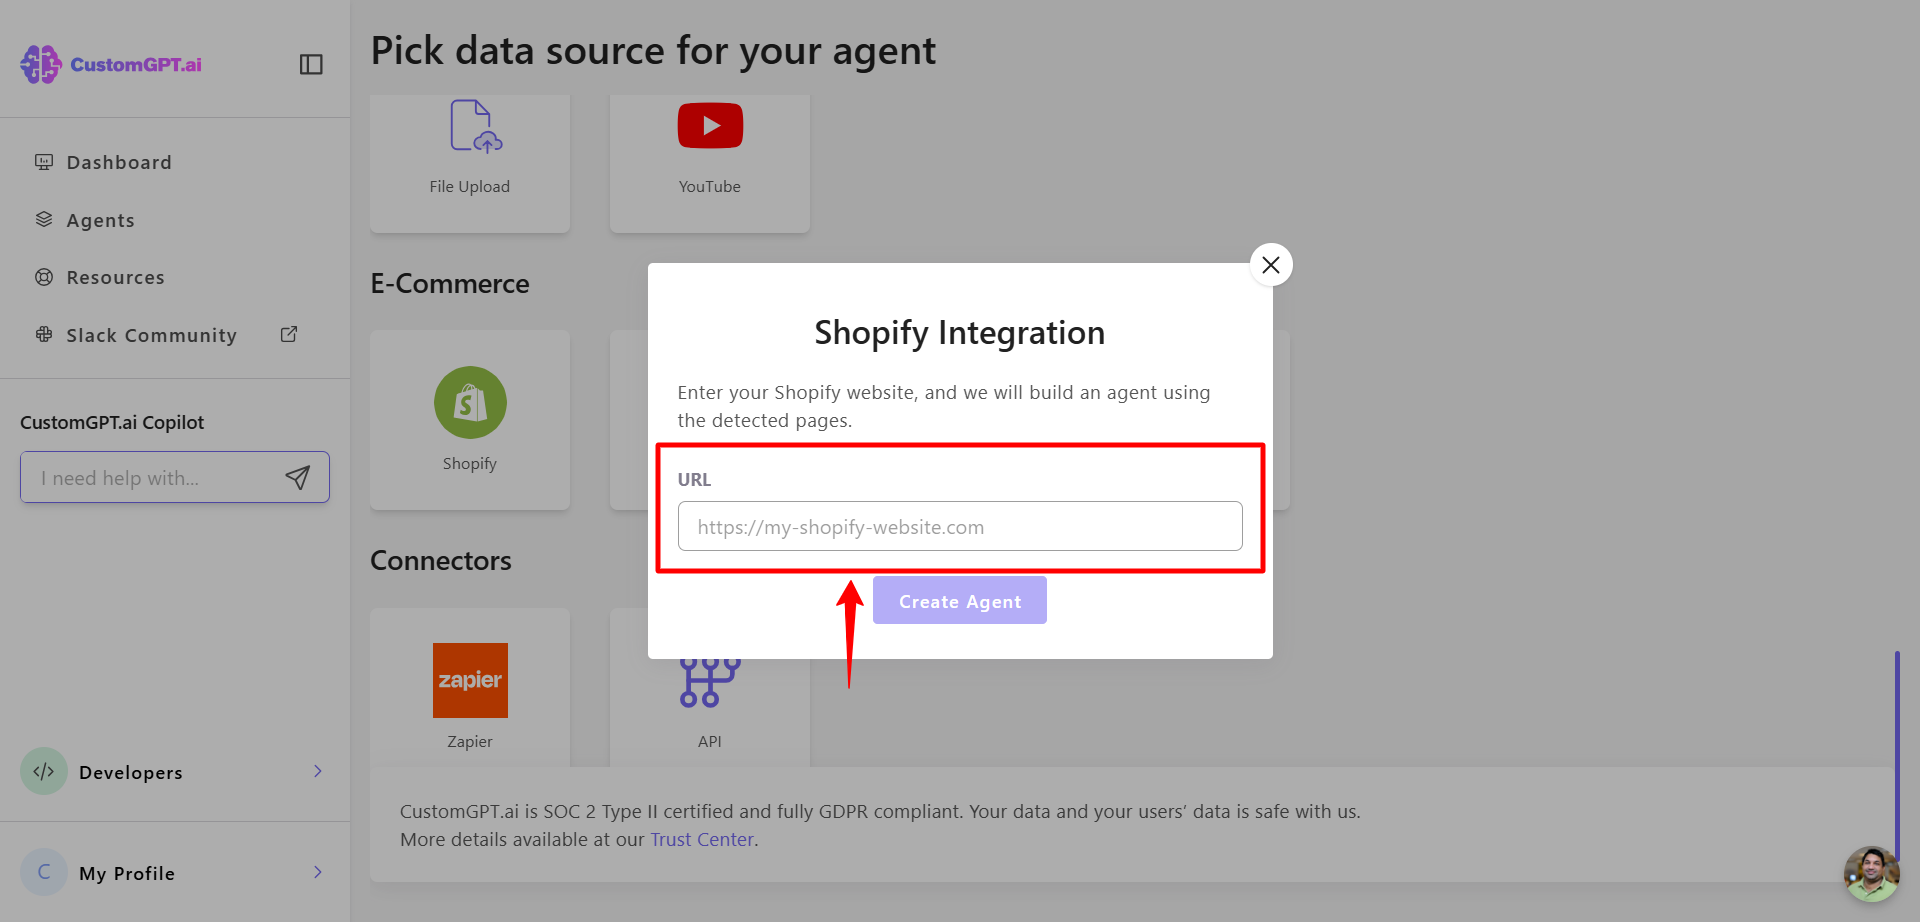
- Enter your Shopify website URL in the provided field and CustomGPT.ai will automatically detect the pages on your site.
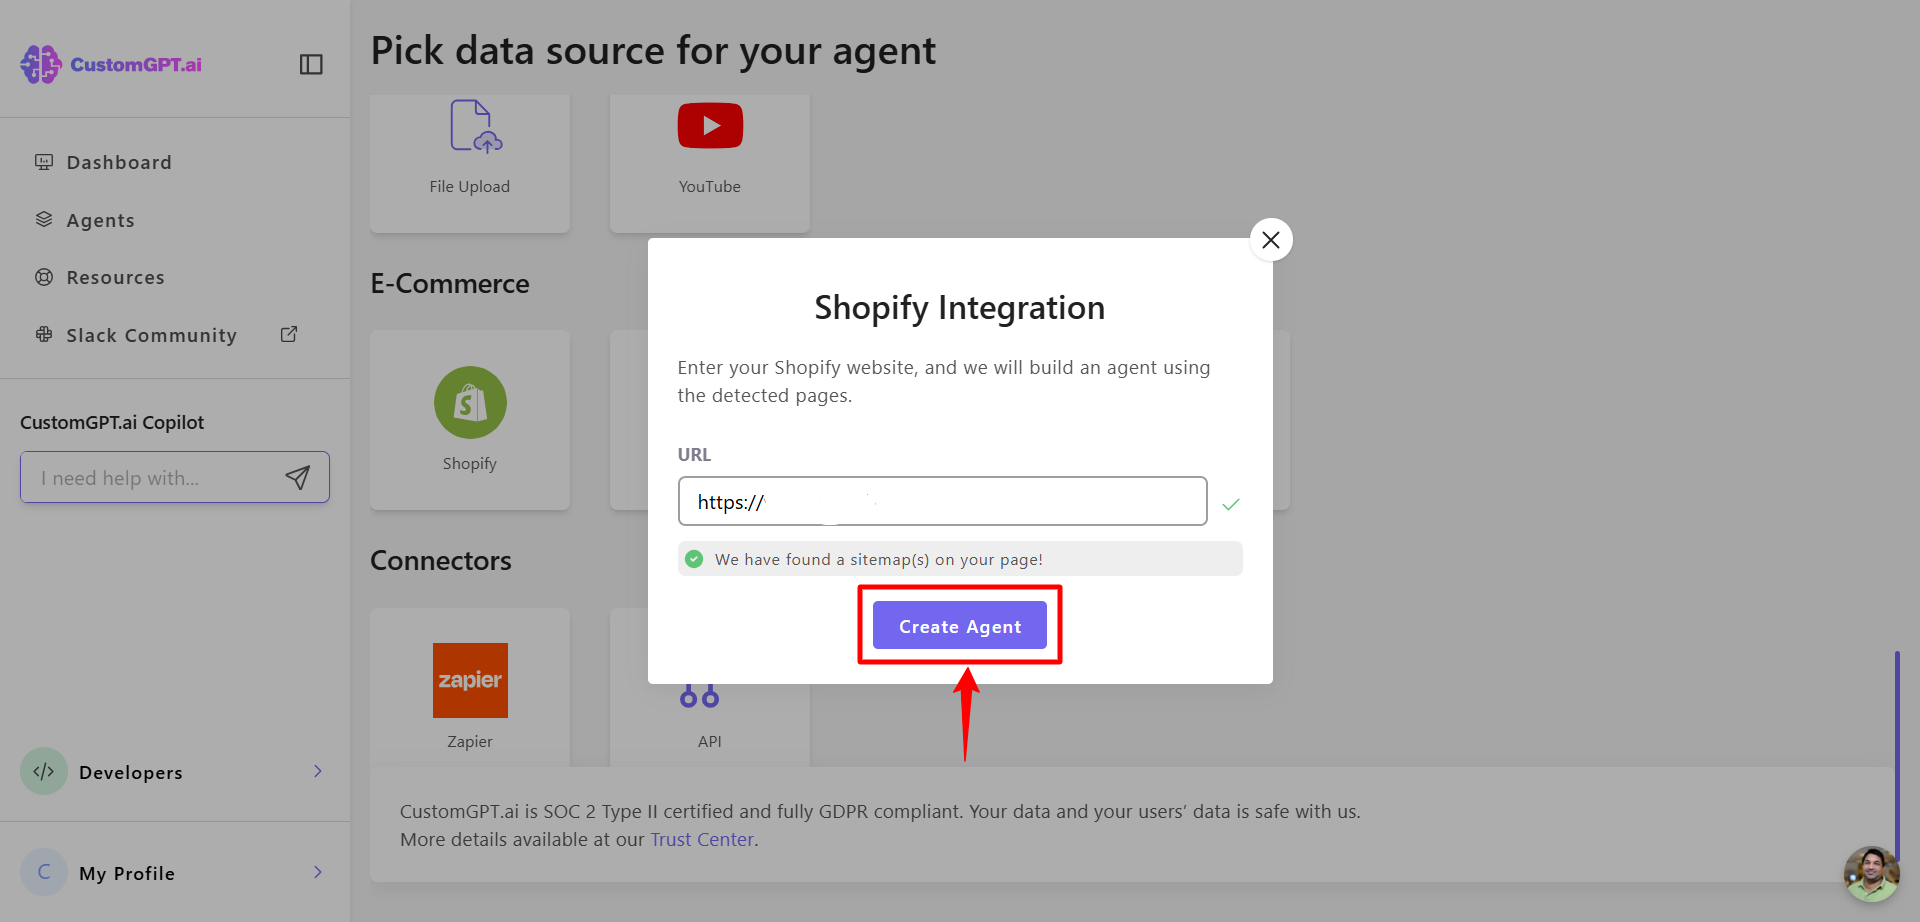
- Click Create Agent to build your AI agent using the detected pages.
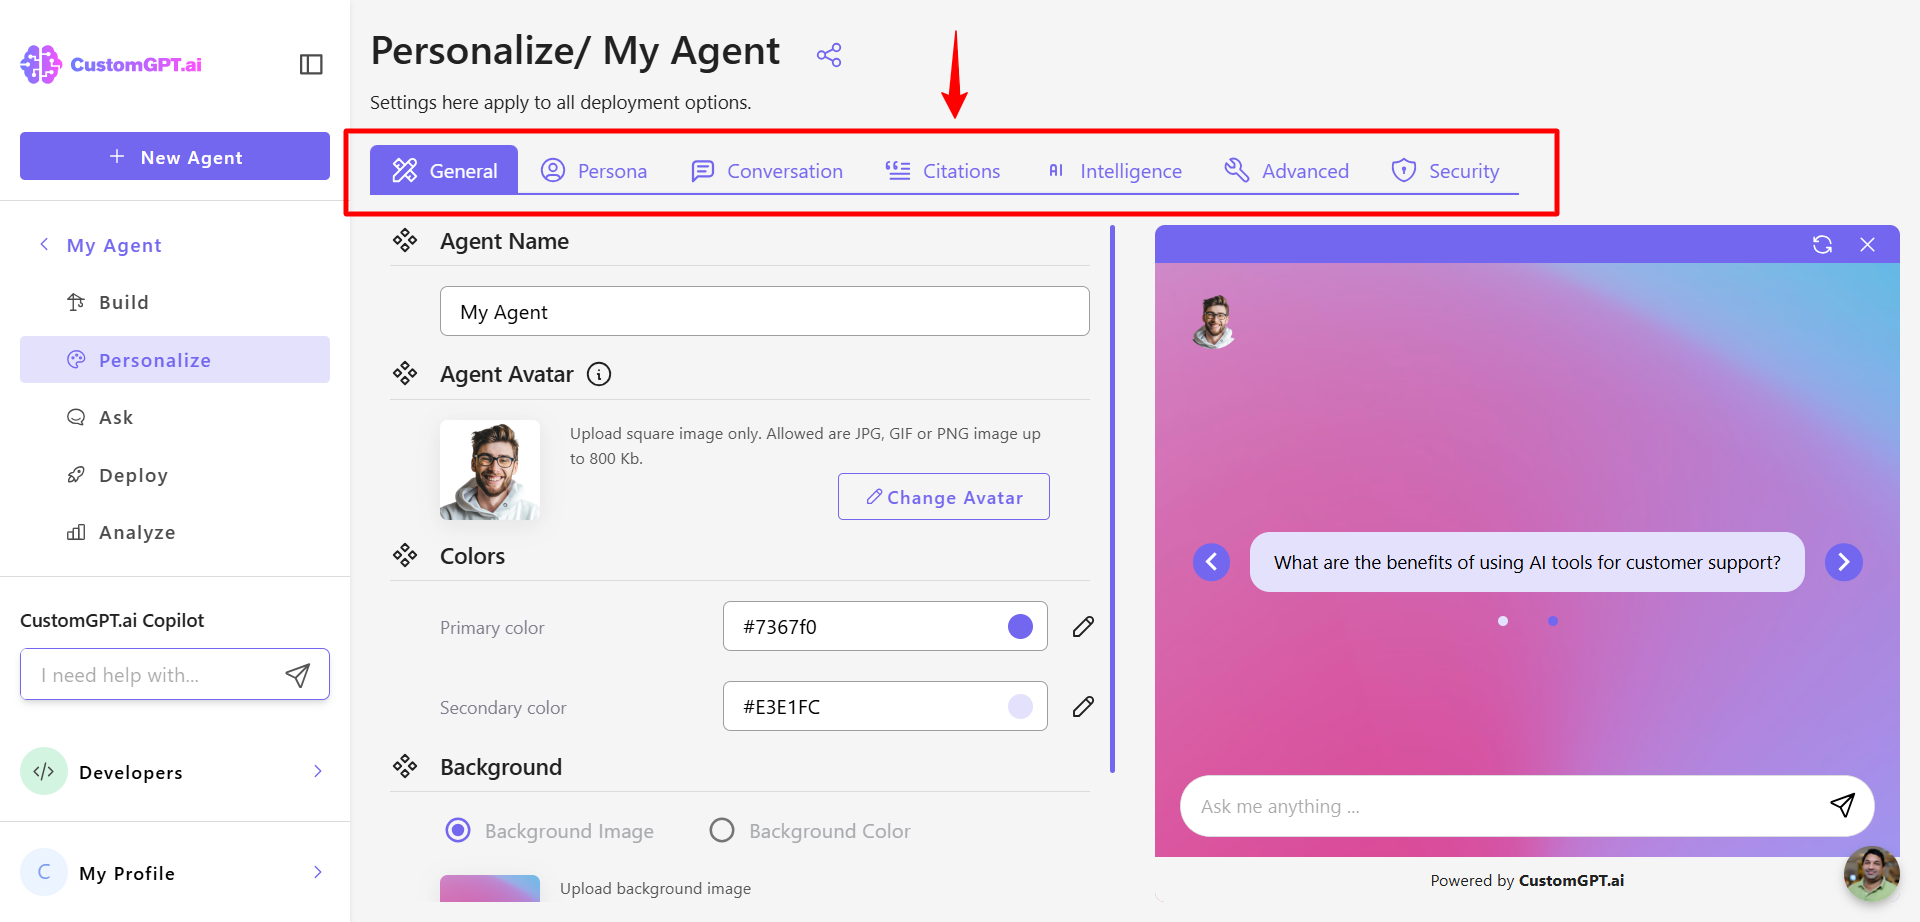
- Customize your AI agent’s appearance and adjust the design to match your brand to give it a unique identity.
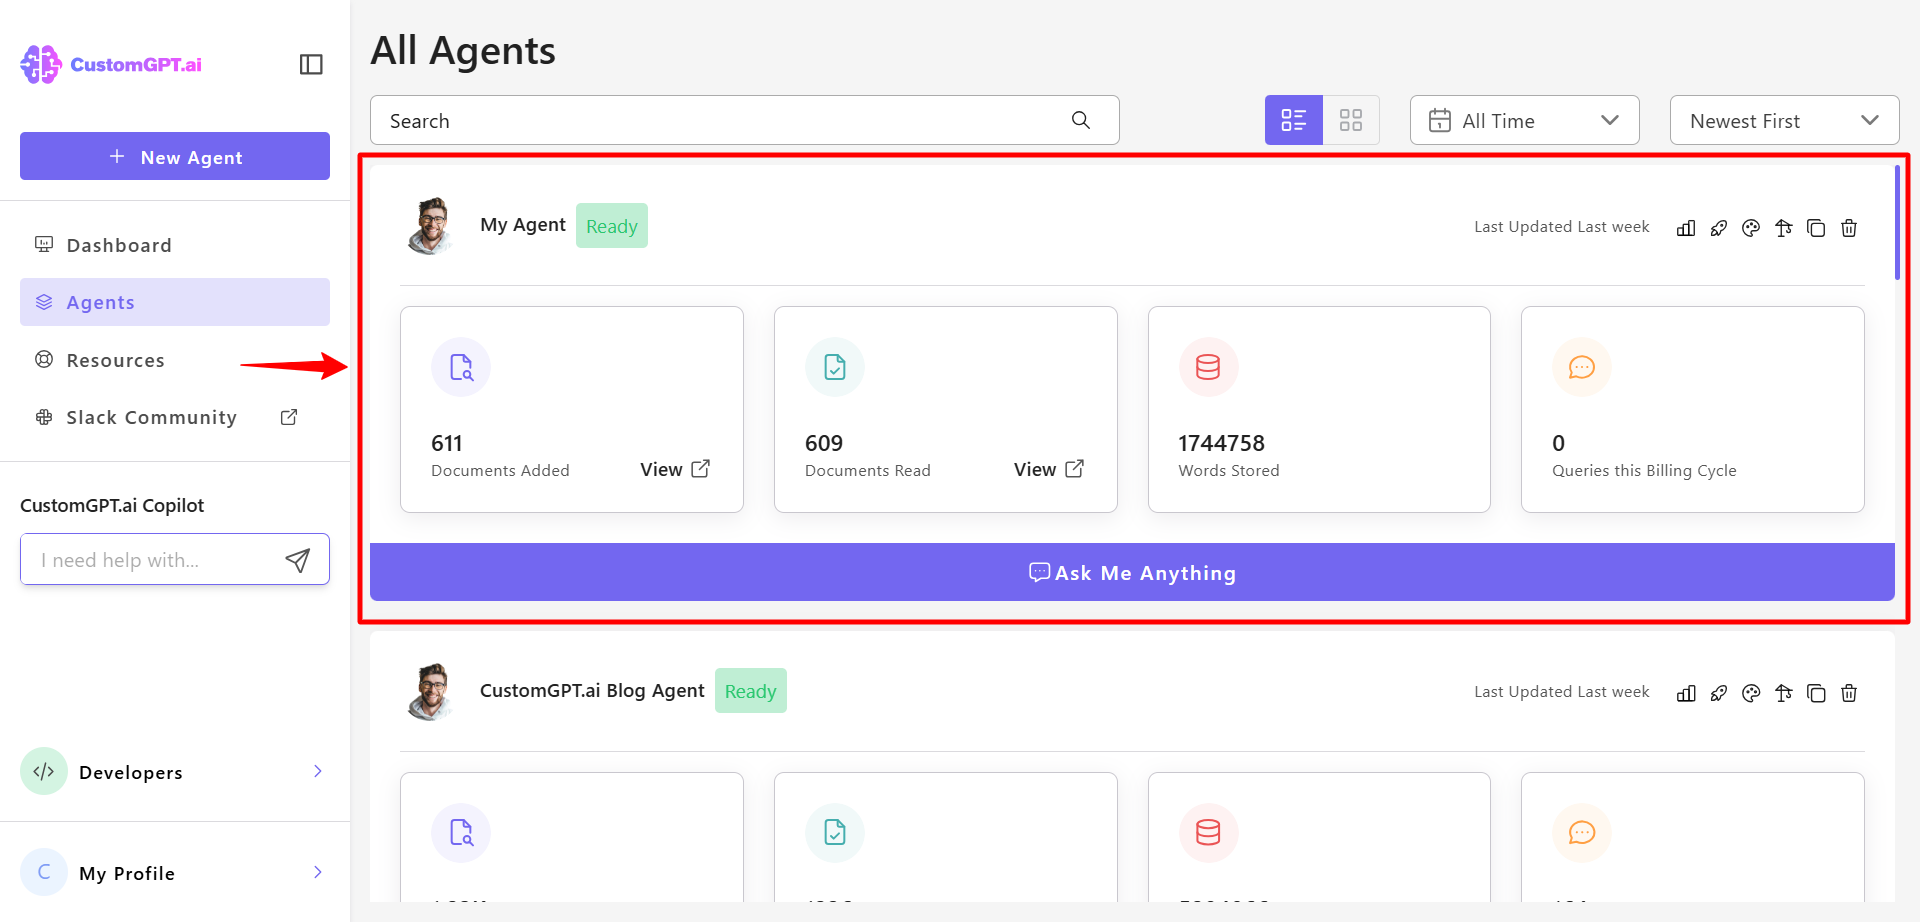
- After configuration, your agent will appear in agent dashboard, where you can manage and fine-tune its behavior.
Updated 9 months ago
