Enable and use CRM integration
This step-by-step guide explains how to enable the CRM Integration feature in CustomGPT.ai and connect it to your external systems for enhanced tracking and analytics.
What is CRM integration?
The CRM Integration feature allows you to pass a unique user identifier (such as an email address or CRM ID) from your external system into CustomGPT.ai. This identifier is linked to each conversation and is visible in analytics and log exports, enabling deeper insights into user behavior.
How to enable CRM integration
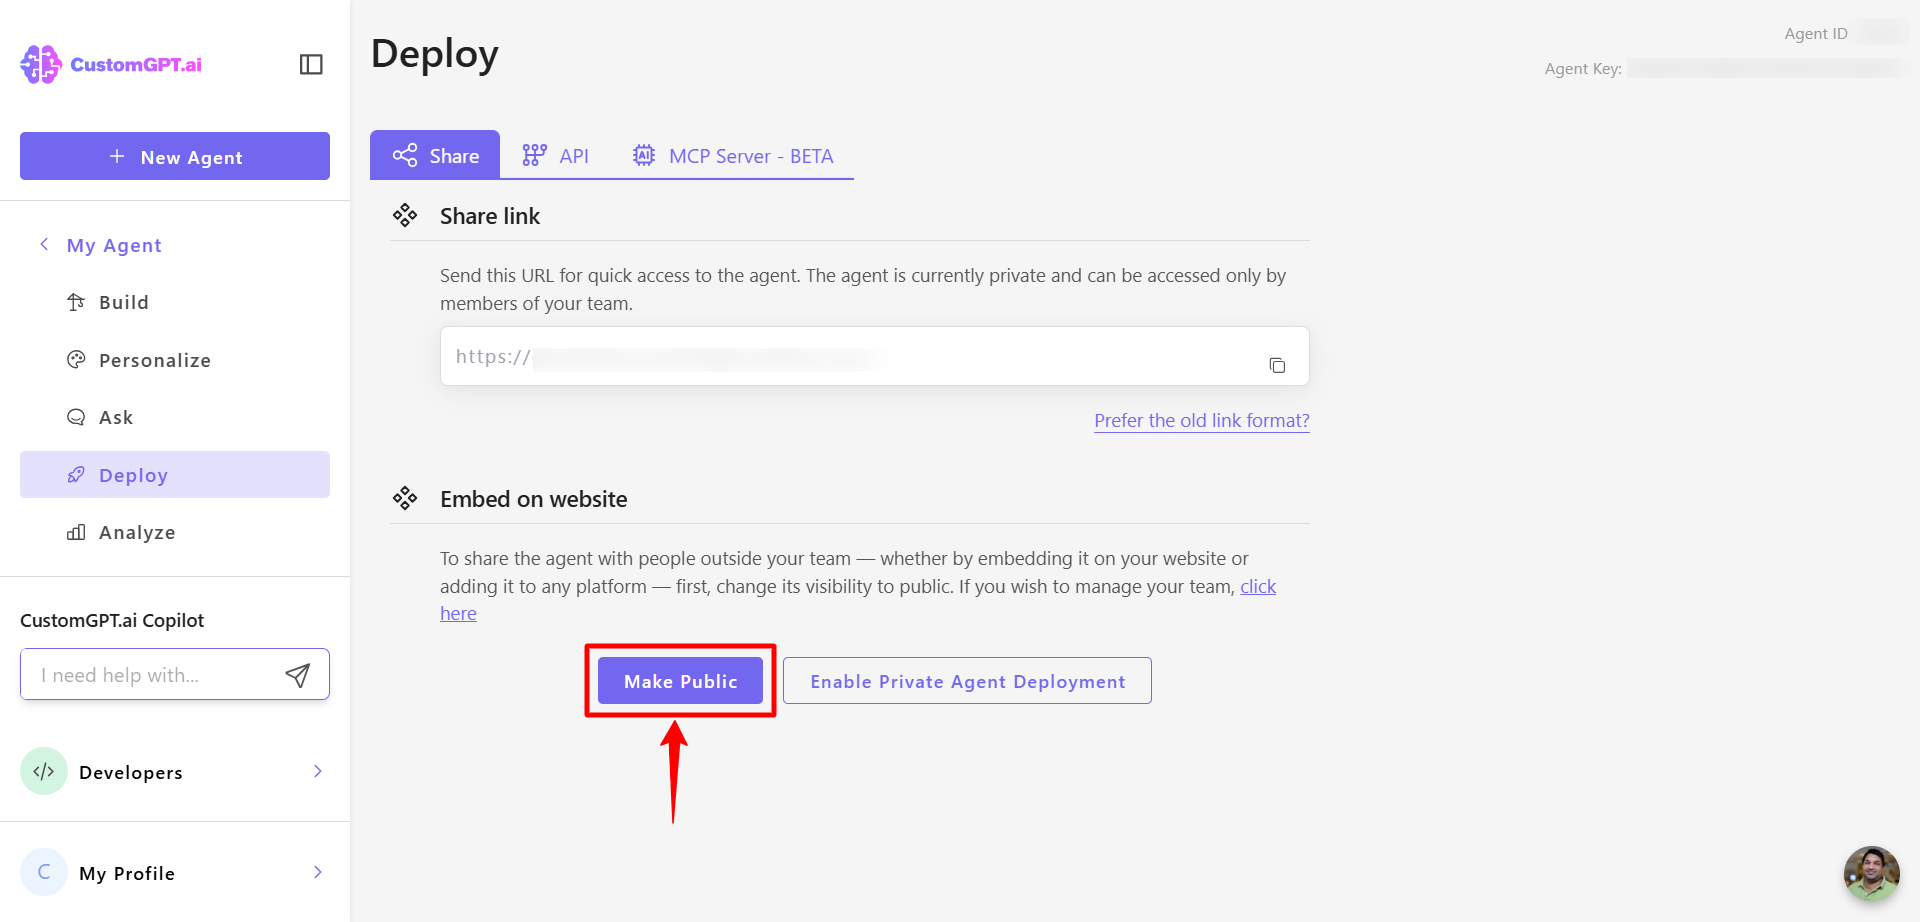
- Click the Deploy icon in your CustomGPT dashboard.
- If your agent is private, click Make Public. If it’s already public, continue to the next step..
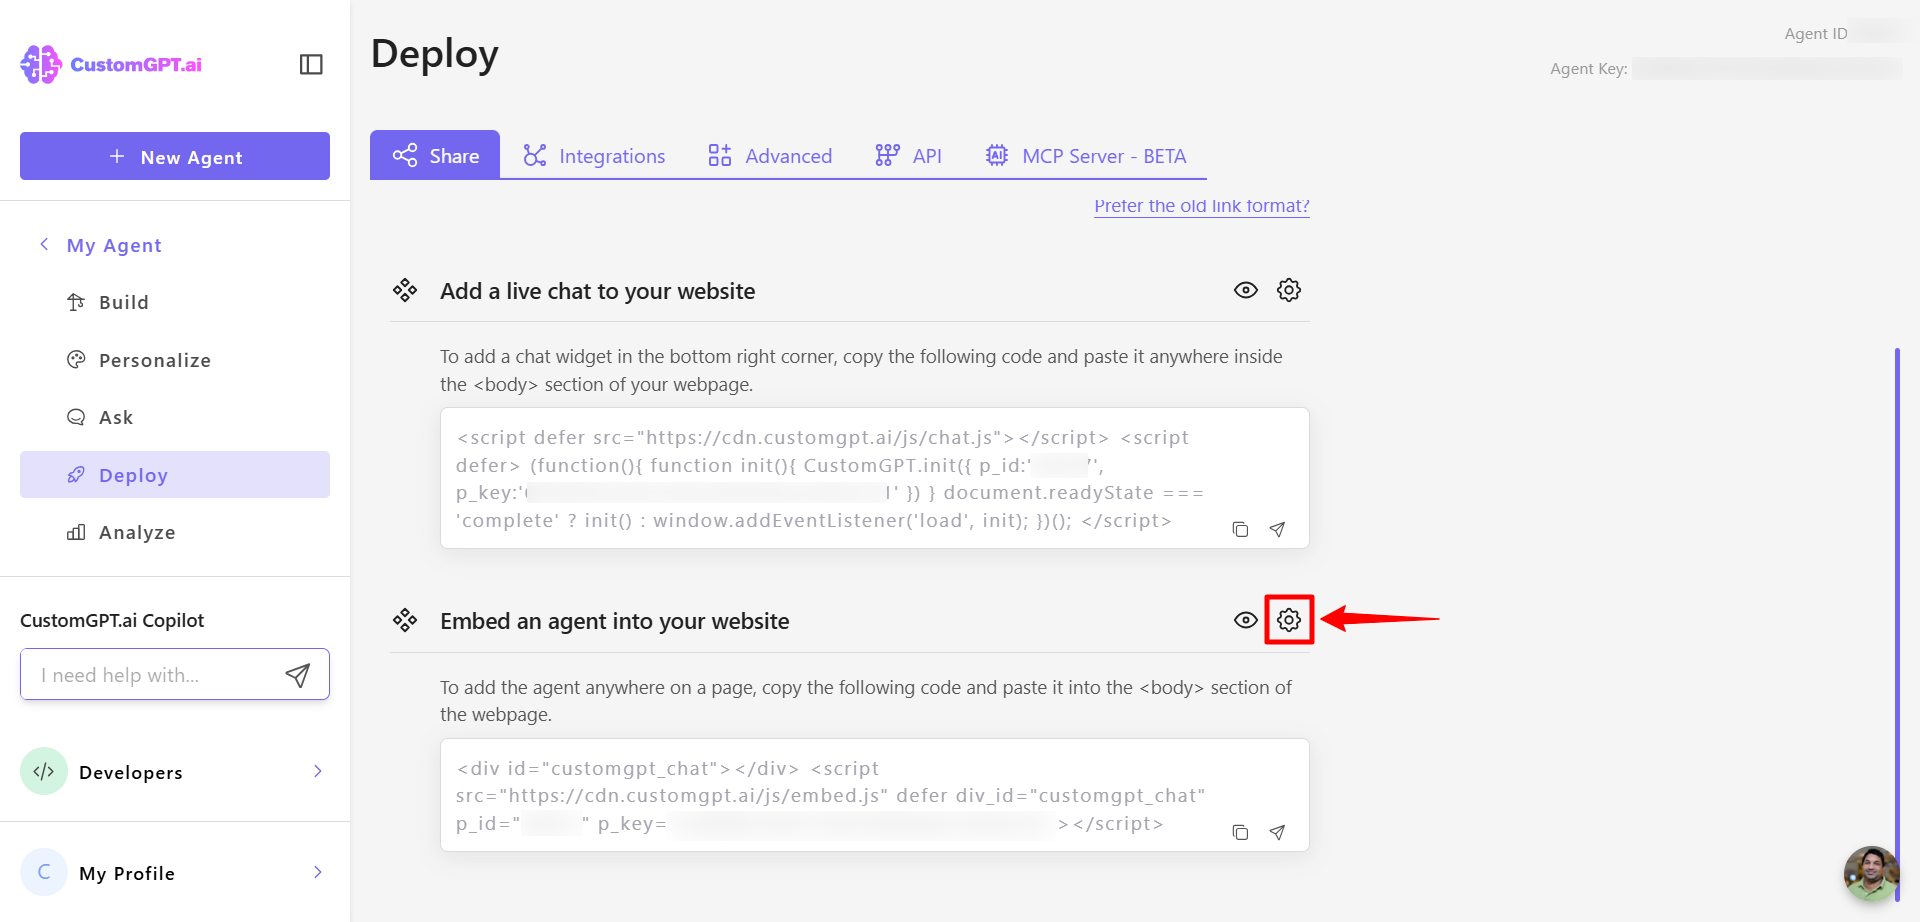
- Select your preferred deployment method (except Search Generative Experience, which is not supported), then click the Settings (gear) icon.
- Toggle on CRM Integration. This allows you to pass a user identifier from your CRM or other systems directly into CustomGPT.ai.
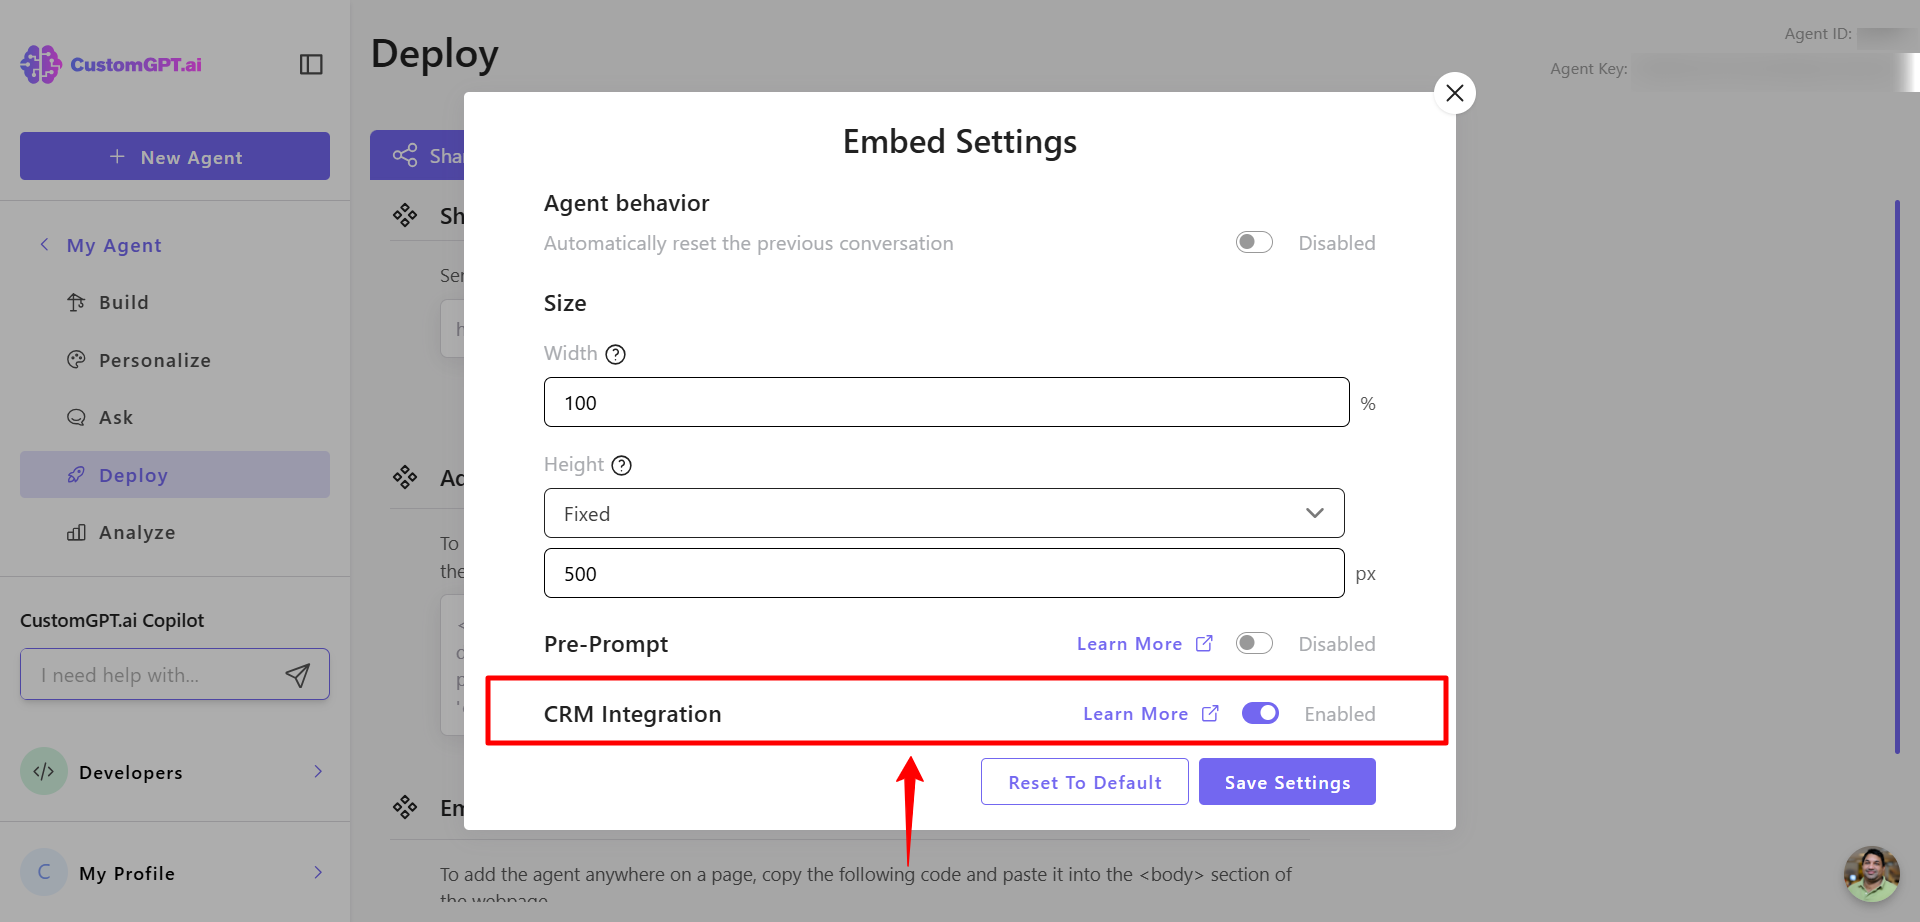
Important:Enabling the toggle alone is not enough. You must update your embed code to include the external ID parameter.
- Next you need to add this parameter to the code snippet:
external_id="value"
Value will normally be a variable from your external system which you want to associate with CustomGPT.ai prompts.
Example usage:
<div id="customgpt_chat"></div>
<script src="https://cdn.customgpt.ai/js/embed.js"
defer
div_id="customgpt_chat"
p_id="123456"
p_key="abcdefgh"
external_id="123456"></script>
Note:Replace the values of p_id, p_key, and external_id with your specific agent ID, key, and desired value. You will need to handle the variable assignments on your own.
How to Disable CRM Integration
You can disable the CRM Integration feature in two ways:
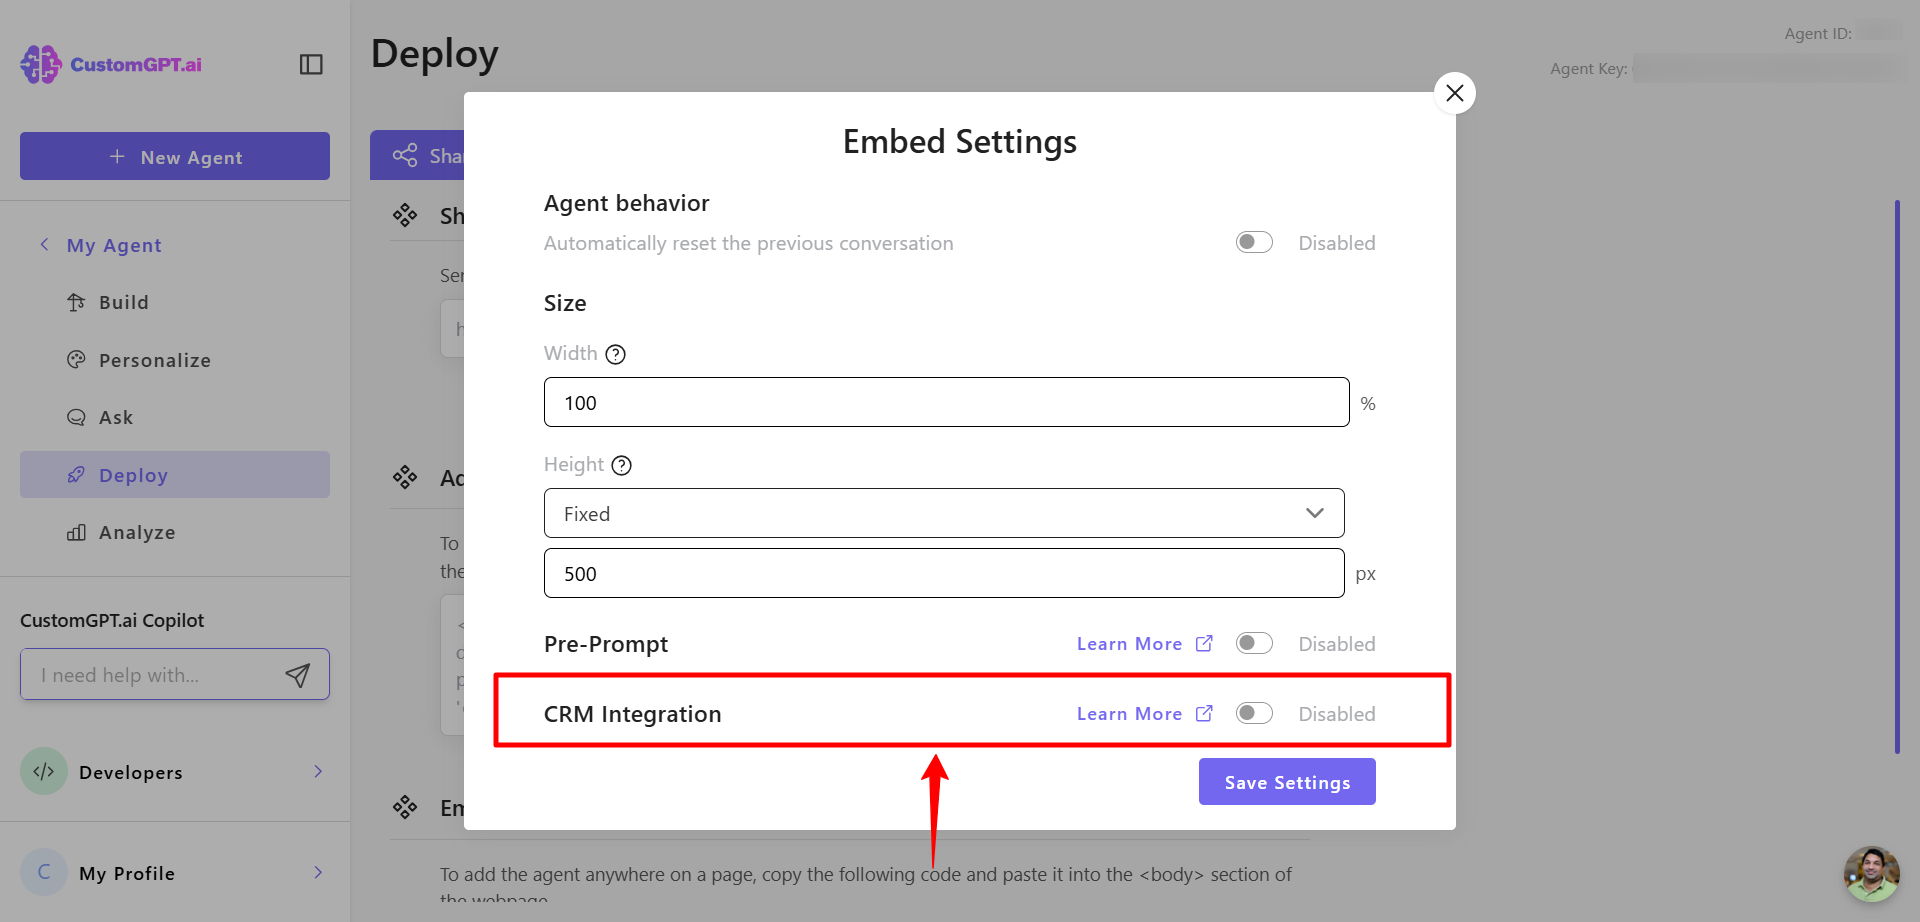
- Turn off the toggle
This stops the integration, even if external_id="" remains in the code.
- Remove the parameter from the code
Delete external_id from your embed snippet to stop passing the identifier.
Note:Any previously stored CRM-linked data will remain available in your exports even after disabling the feature.
How to access CRM-linked data
Data linked with CRM integration is currently accessible through the following exports:
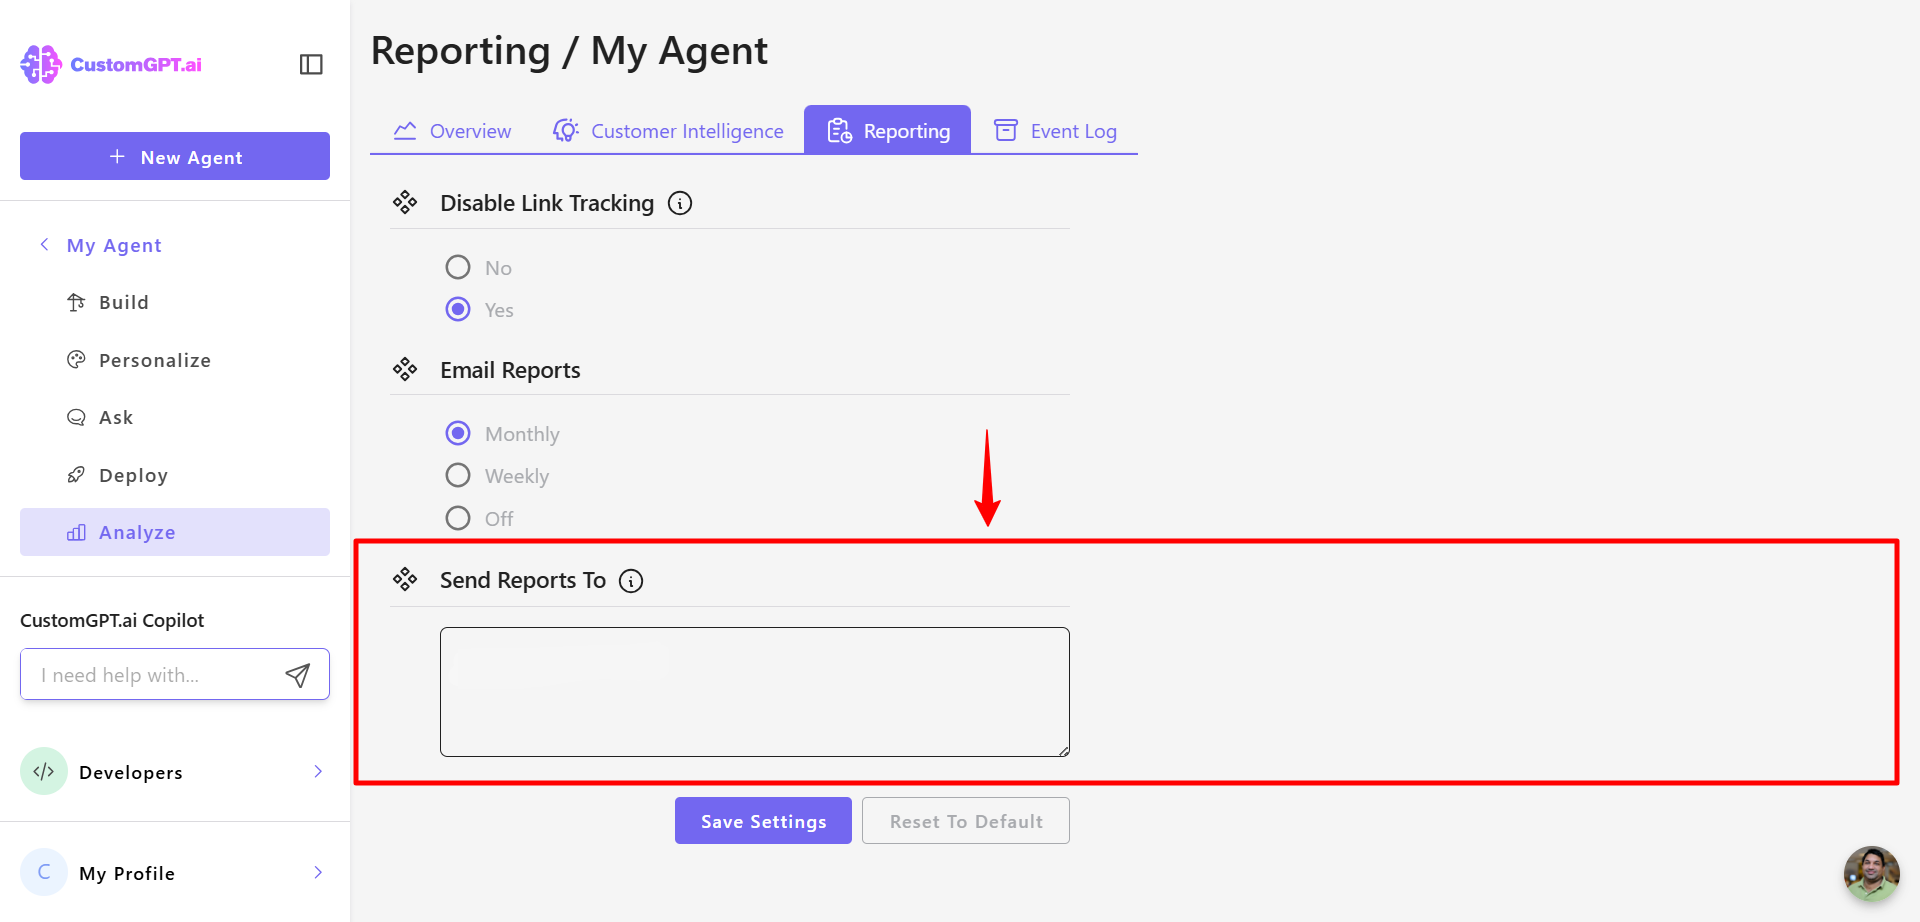
- Analytics > Reporting
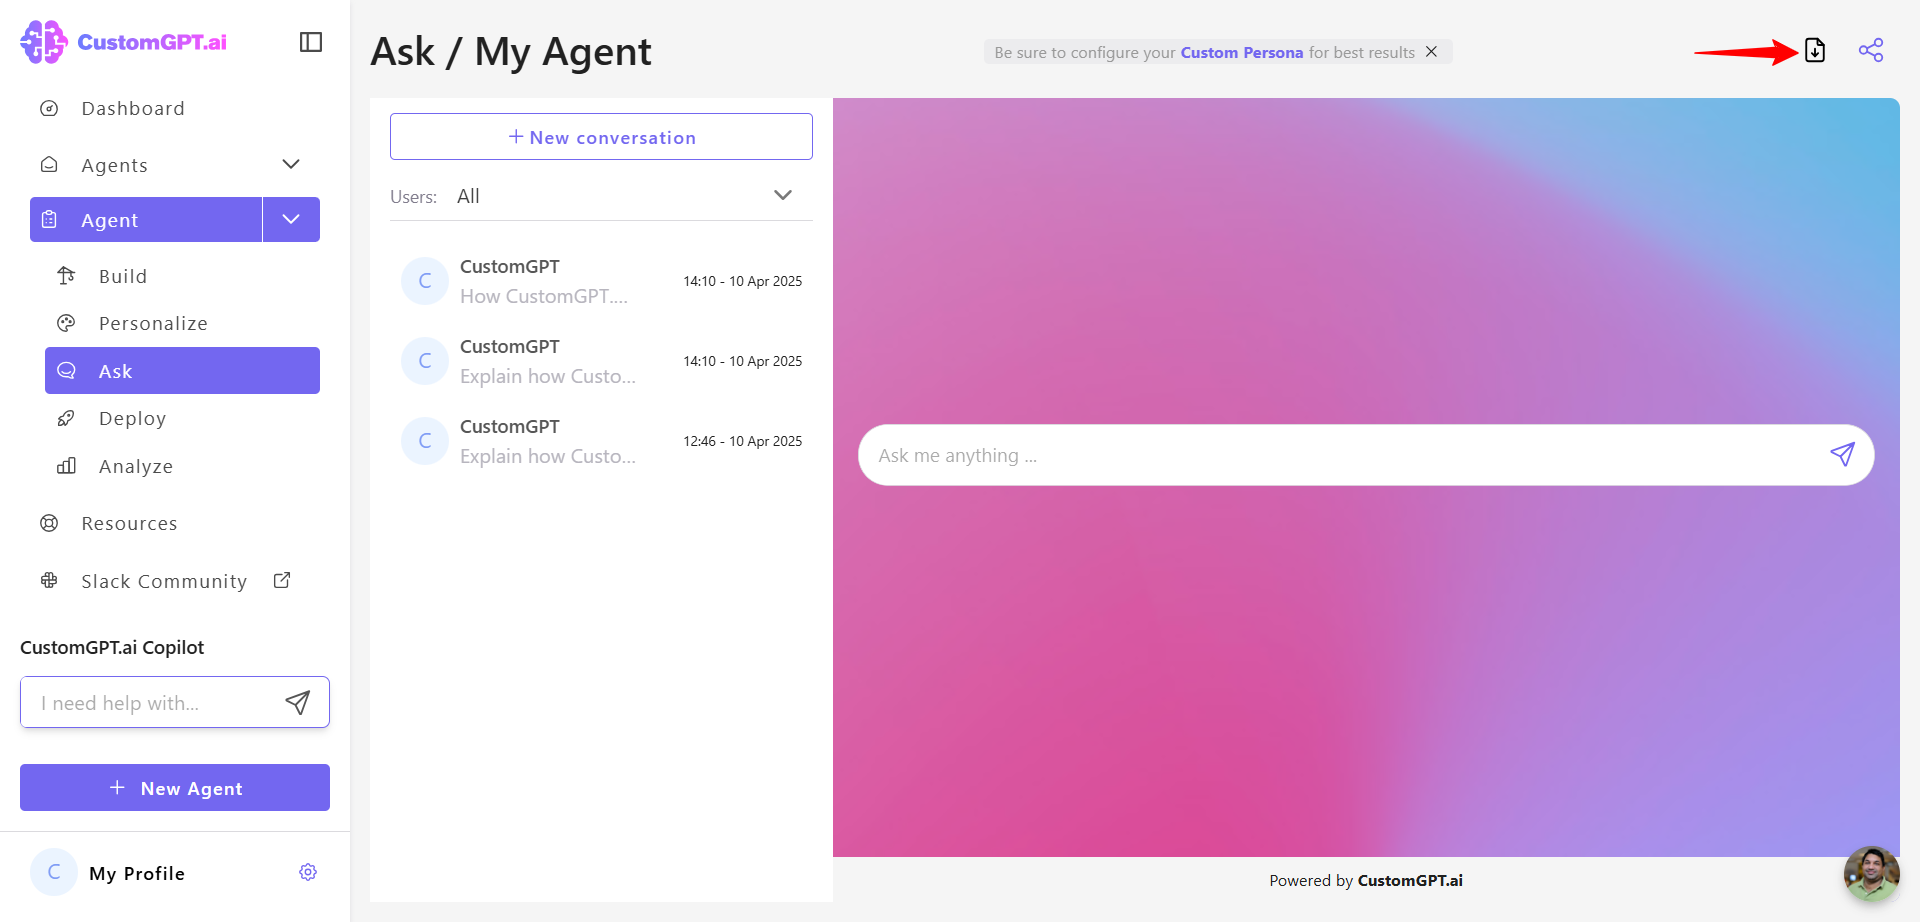
- Ask Me Anything > Export Conversations
Updated 9 months ago
