Connect to Google Drive
This step-by-step guide will explains how to effortlessly connect your Google Drive account to enhance your agent capabilities.
Create a New Agent
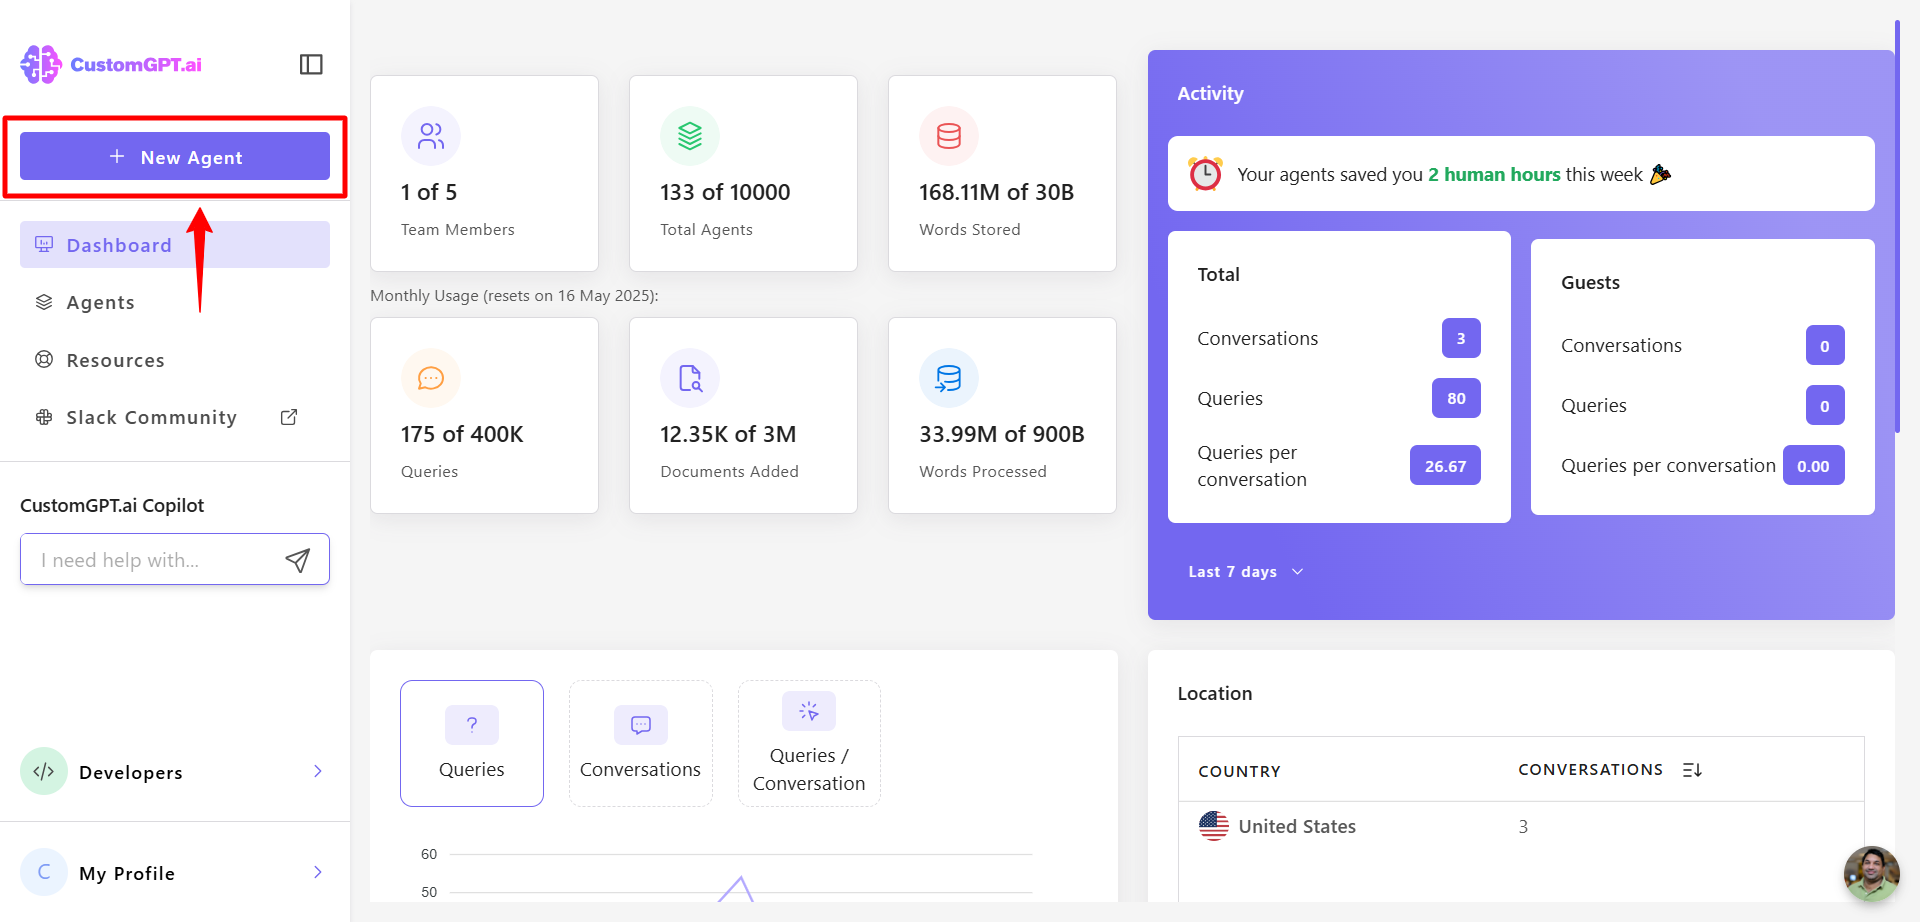
- Go to your CustomGPT dashboard and click New Agent.
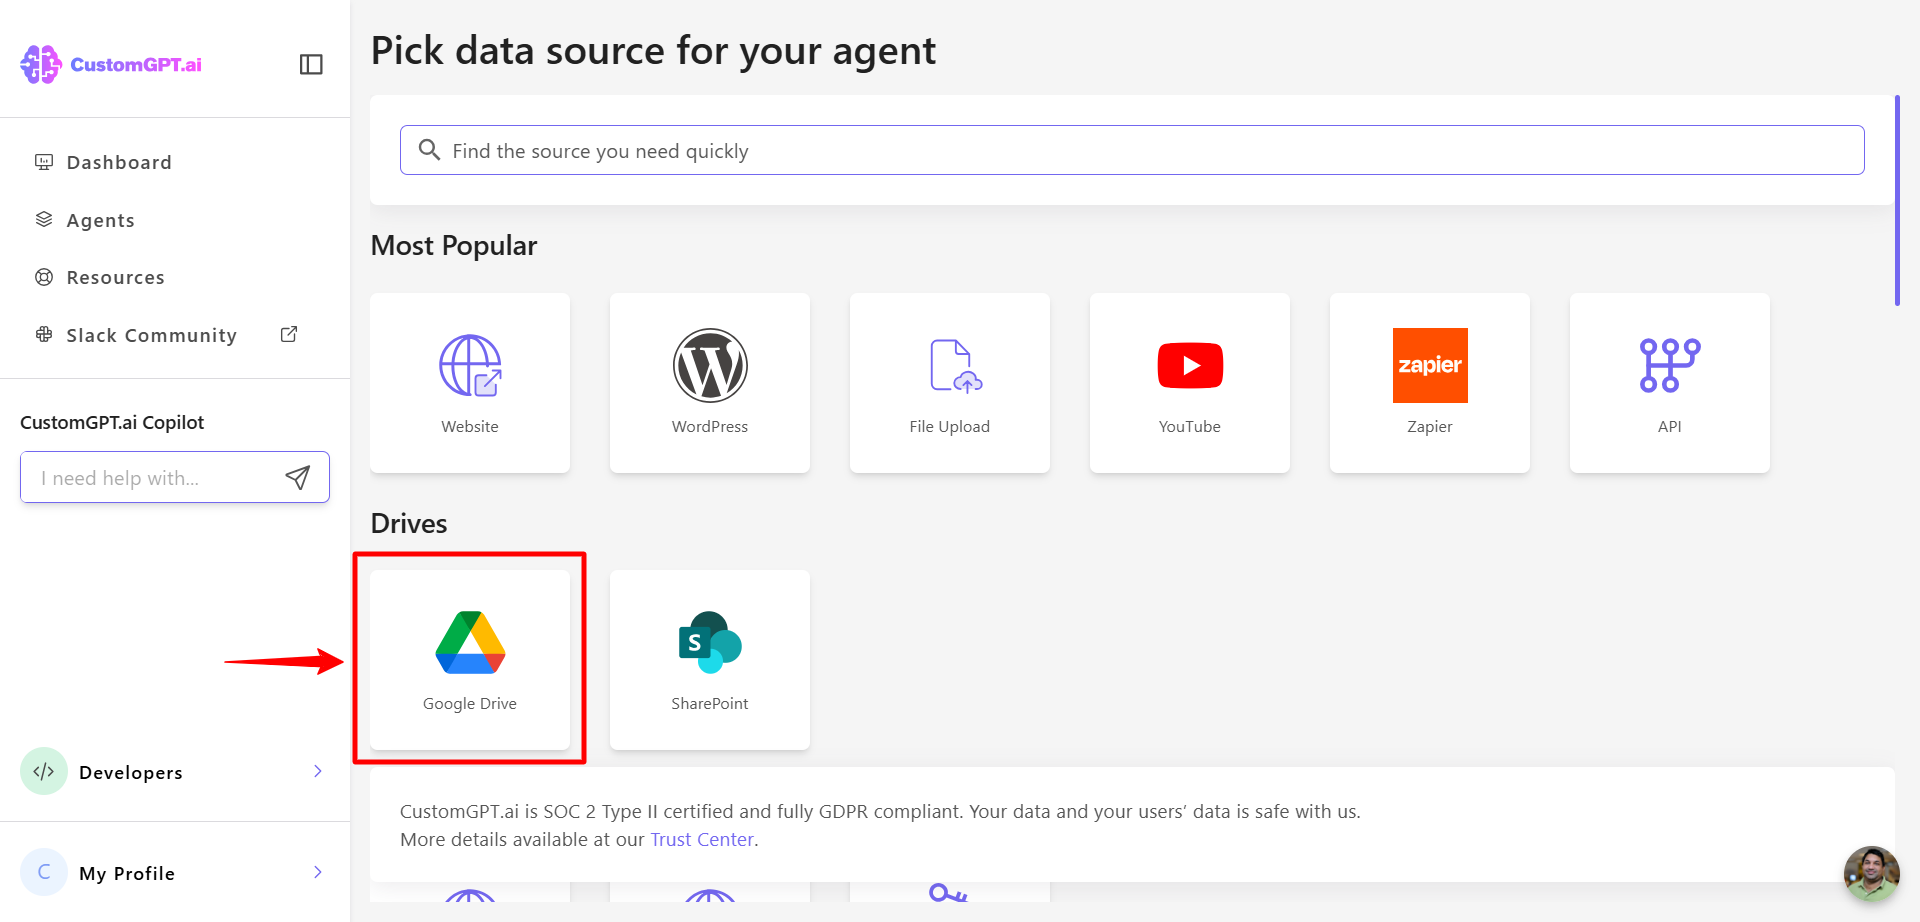
- In the drives section, select Google Drive.
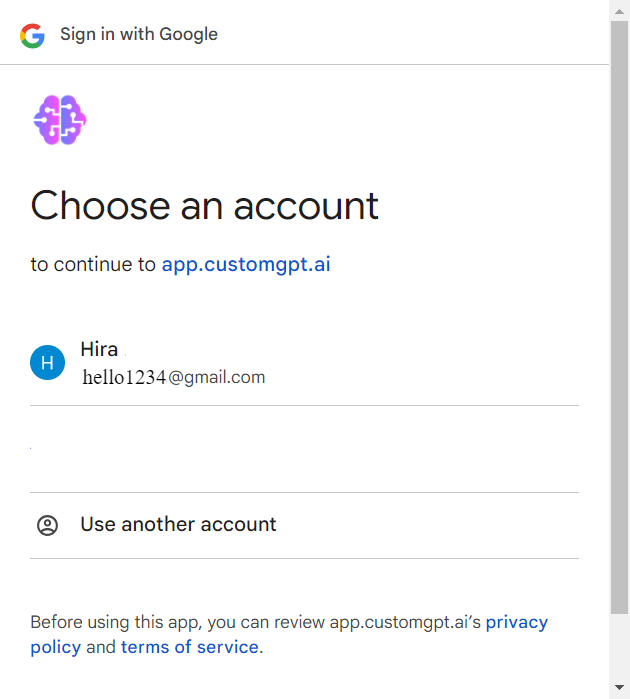
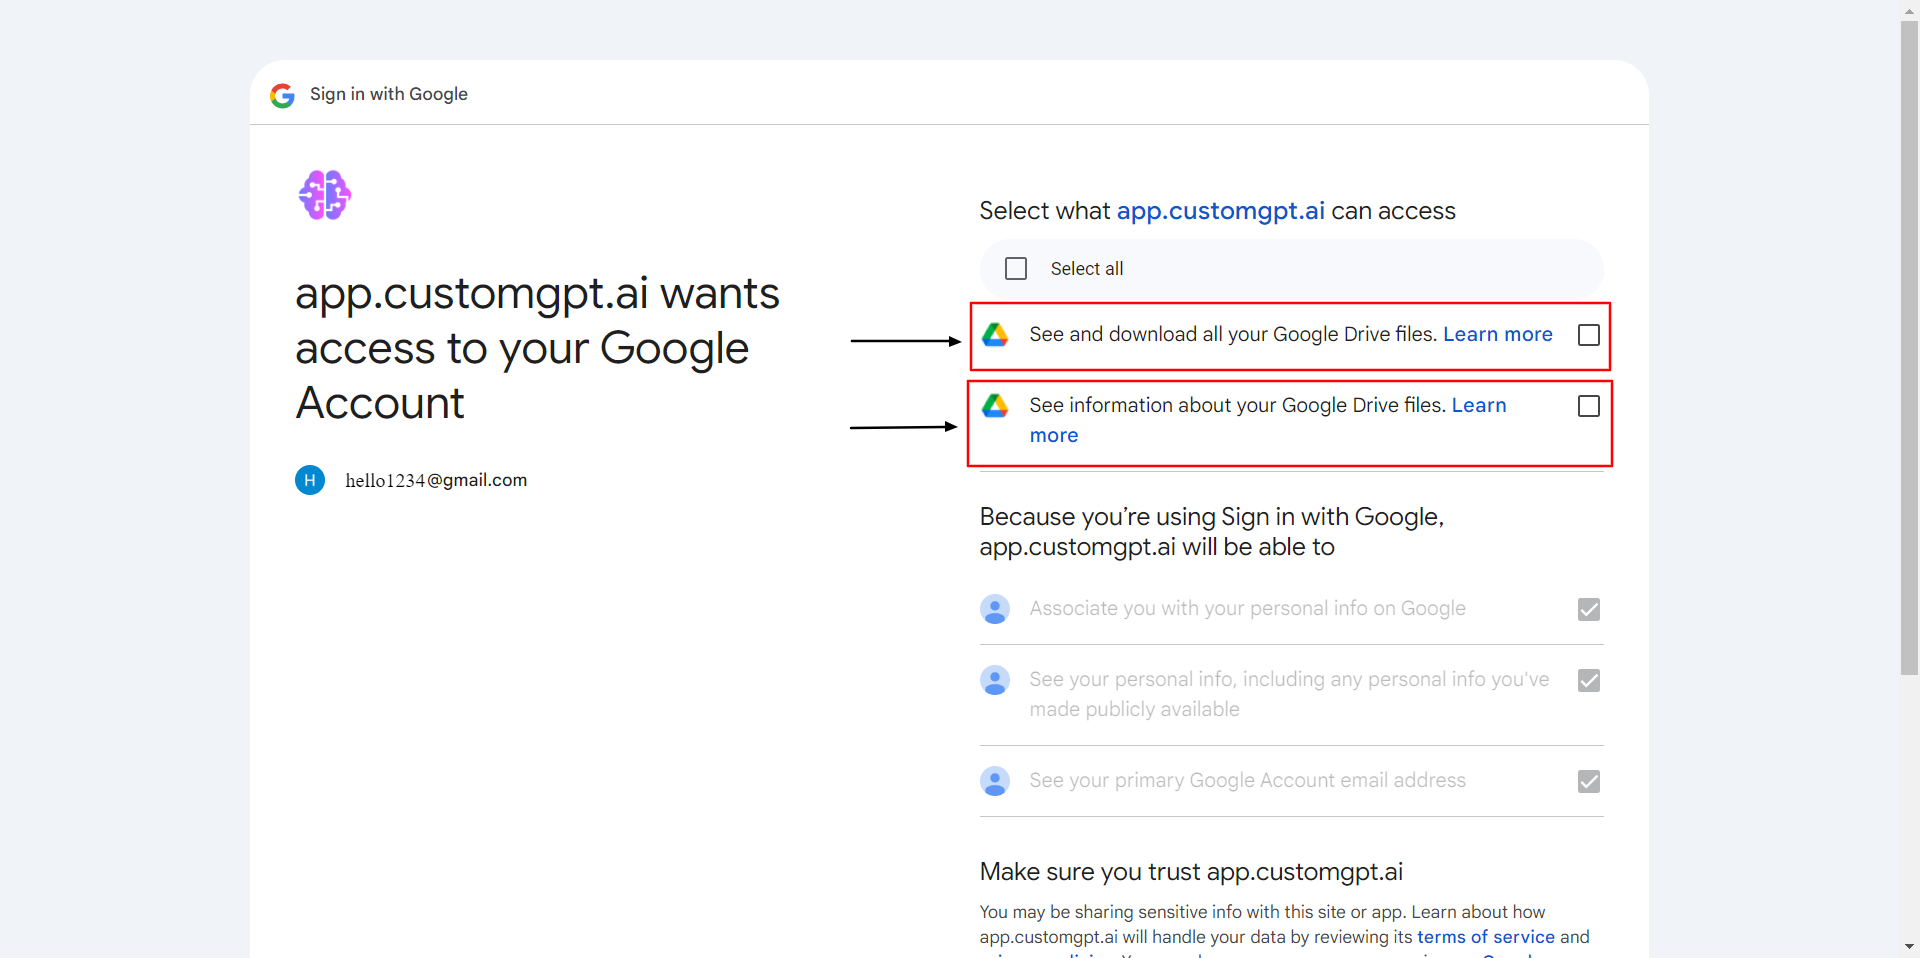
- Sign in with your Google account.
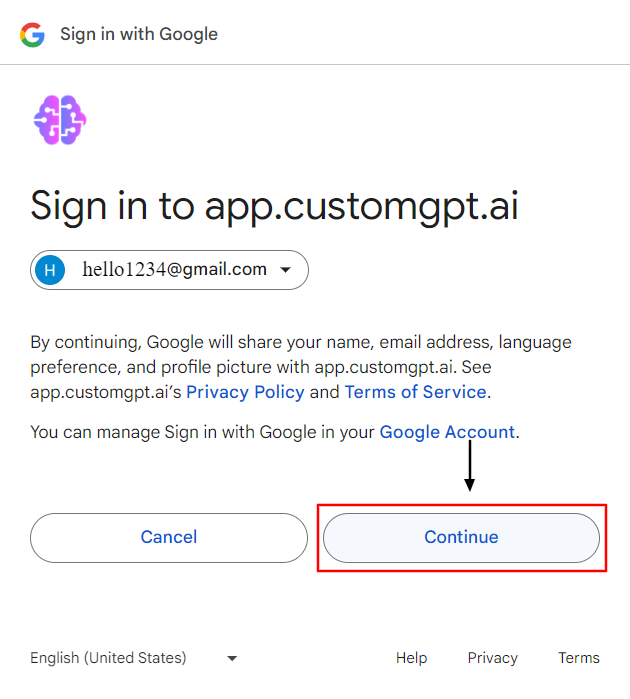
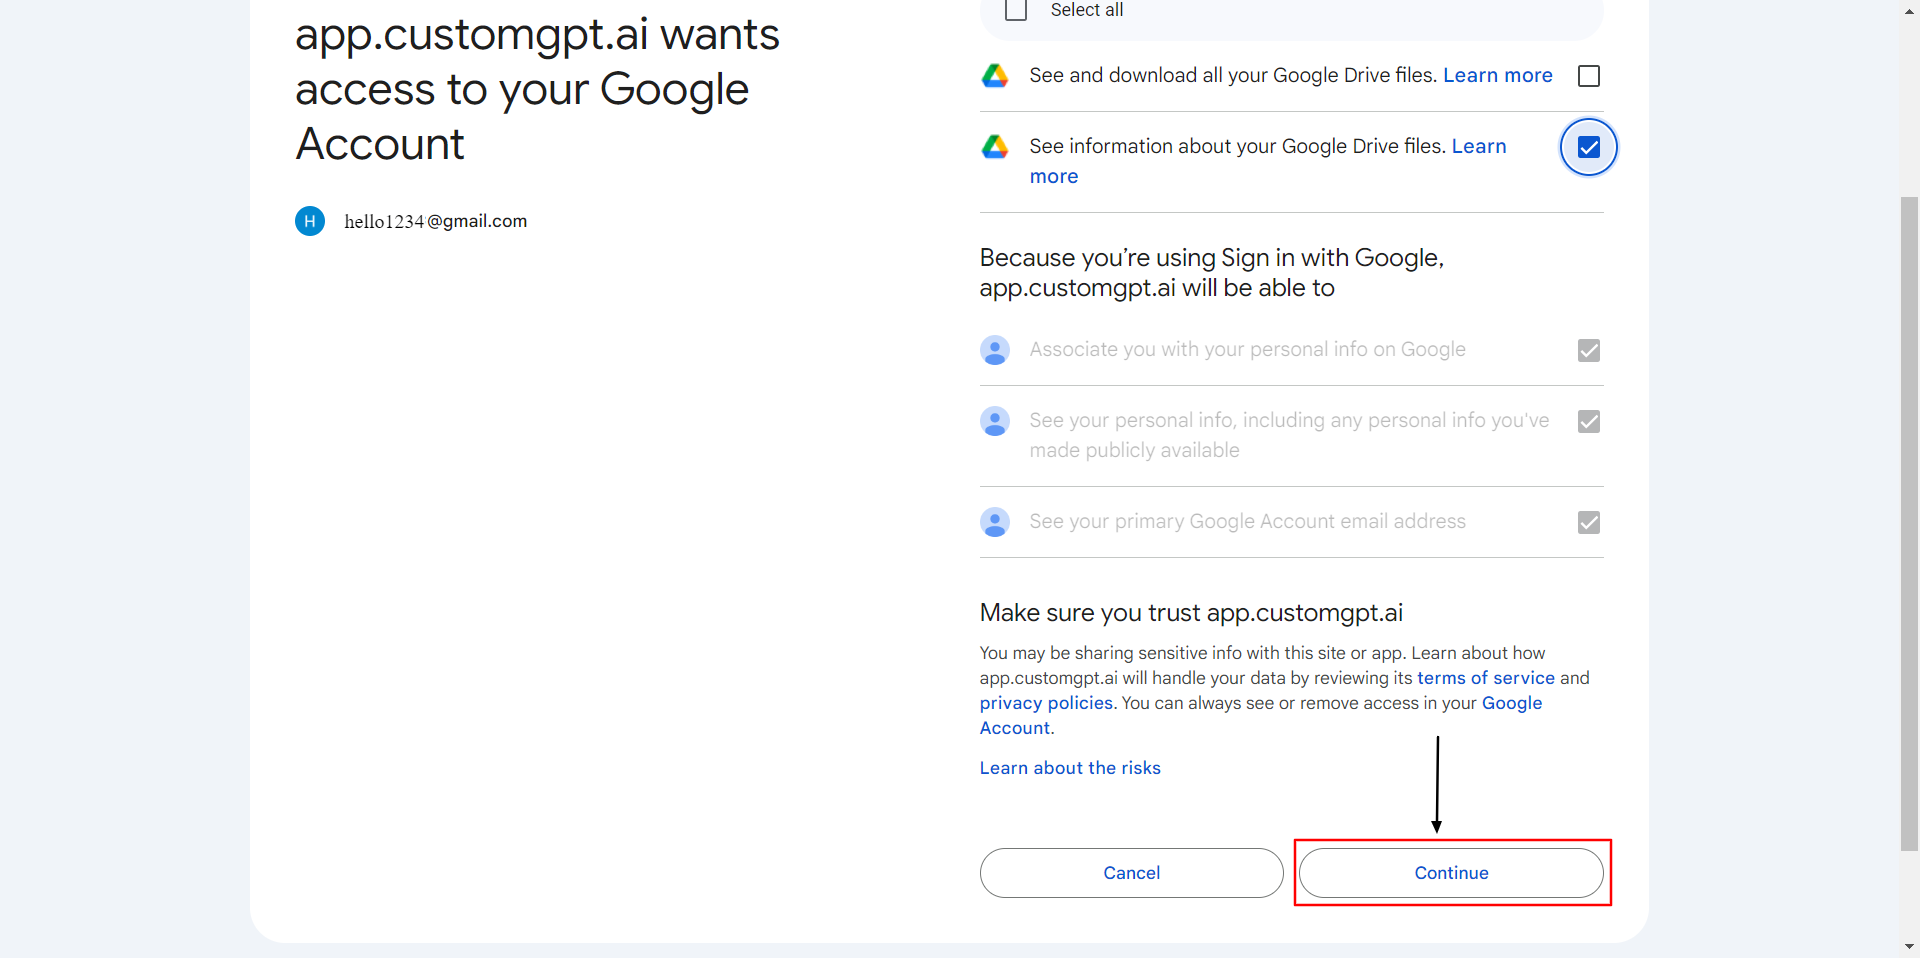
- Click Continue.
- Review the access permissions.
- Click Allow to authorize CustomGPT to access your files.
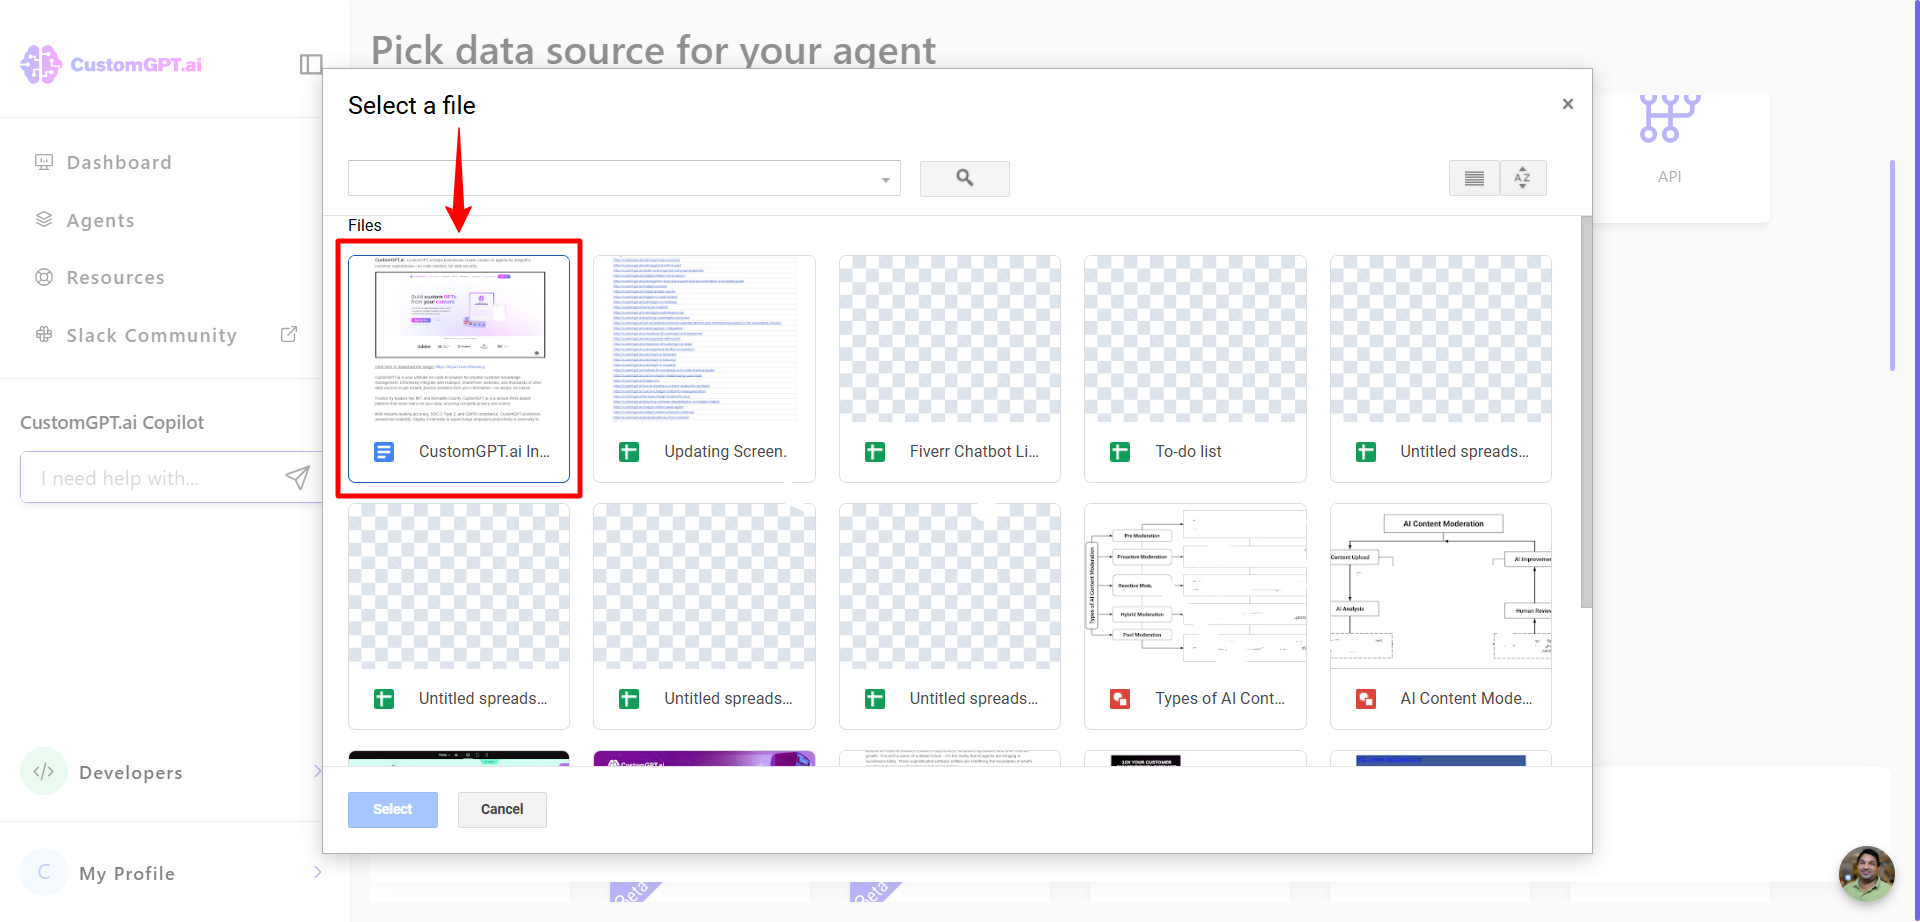
- Browse your Google Drive and select the folders or files you want your agent to use.
Note:When you select a folder, CustomGPT will also process its subfolders — up to five levels deep. If you require syncing deeper than five levels, please contact our customer support team.
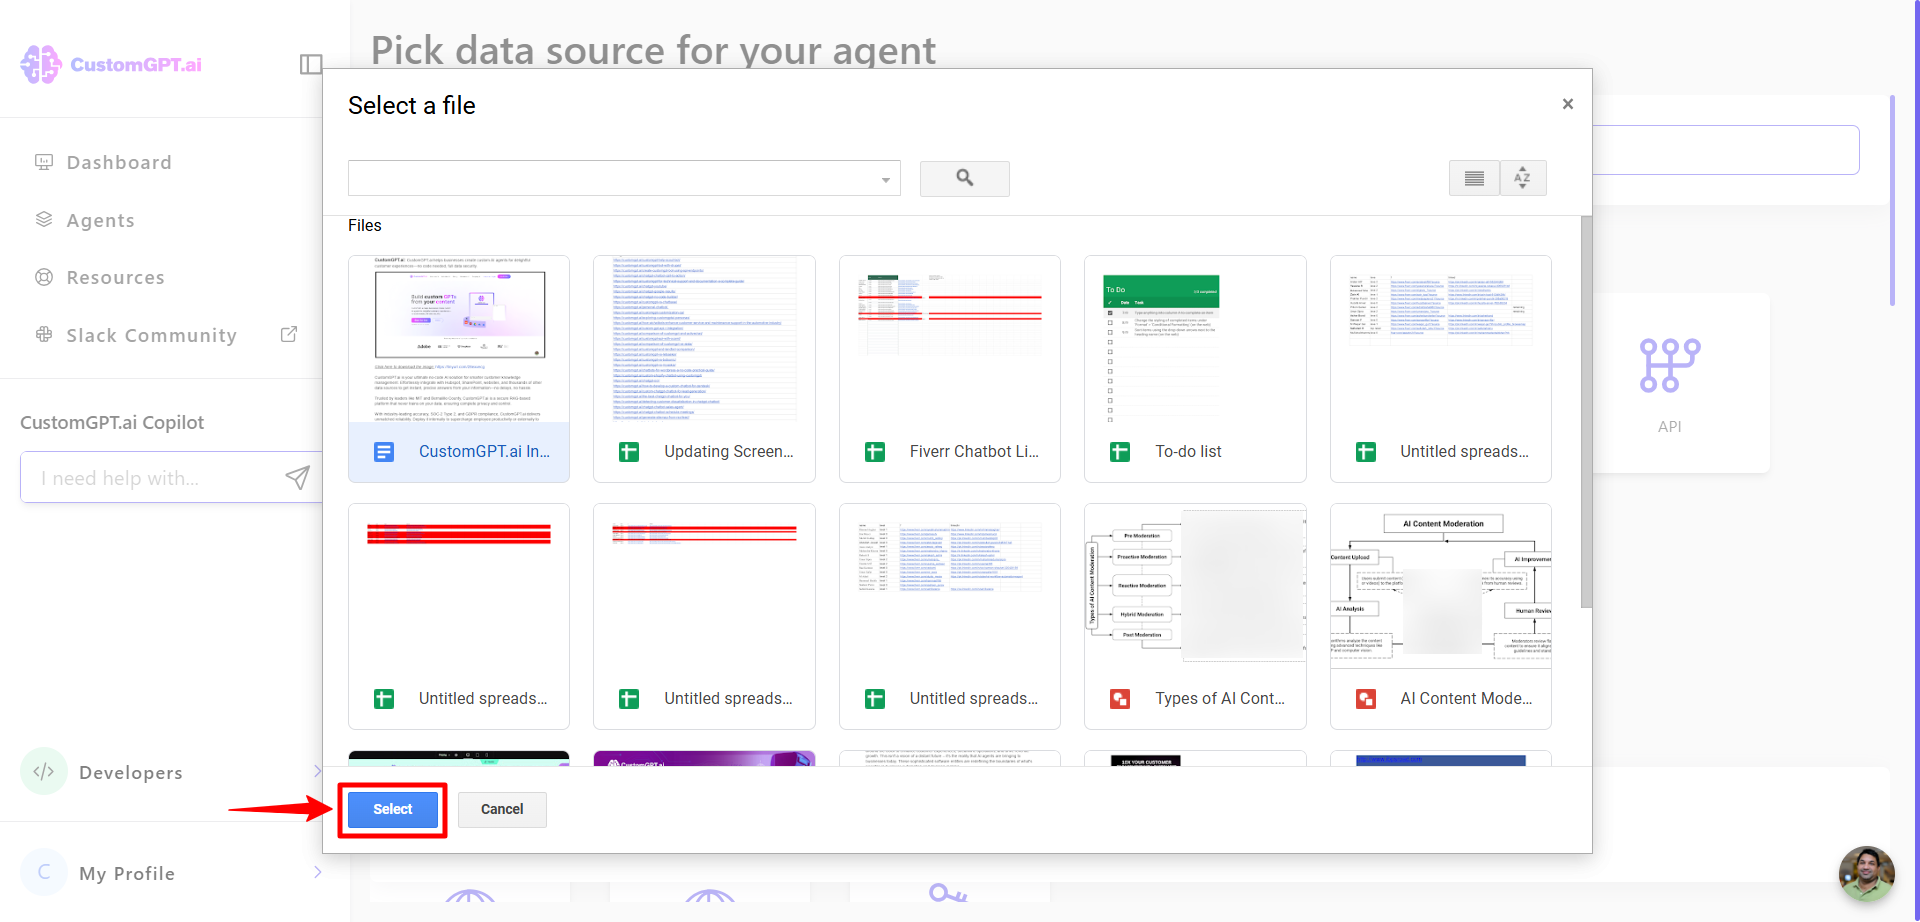
- Click Select to confirm your file choices. Our system will process all selected files and all files in the selected folders. However, files in subfolders of a selected folder will not be processed unless they are explicitly selected.
Notes:Our system accepts files of up to 500MB. Files exceeding this size will not be processed.
The following file types are currently unsupported: Google Forms, Google My Maps, and Google Sites.
If you connect Google Sheet which has multiple tabs, all of the tabs will be synced.
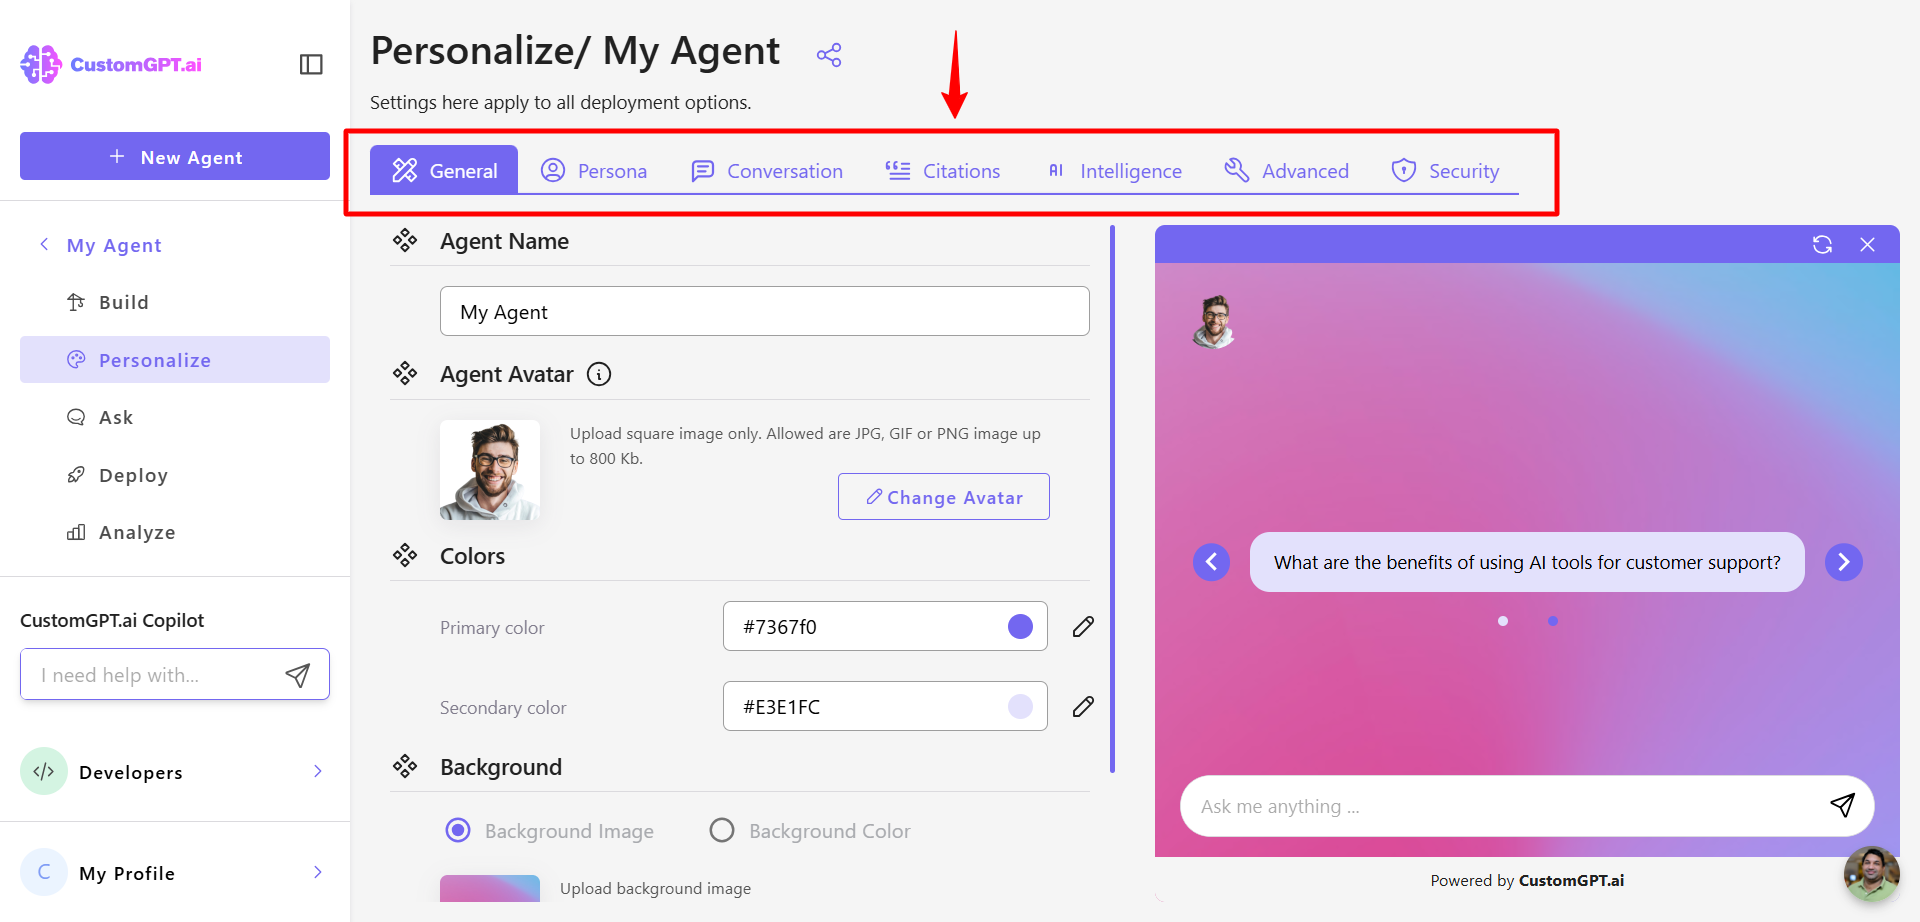
- Enter a name for your agent and customize its appearance by selecting layout, colors, and fonts.
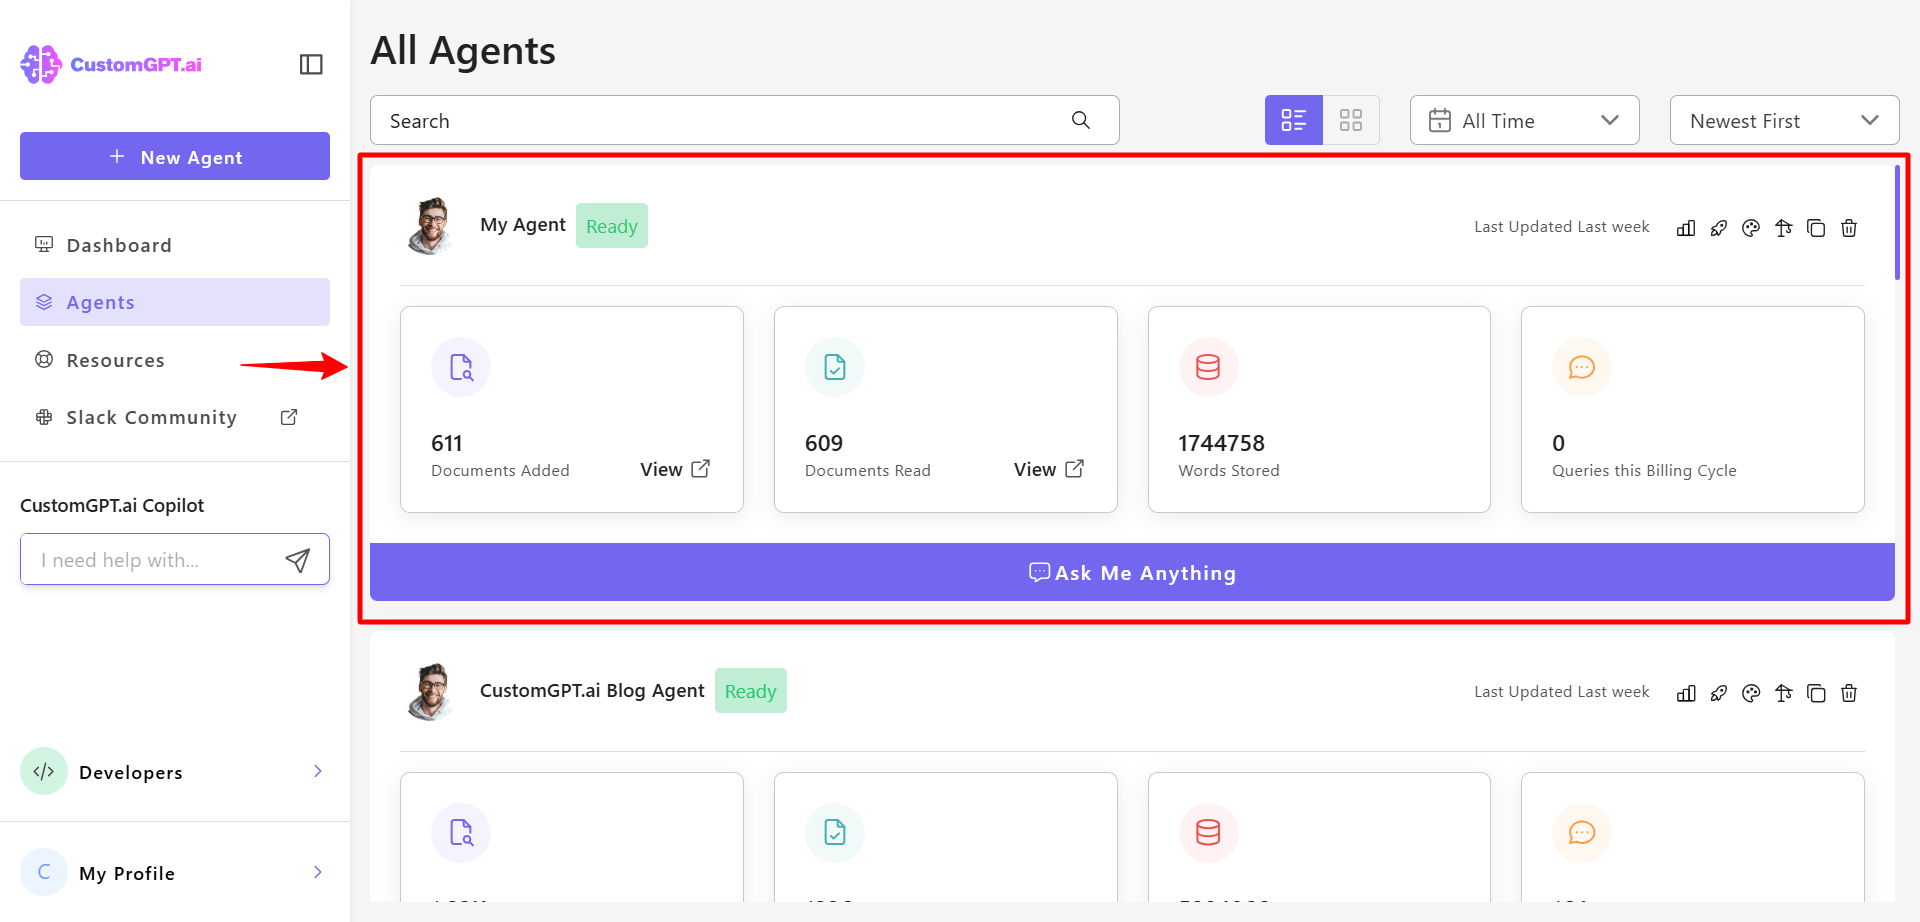
- Your agent will appear in the My Agents section, where you can manage, edit, and deploy it.
Updated 8 months ago
Did this page help you?