Connect to any website
Follow this step-by-step guide to complete the setup and ensure your tools work together seamlessly.
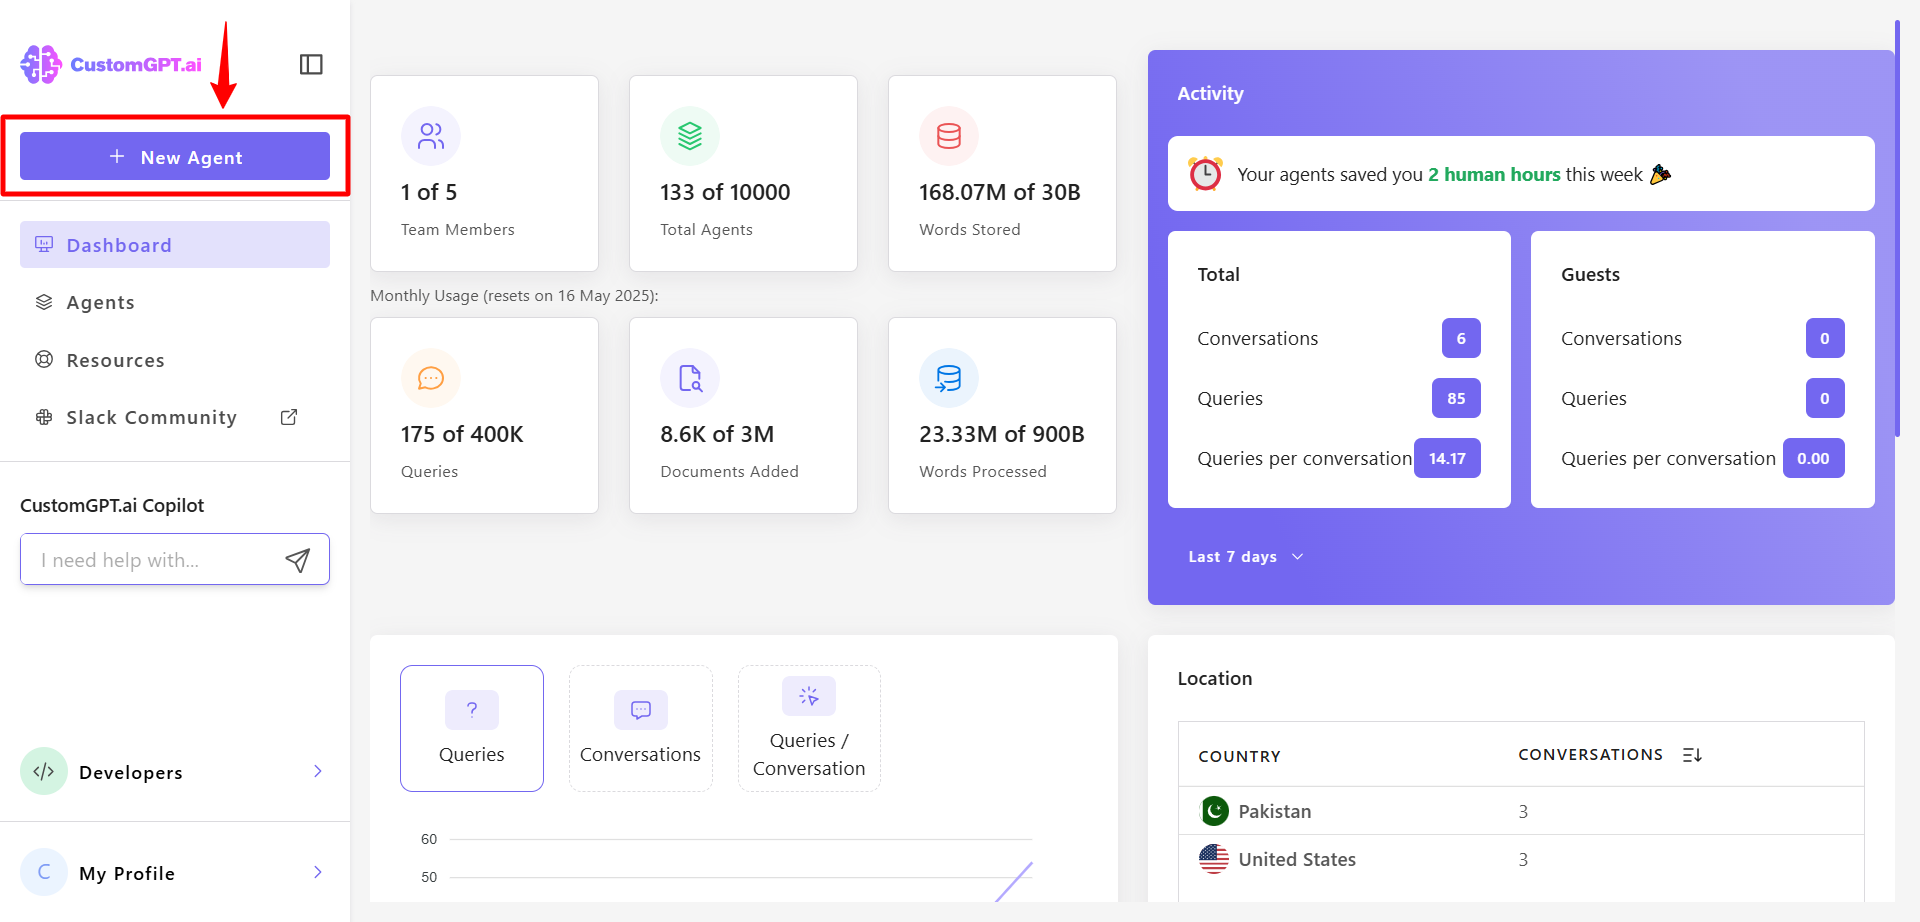
Create a new agent
- On your dashboard, click New Agent.
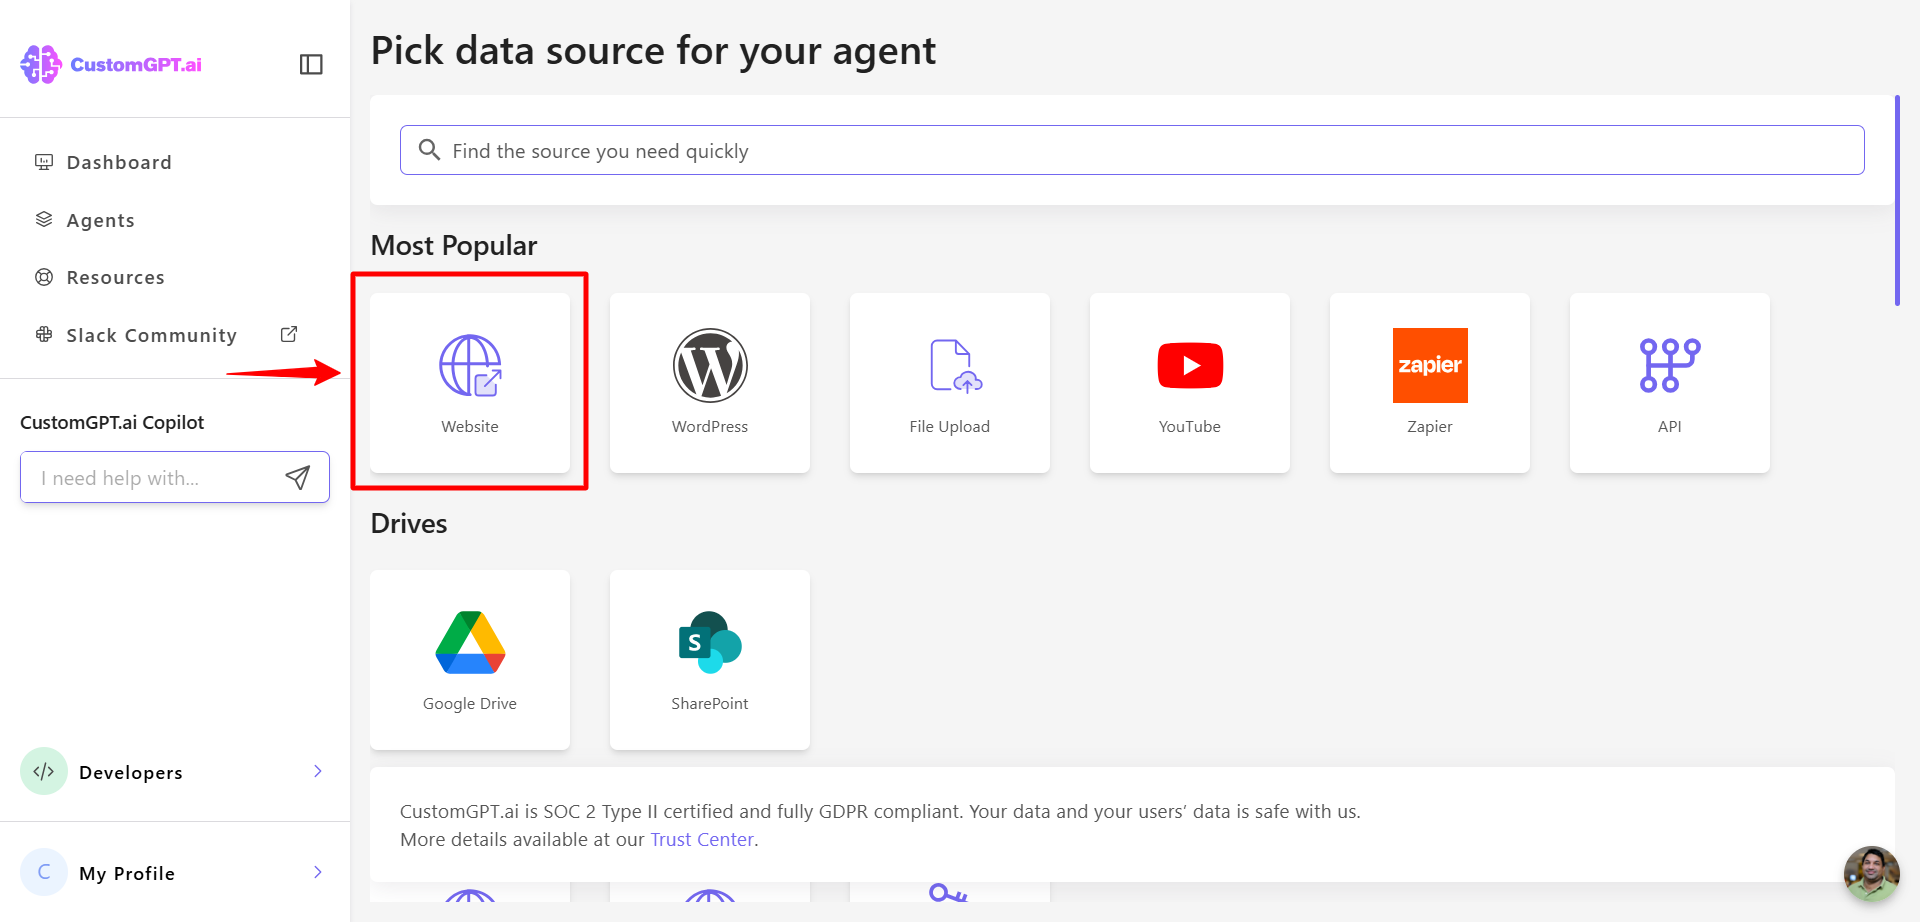
- Select Website.
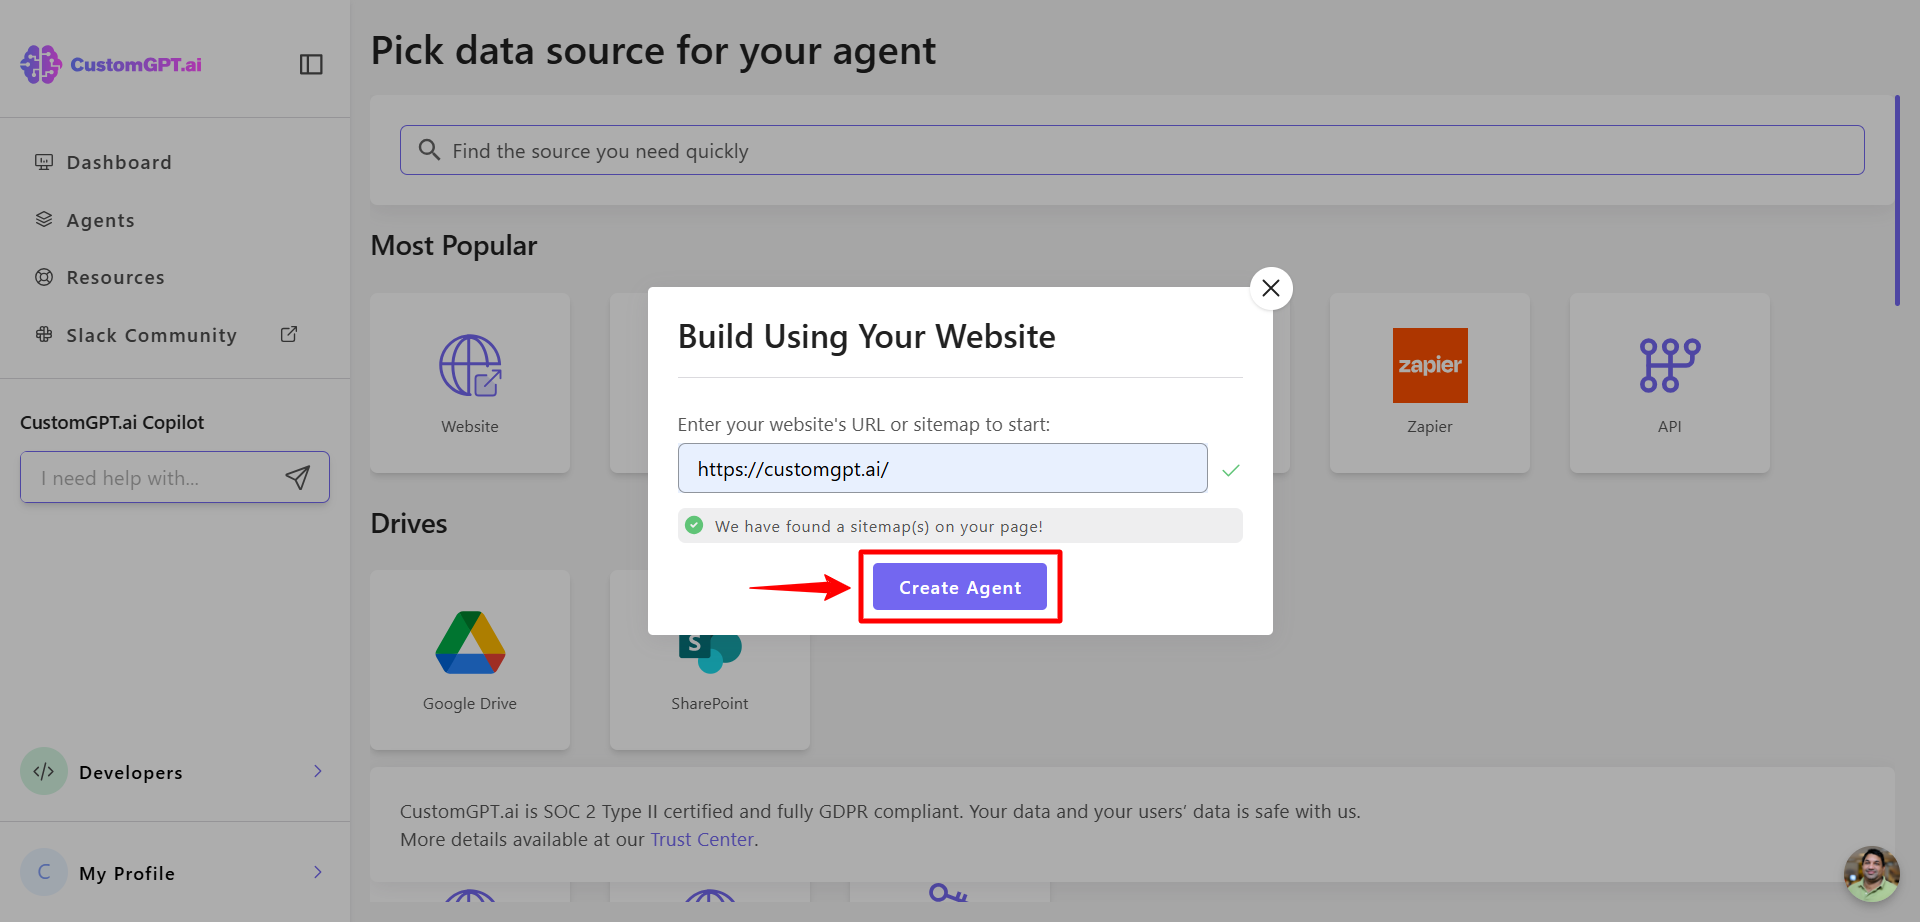
- Enter a URL or sitemap in the field and CustomGPT.ai will crawl all accessible pages on that site.

- Click Create Agent to start building your agent using the detected pages.
Customize your agent’s appearance
- On the Personalize page, adjust the look and feel to match your brand.
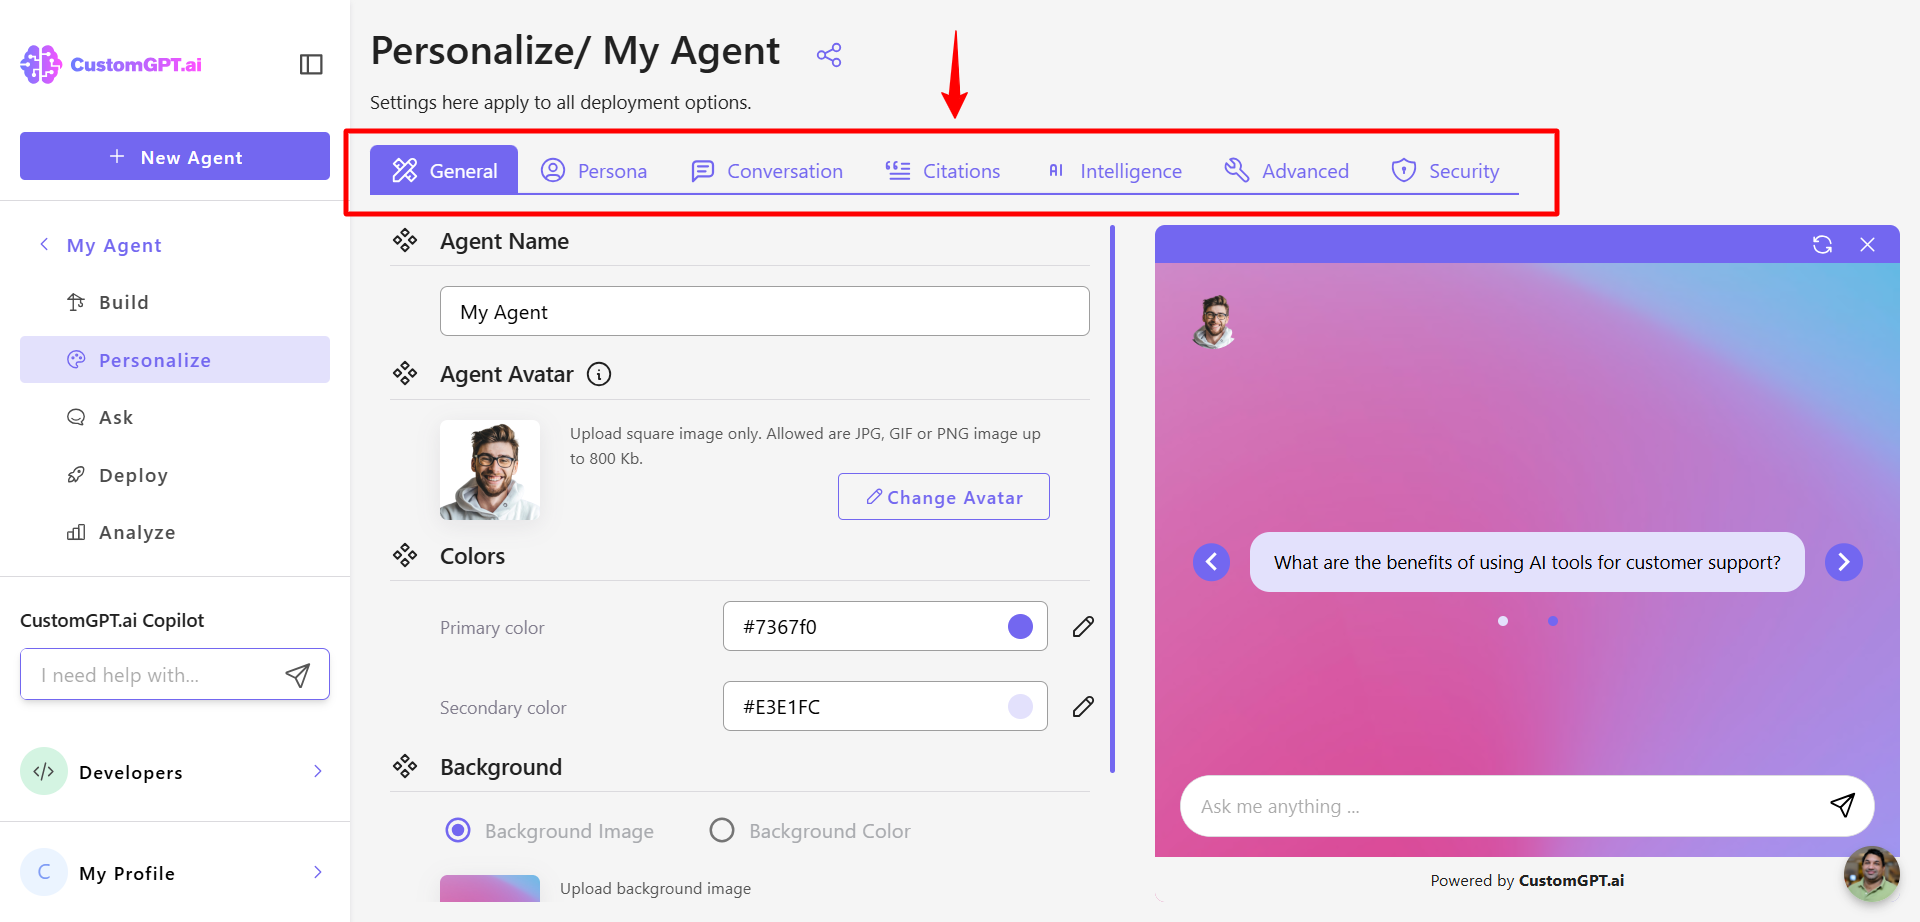
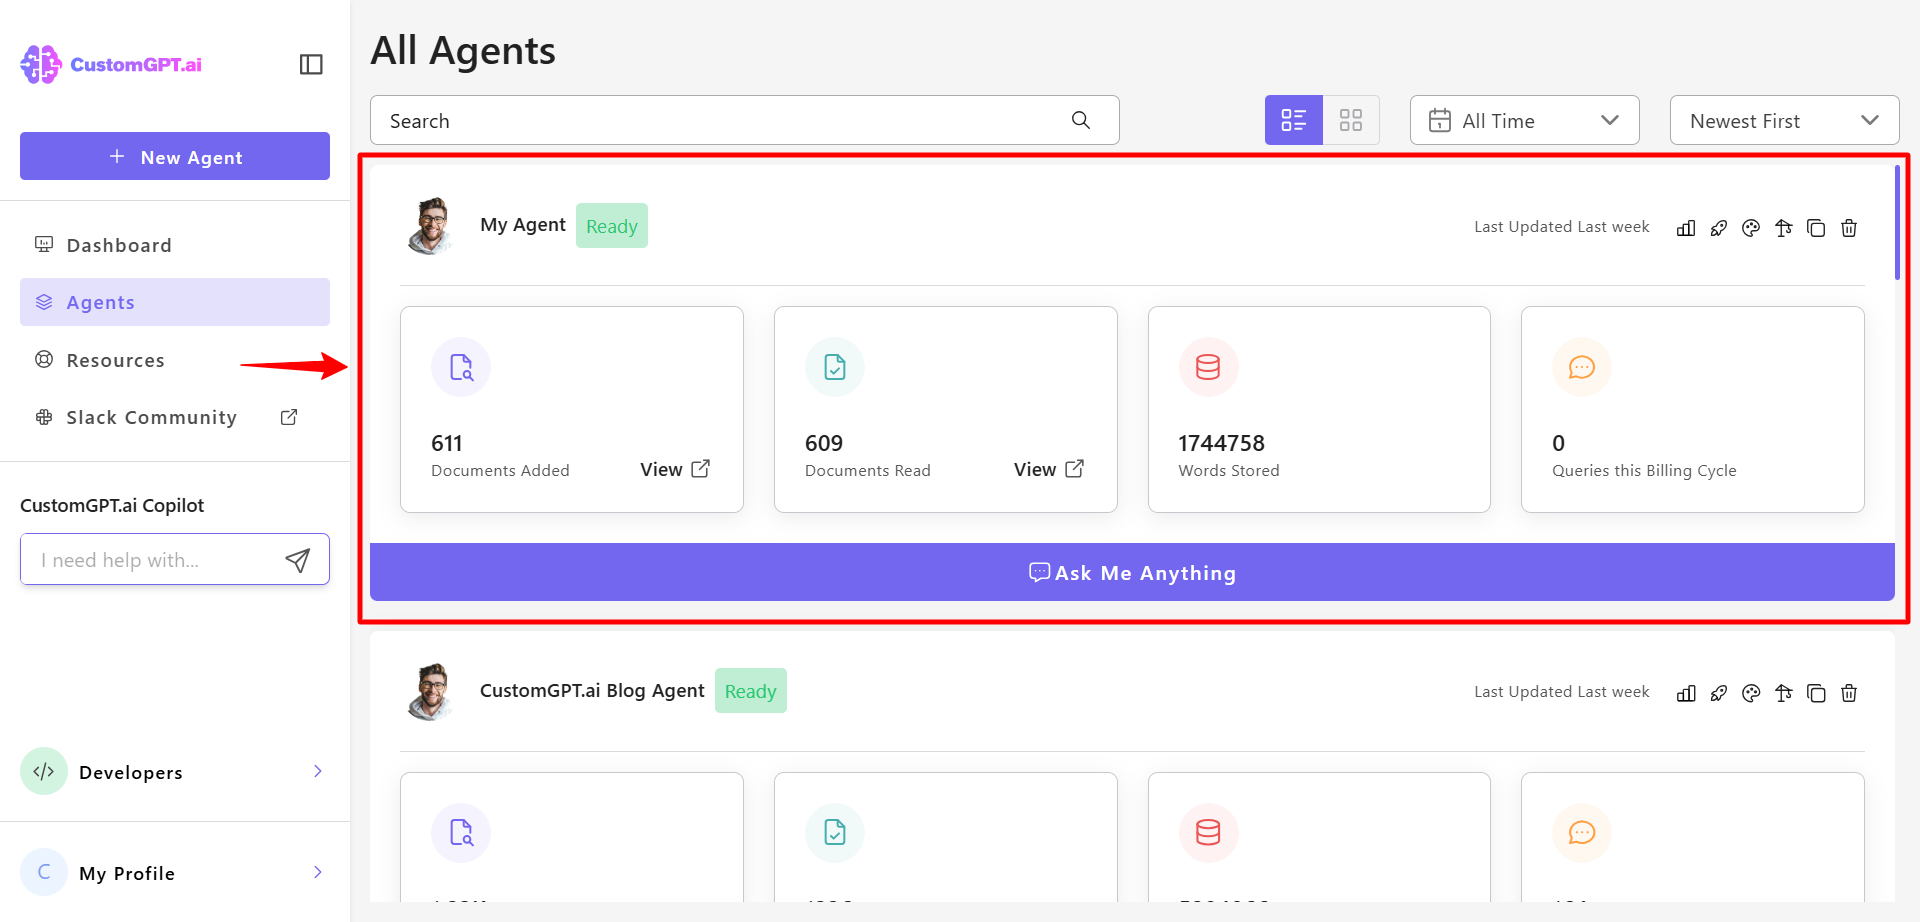
- Once you've completed these steps, your agent will appear in your agent settings.
Updated about 1 year ago
Did this page help you?