Integrate SharePoint documents
This step-by-step guide explains how to connect your SharePoint account to CustomGPT.ai to import and use documents stored in your SharePoint folders.
Note:SharePoint Documents integration is available on Premium and Enterprise plans only.
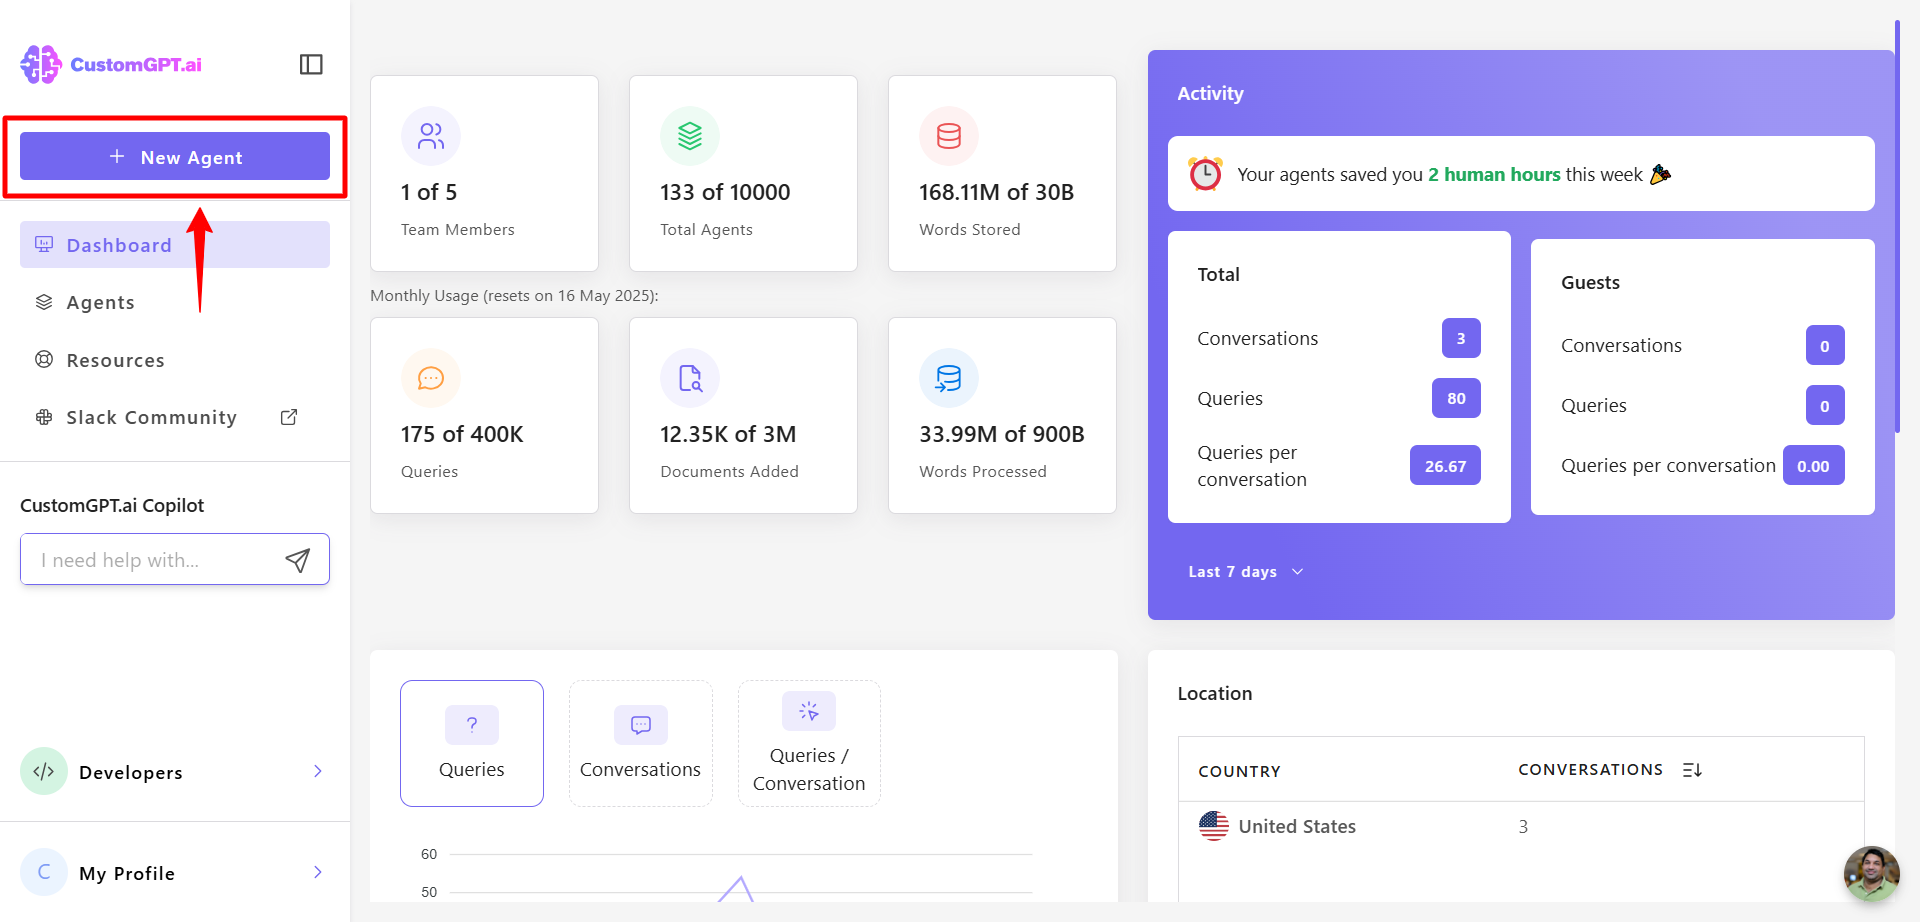
- Click New Agent to begin setting up your AI agent.
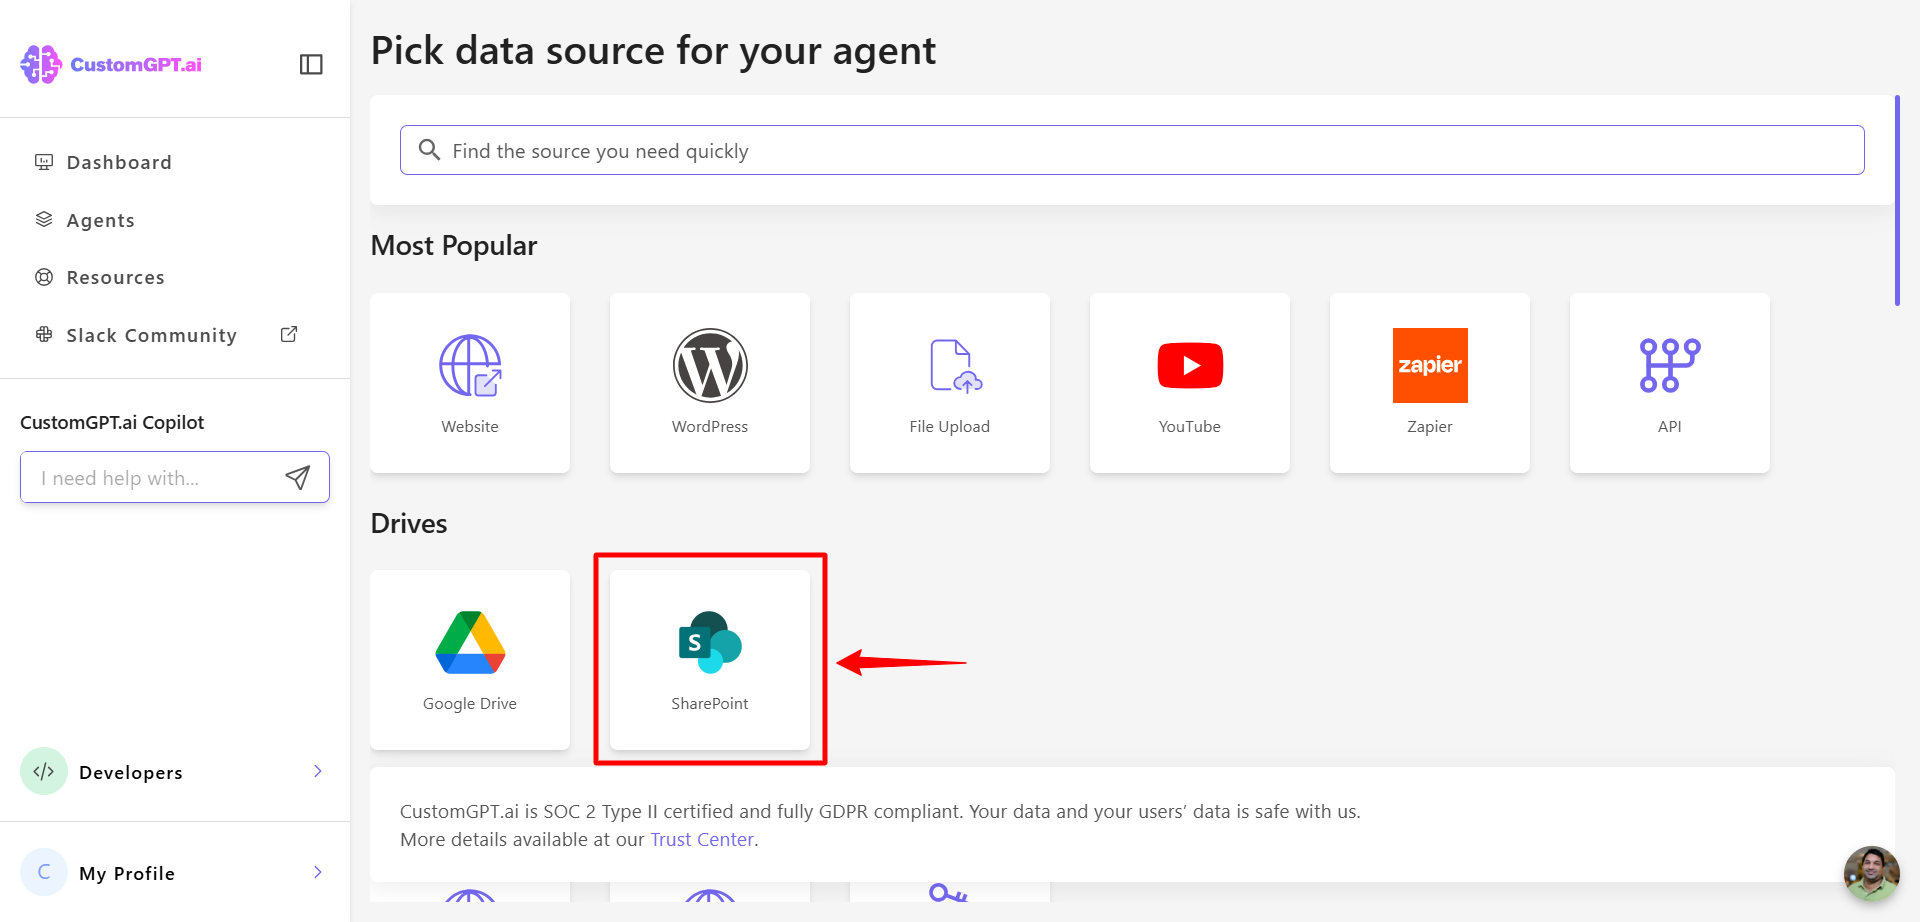
- Under the Drives section, select SharePoint to begin the integration.
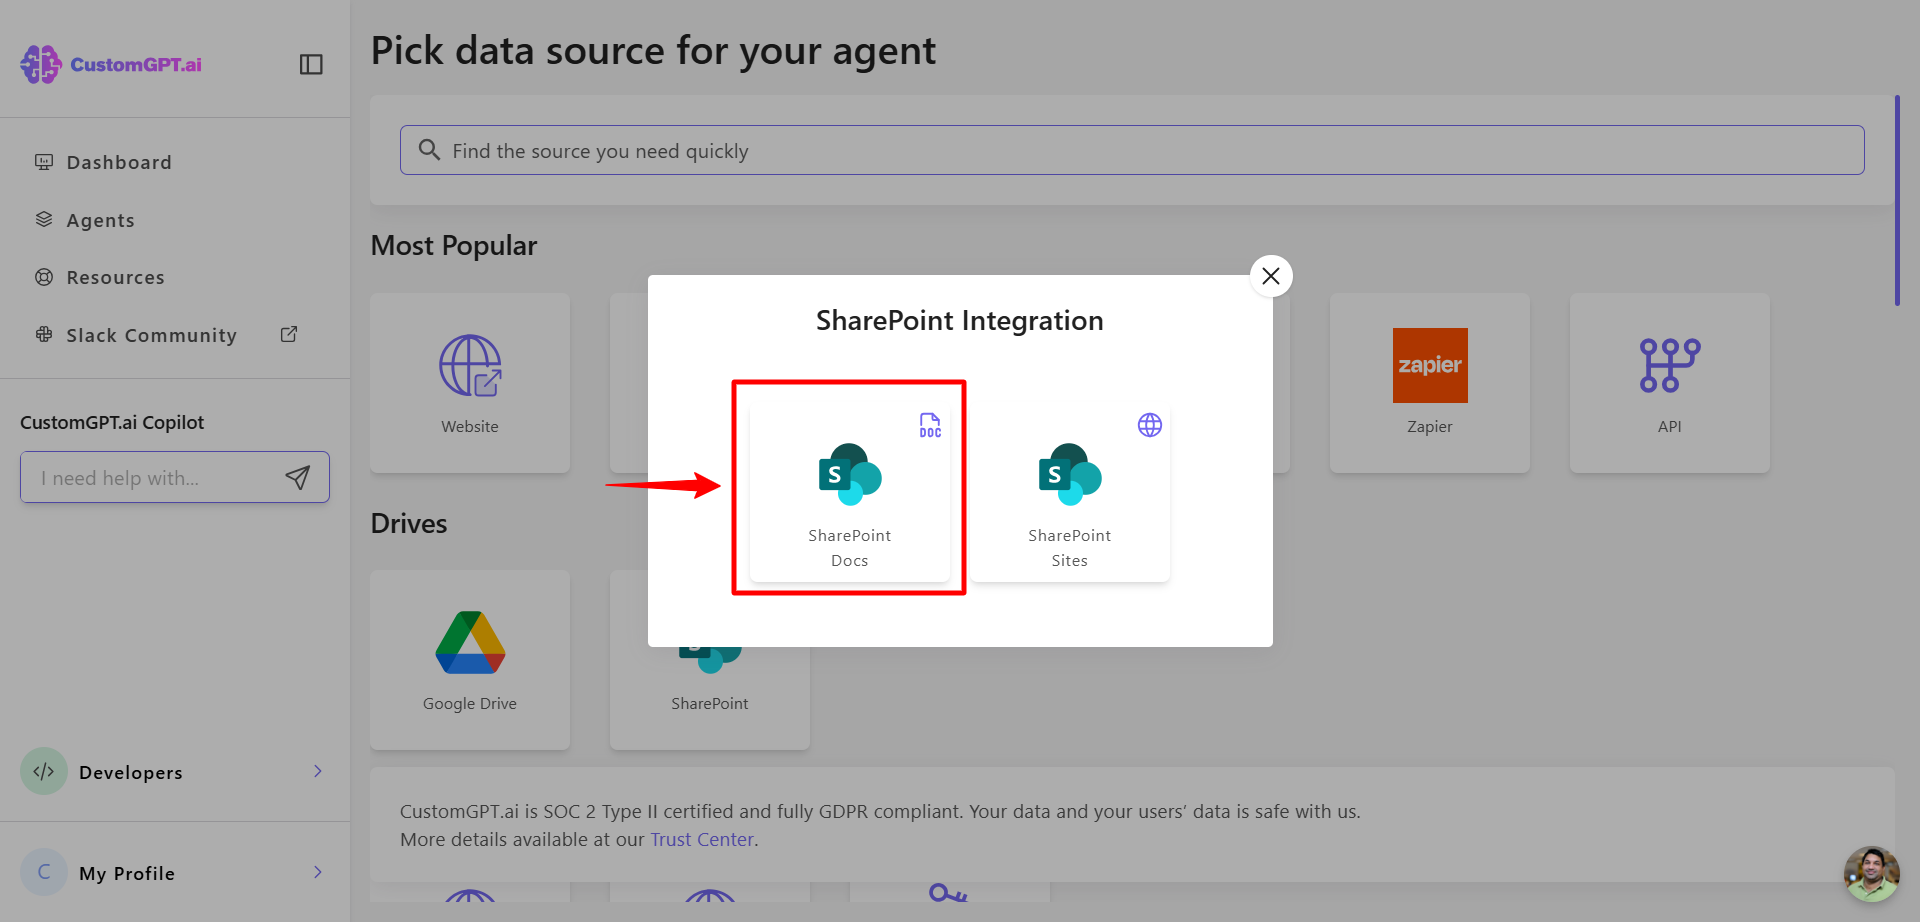
- Click SharePoint Documents to access your file library.
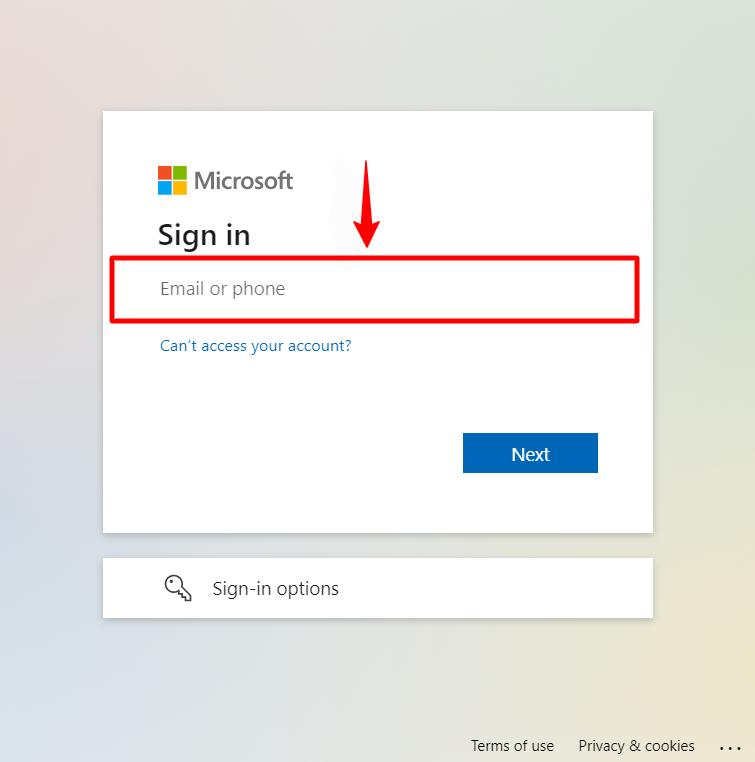
- Sign in using the email and password associated with your SharePoint account.
- When prompted, grant the following permissions to the CustomGPT.ai app:
Files.Read.All (Delegated)Sites.Read.All (Delegated)offline_access (Delegated)
- Select the site on your SharePoint account you want to integrate
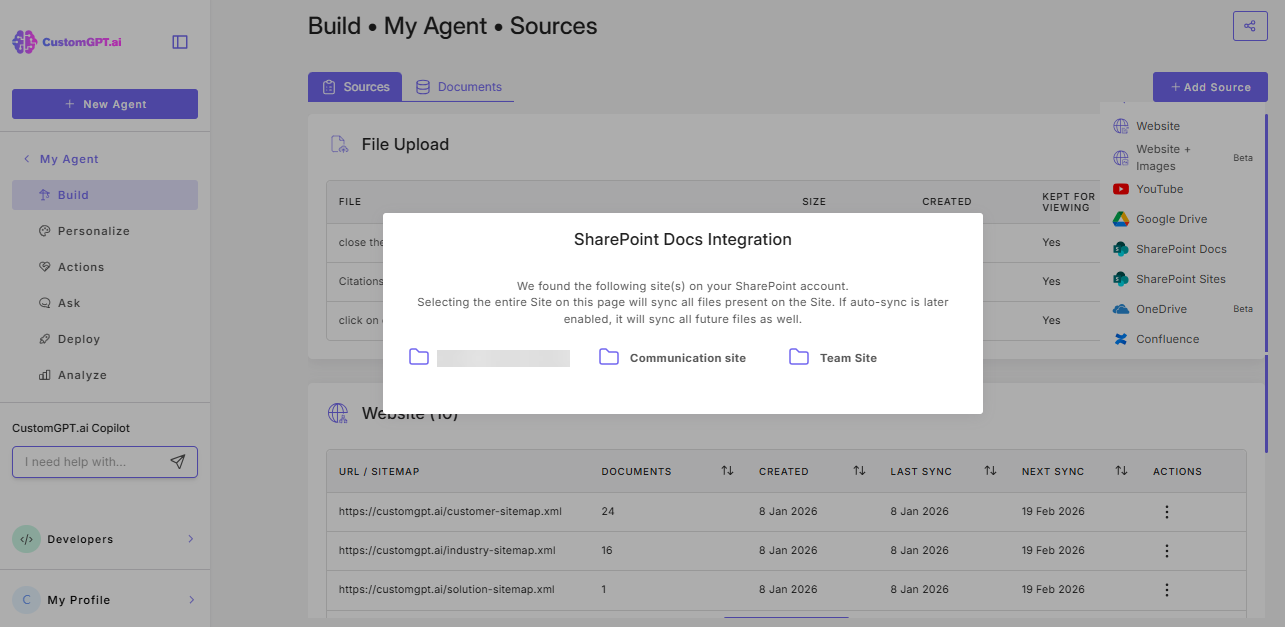
Note:Files larger than 450MB cannot be processed and will be skipped.
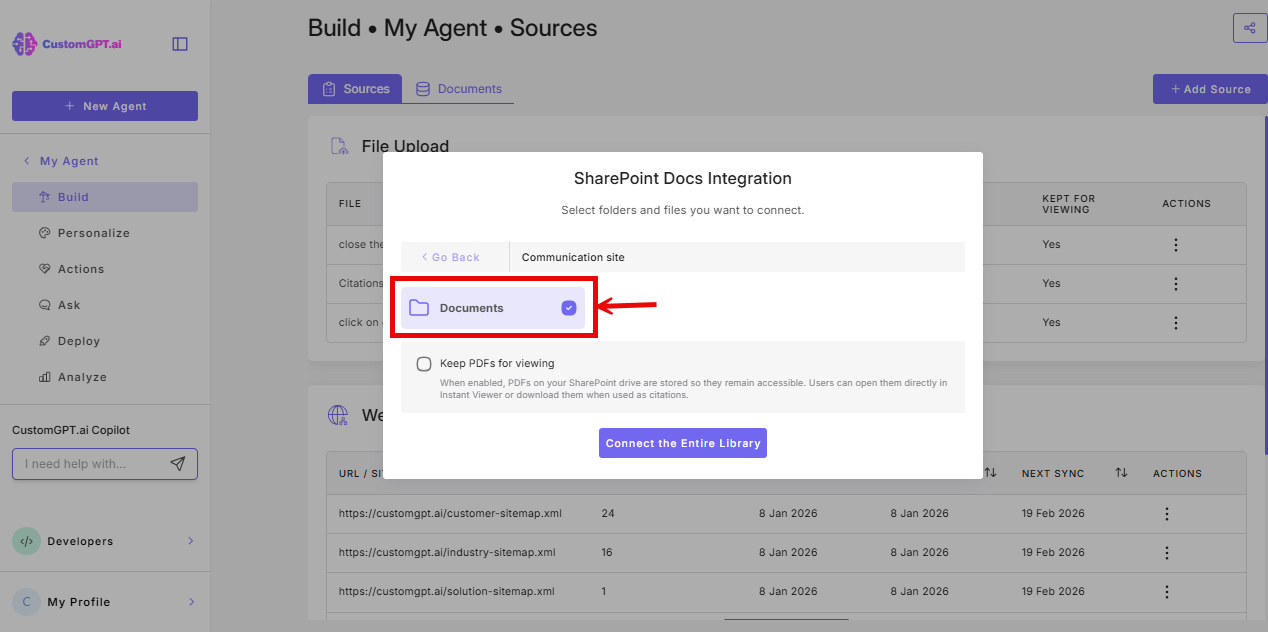
- Select the folder or file you want to integrate
- A settings window will appear. You will see an option called Keep PDFs for viewing. This is turned off by default. Select it if you want your PDFs to be saved so end-users can view or download them later, even if the original file is moved or restricted on SharePoint..
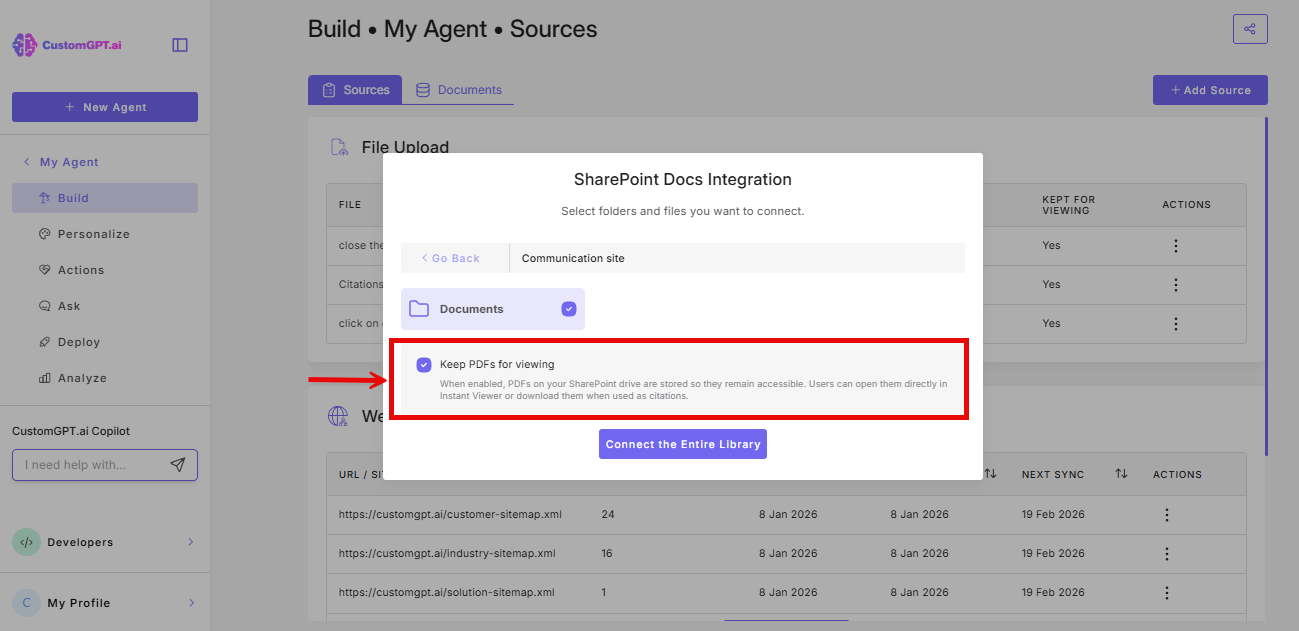
Important: This setting only saves PDFs that are added after you turn it on. PDFs already in your agent will not be affected.
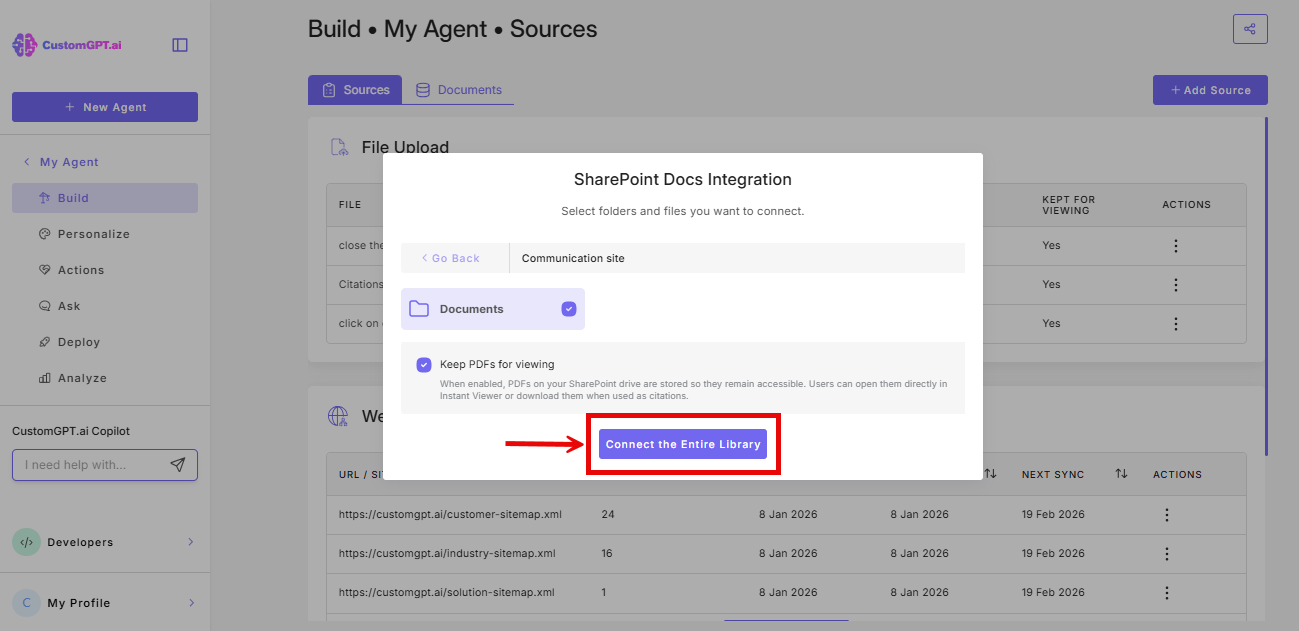
- Click on Connect the Entire Library to confirm your folder
Note:This integration supports only documents stored on SharePoint sites. To connect SharePoint sites, please refer to the guide on "How to Connect CustomGPT.ai to SharePoint Sites".
Updated 5 months ago
Did this page help you?