Enable Zendesk auto-sync
This step-by-step guide shows you how to enable the Zendesk Auto-Sync feature in CustomGPT, ensuring your data is automatically updated and synchronized in real-time.
Note:This feature is available on our Enterprise plans. If you're interested in enabling it, please contact our sales team.
- Click the three dots next to your agent’s name, then select Build.

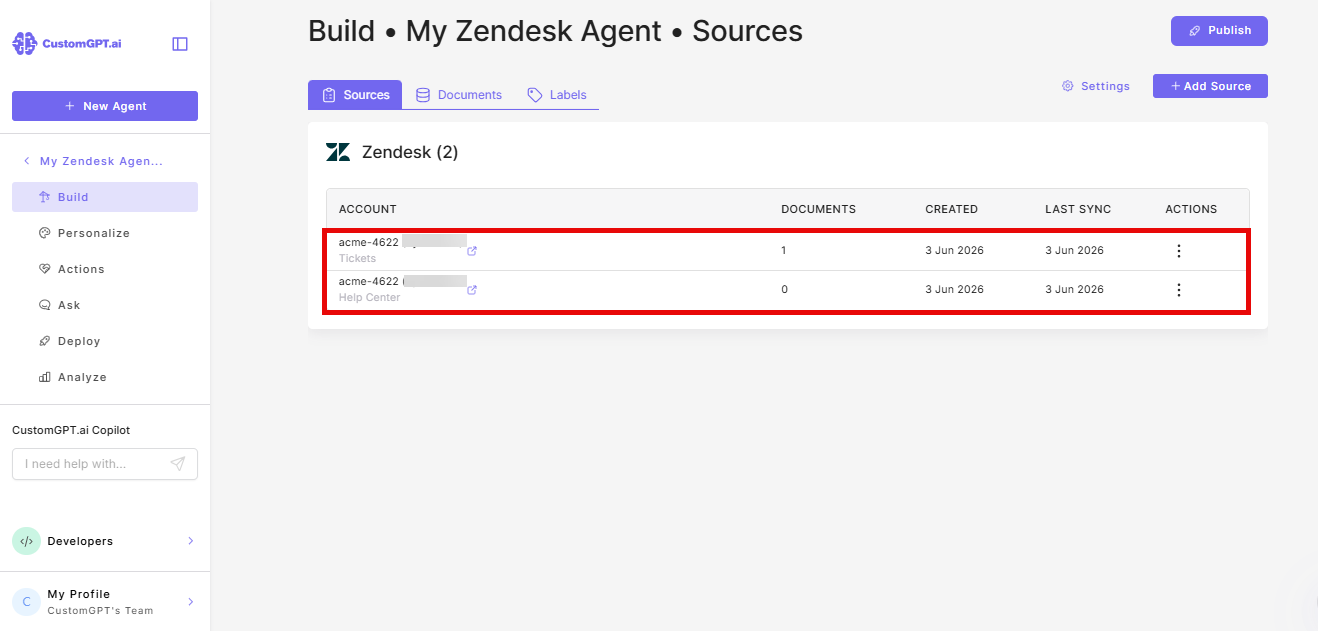
- In the Zendesk section, find the source you want to sync (Knowledge Base or Tickets).
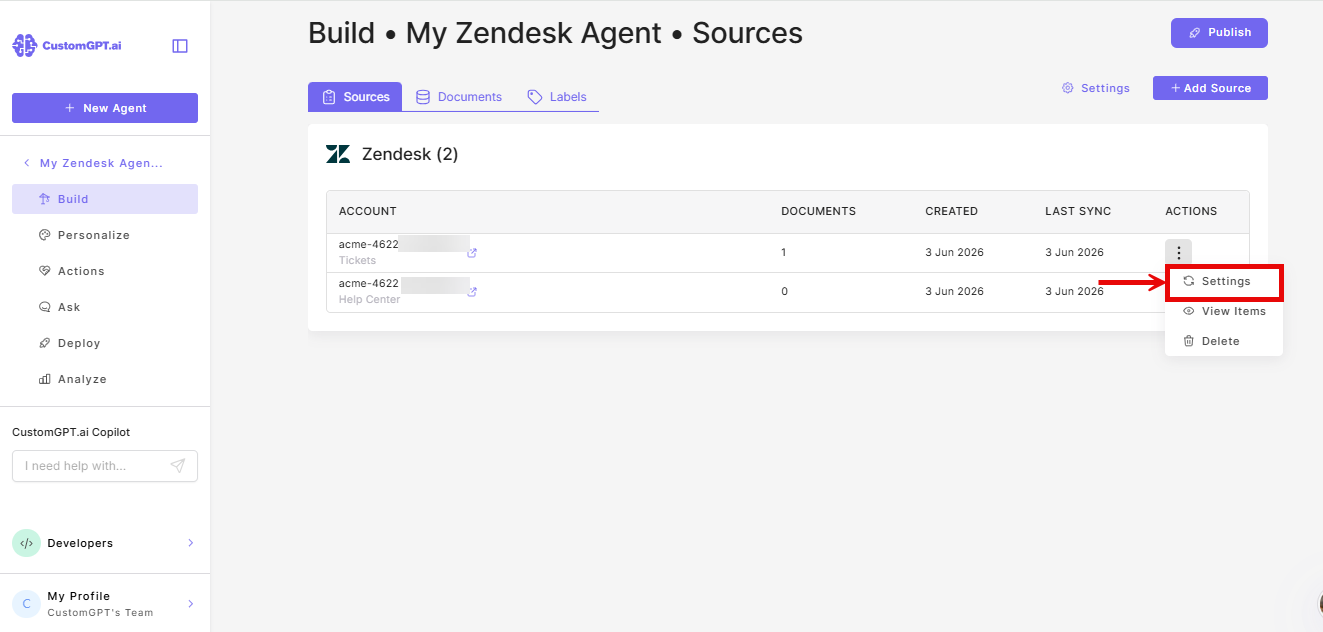
- Click the three-dot menu next to the source and select Settings.
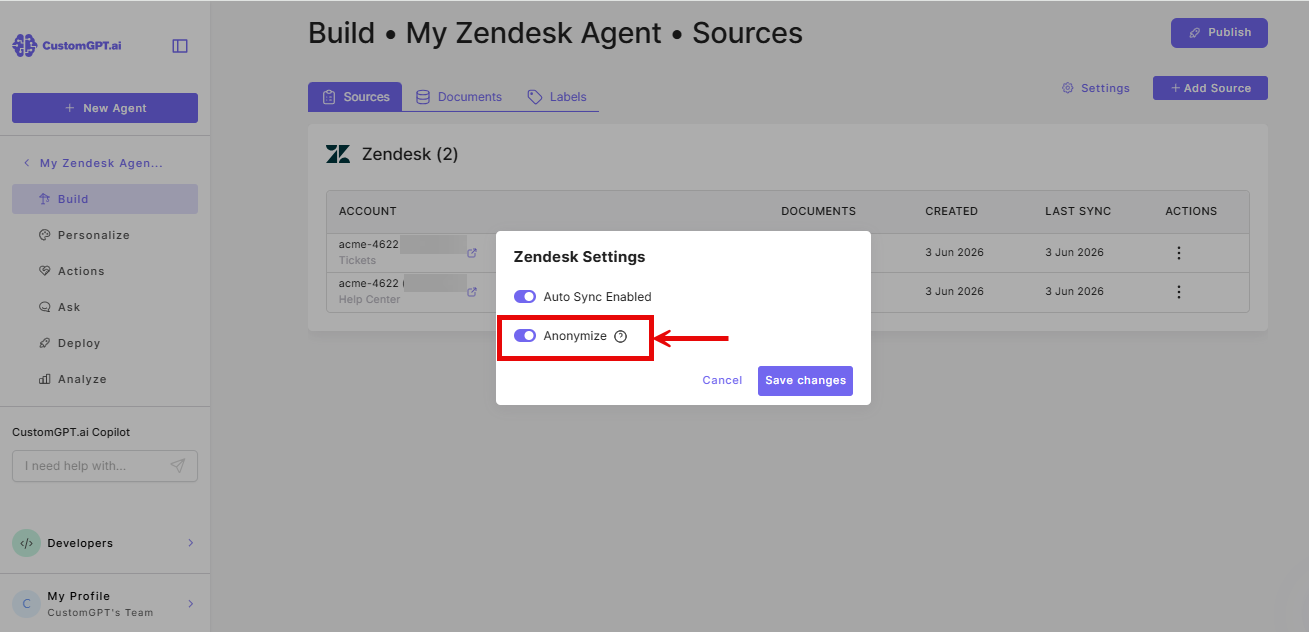
- Toggle Auto Sync to Enabled.

- (Tickets only) Toggle Anonymizer on to remove personal information - names, emails, and IDs - from tickets during each sync.
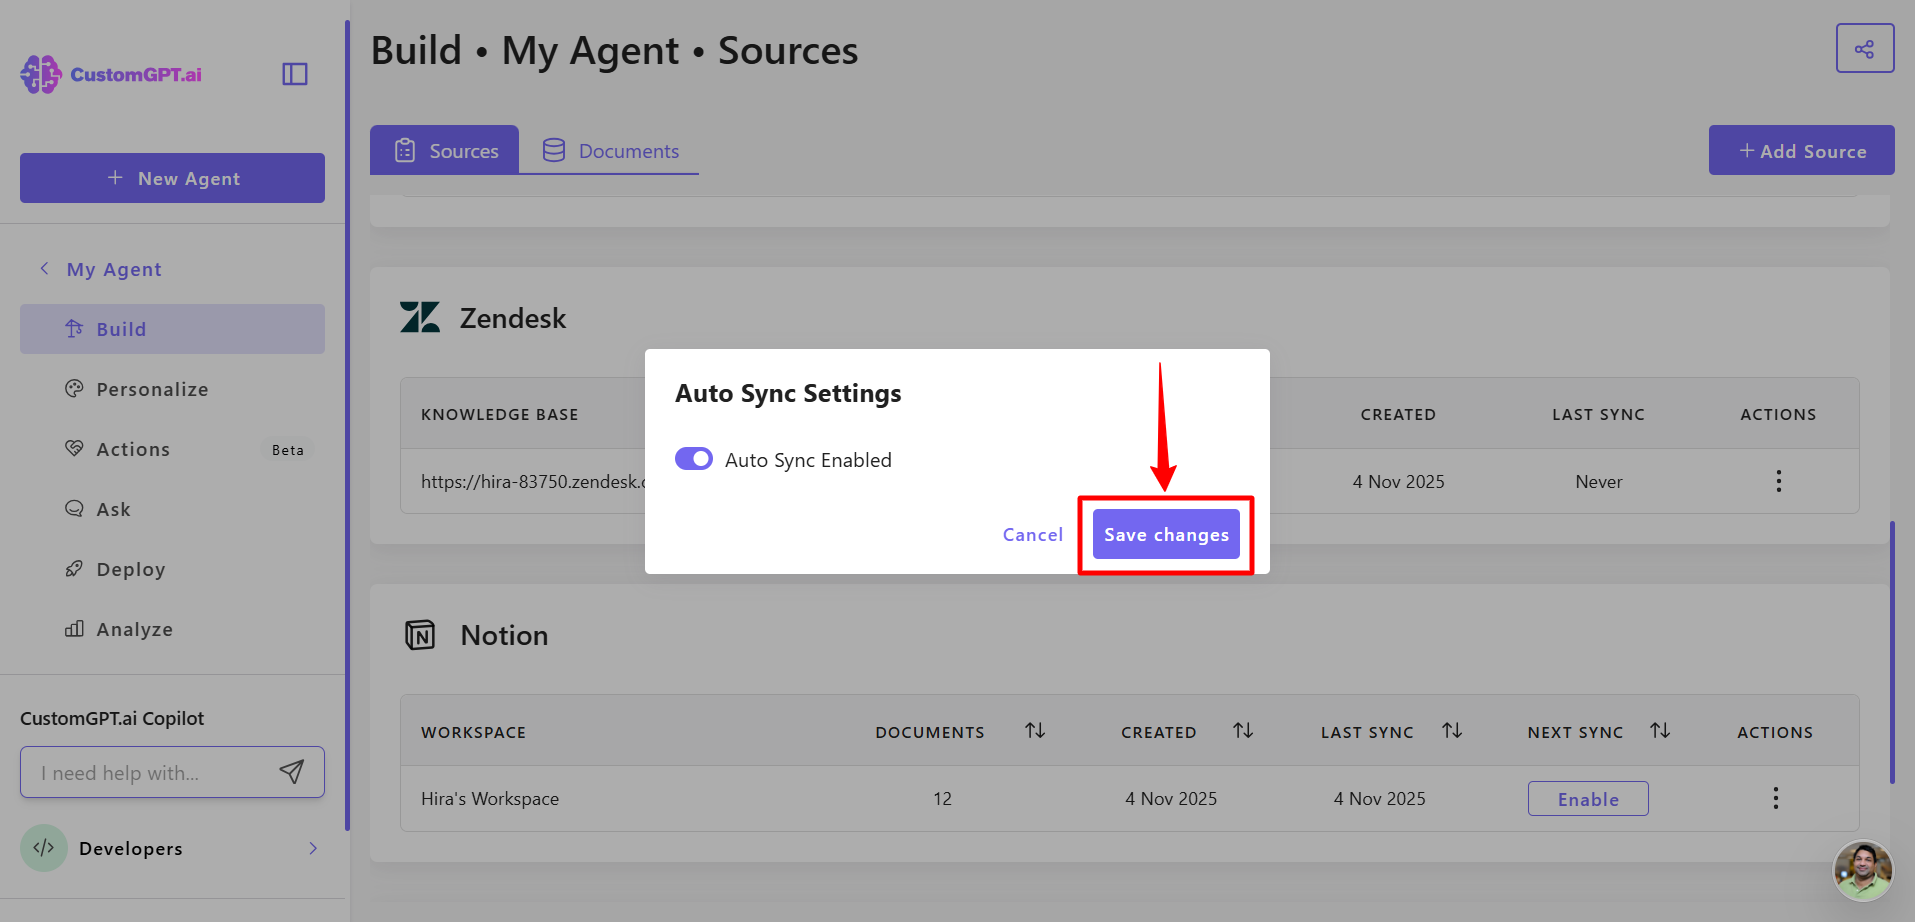
- Click Save Changes to apply your settings.
Related articles
Updated about 2 months ago
Did this page help you?