Change your AI agent title
This guide explains how to update the title of your AI agent to personalize its identity in the chat interface.
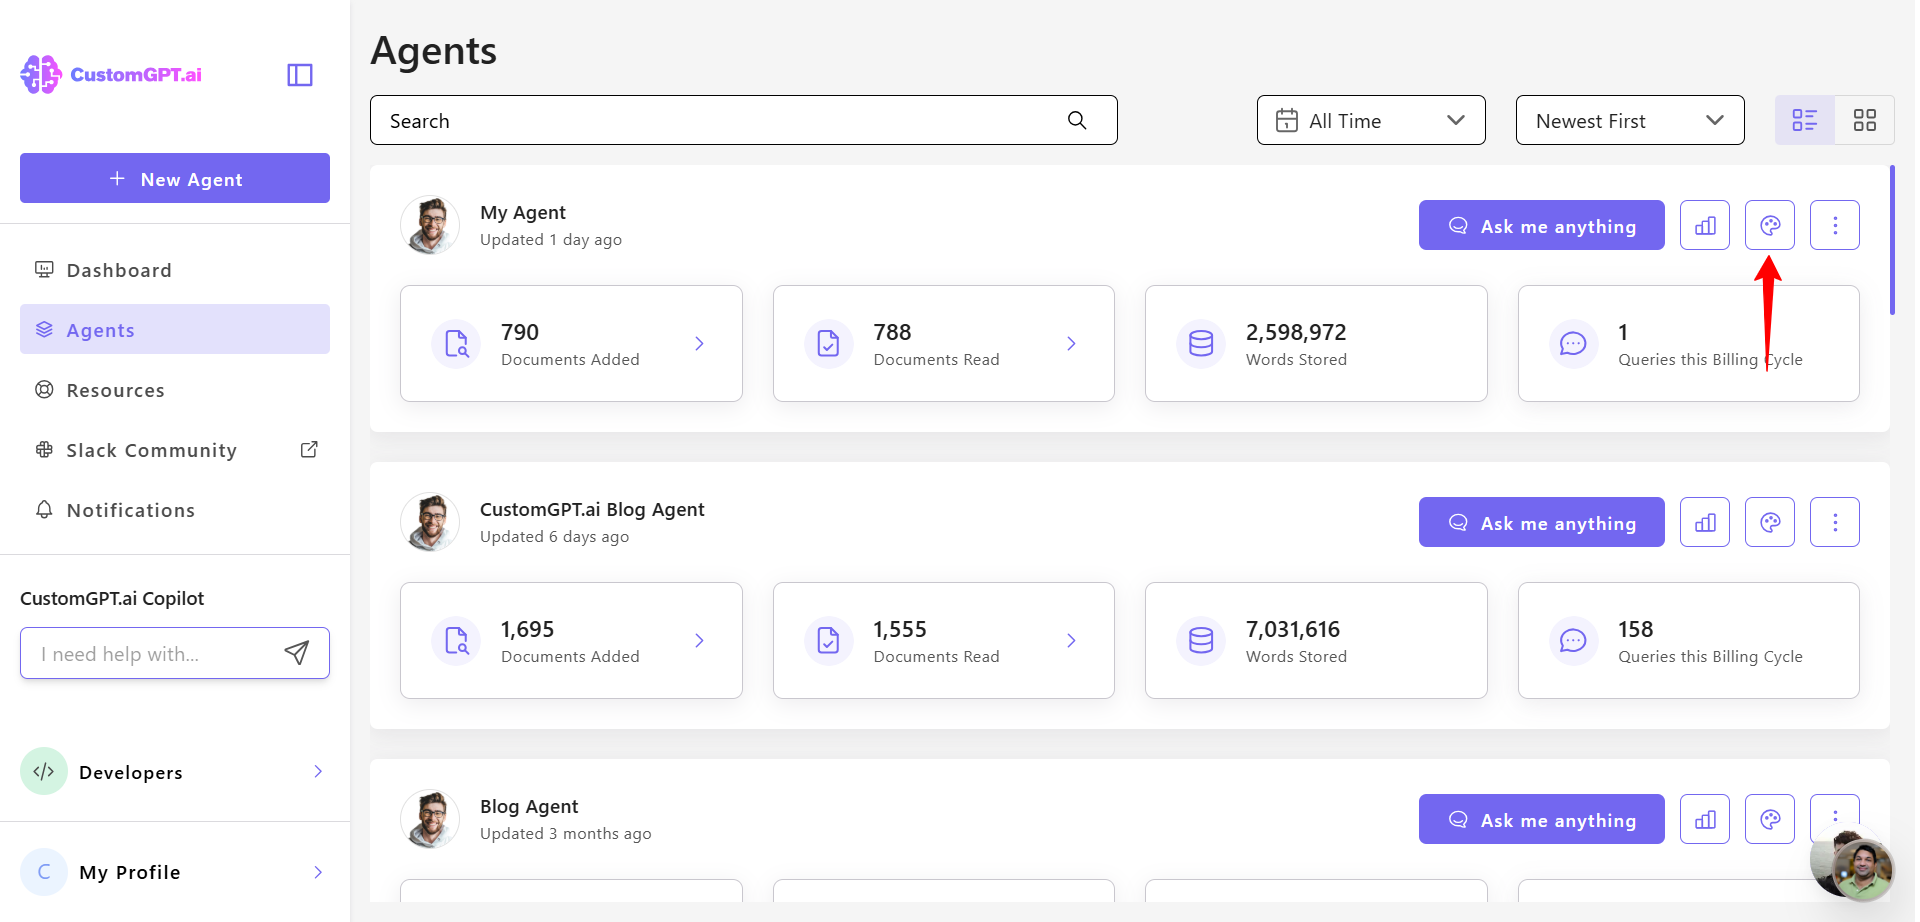
- Click the Personalize icon next to the agent you want to customize.
- Click the Advanced tab to access additional settings.
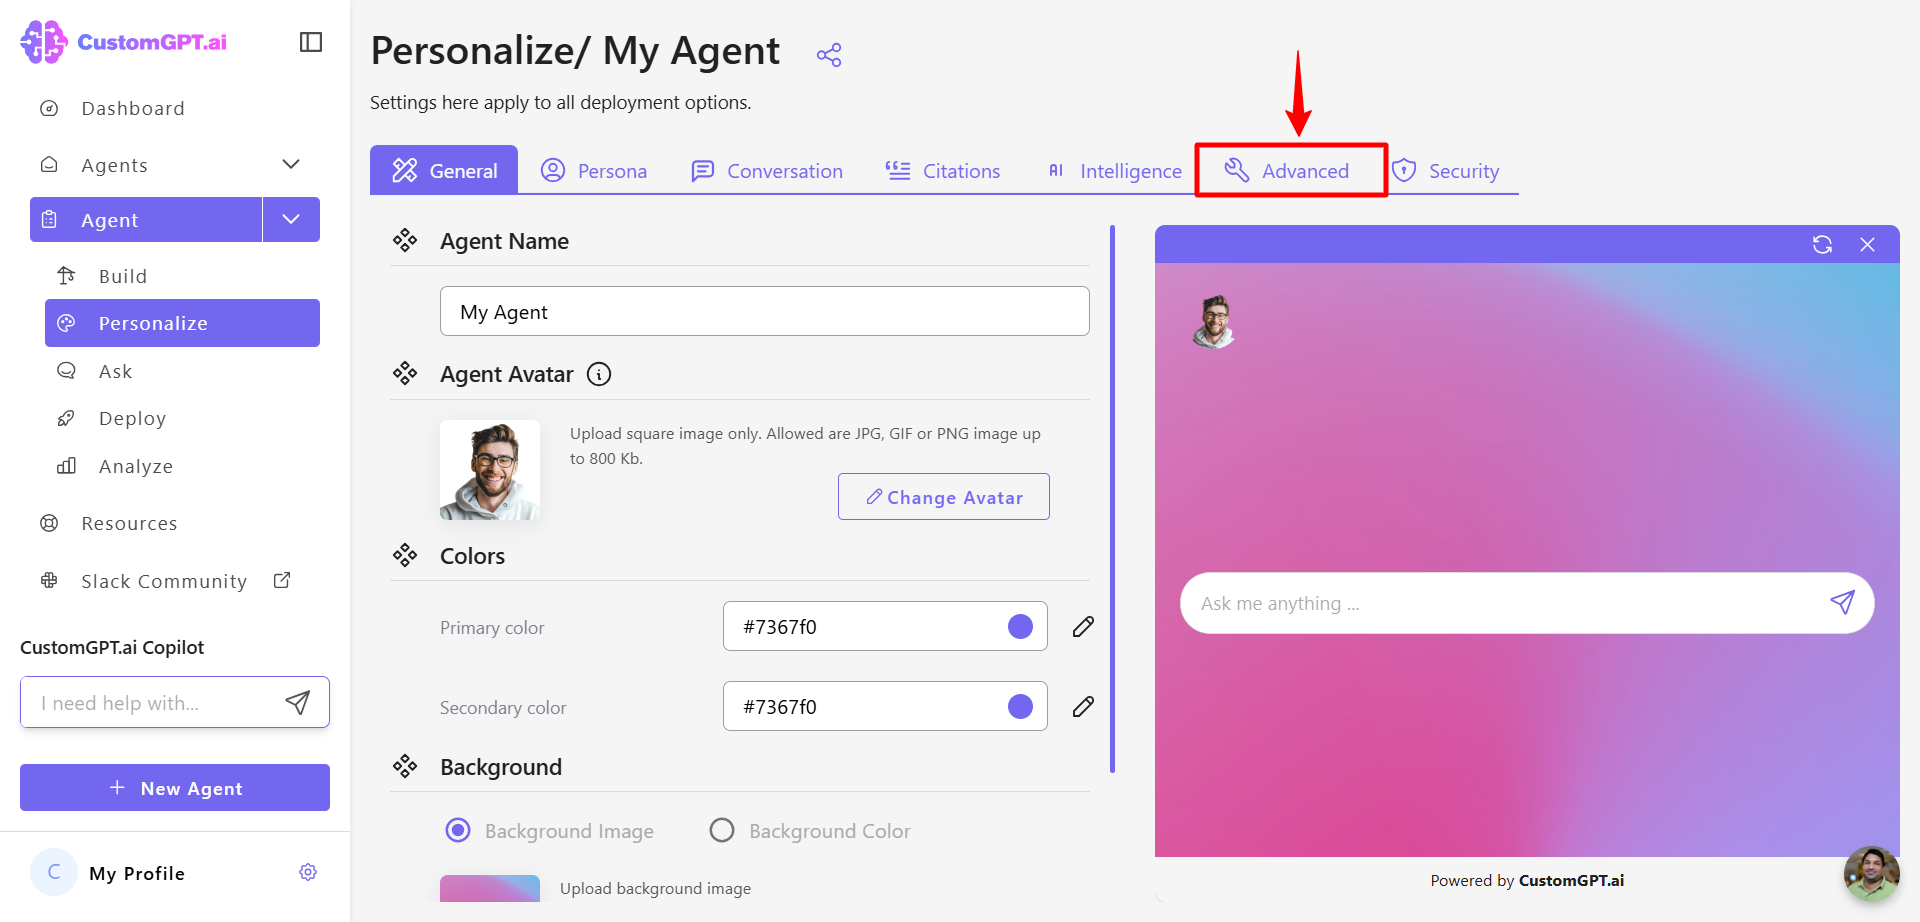
- In the Agent Title field, enter the new title for your agent.

- Click Save Settings to apply the changes.

Updated 5 months ago
Did this page help you?