Manage conversation exporting
This guide explains how to enable or disable end-user conversation exporting for your AI agent.
Note:This feature is available only on the Premium plan or higher.
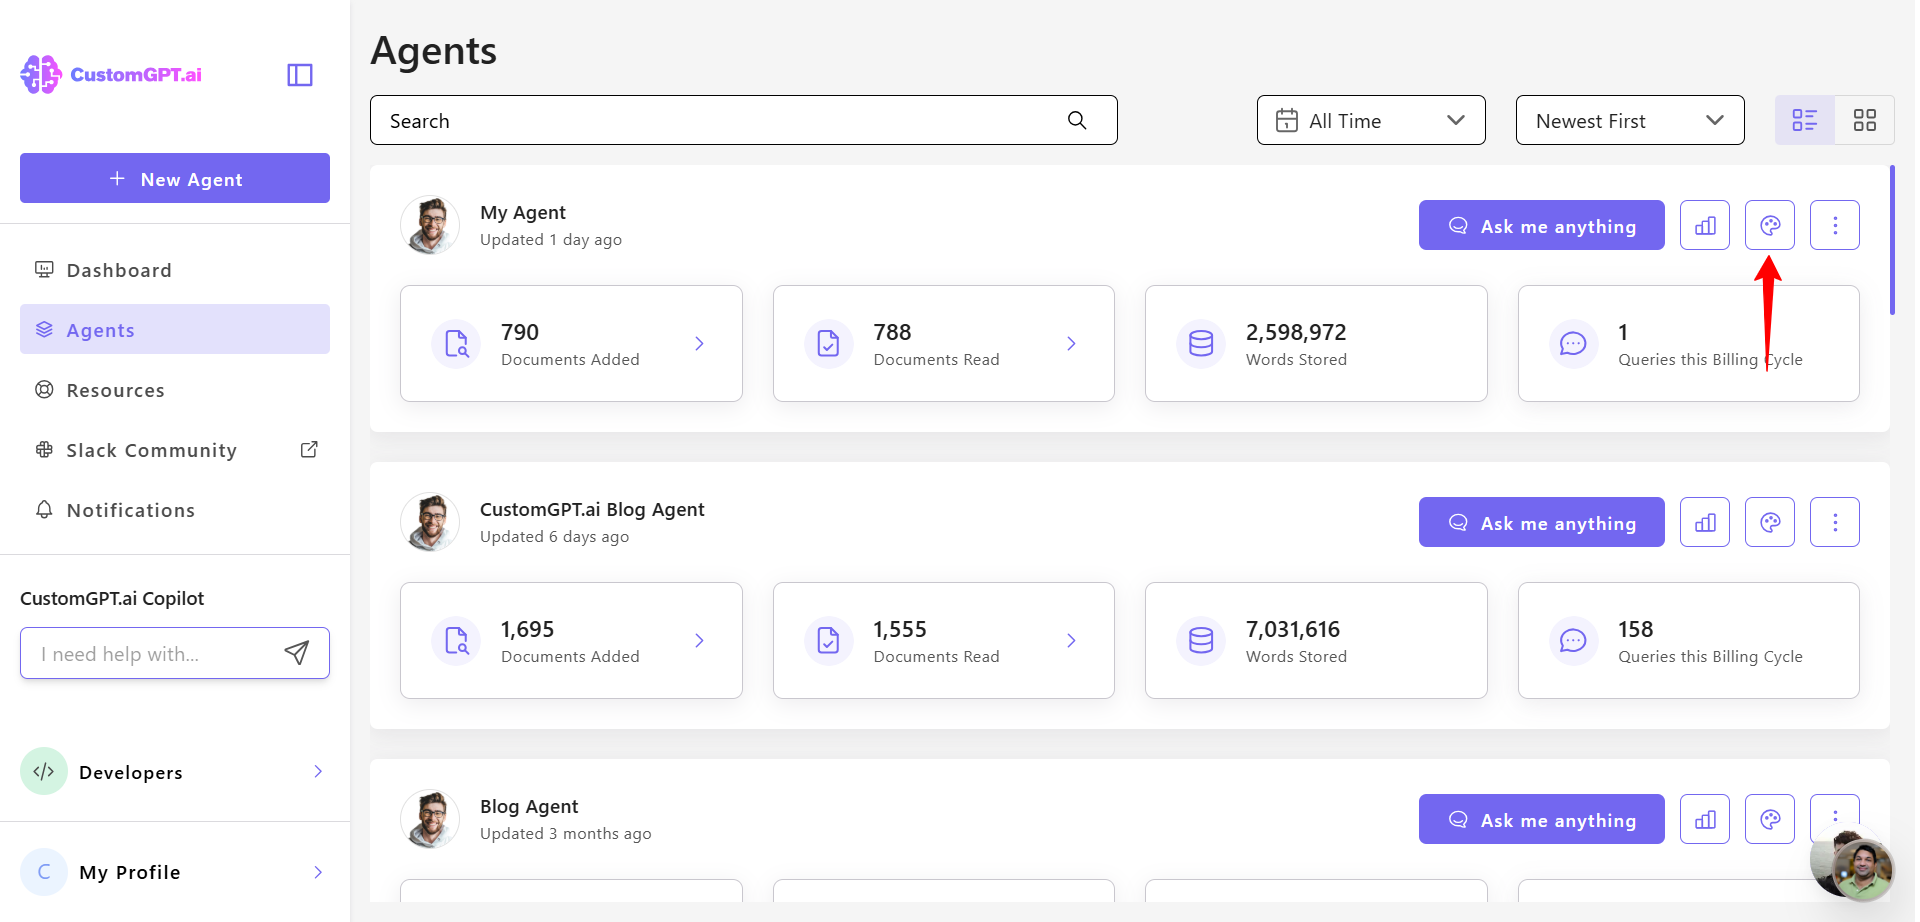
- Click the Personalize icon next to the agent you want to customize.
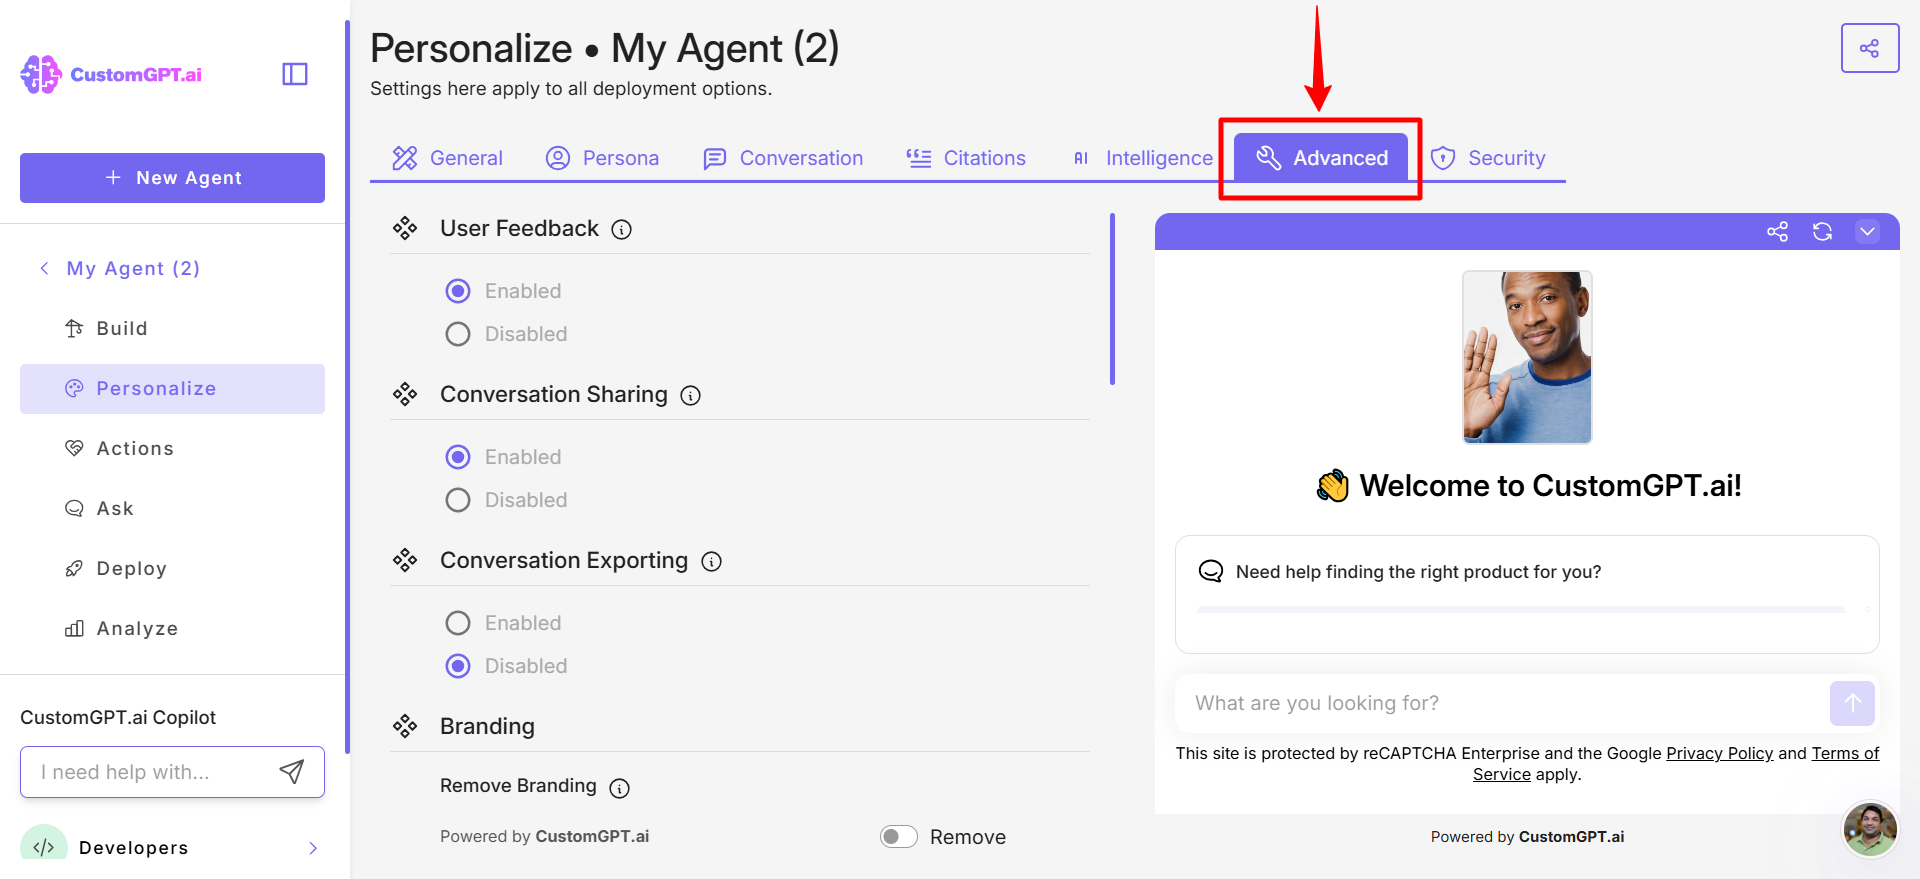
- Click the Advanced tab.
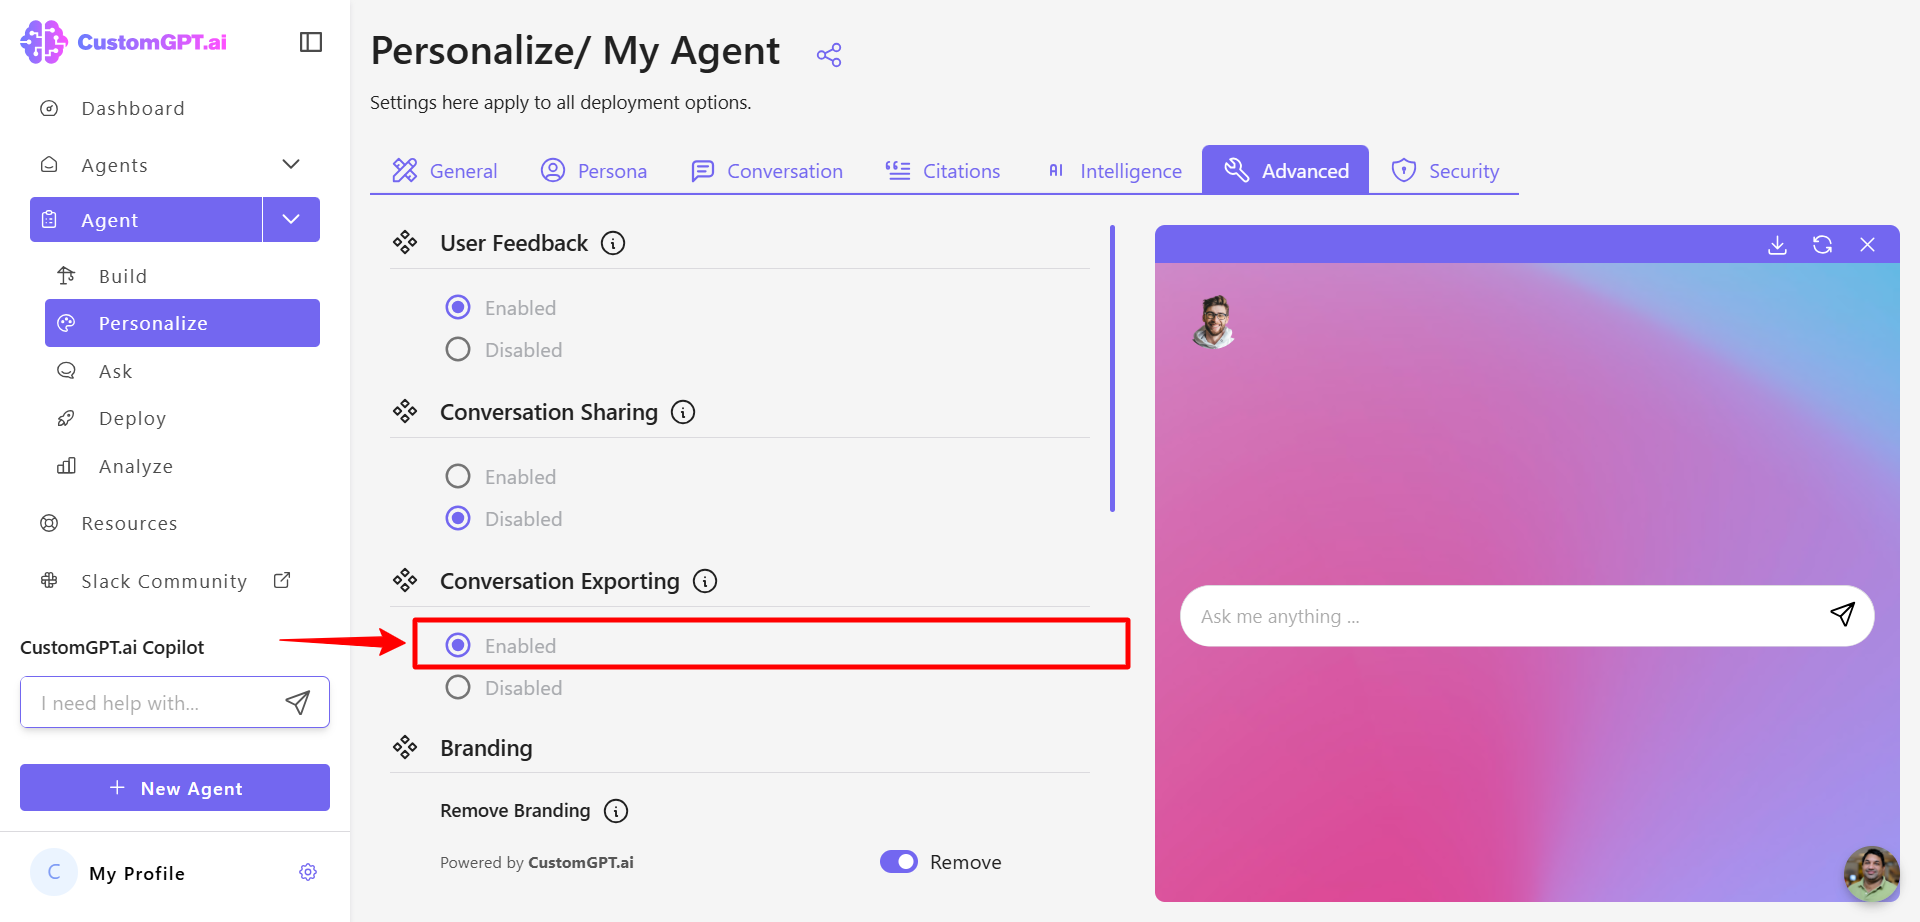
- Under the Advanced tab, click Conversation exporting.
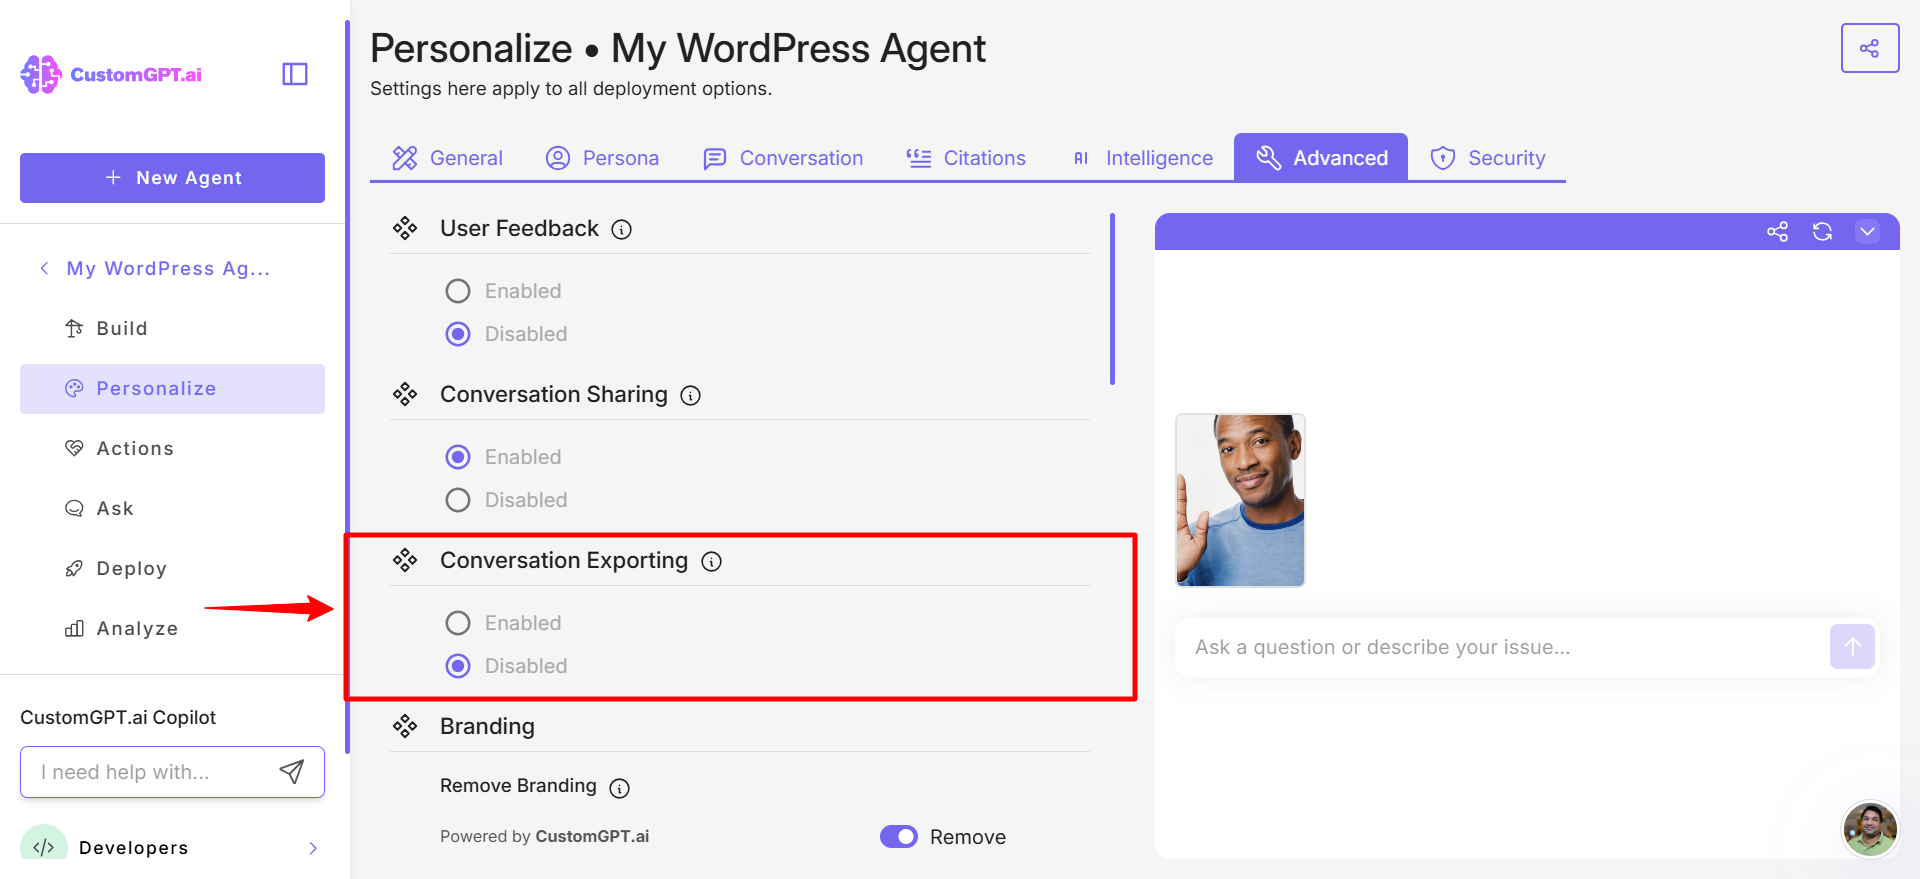
- Select Enabled to allow users to export conversations in PDF or CSV format, or select Disabled to turn off exporting.
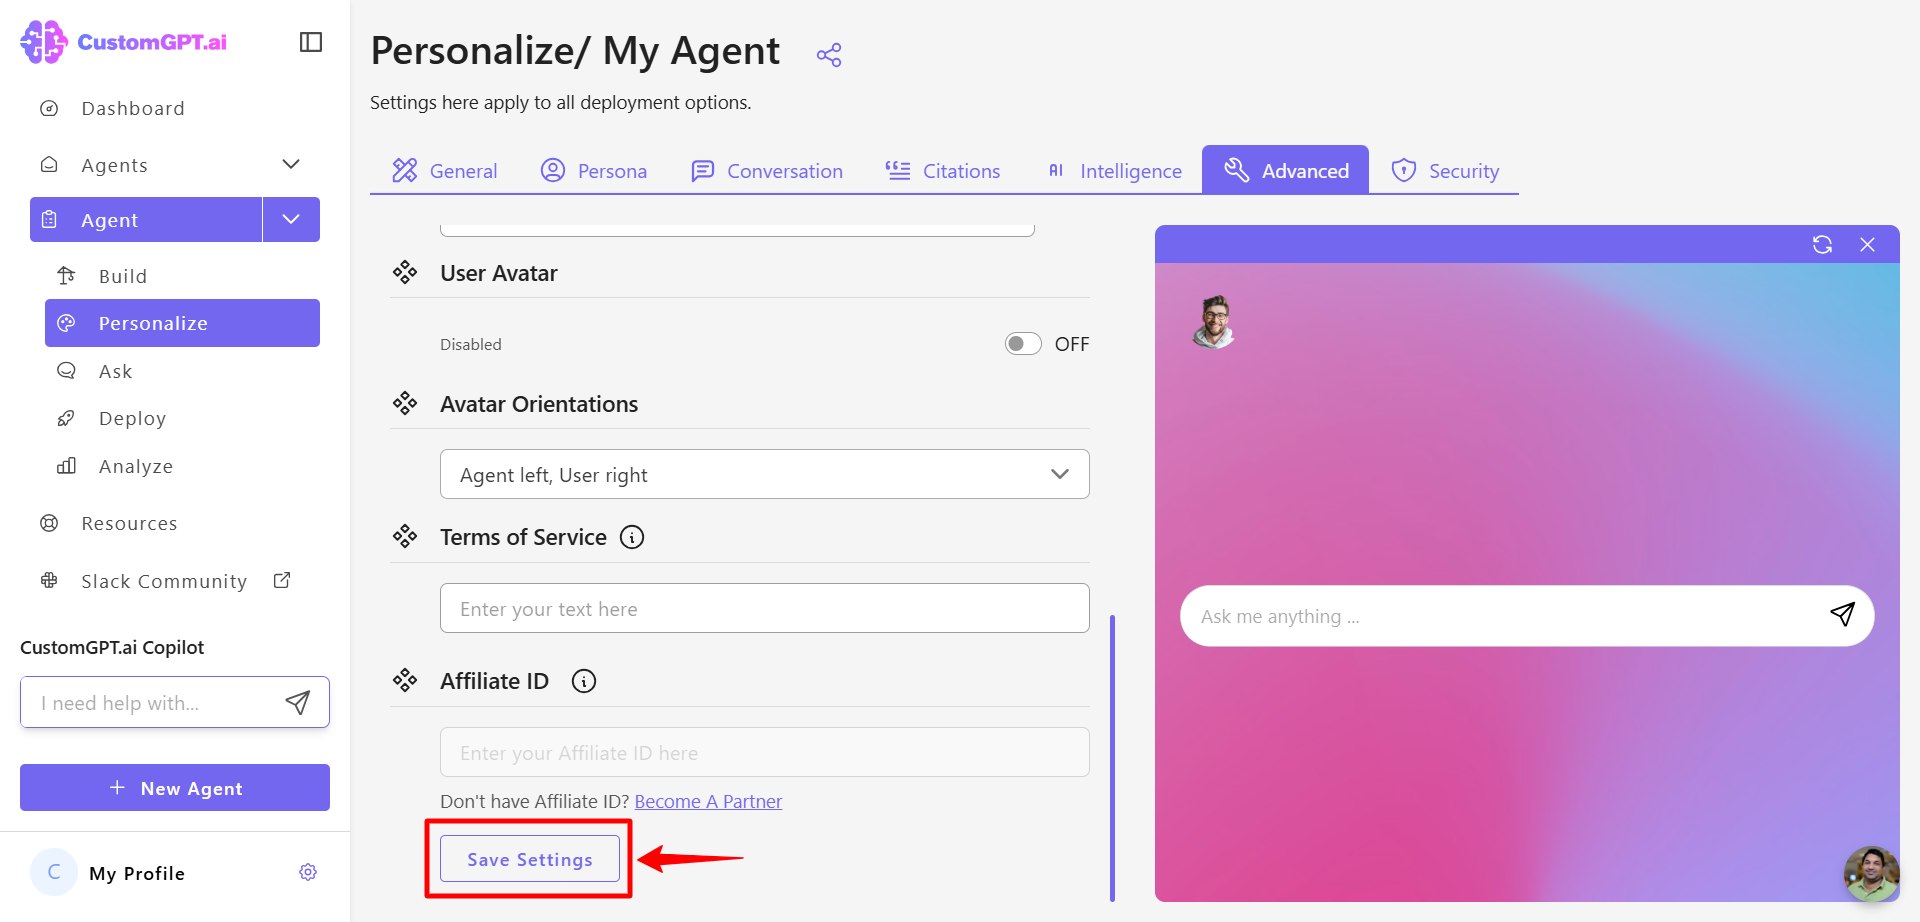
- Click Save Settings.
Citations in PDF exports
If you have activated citations for your agent, they will be included in exported PDF files according to your selected citation display settings. The citations appear in the same format you configured- either as inline references or listed at the end of the document.
Learn more: Activate citations for your AI agent
Related article
Updated 3 months ago
Did this page help you?