Embed your AI agent on SharePoint site
This step-by-step guide shows you how to embed your CustomGPT AI agent into a SharePoint site.
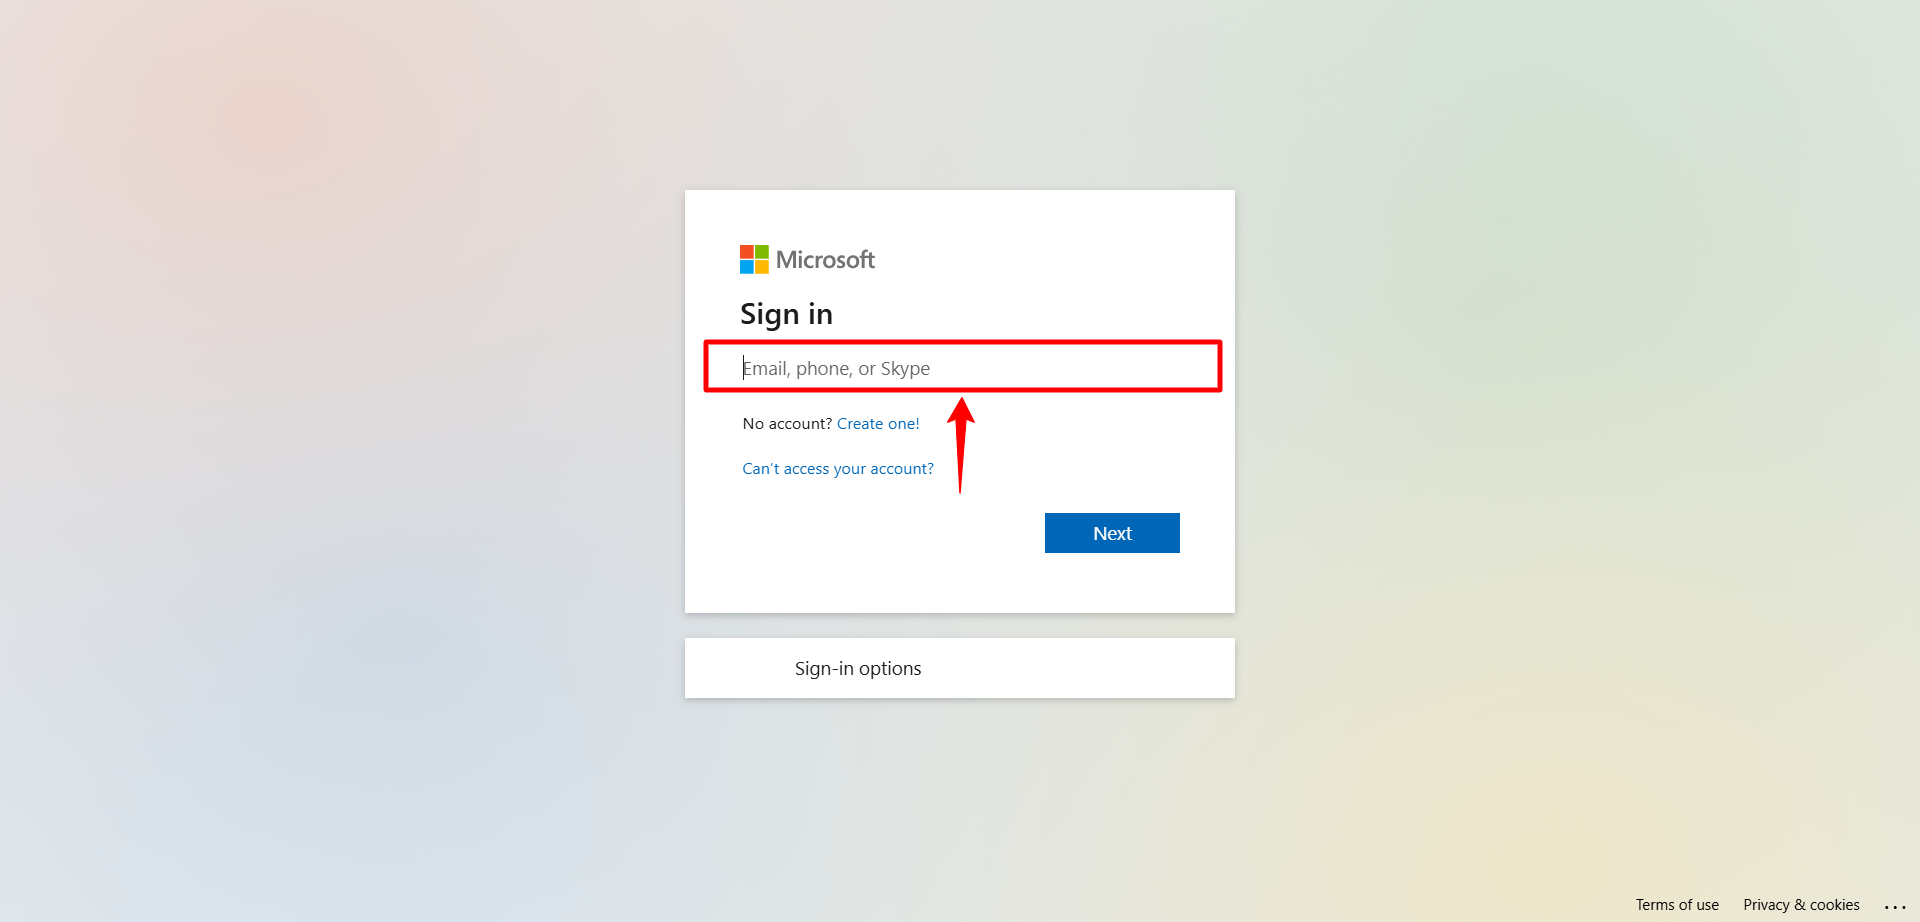
- Log in to your SharePoint account.
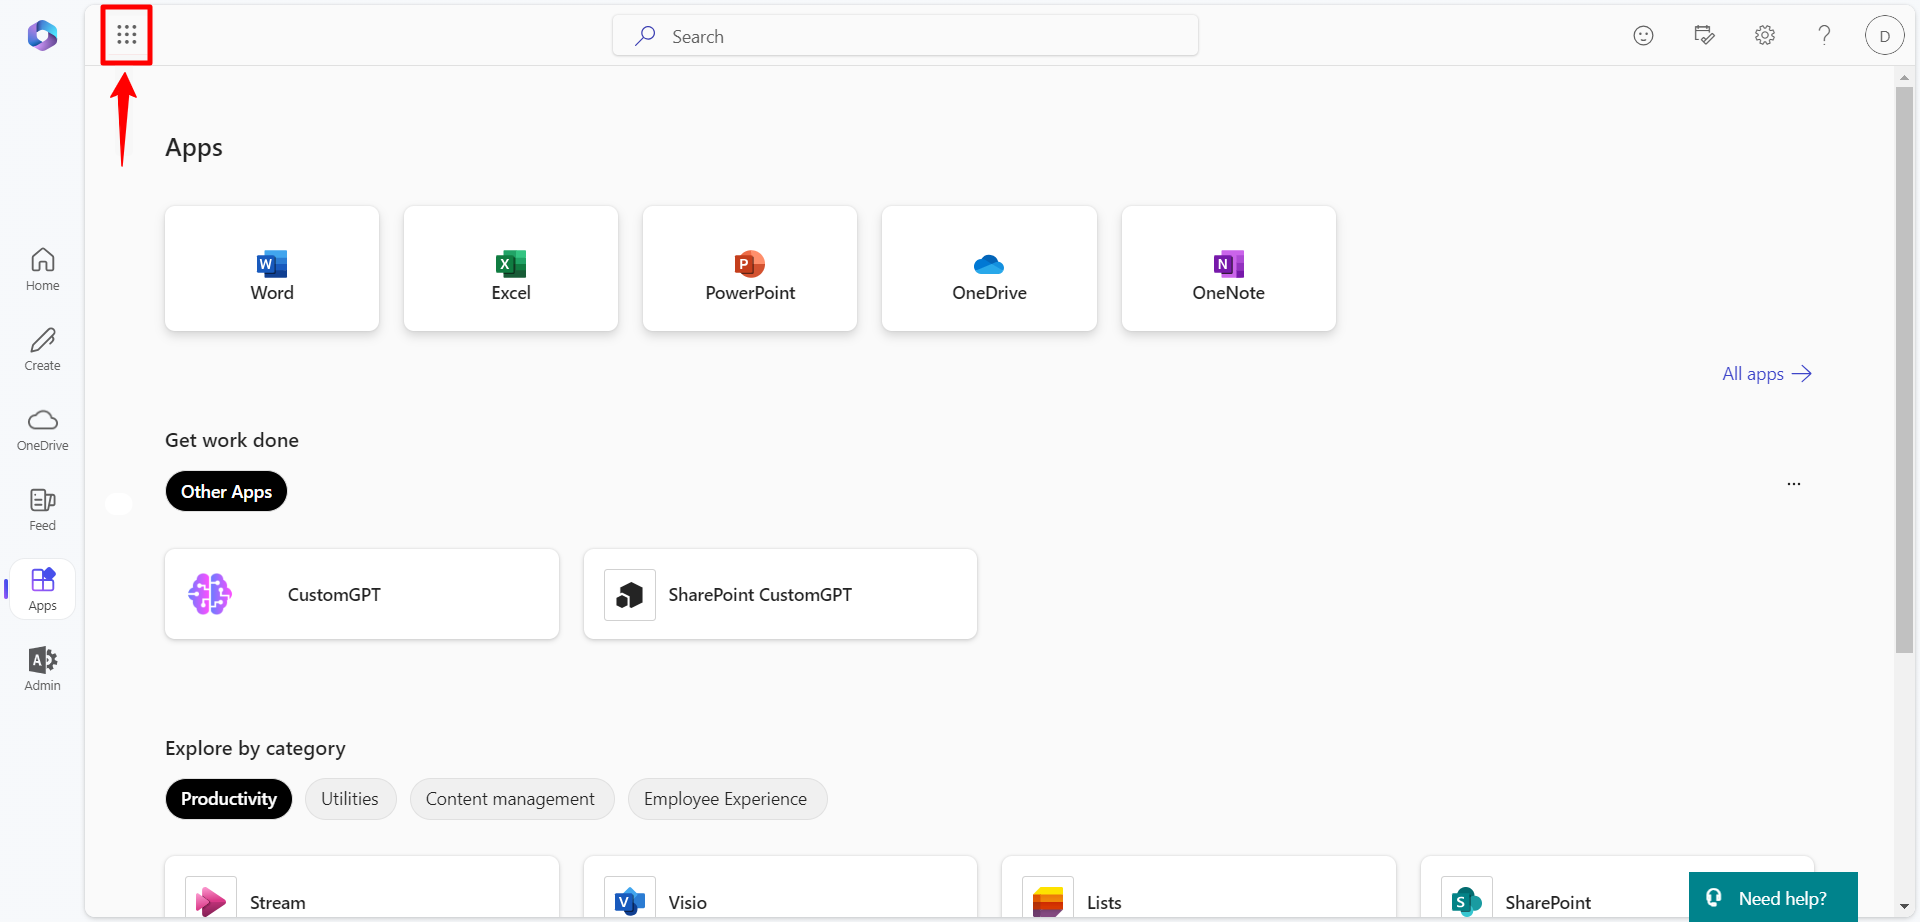
- Click the App Launcher in the top-left corner.
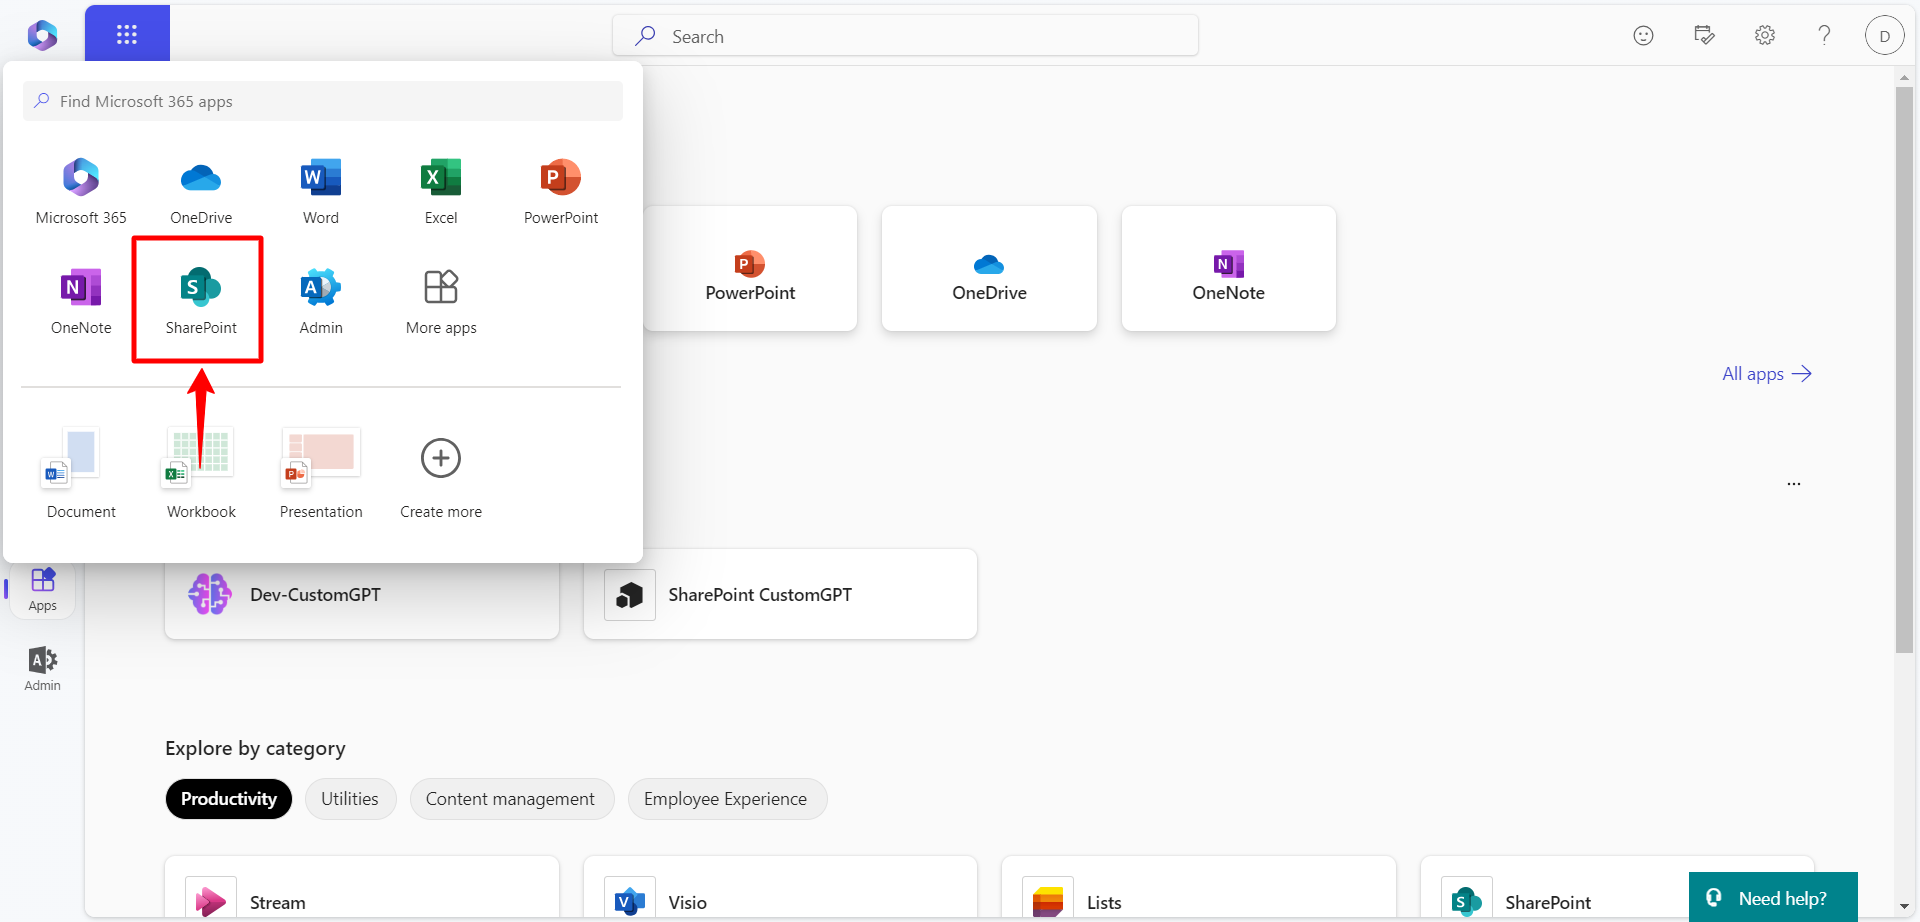
- Select SharePoint.
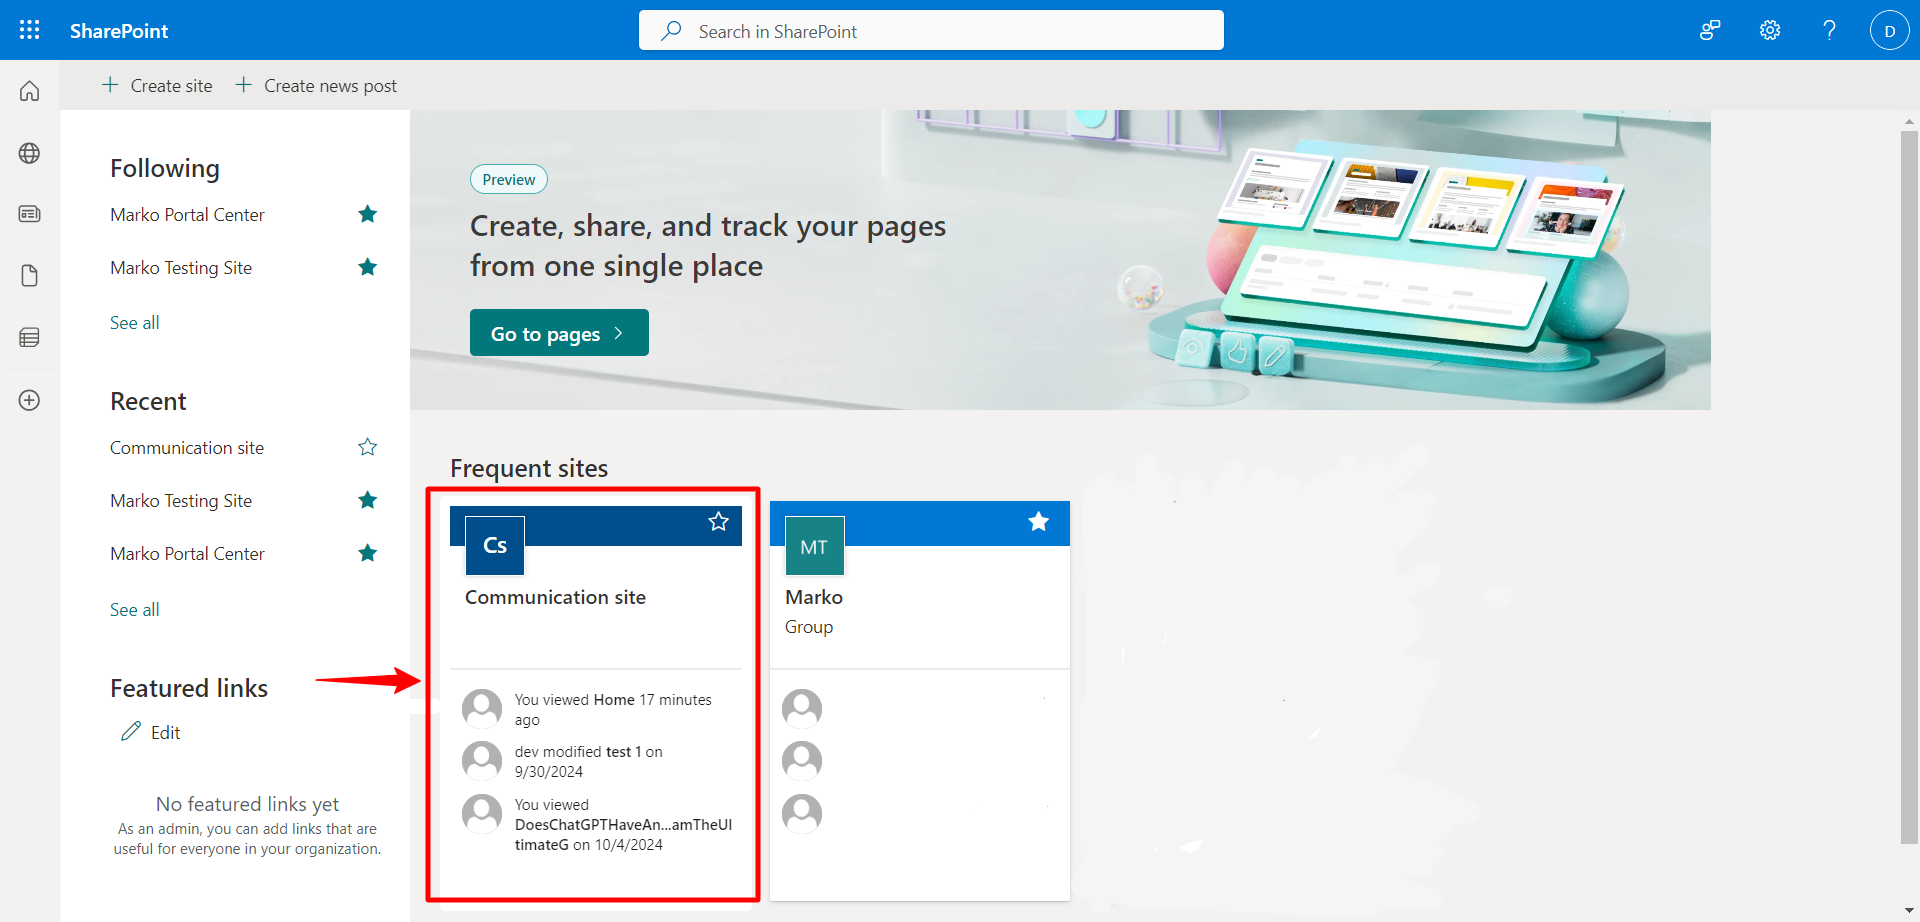
- Choose the site where you want to embed your AI agent.
- Ensure that embedding is allowed by going to Site Settings, then under HTML Field Security, allow contributors to insert iframes from any domain or whitelist app.customgpt.ai (without https://).
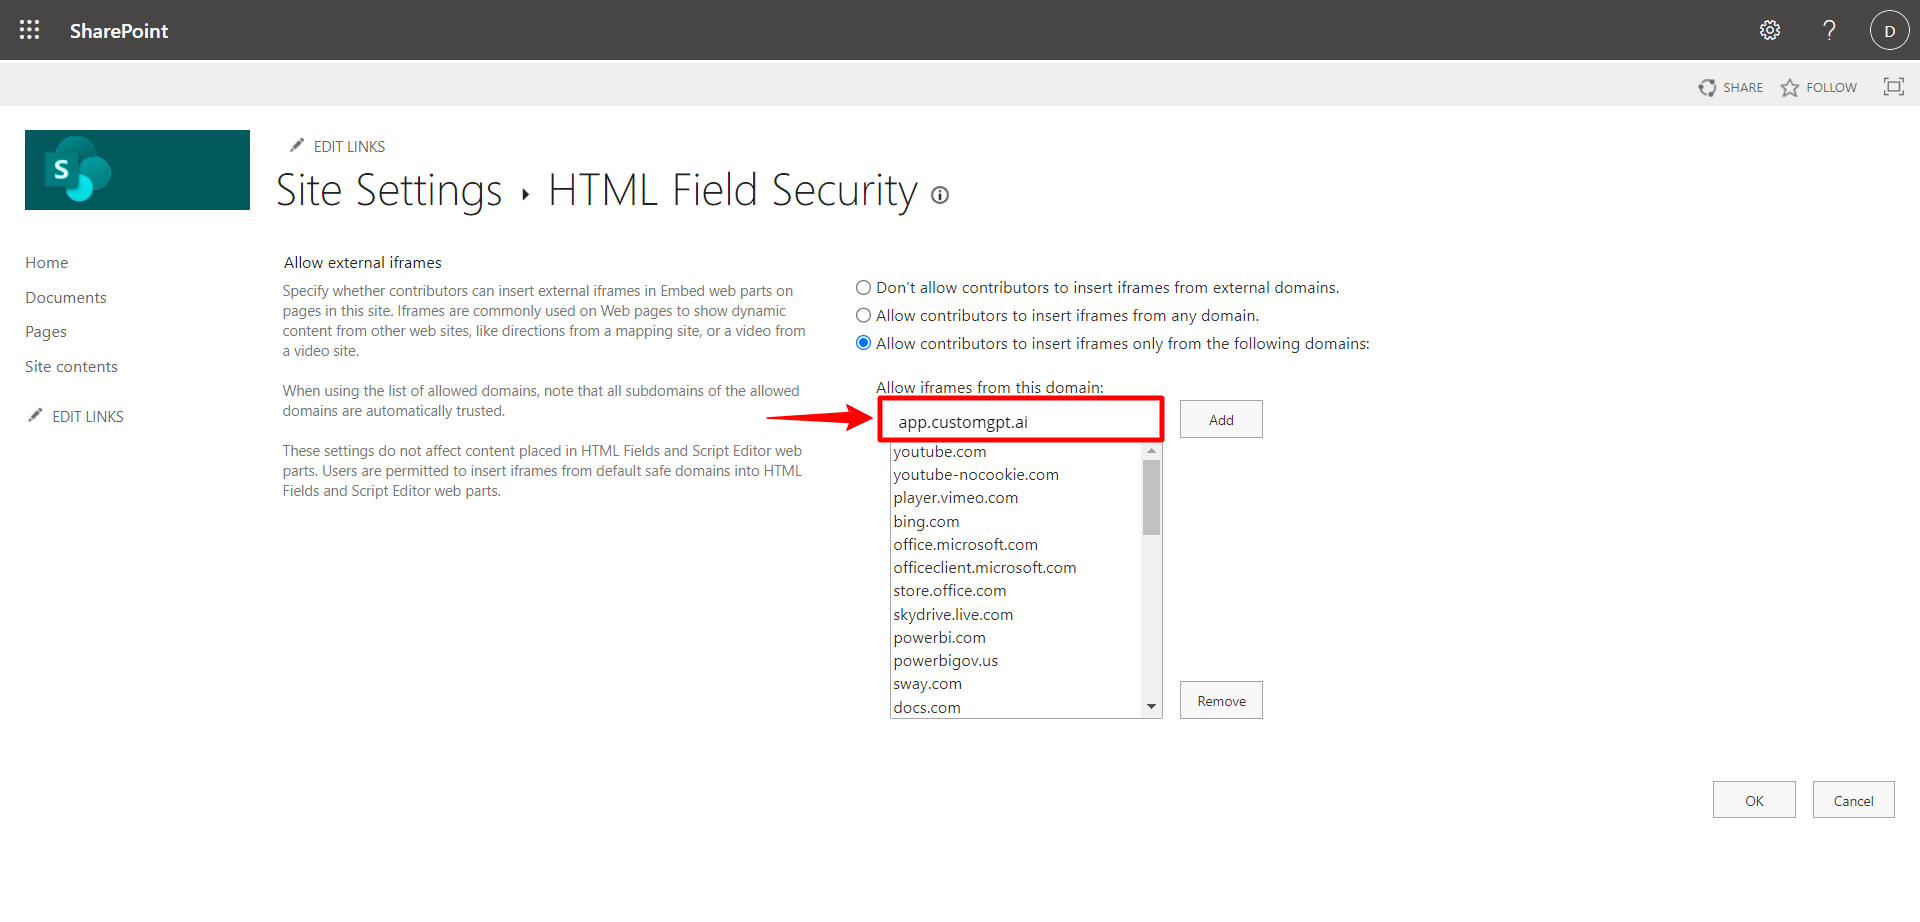
Note:If you’re unsure how to do this, refer to the SharePoint support documentation.
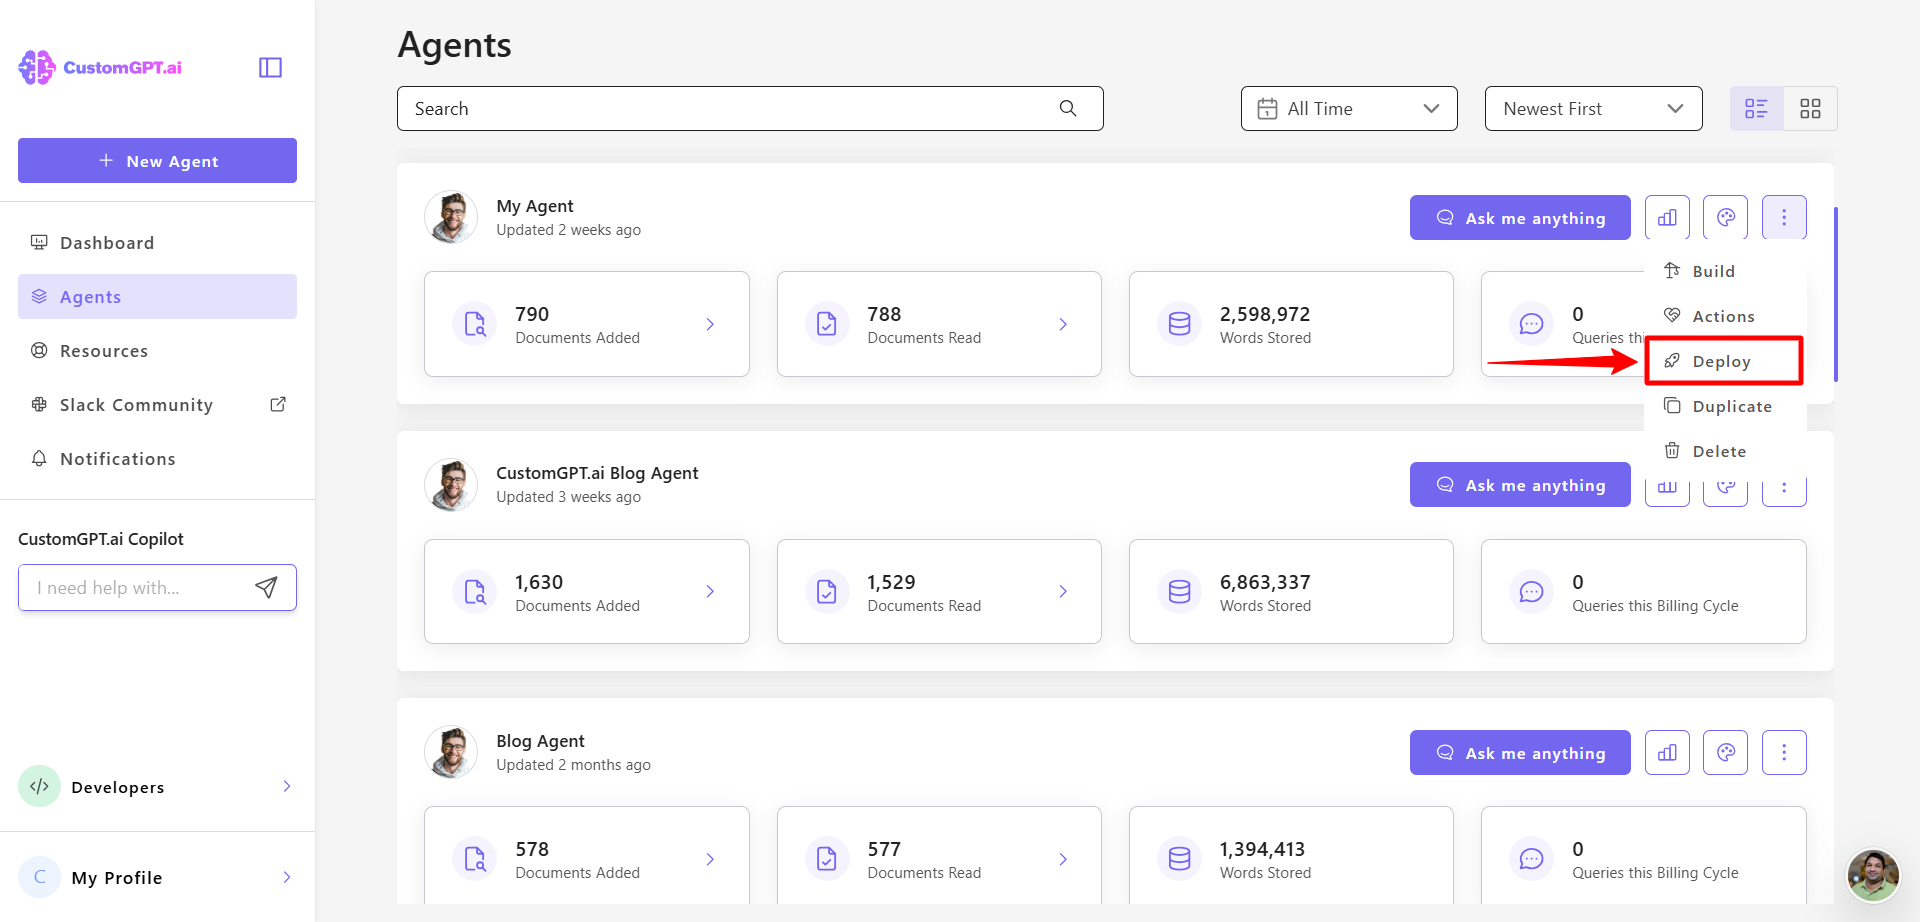
- In CustomGPT, go to your agent and click Deploy.
- Click the Integration tab.
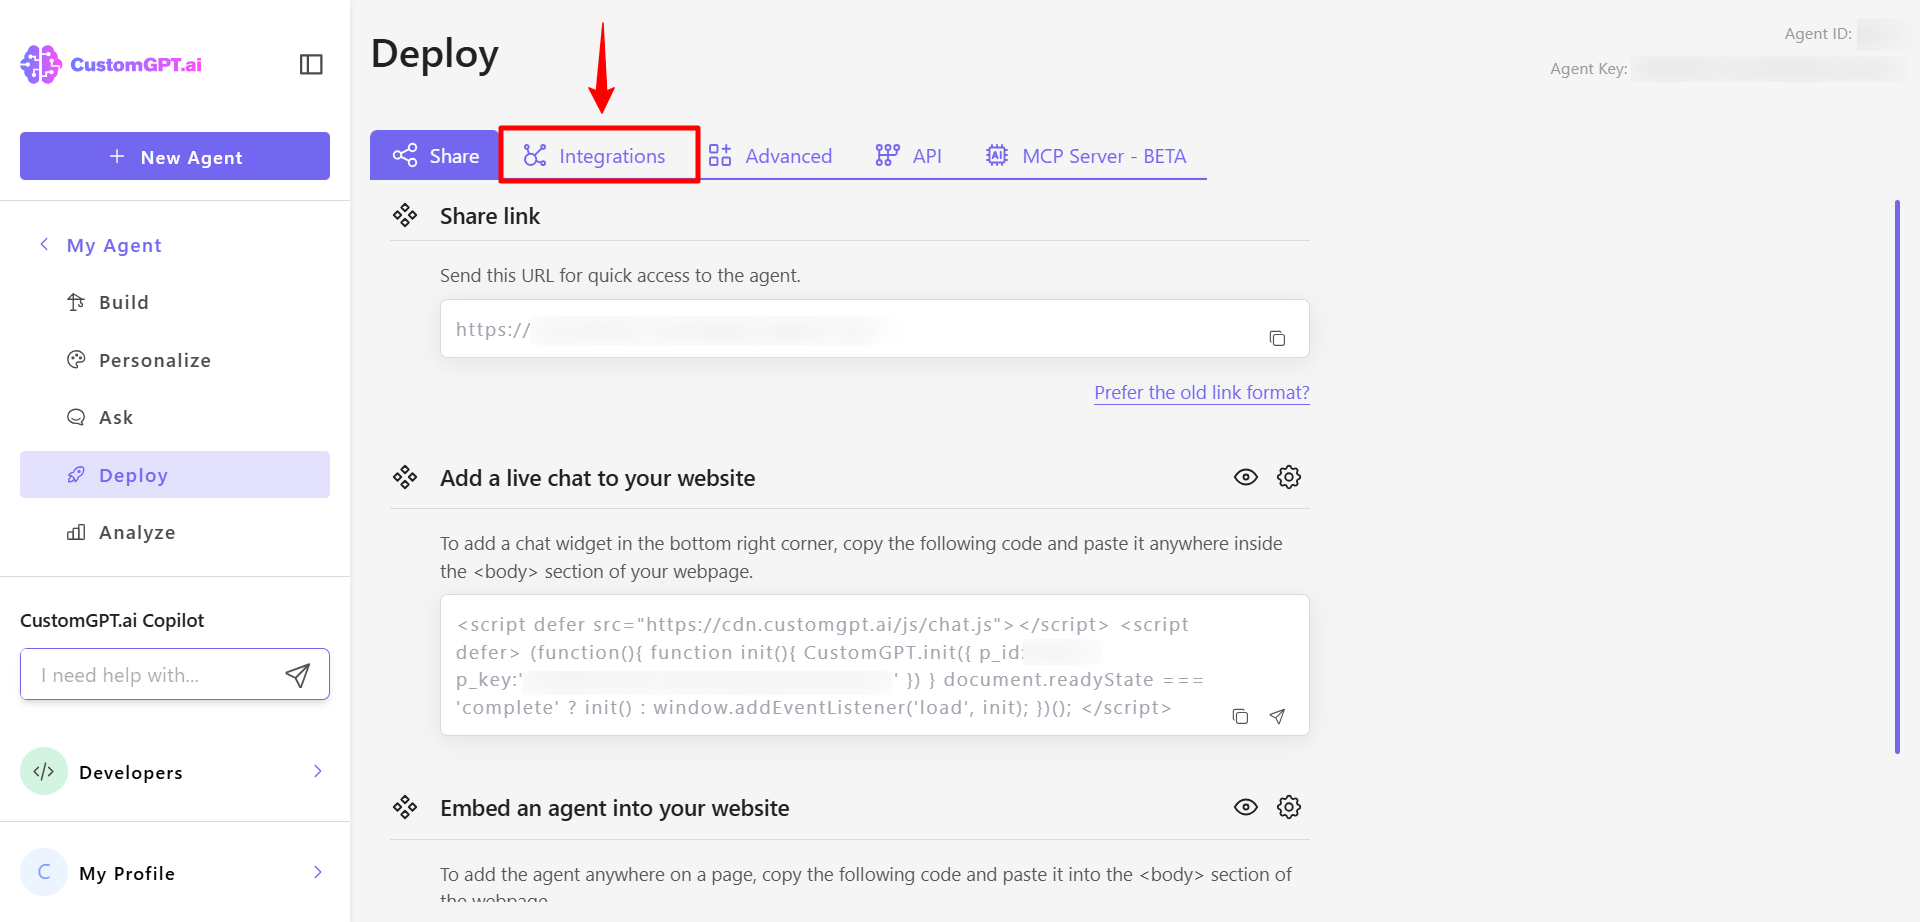
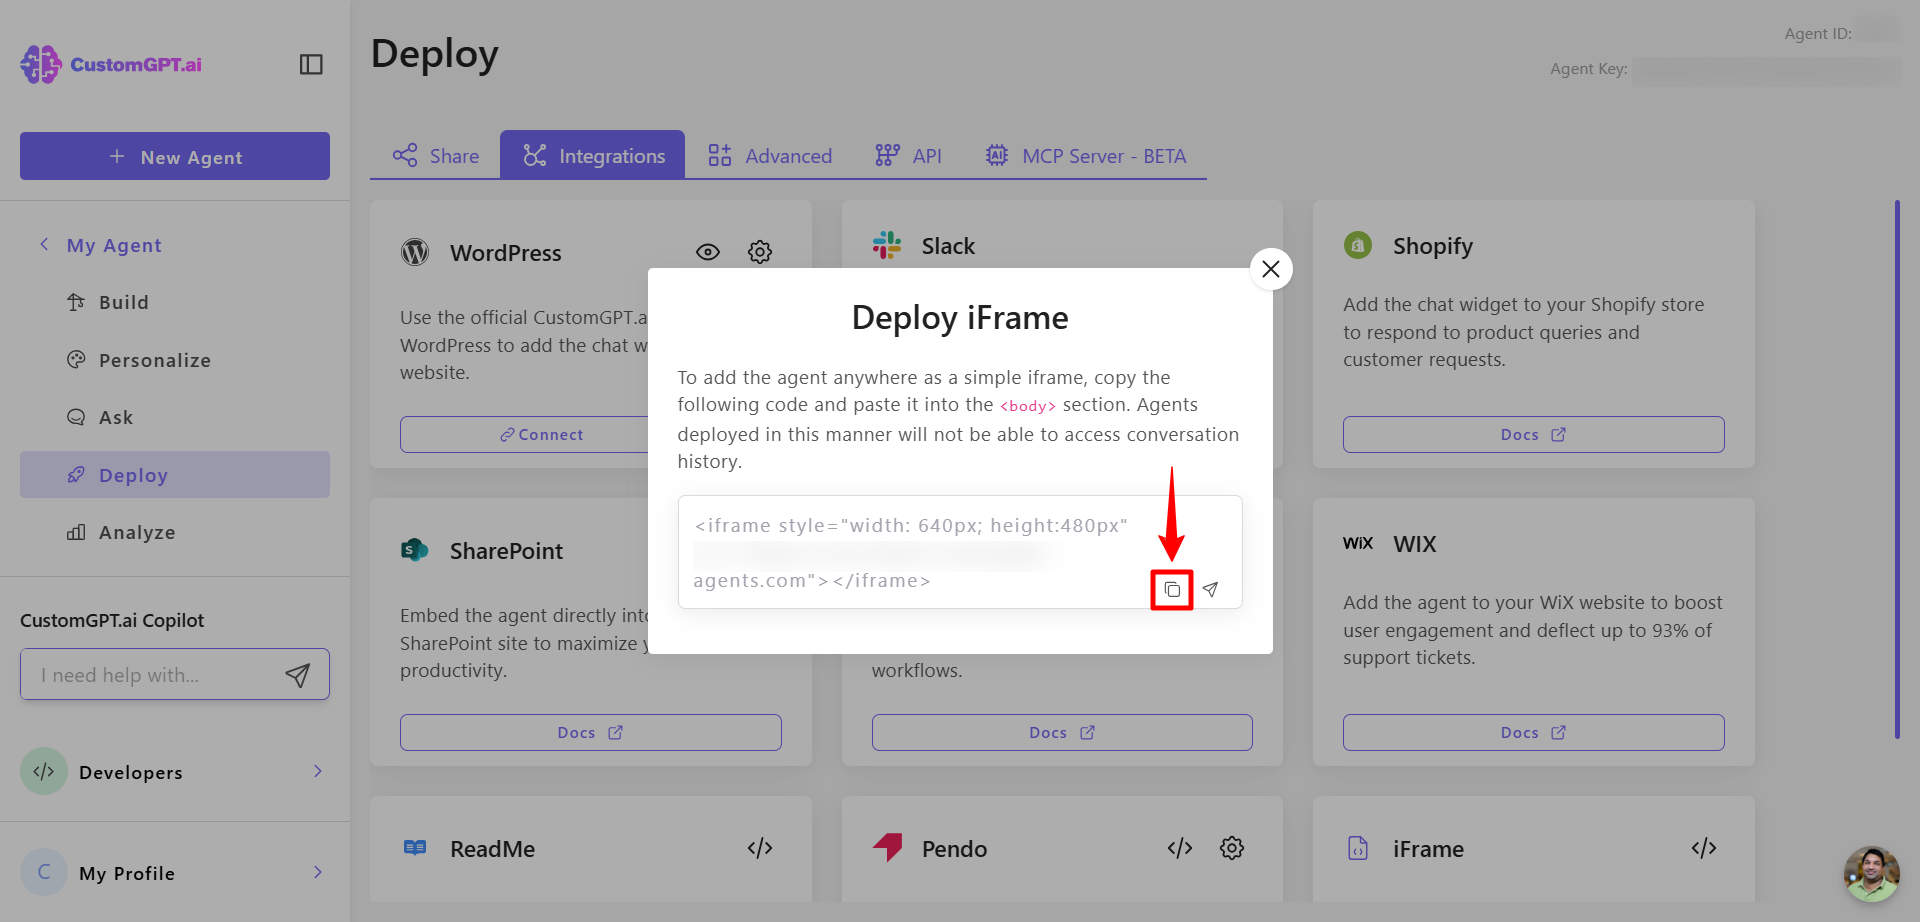
- Scroll down to the SharePoint Sites section and click the code icon (</>).
- Copy the embed code.
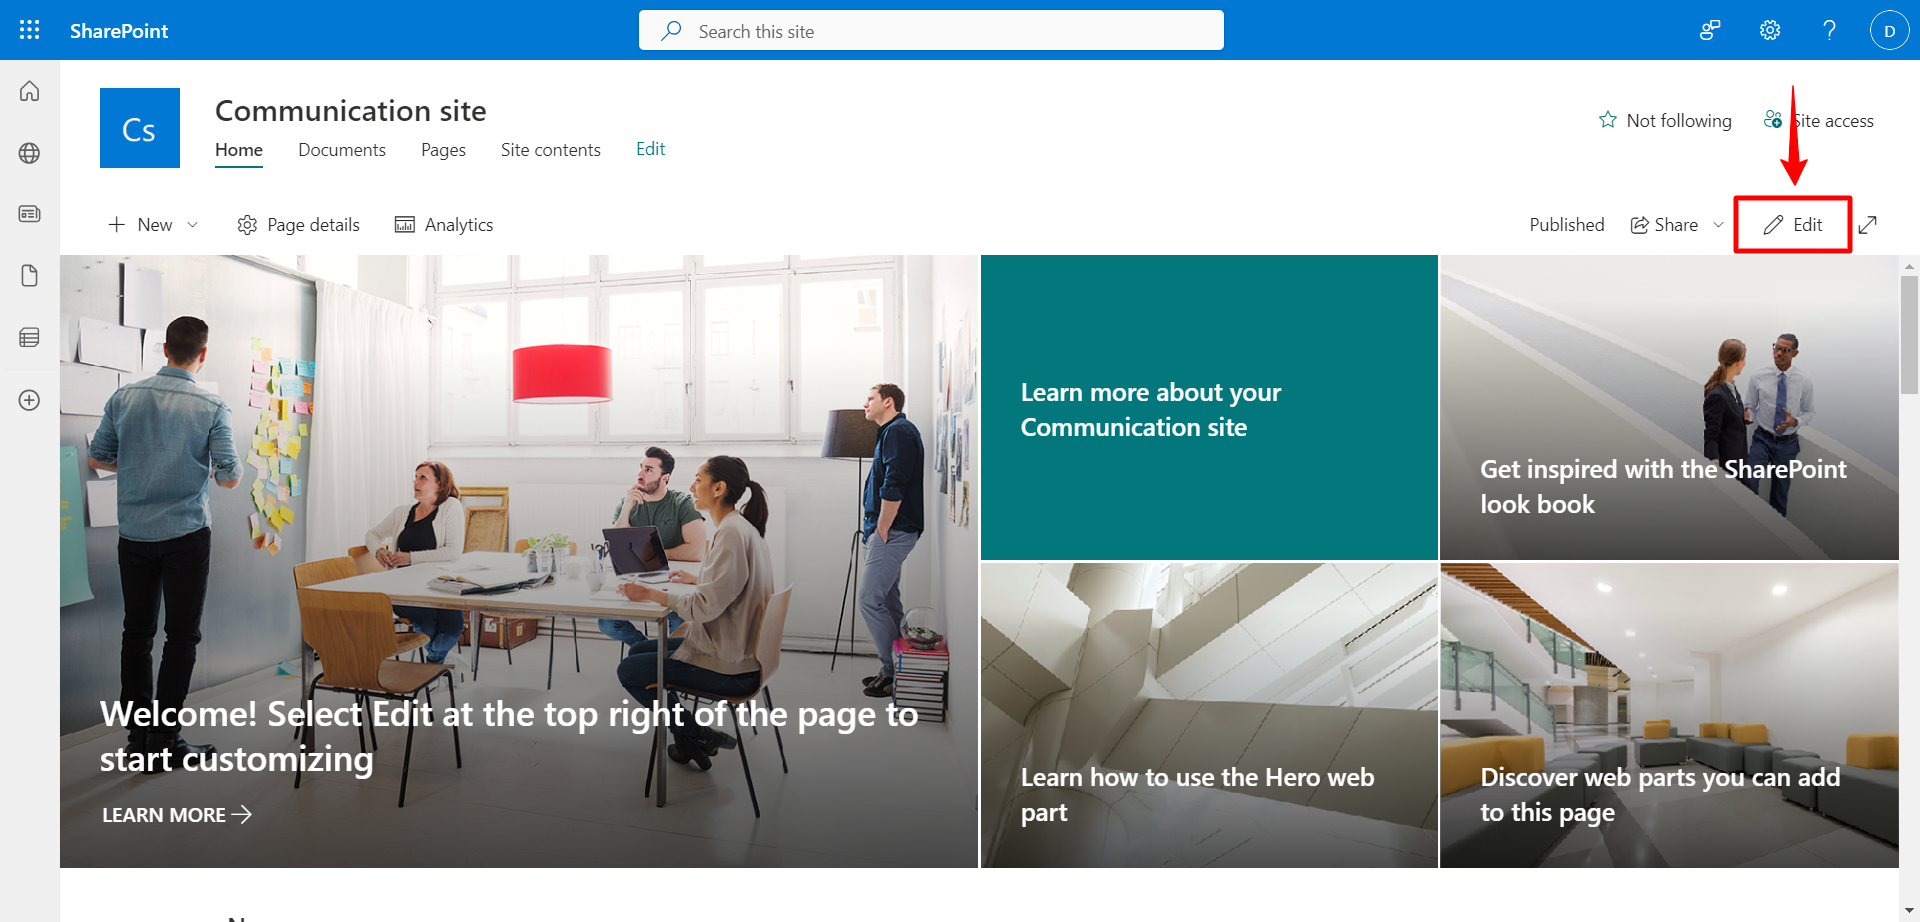
- Return to your SharePoint site and go to the page where you want to embed the agent then click Edit.
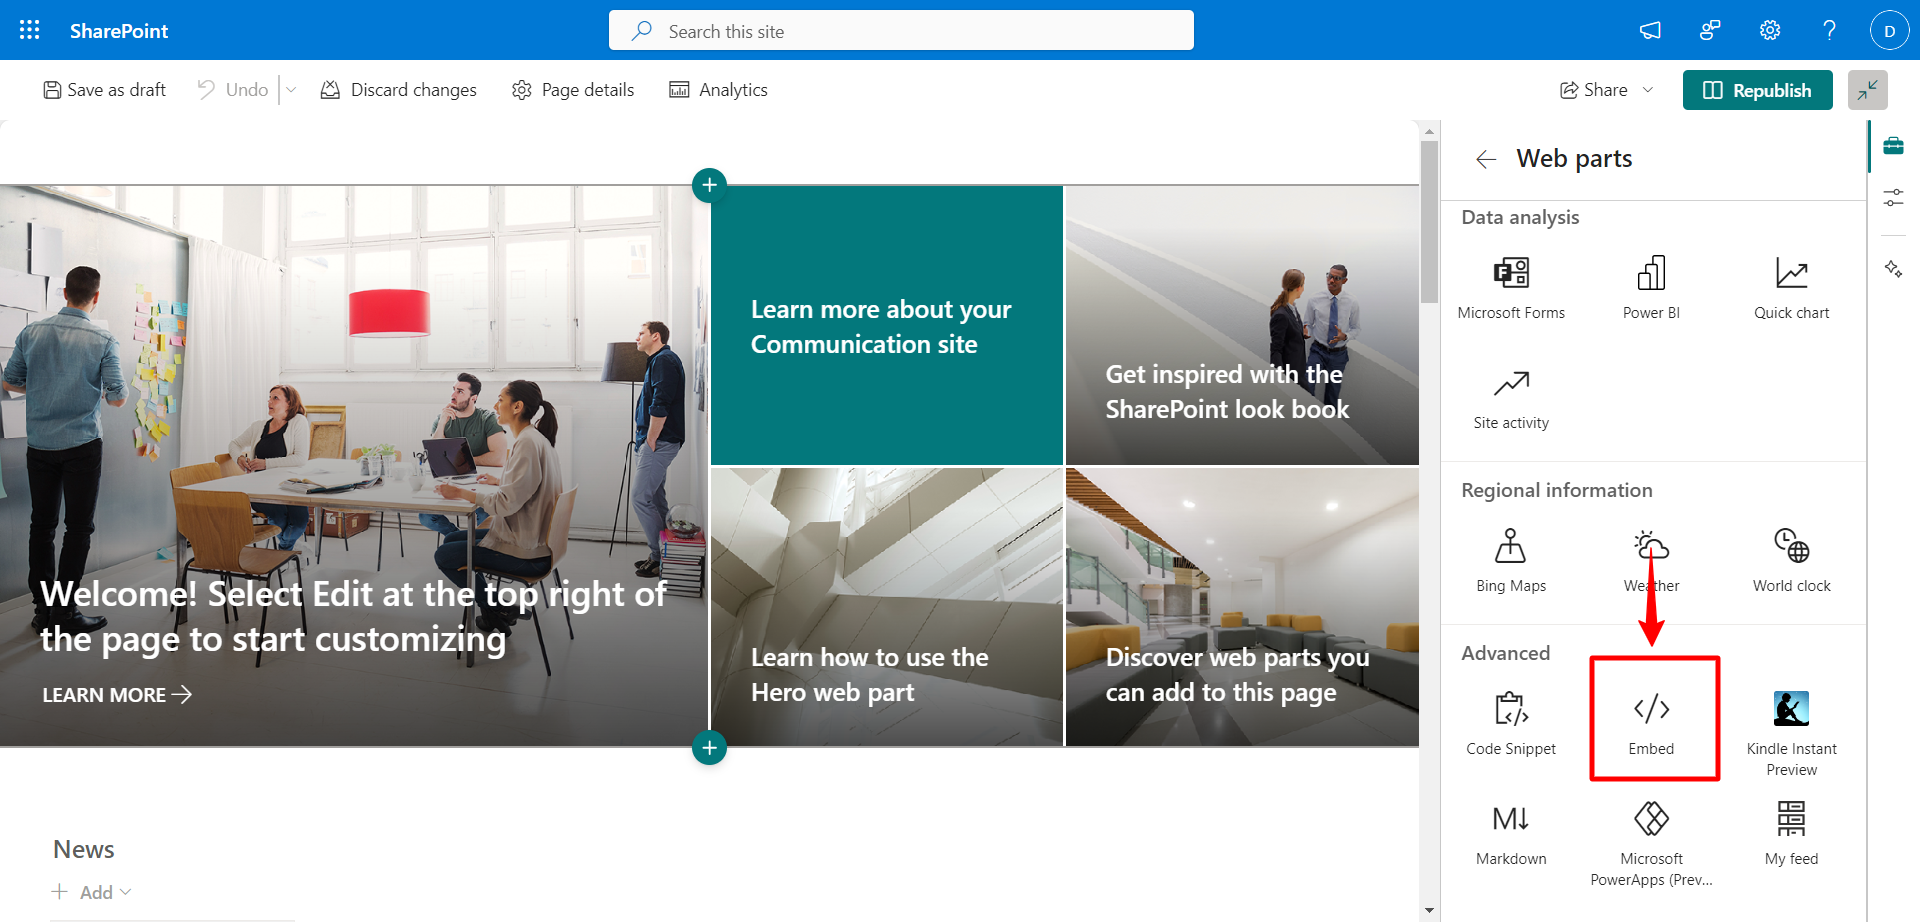
- In the toolbox on the right, click Embed to add an embed element.
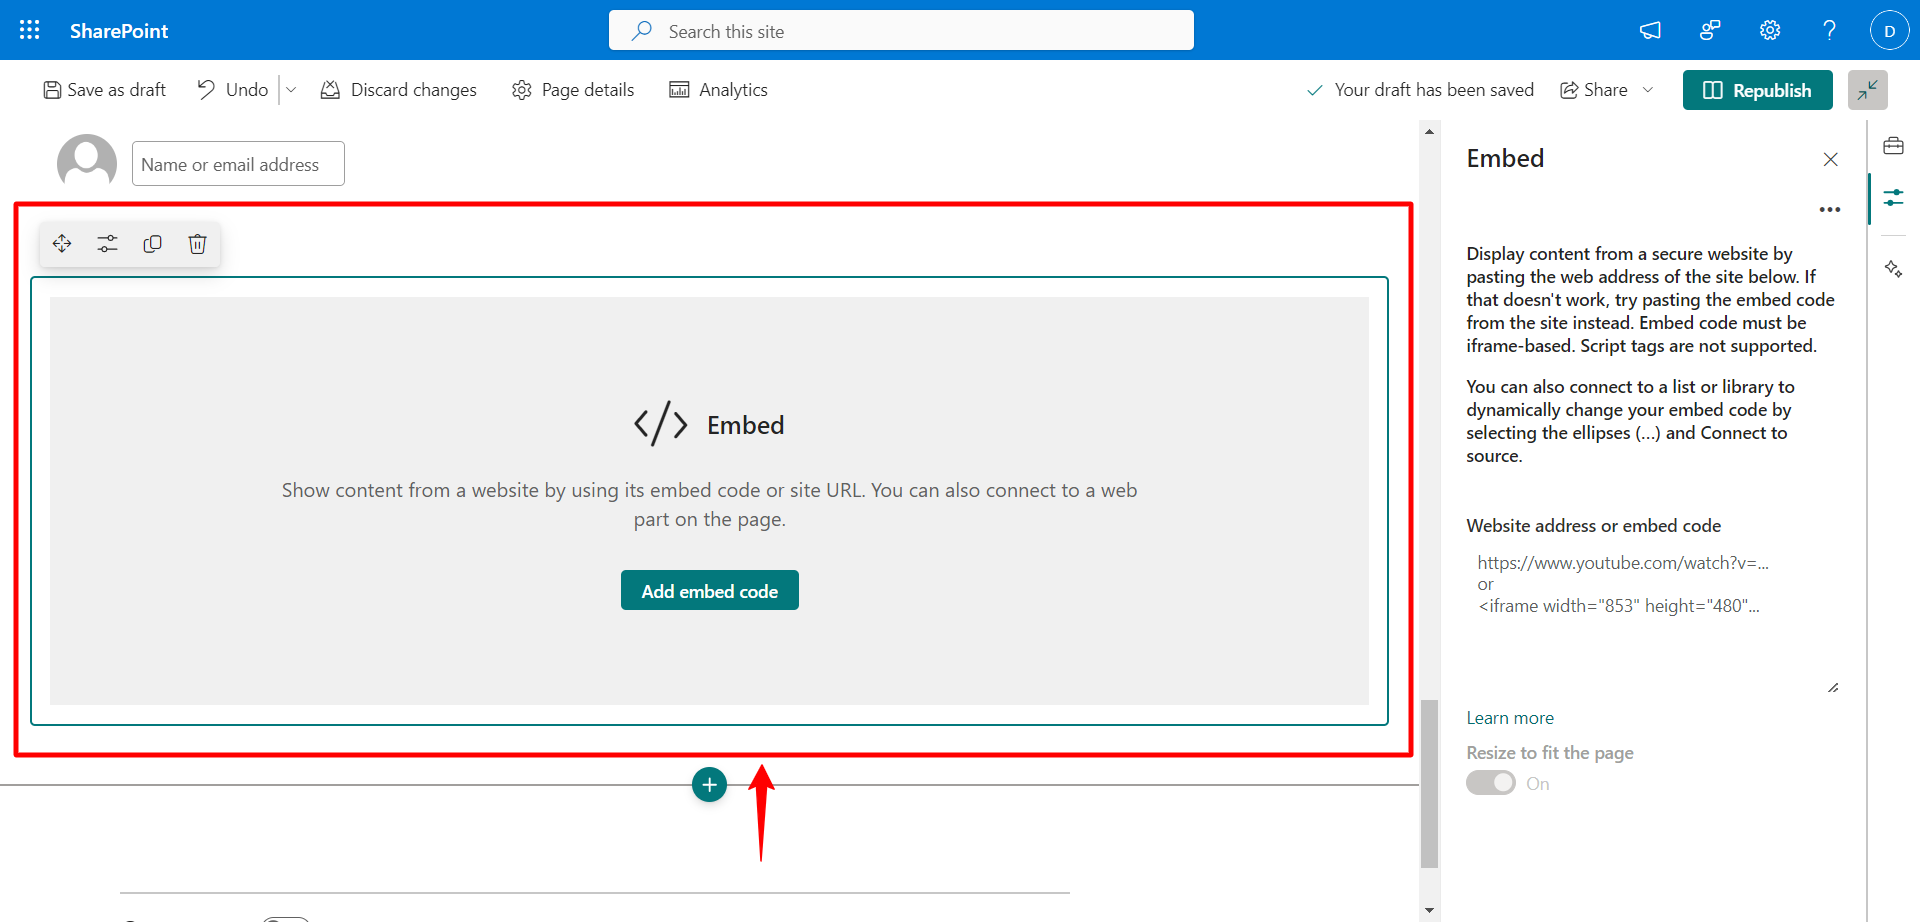
- Click Add embed code.
- Paste the copied code into the input field.
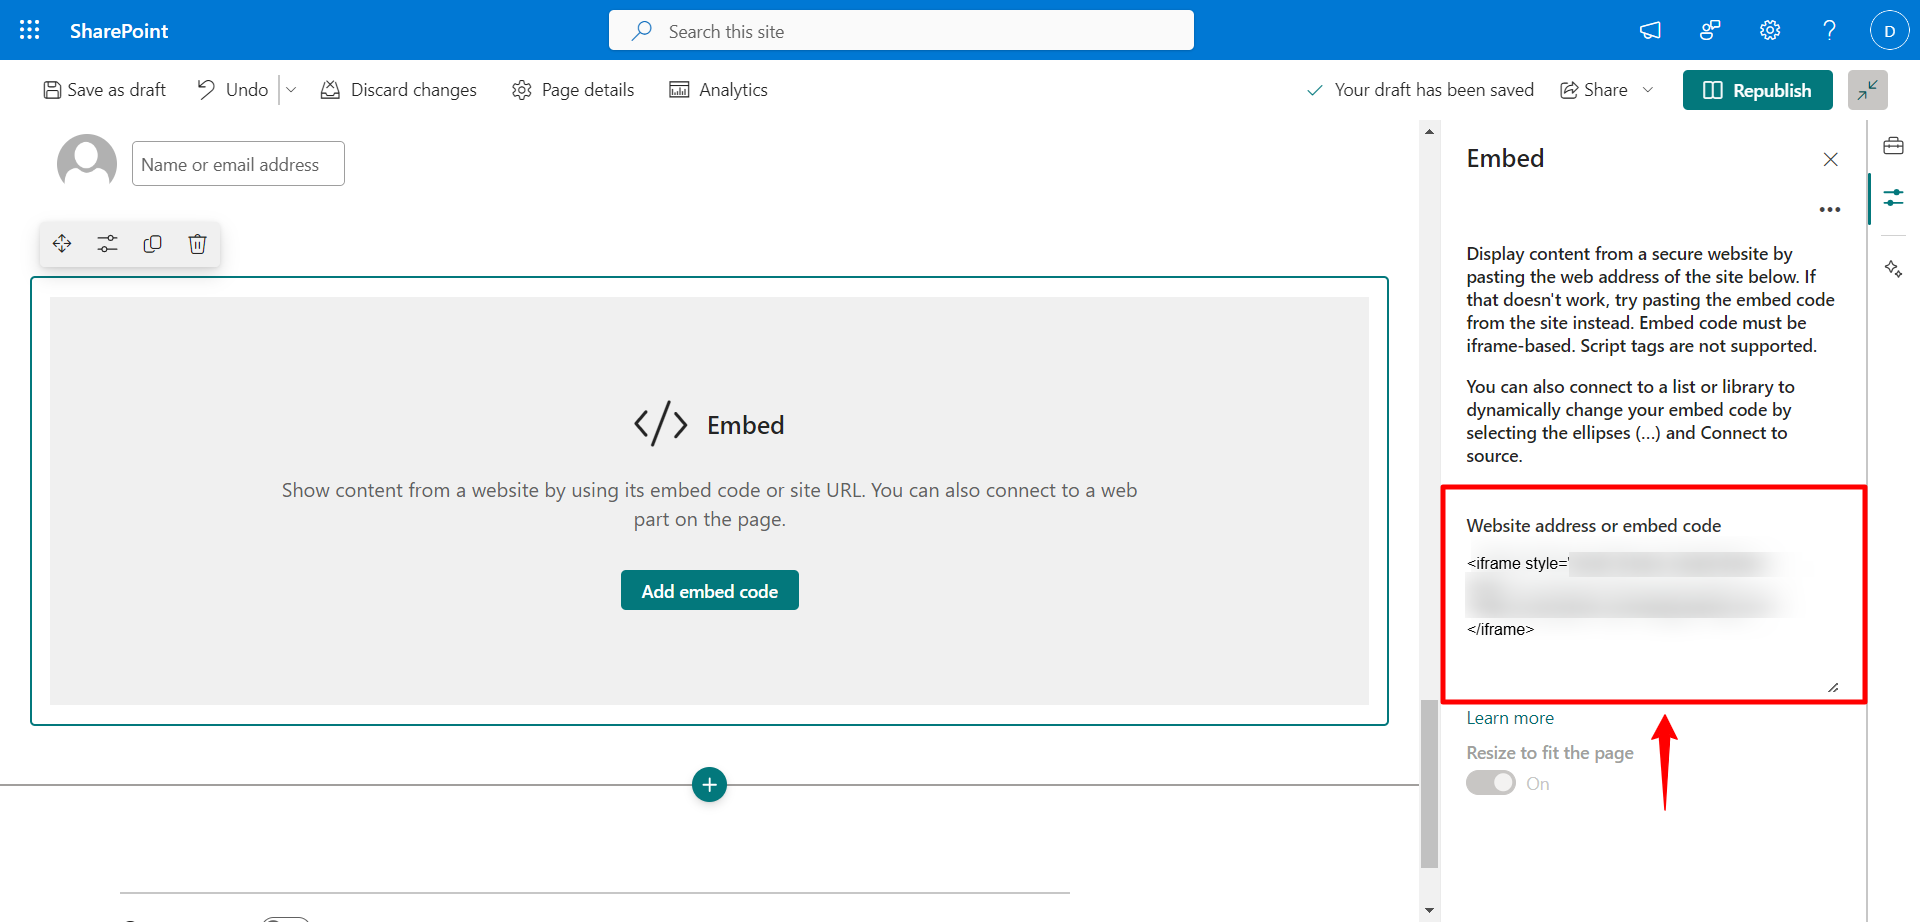
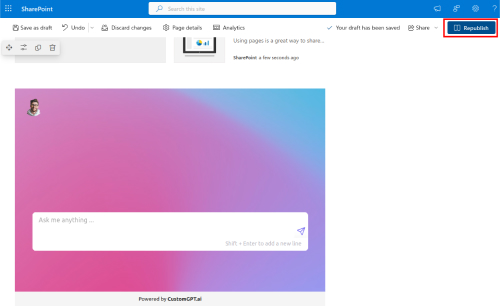
- Wait a few seconds for the agent to load, then click Republish to save your changes.
Updated 10 months ago
Did this page help you?