Create agent using Slack integration
This step-by-step guide explains how to create a new CustomGPT.ai agent directly from your Slack workspace.
First, make sure you’ve connected your CustomGPT.ai account to Slack. If not, follow this guide: How to Connect Your CustomGPT.ai Account with Slack Workspace
- In your Slack workspace, type the command
/create-projectand press send button.
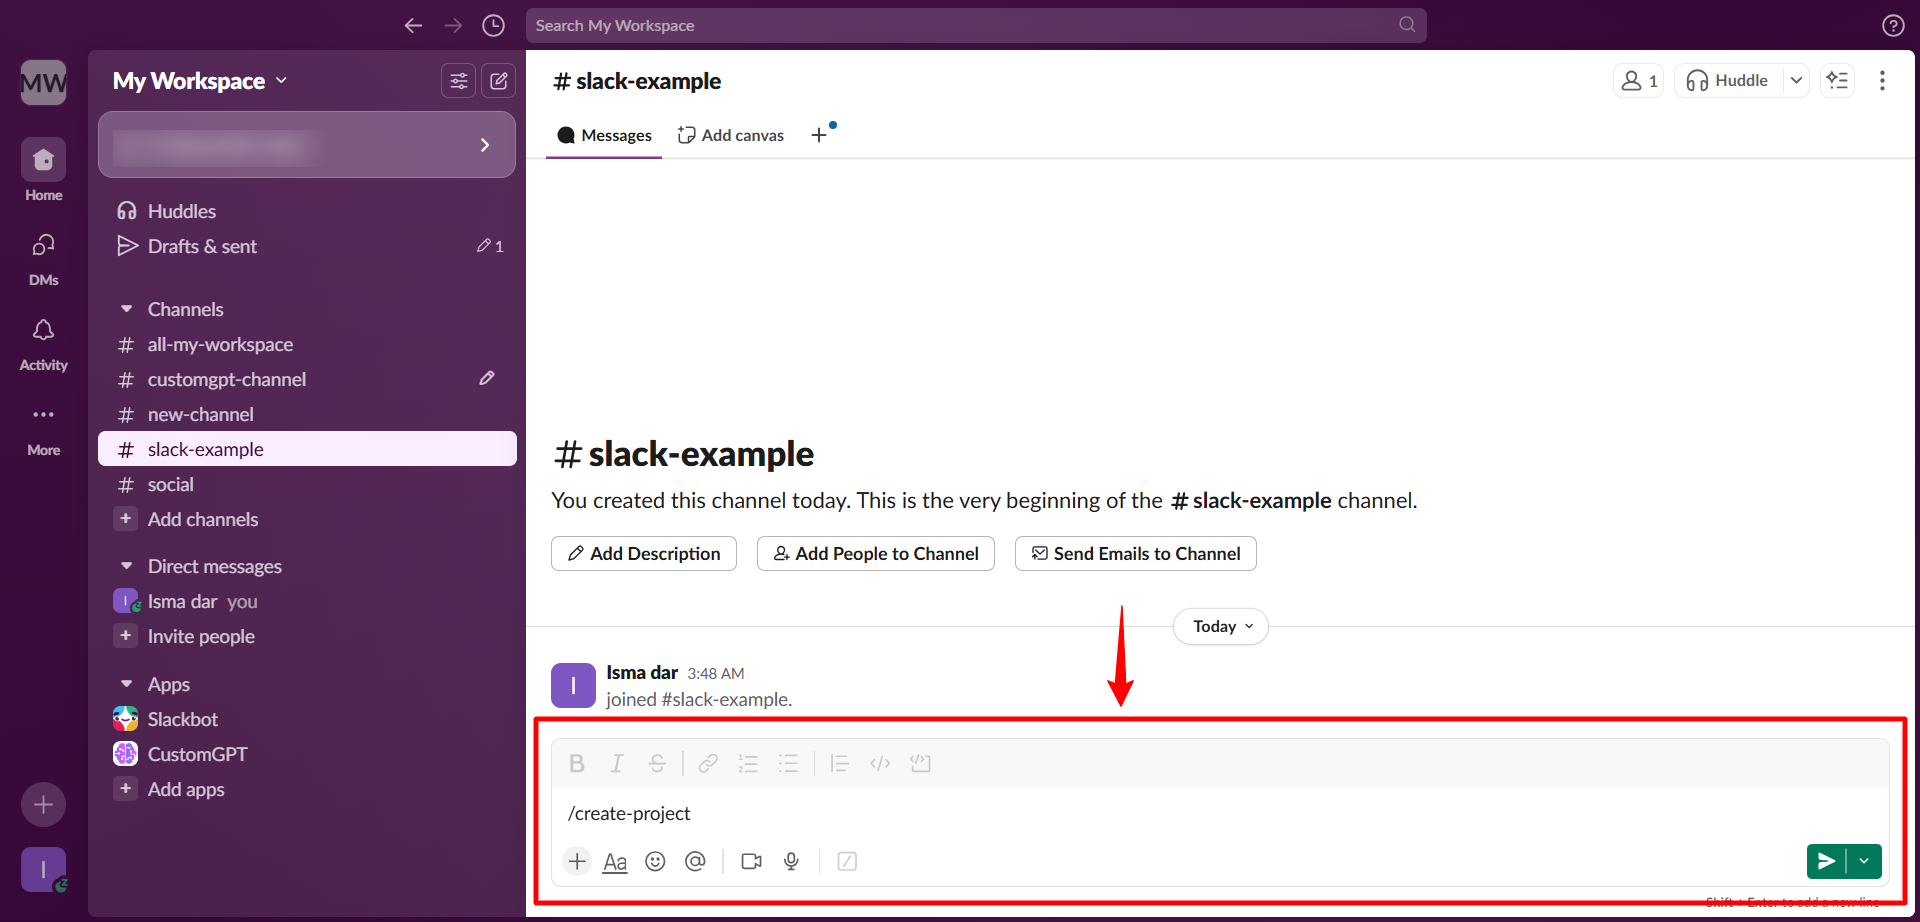
Note:Only admins have the permissions to execute this command and create agents.
- When prompted, enter the agent name and submit it.
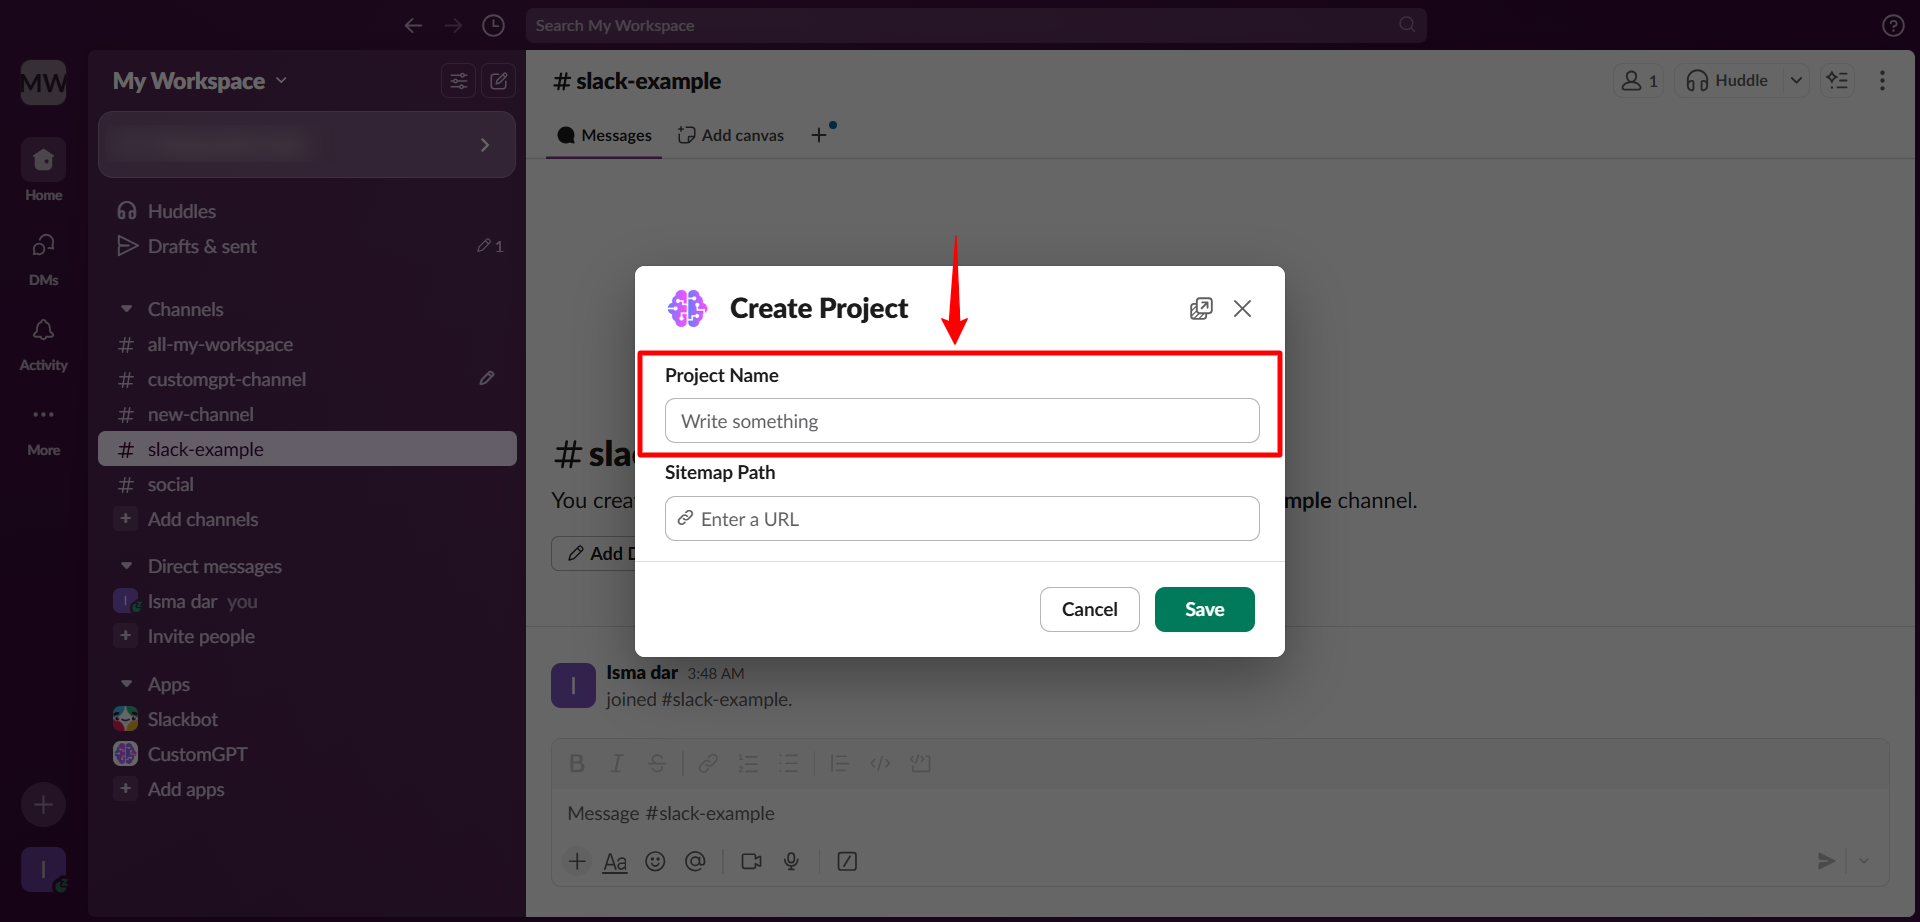
Note:Make sure you have the agent name and sitemap URL ready before you begin.
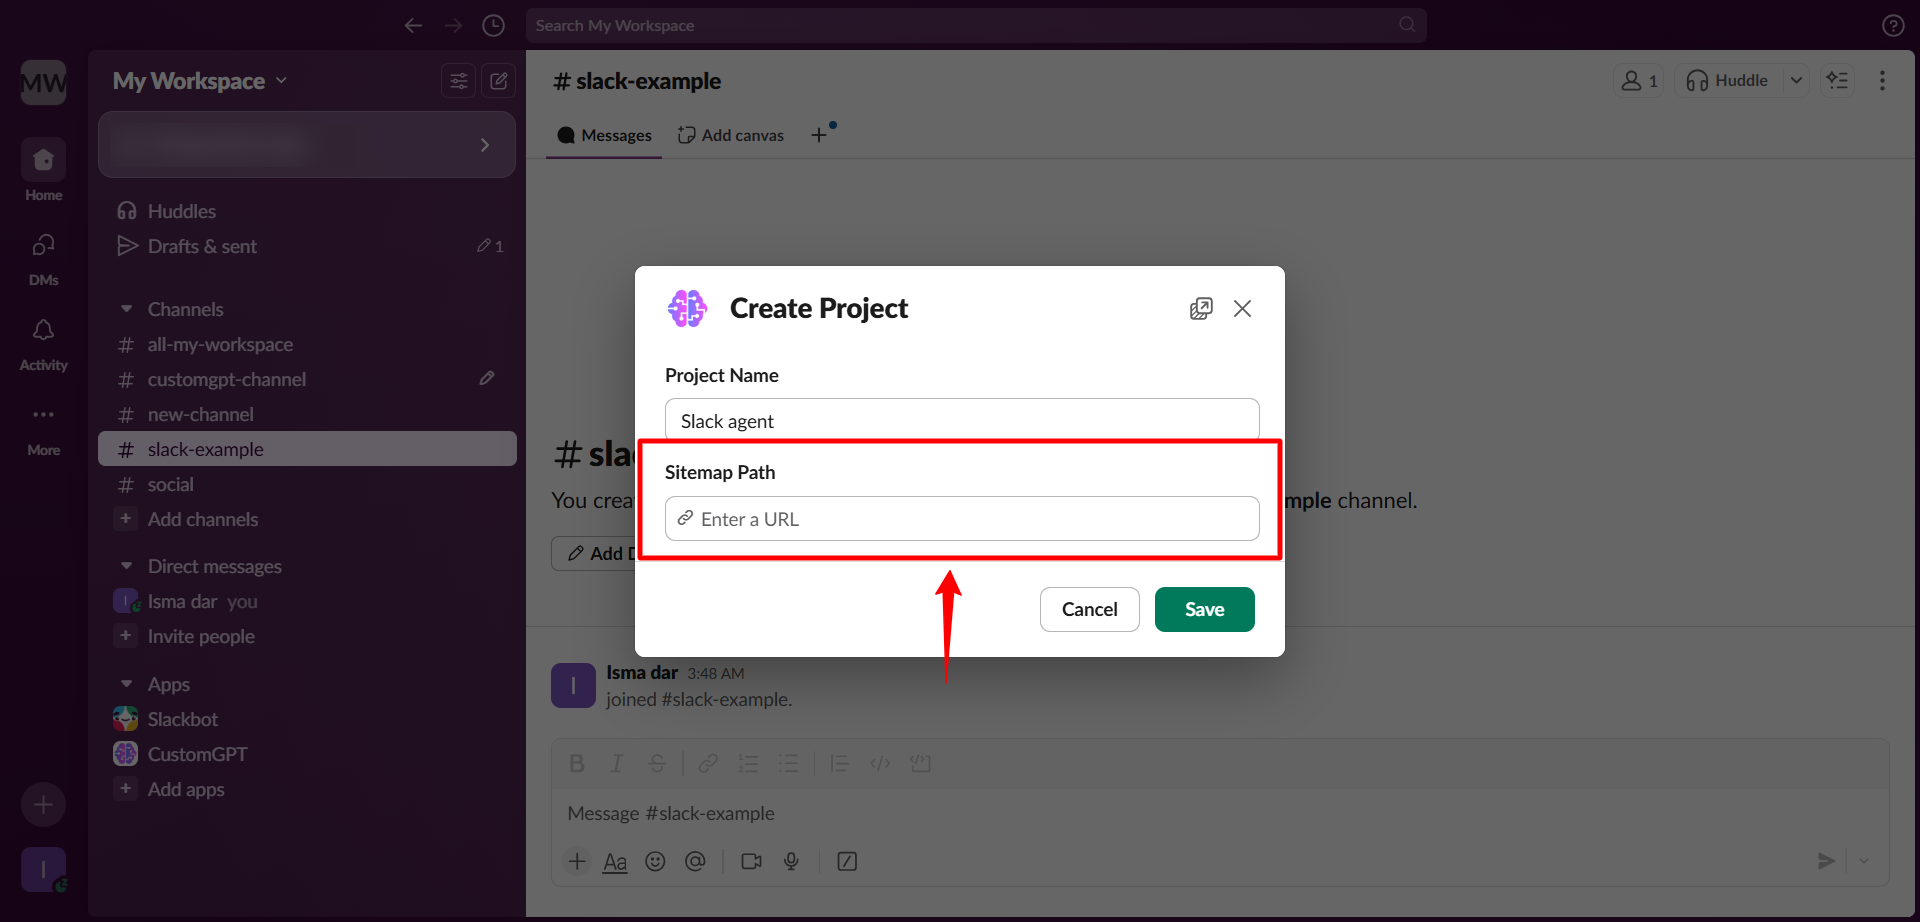
- When asked, enter the sitemap for the agent and submit.
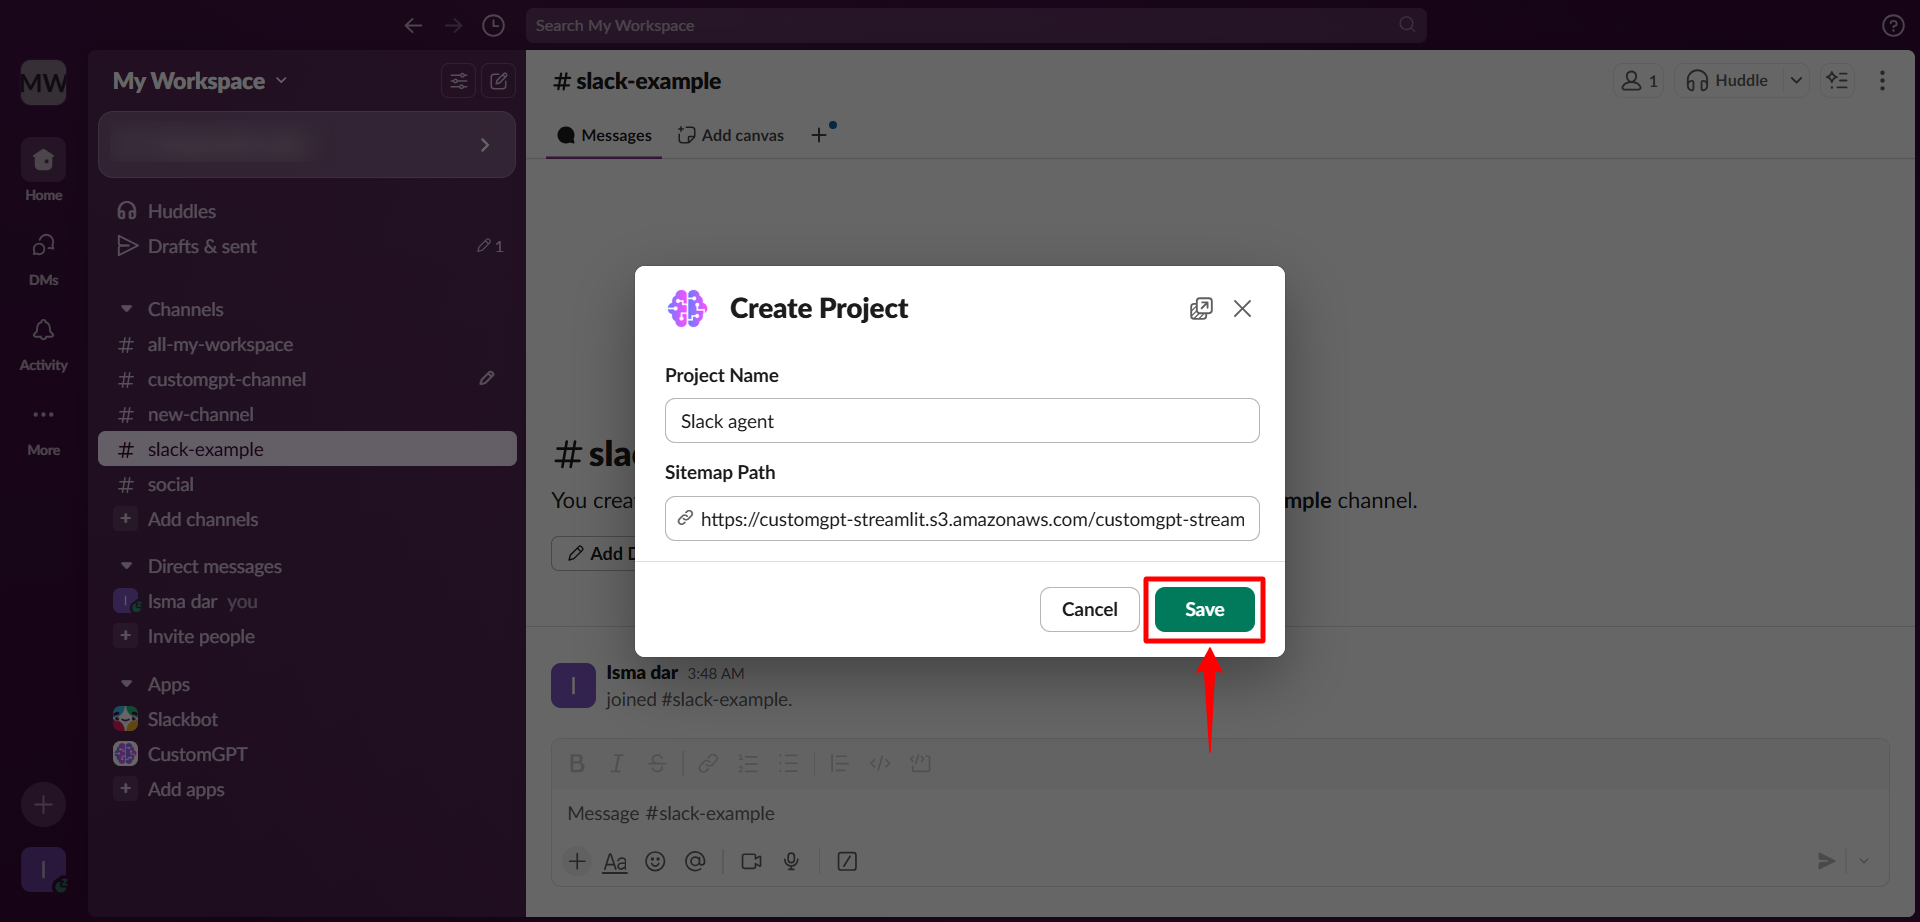
- Click Save to finalize the setup.
Please check our user guide to learn "How to Deploy your agent to Slack channel" and "How to Set agent access in Slack workspace".
Updated about 1 year ago
Did this page help you?