How to Manage and Create Custom Roles (Teams)
👥 Creating custom roles allows you to assign different team members different permissions within your CustomGPT account. Follow these simple steps to ensure that you can assign your team members any roles that you see fit.
Step 1: Sign in
a) Sign in to https://app.customgpt.ai/.
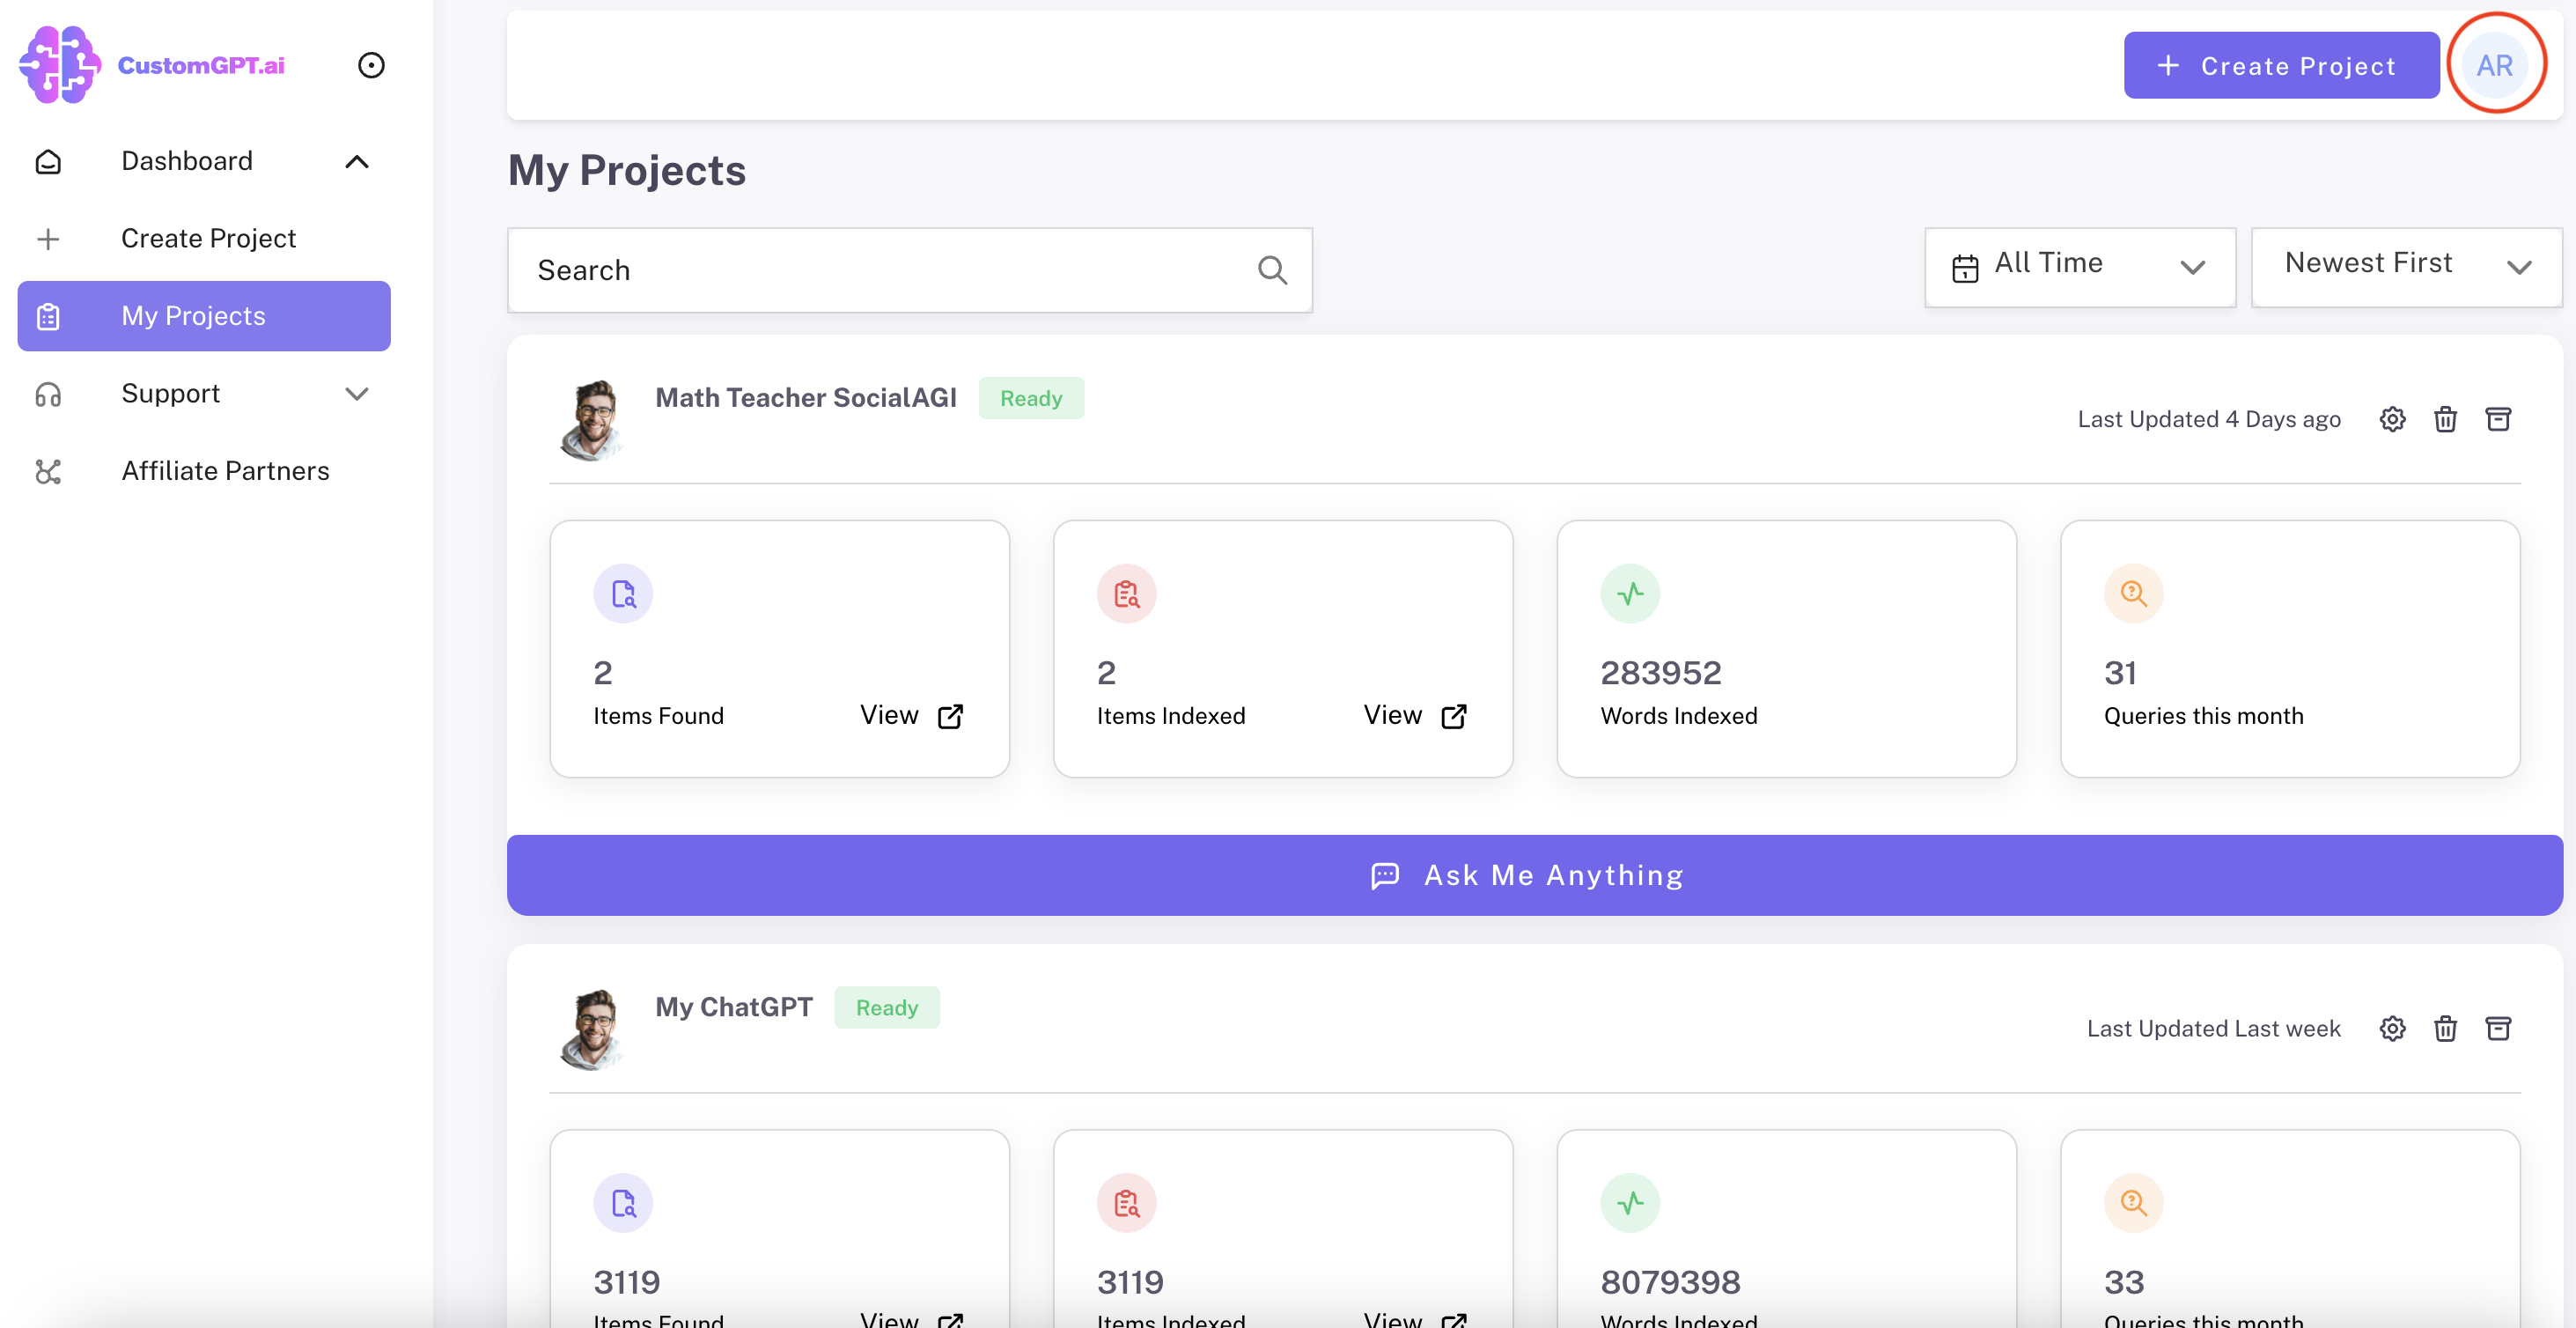
Step 2: Open Account View
a) Click on your profile.
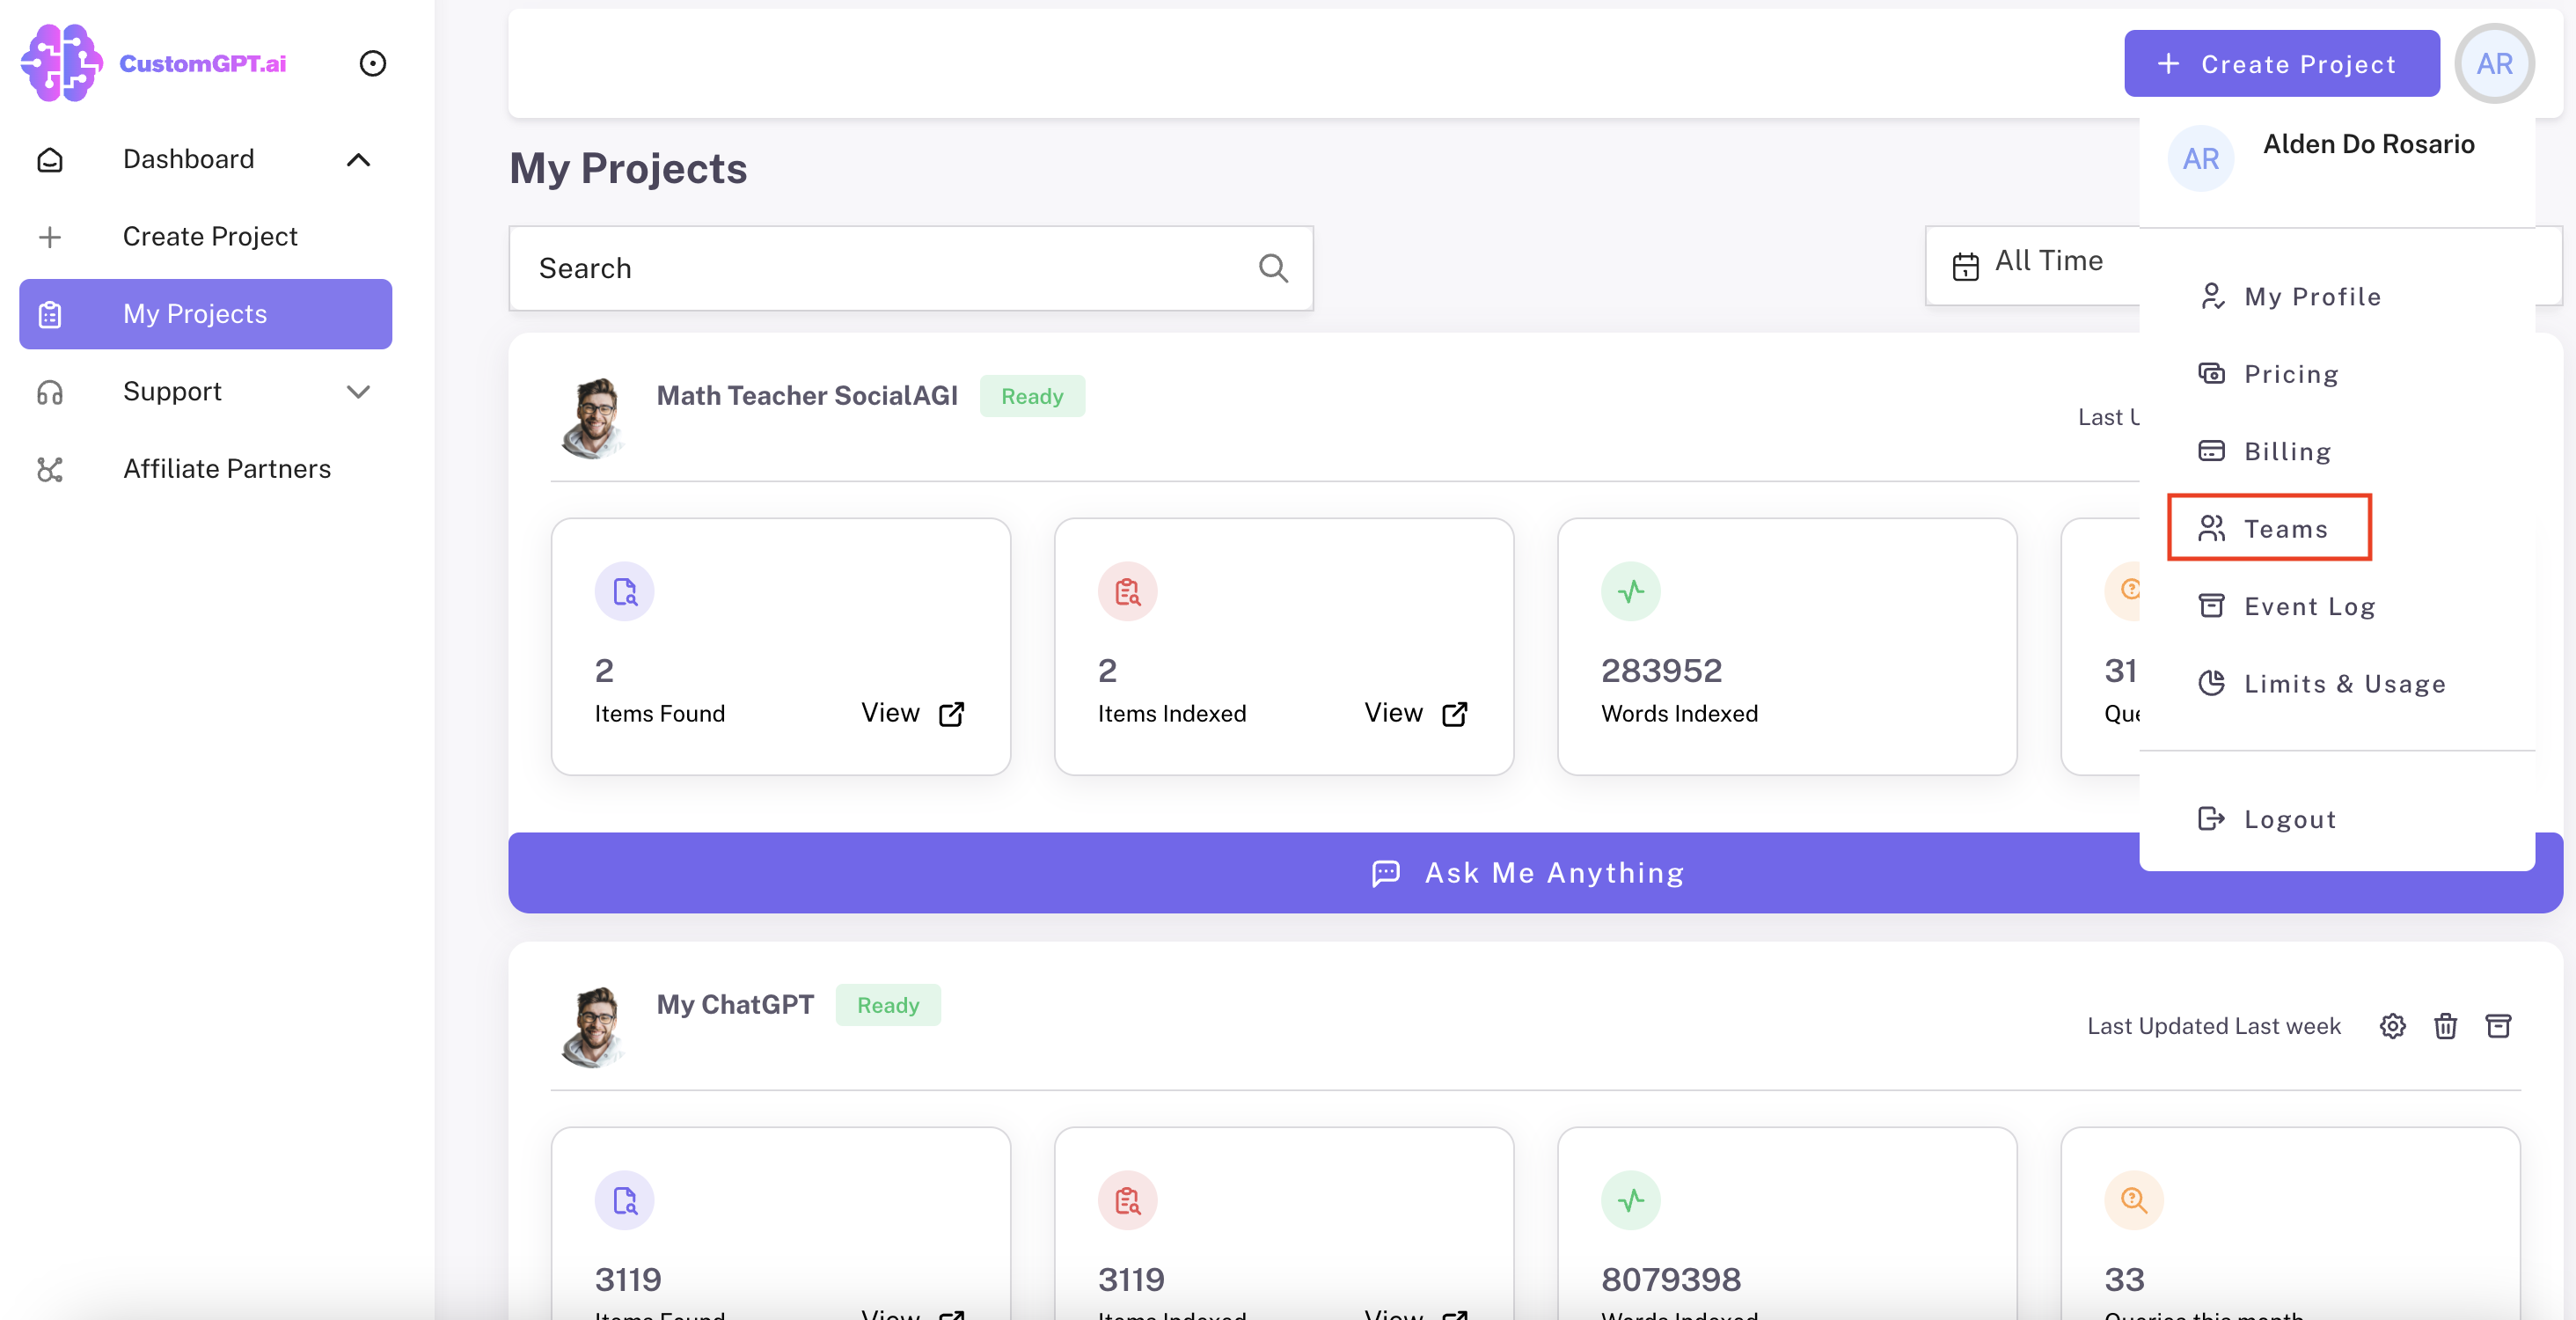
Step 3: Navigate to Teams Settings
a) Click on "Teams".
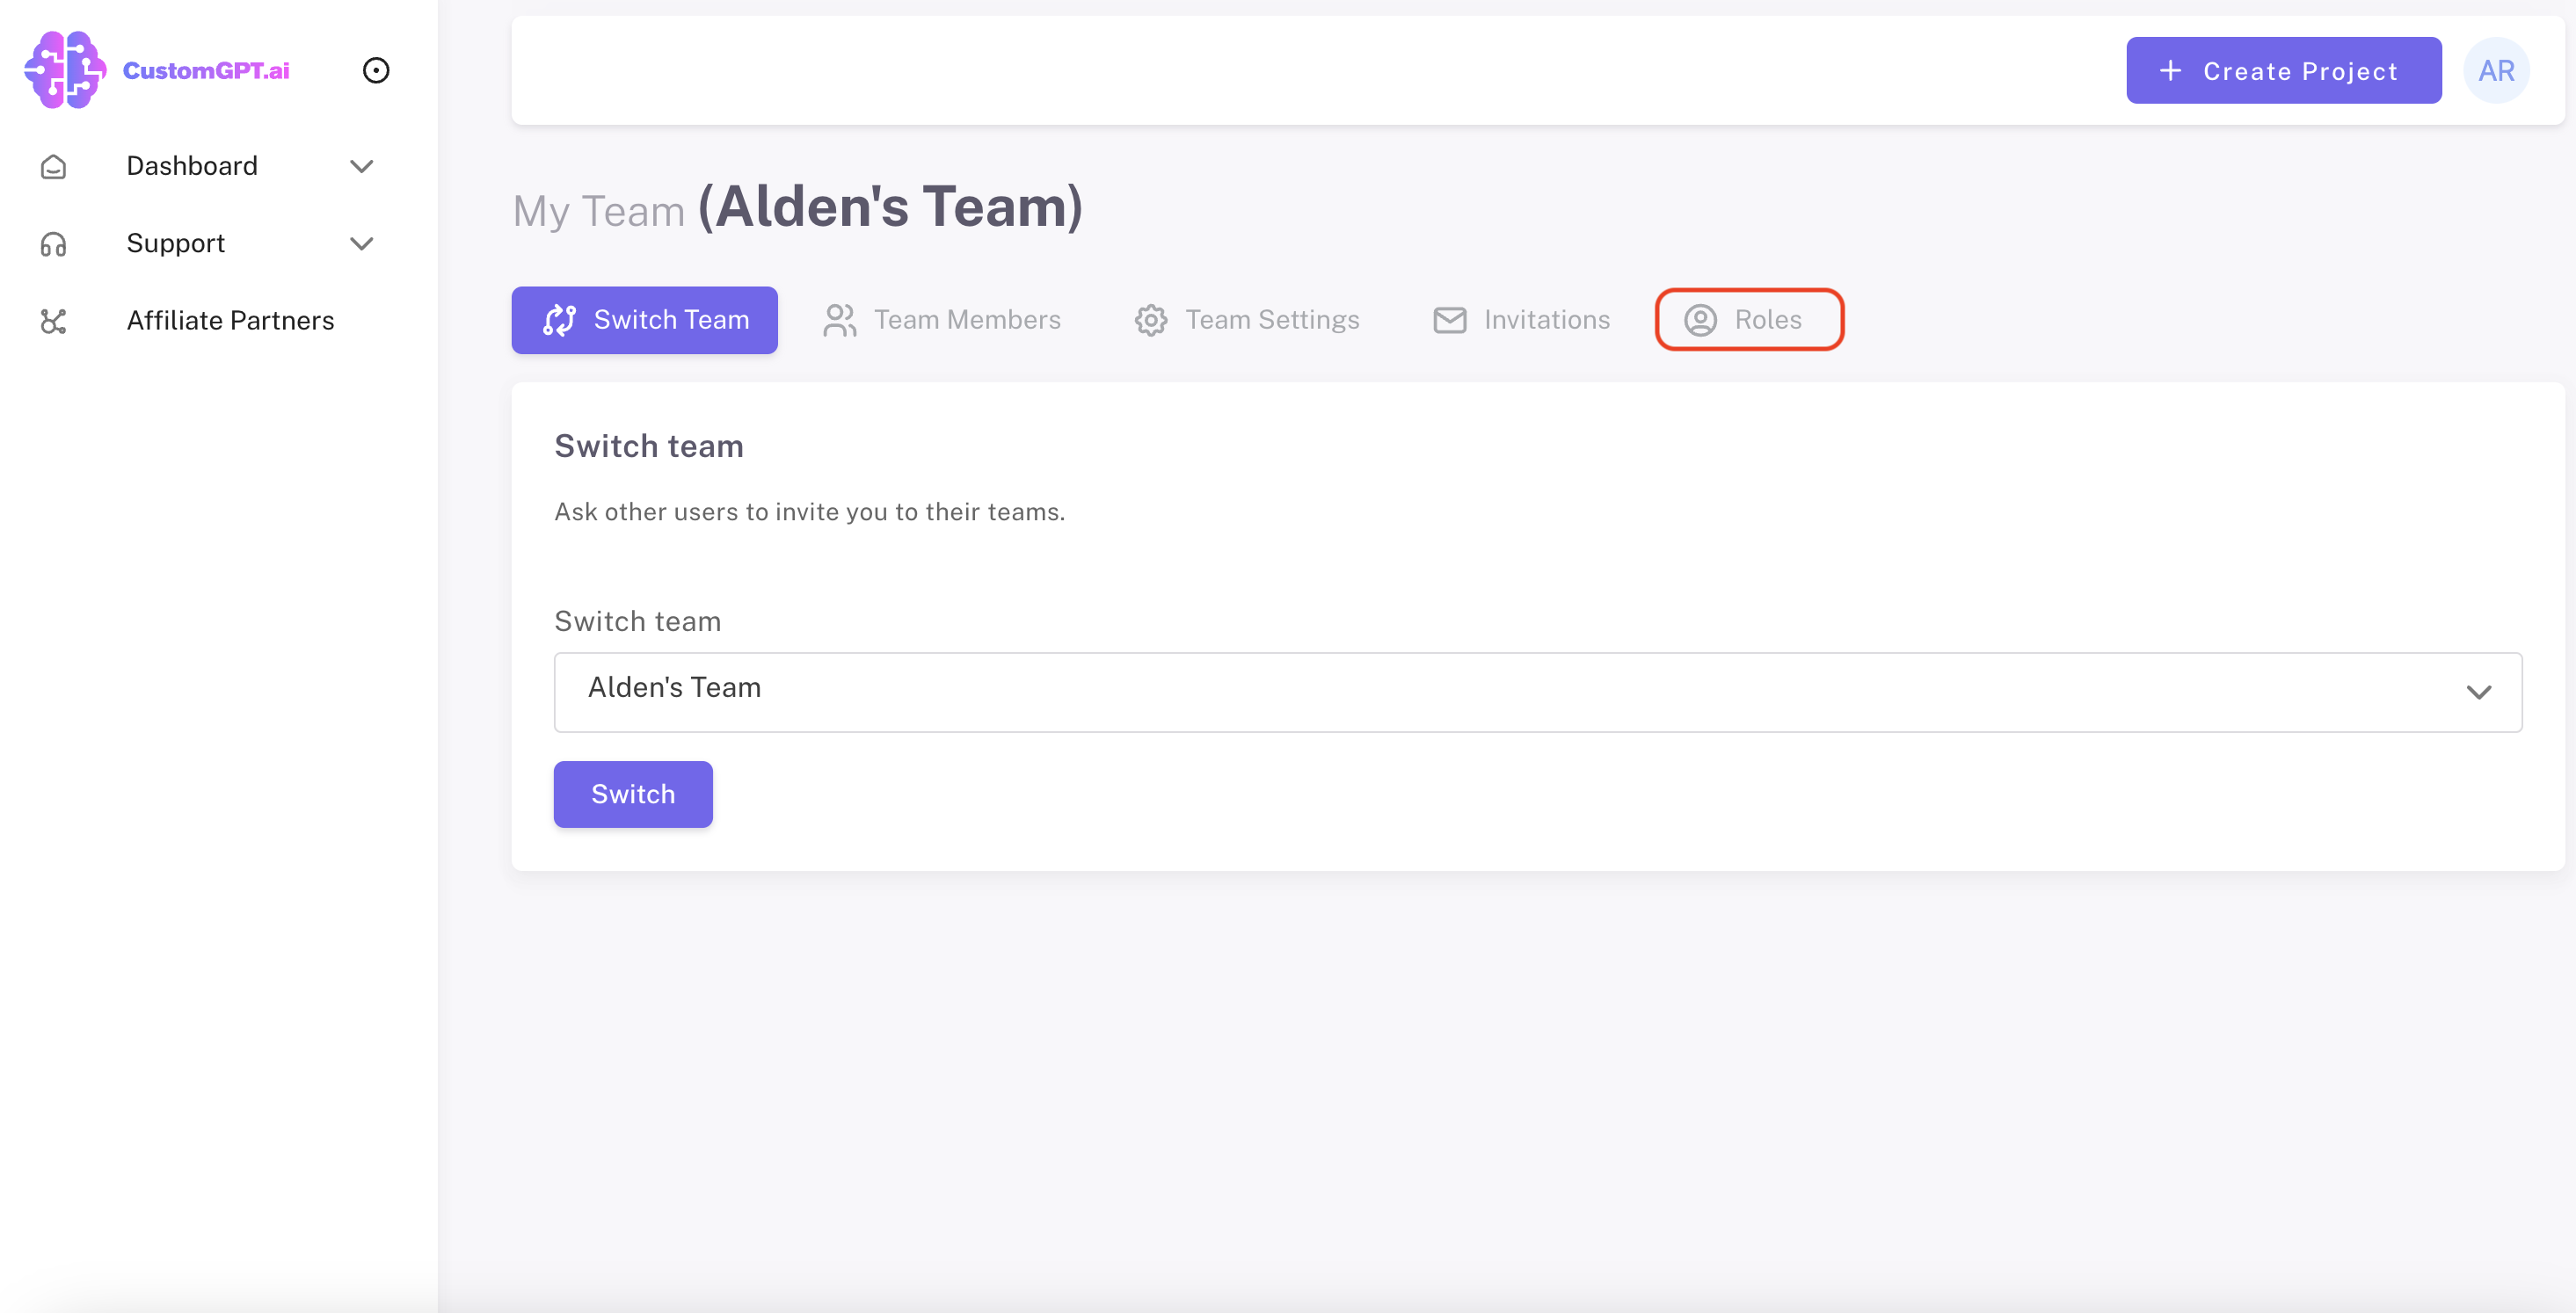
Step 4: Create a Role
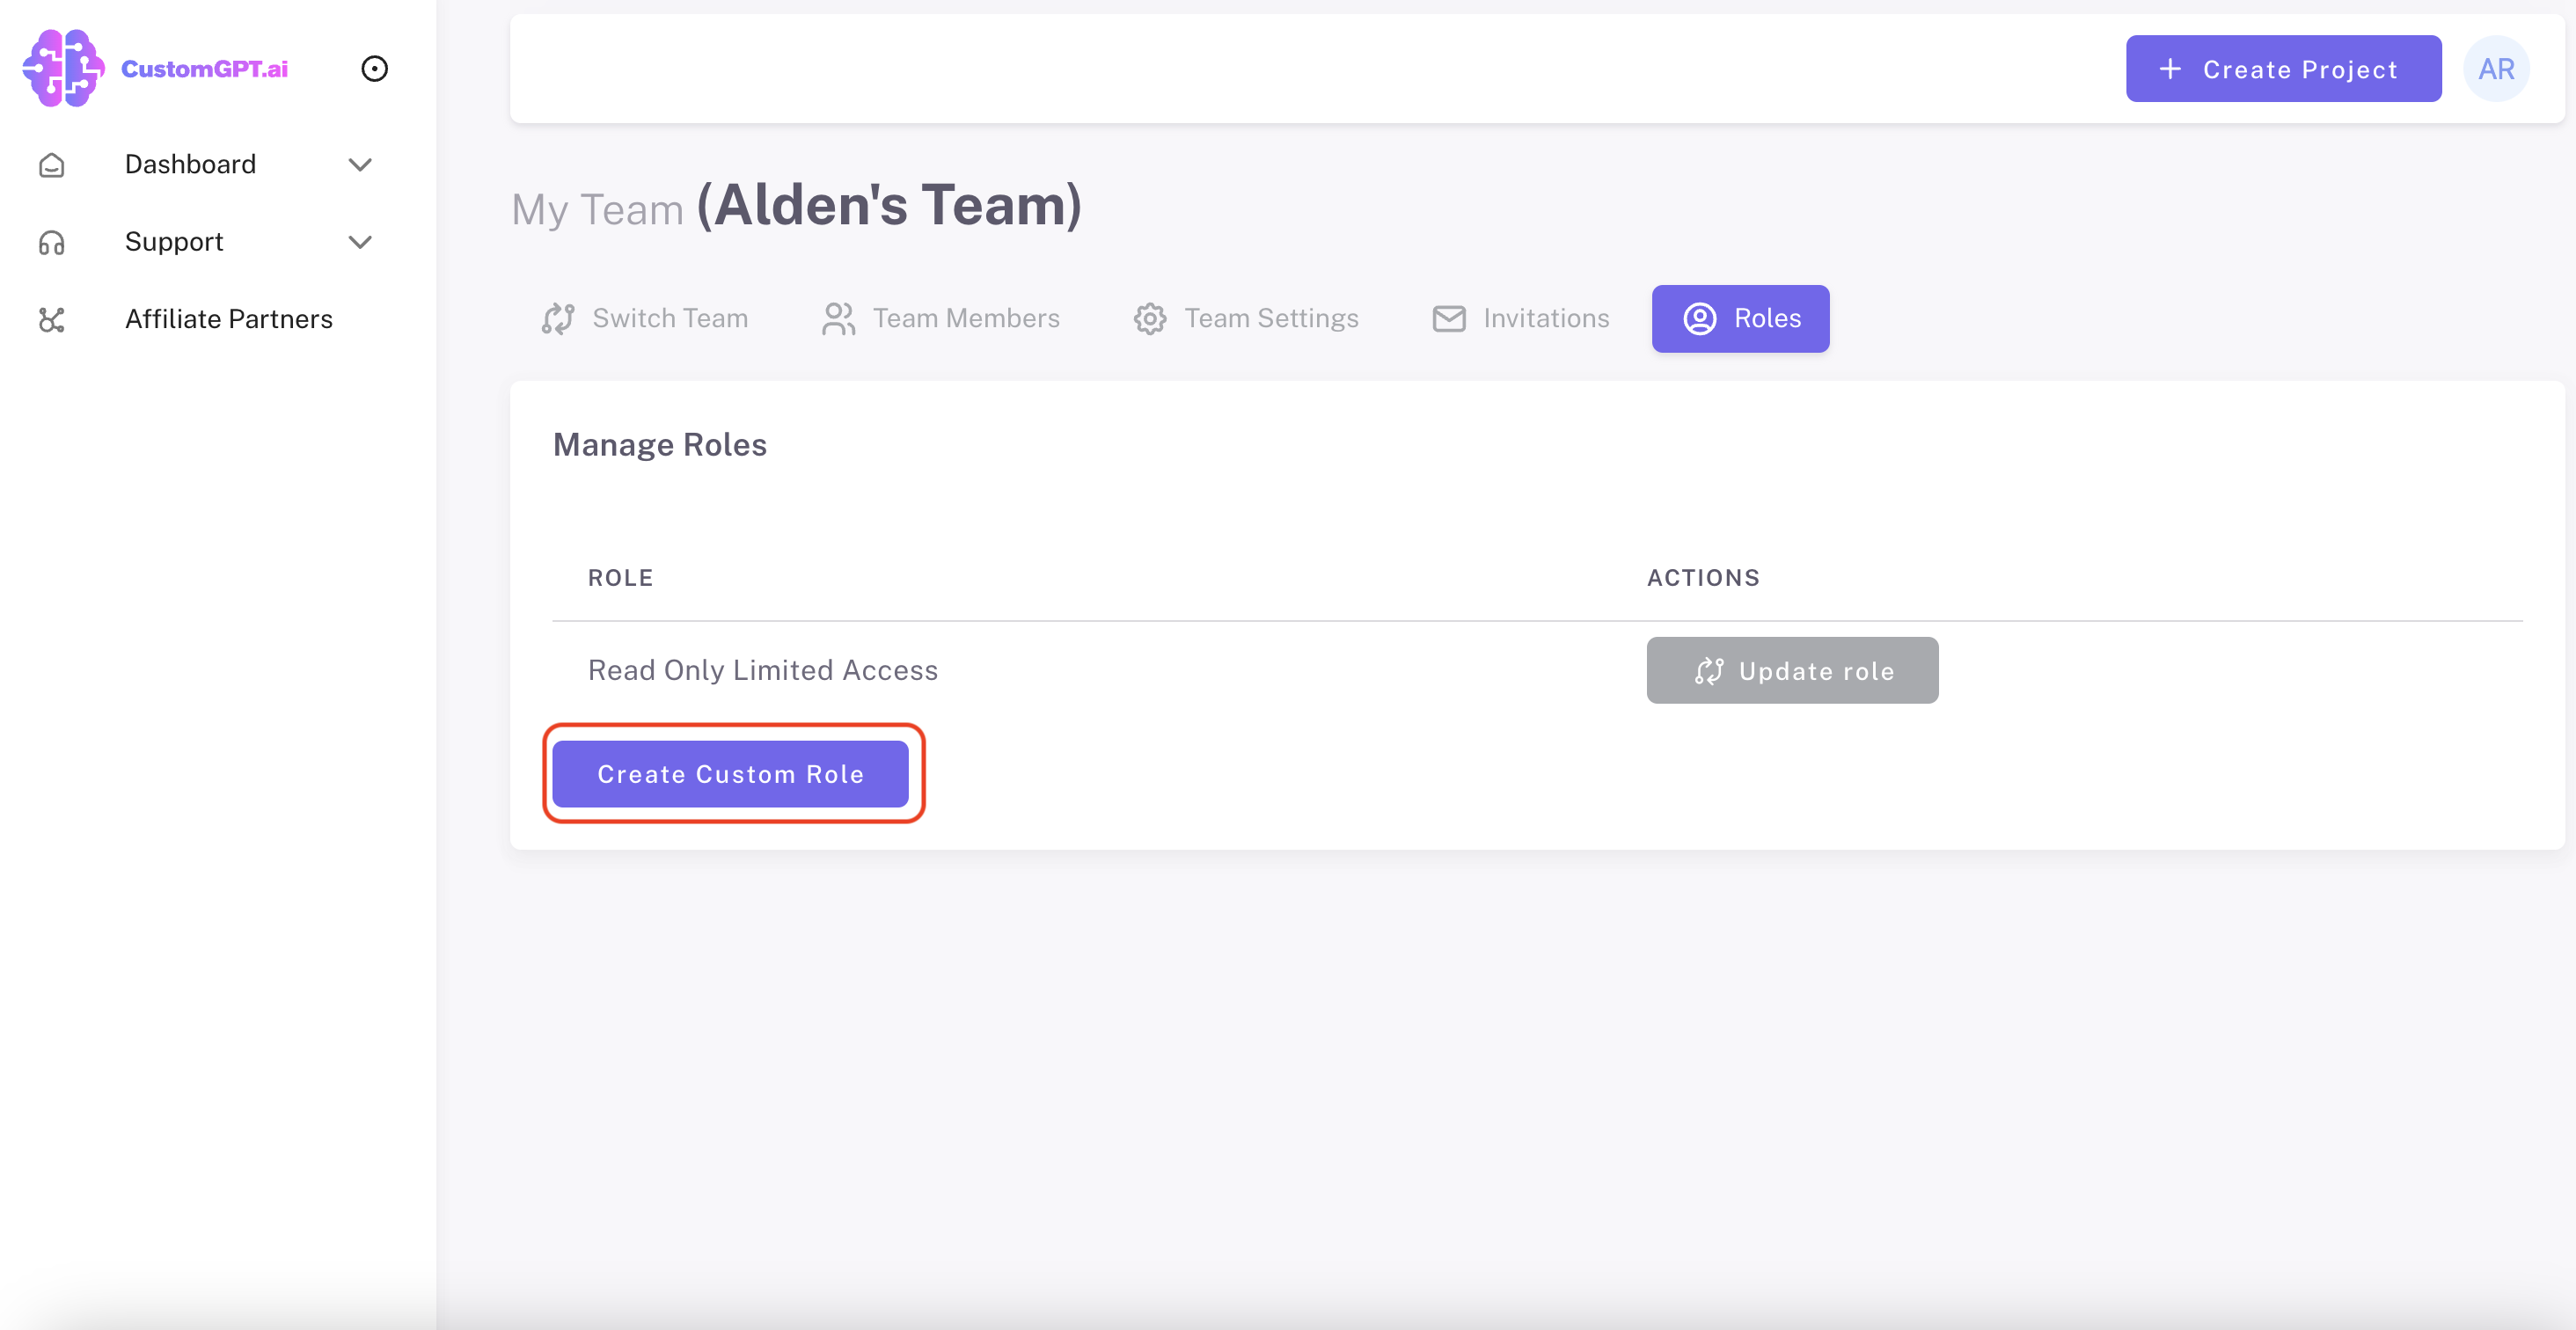
a) Once in "My Team" view, click on "Roles".
b) Click "Create Custom Role".
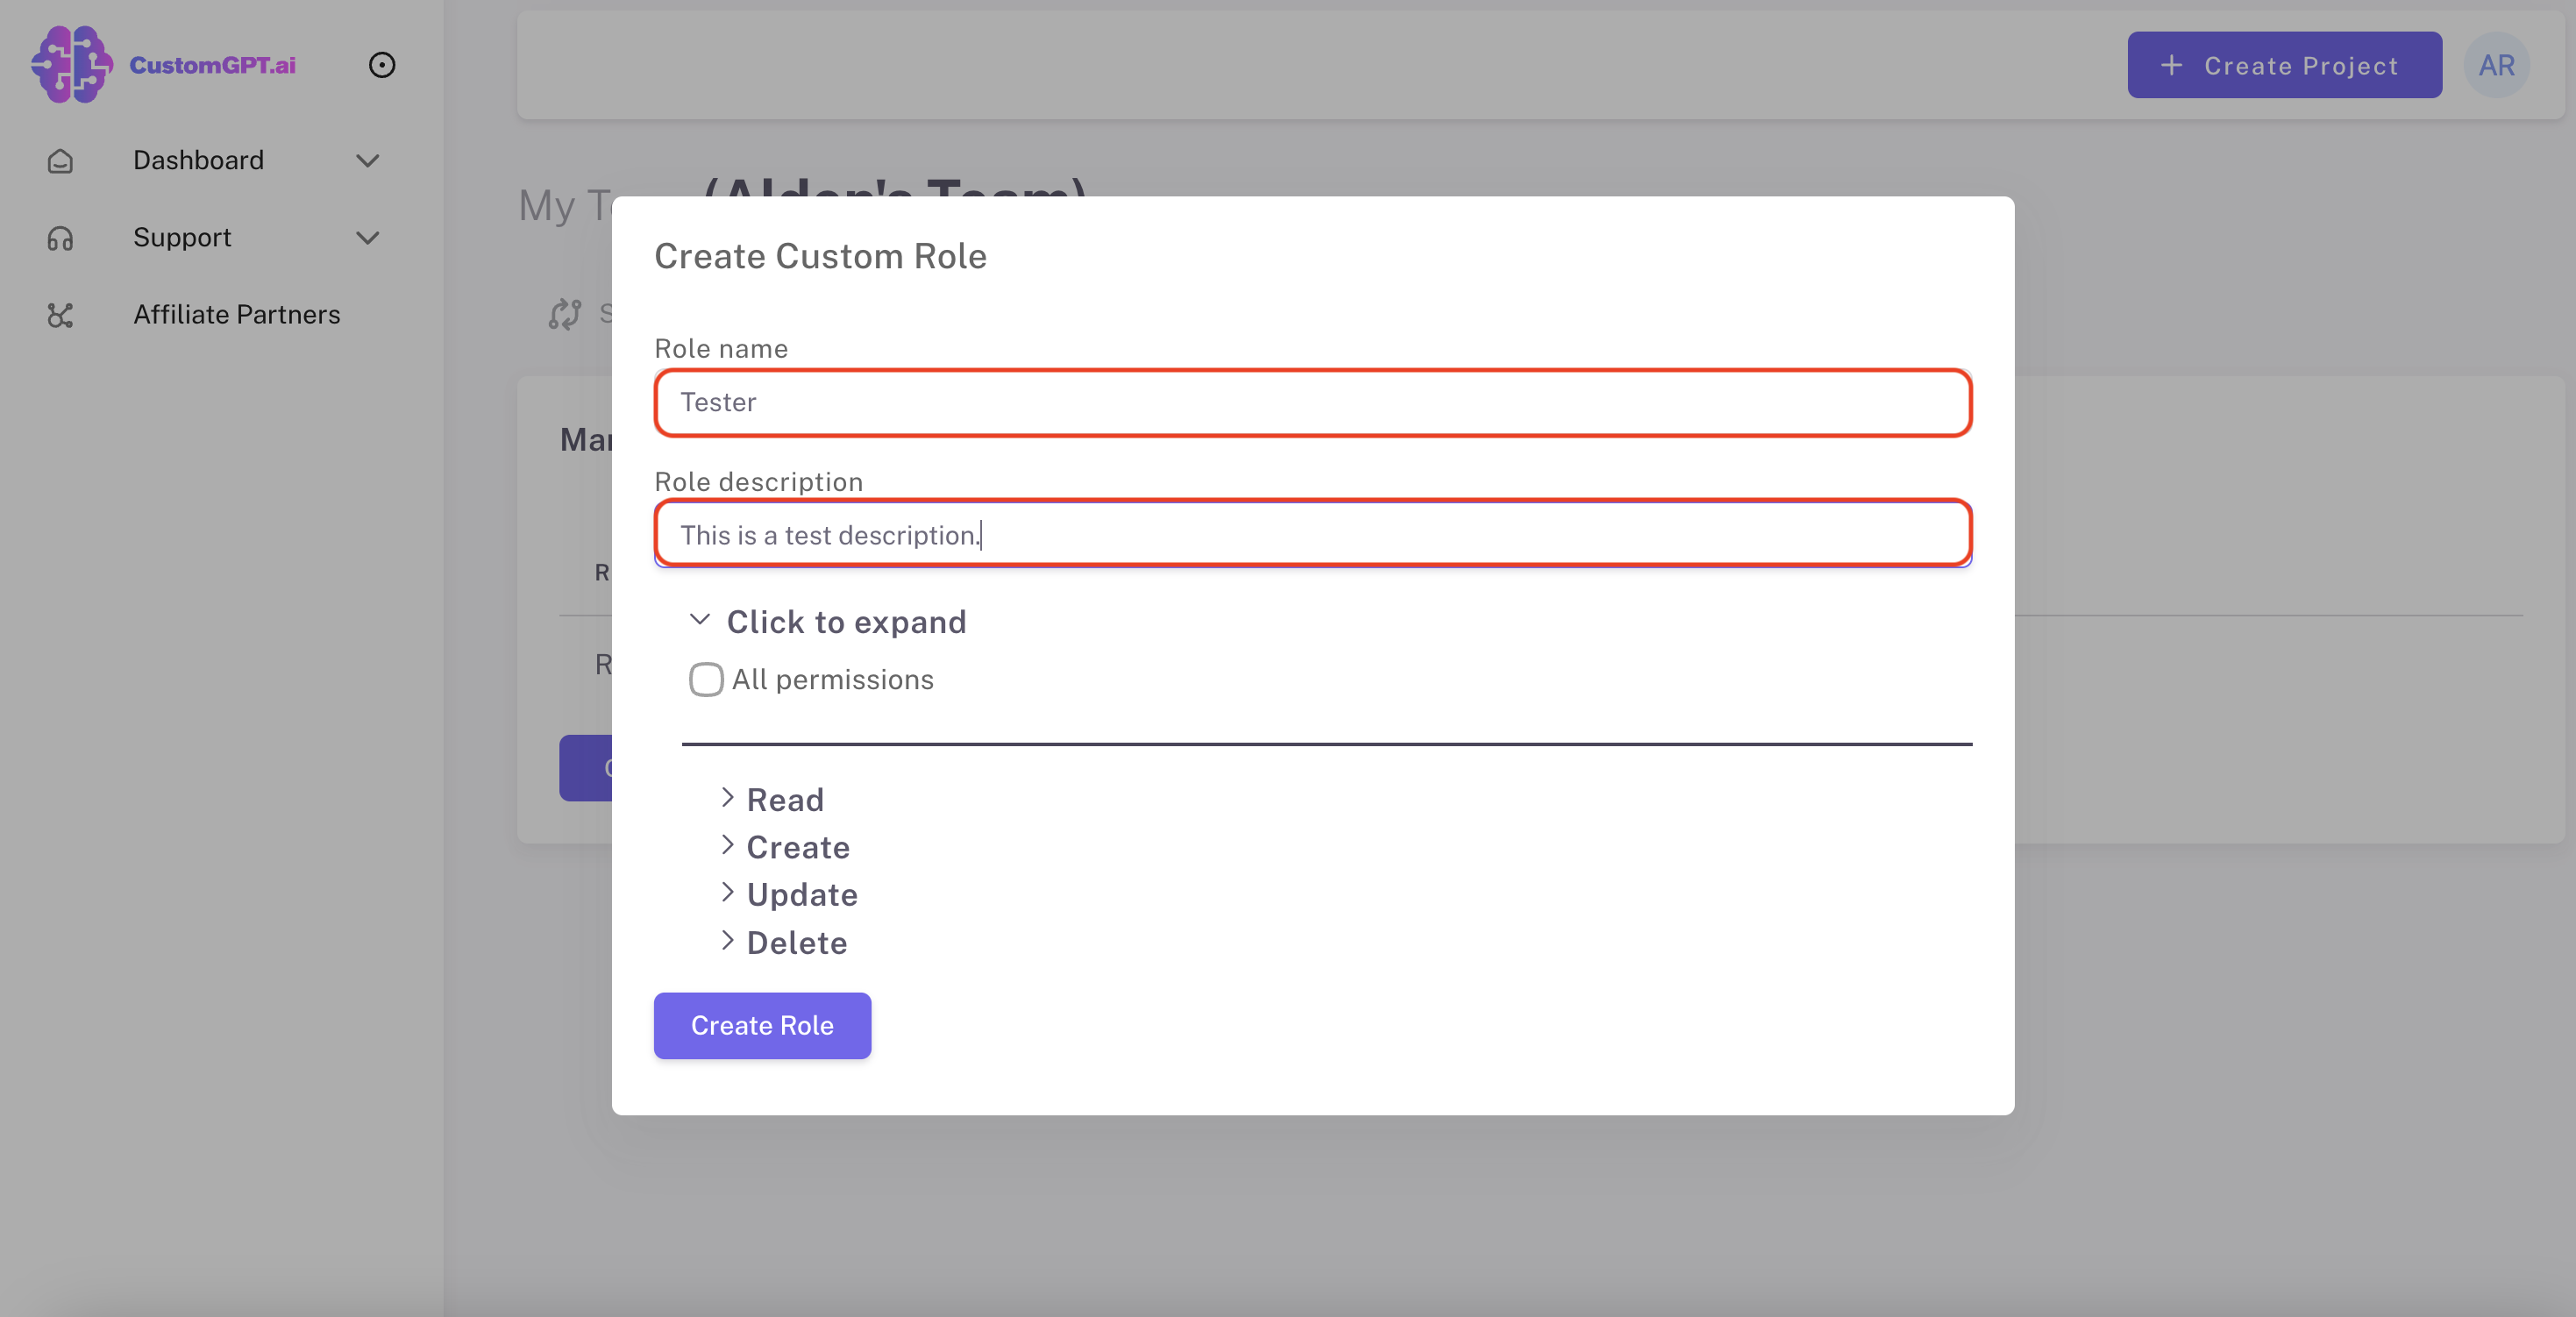
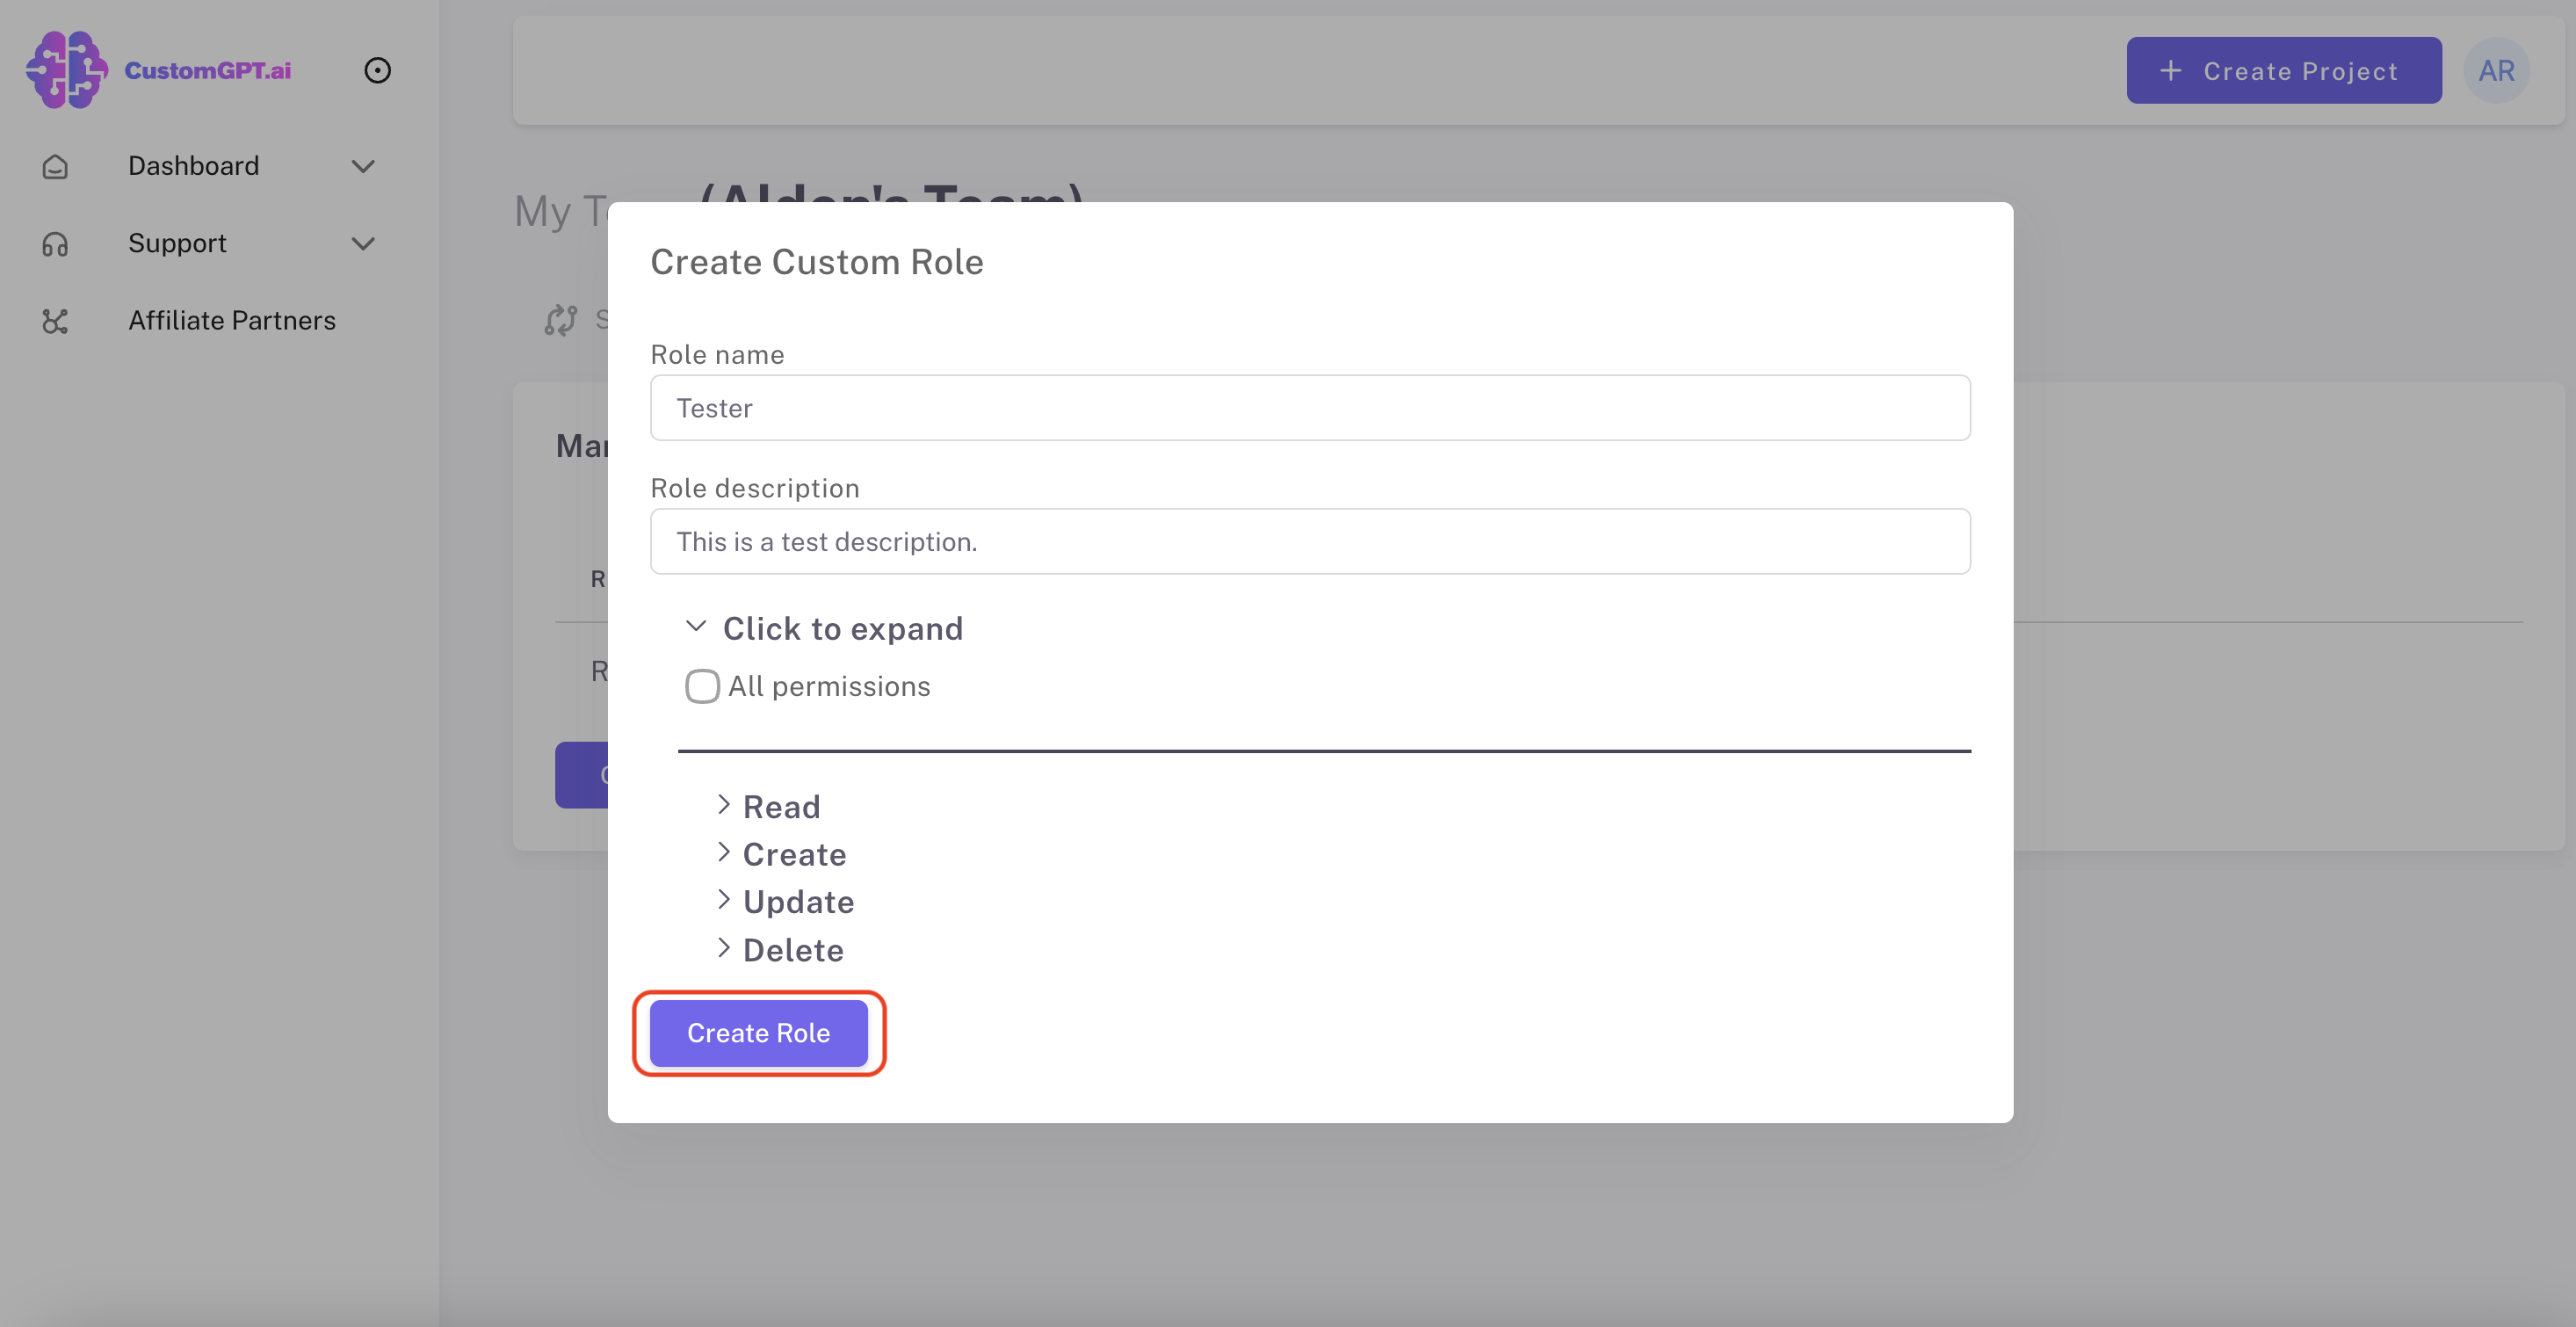
c) Type info into "Role name" and "Role description" fields.
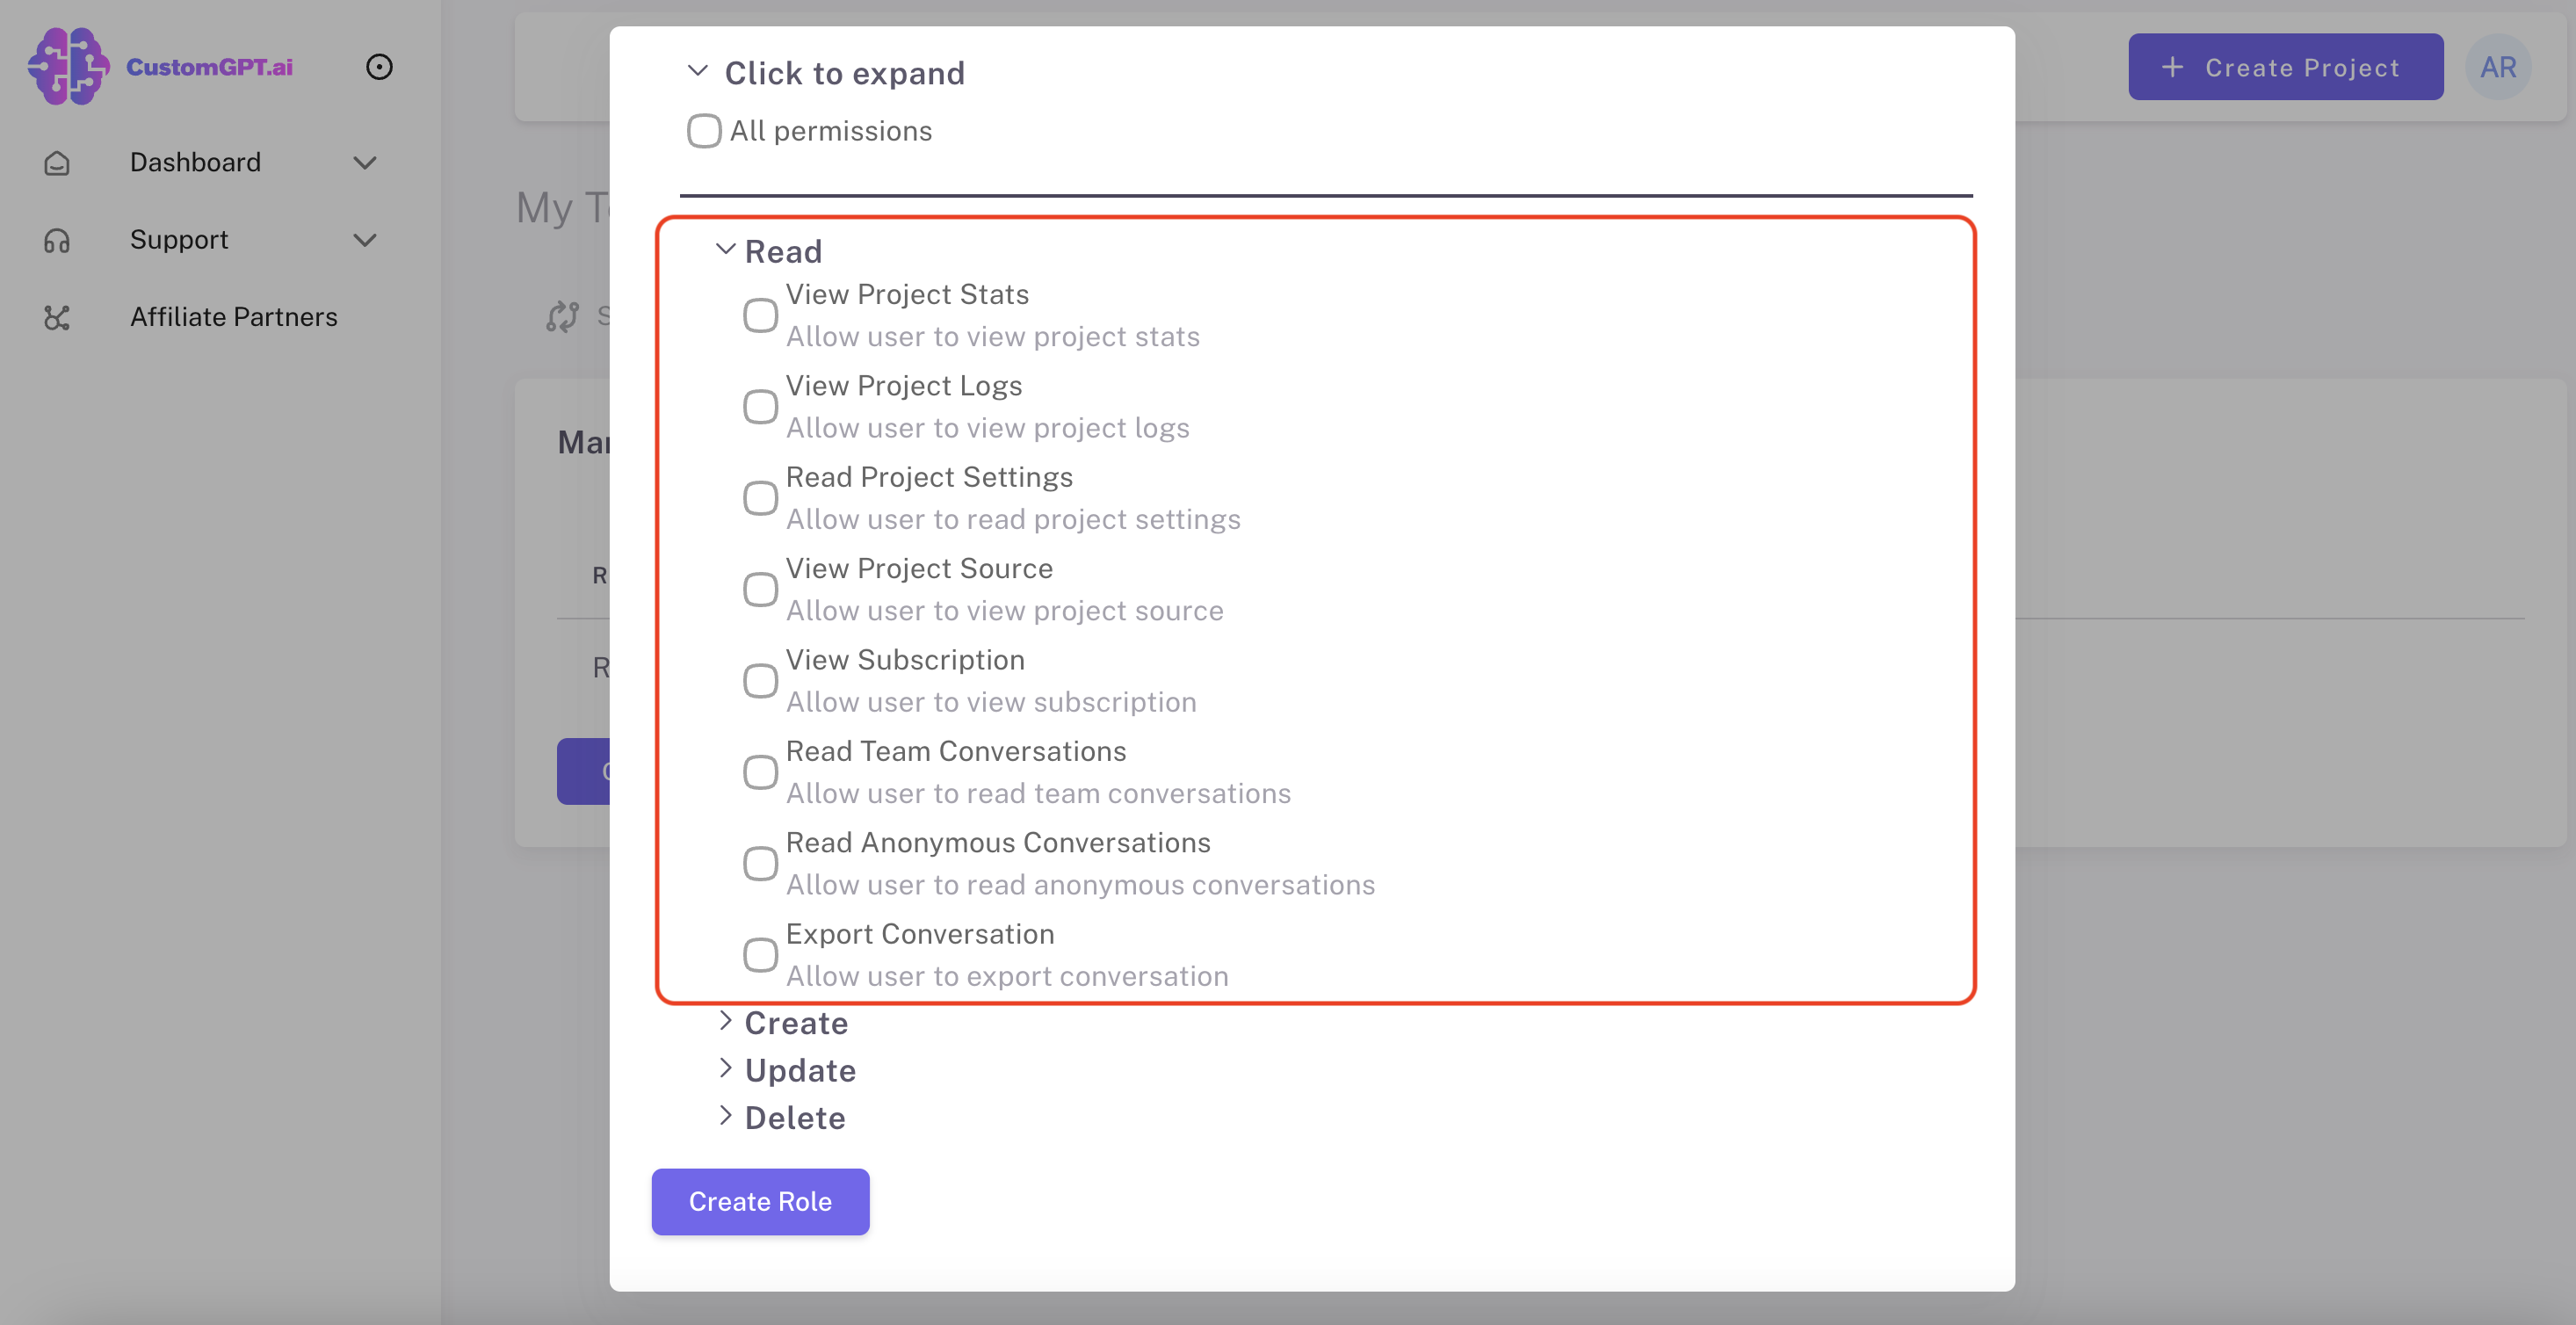
d) Select/toggle the desired "Read" permissions.
- View Project Stats: allows user to view project stats.
- View Project Logs: allows user to view project logs.
- Read Project Settings: allows user to read project settings.
- View Project Source: allows user to view project sources.
- View Subscription: allows user to view subscription details.
- Read Team Conversations: allows user to read team members' conversations.
- Read Anonymous Conversations: allows user to read conversations from anonymous users.
- Export Conversation: allows user to export conversations.
e) Select/toggle the desired "Create" permissions.
- Add team member: allows user to add other team members.
- Create Project: allows user to create projects.
- Create Project Source: allows user to create new project sources.
- Create conversation: allows user to create new conversations.

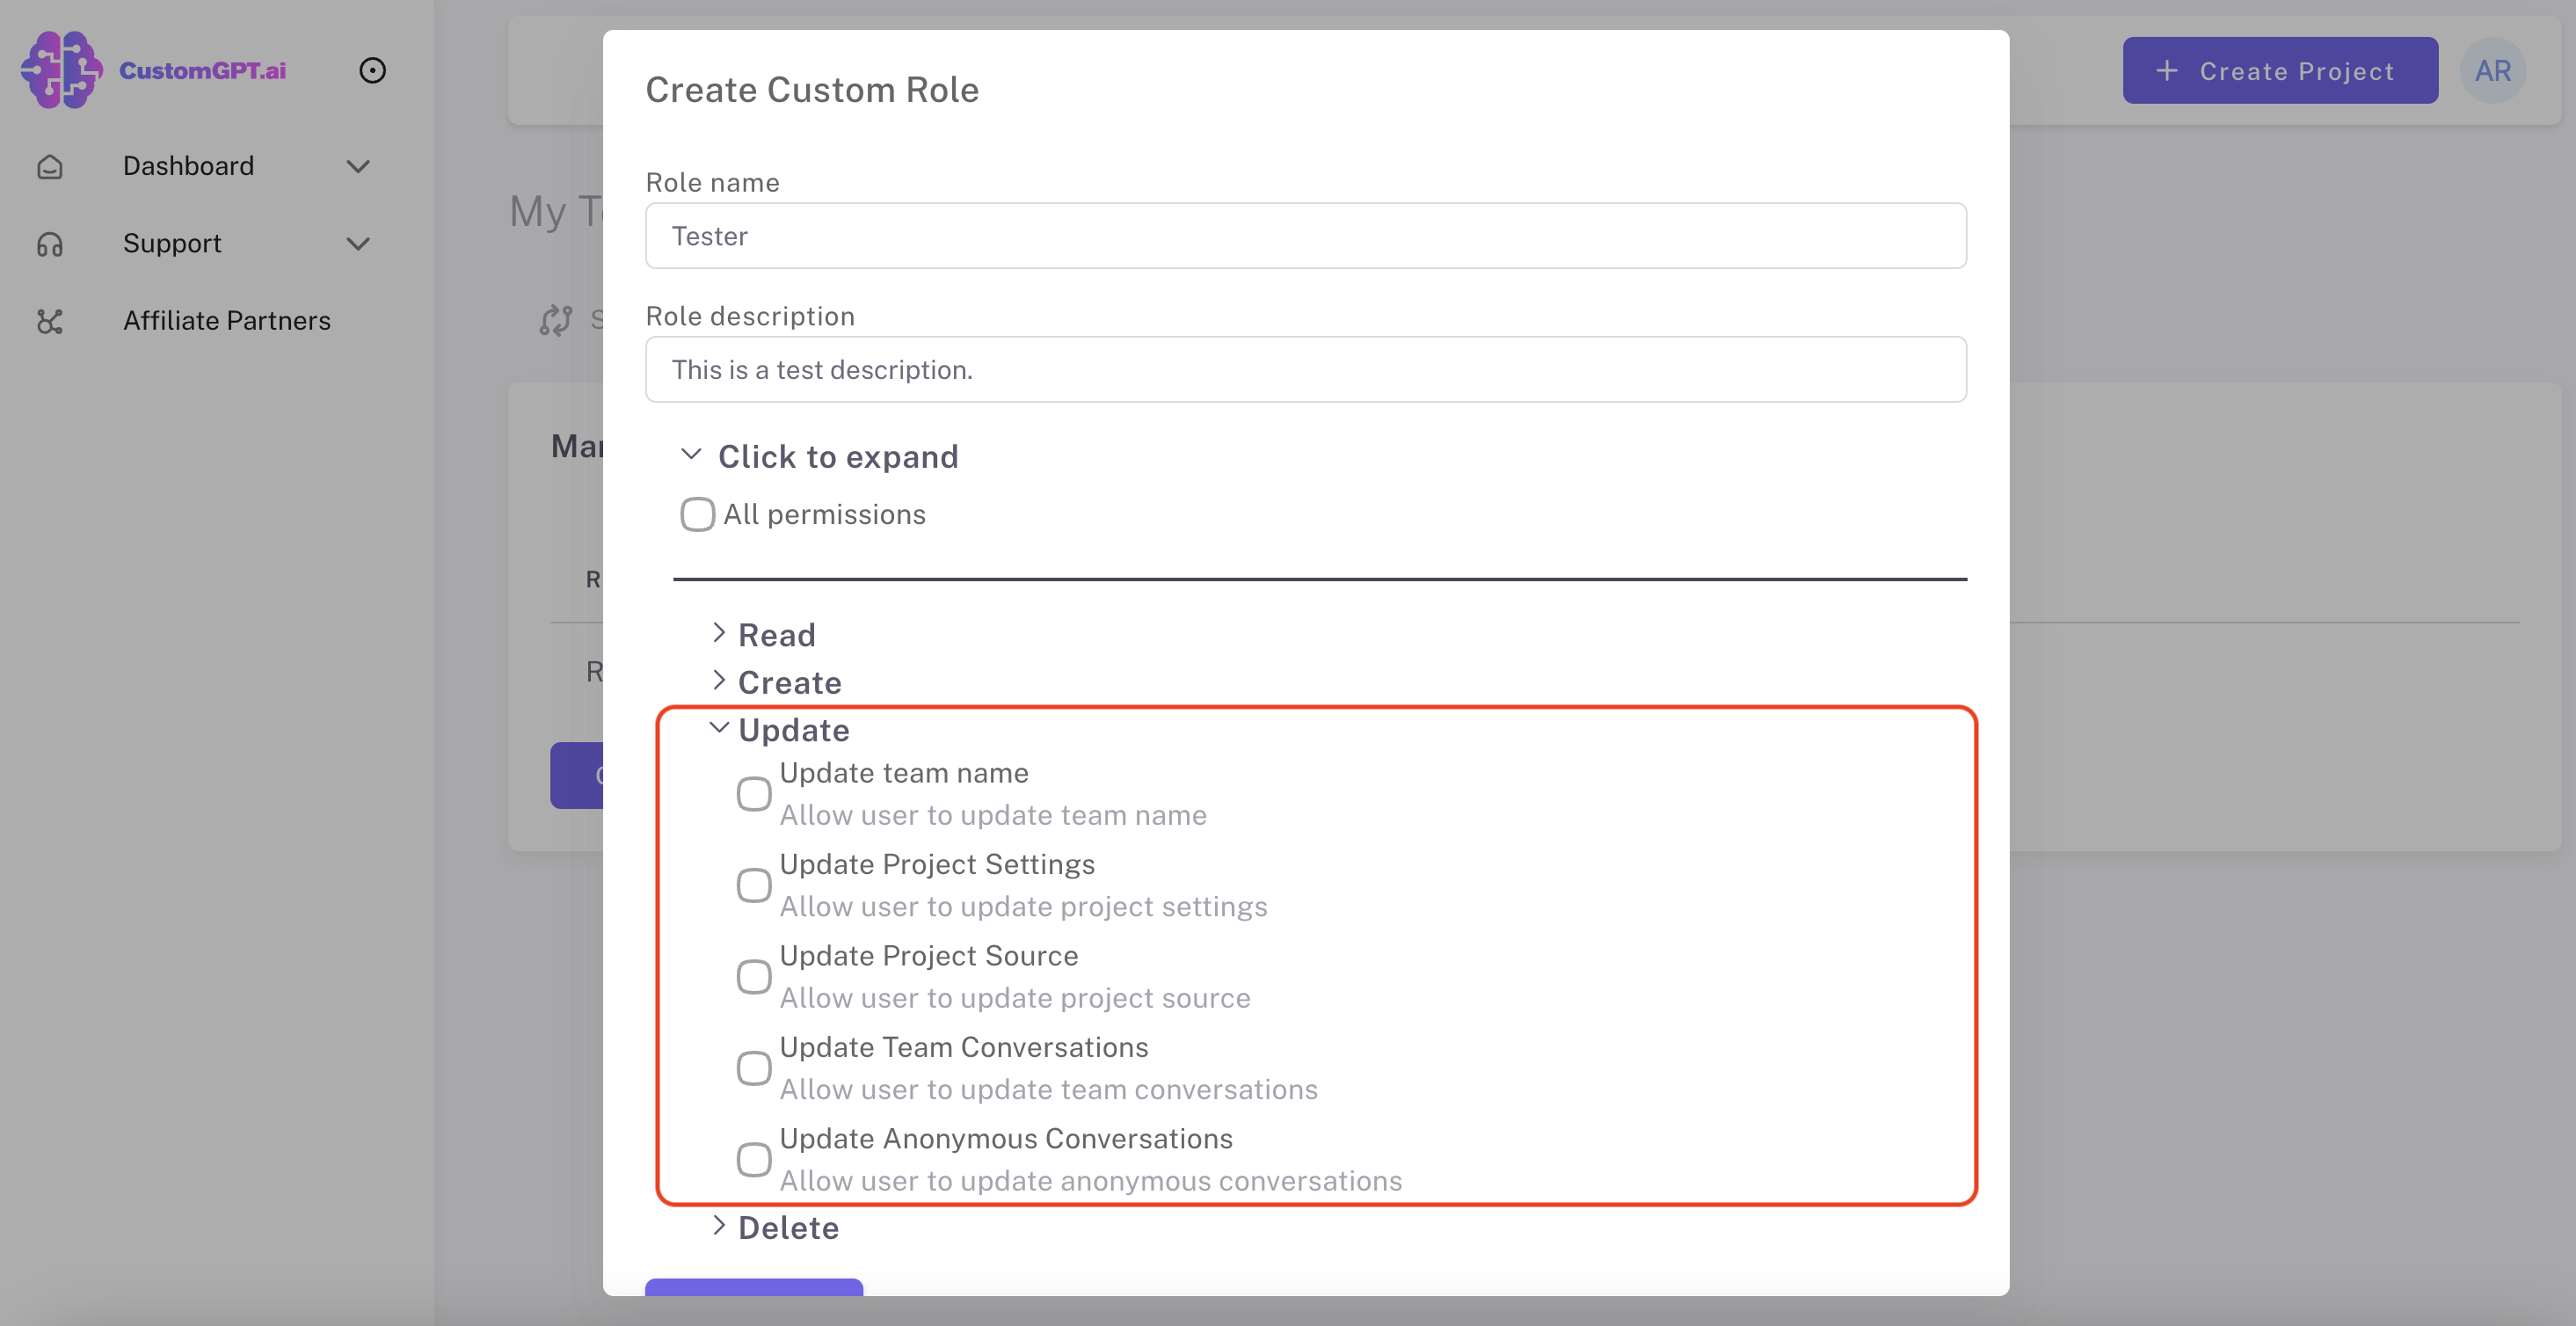
f) Select/toggle the desired "Update" permissions.
- Update team name: allows user to update the team name.
- Update Project Settings: allows the user to update project settings.
- Update Project Source: allows the user to update project sources.
- Update Team Conversations: allows the user to update conversations with team members.
- Update Anonymous Conversations: allows the user to update conversations with anonymous users.
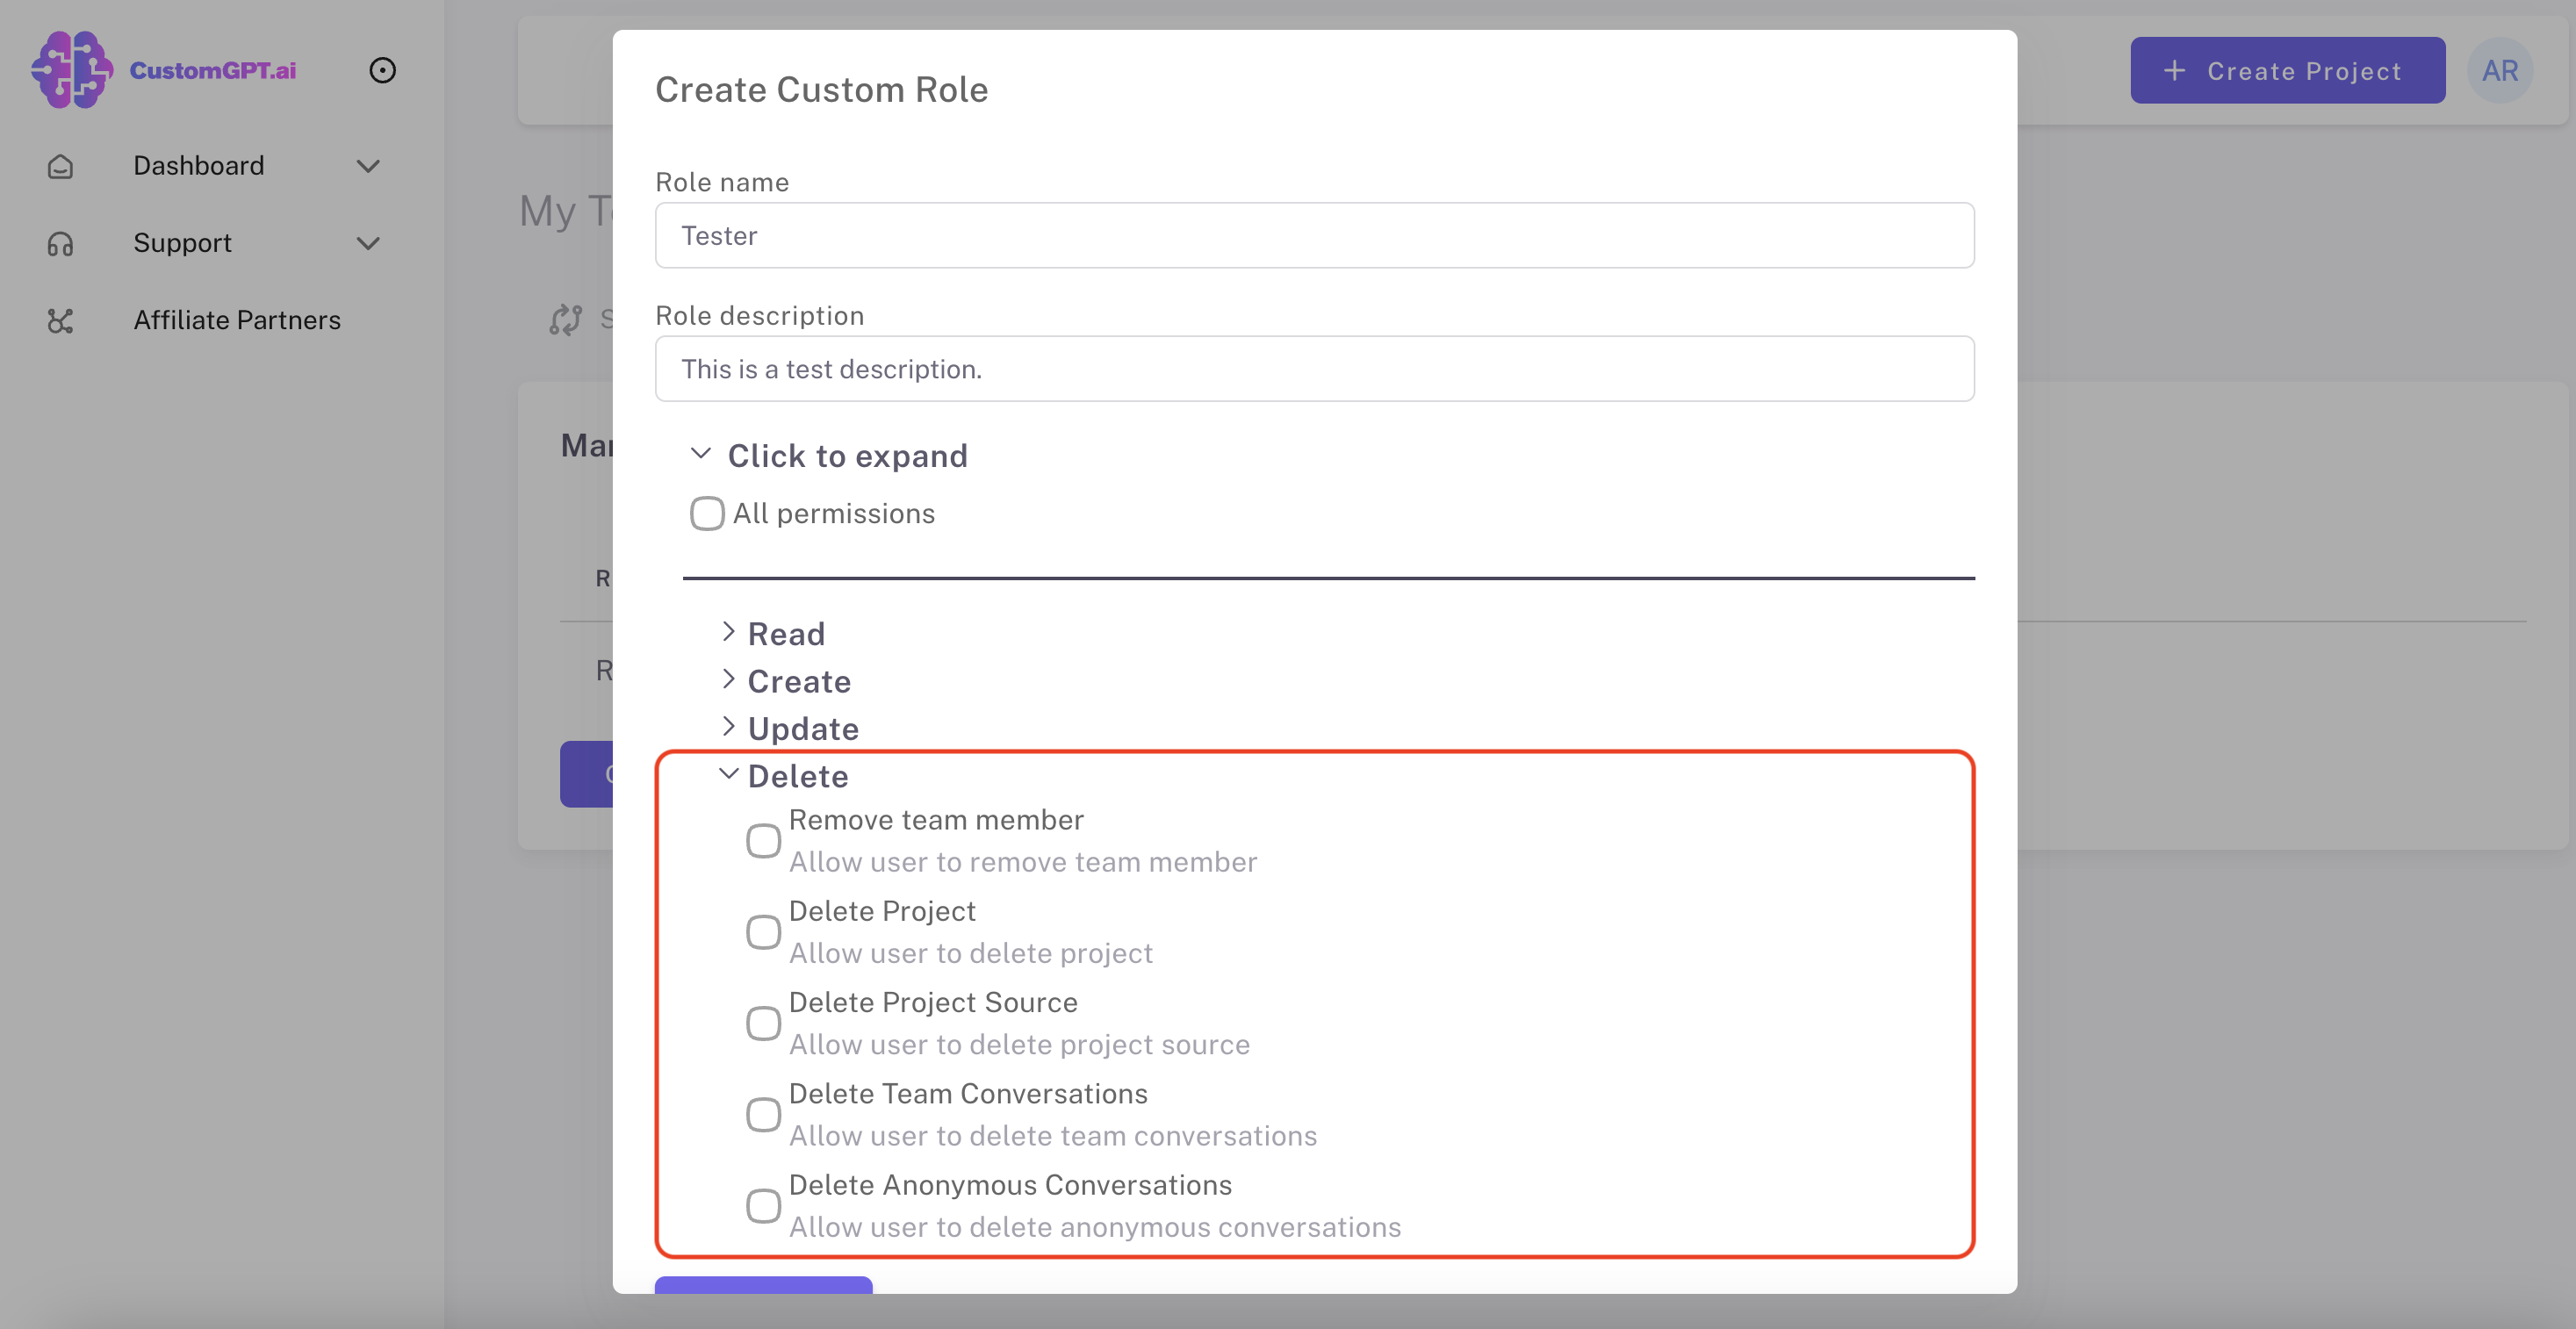
g) Select/toggle the desired "Delete" permissions.
- Remove team member: allows user to remove other team members.
- Delete Project: allows user to delete projects.
- Delete Project Source: allows user to delete project source.
- Delete Team Conversations: allows user to delete team conversations.
- Delete Anonymous Conversations: allows user to delete anonymous conversations.
h) Press "Create Role" to save settings.
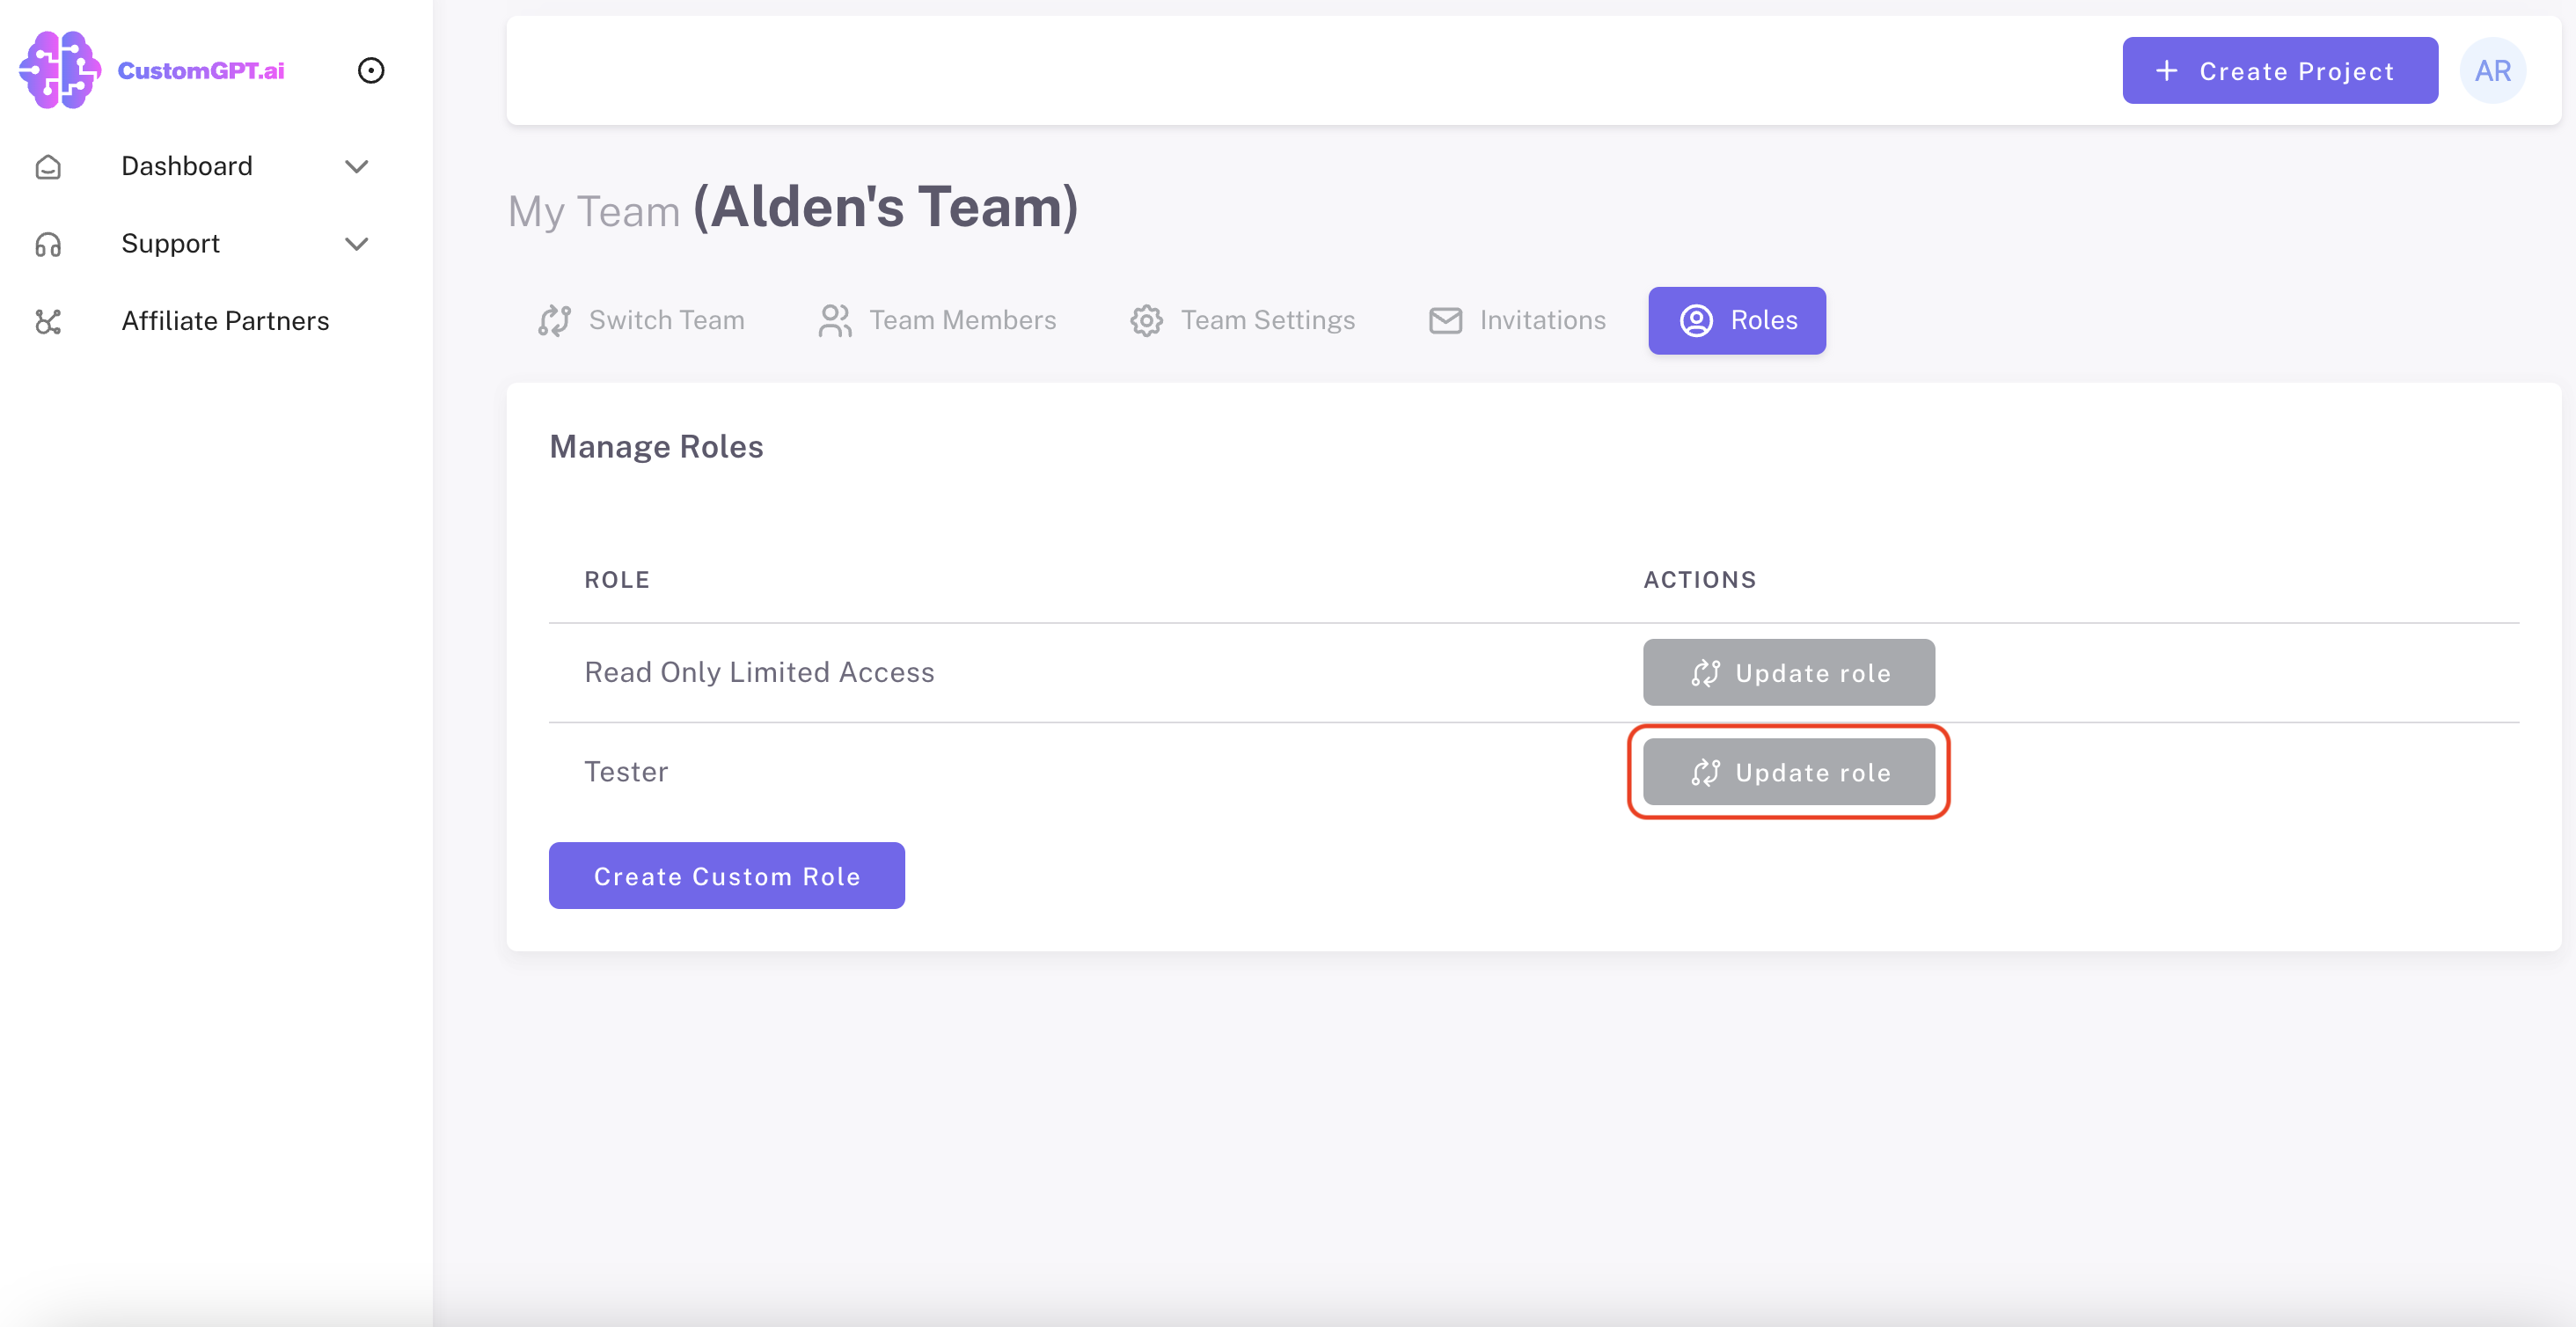
Step 5: Manage Roles
a) Click "Update Role" for the role you would like to update.
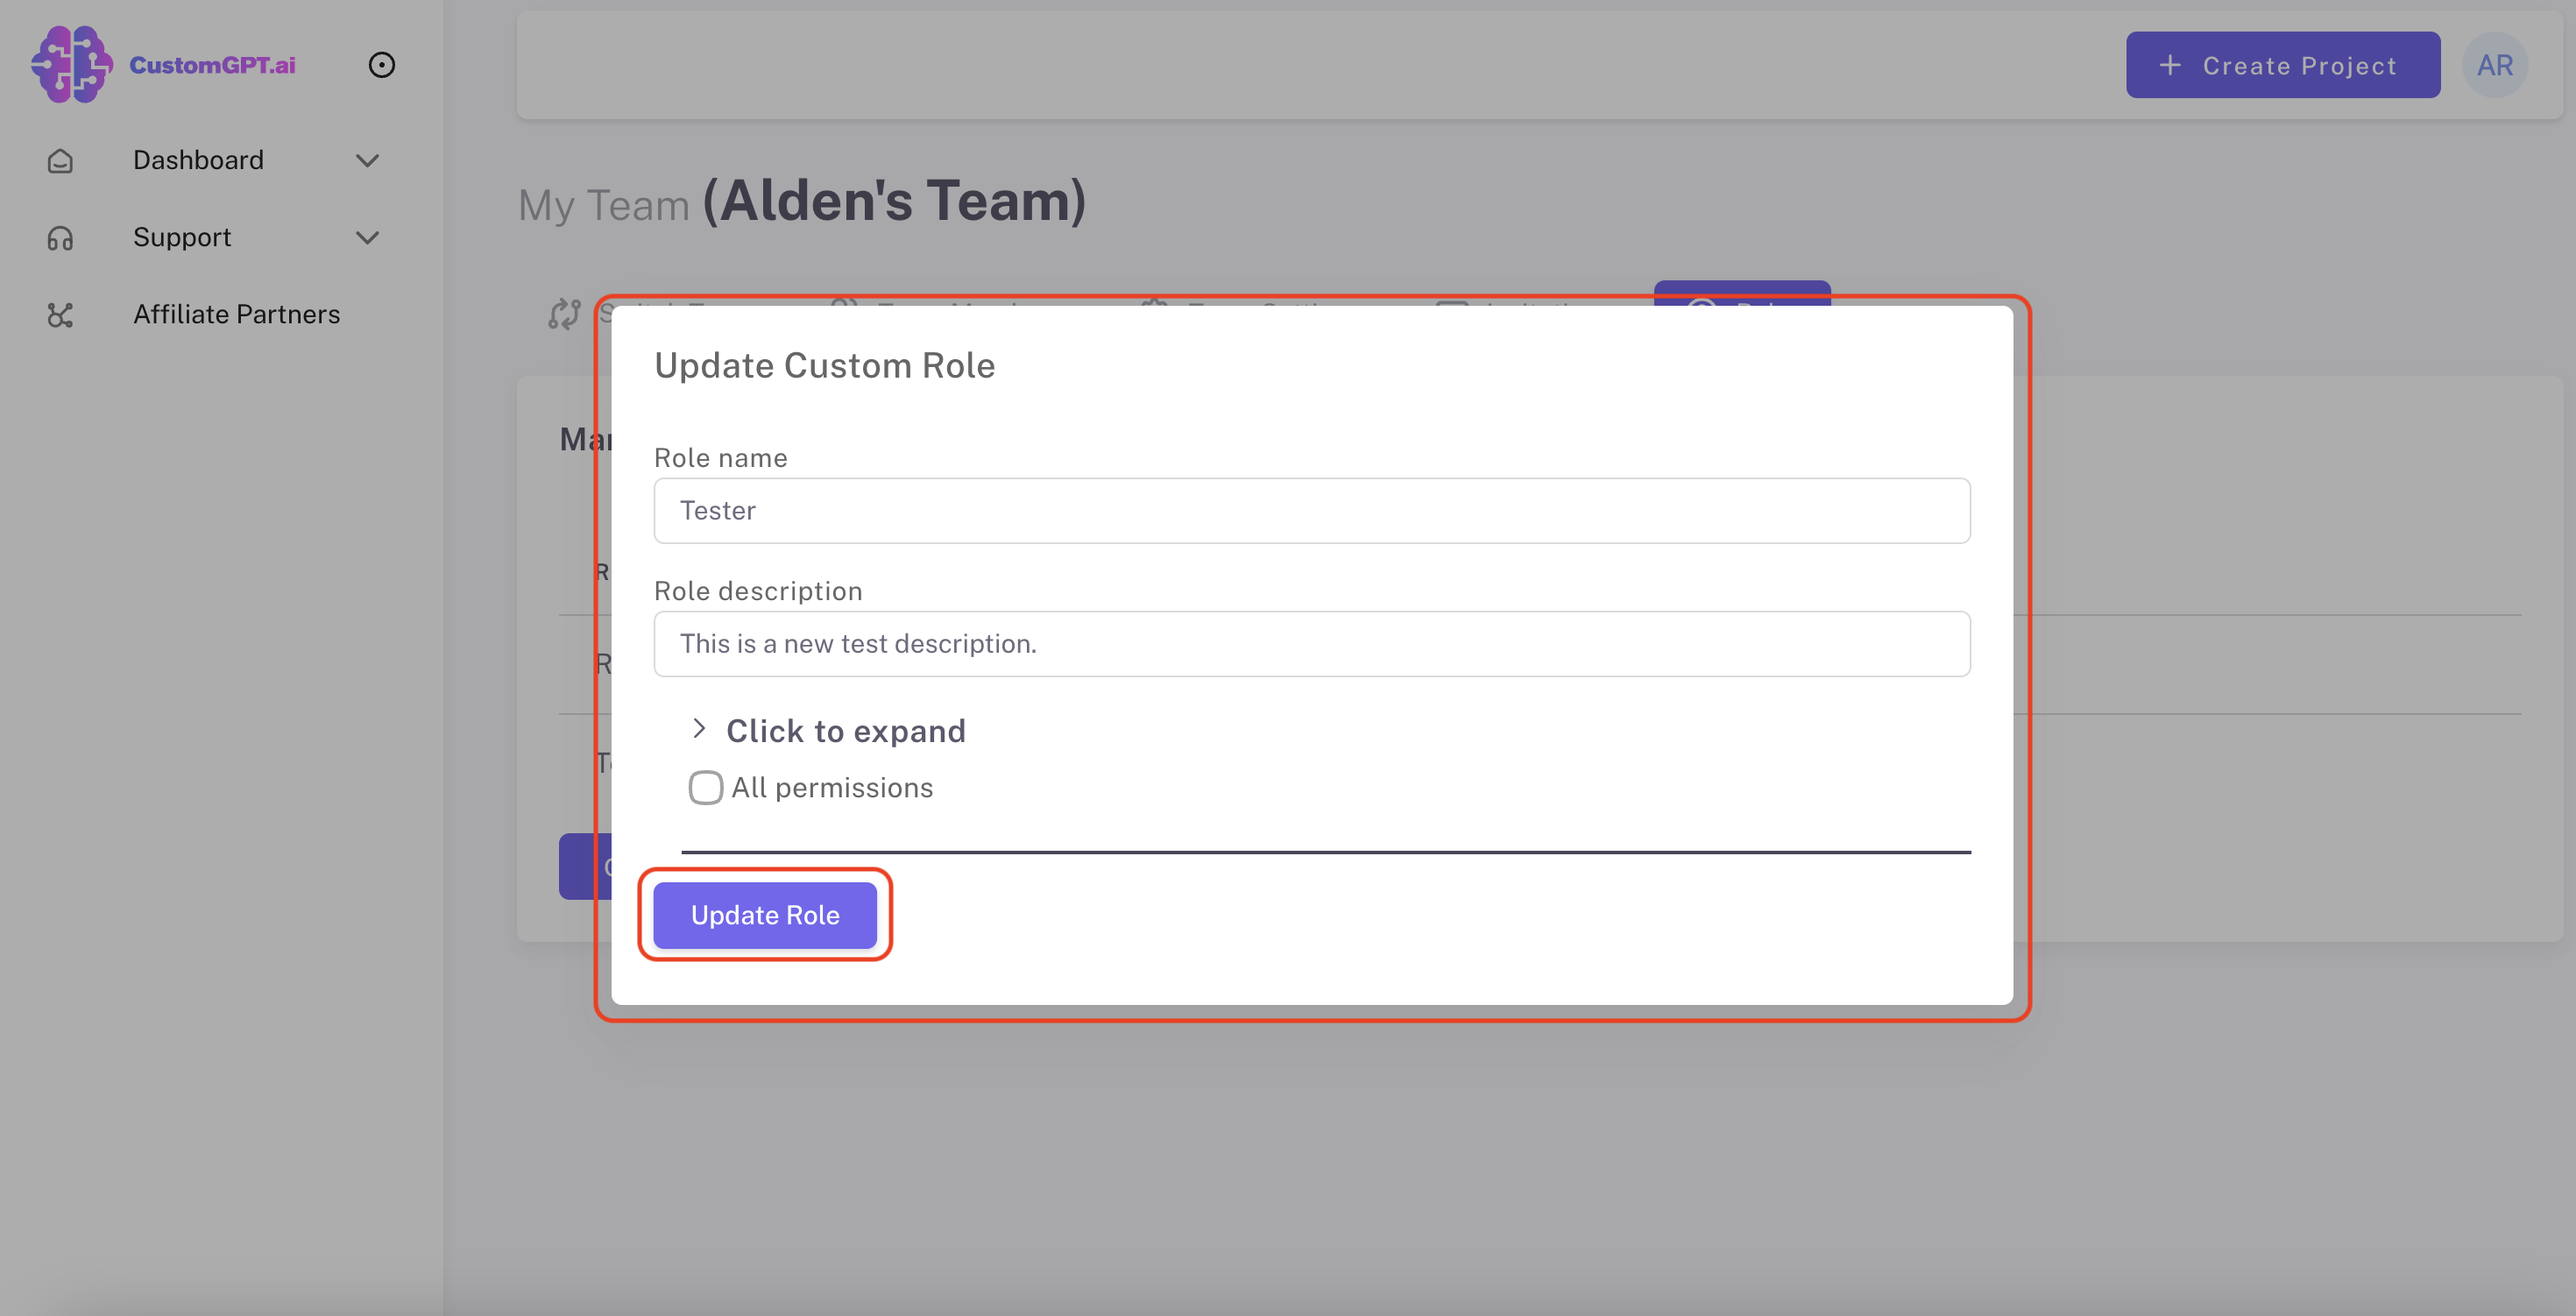
b) Make changes to the role's name, description, and permissions.
c) Click "Update Role" to save your changes.
Congratulations! You've successfully created and managed a new role. With this task completed, you can now assign different roles to different members of your team. ✔
Updated about 1 year ago