Change Your ChatBot's Language
This guide will teach you how to change your ChatBot's language.
Step 1: Sign in
a) Sign in to https://app.customgpt.ai/.
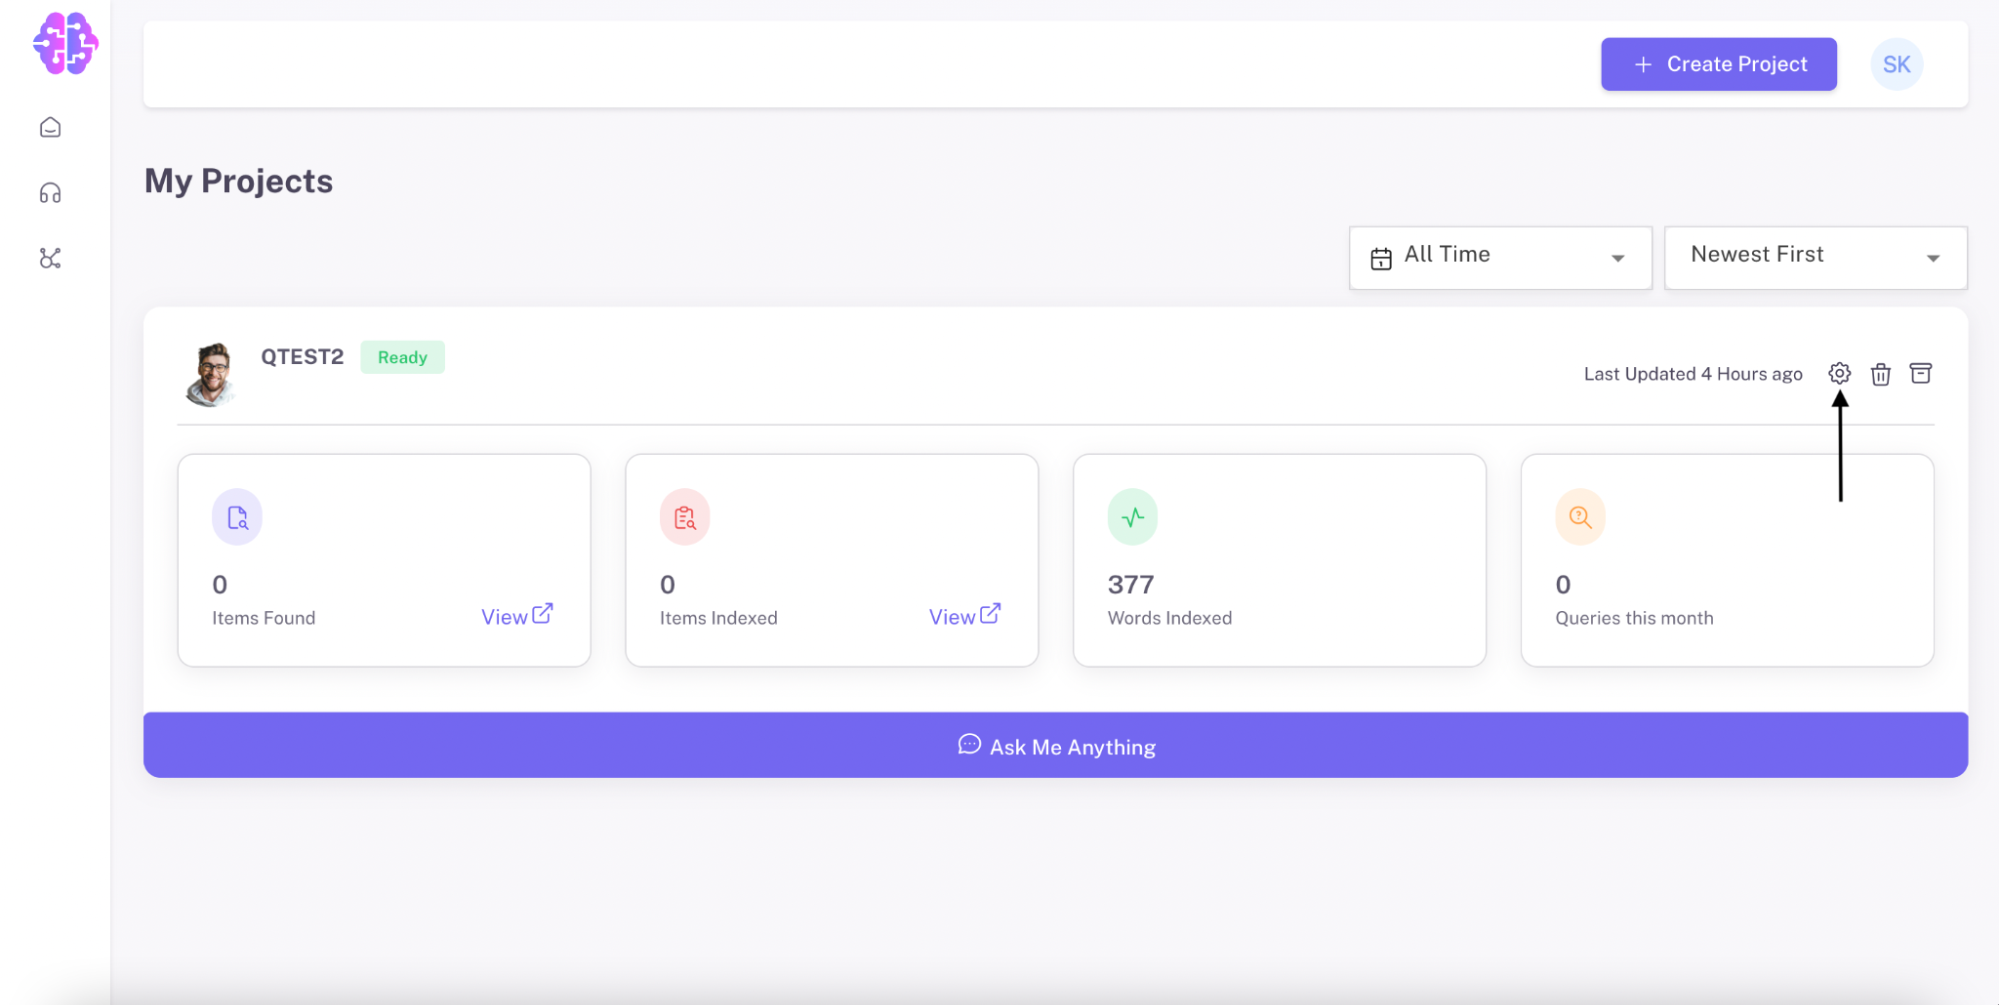
Step 2: Navigate to Project Settings
a) Click on "Project Settings"
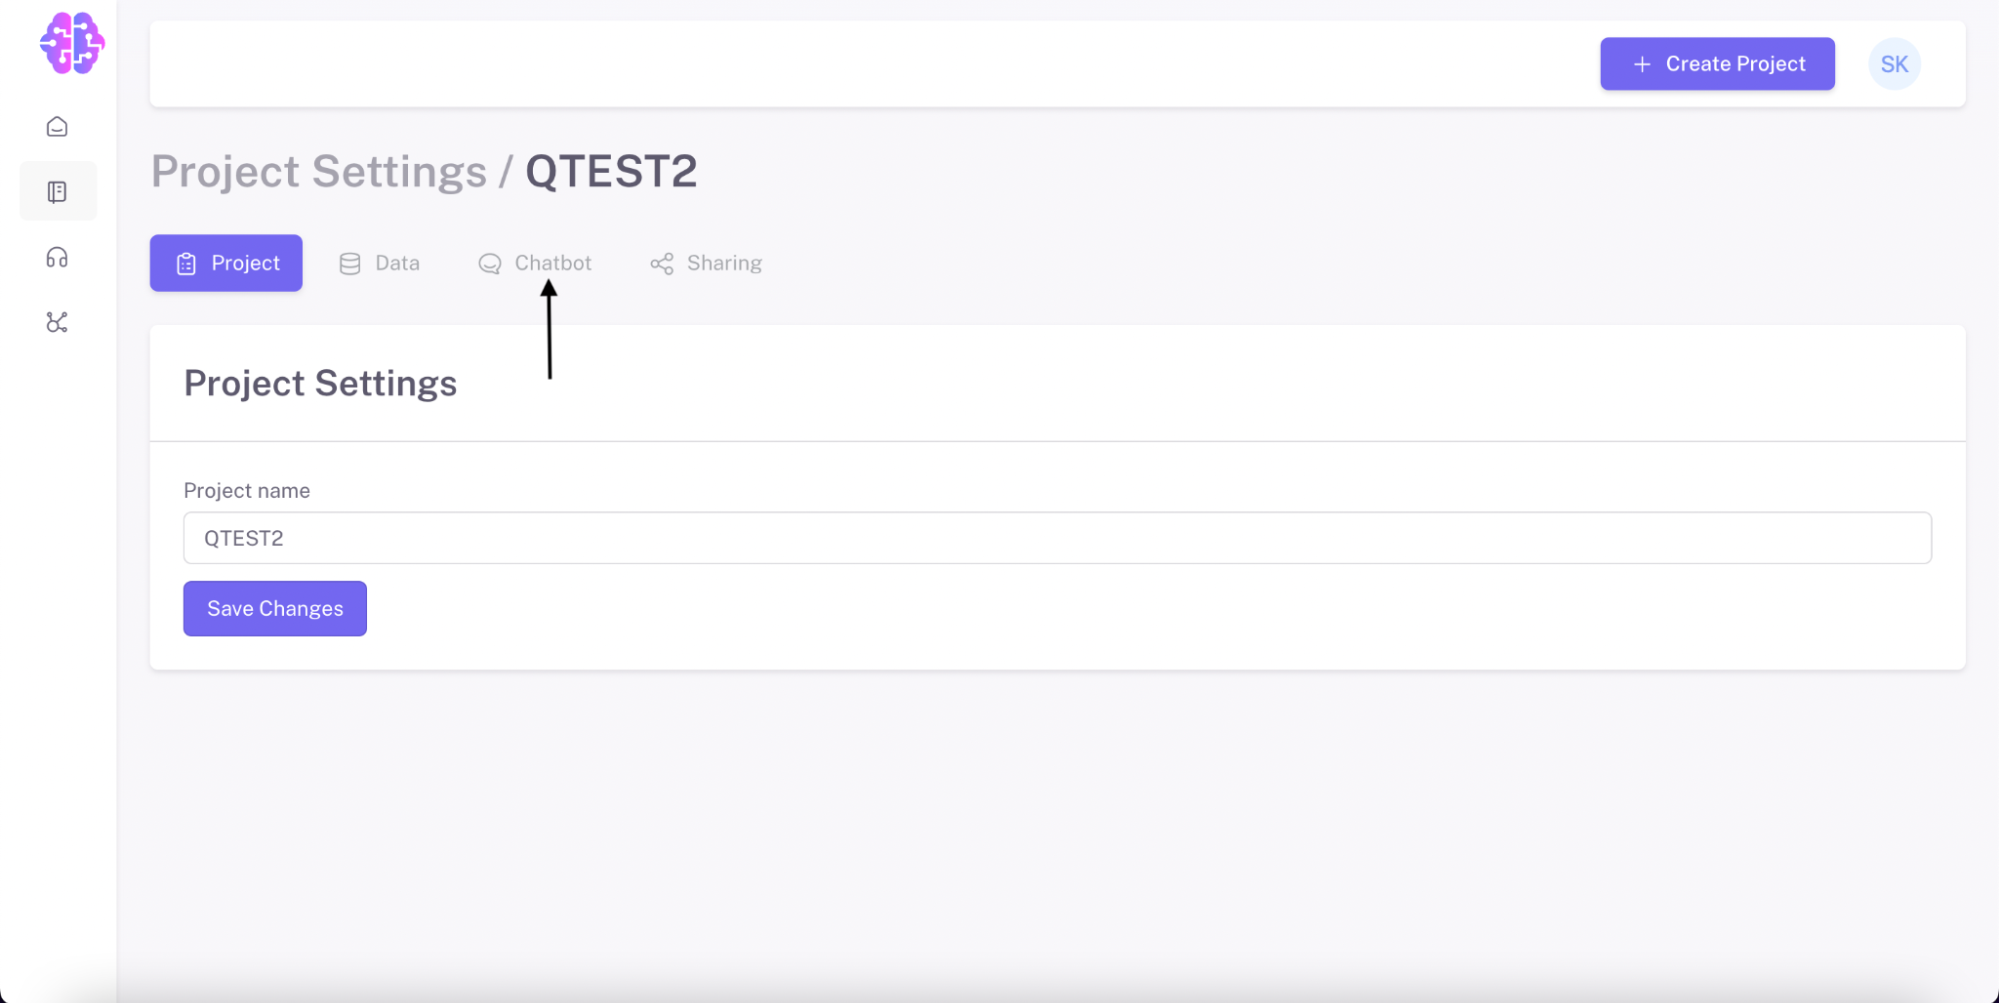
Step 3: Go to Chatbot Settings
a) Click on "Chatbot".
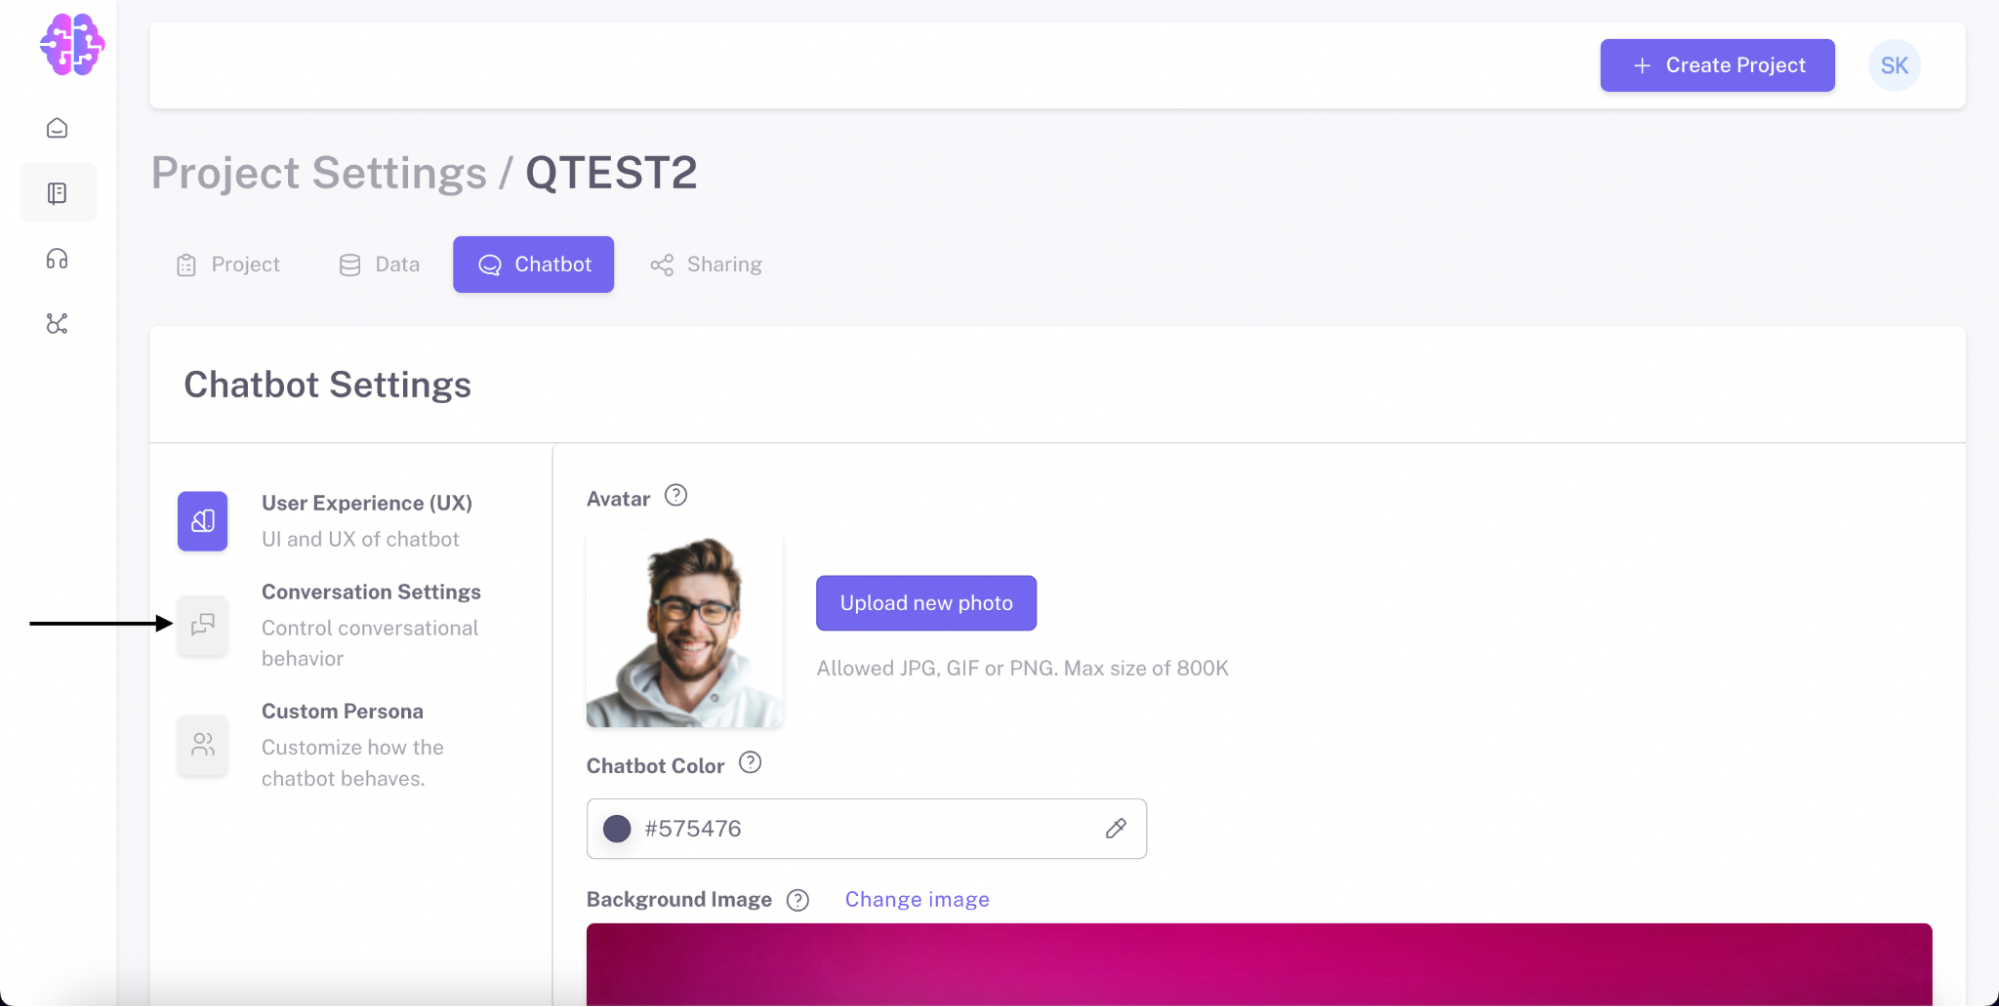
b) Under the Chatbot section, click on "Conversation Settings."
Step 4: Choose the Desired Language
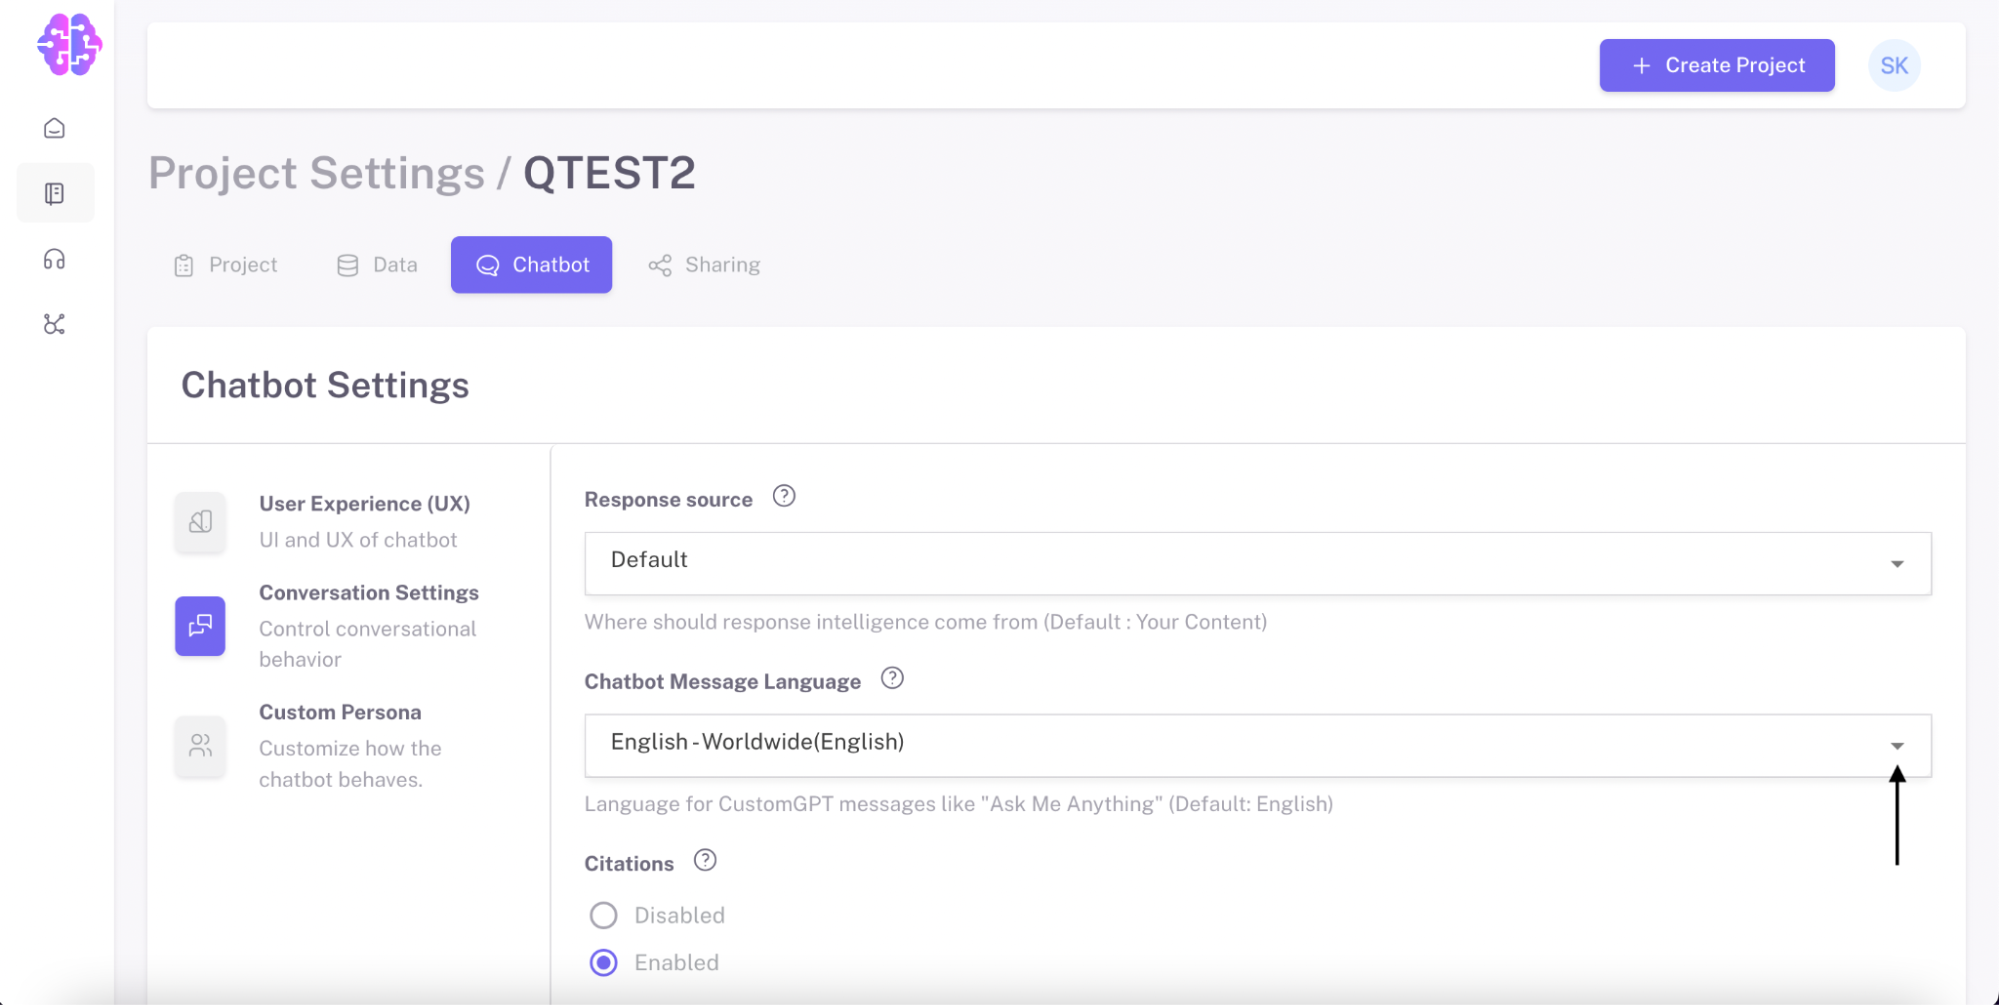
a) In the Conversation Settings, locate the "Chatbot Message Language" option.

b) Click on the drop-down menu.
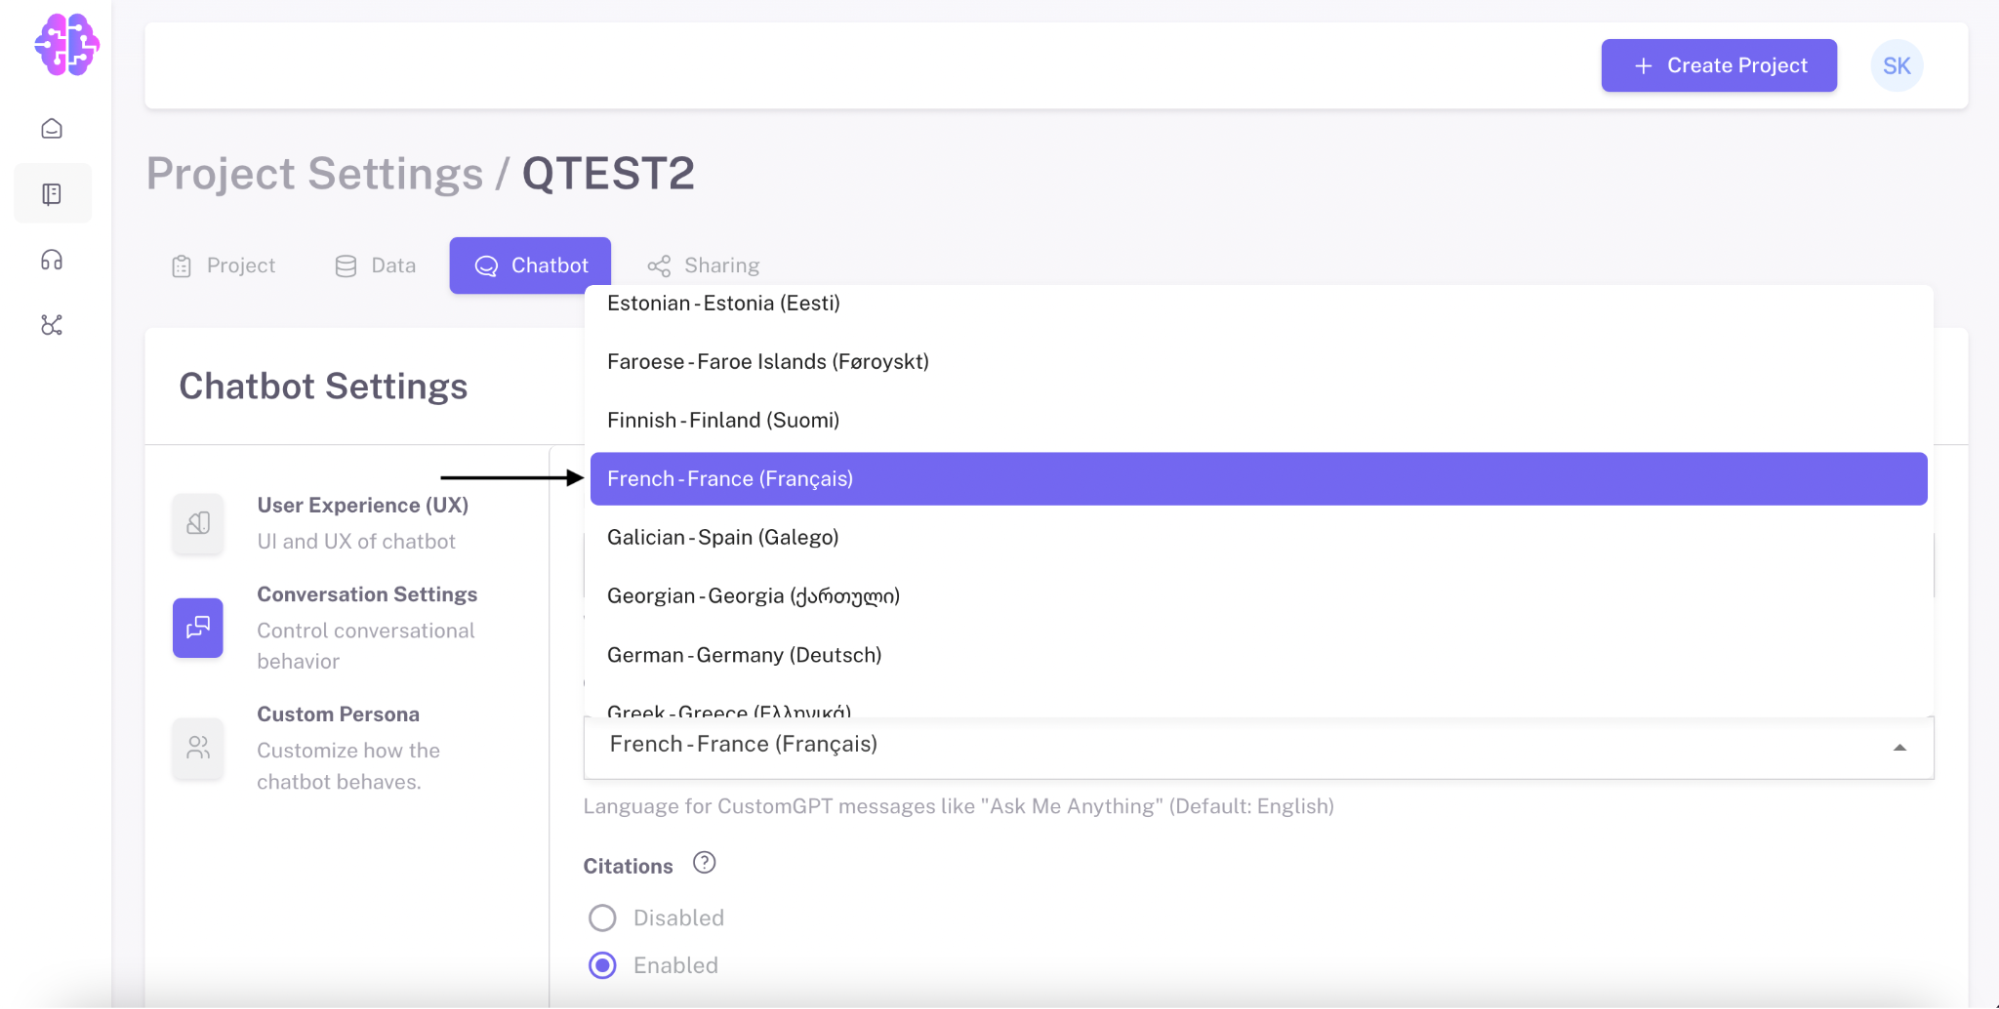
c) A list of supported languages will appear. Scroll through the list and select the language you want for your ChatBot.
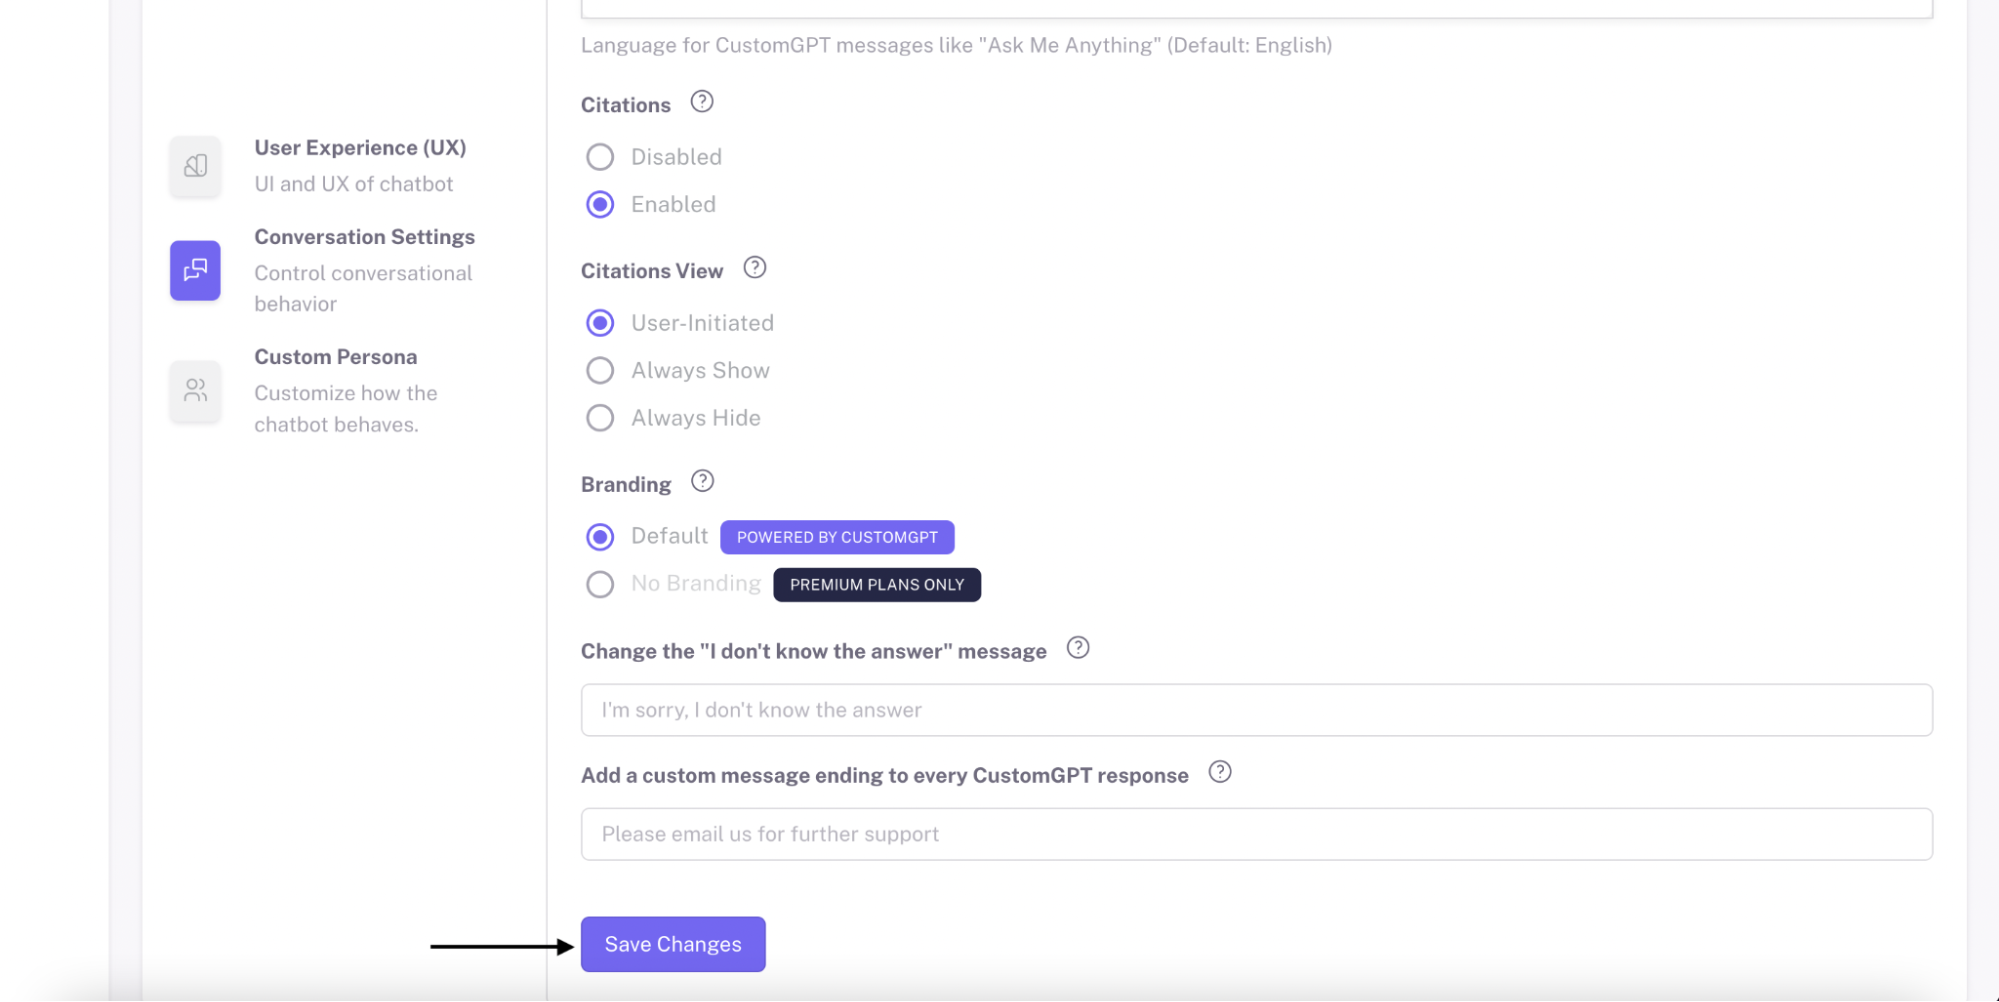
Step 5: Save Your Language Selection
a) Click on "Save Changes".
Congratulations! You have successfully changed your ChatBot's language. Now it will interact with users using the newly selected language ✔
Updated about 1 year ago