How to Embed Your ChatBot on Woocommerce
Here is a step-by-step guide on how to embed your ChatBot on Woocommerce.
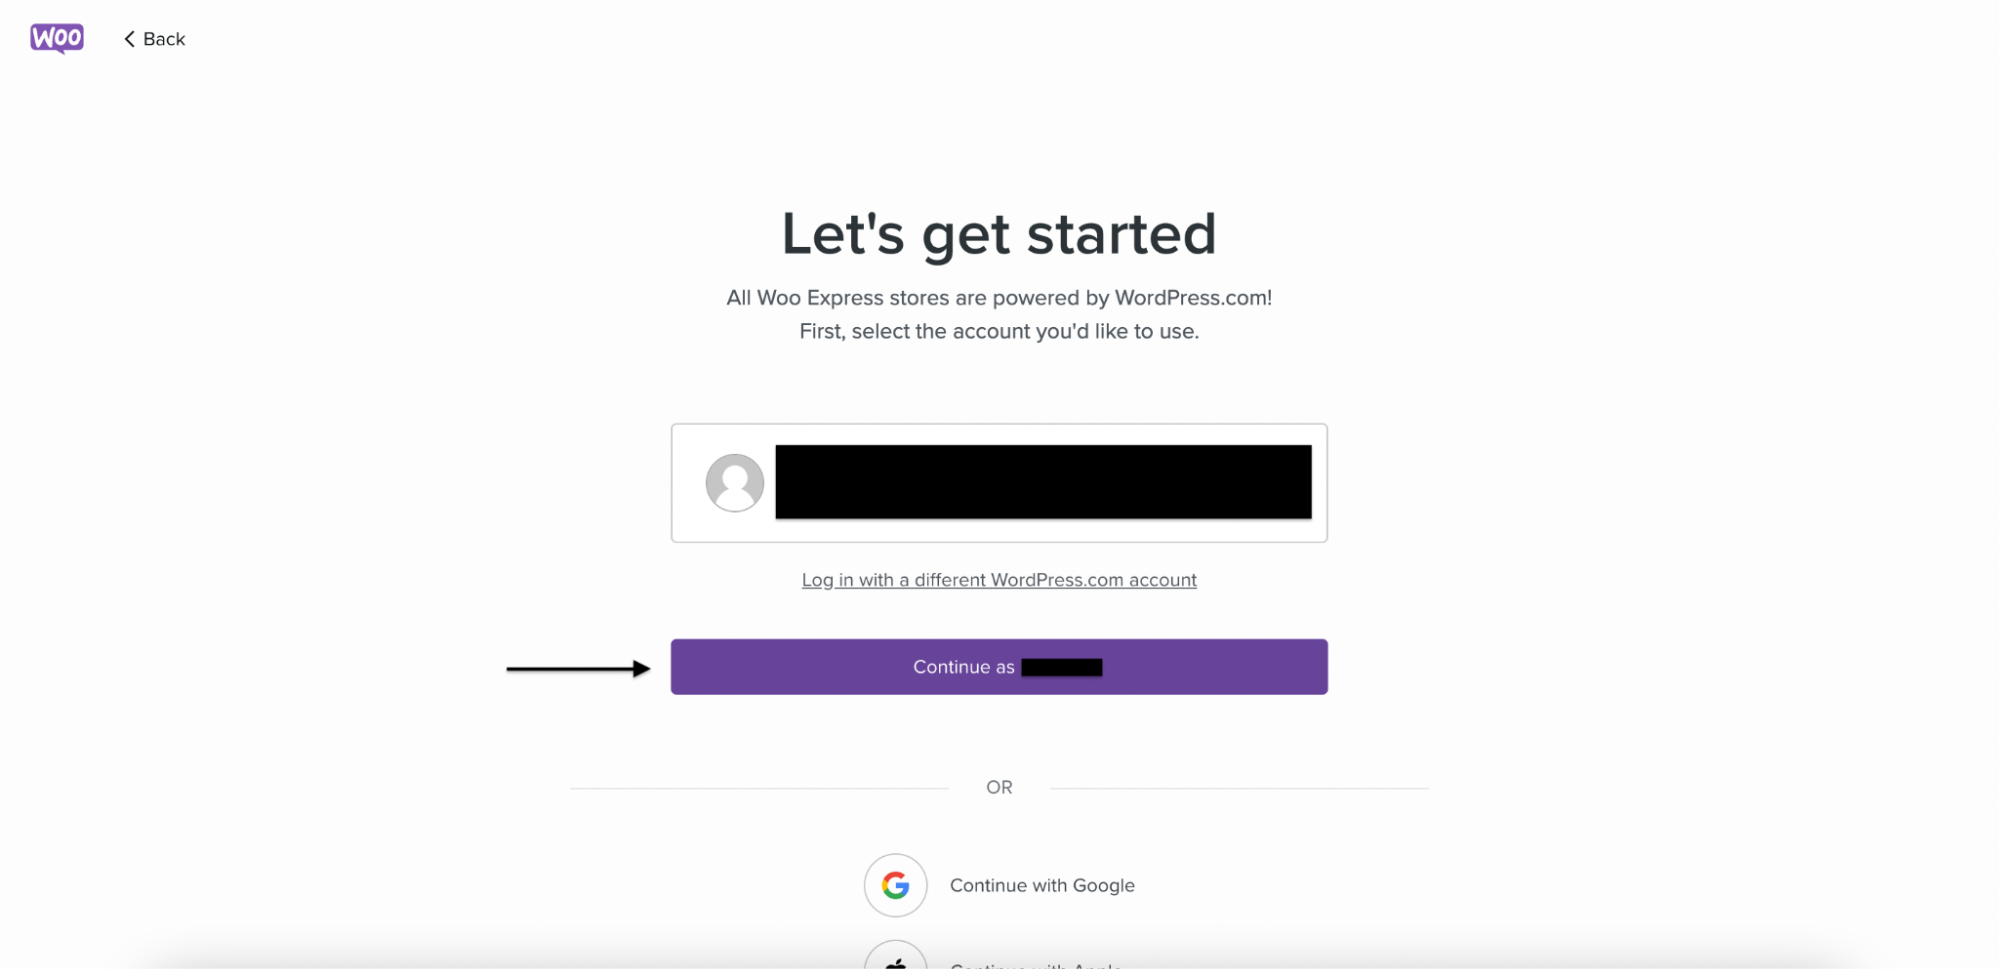
Step 1: Access your Woocommerce
a) Login to https://woocommerce.com/login.
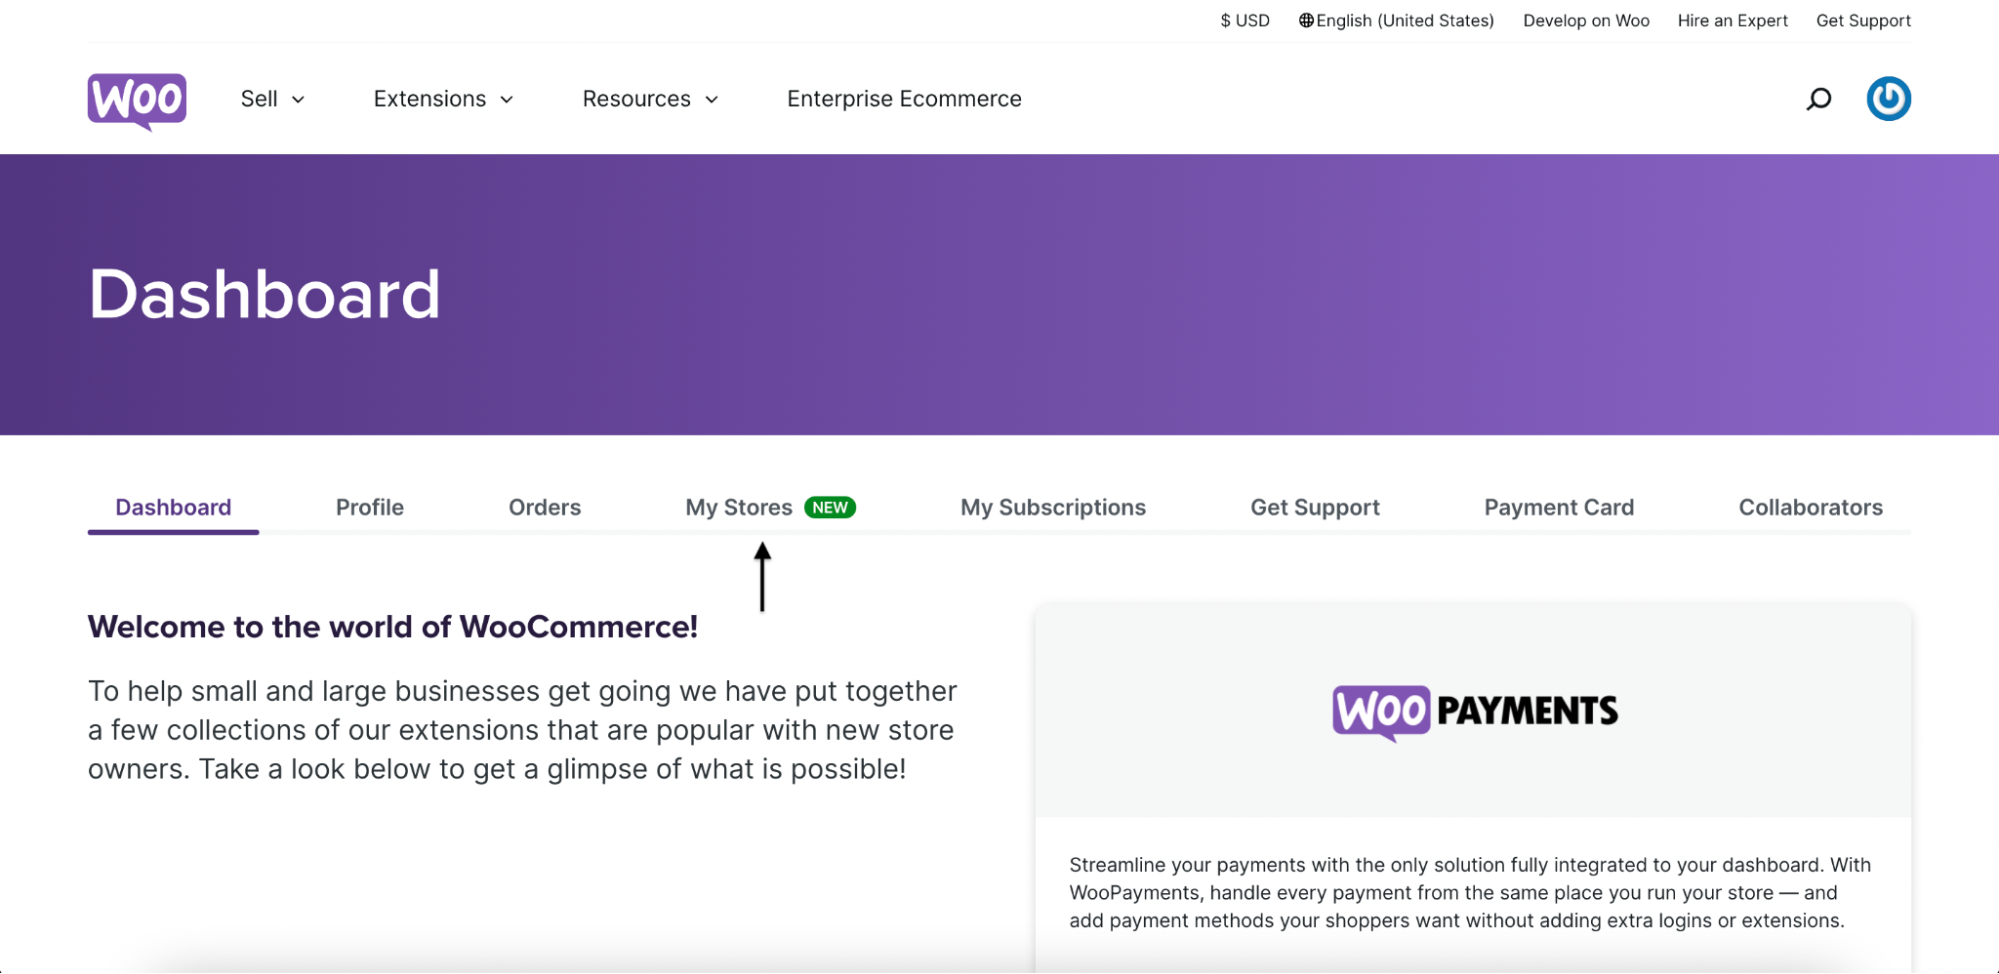
b) Click on "My Stores".
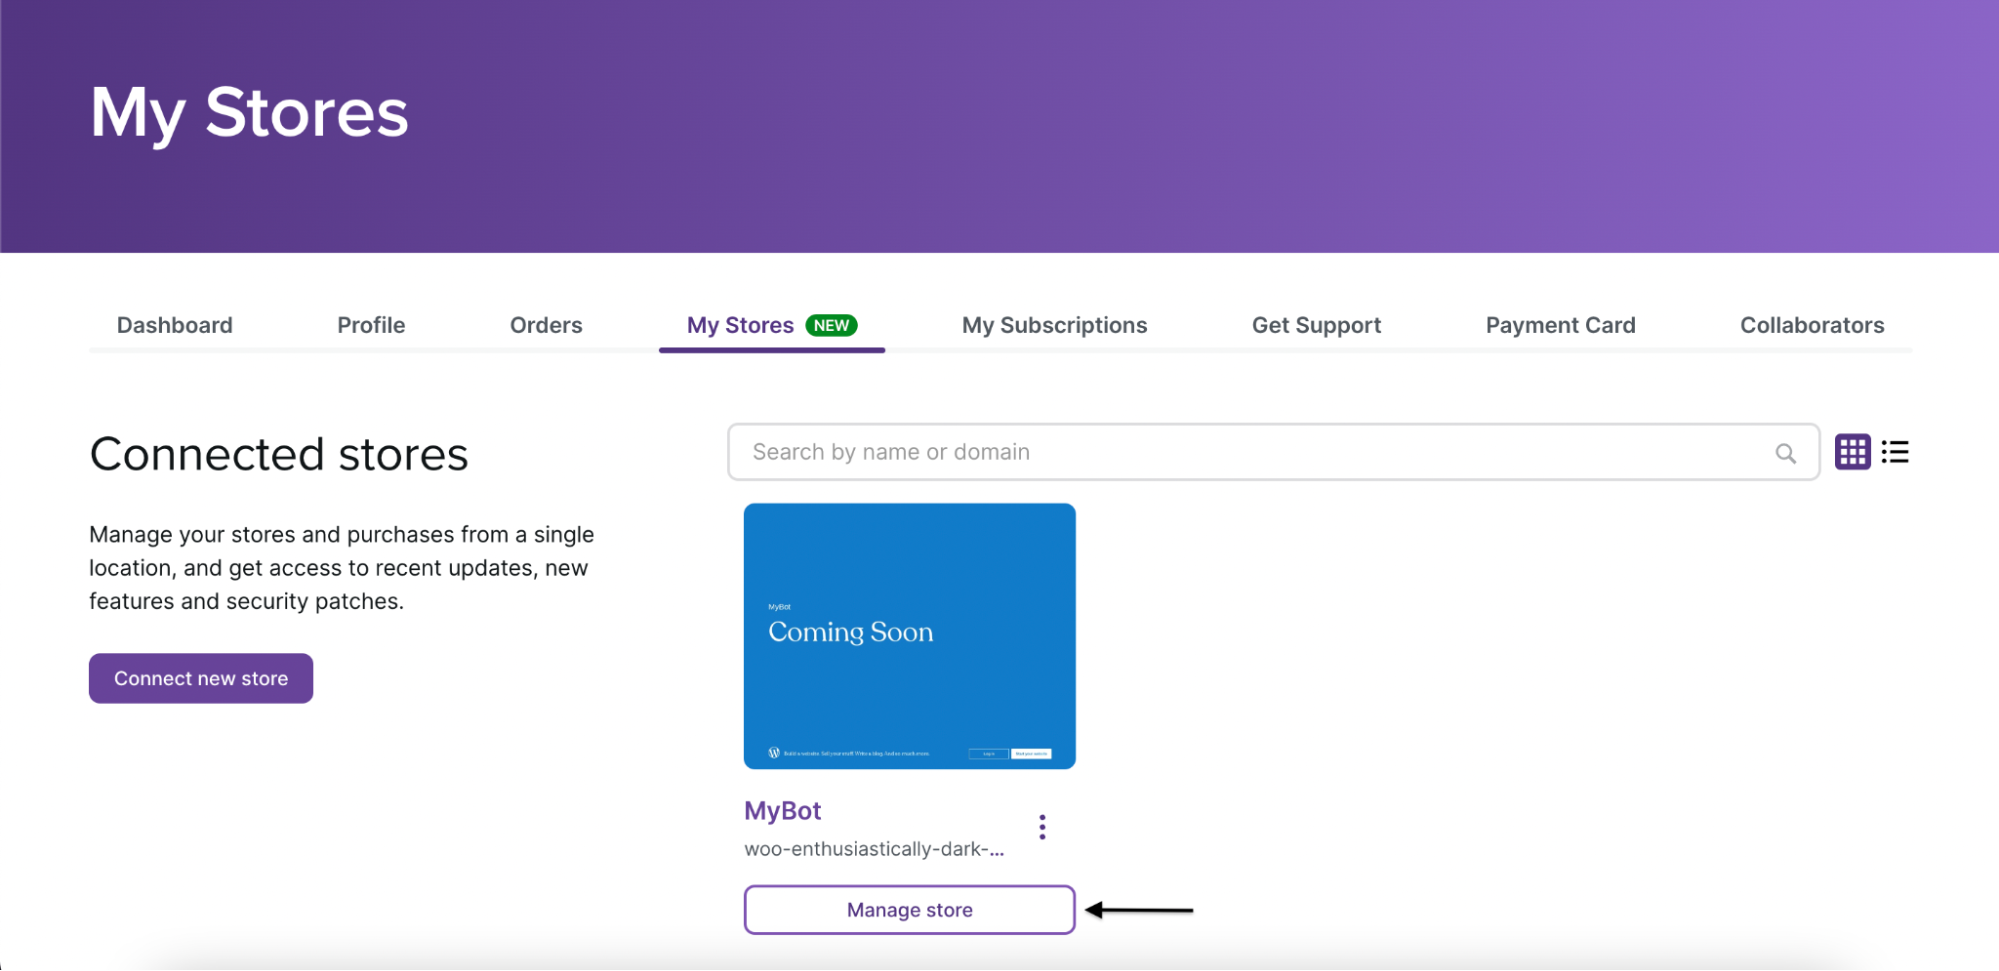
c) Click on "Manage Store".
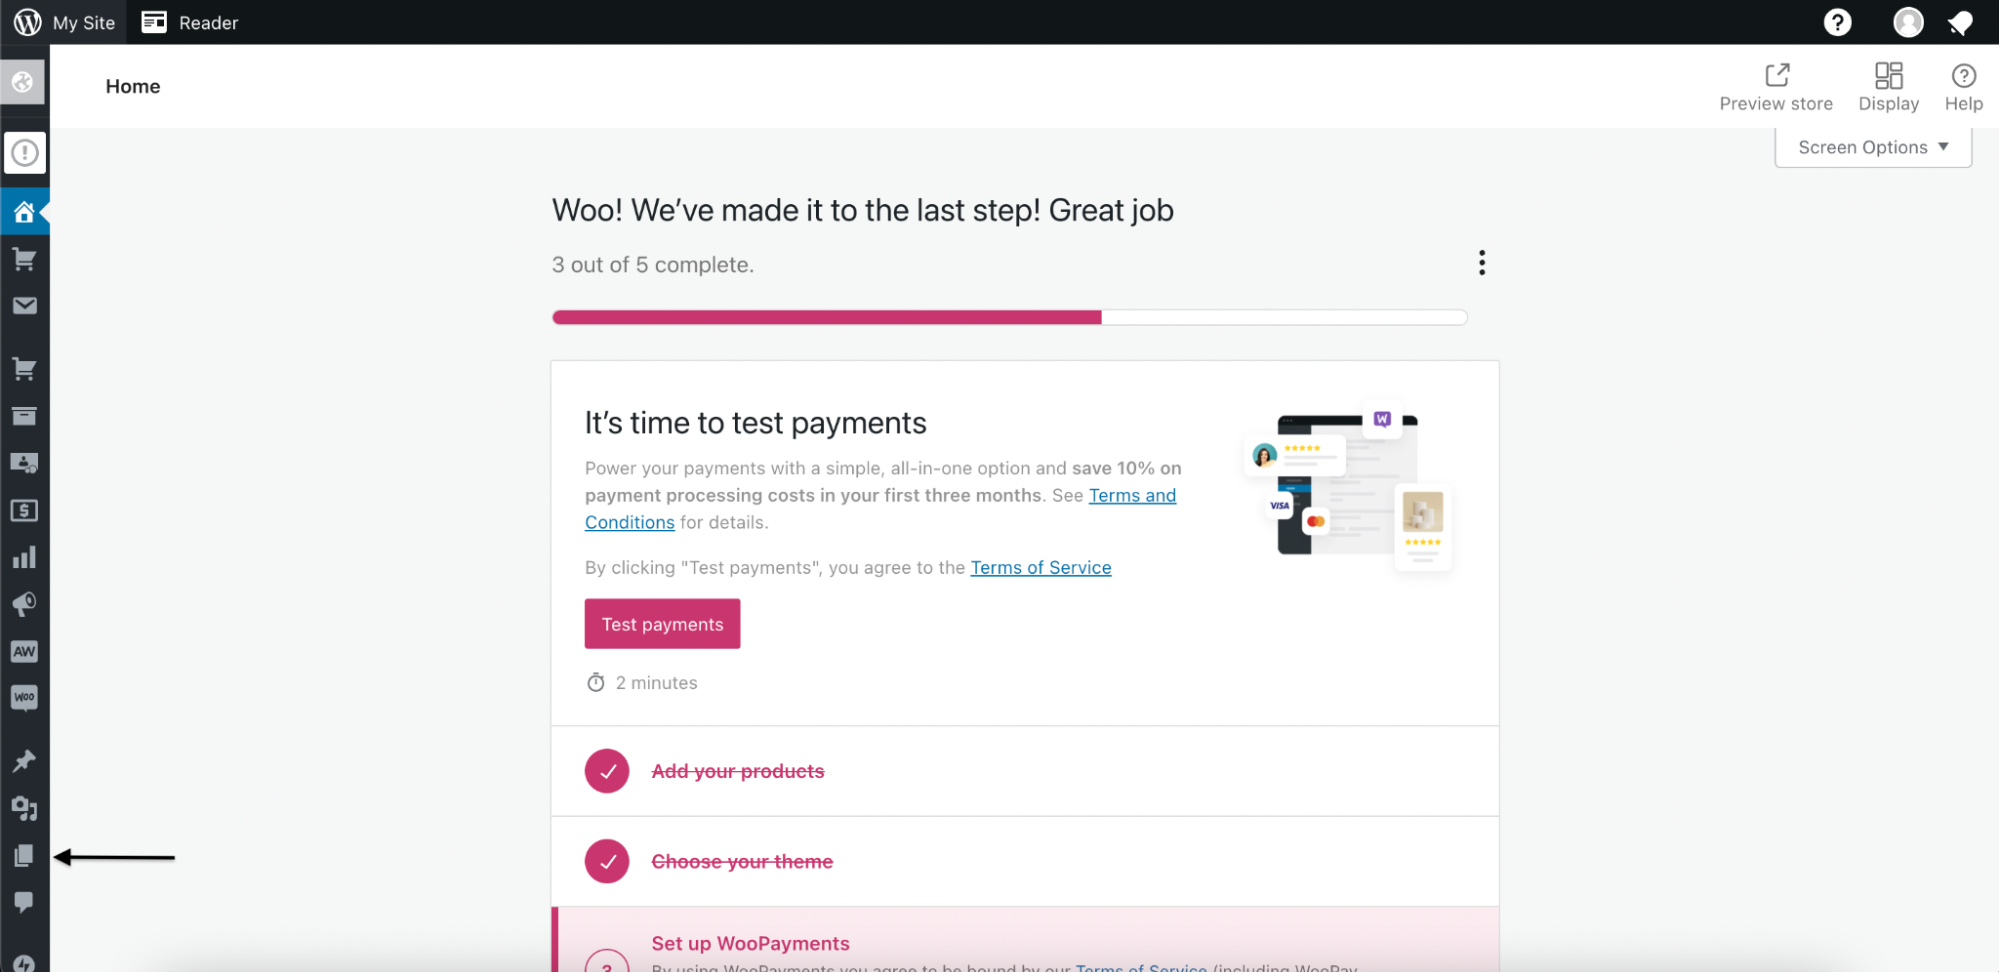
Step 2: Adding an embed
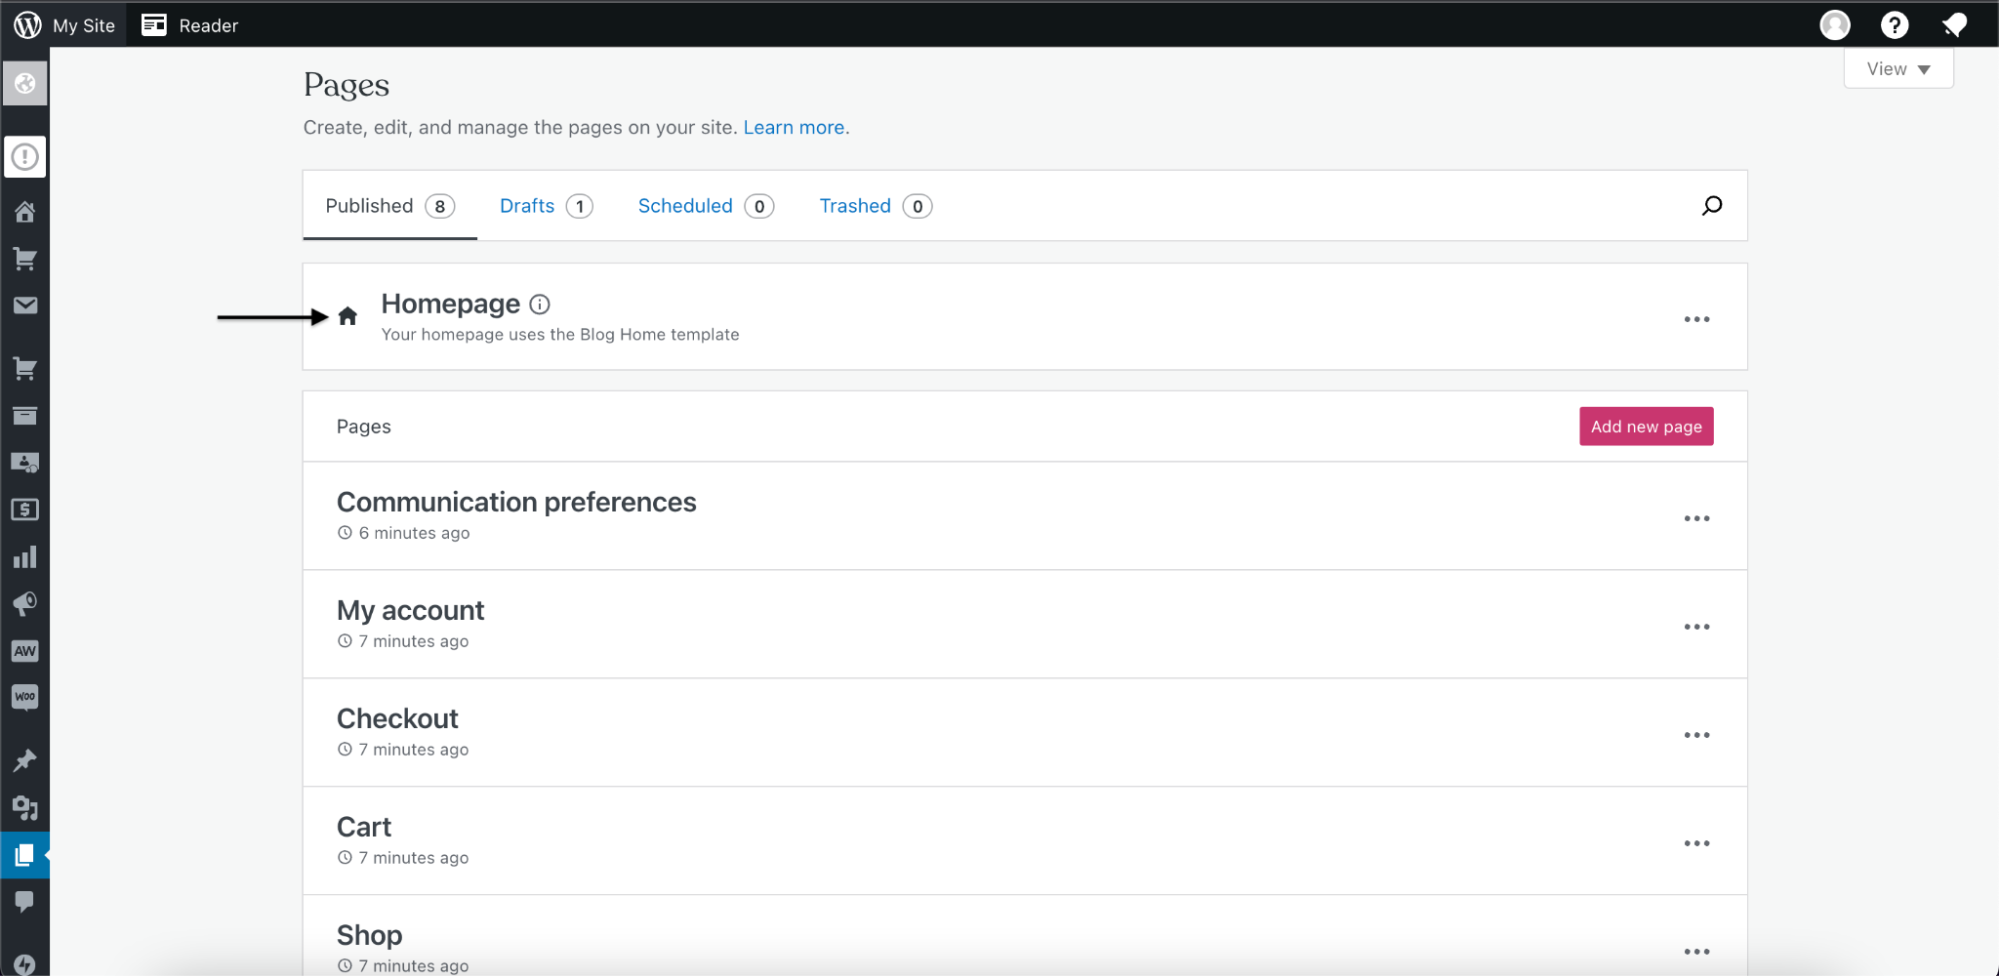
a) Click on "Pages".
b) Click on "Homepage".
Step 3: Setting up an embed
a) Click anywhere on the webpage.
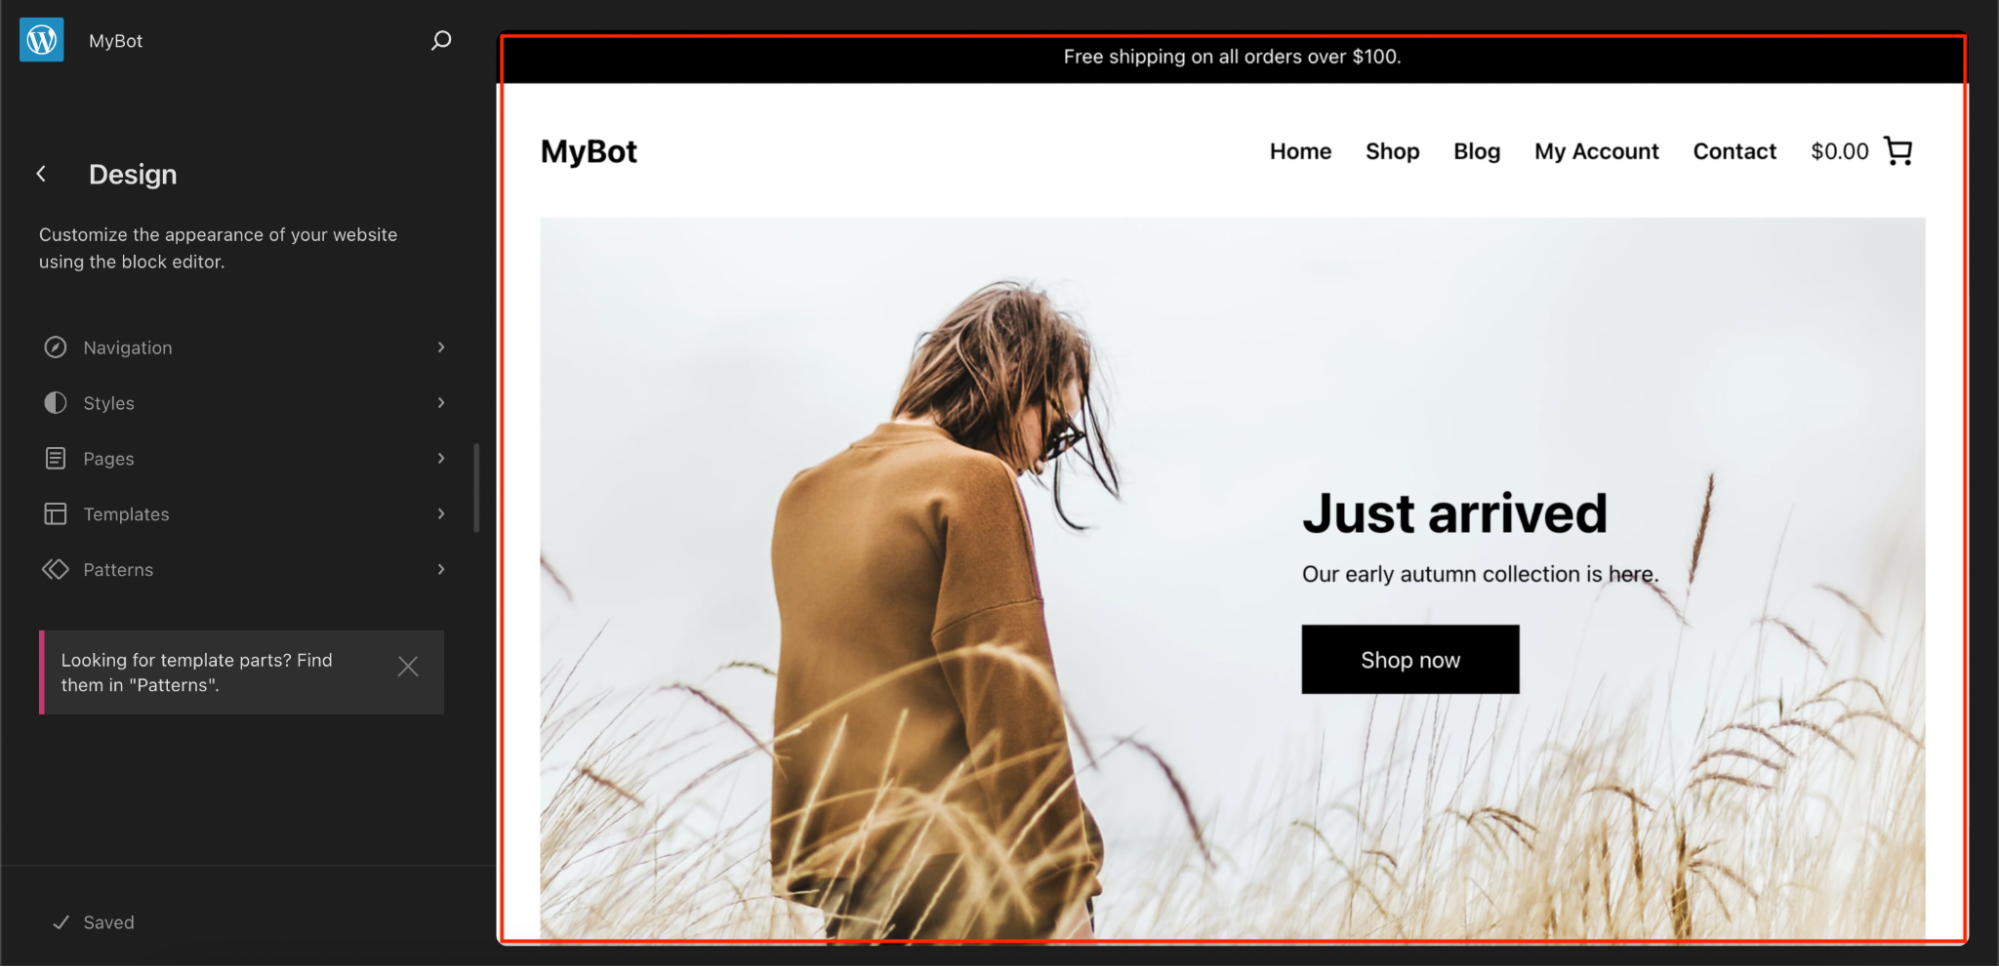
b) Click where you want your ChatBot to appear.
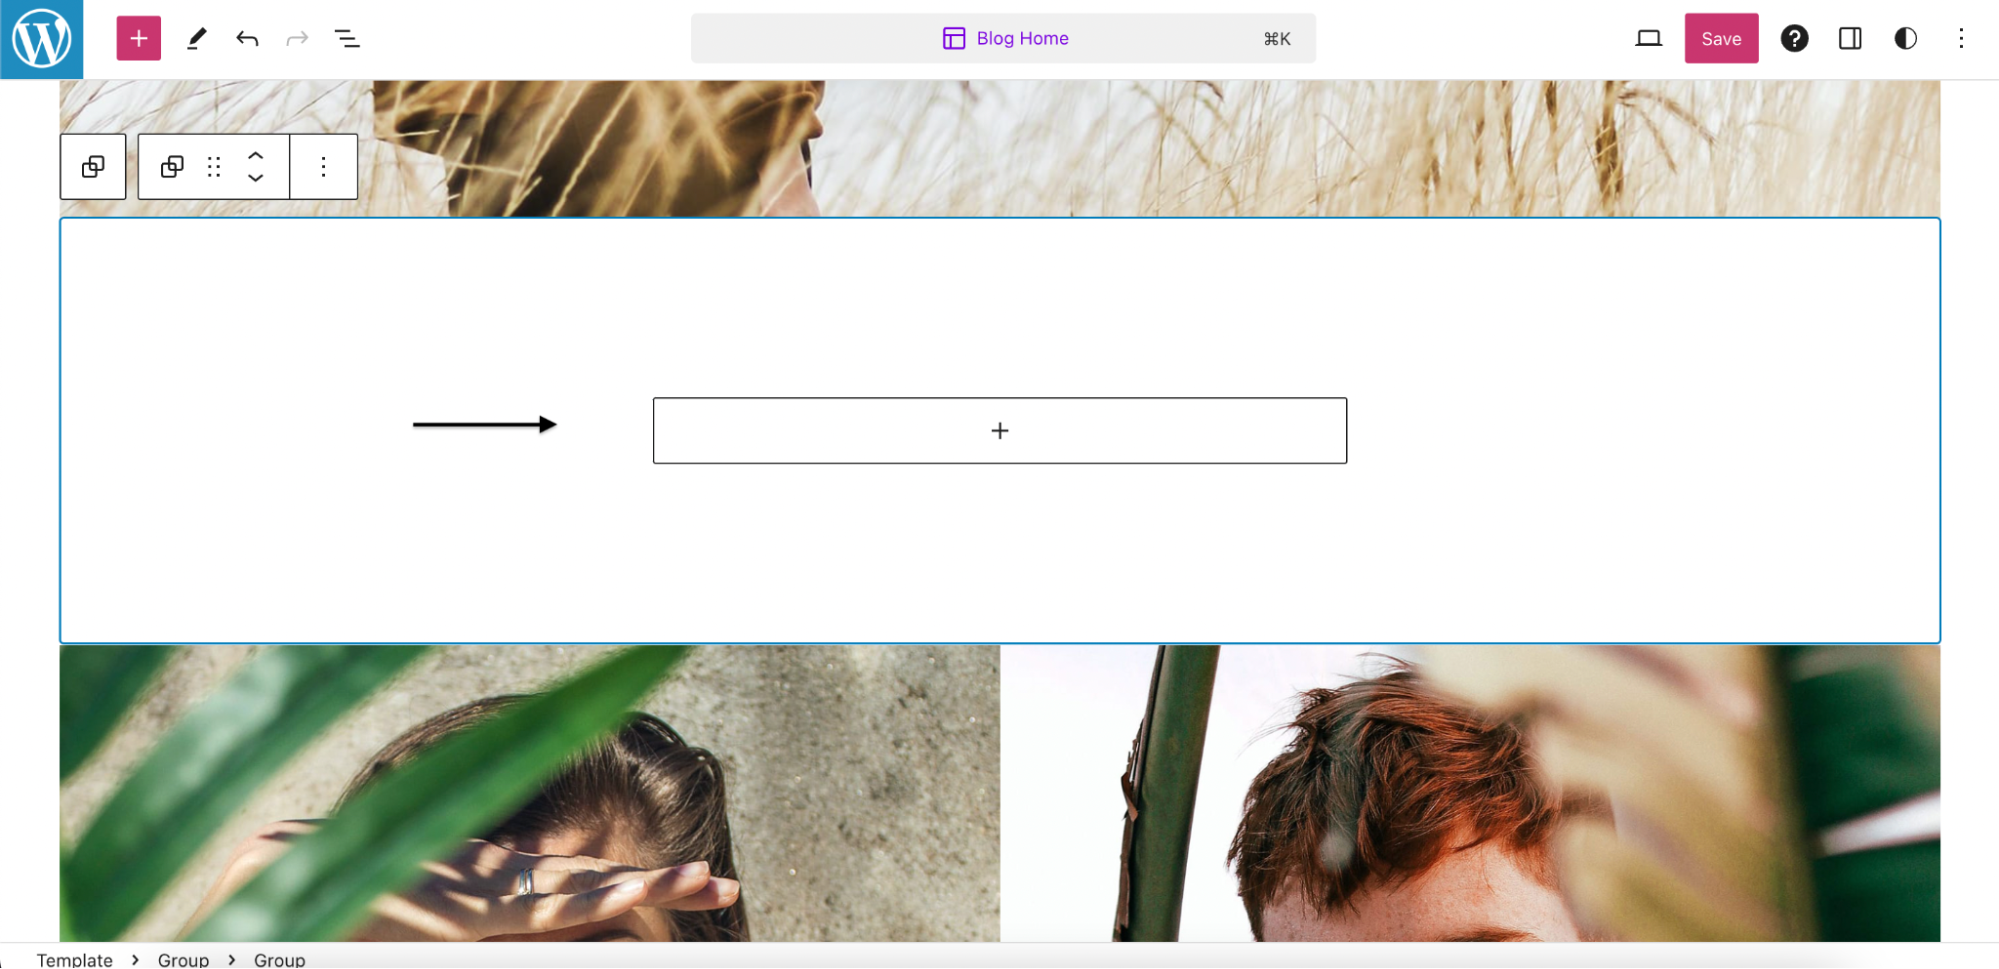
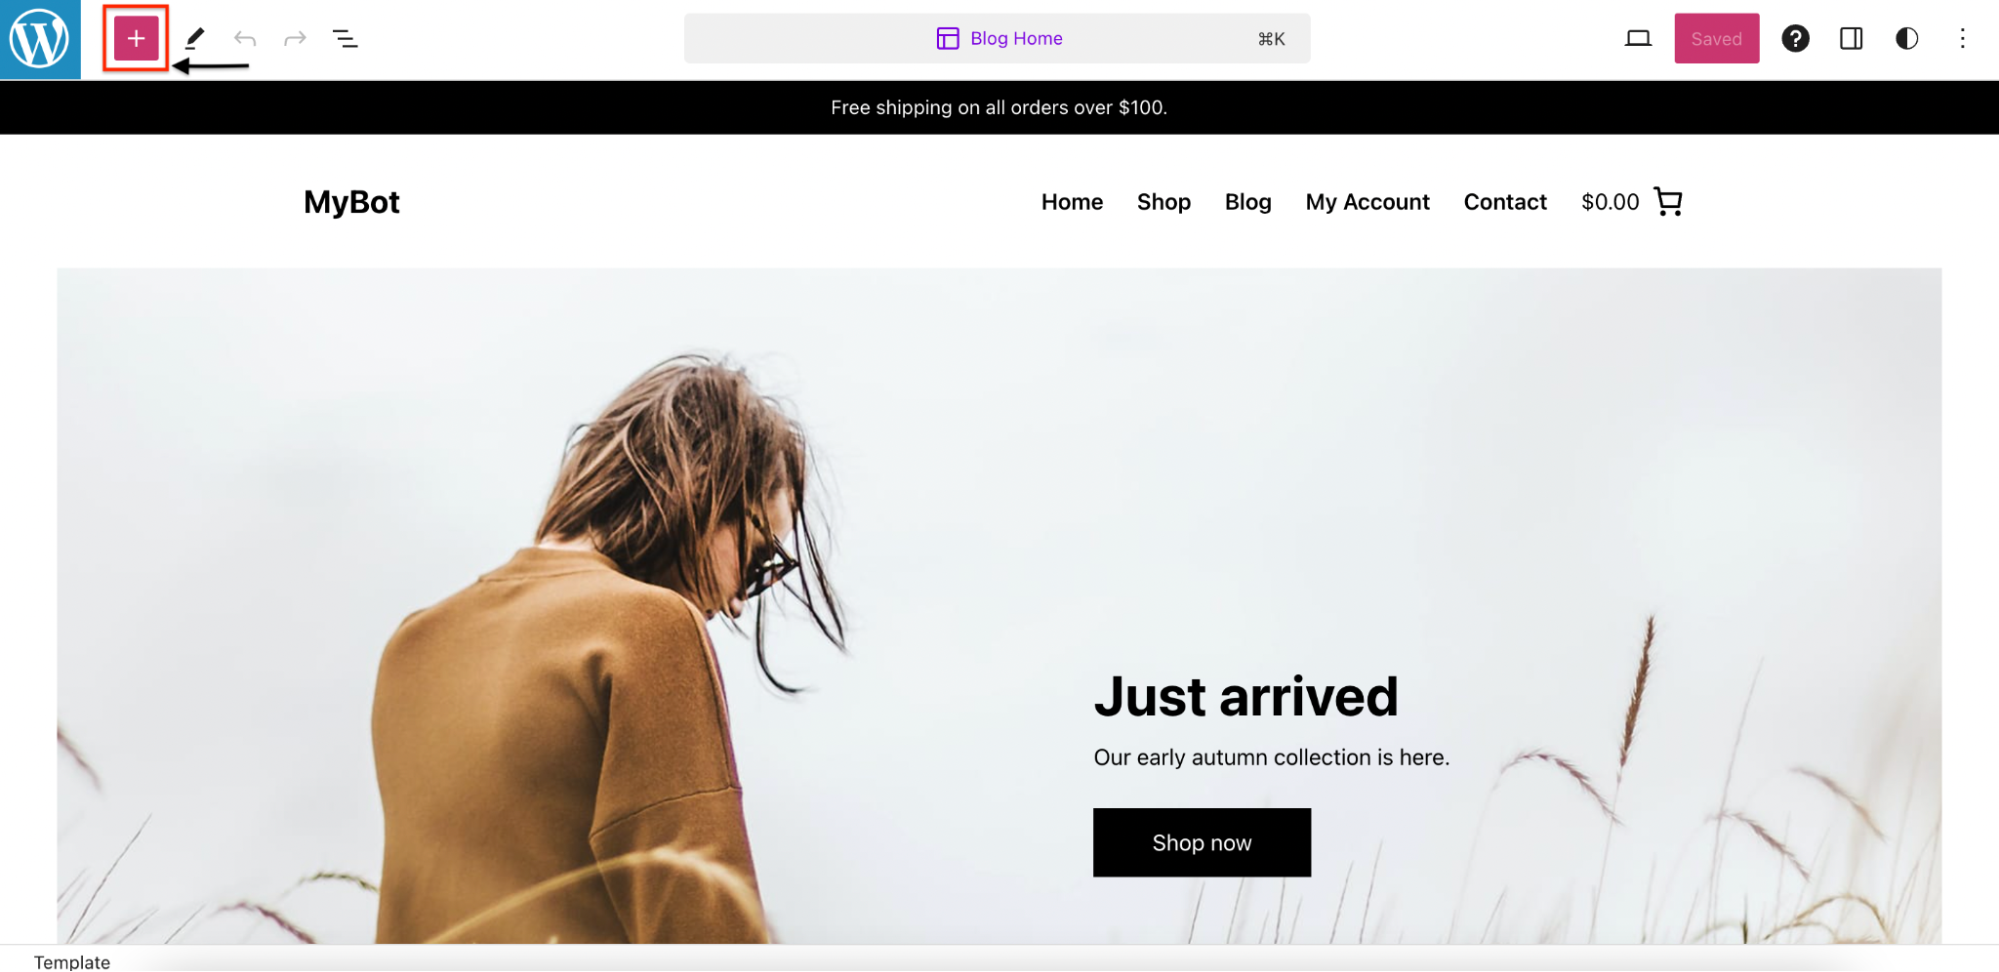
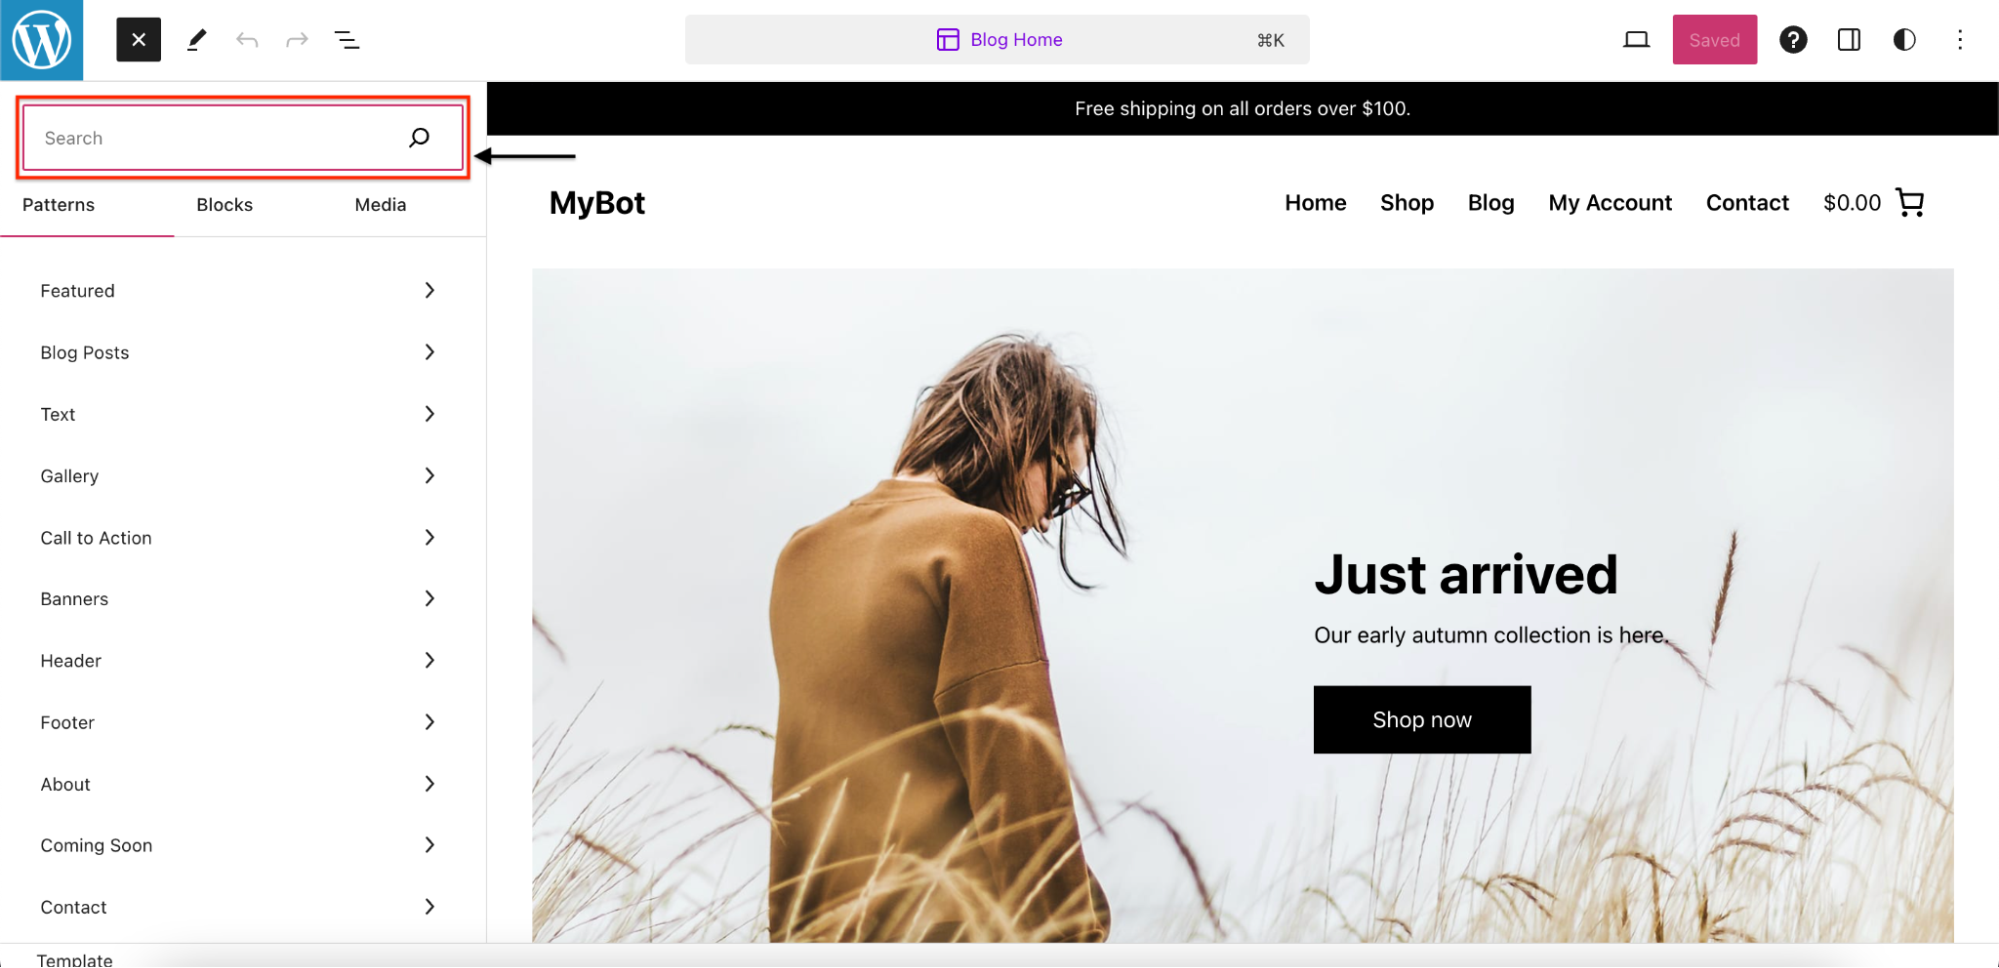
c) Click on the "+" icon.
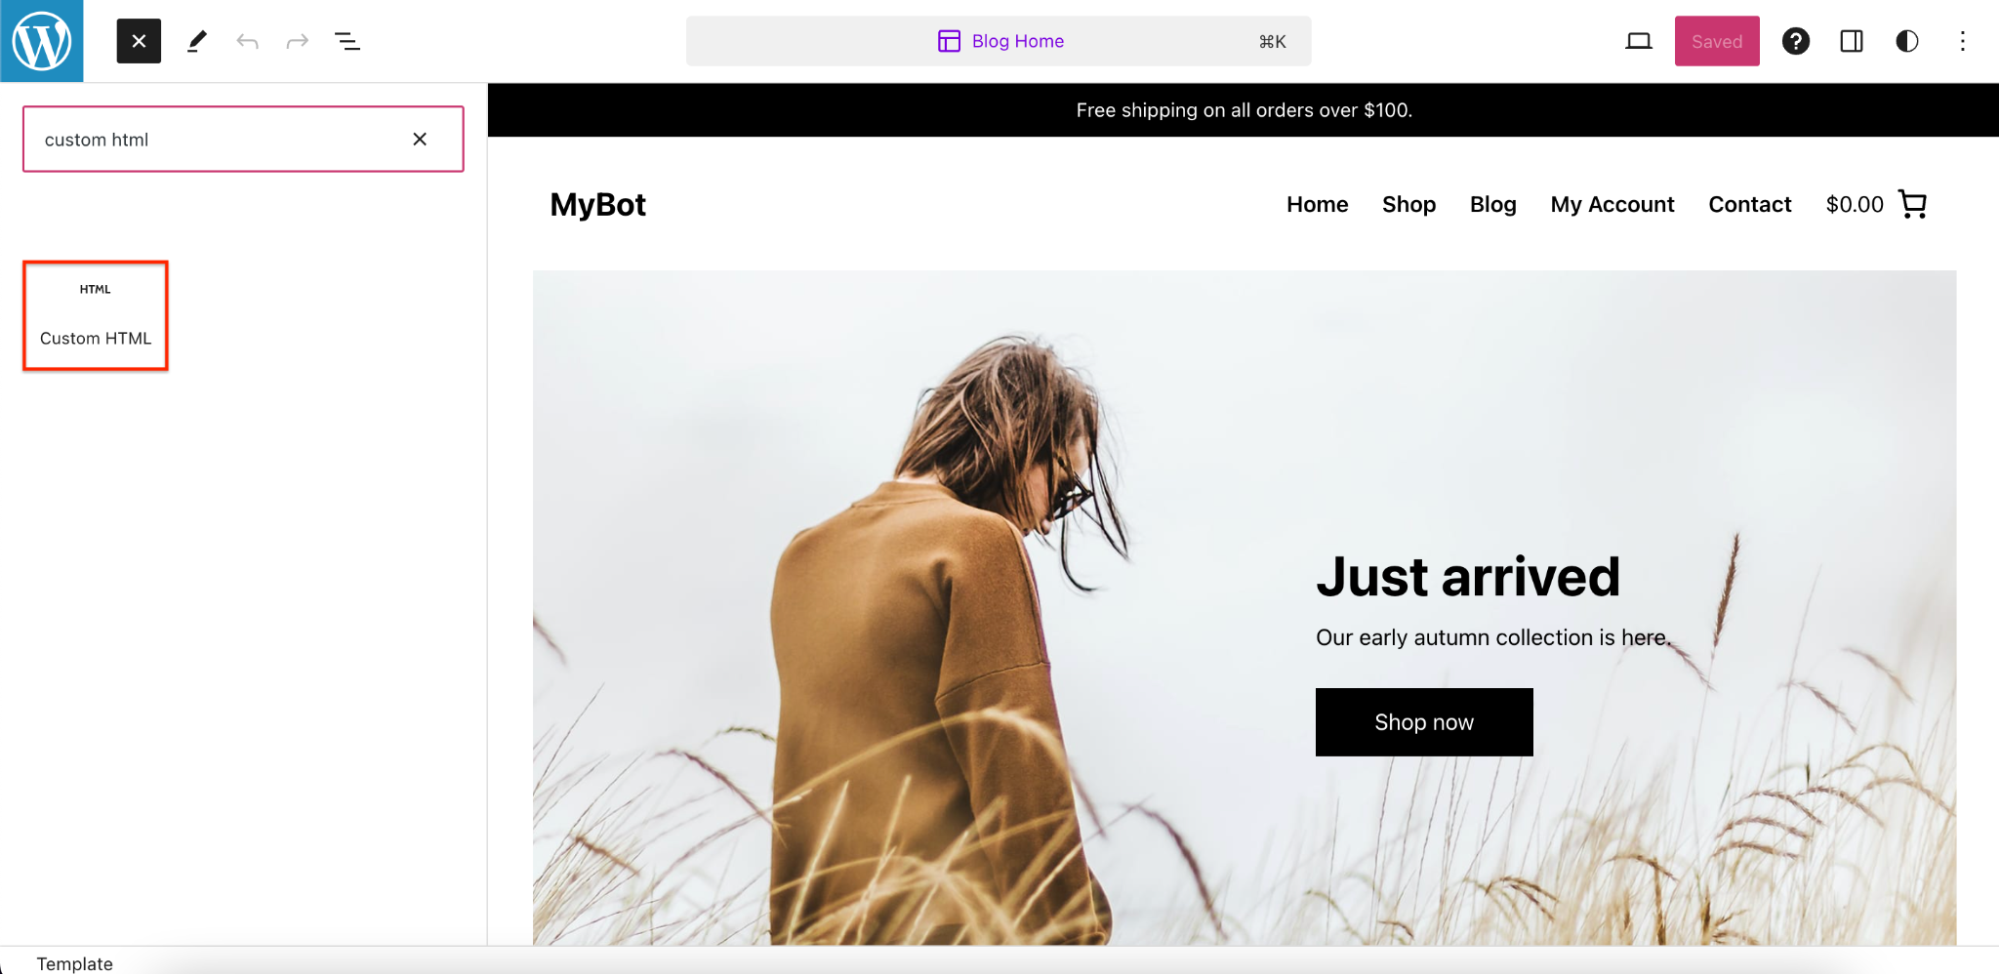
d) Search for "Custom HTML".
e) Click on "Custom HTML".
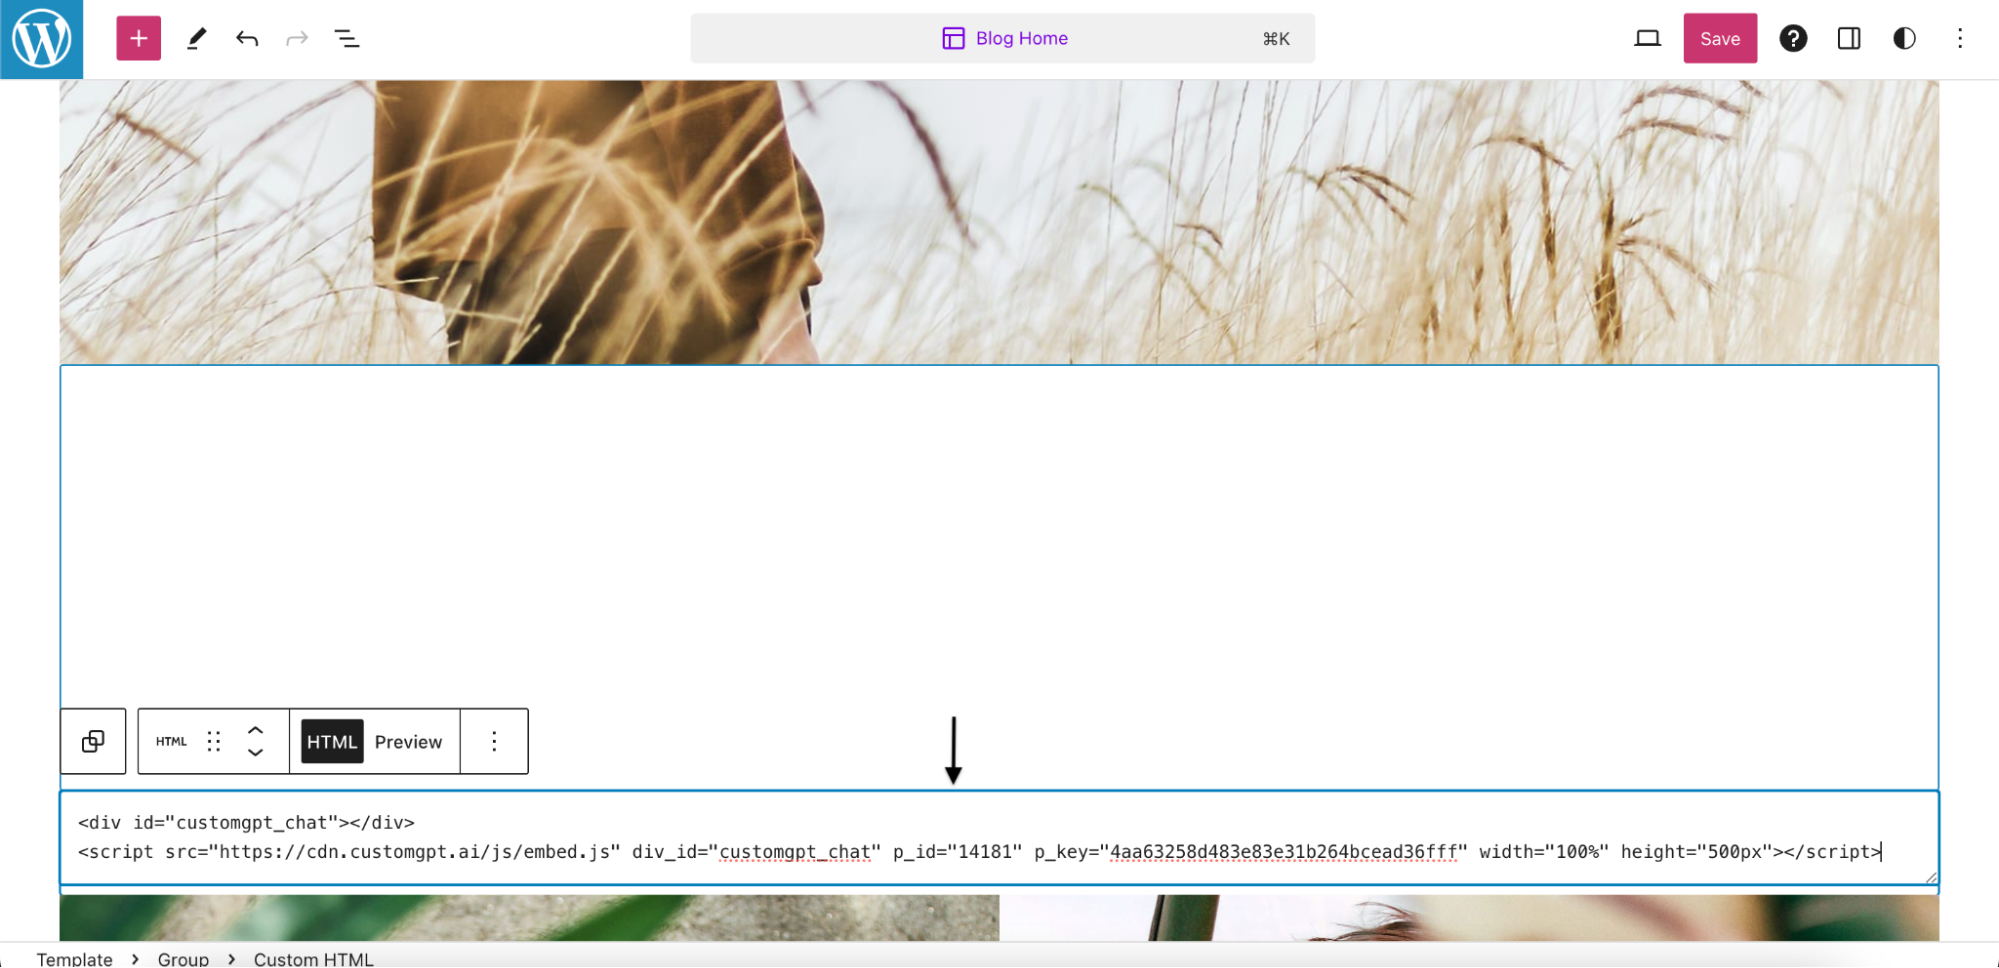
f) Paste your Code inside the HTML block. To find the code of your Chatbot, follow this guide: https://docs.customgpt.ai/docs/embed-customgpt-chatbot.
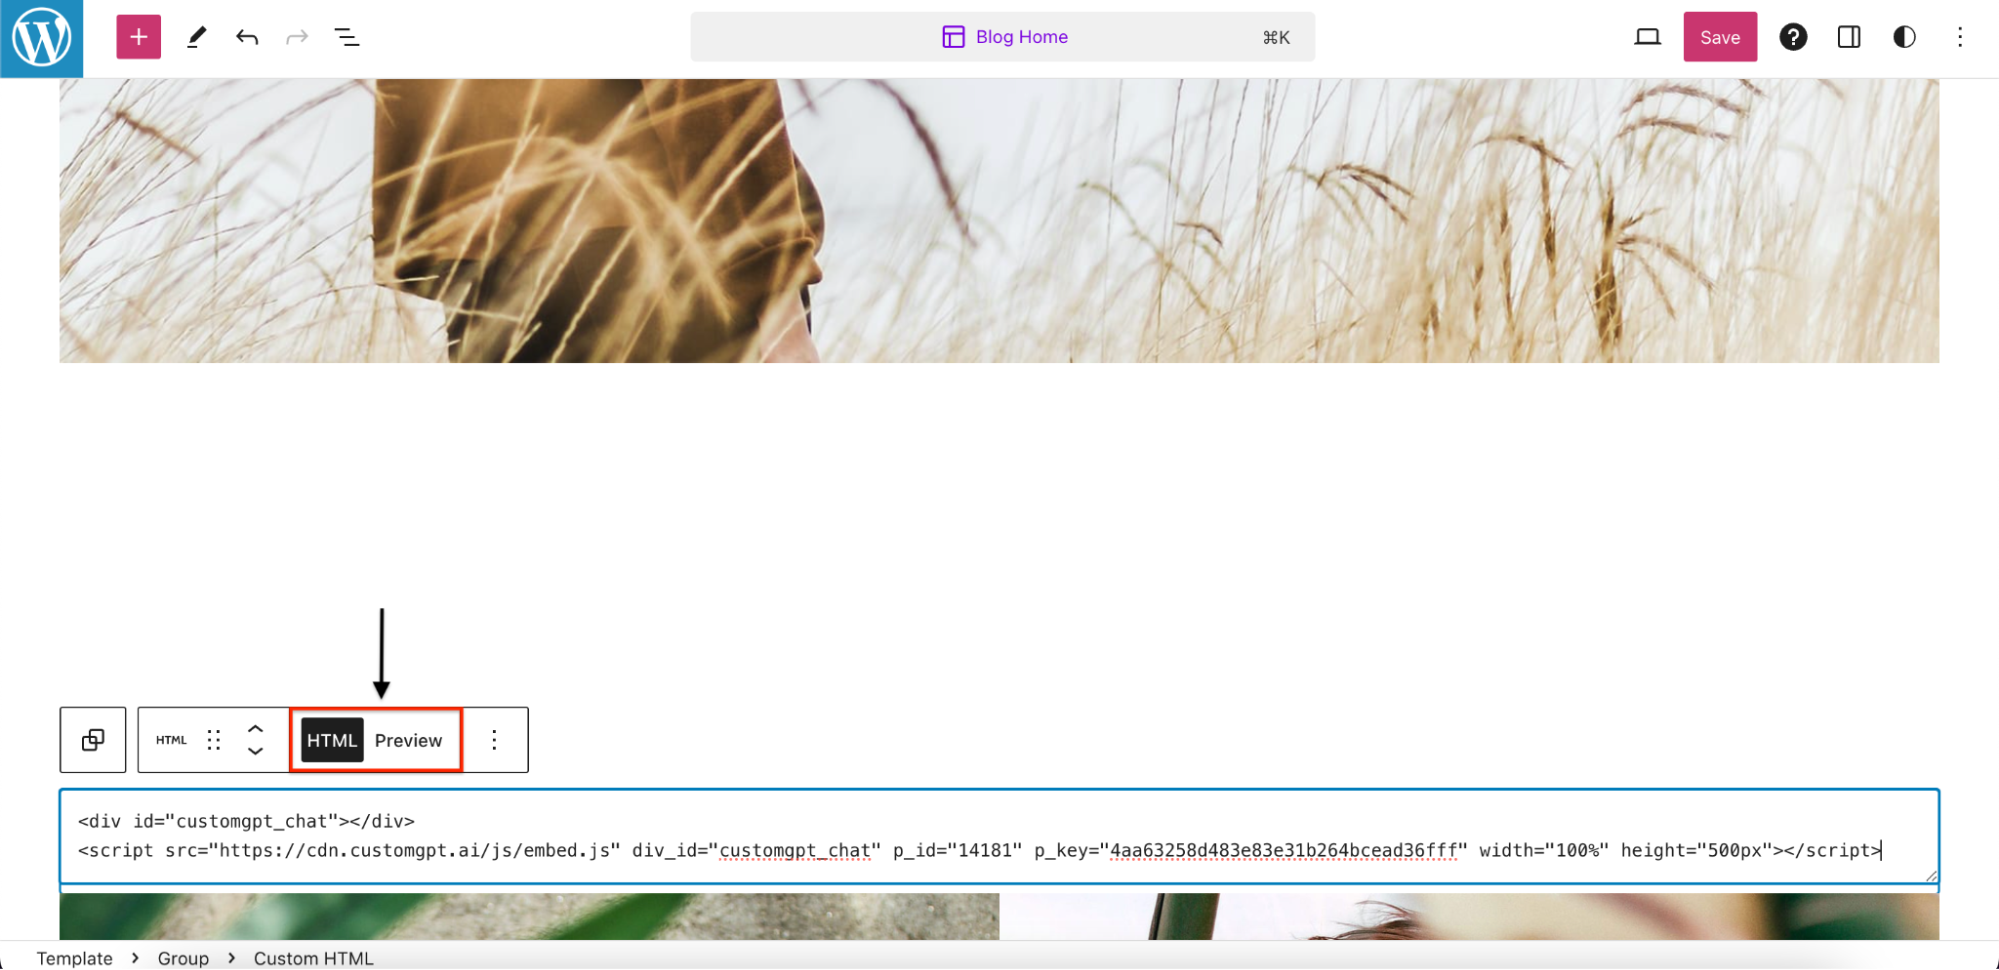
g) Click on "HTML Preview".
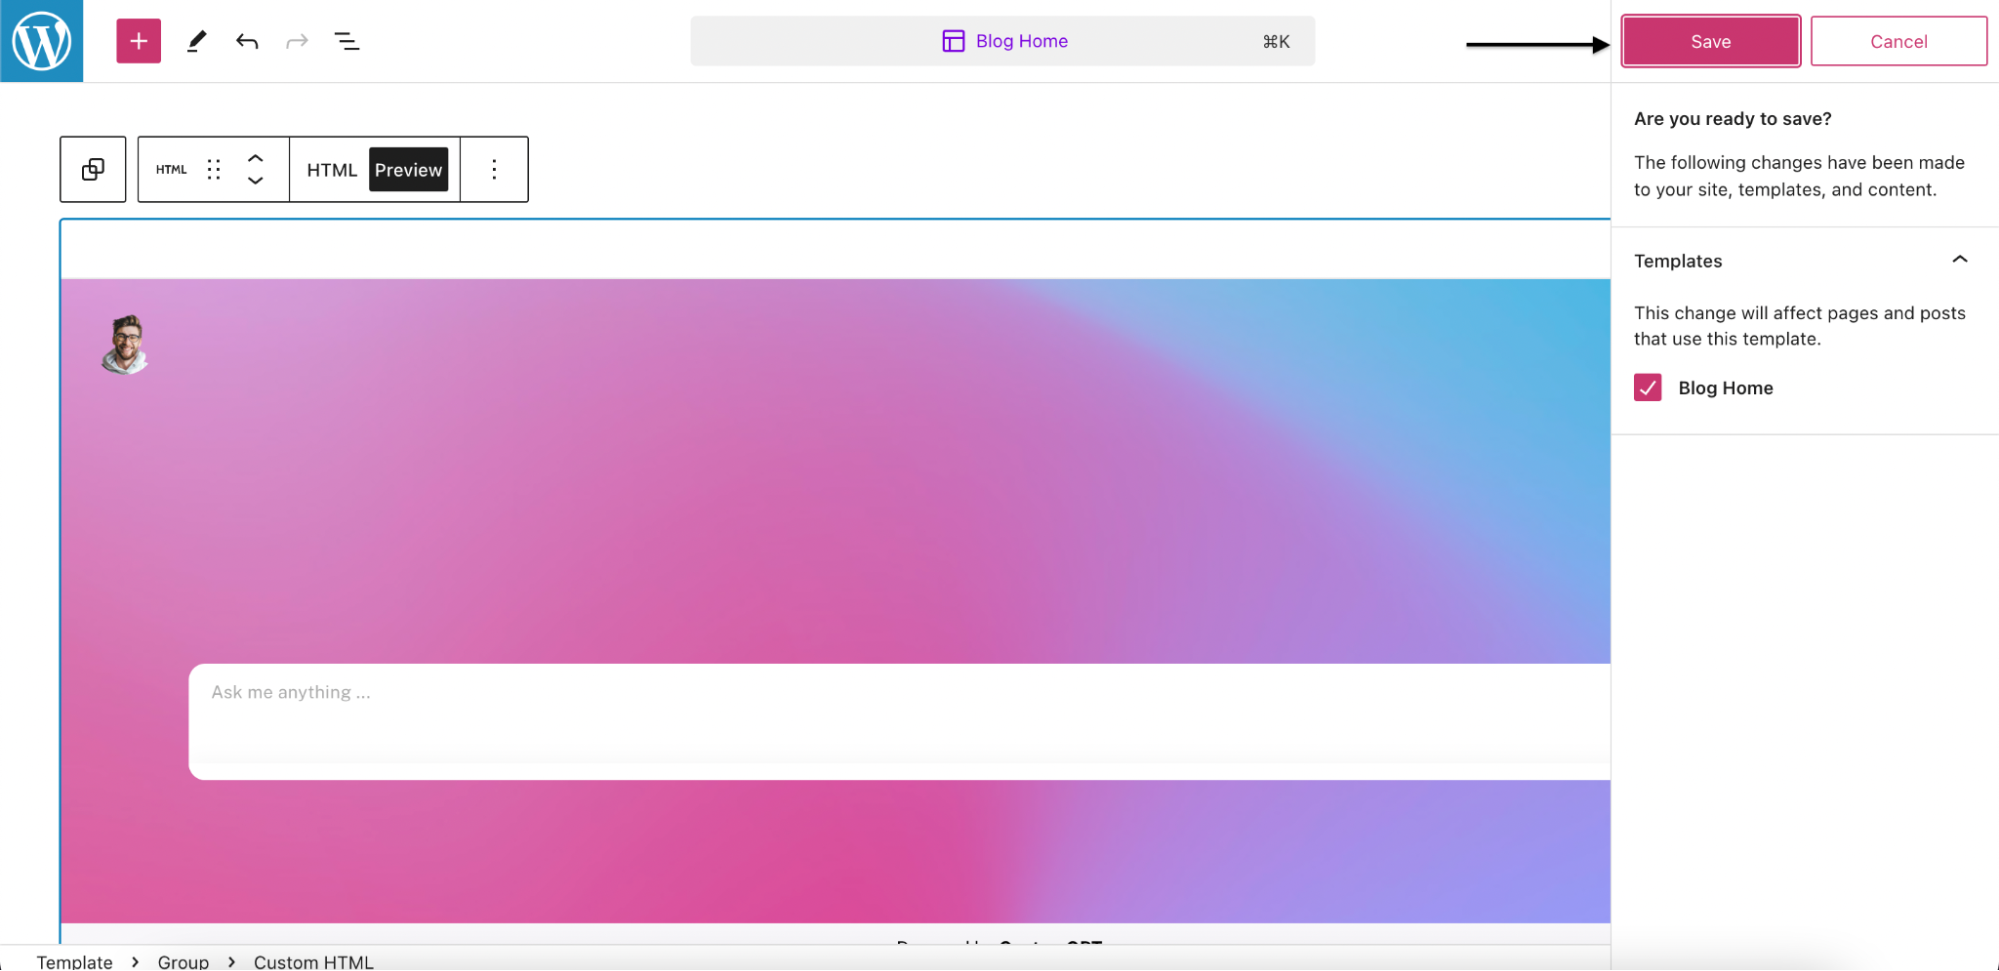
Step 4: Save Changes
a) Click on "Save".

b) Click again on "Save".
Step 5: Check the result
a) Click on the "Laptop" icon.
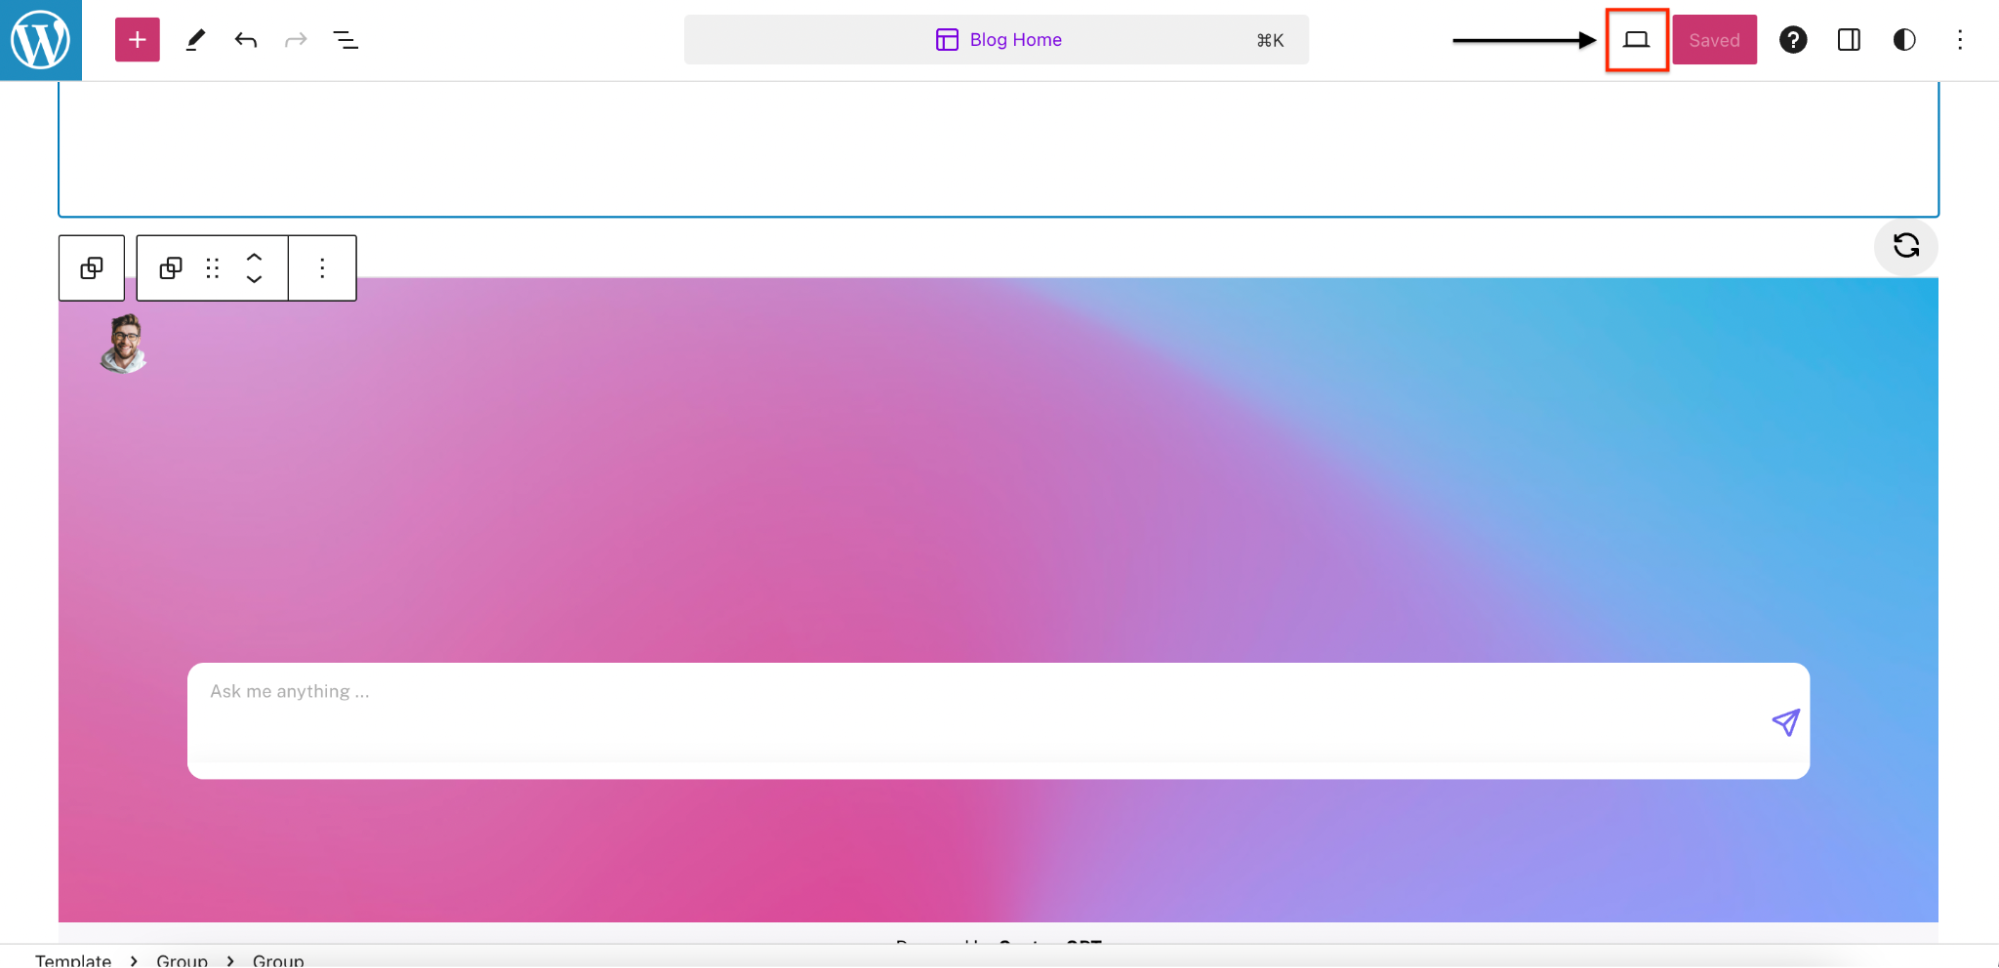
b) Click on "View site".

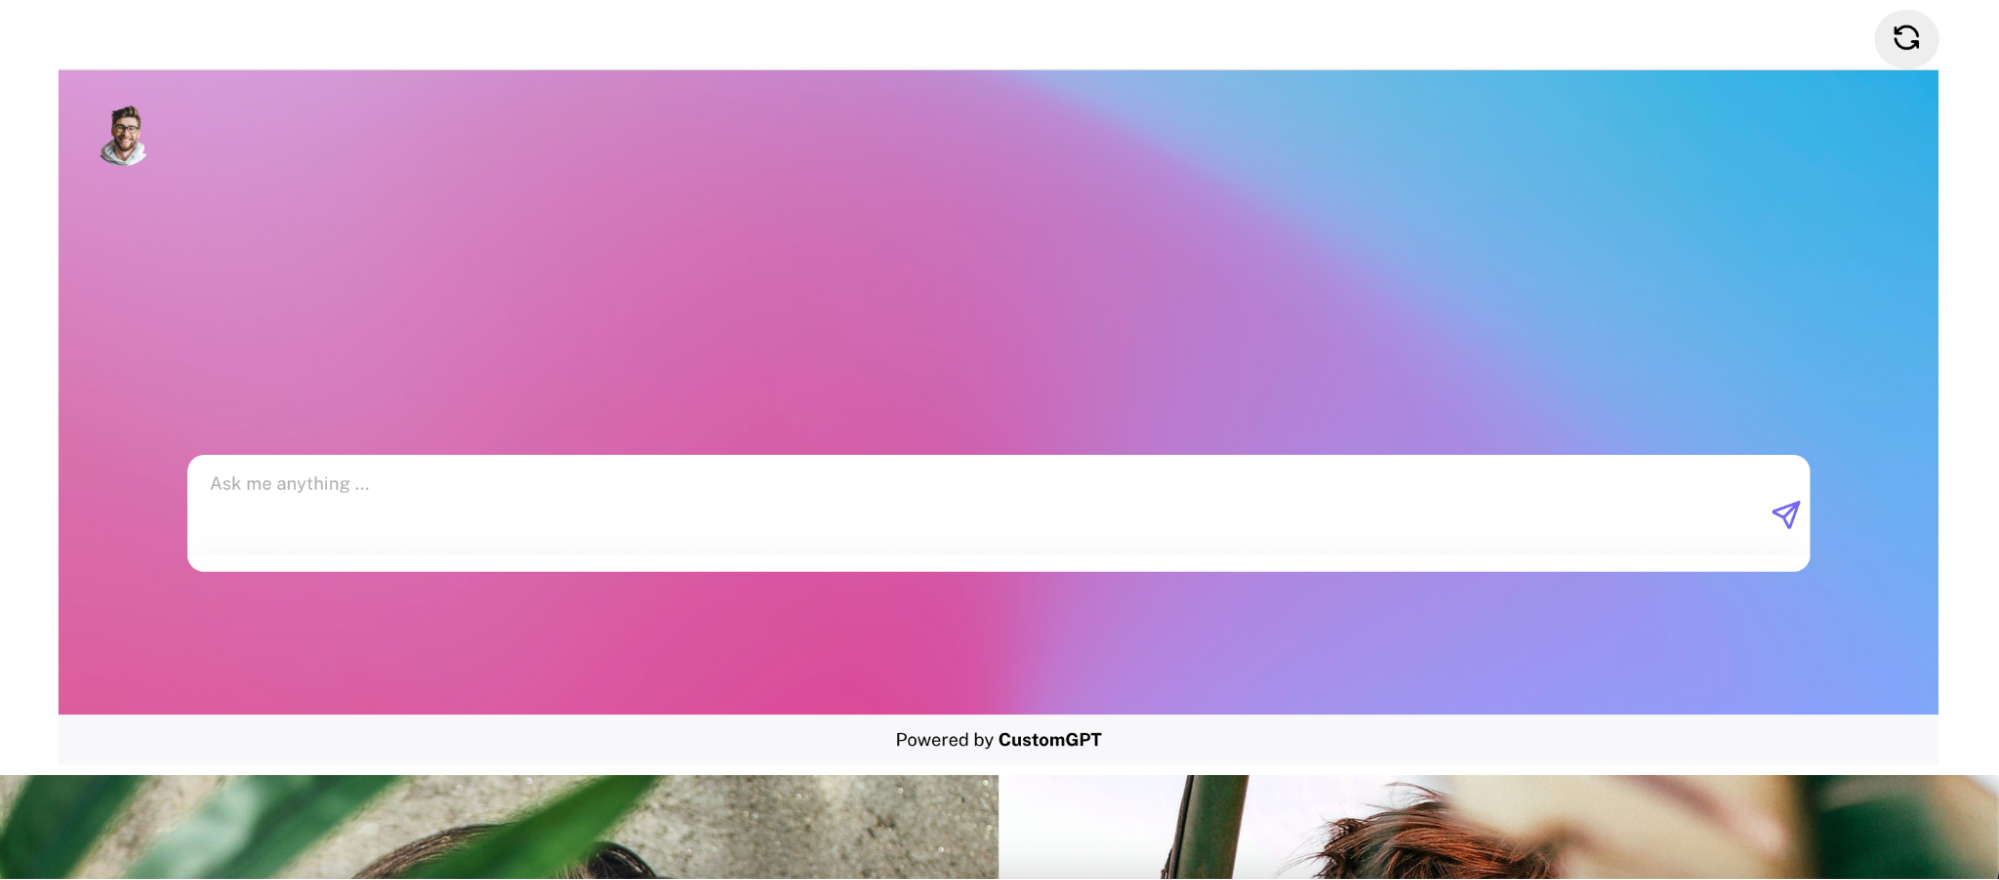
Congratulations! You have successfully embedded your ChatBot on Woocommerce. This accomplishment will greatly enhance user engagement and support on your website ✔
Updated about 1 year ago