
Respond to your Freshdesk tickets with CustomGPT.ai using Zapier
This guide shows how to automatically generate and attach a chatbot-generated support response to a Freshdesk ticket using Zapier and CustomGPT.
TLDR: Use this Zapier Template to copy our workflow directly!
🛠️ Objective
To automatically generate and attach a CustomGPT.ai-generated support response to a Freshdesk ticket using CustomGPT.ai’s Zapier integration. This guide assumes the ticket arrives via Freshdesk, and your CustomGPT.ai Agent is configured to handle support-related questions (Persona and knowledge base set up).
🔄 Workflow Summary
- Trigger: A new Freshdesk ticket is created
- Action 1: Create a CustomGPT.ai conversation in the Agent of your choice
- Action 2: Send the ticket content to the CustomGPT.ai Agent for an AI-generated response
- Action 3: Add the AI response as a private note to the original Freshdesk ticket
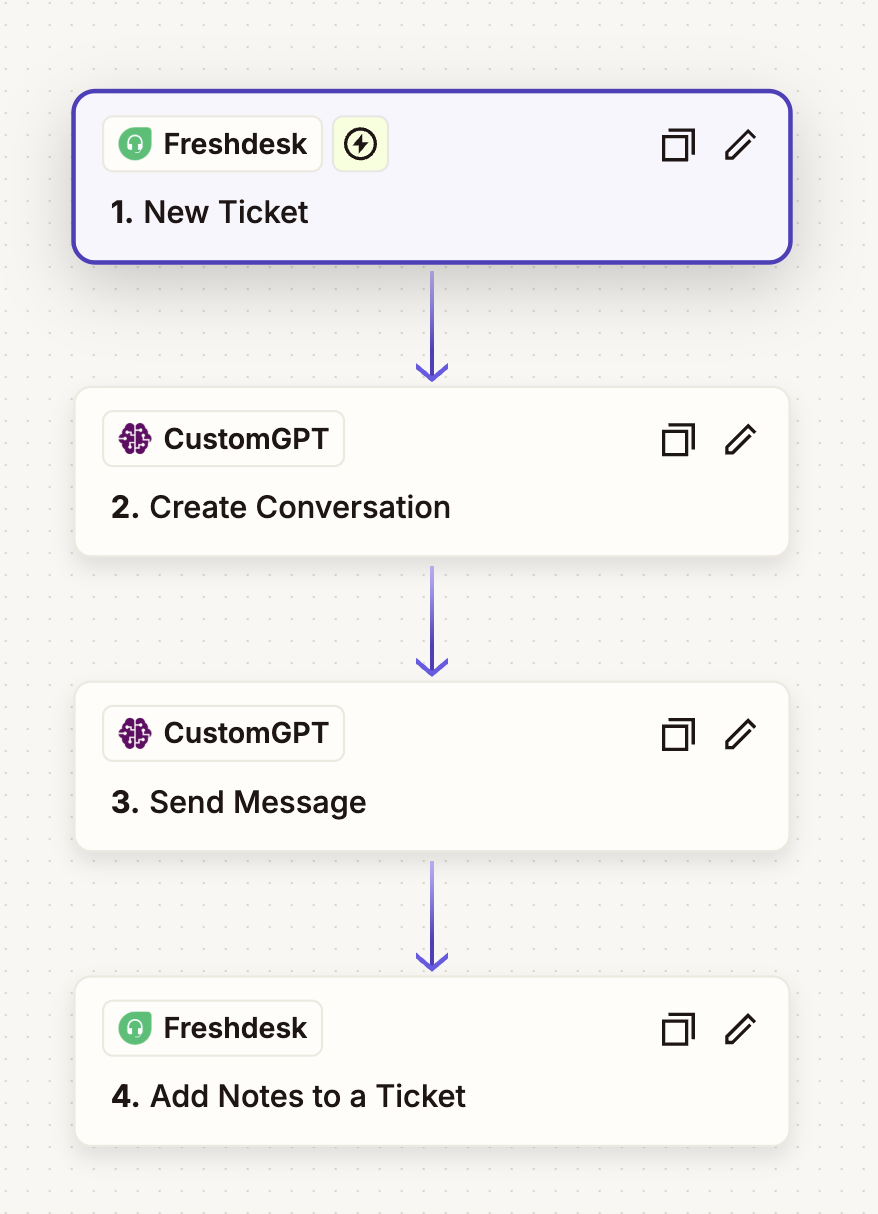
Step-by-Step Configuration in Zapier
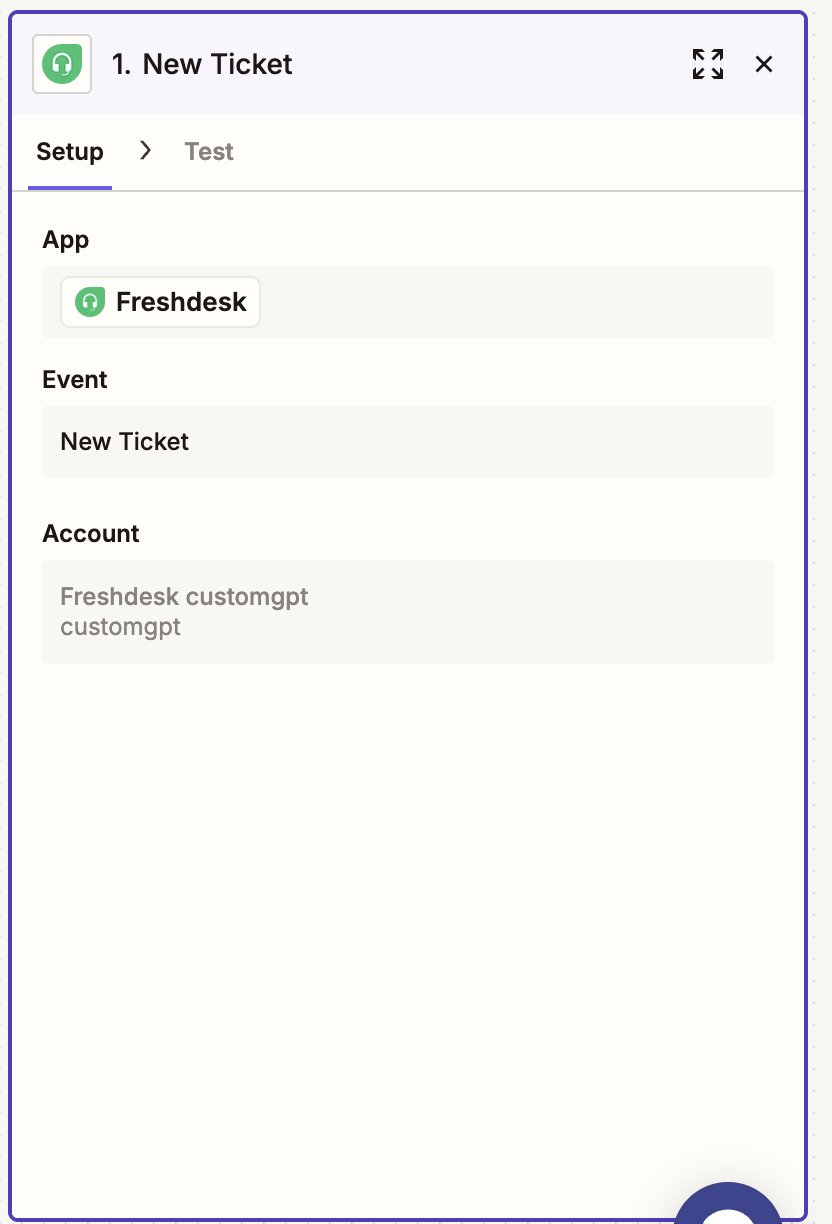
Step 1: New Ticket in Freshdesk
- App: Freshdesk
- Trigger Event: New Ticket
- Account: Select your Freshdesk account and authenticate with Zapier
This captures new support tickets and initiates the workflow. Every time a new ticket is received, this workflow will begin.
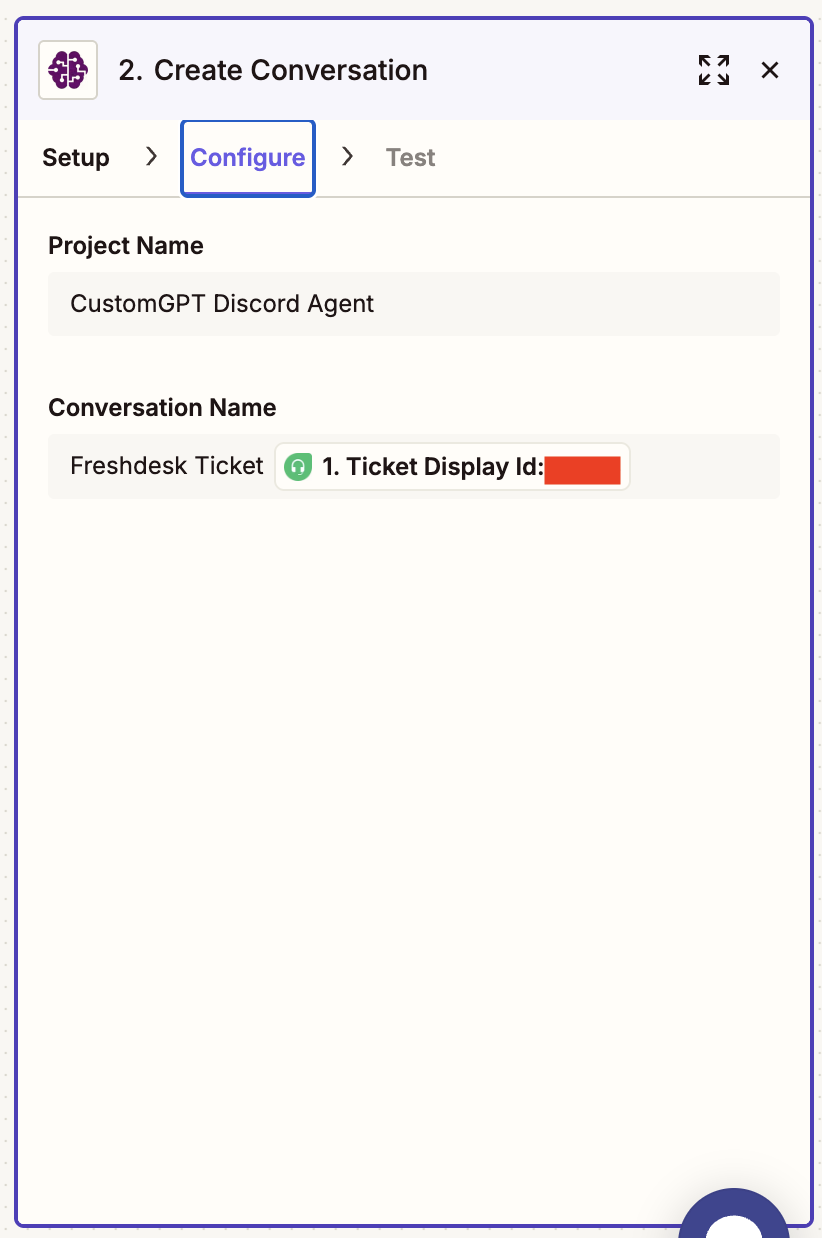
Step 2: Create Conversation in CustomGPT.ai
- App: CustomGPT.ai (You will need to authenticate your CustomGPT.ai account with Zapier here)
- Event: Create Conversation
- Project Name: Select an Agent of your choice from your list of existing Agents.
- Conversation Name: Use dynamic field from Step 1: Freshdesk Ticket Display ID
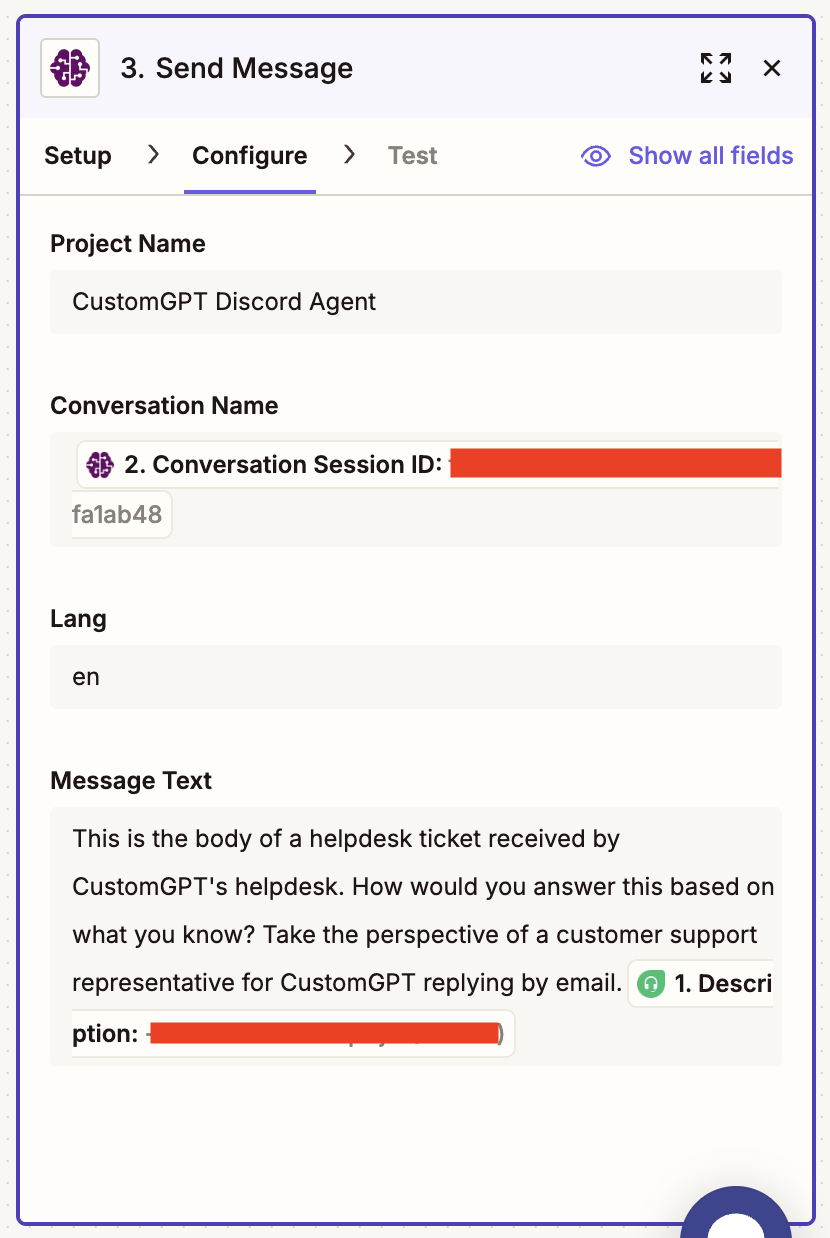
Step 3: Send Message to CustomGPT.ai
- App: CustomGPT.ai
- Event: Send Message
- Project Name: Select the Agent from the previous step
- Conversation Session ID: Map from Step 2
- Lang: en
- Message Text: You can preface the ticket content with whatever you want here, but then make sure to attach the content from the ticket in the initial trigger using this description field: {{Freshdesk Ticket Description}}
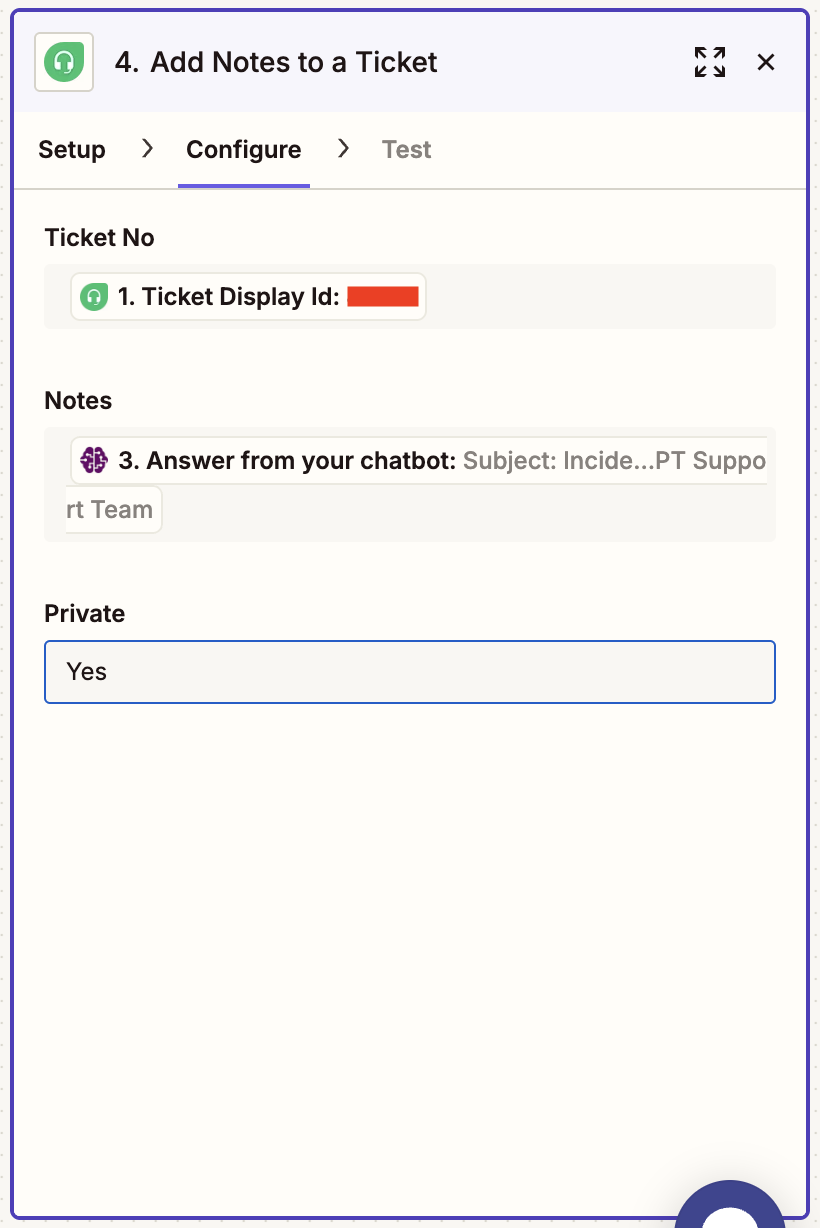
Step 4: Add Notes to Freshdesk Ticket
App: Freshdesk
Event: Add Notes to a Ticket
Ticket ID: Use Ticket Display ID from Step 1
Notes: Use ‘Answer from your chatbot’ field from Step 3 (AI-generated message)
Private: Set to Yes (unless you want your customers to see the response)
📈 Optional Enhancements
- Send an Email Response Automatically: Use the 'Reply to Ticket' action instead of 'Add Note' if you want to send the response to the customer.
- Language Routing: Use a formatter to detect language and pass it into the Lang parameter.
- Tag Tickets: Add labels or tags to the ticket using another Freshdesk action.
✅ Final Notes
- Ensure your CustomGPT.ai Agent is equipped with relevant help content, documentation, and SOPs for high-quality answers. Also, a Persona to instruct it to provide responses in email format.
- Use test tickets in Freshdesk to trial the Zapier flow before deploying it live.
- Make sure your accounts are connected and your access permissions for both platforms (CustomGPT.ai and Freshdesk) are correctly configured in Zapier.
Updated 10 days ago
What’s Next
You should now be well-equipped to handle customer support more efficiently with the help of CustomGPT.ai!