Build revenue agent and drive conversions
This guide shows you how to combine key features to build a high-performing Revenue Agent designed to drive conversions.
Based on our experiments, we’ve found that combining increased engagement, strong agent visibility, real-time context awareness, short, conversational messages, and organic follow-ups with a clear call-to-action (CTA) can improve conversion rates by up to 10×.
What drives higher conversions?
- Enable Spotlight Avatar for increased visibility
- Upload an animated human video to create a personal connection
- Set avatar shape to rectangular for better user attention
- Enable Drive Conversions and define your objective URL
- Enable Context Awareness so the agent knows where it’s deployed
- Enable context-rich starter questions tailored to the page
- Enable Agent Initiative to prompt the user automatically (Live Chat only)
Together, these features create an agent that is visually engaging, situationally aware, and focused on driving results.
How to set this up
Where to enable the Spotlight Avatar
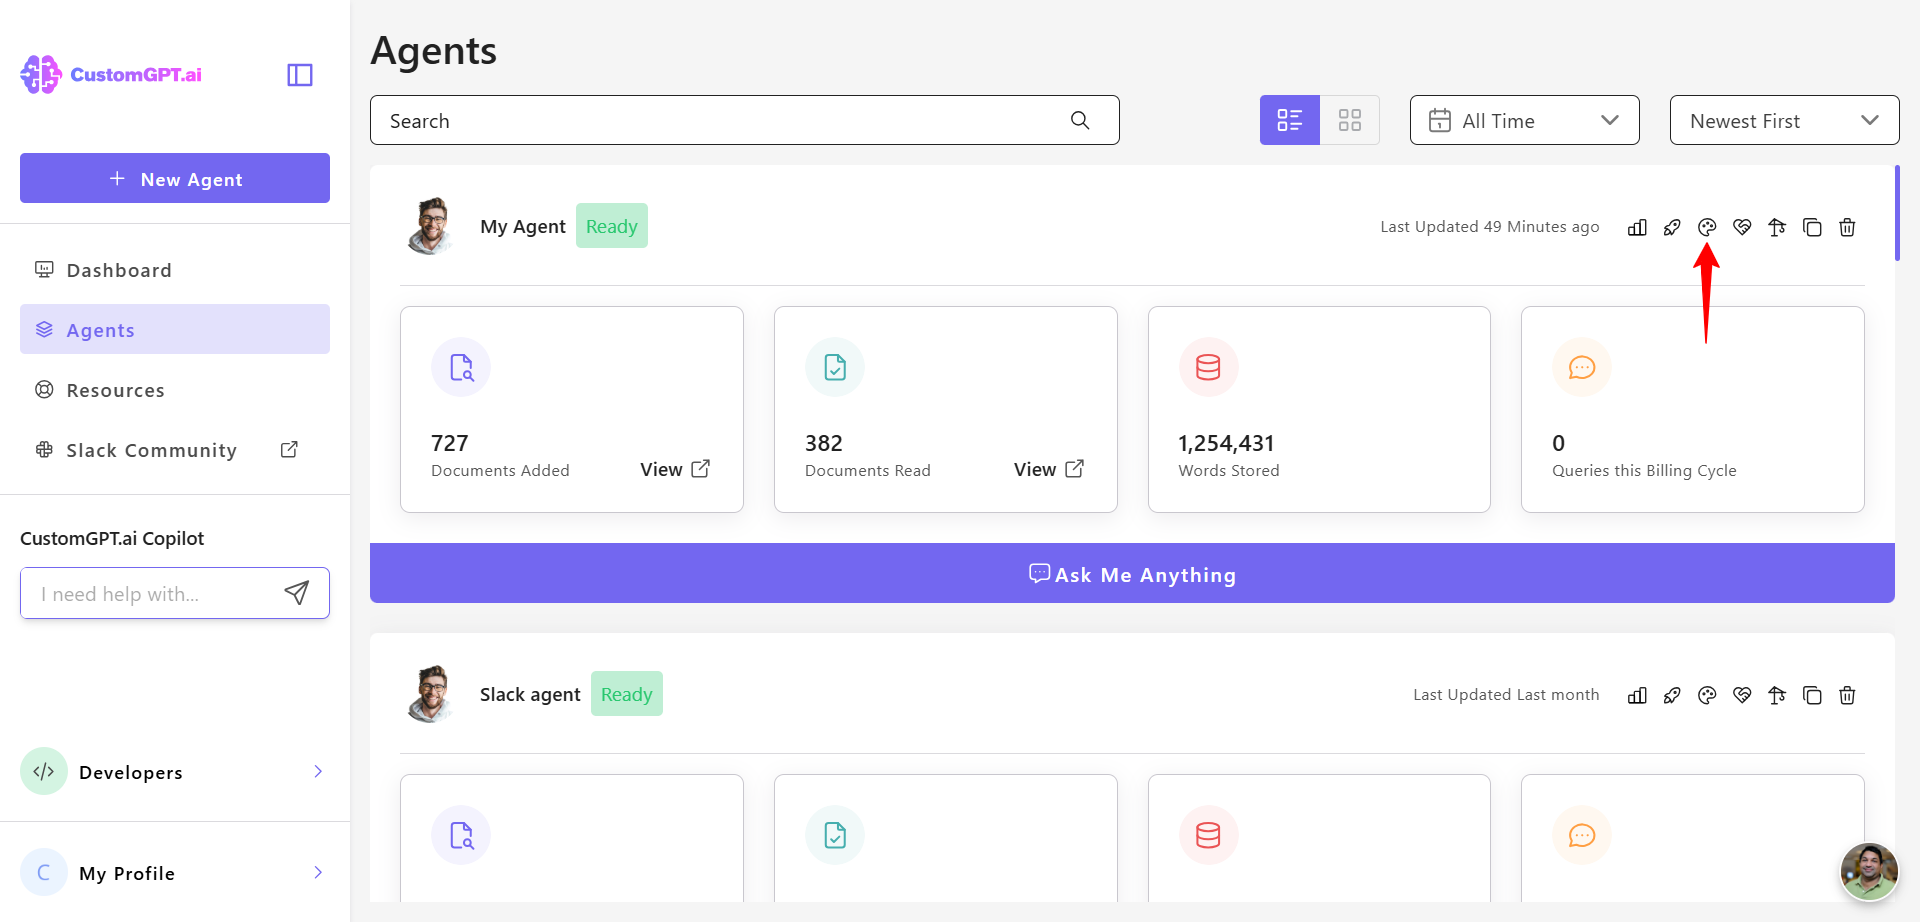
- Go to your agent’s Personalize section.
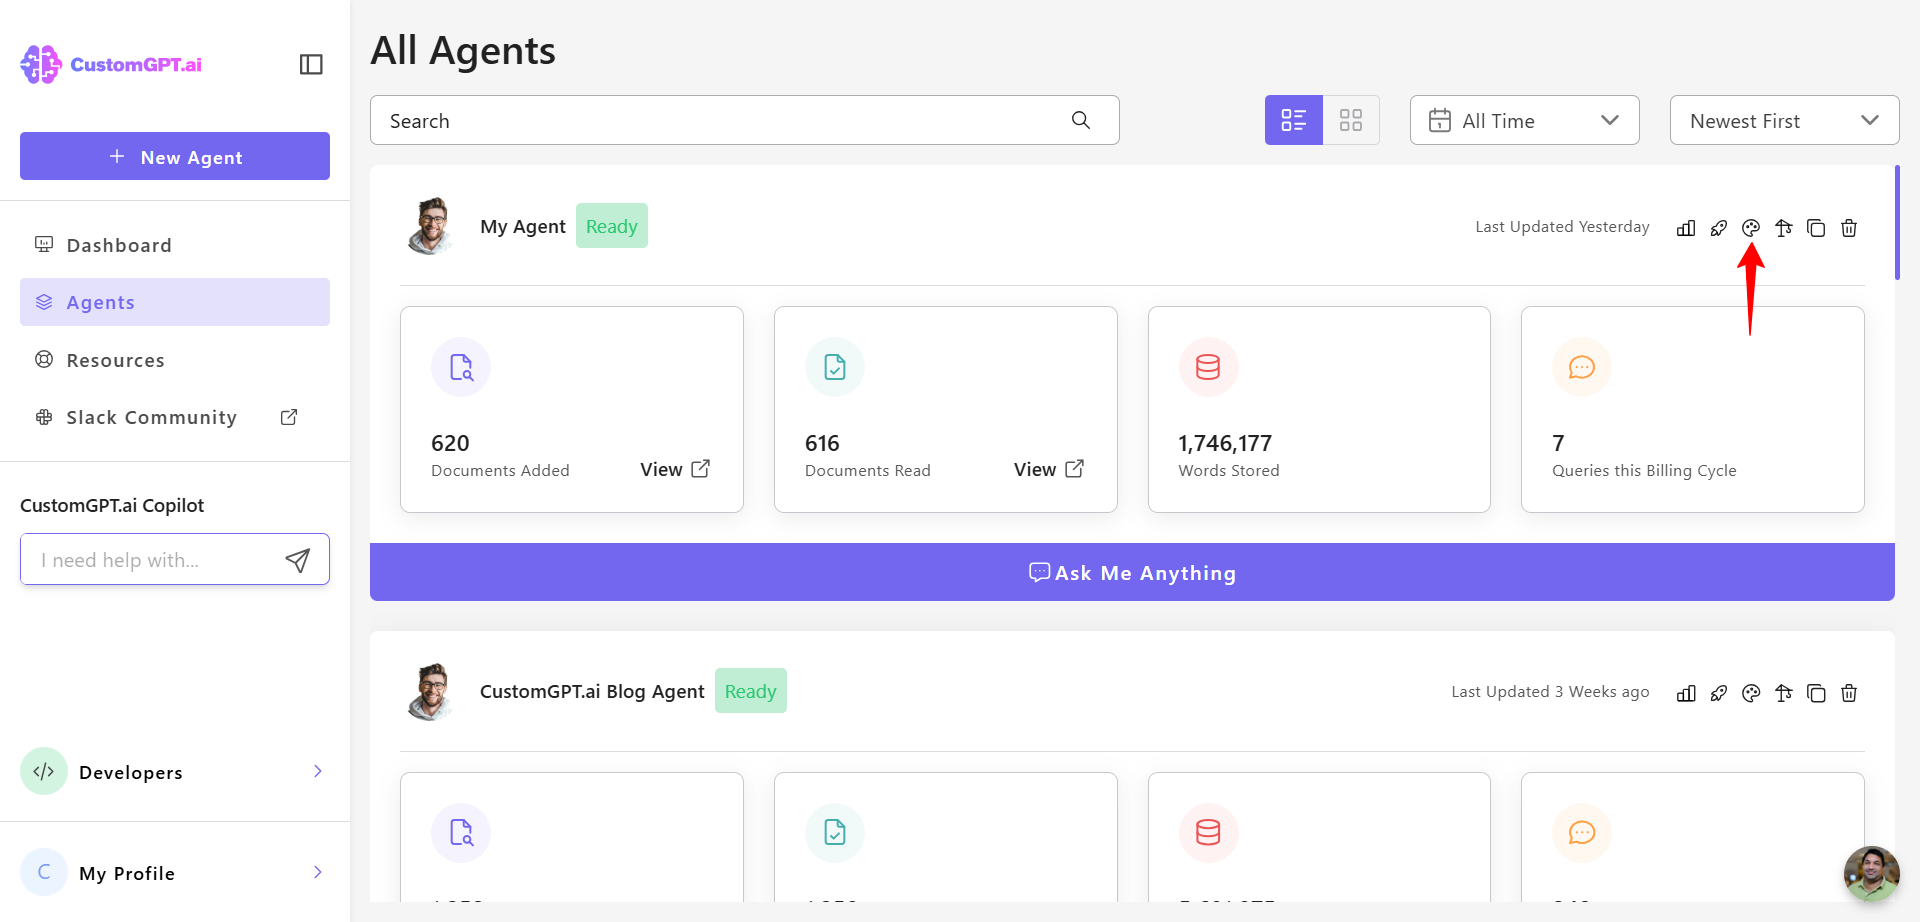
- Click on the Advanced tab.
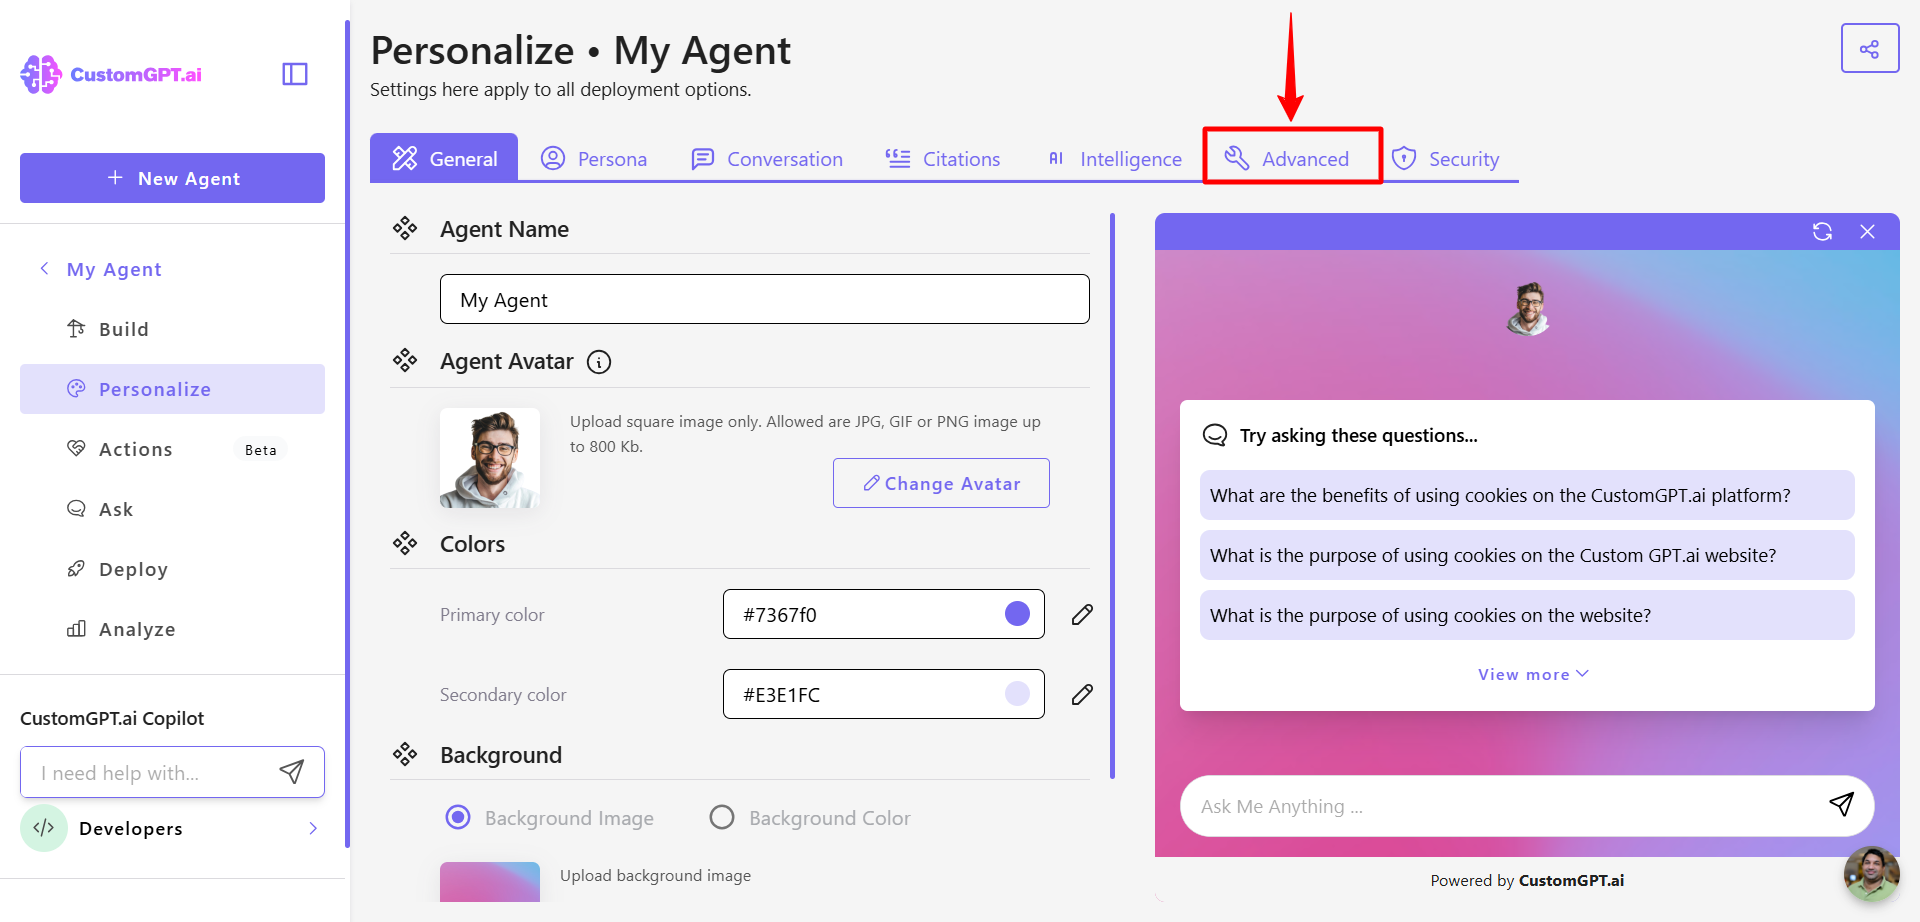
- Scroll down and find the Spotlight Avatar setting. and enable the setting to turn on Spotlight Avatar.
👉 Learn more about Spotlight Avatar
Upload animated human video to Spotlight Avatar
- Under Spotlight Avatar, click Upload an image.
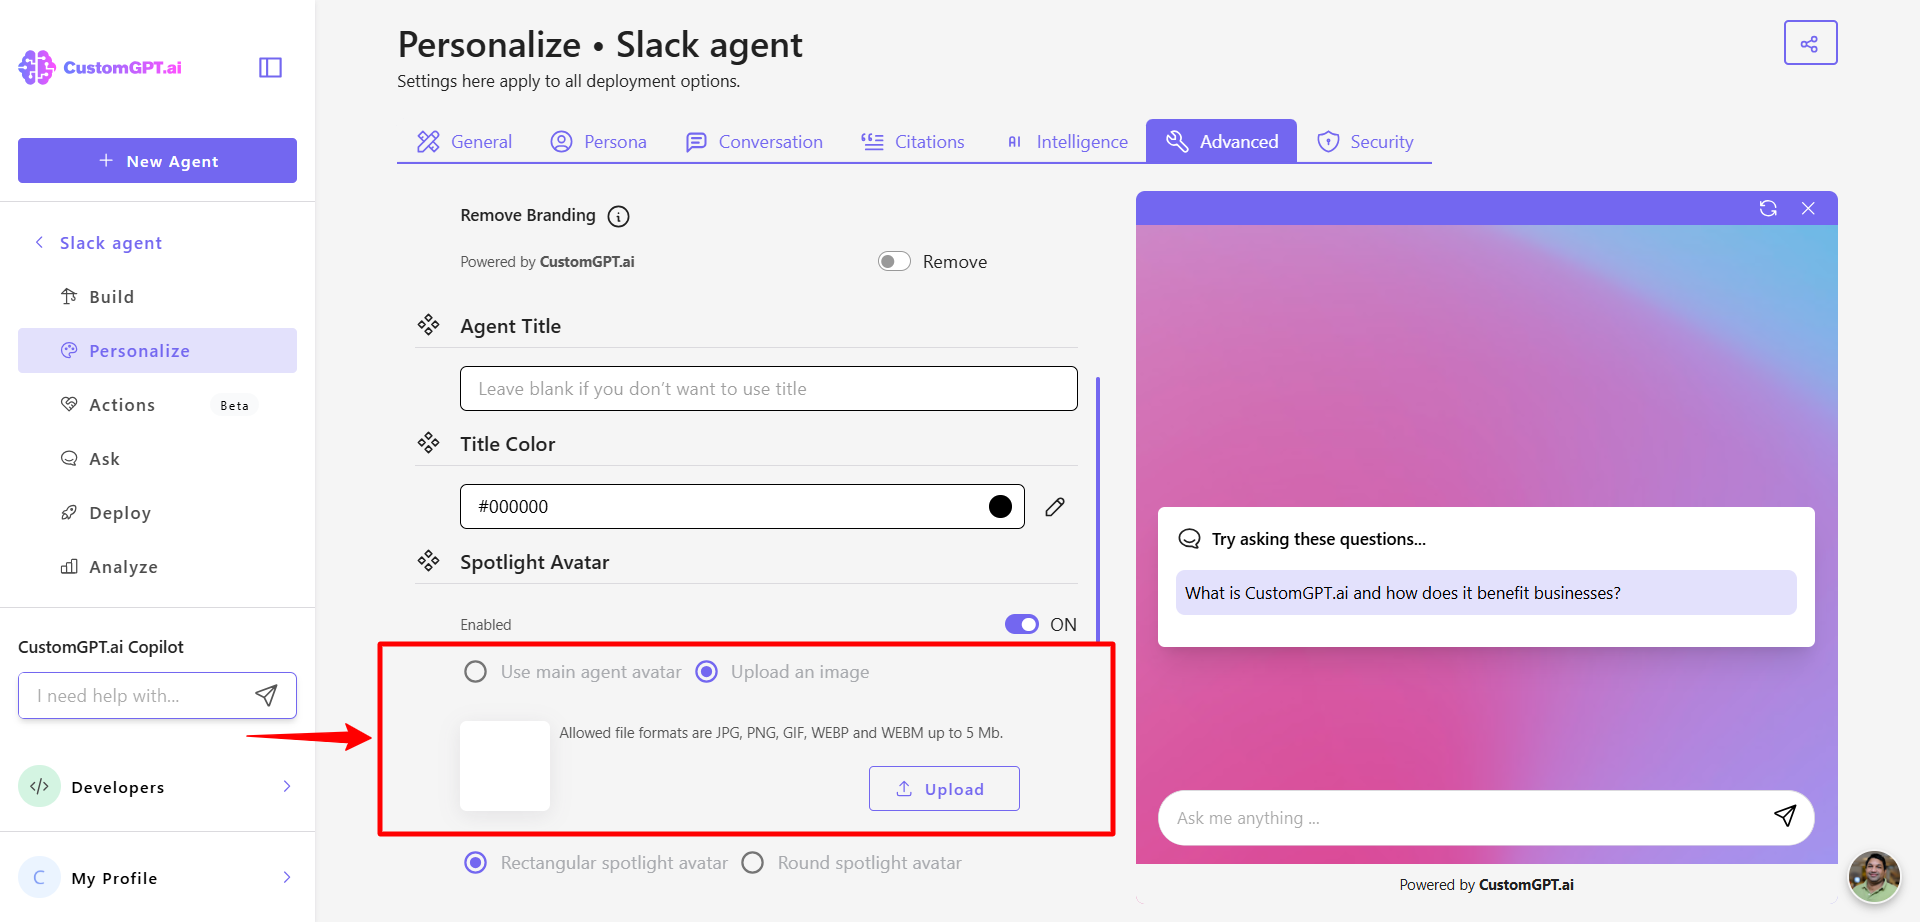
- Select a video with a human spokesperson and save the changes.
👉 Learn more about Spotlight Avatar
Set avatar shape to rectangular
Change Avatar Shape to Rectangular.

👉 Learn more about Spotlight Avatar
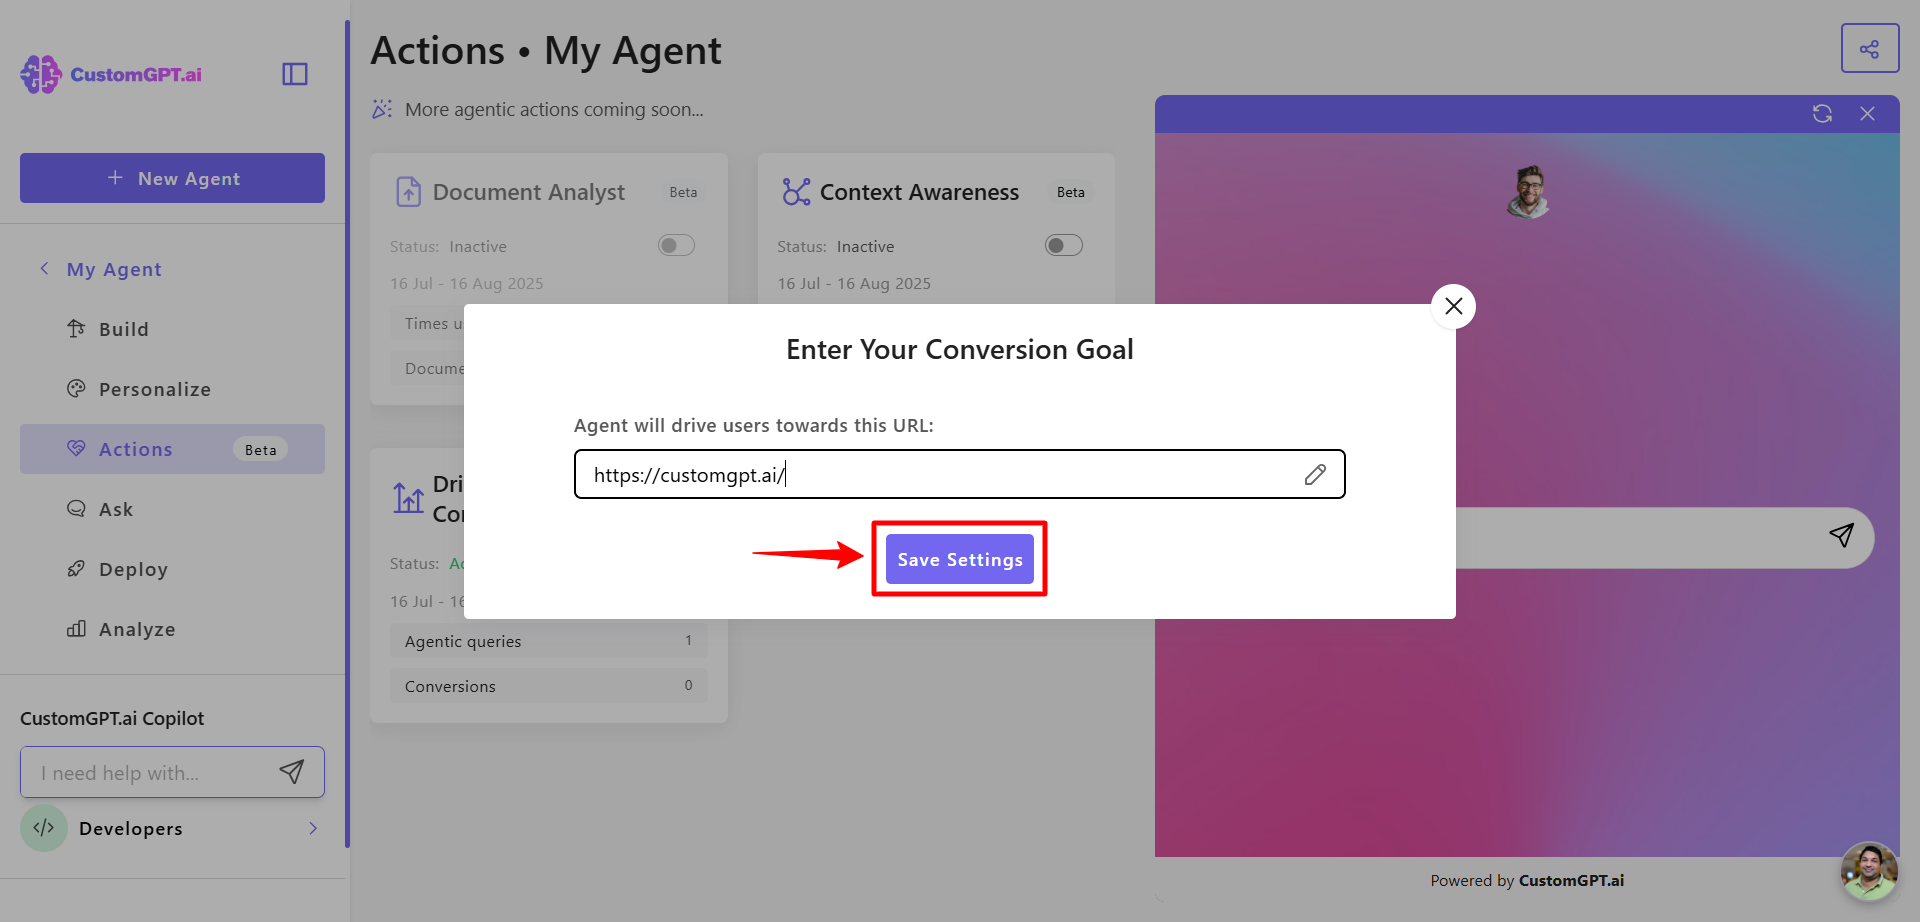
Enable Drive Conversions and set your target URL
- In your CustomGPT dashboard, click Actions in the right sidebar.

- Find Drive Conversions and toggle it On to activate the feature.
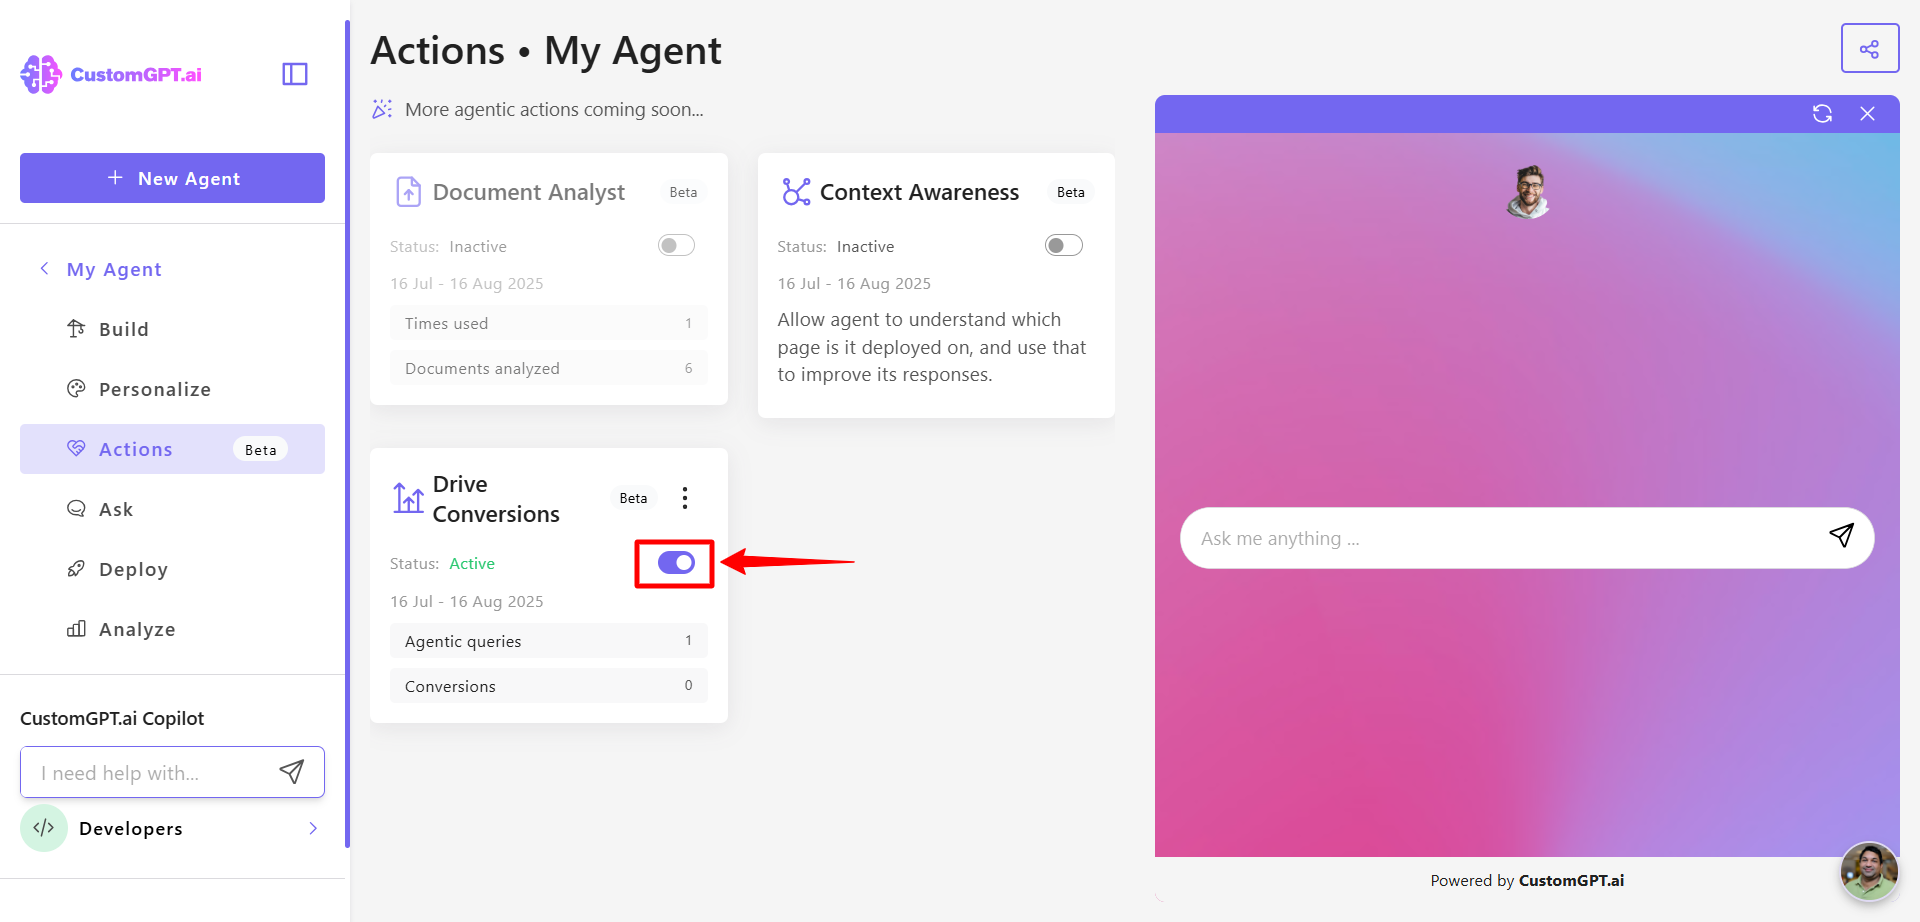
- Enter your Conversion Goal URL and click Save settings to set your conversational goal.
👉 Learn more about Drive Conversions
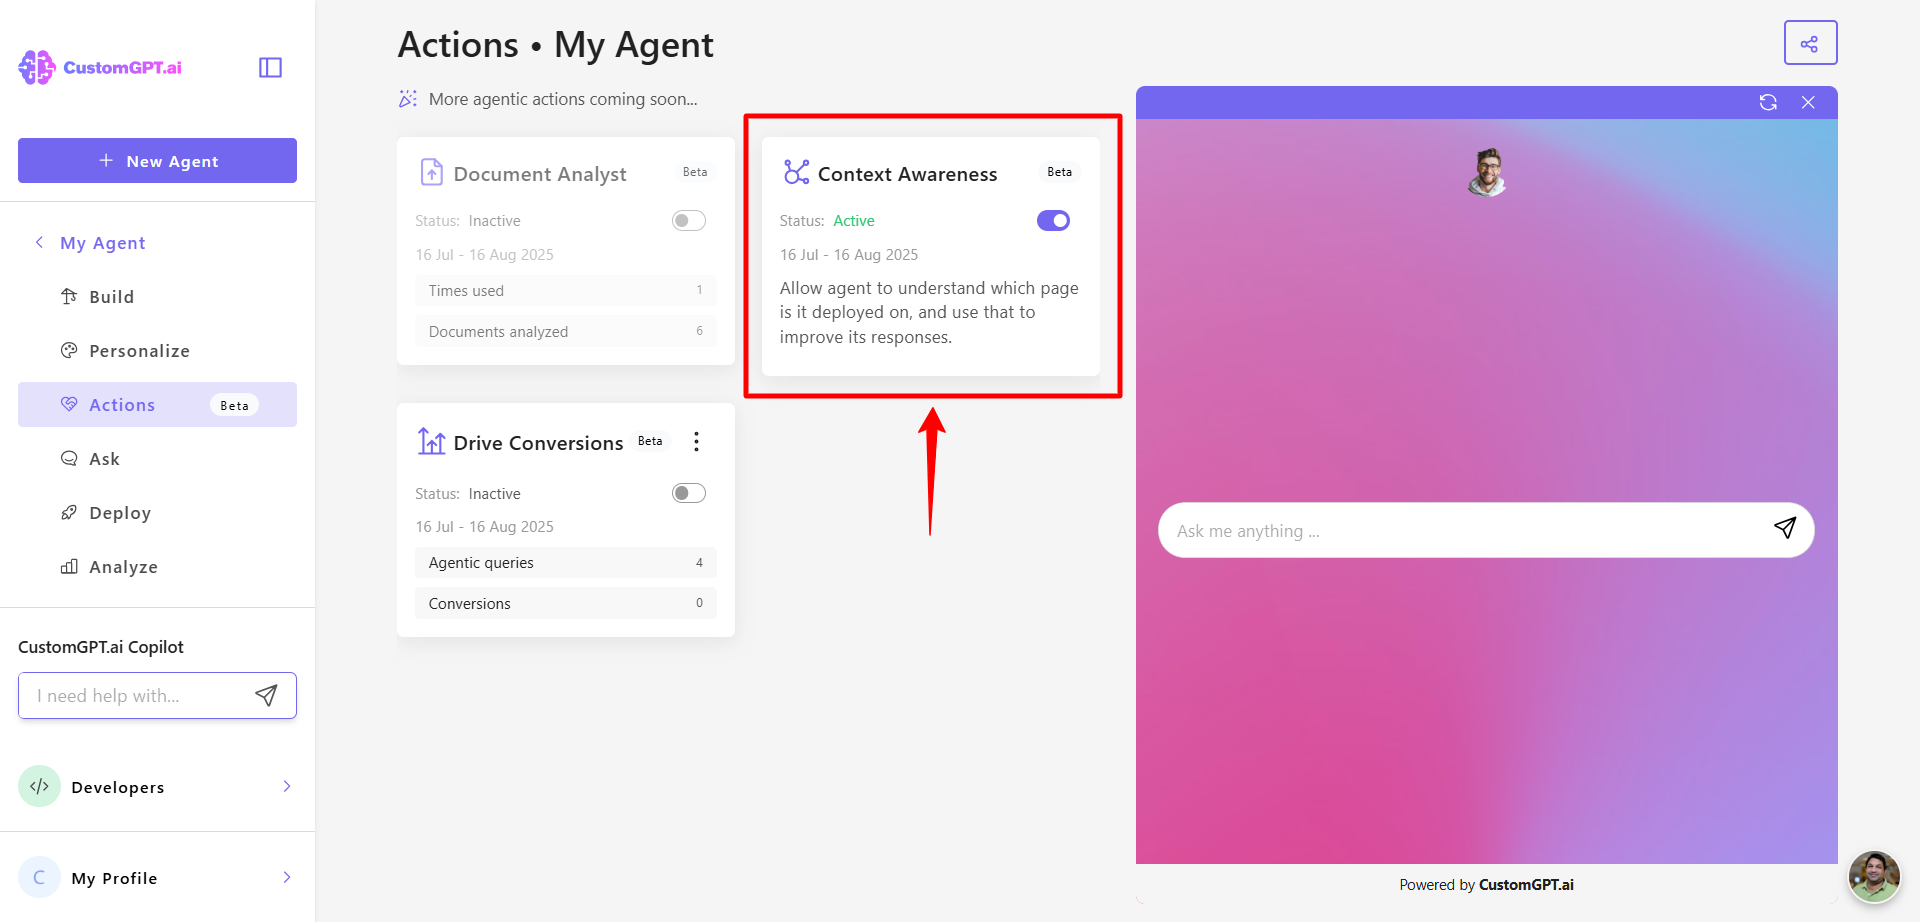
Enable Context Awareness
- On the right side of your selected agent, click Actions.

- Find Context Awareness and toggle it On to activate the feature.
👉 Learn more about how to enable Context Awareness
Enable context-rich starter questions
- Navigate to your CustomGPT dashboard, and in the right sidebar click Personalize.
- Click the Conversation tab.
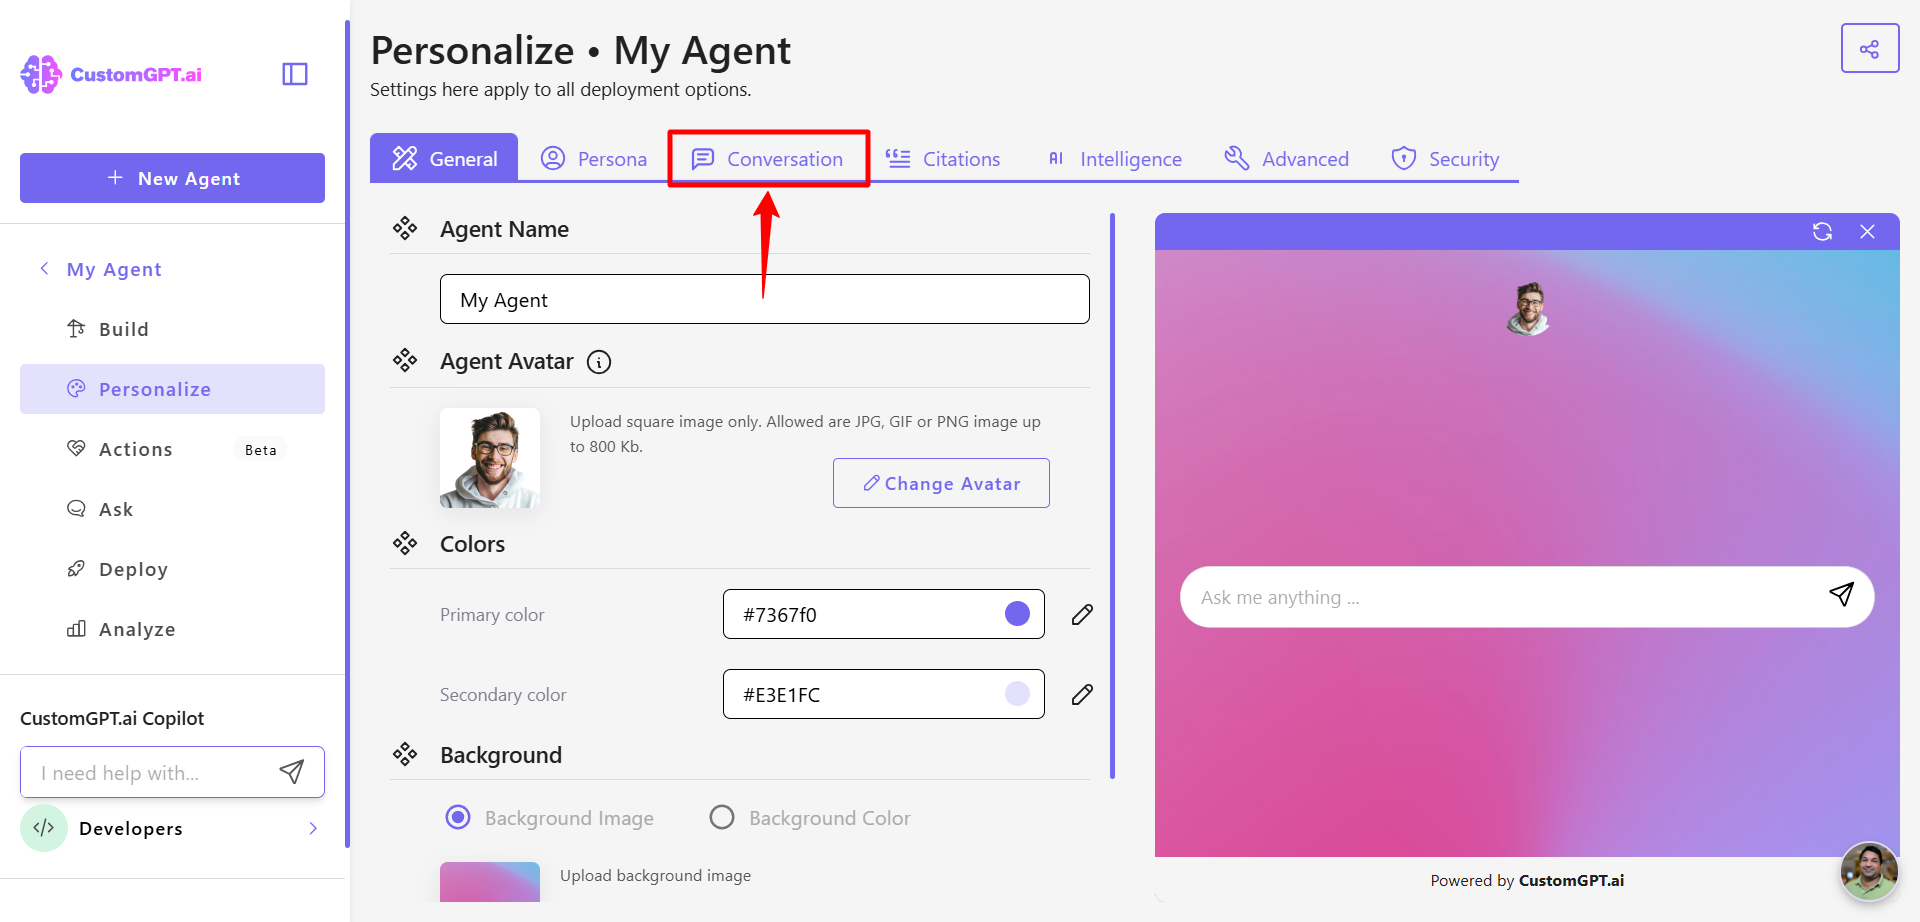
- Toggle the setting On to enable Context‑rich starter questions.
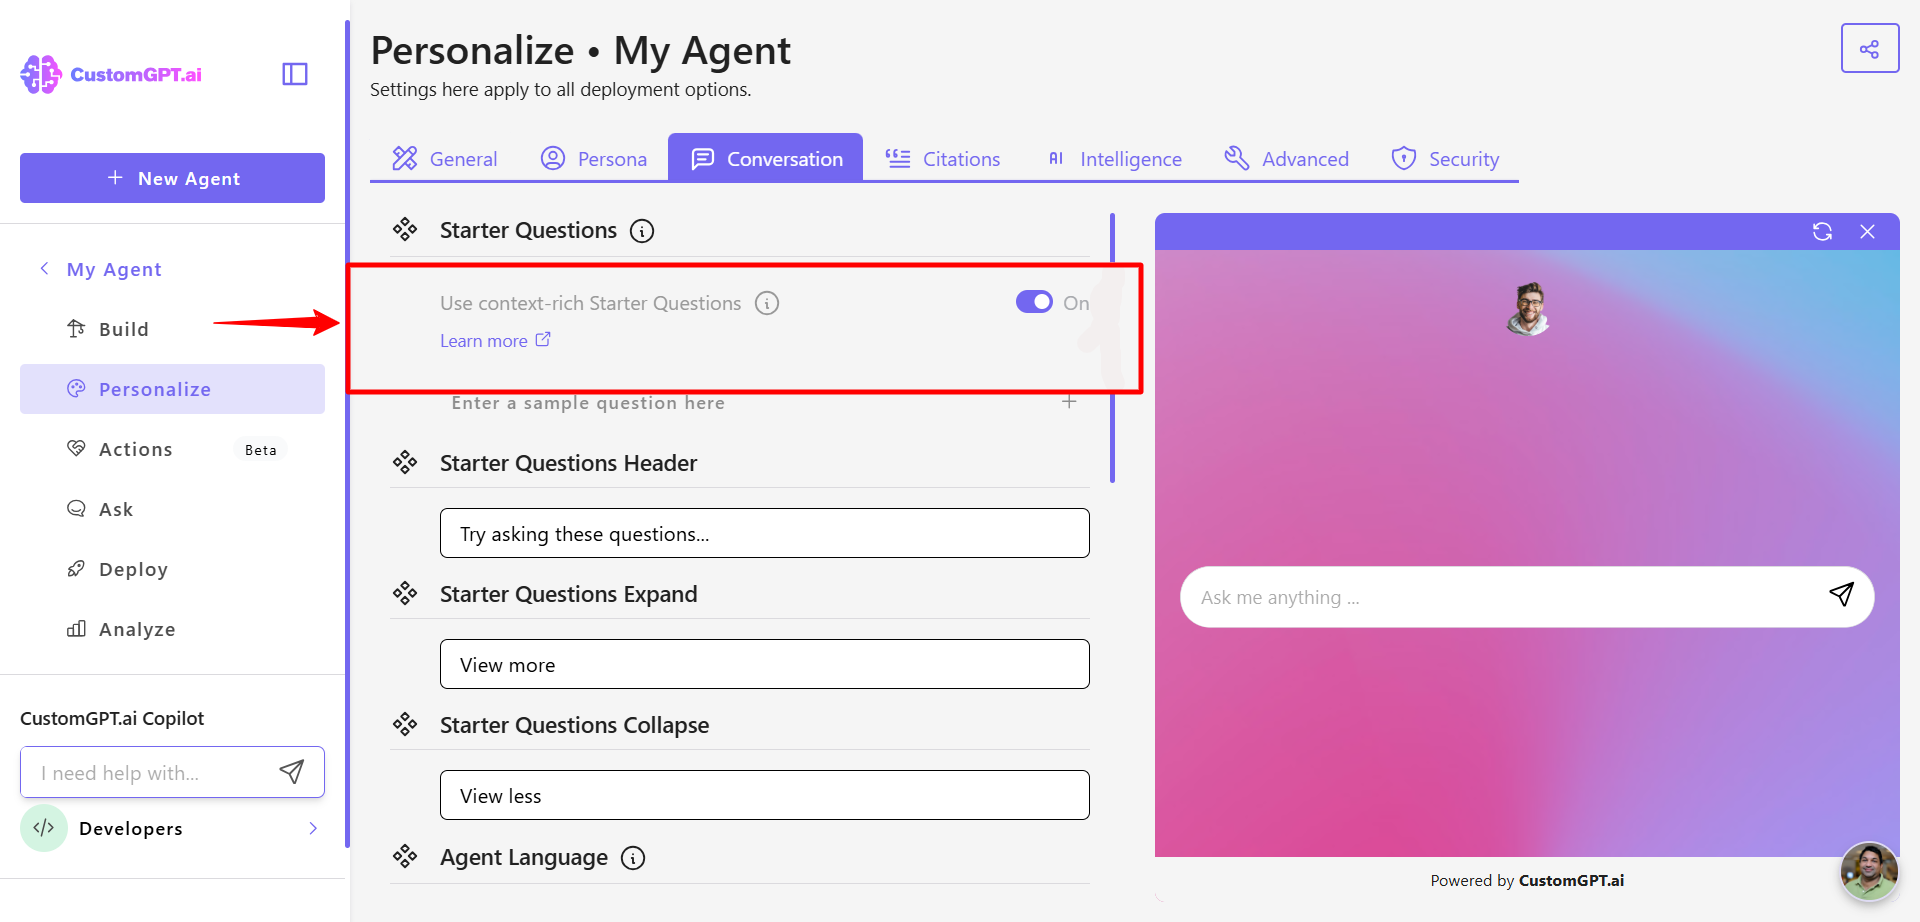
👉 Learn more about Context‑rich starter questions.
If using Live Chat, enable Agent Initiative
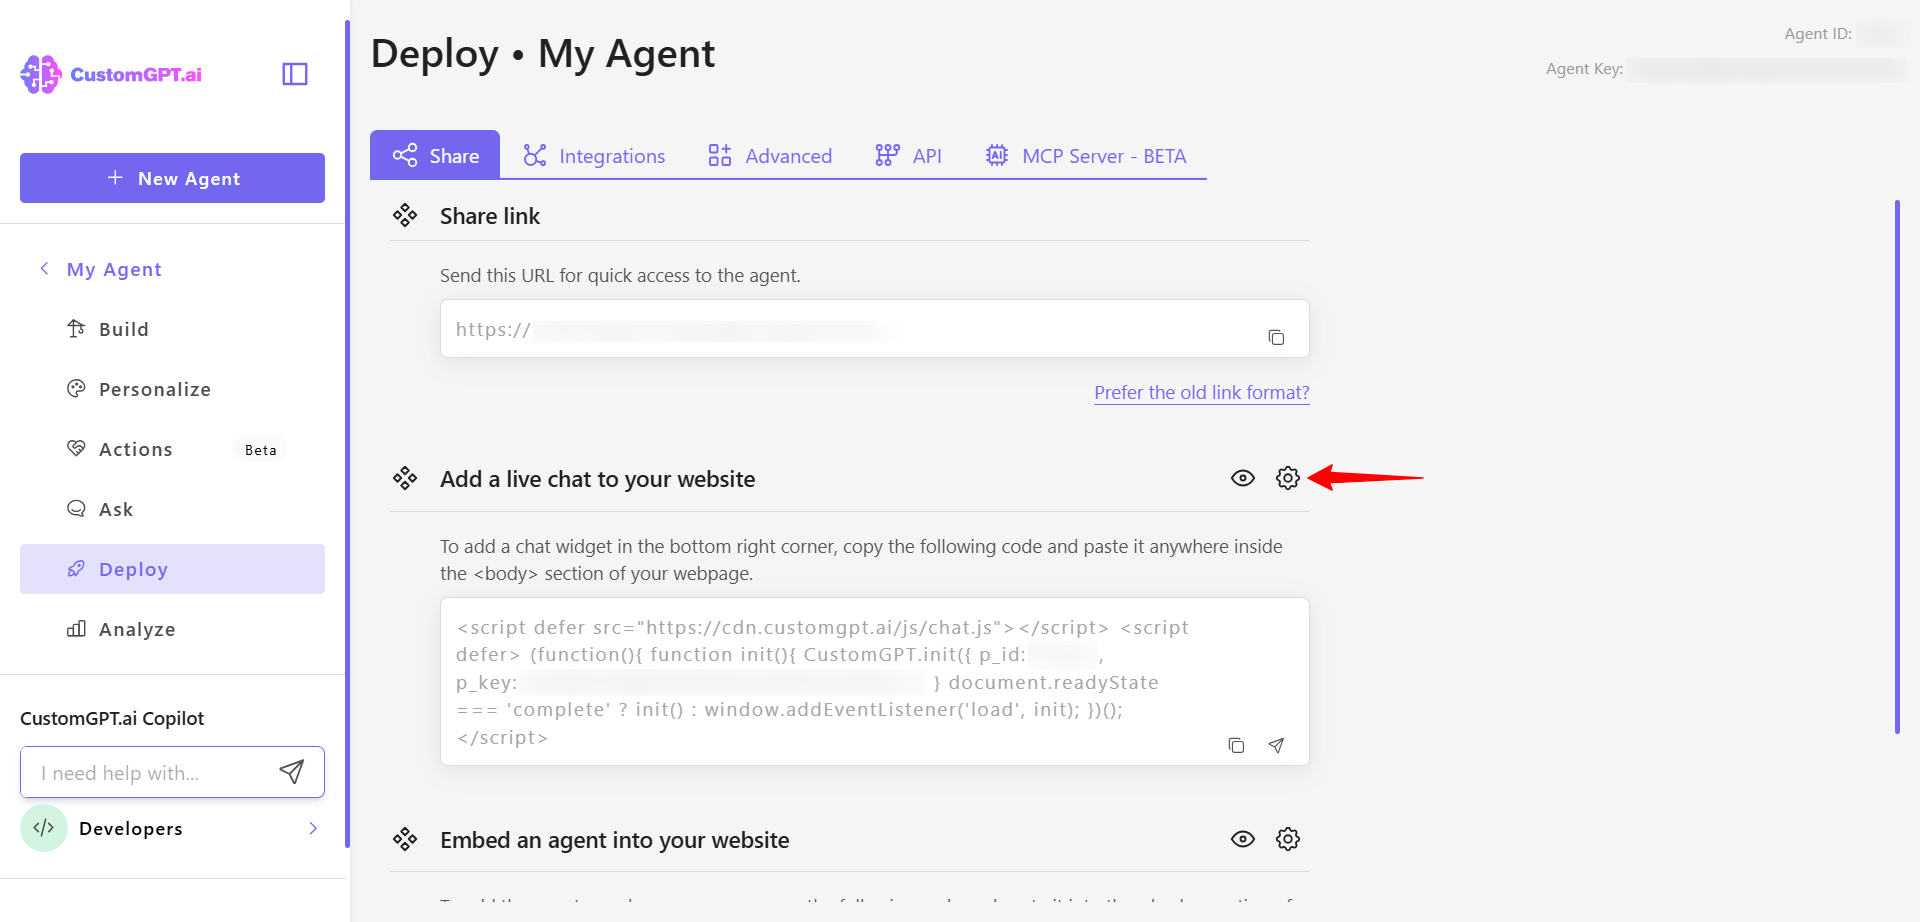
- Navigate to your CustomGPT dashboard, and in the right sidebar click Deploy.
- Click the Settings icon.
- Scroll down to the Agent behavior section and toggle on Prompt user with a Starter Question. Make sure you have at least one starter question. See the Starter question guide to learn more.
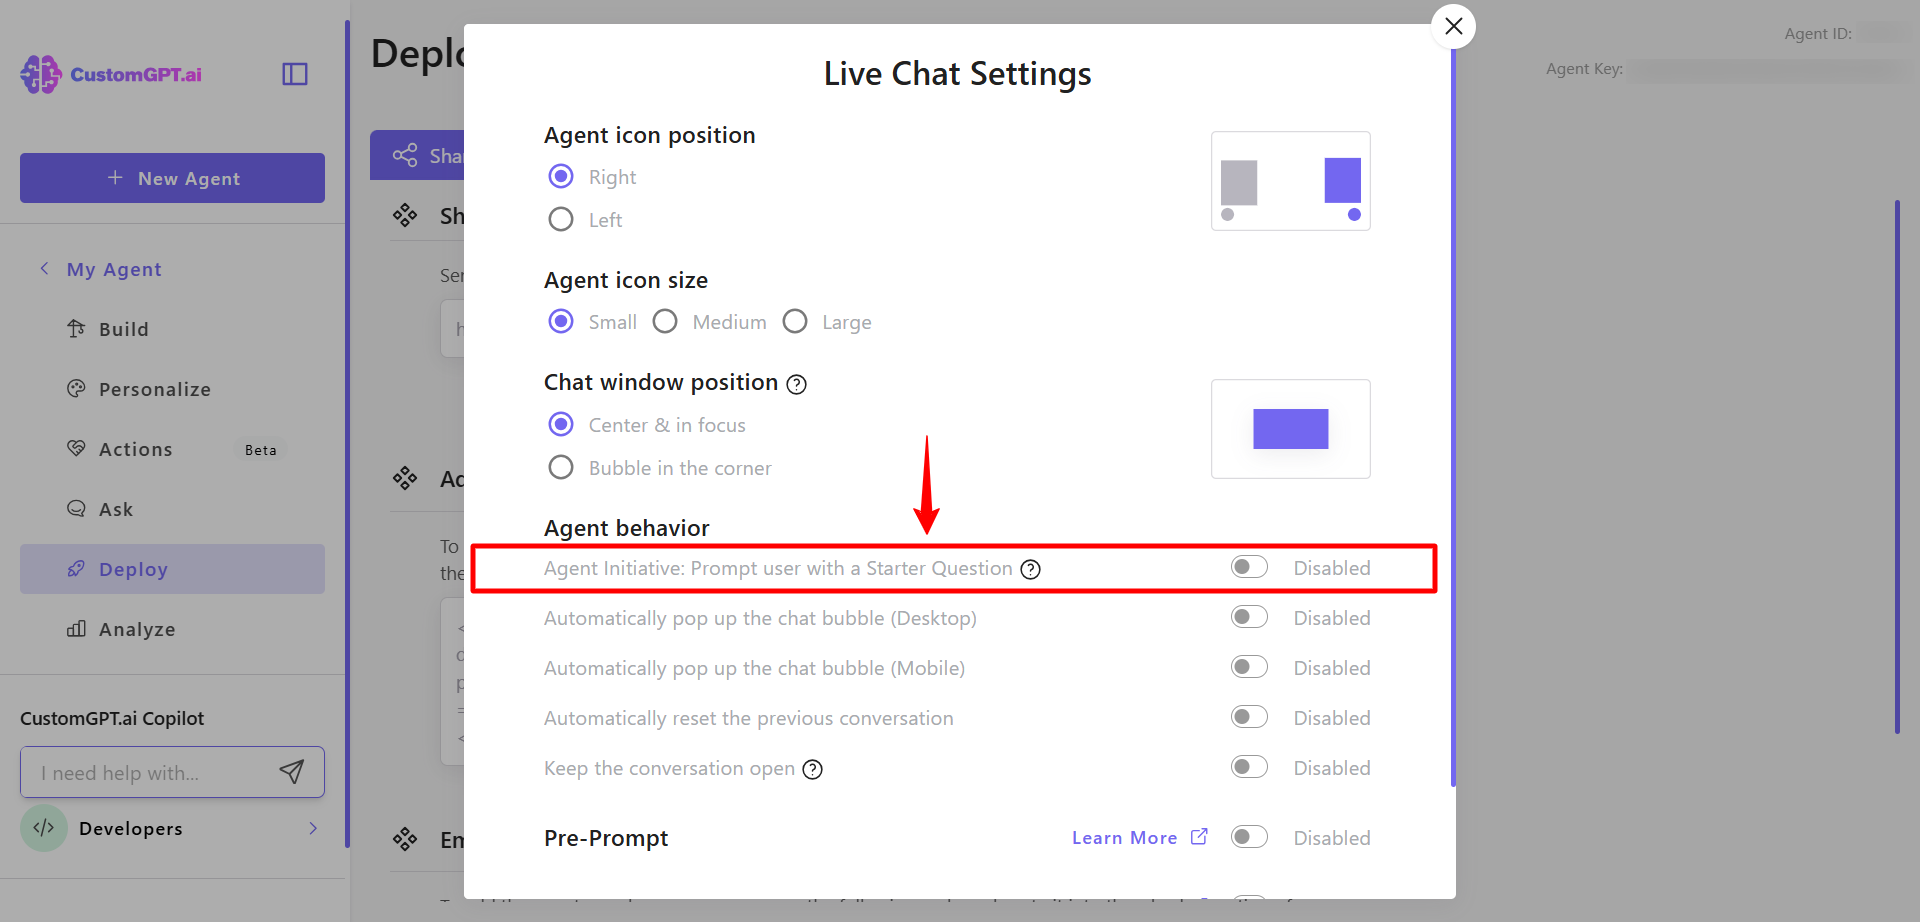
👉 Learn more about Prompt user with a Starter Question
Once enabled, these features work together to make your agent more visible, personal, and proactive, leading to increased user engagement and stronger conversion outcomes.
Updated 10 months ago