Revenue agent
This step-by-step guide explains how to assign the Revenue agent role to your CustomGPT.ai agent and apply its persuasion-driven defaults to guide users toward your conversion goals.
Note:This is a premium feature.
What is the Agent Roles feature?
Agent Roles are predefined templates of settings that help you configure your agent based on its purpose. Instead of setting everything manually, selecting a role applies an optimized setup automatically with just one click.
👉 Learn more about What are Agent roles and how to use them
What is the Revenue agent role?
The Revenue agent is a predefined behavior profile (or role) that configures your agent with advanced persuasion and conversion-driving techniques. It uses proactive behaviors to guide users toward a specific goal, such as completing a purchase, signing up, or submitting a lead form, and combines context-aware prompts, conversion actions, and tailored chat settings to maximize engagement.
What it does
When you assign this role, your agent will:
- Your agent applies multi-step persuasion strategies to drive conversions.
- Use context-aware prompts to engage users
- Welcome user with a vibrant spotlight avatar
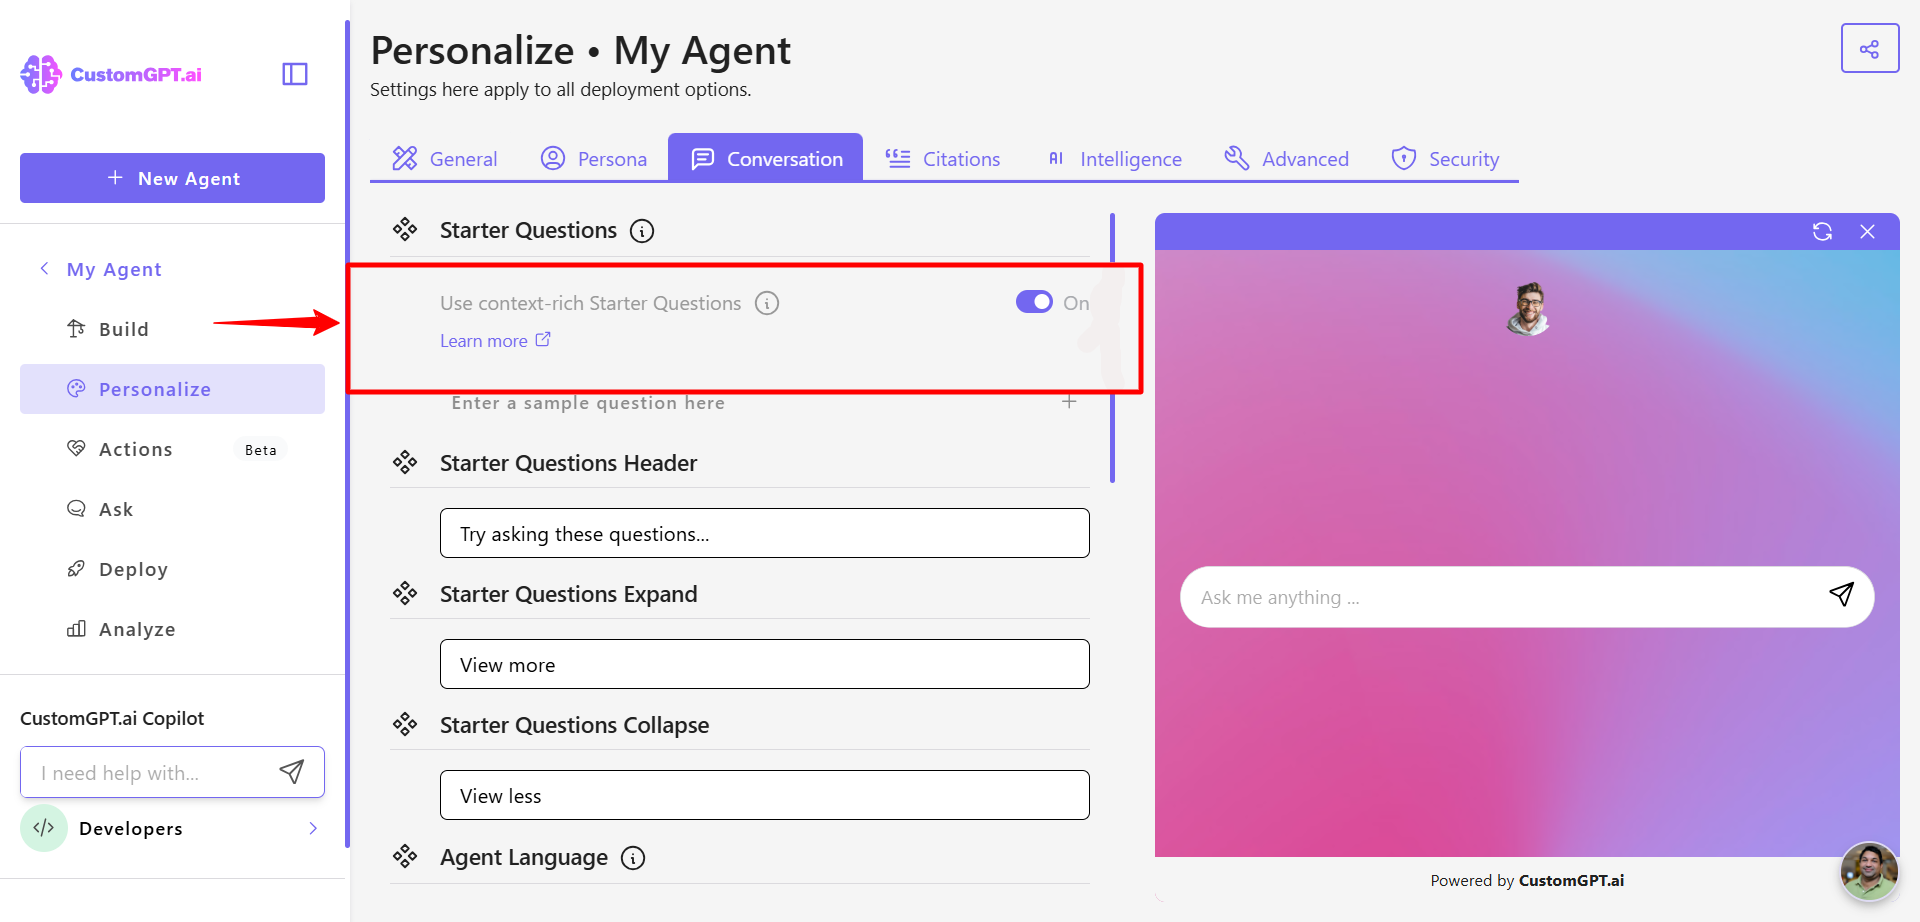
- Display rich starter questions to steer conversation
- Present a bold live-chat experience optimized for sales
How to enable the Revenue agent role
For a new agent:
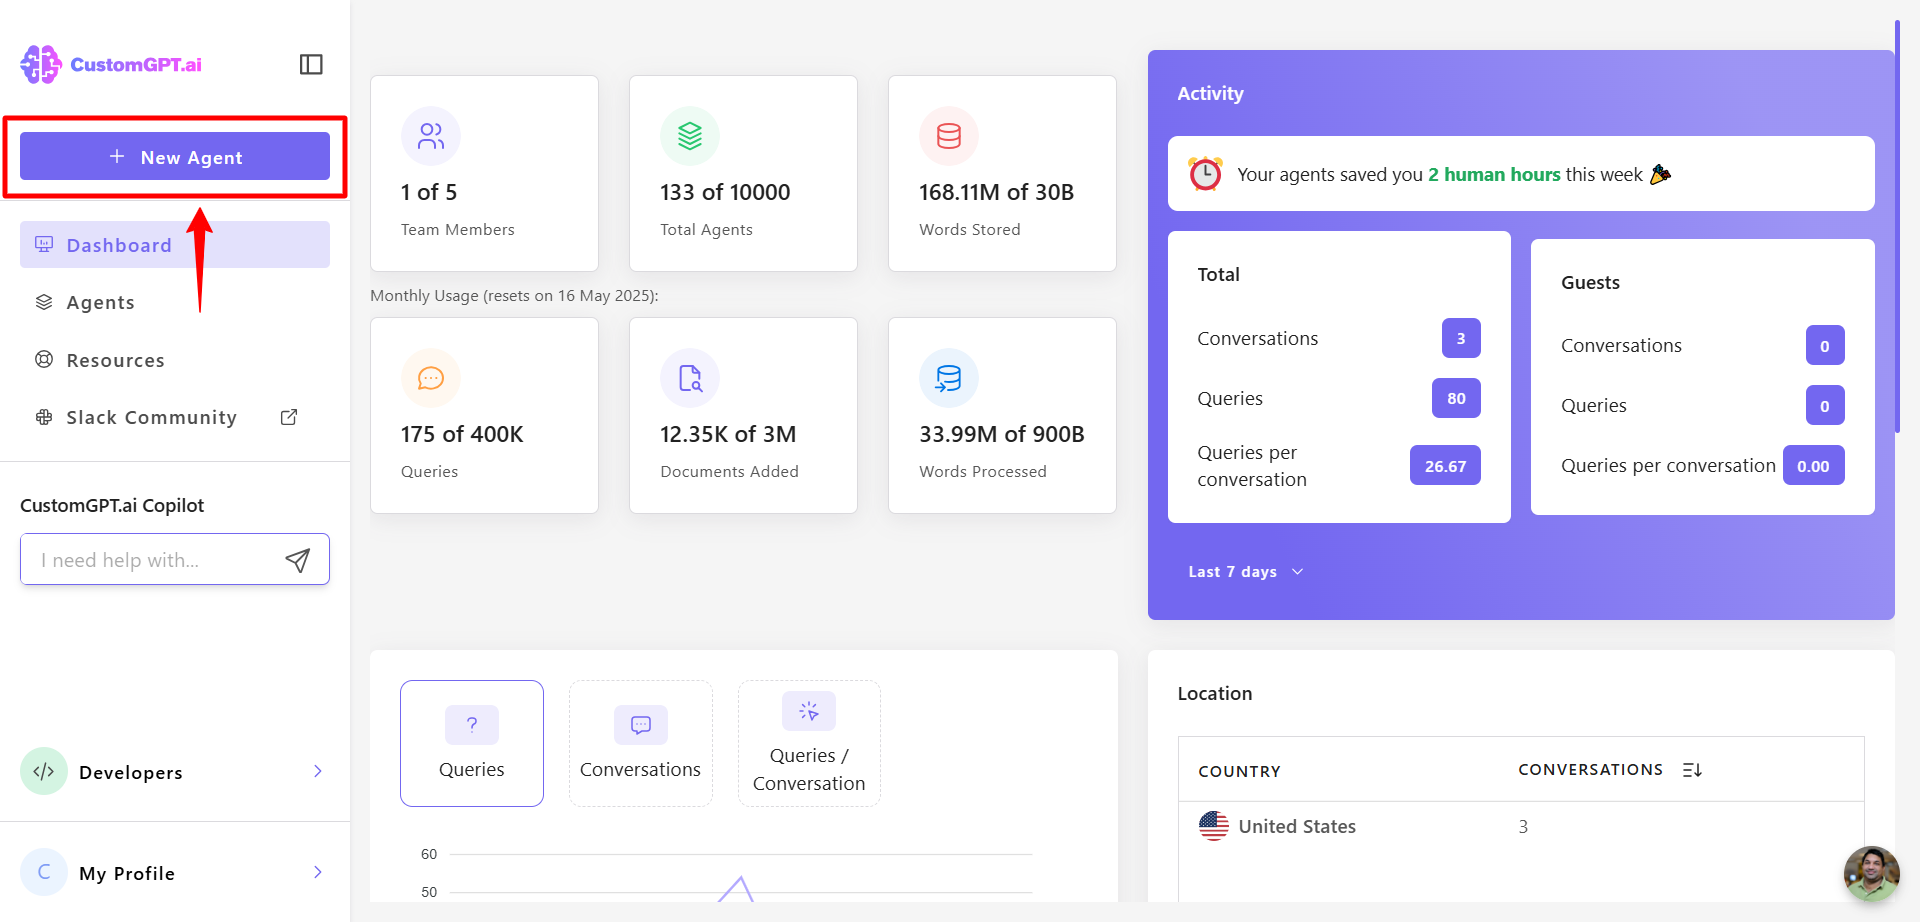
- From your dashboard, click New Agent.
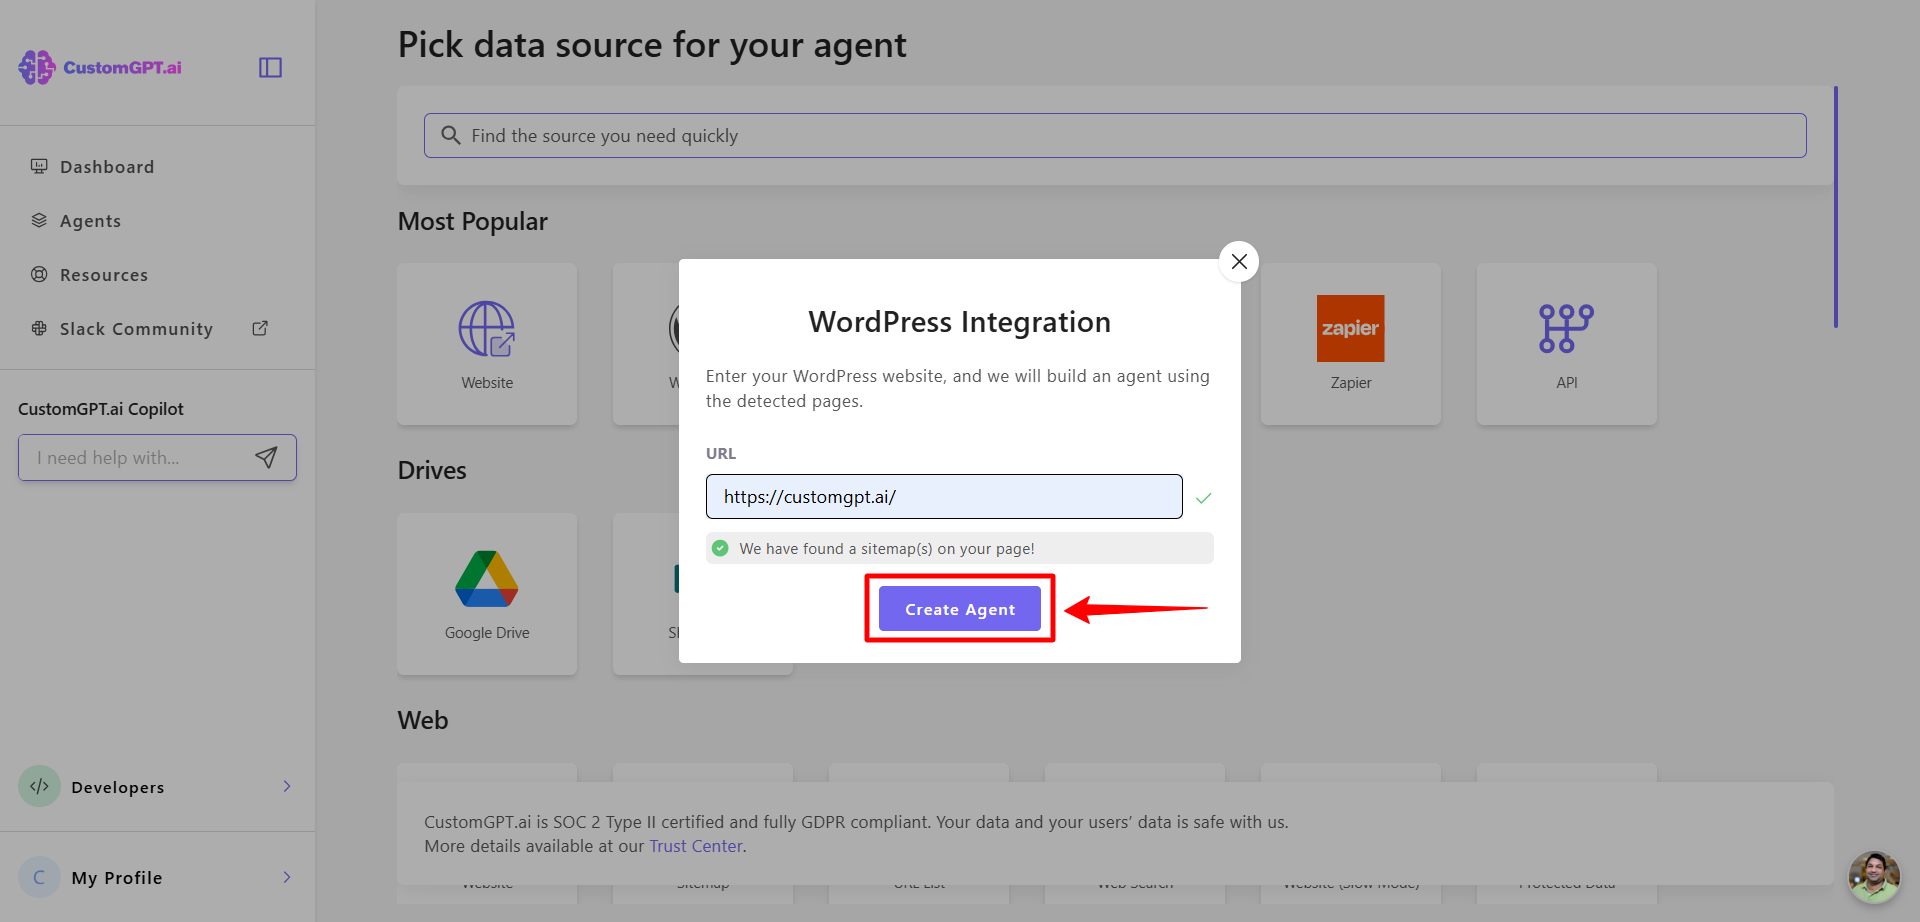
- Select your data source (e.g., WordPress), add your site’s URL, and click Create Agent.
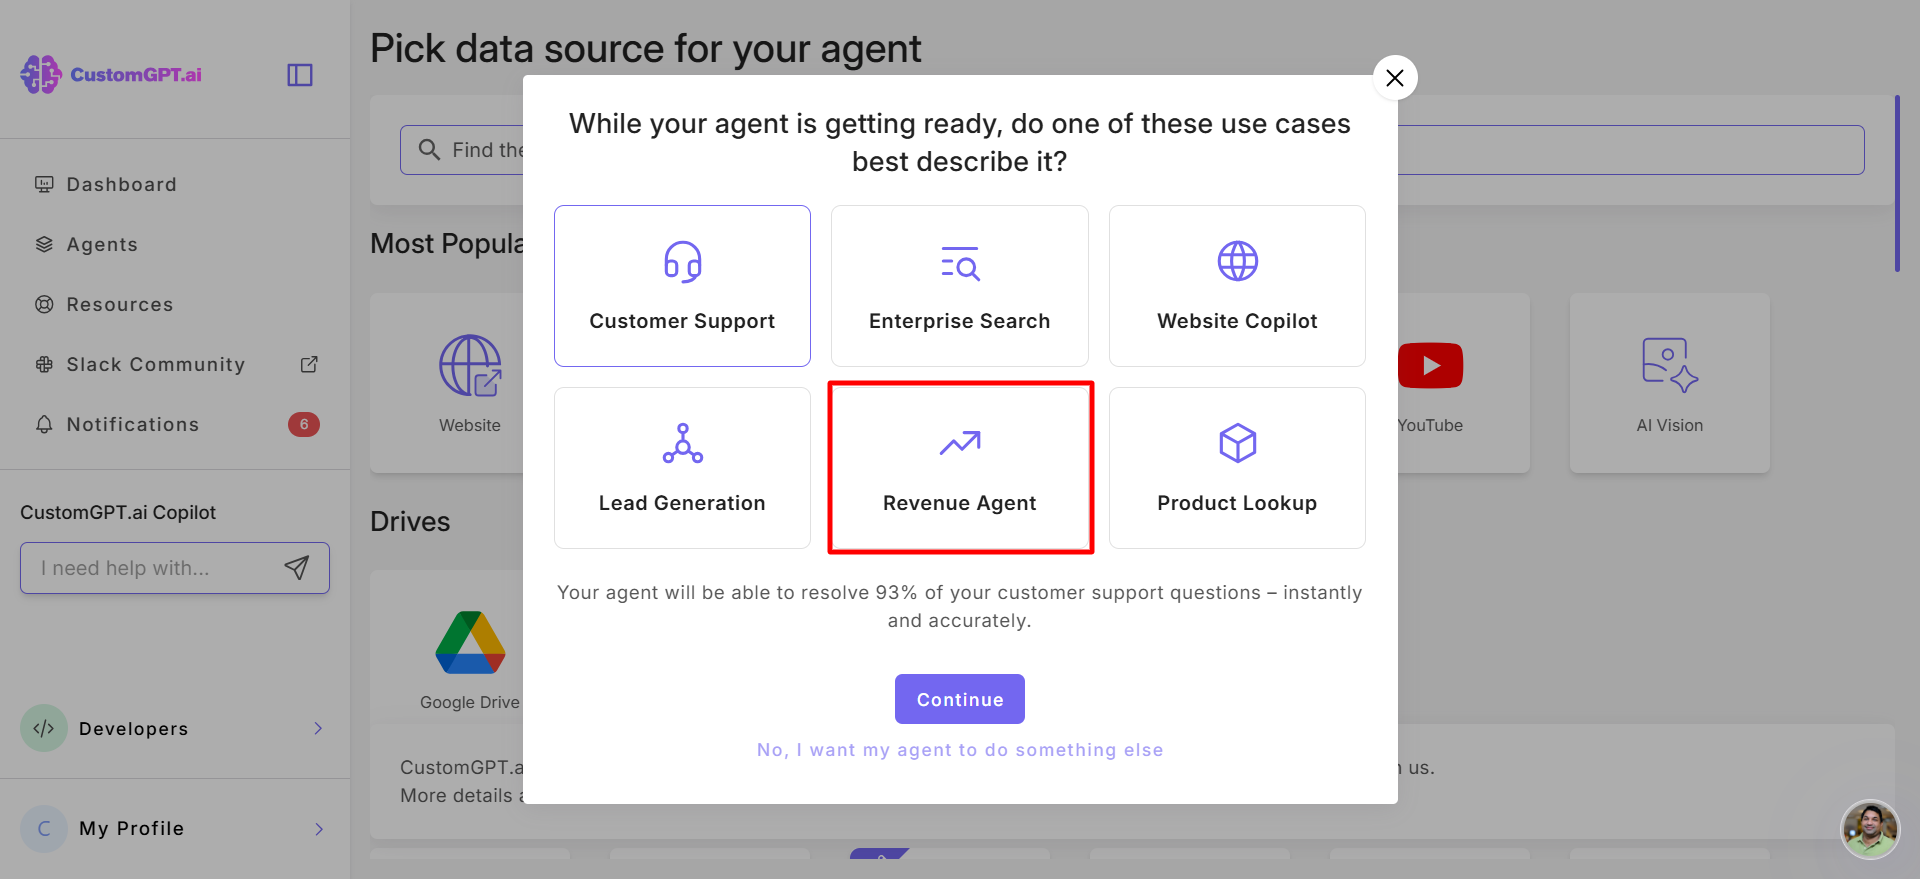
- You’ll be prompted to select an Agent Role. Select Revenue Agent role.
For an existing agent:
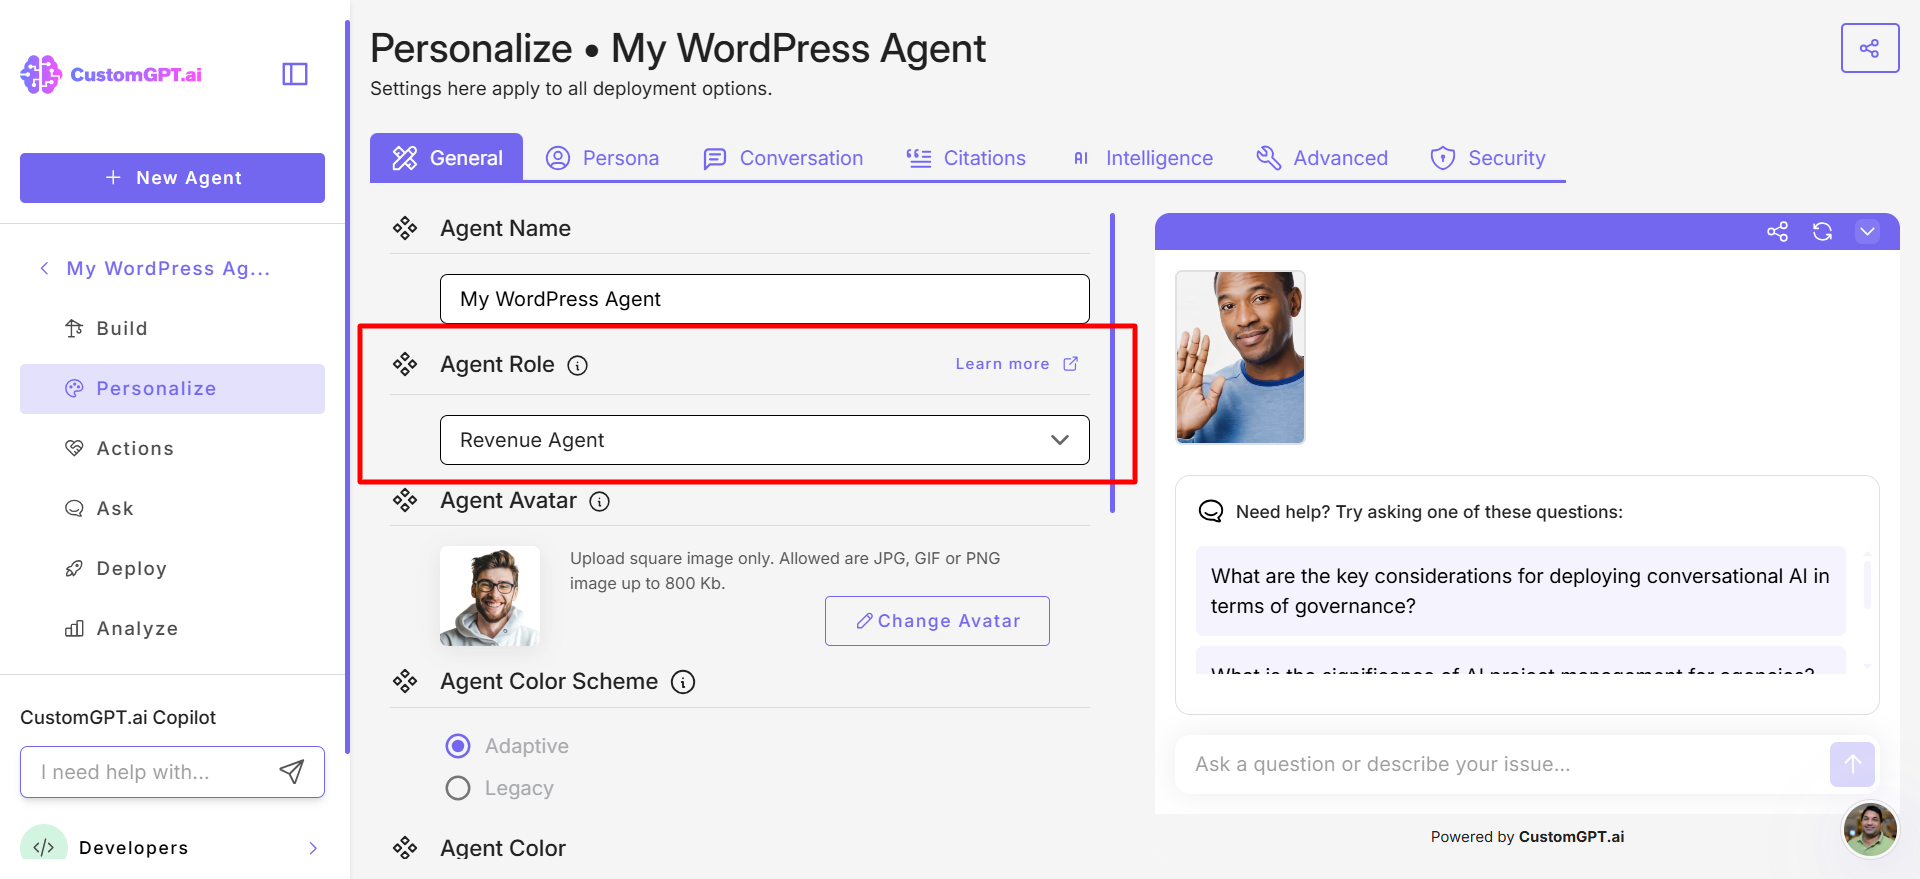
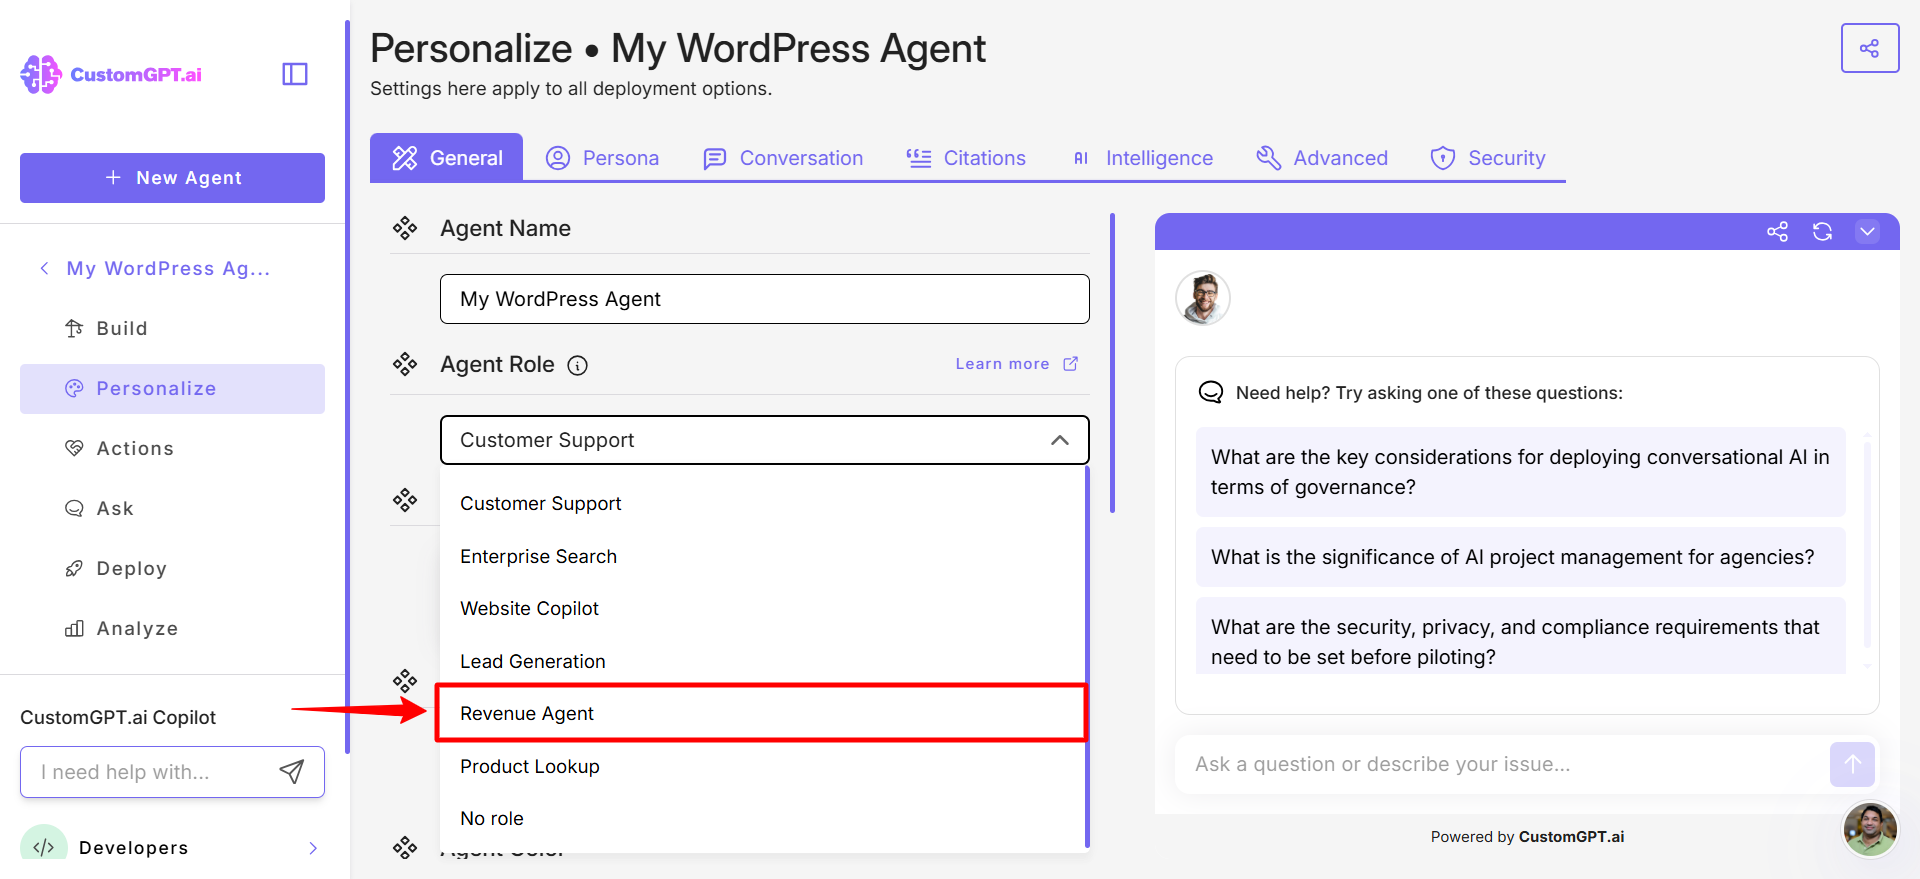
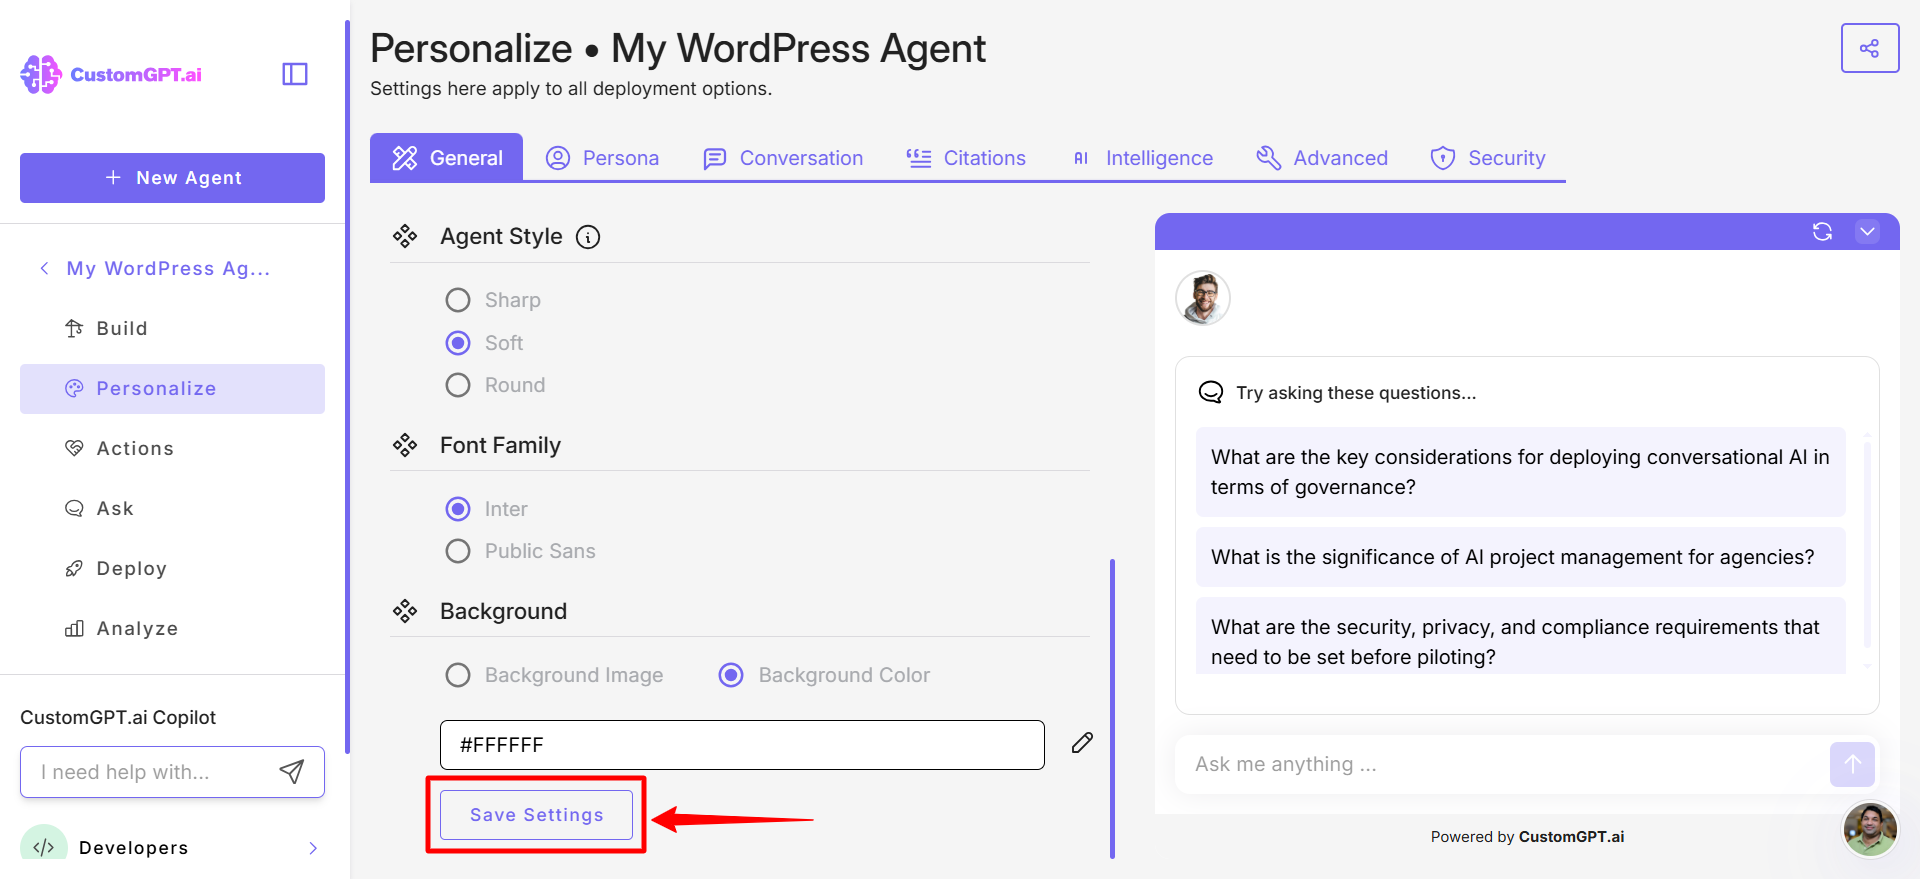
- Open the agent you want to update and click Personalize.
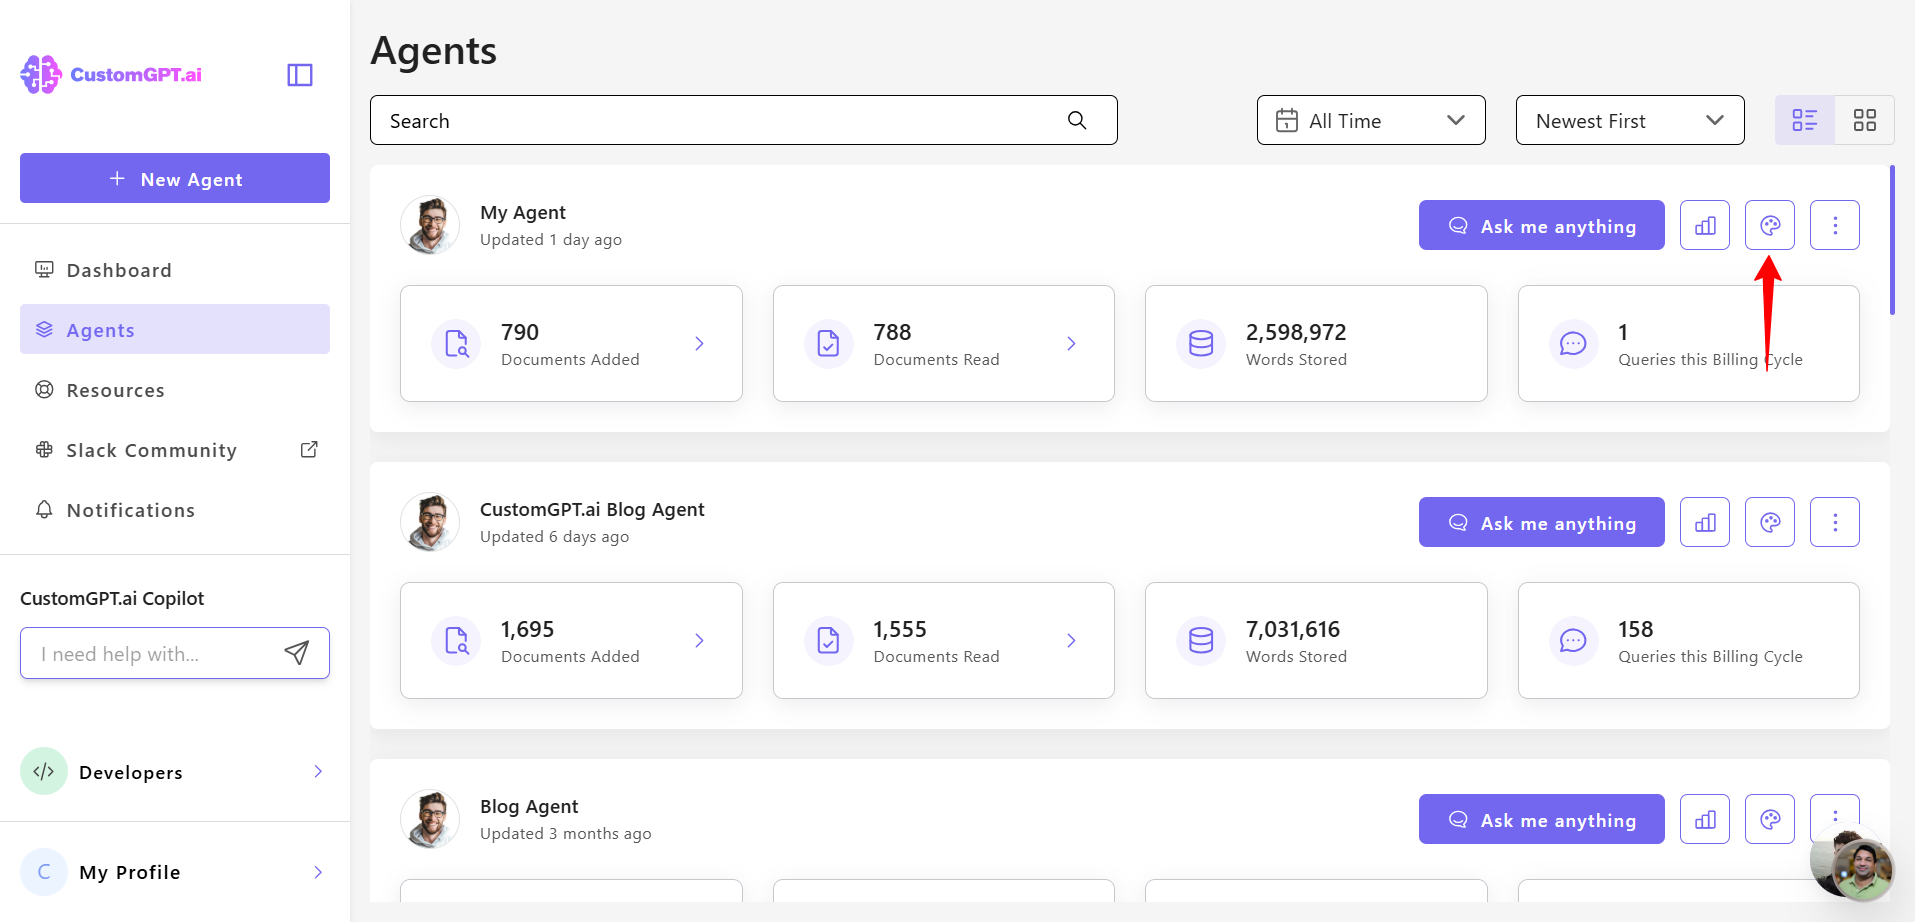
- In the Agent Role dropdown, select Revenue agent.
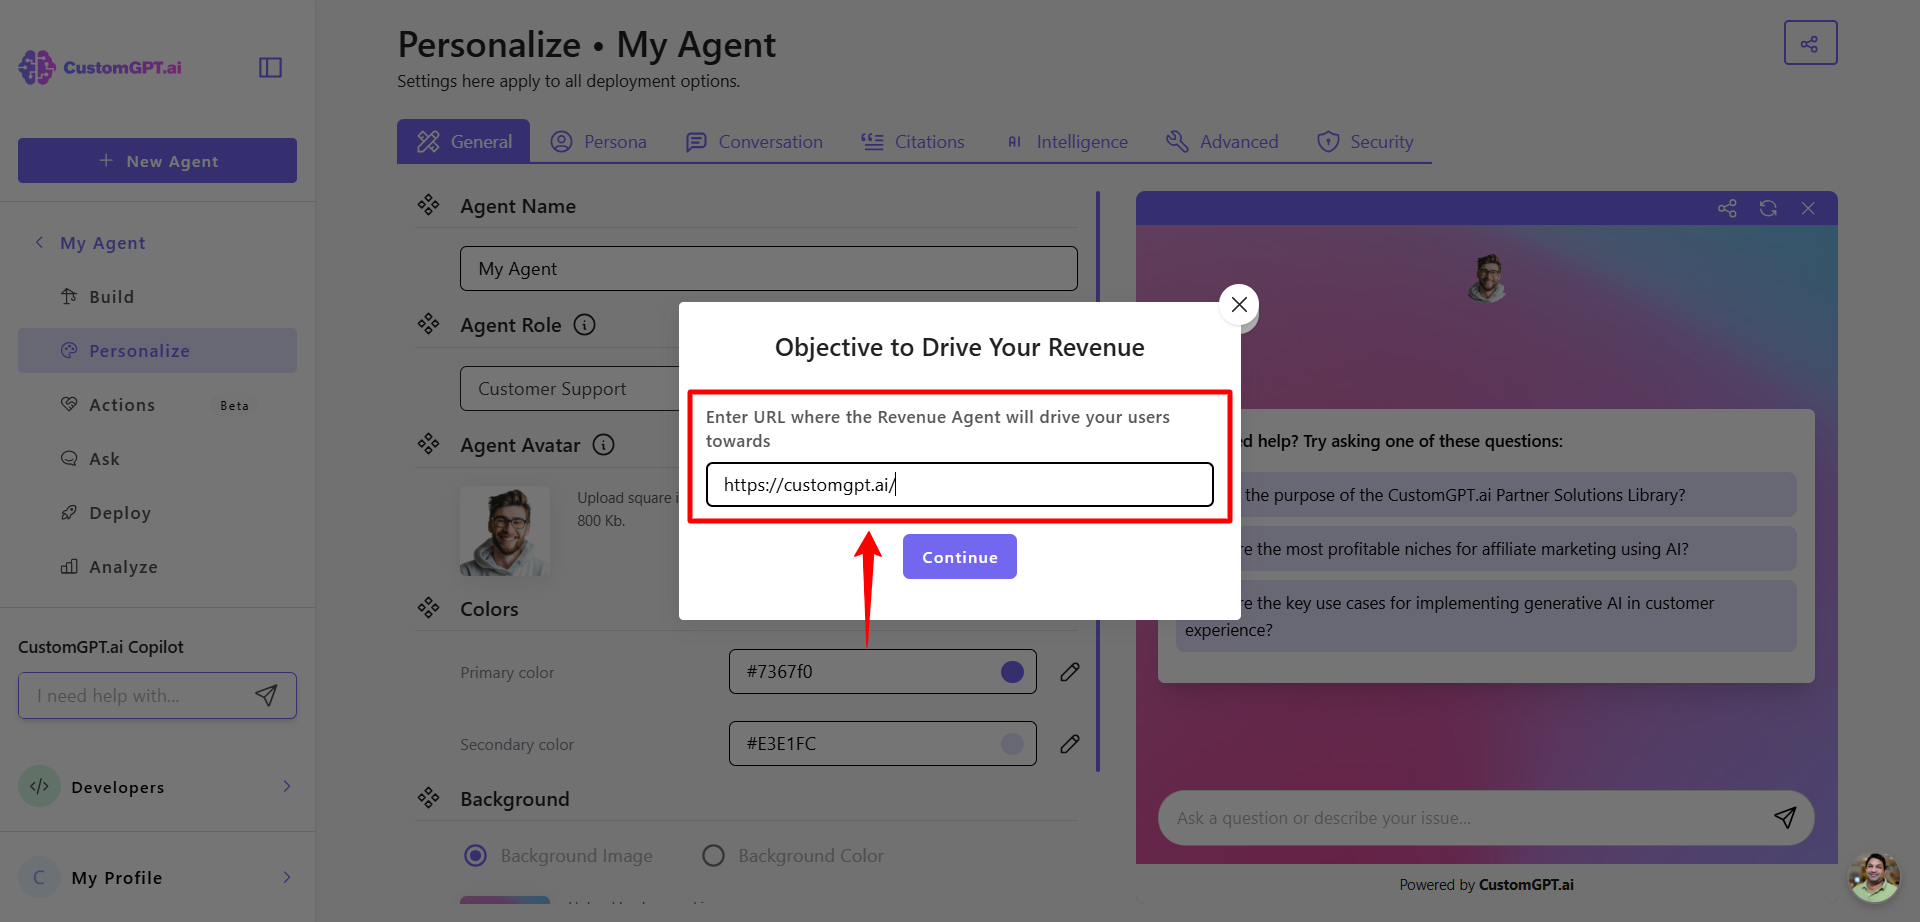
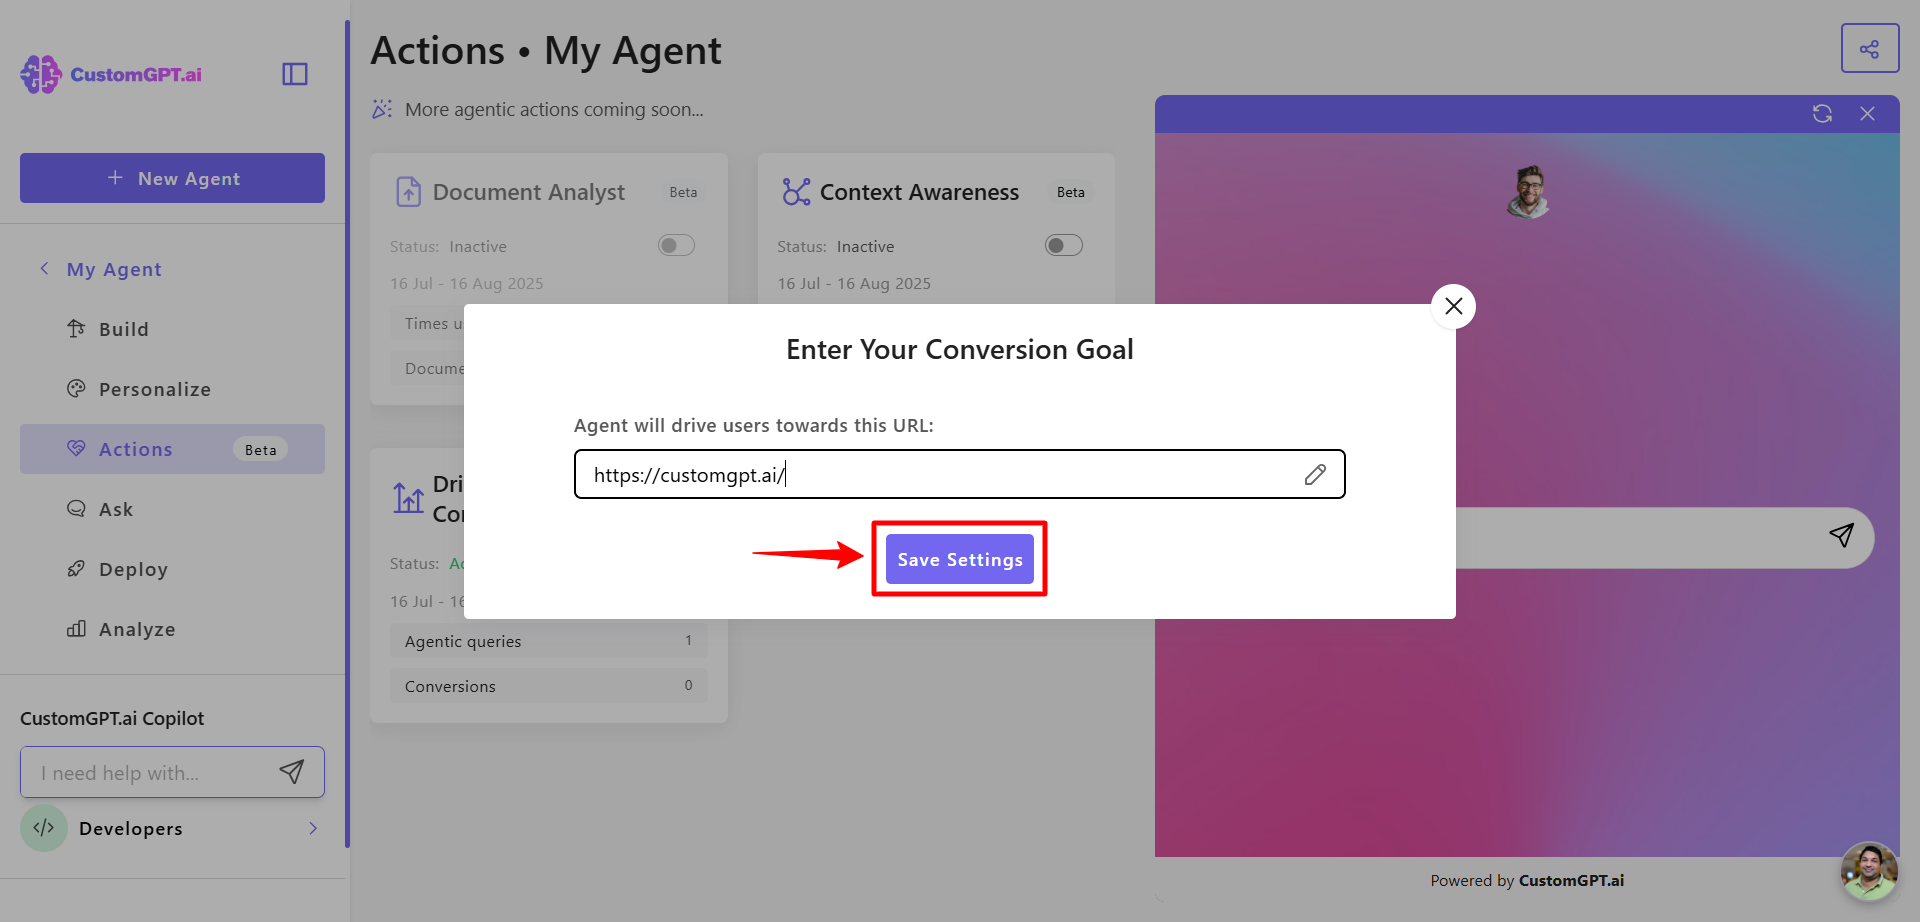
- Enter the URL where the Revenue Agent will drive your users toward and click Continue.
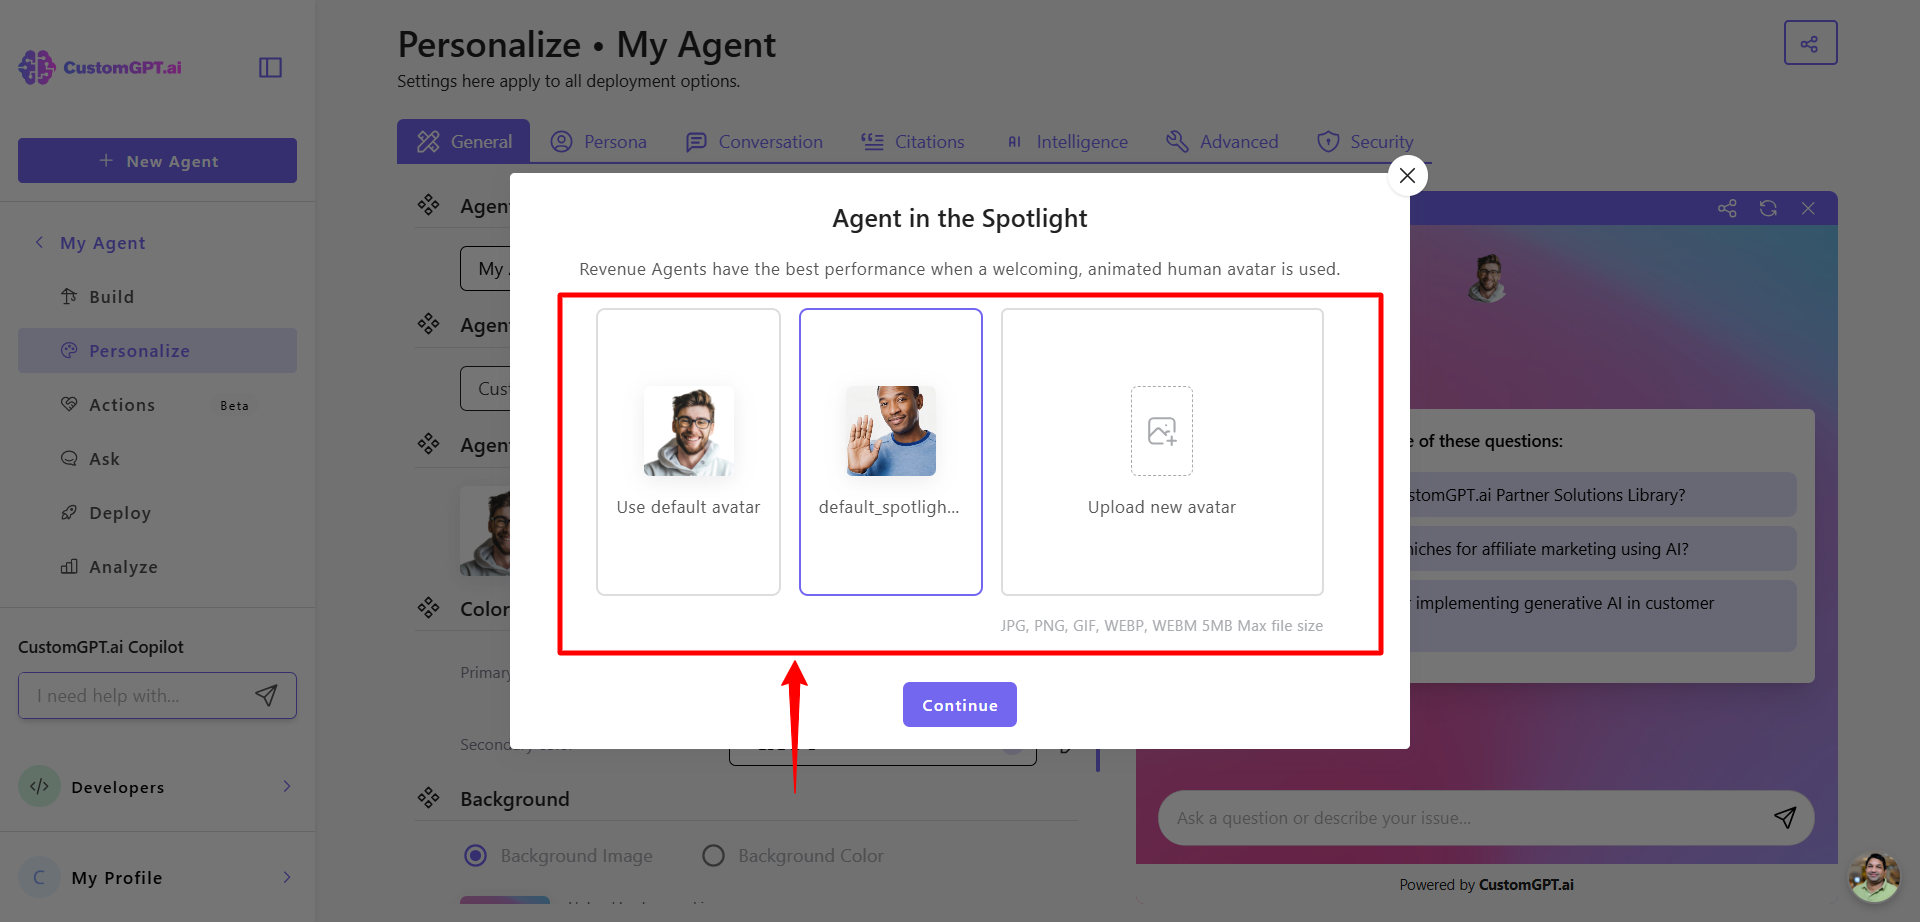
- Select your Spotlight Avatar. Learn more about Spotlight Avatar.
- Click Save Settings to apply the role’s settings.
Default settings applied by this role
Selecting the Revenue agent role automatically configures these key settings. You can click any link to learn more or adjust after setup:
- Enables Context Awareness (Learn more about how to enable Context Awareness)
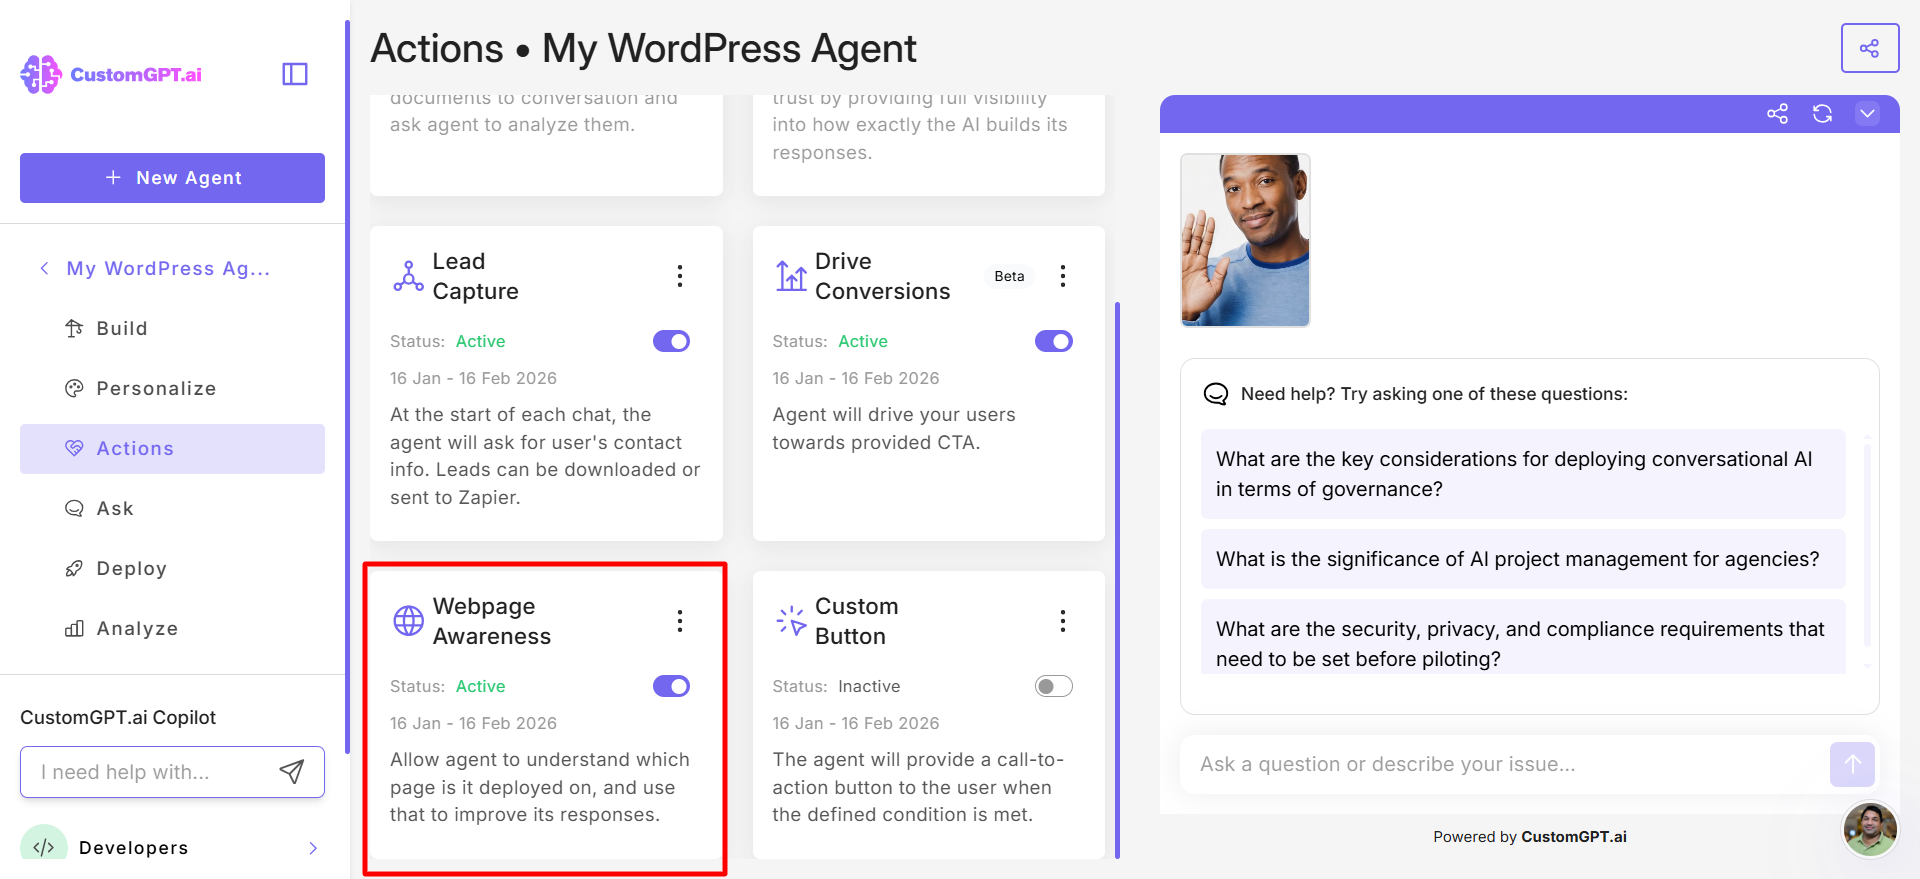
- Enables Drive Conversions – see Enable drive conversions
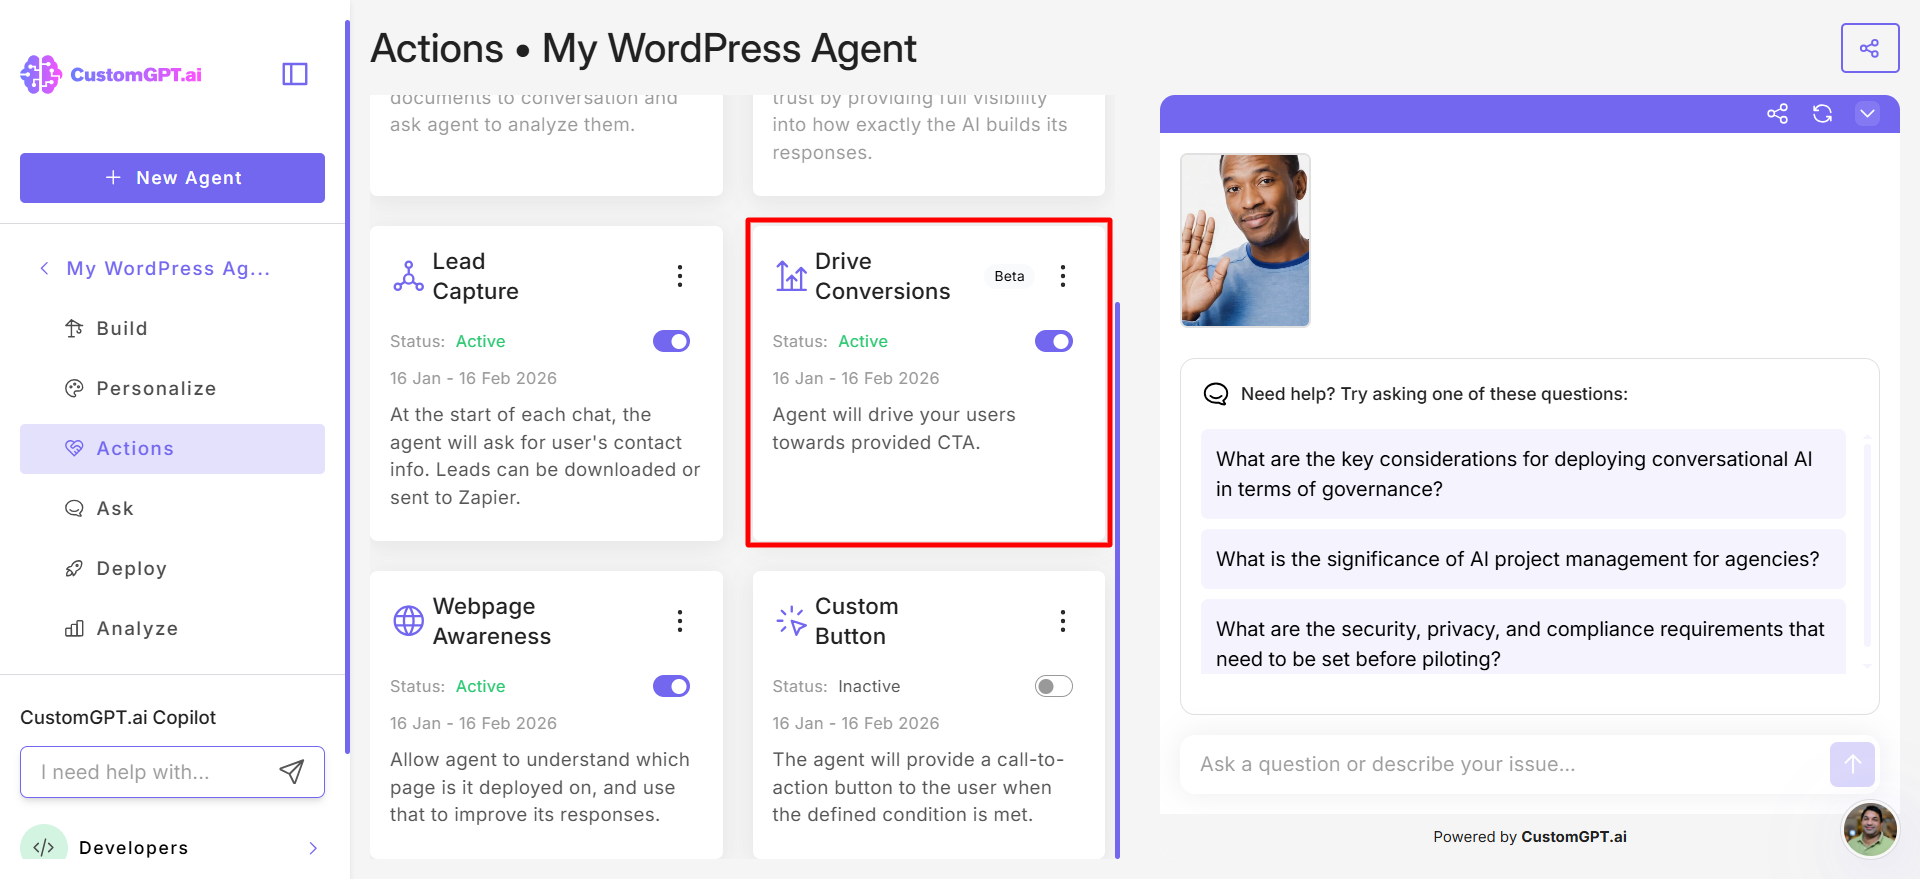
- Sets the conversion target during setup – see Specify conversion target
- Turns on Context-Rich Starter Questions – see Context‑rich starter questions.
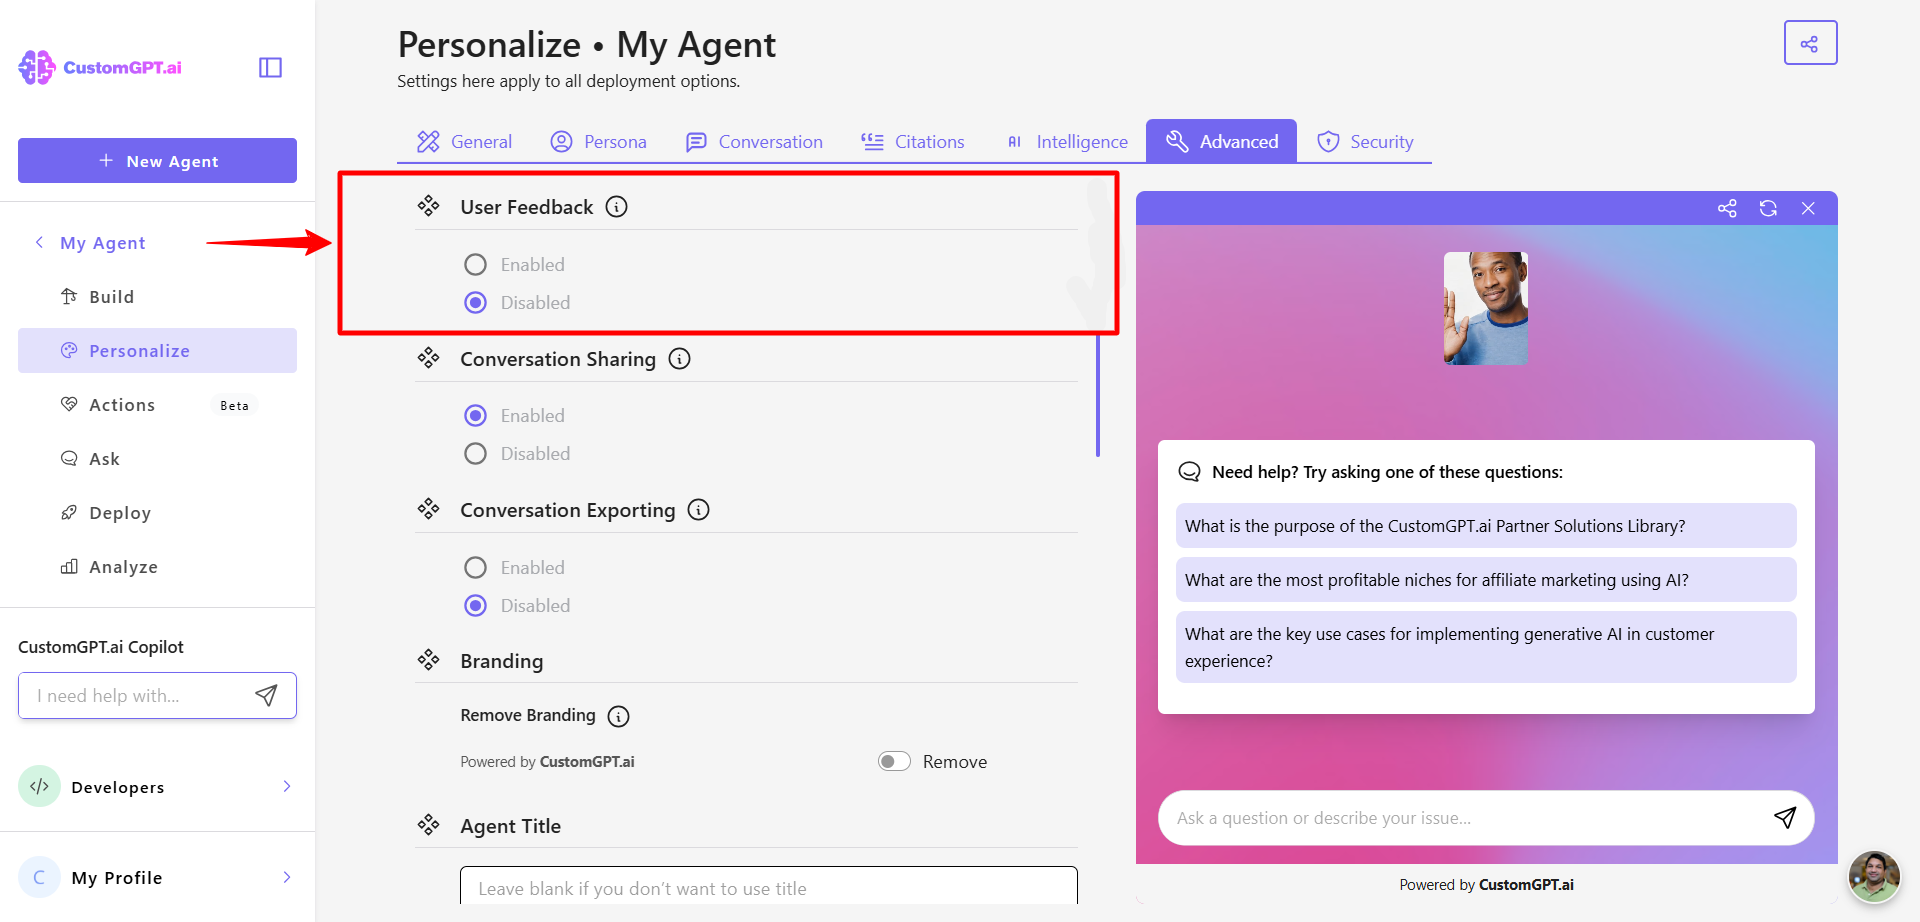
- Disables User Feedback – see Manage user feedback
- Enables Spotlight Avatar (rectangular) – see Spotlight Avatar

- Disables the In-Chat Avatar – see Disable In-Chat Agent Avatar
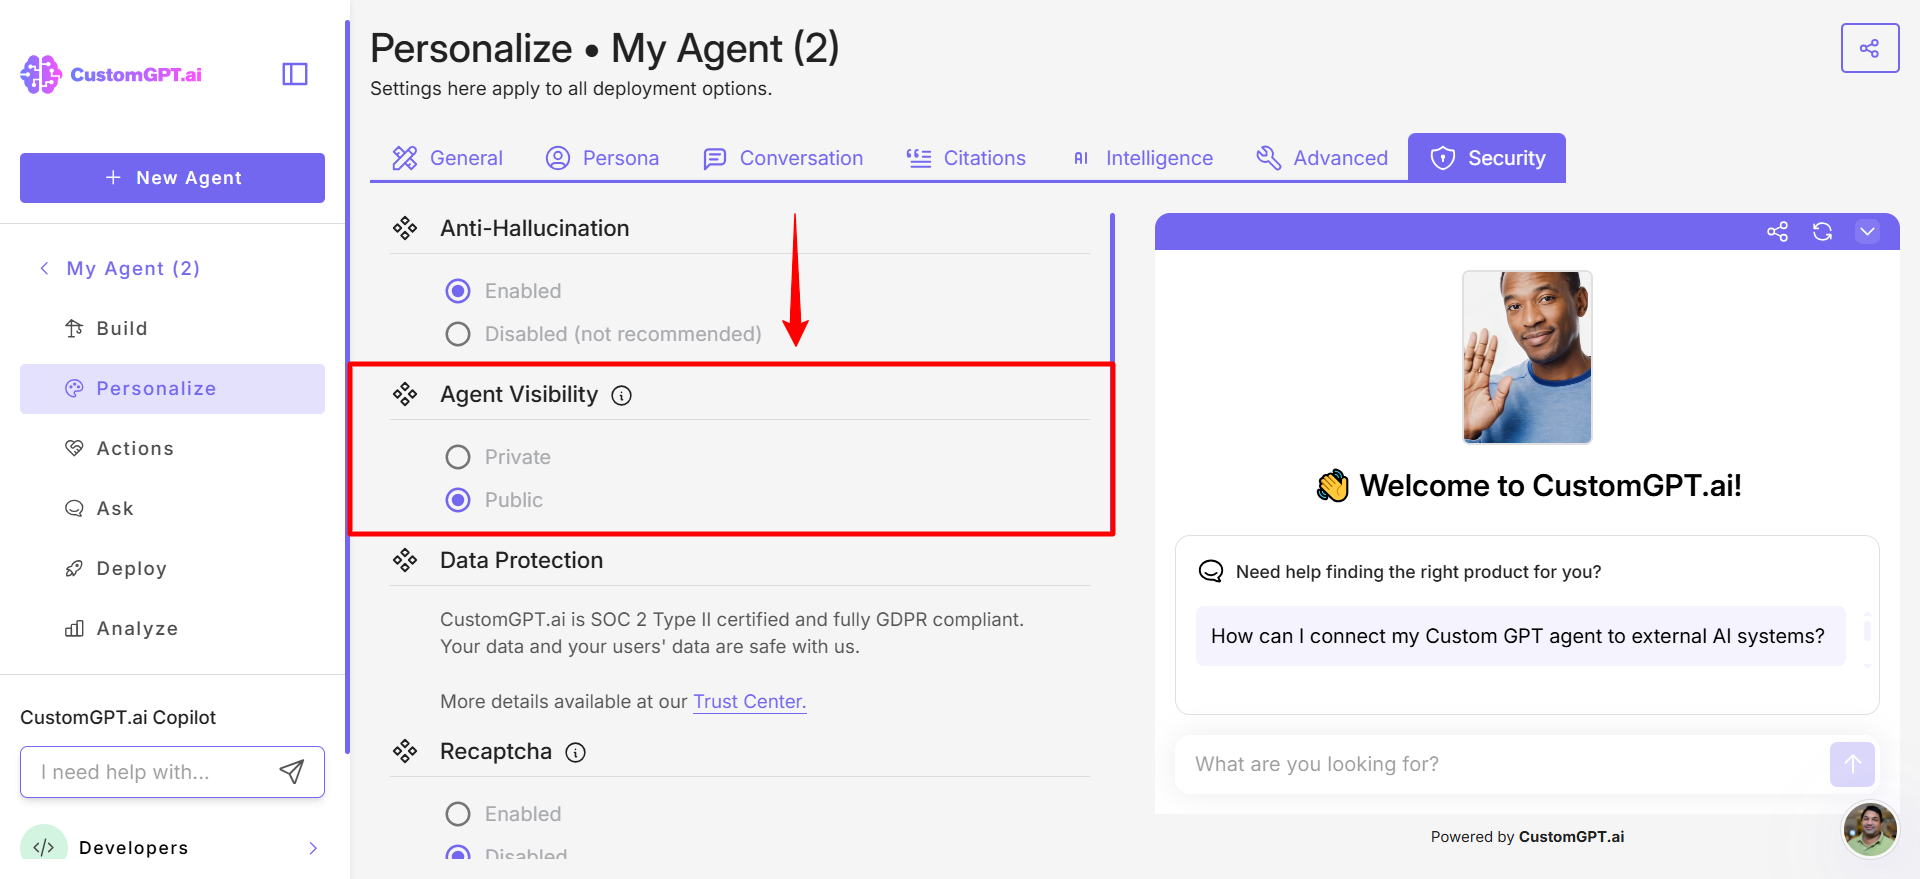
- Sets Agent Visibility to public – see Configure agent visibility
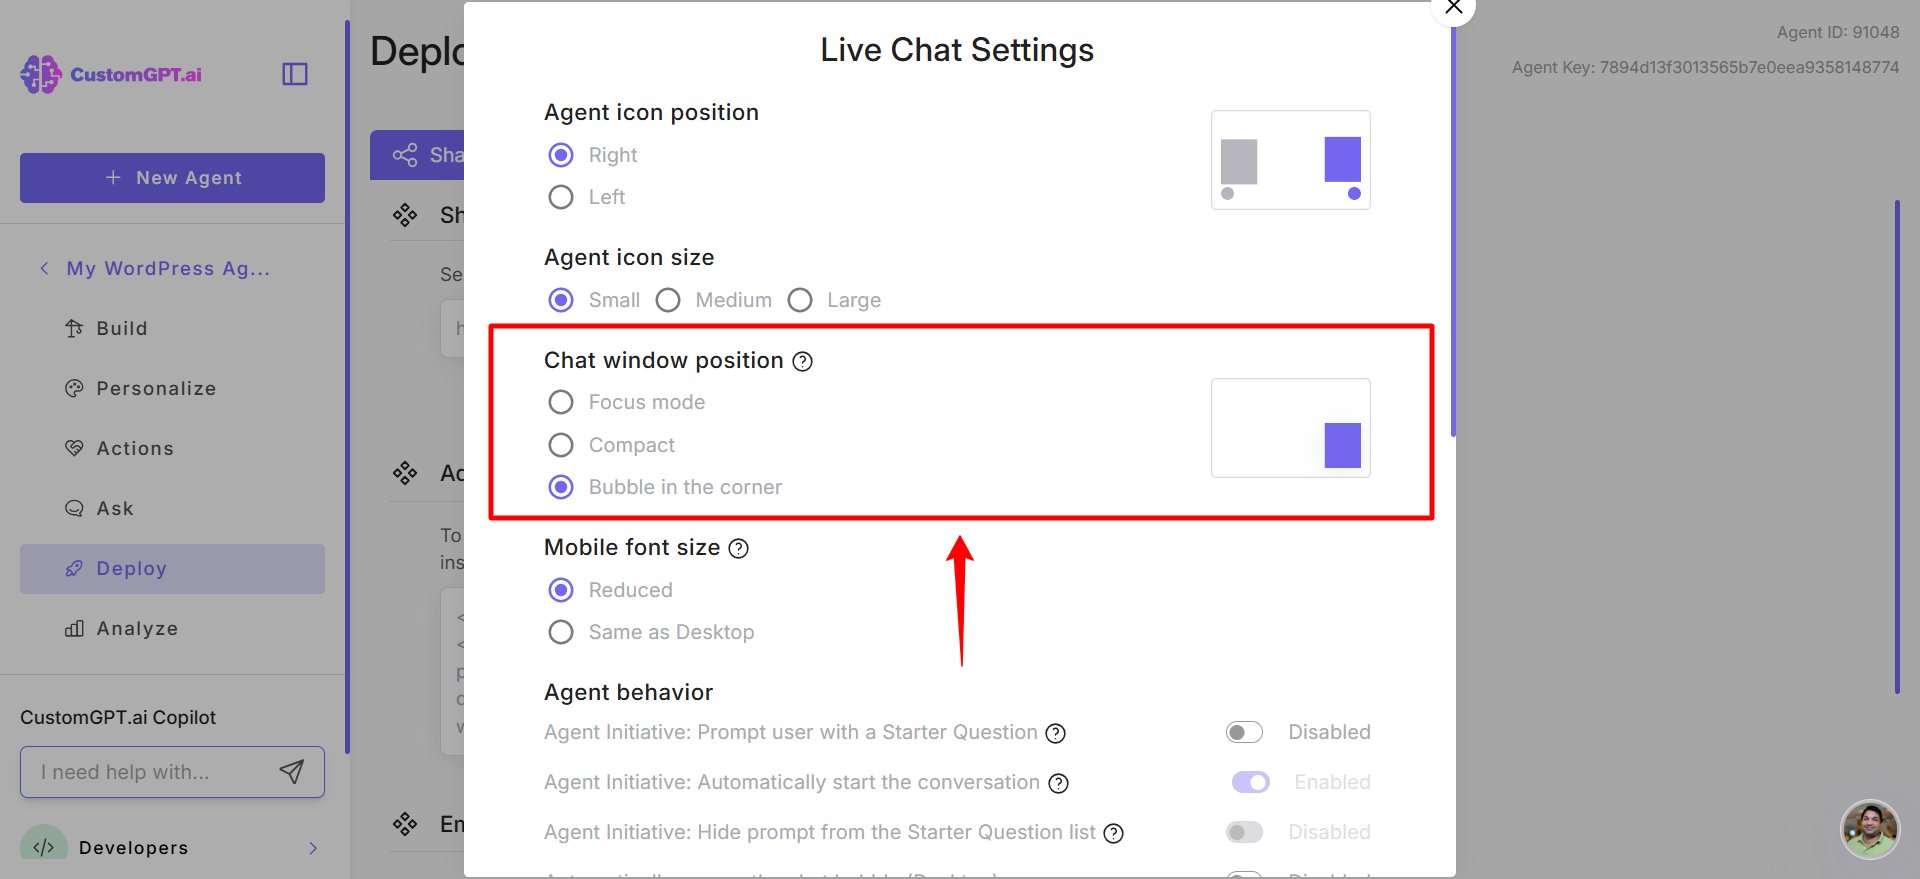
- Configures Live Chat behavior Chat window style should be bubble – see Configure live chat agent behavior
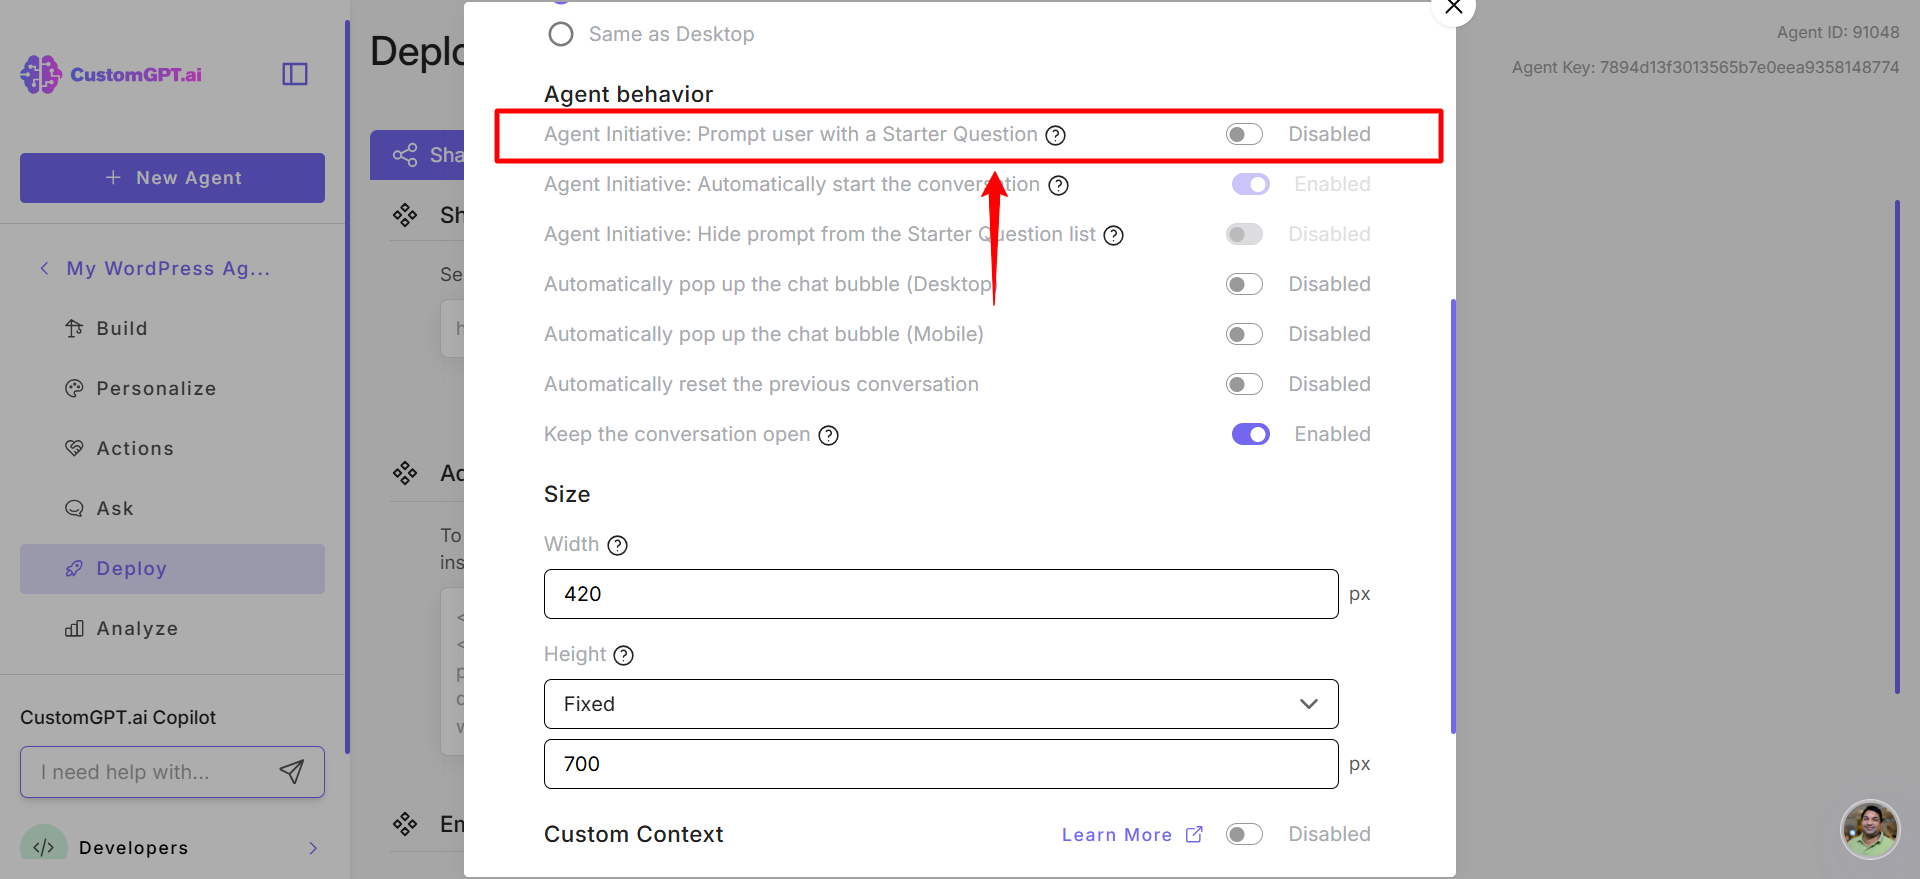
- Enables Agent initiative – see Configure agent initiative
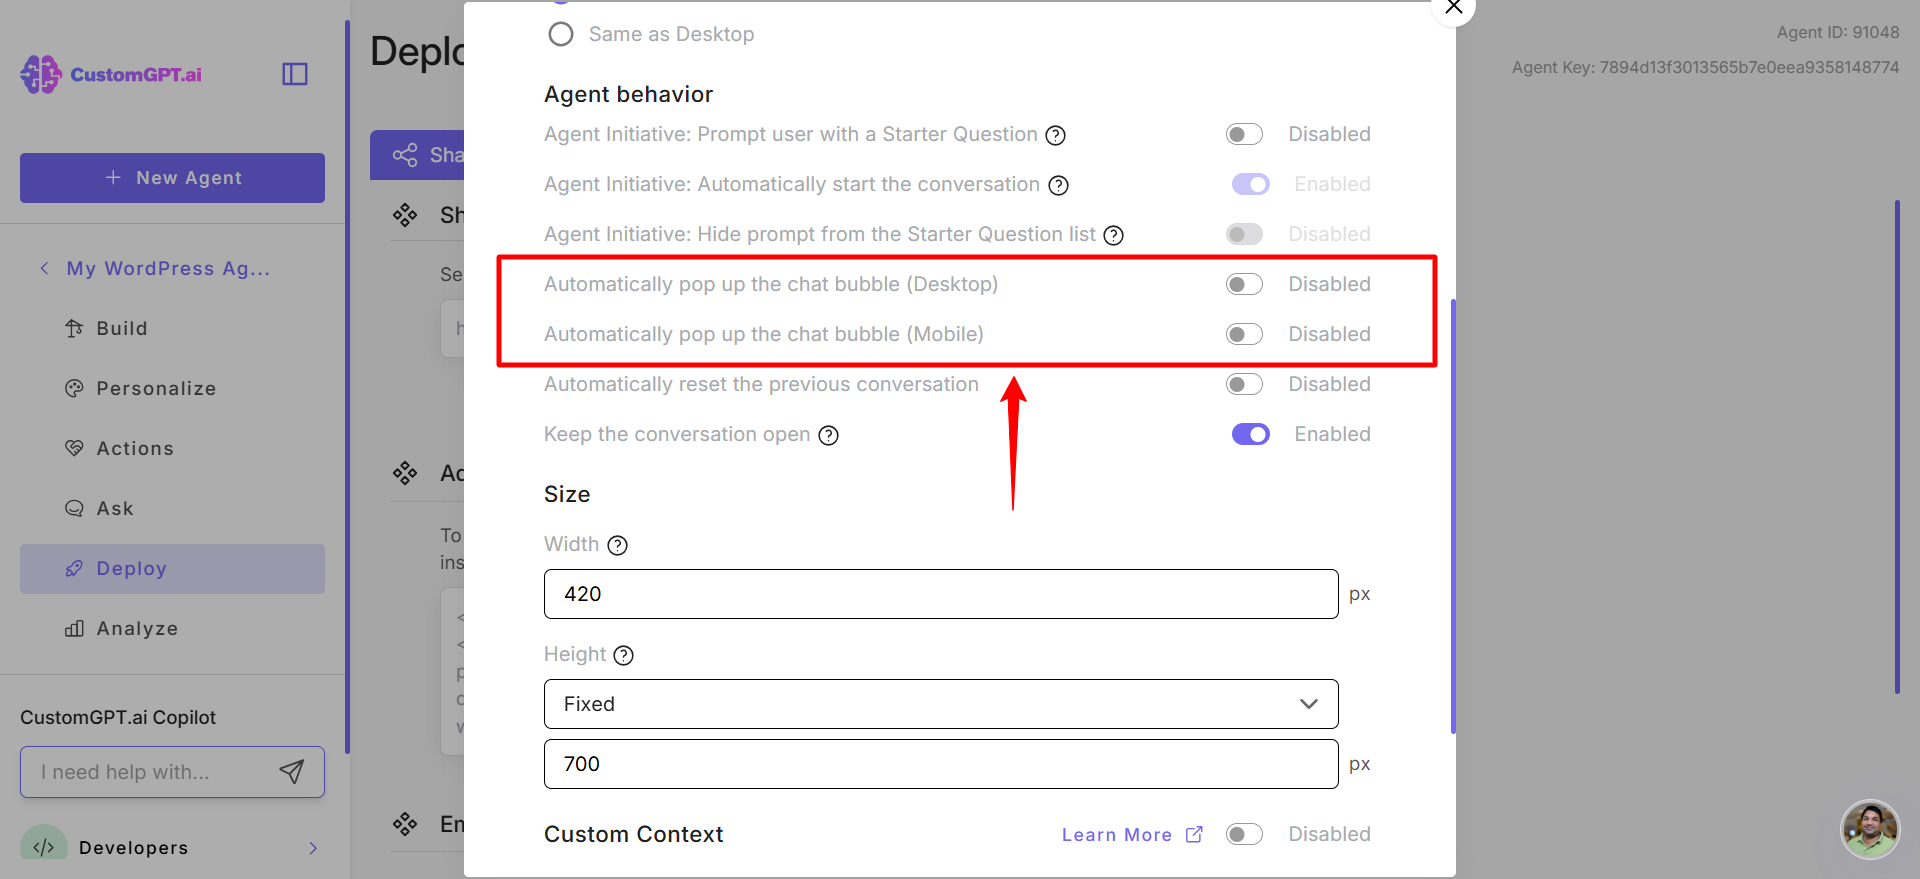
- Disables automatically pop up the chat bubble – see Configure live chat agent behavior
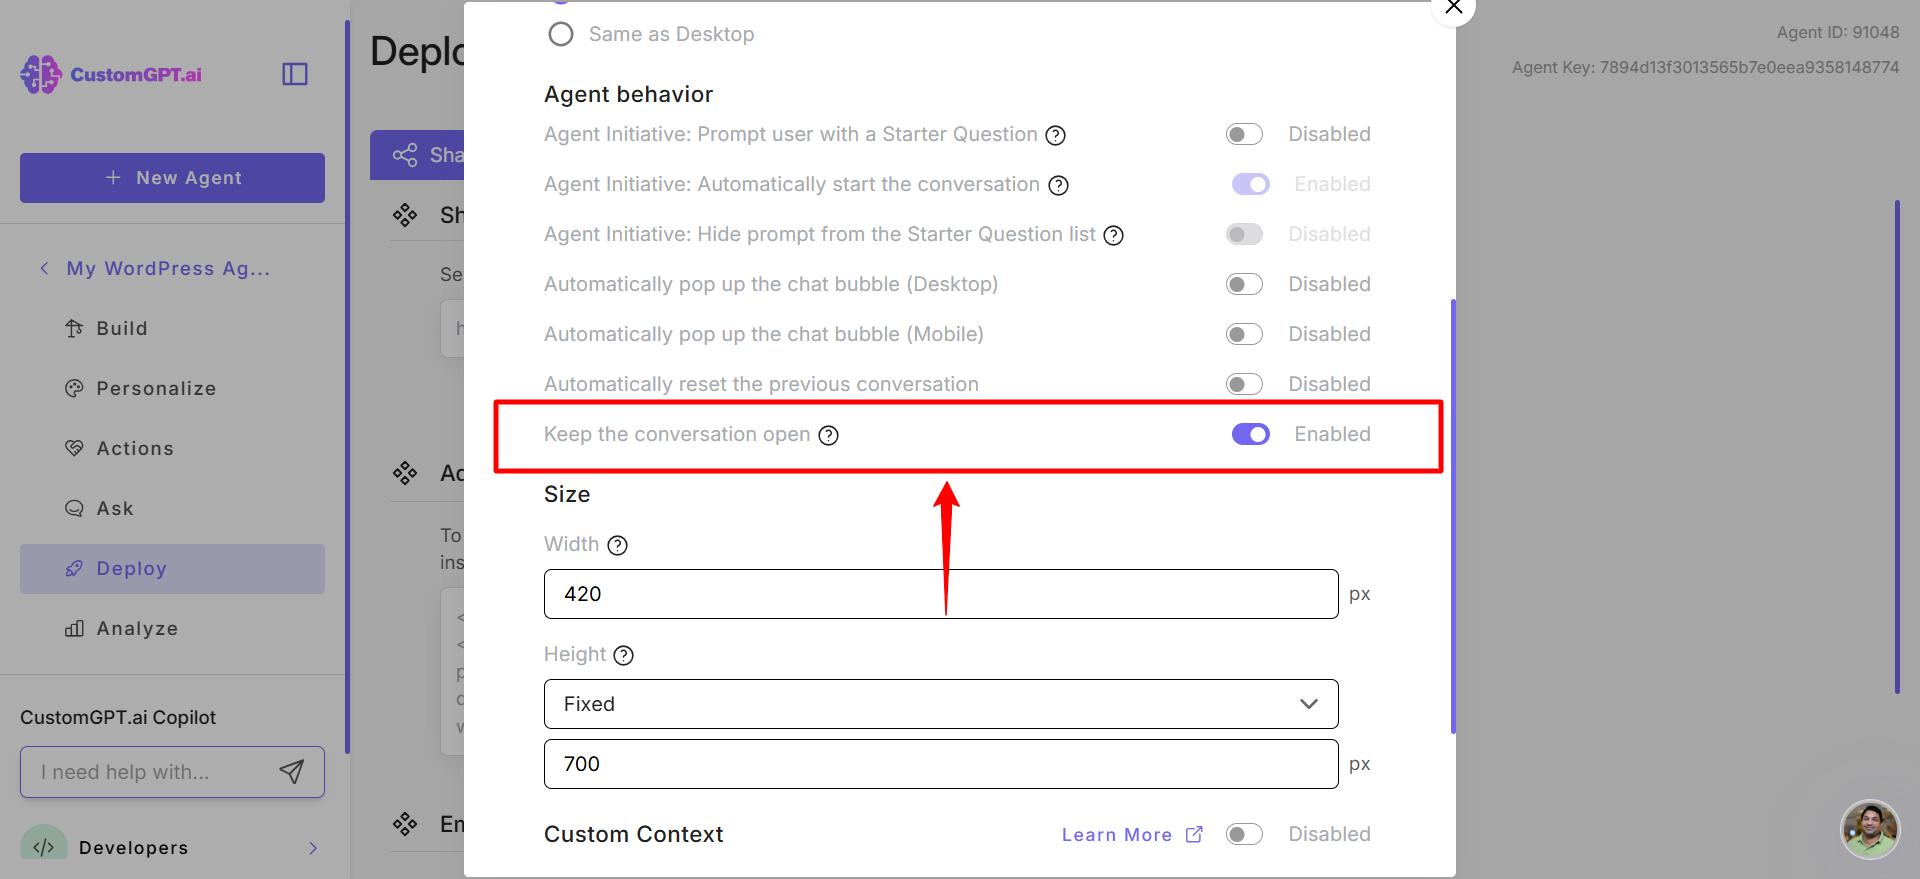
- Enables keep conversation open – see Configure live chat agent behavior
- Set Agent icon size to large size – see Add live chat to any website
Note:You can modify any of these settings at any time after assigning the role.
Updated 5 months ago