How to use agent roles
This step-by-step guide explains what Agent Roles are, how they work, and how to apply them when creating or editing your CustomGPT agent.
What is the Agent Roles feature?
Agent Roles are predefined templates of settings that help you configure your agent based on its purpose. Instead of setting everything manually, selecting a role applies an optimized setup automatically with just one click.
Why use roles?
Roles save you time and ensure your agent’s settings align with best practices for each use case, so you get the right behavior out of the box.
Currently available roles:
- Customer support: Helps users resolve issues and provide support. Learn more about Customer support
- Knowledge management: Answers user questions by referencing document content.
- Website copilot: Assists and guides users while browsing your website.
- Product lookup: Helps customers find products and answer inventory questions. Learn more about Product lookup.
- Revenue agent: Drives user actions toward specific goals (Premium feature). Learn more about Revenue Agent
Note:Roles do not change the AI behavior or quality by themselves. They only apply settings that may influence how the agent behaves.
How it works
- If you select a role during agent creation, CustomGPT will apply settings that best fit the selected role.
- If no role is selected, the agent will use default settings.
- If you change some setting after applying the role, the rest of the settings will remain unaffected.
- If you change the agent’s role later, only the settings affected by the new role are updated; all other customizations remain unchanged.
- Some roles may update text fields on the Personalize page (for example, system instructions). Those fields are only changed if the fields still contain the default English text.
- The agent role itself does not directly affect AI model behavior or response quality. However, the settings applied by that role may influence how the agent interacts with users.
How to enable agent role
You can assign or update an agent role in two ways:
When creating a new agent
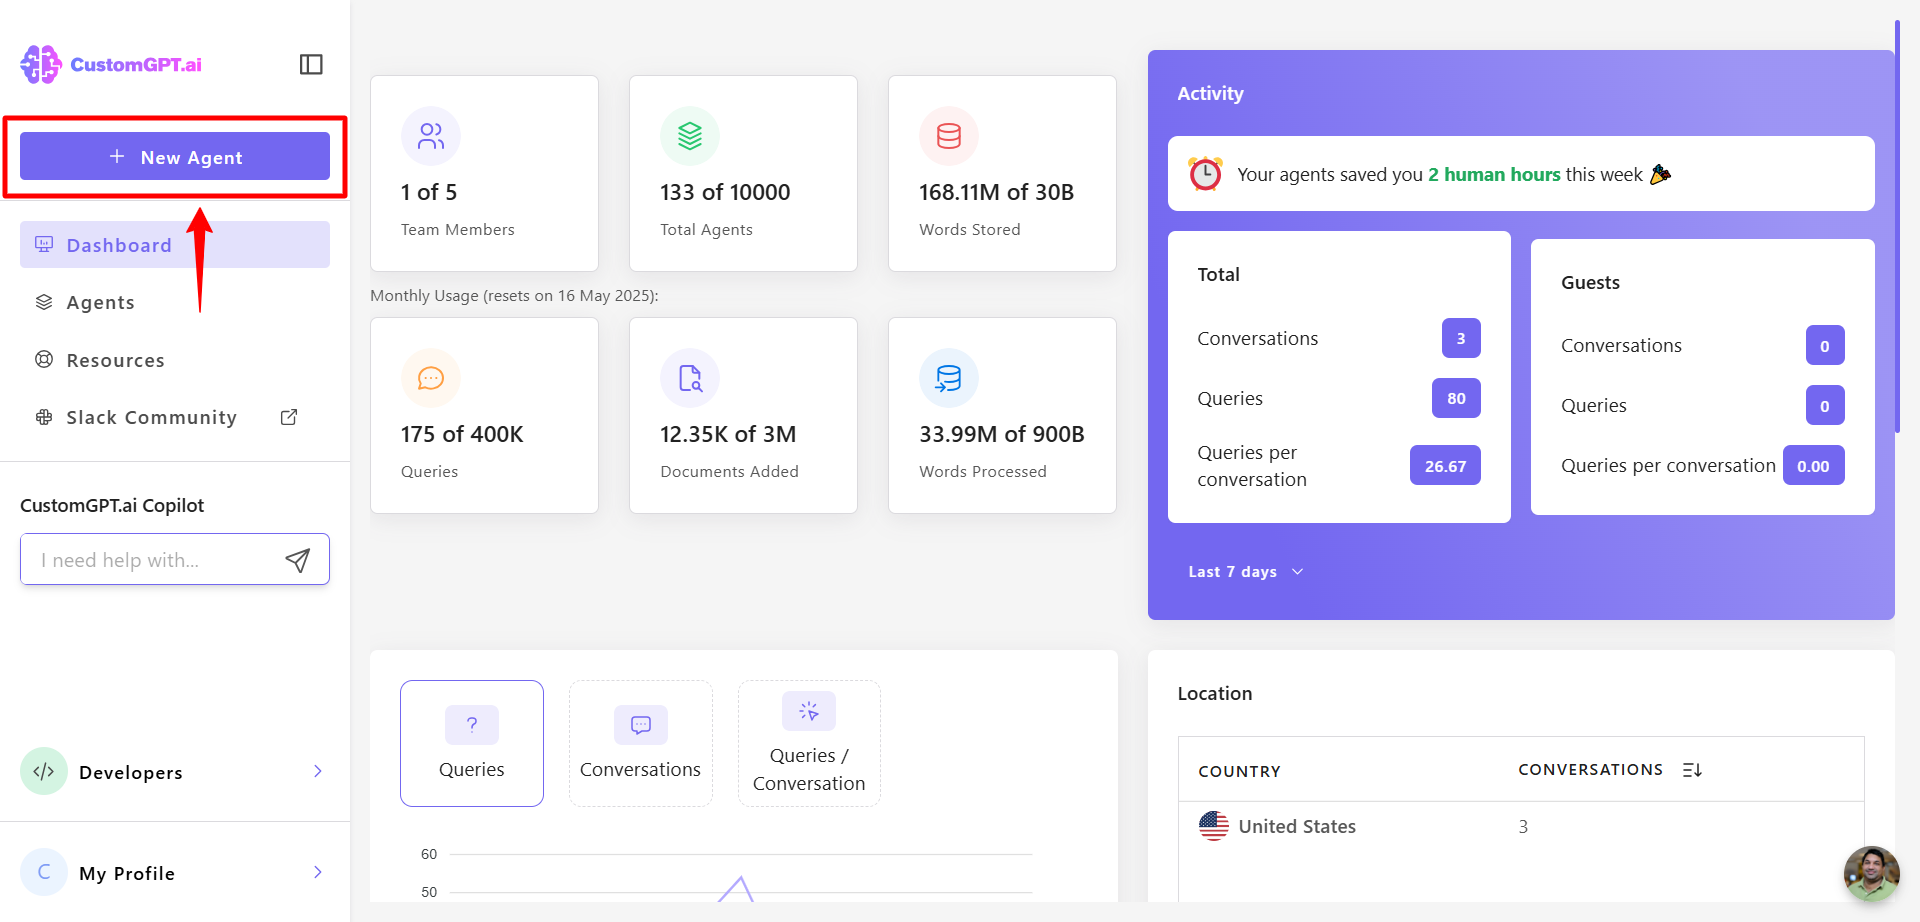
- From your dashboard, click New Agent.
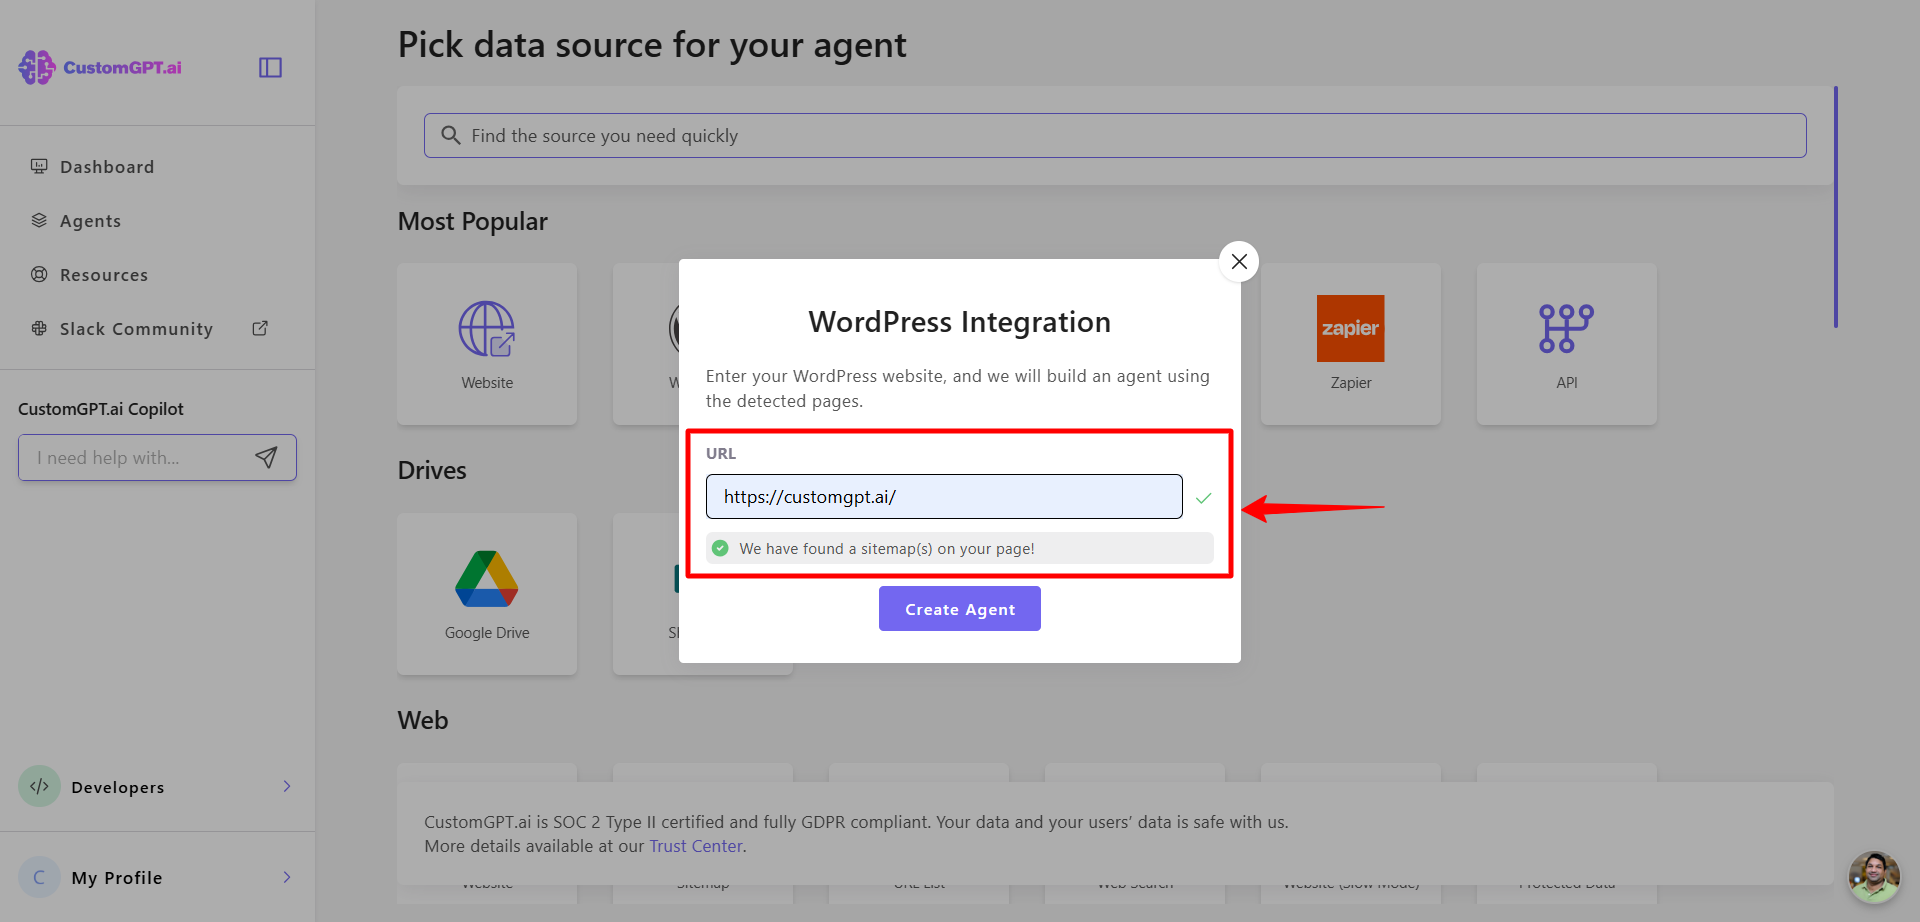
- Select your data source (e.g., WordPress) and add your site’s URL.
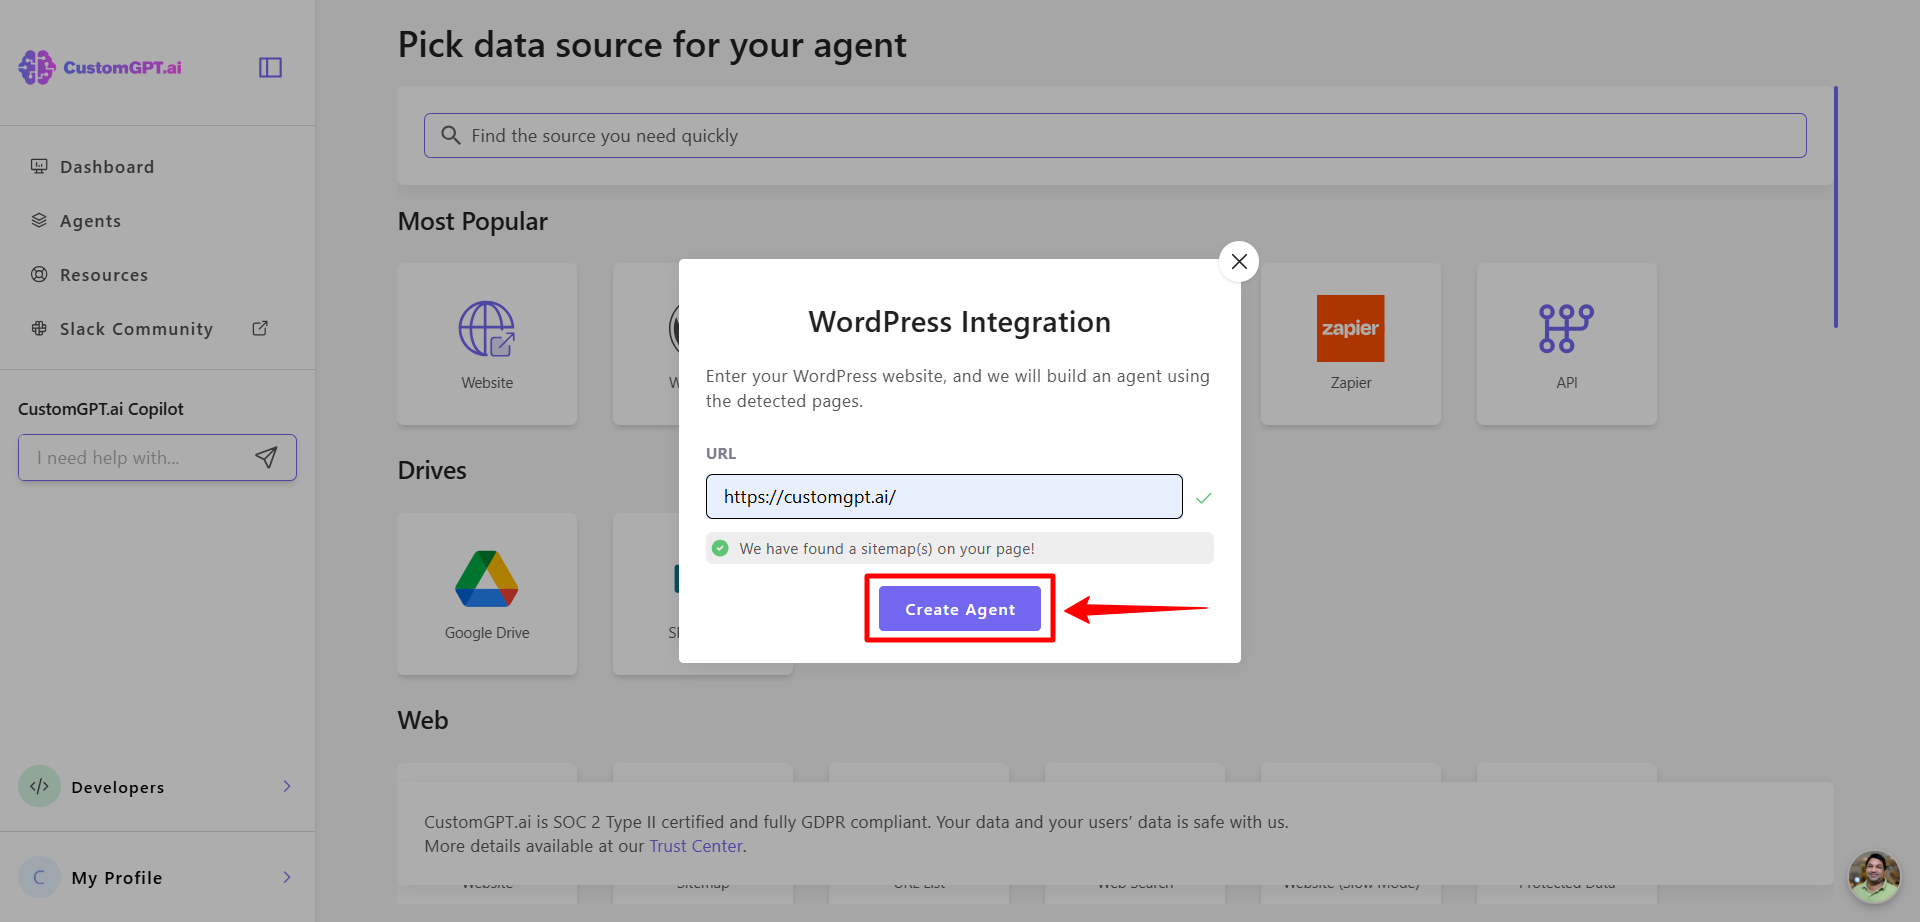
- Click Create Agent.
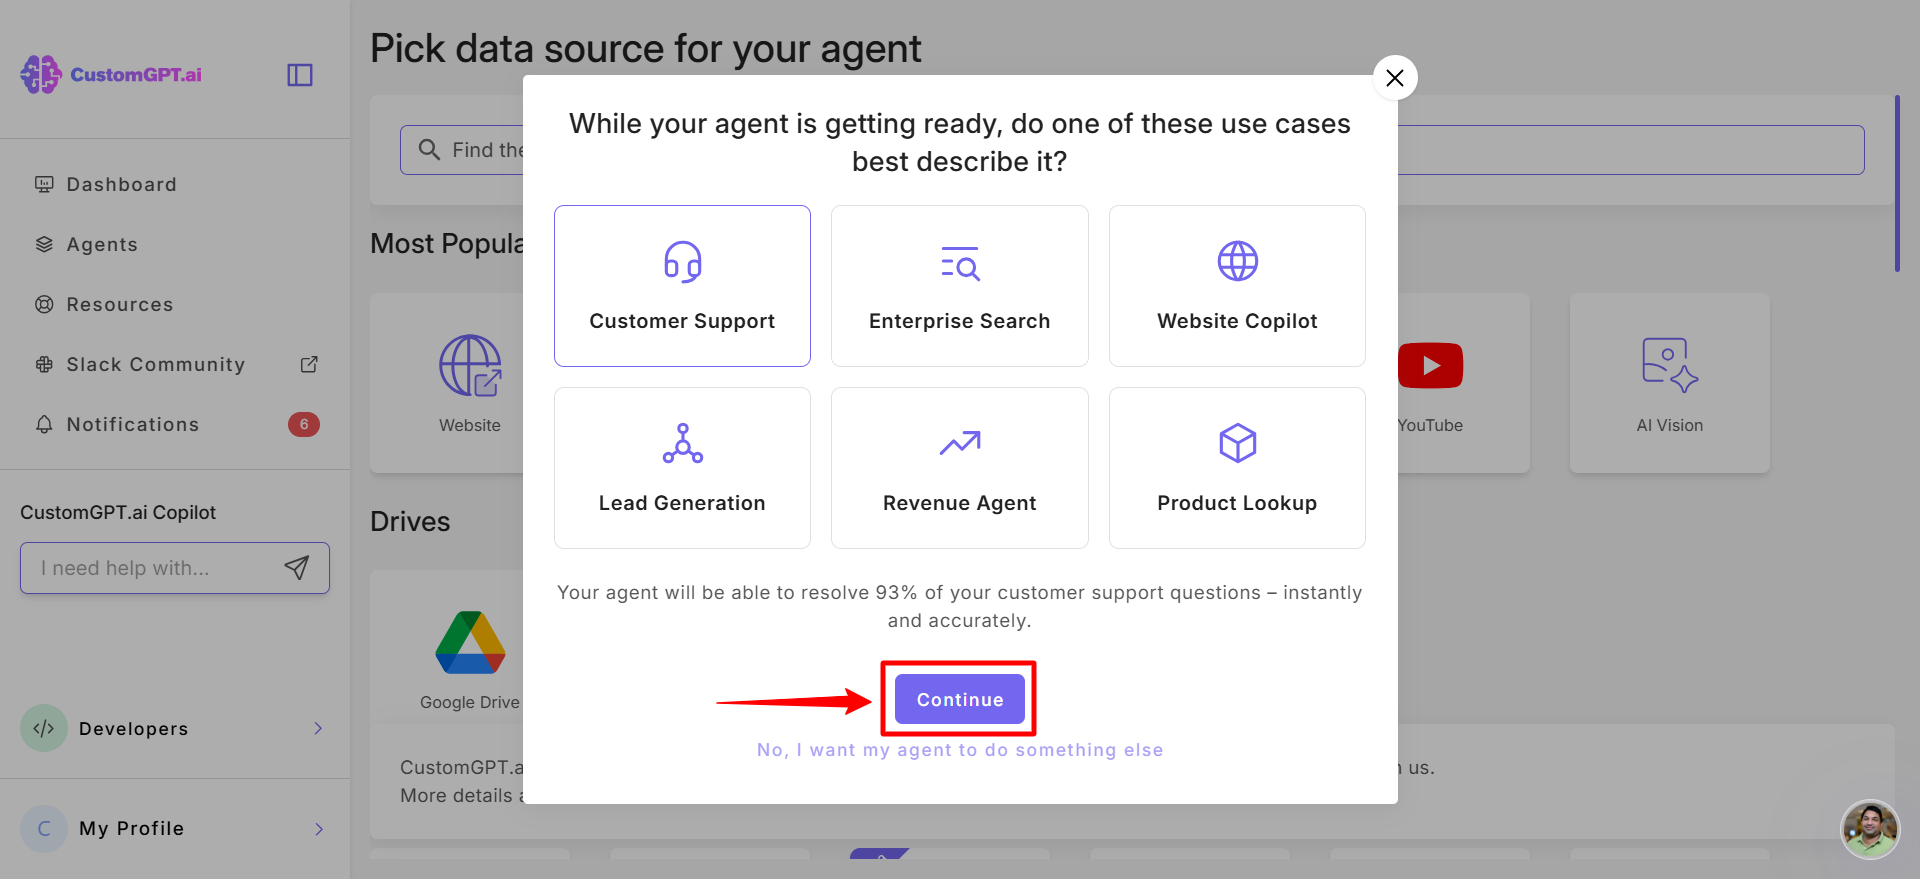
- You’ll be prompted to select an Agent Role. You can either:
- Skip this step and add a role later, or
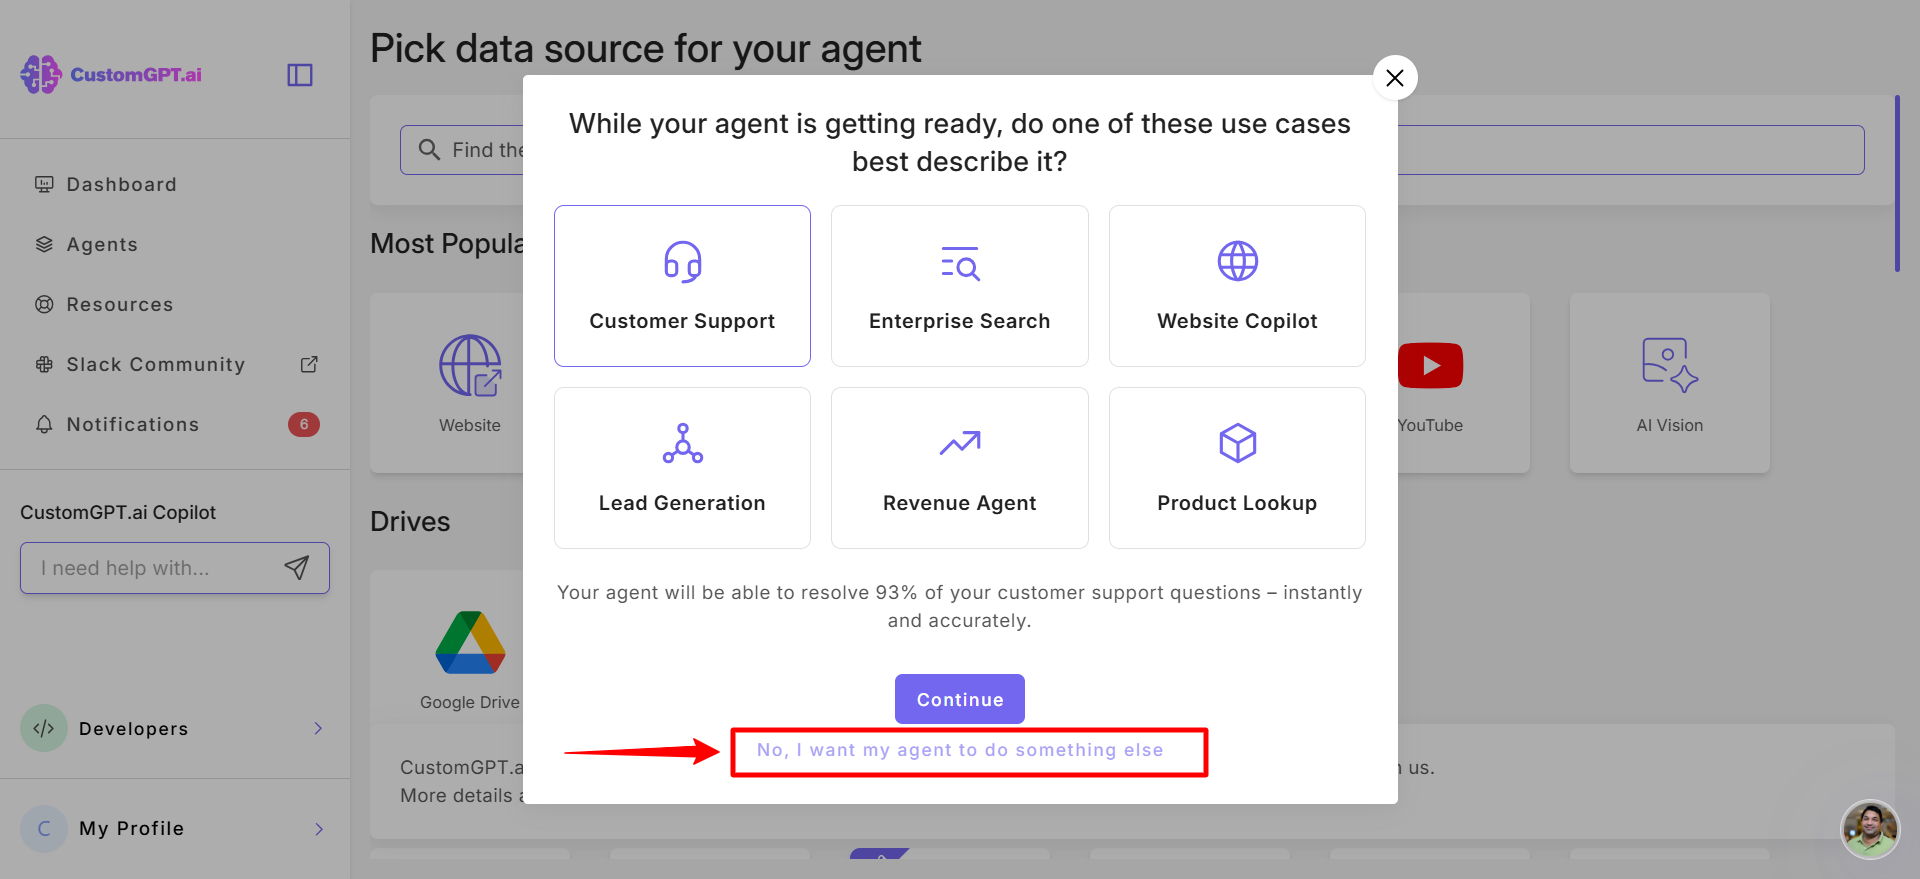
- Select your desired role now.
When editing an existing agent
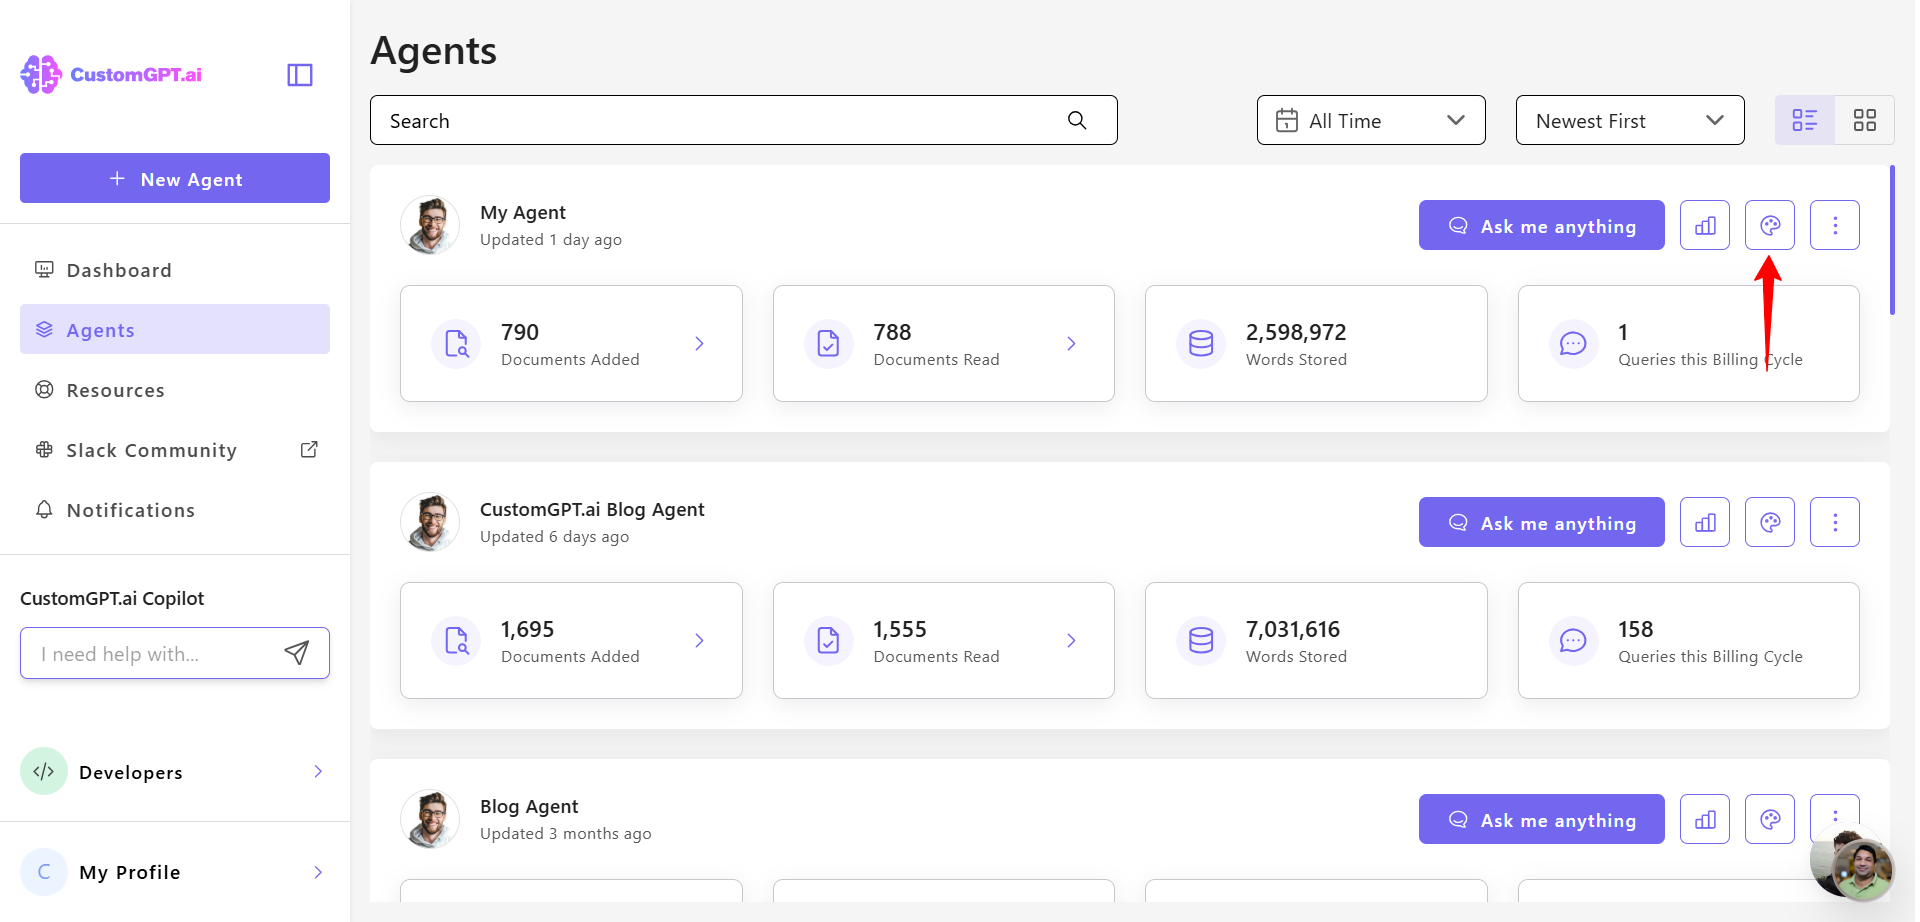
- Open the agent you want to update and click Personalize.
- In the General tab, locate Agent Role.
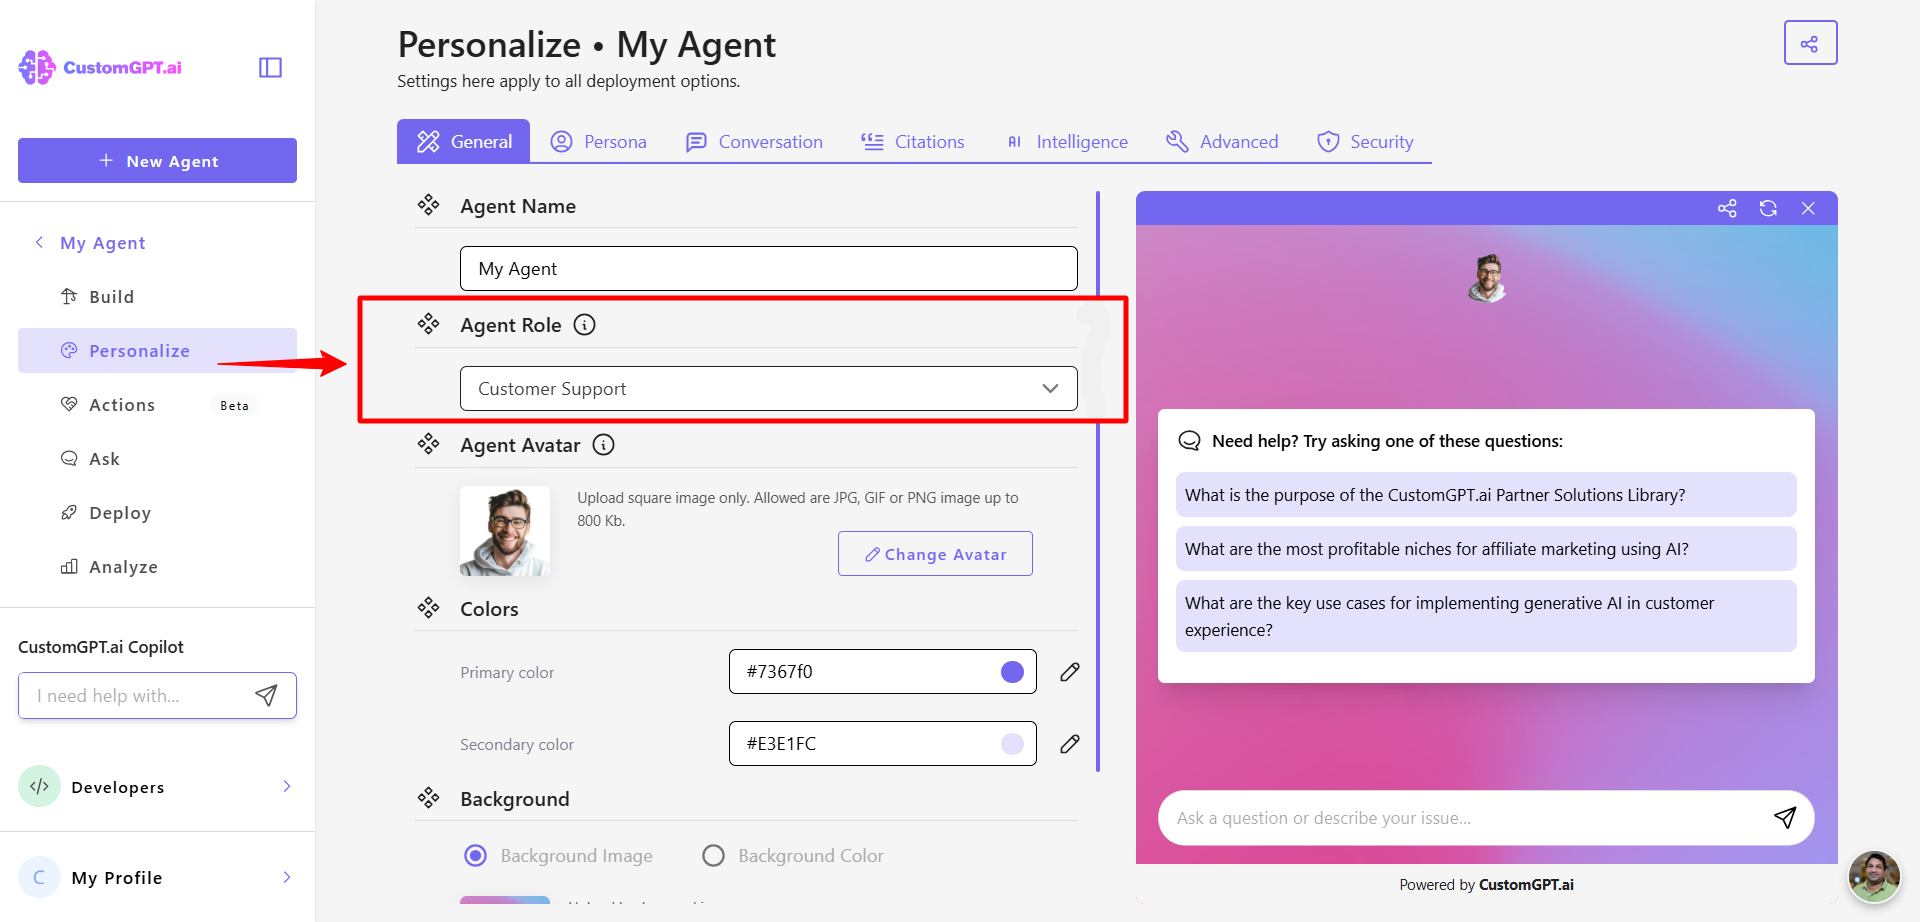
- Select the new role from the dropdown.

- Click Save Settings to apply the role’s settings.

Related articles
Updated 3 months ago
Did this page help you?