Website copilot
This step-by-step guide explains how to assign the Website copilot role to your CustomGPT.ai agent to enable AI-driven site search that delivers precise results, improves user satisfaction, and provides valuable visitor insights.
What is the Agent Roles feature?
Agent Roles are predefined templates of settings that help you configure your agent based on its purpose. Instead of setting everything manually, selecting a role applies an optimized setup automatically with just one click.
👉 Learn more about What are Agent roles and how to use them
What is the Website copilot role
Website copilot configures your agent for on-site search and browsing assistance. It’s optimized to surface accurate answers from your website content and help visitors find what they need faster.
What it does
When you assign this role, your agent will power site search with precise, cited answers, streamline navigation for visitors, and collect insights through shareable conversations.
How to enable the Website copilot role
For a new agent:
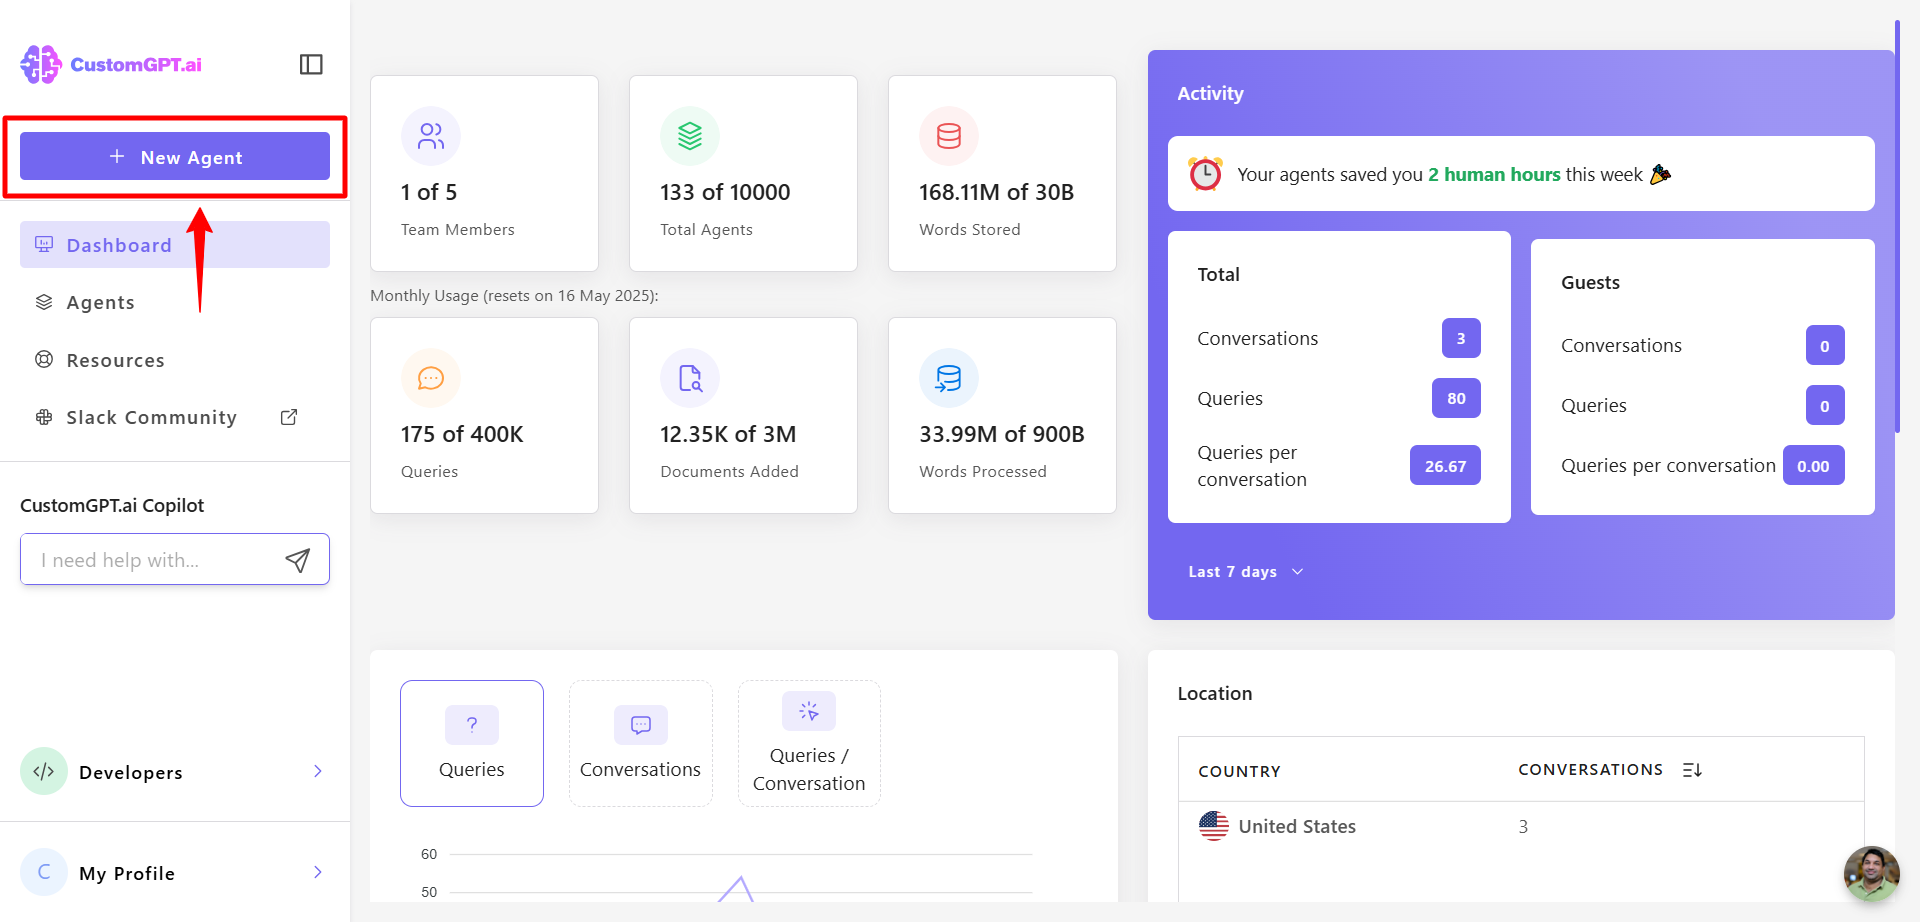
- From your dashboard, click New Agent.
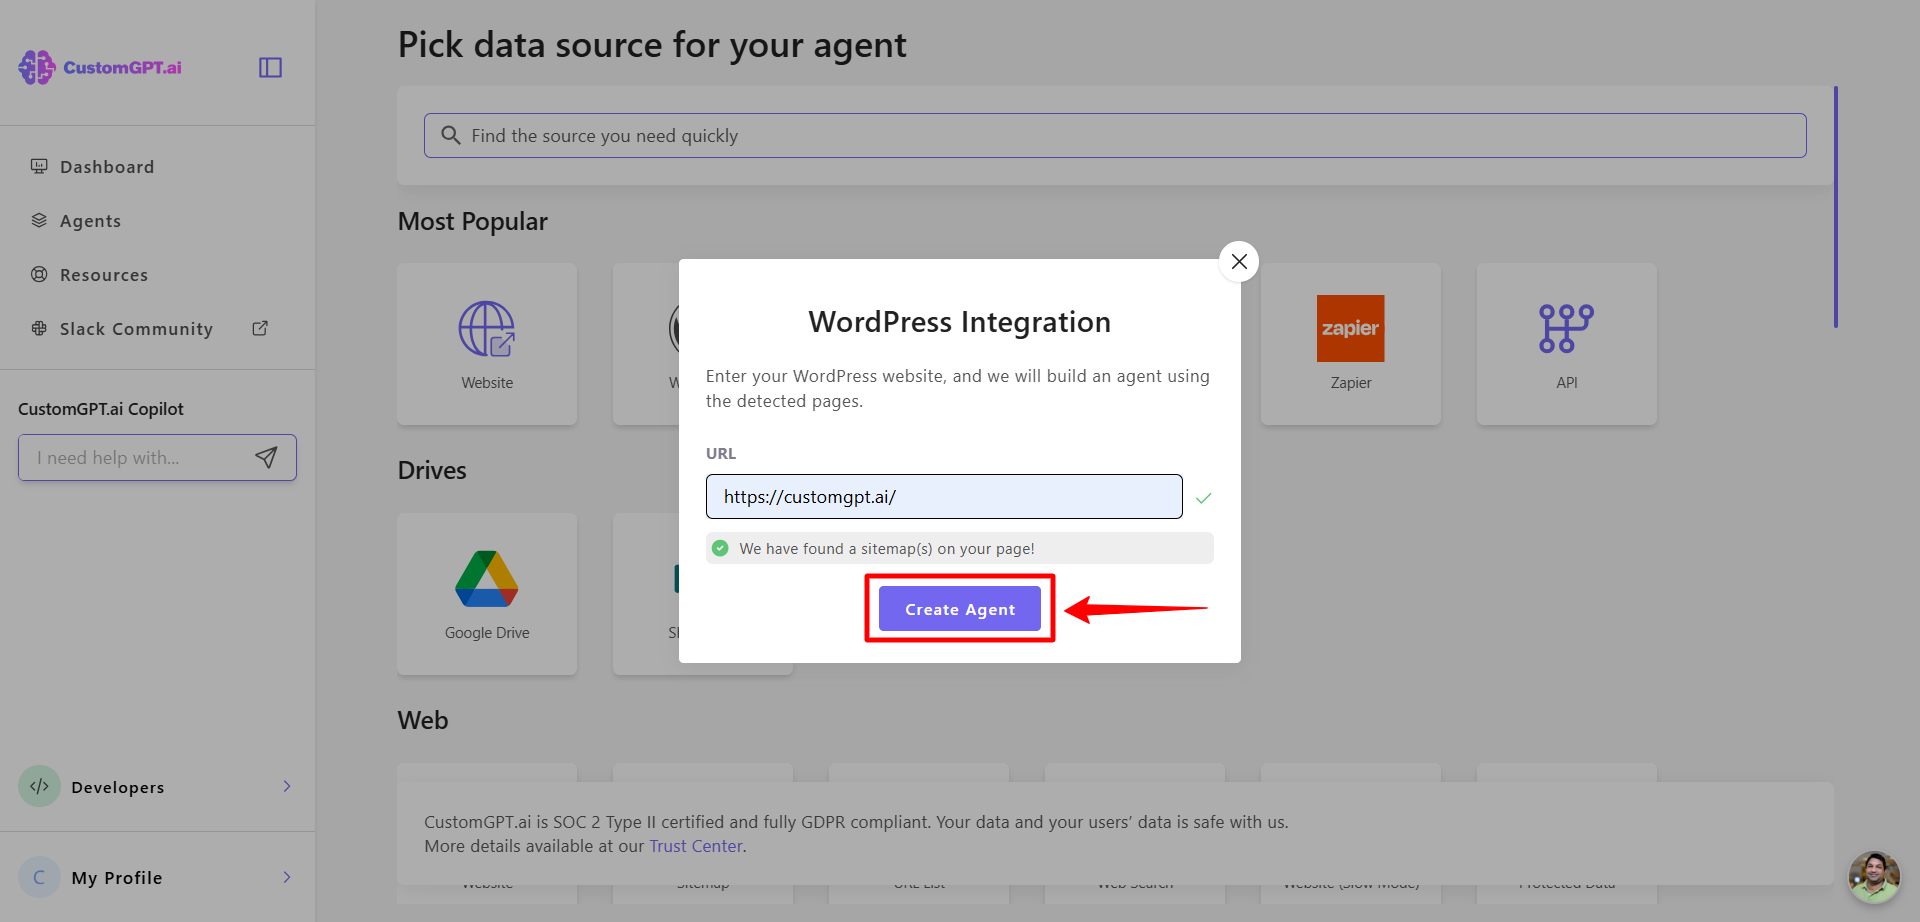
- Select your data source (e.g., WordPress), add your site’s URL, and click Create Agent.
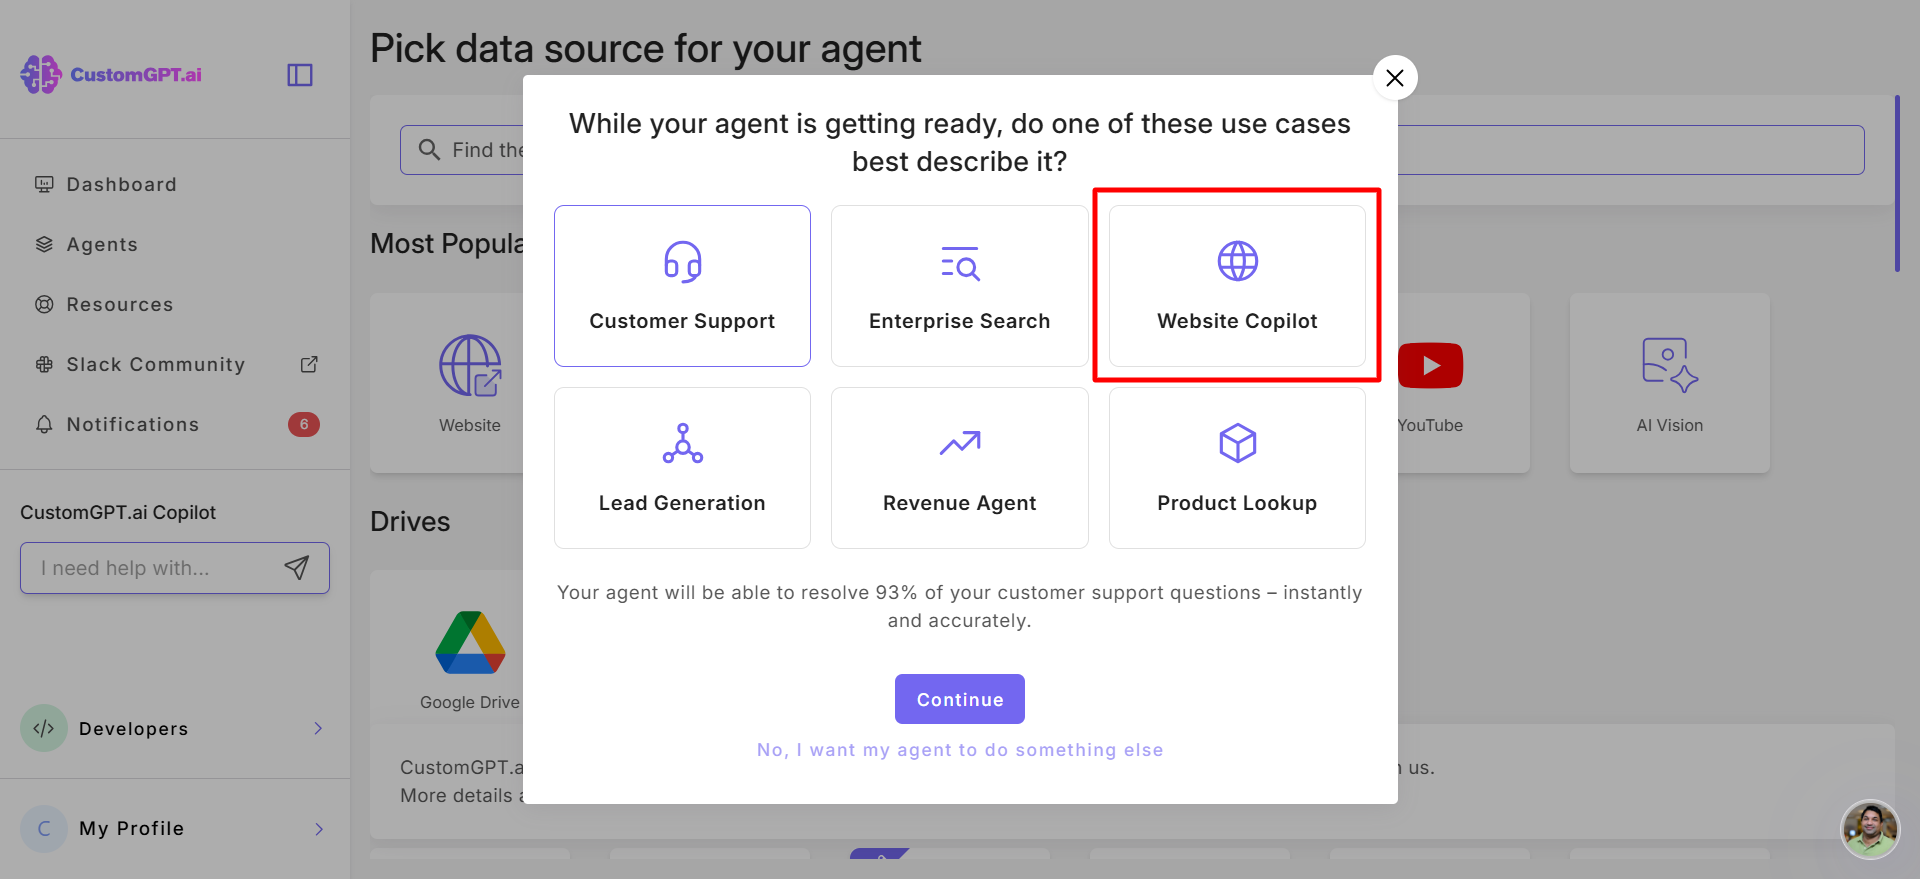
- You’ll be prompted to select an Agent Role. Select Website copilot role.
For an existing agent:
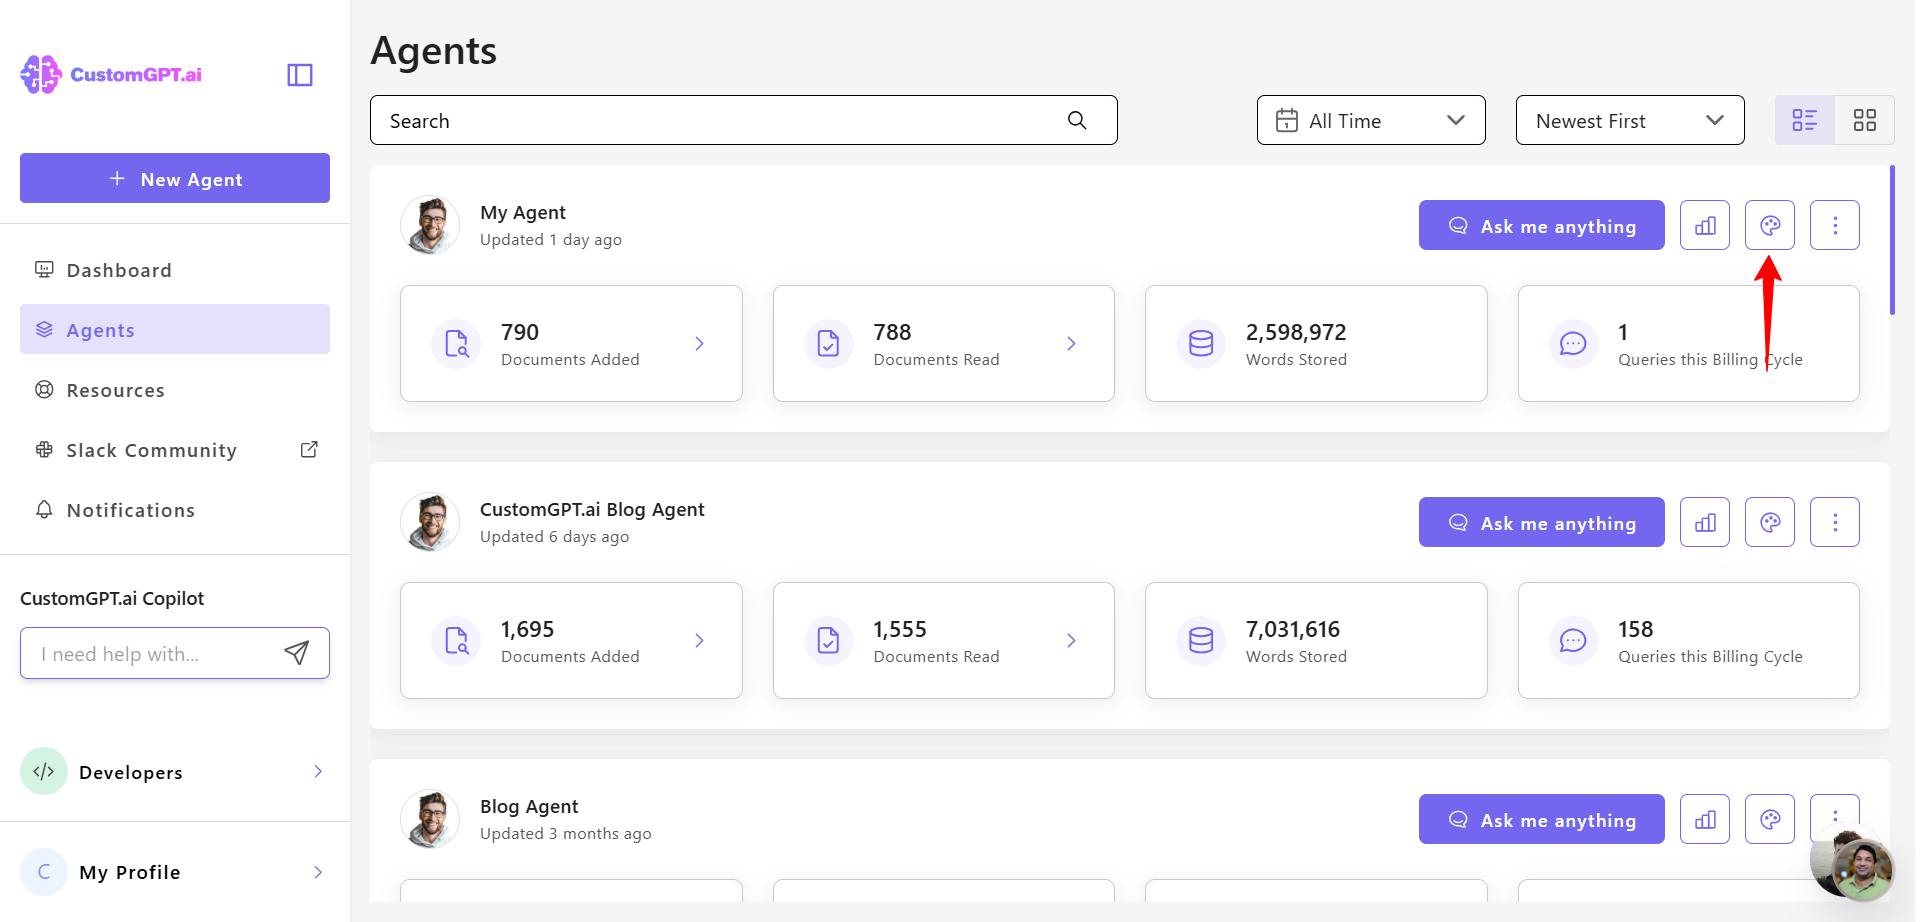
- Open the agent you want to update and click Personalize.
- In the Agent Role dropdown, select Website copilot.
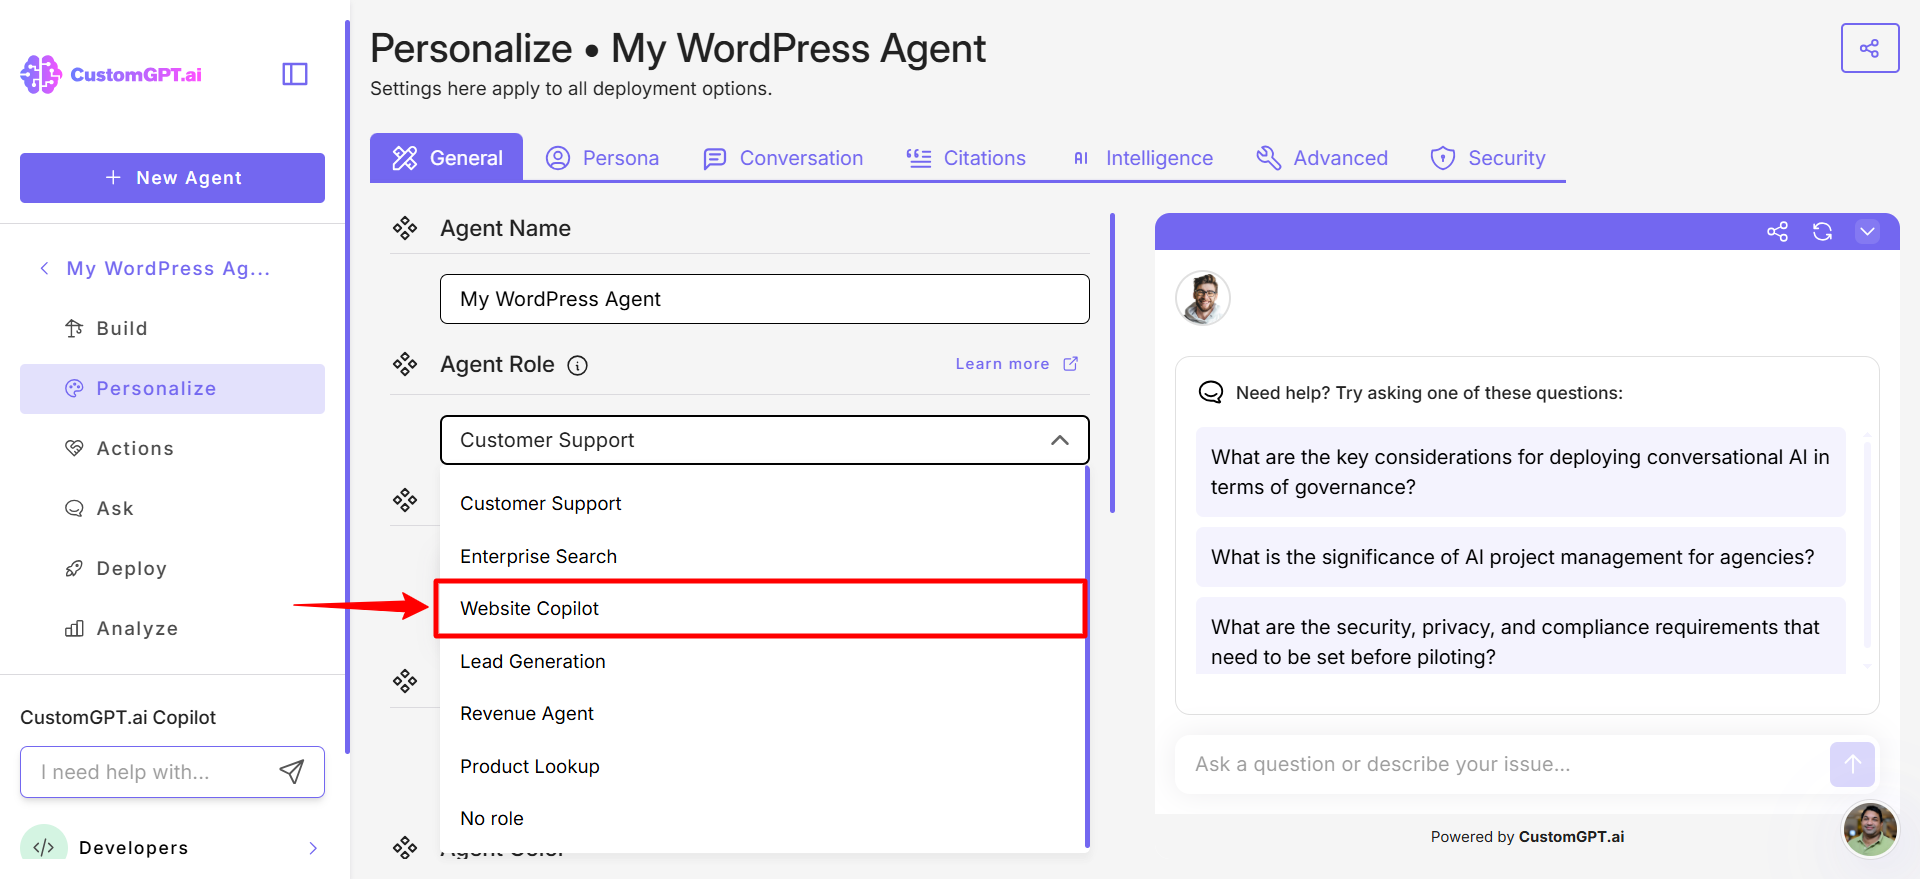
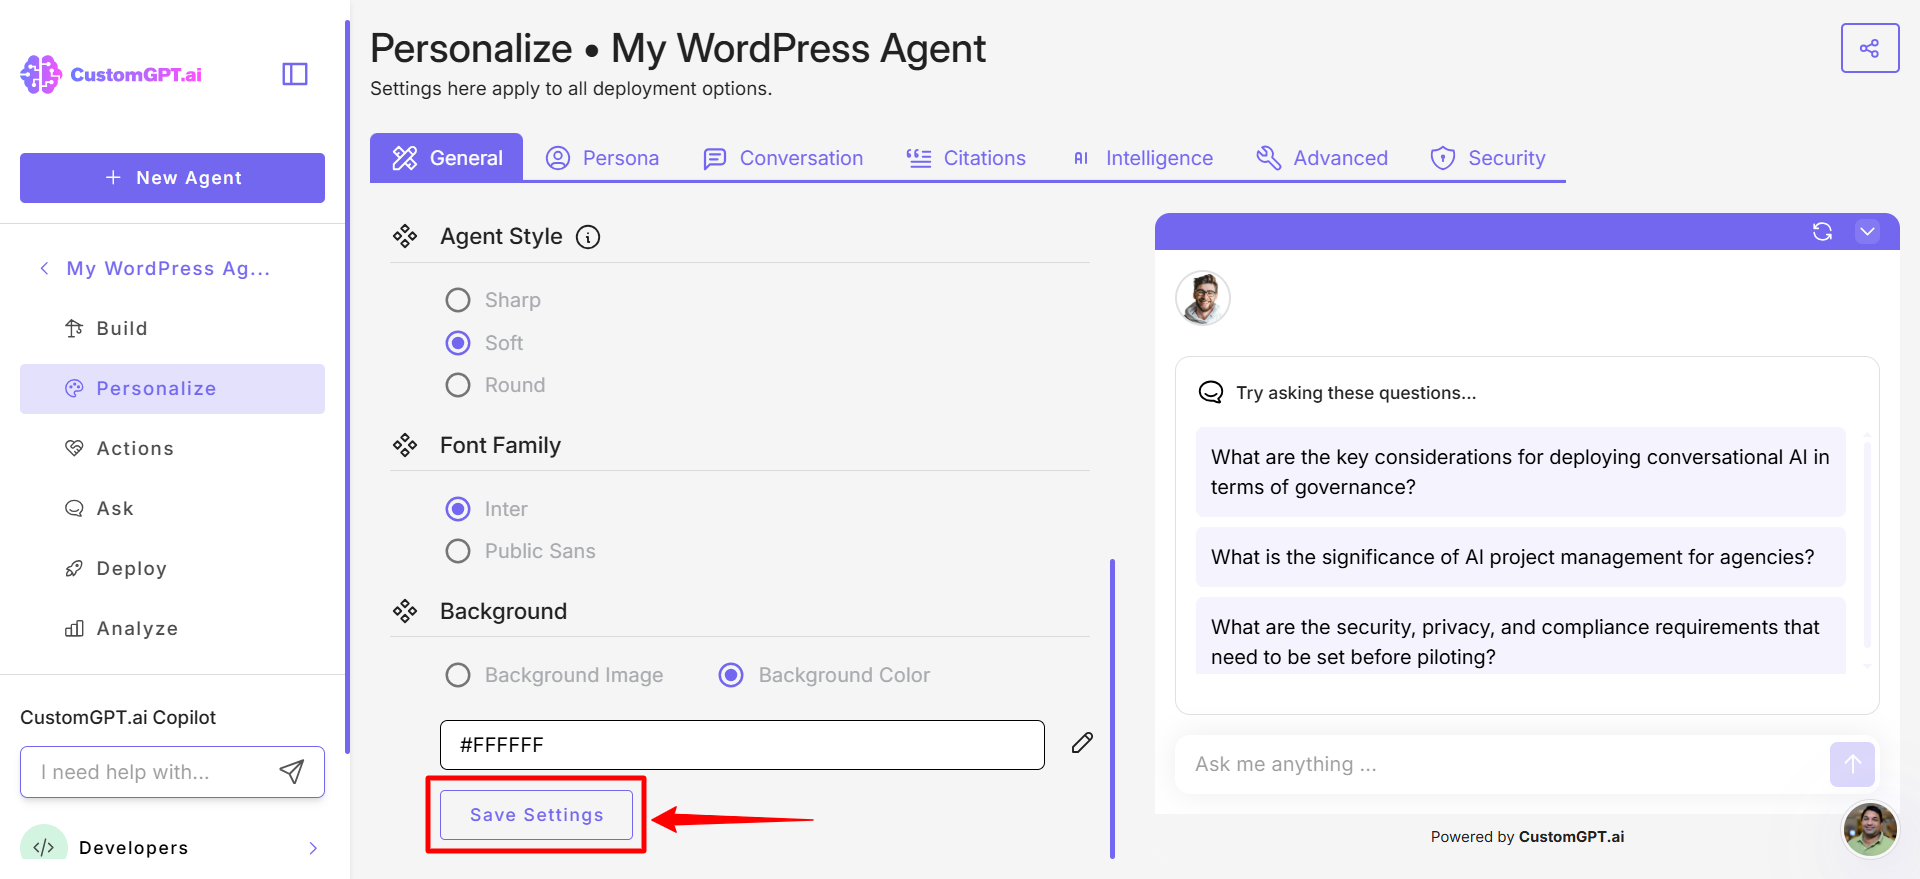
- Click Save Settings to apply the role’s settings.
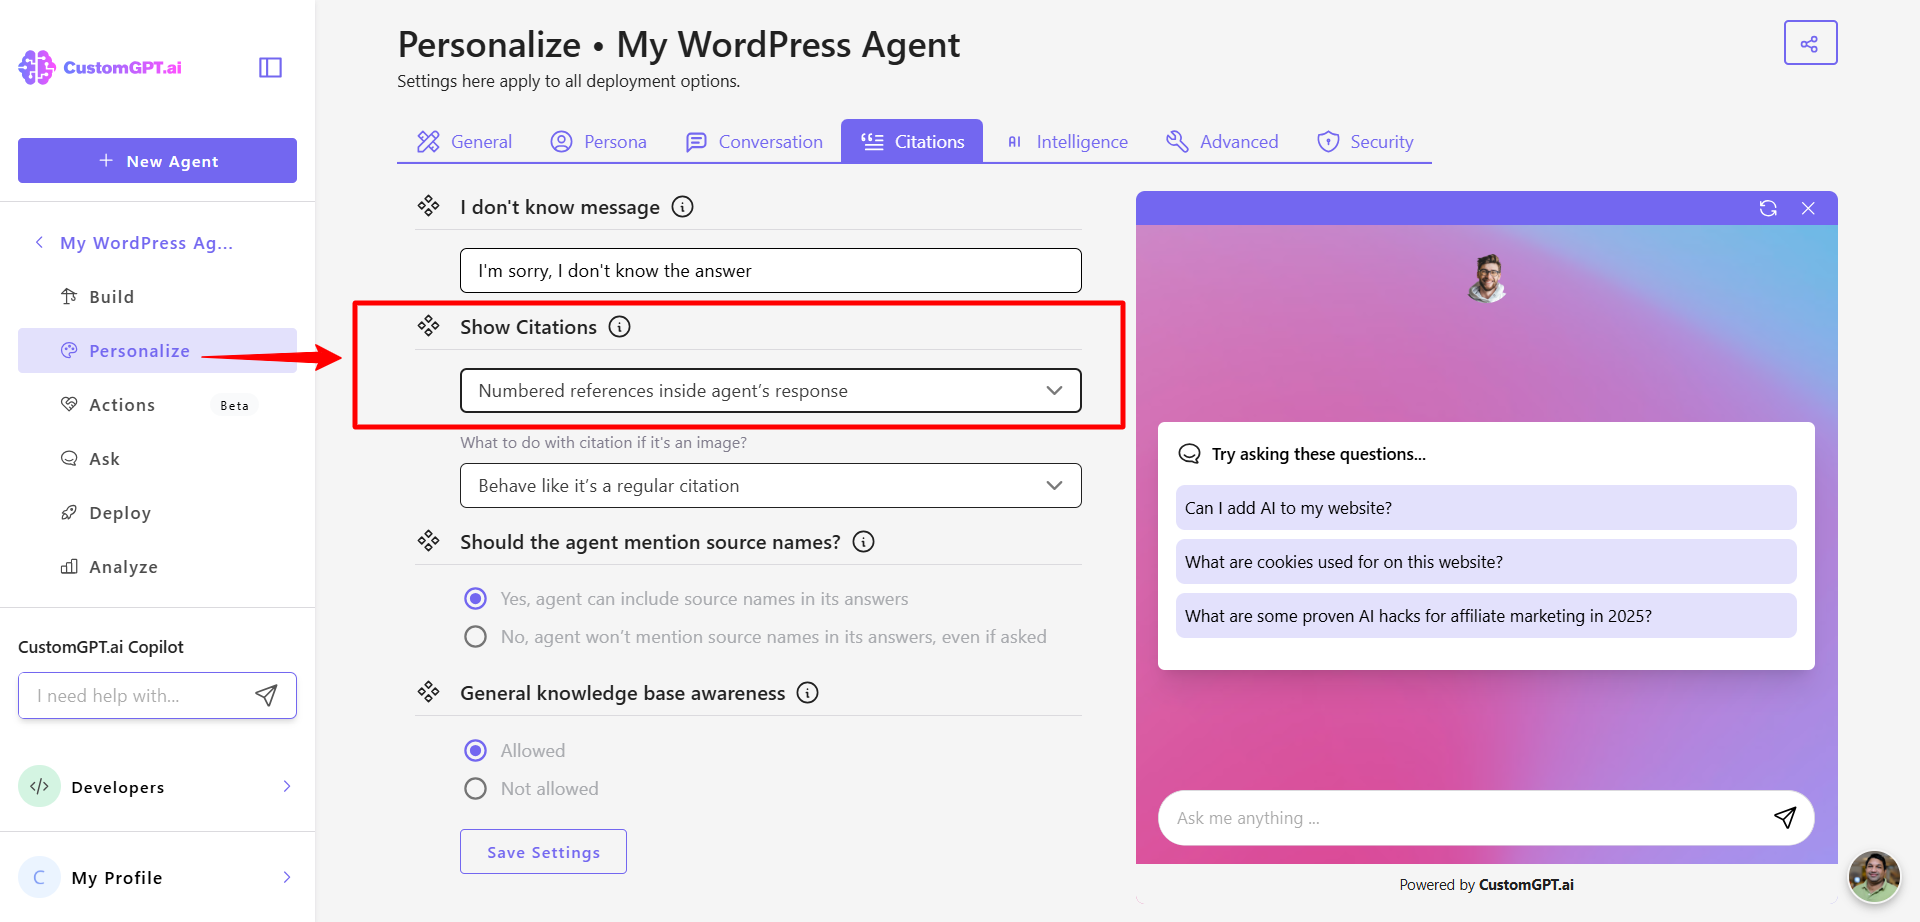
What settings does this role apply
- Enables citations with numbered references inside the agent’s response (Learn more about how to enable citations).
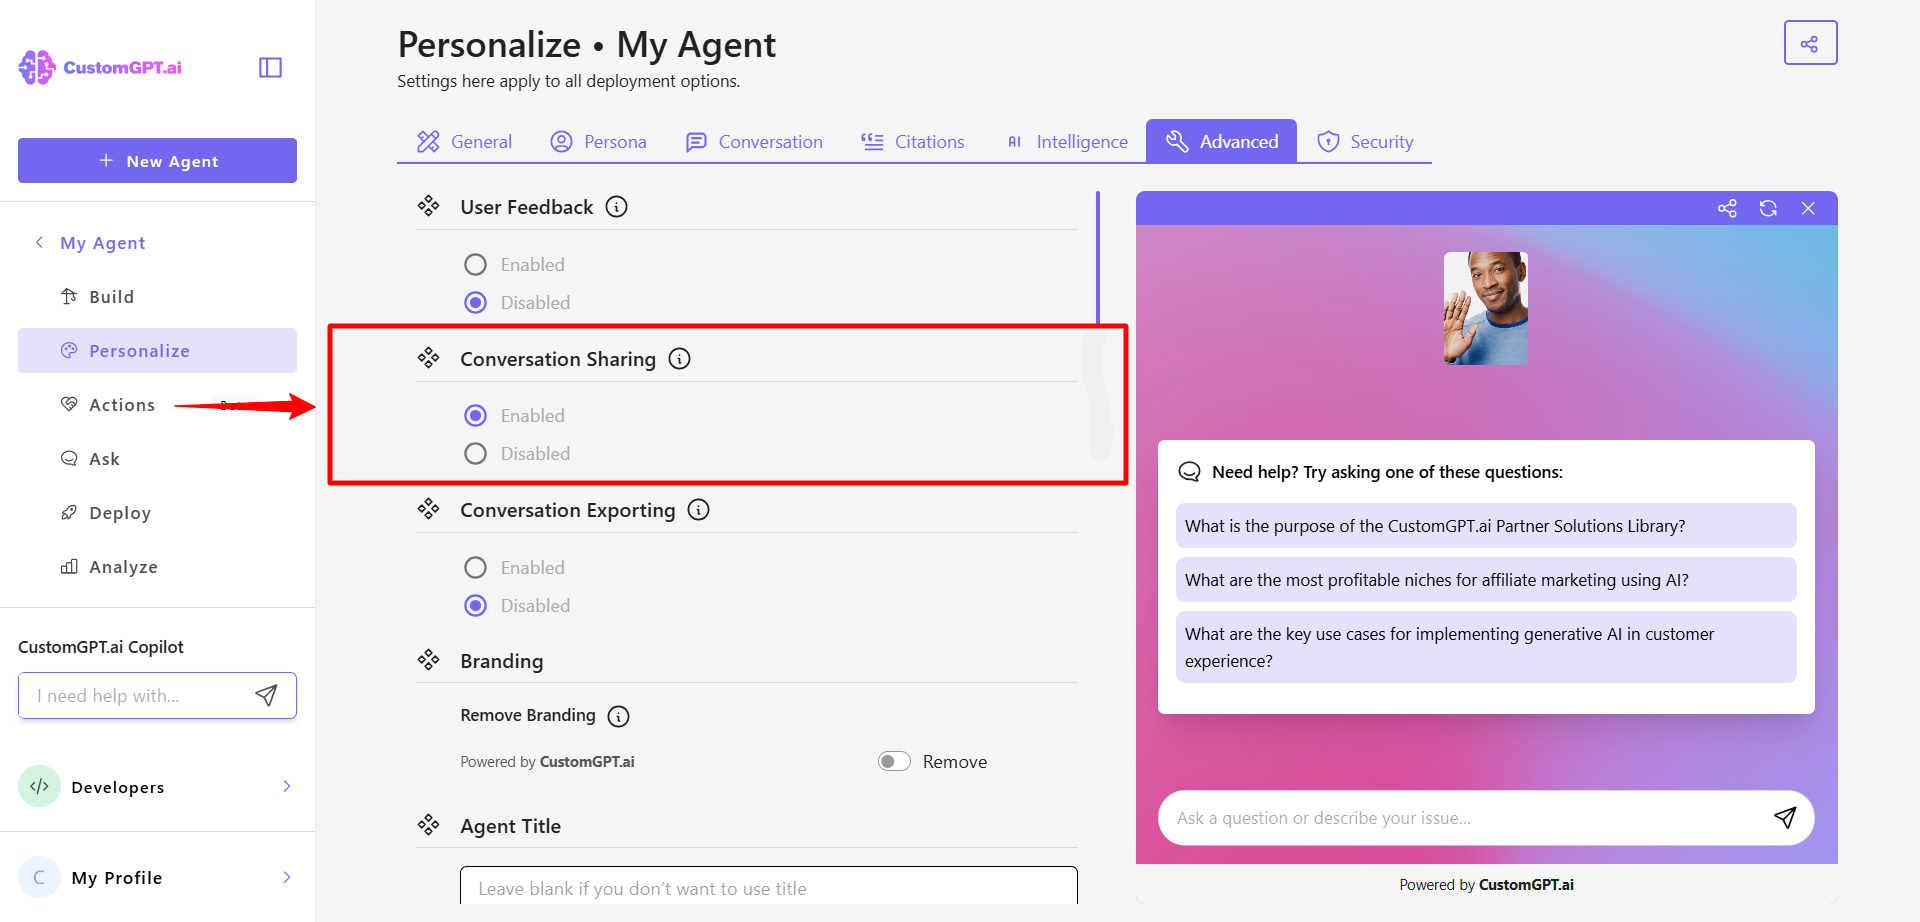
- Enables Conversation Sharing (Learn how to manage conversation sharing)
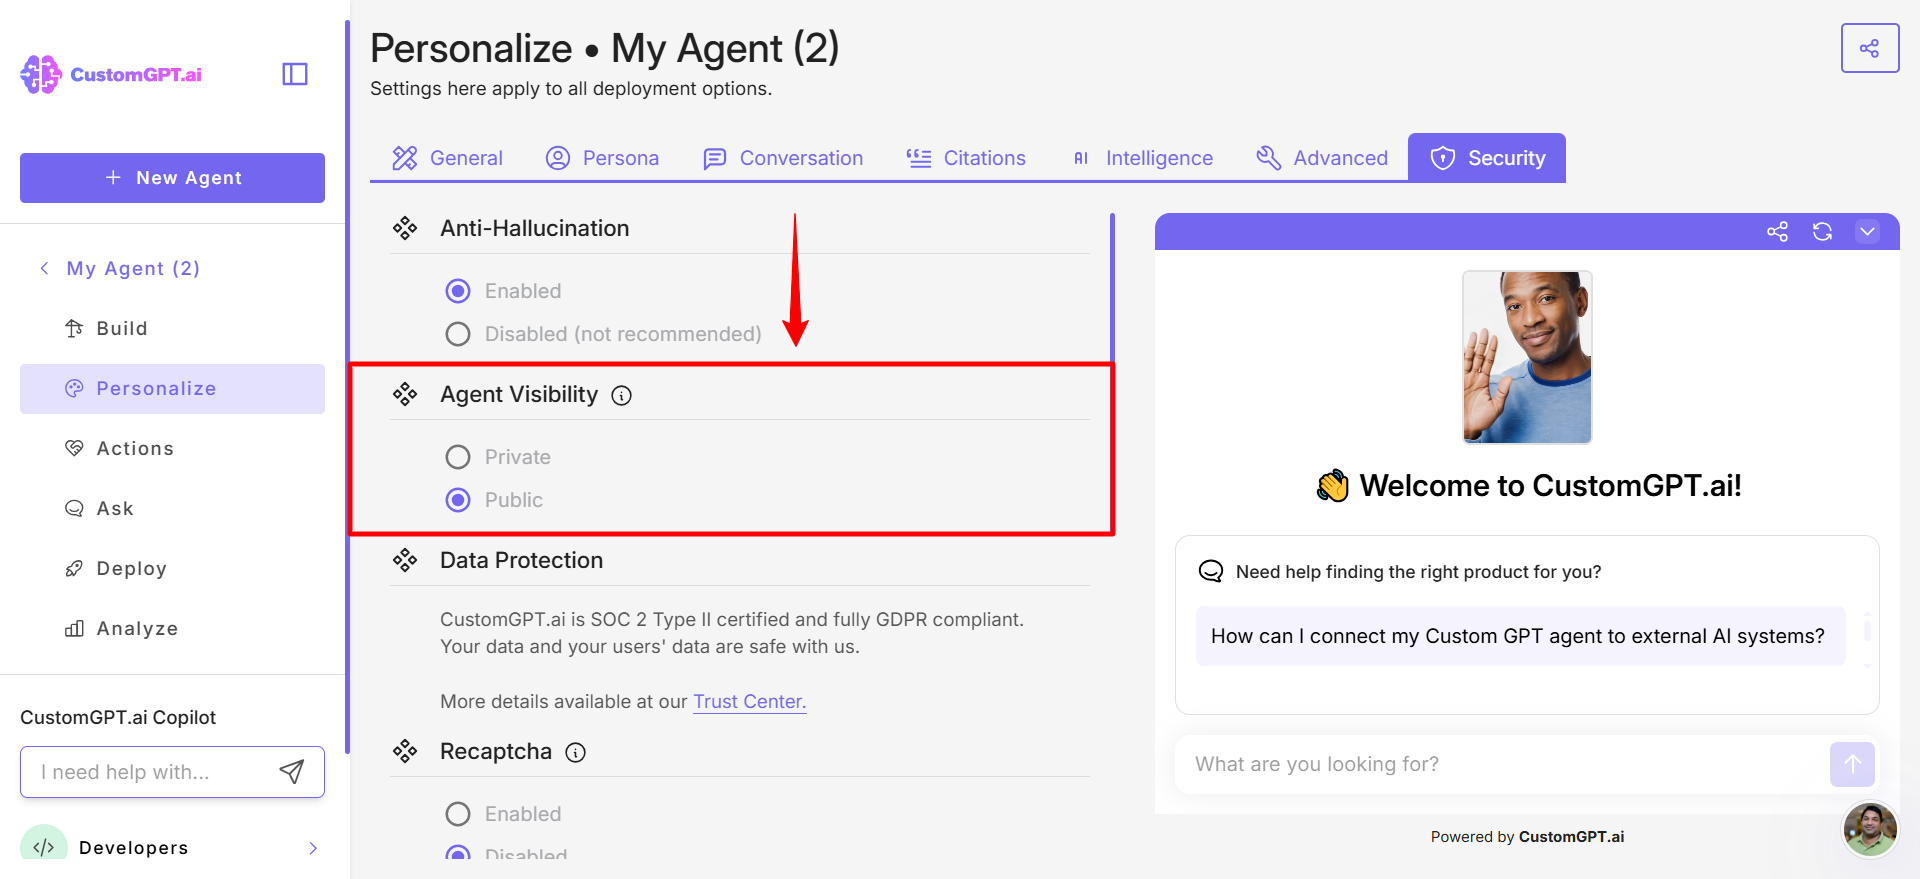
- Sets agent visibility to public – see Configure agent visibility
Note:You can modify any of these settings at any time after assigning the Customer support role.
Updated 6 months ago