Create Chatbot / Project
📜 Steps to Create Your Chatbot / Project!
Create your chatbot by providing a link to your Sitemap or uploading Files/Documents, or even both of the above.
Once you have set up your account and completed the subscription process, you can proceed with the following steps to create your chatbot/project:
Enter Your Sitemap
To create your project, you have the option to enter the sitemap of your website or your even your custom sitemap. This enables you to include the specific links you want CustomGPT to index and utilize the content from.
If you don't have a sitemap, please see this helpful blog post for various free tools to create your own custom sitemap.
To create a project using the Sitemap method, follow the steps below:
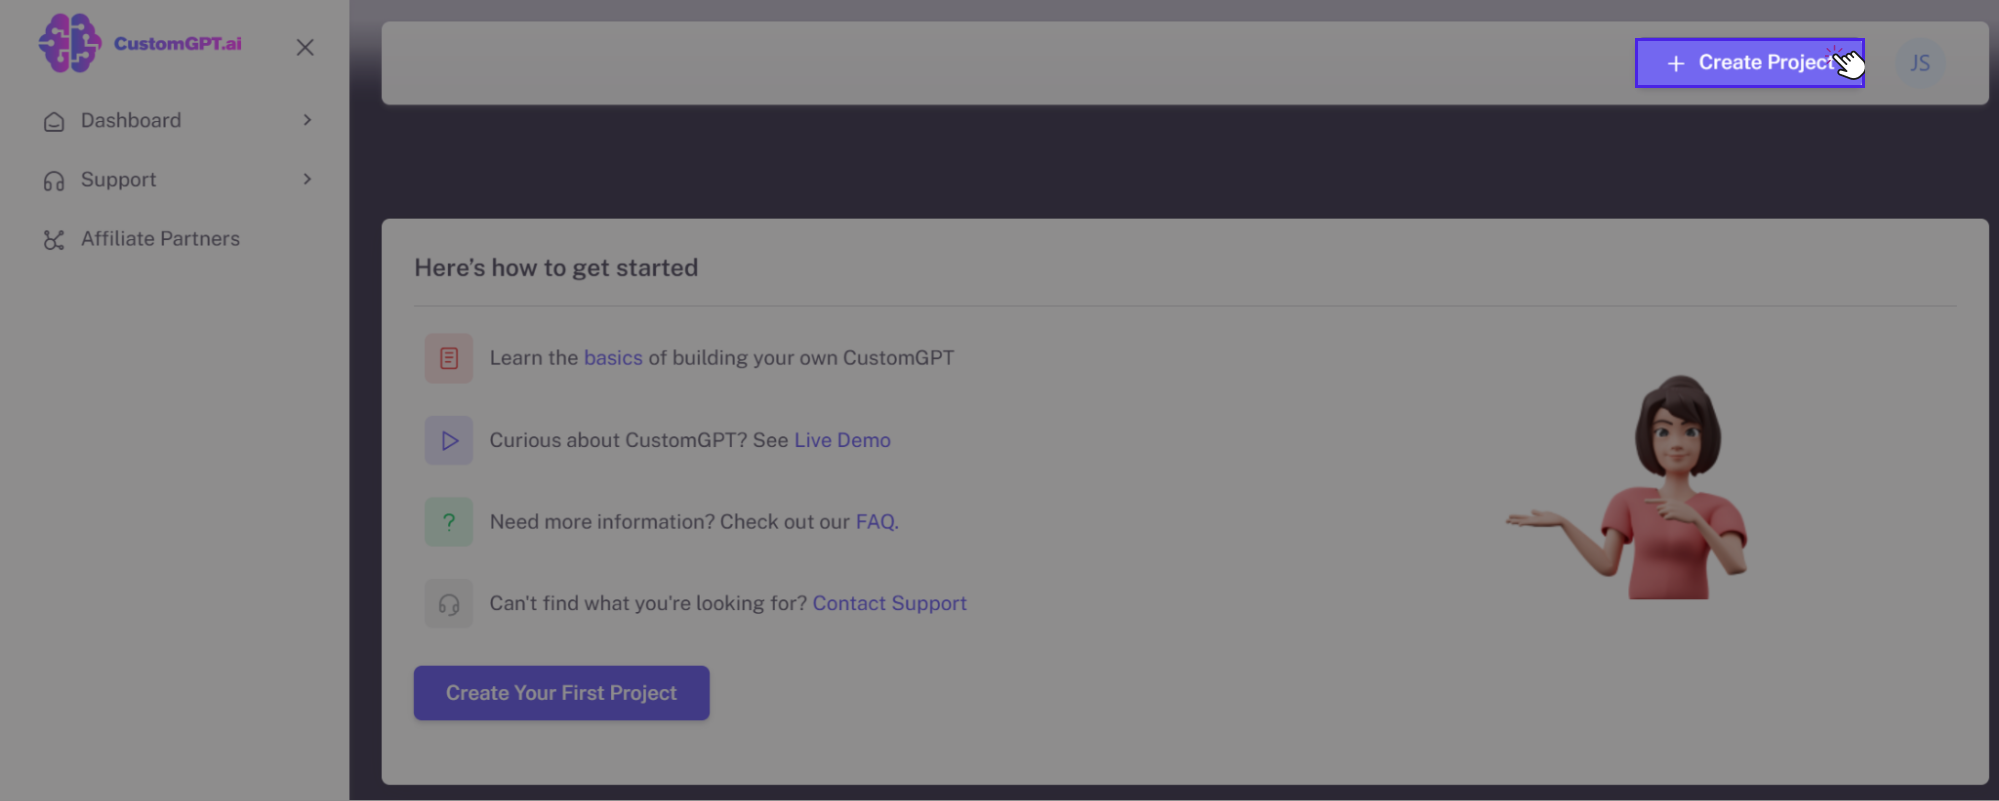
- On your dashboard, locate the "Create Project" button positioned on the top-right side of your screen. Click on it.
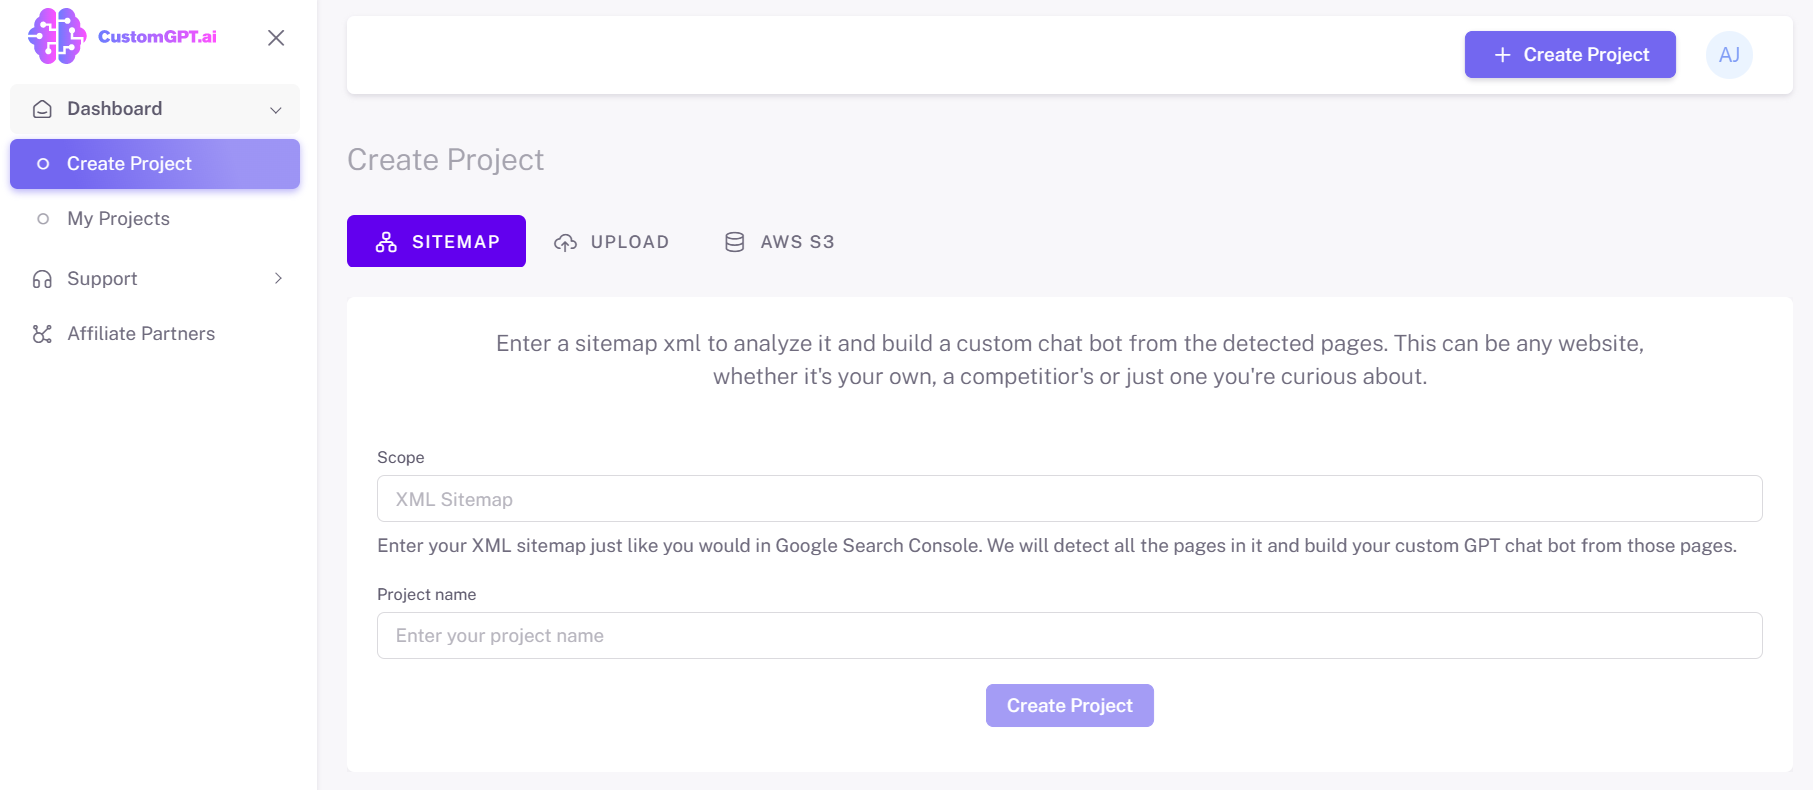
- By default, you will be automatically redirected to the **"SITEMAP"**tab.
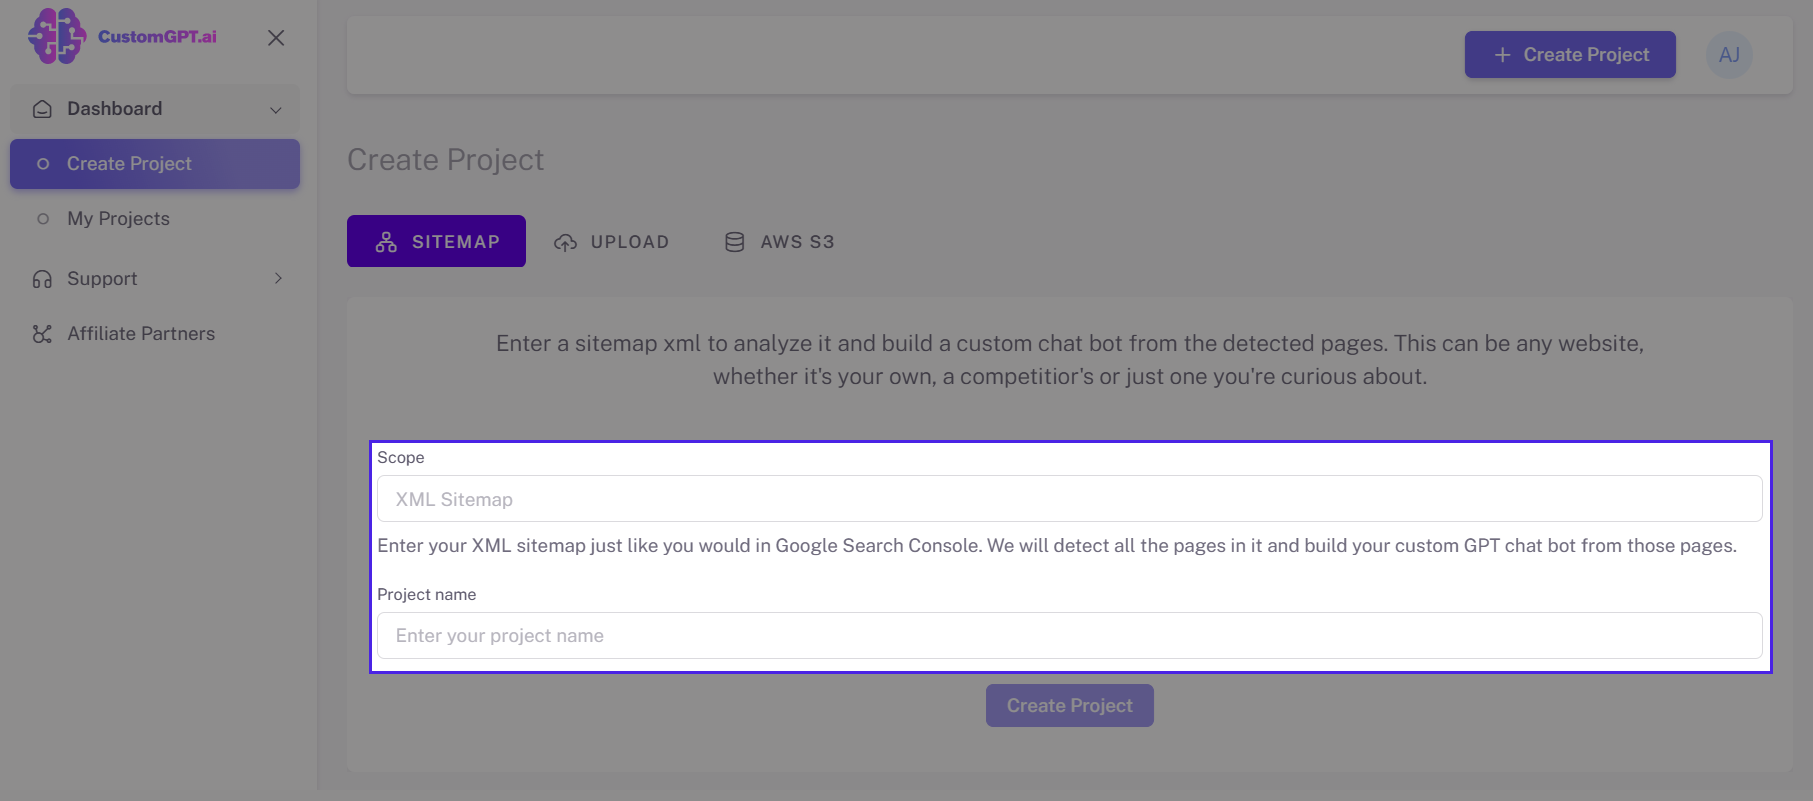
- Enter your website Sitemap link and the Project's name.
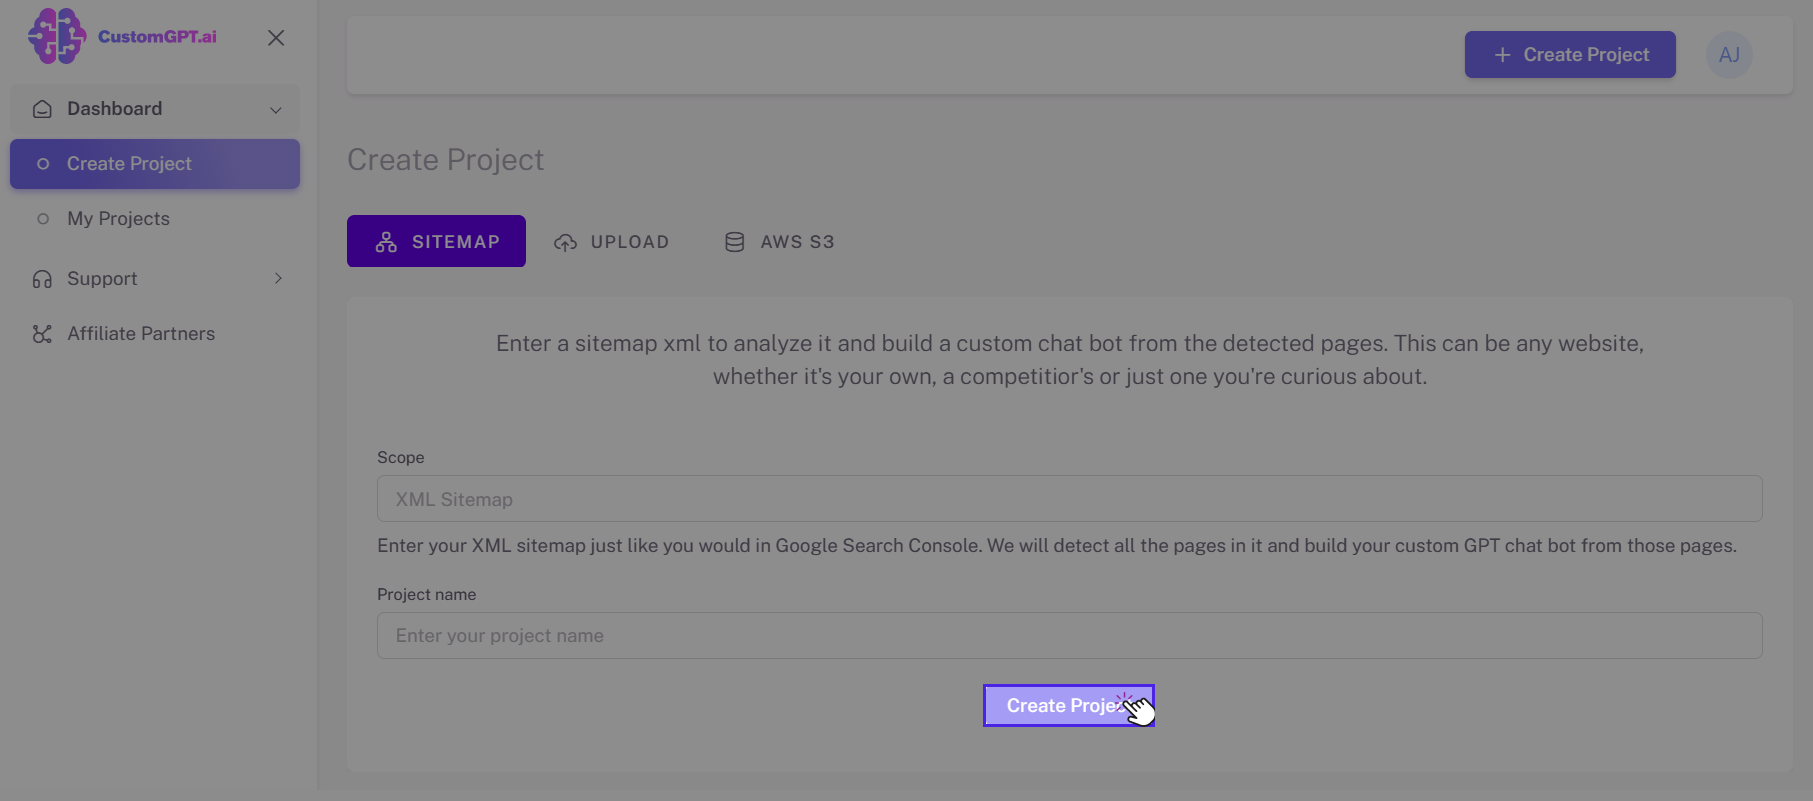
- Click the Create Project button to confirm the project creation.
Congratulations on successfully creating your CustomGPT Chatbot/Project using the Sitemap method. ✅
Upload Files / Documents
With CustomGPT, you can effortlessly upload multiple files at once, including 1400 popular formats like PDF, Microsoft Office files, Google Docs, Text files and Audio/Video files. All uploaded documents are encrypted and processed securely.
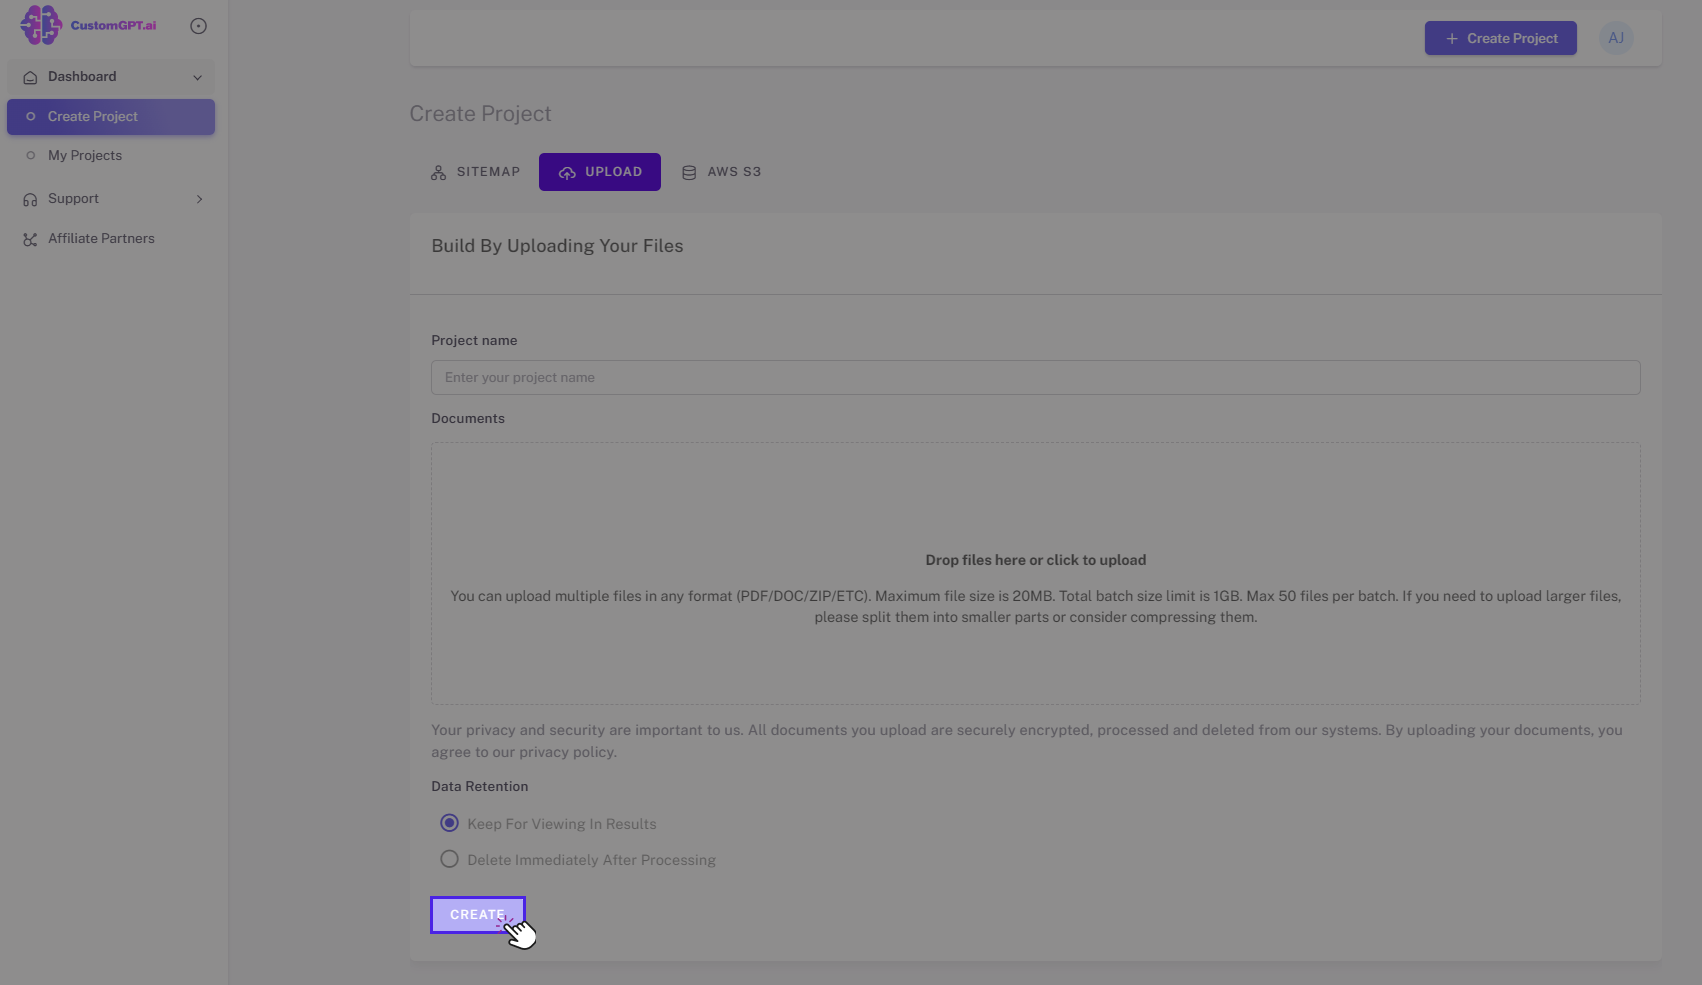
To create a project by uploading files method, follow the steps below:
- On your dashboard, Click Create Project button on the top-right side of your screen.

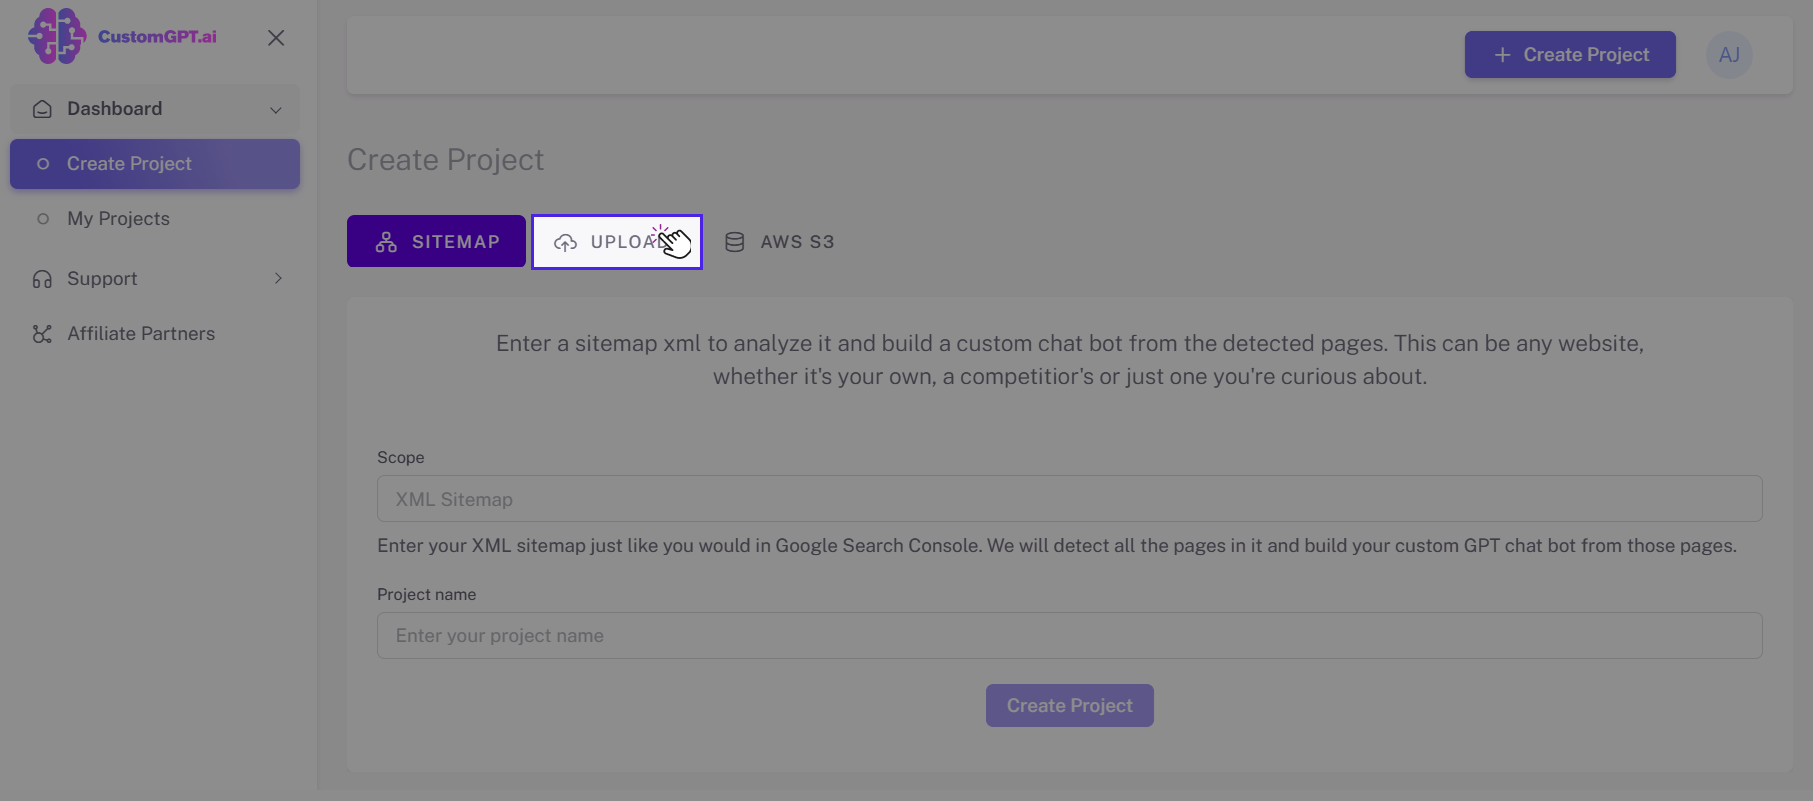
- By default, you will be redirected to the Sitemap tab, select the UPLOAD tab.
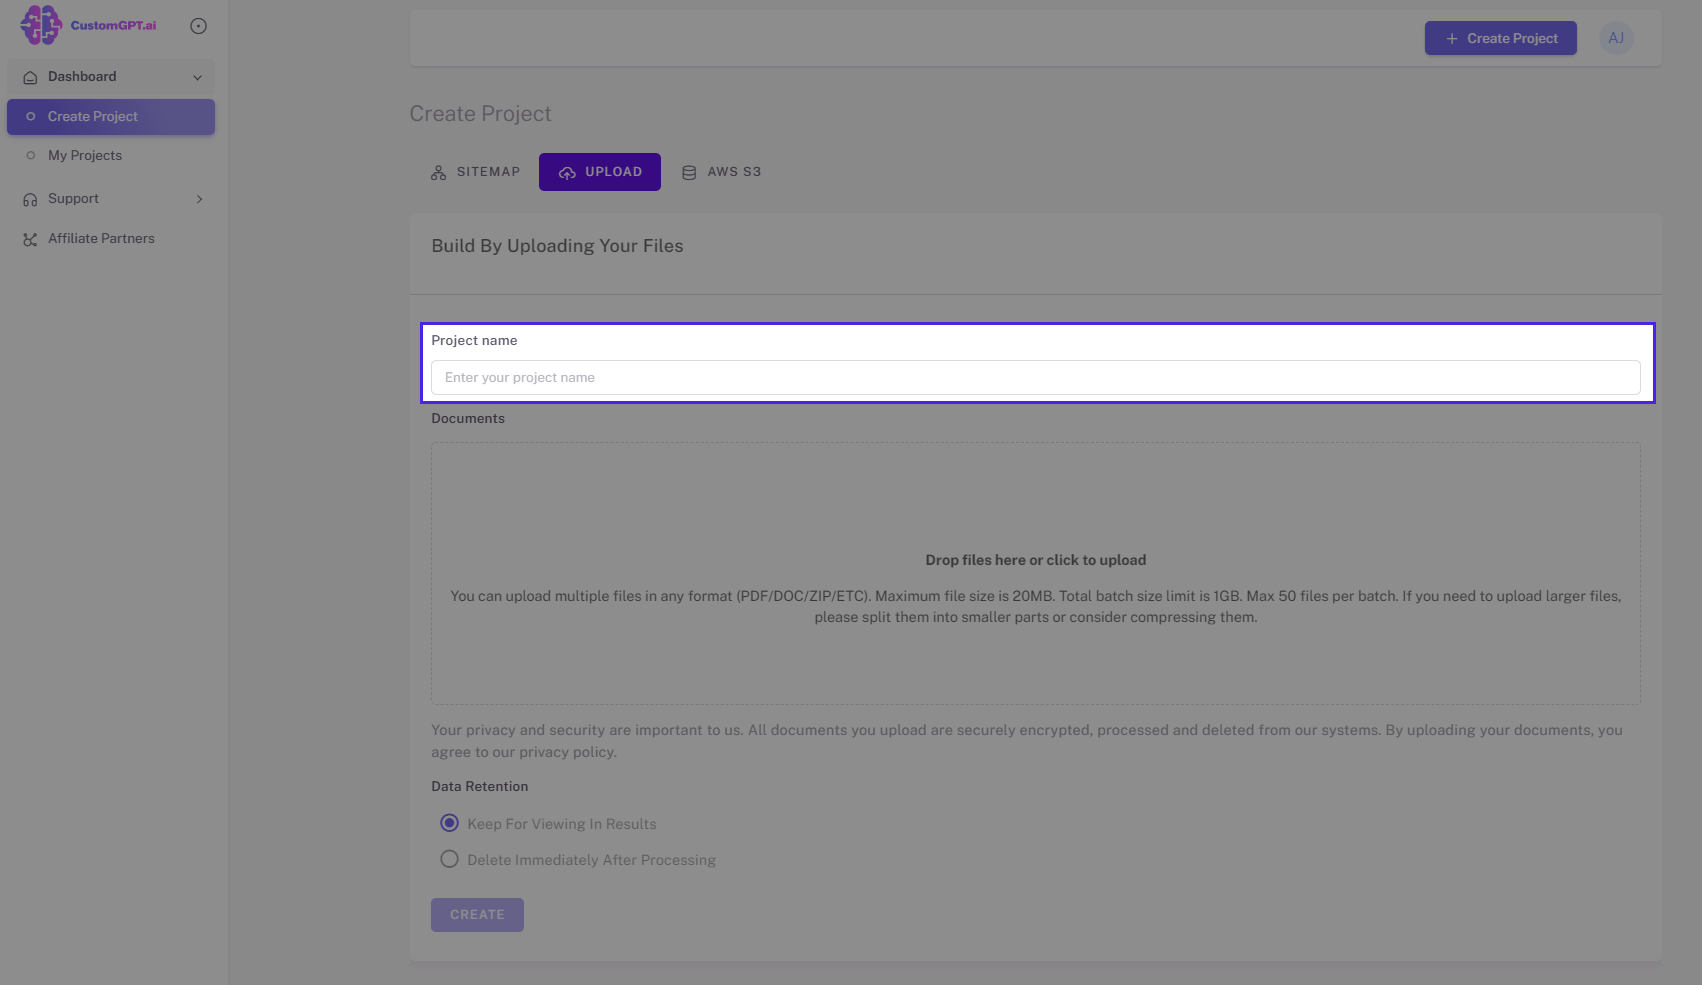
- Enter the "Project Name".
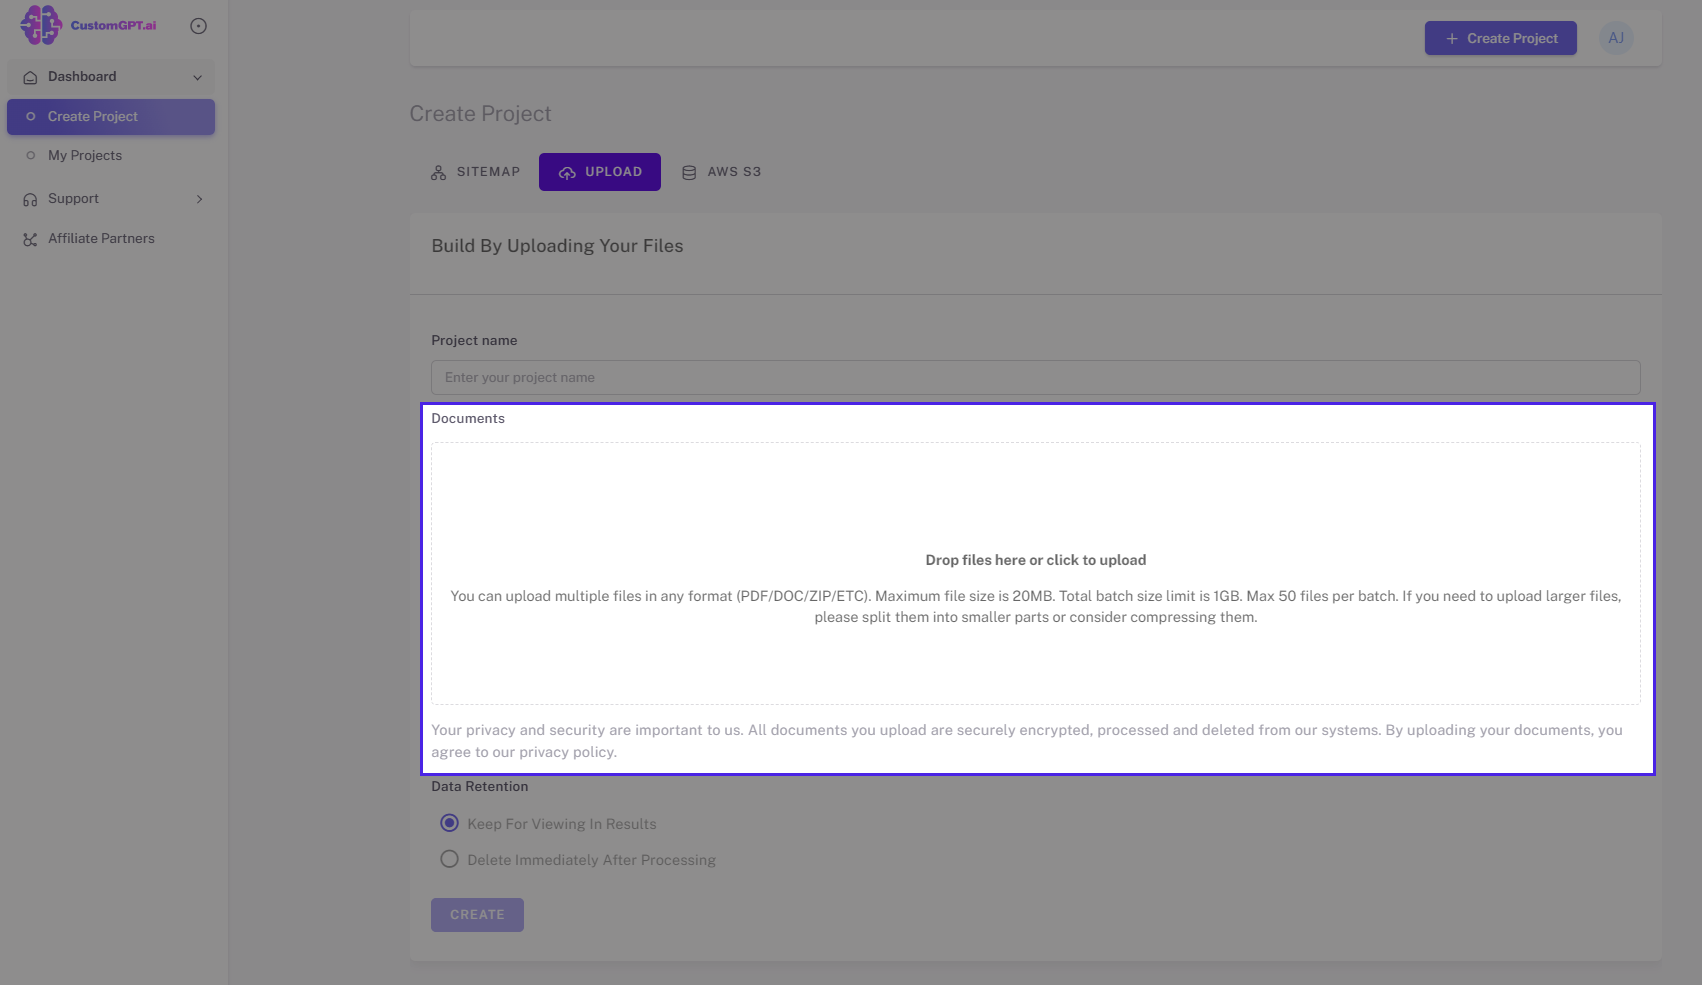
- Upload your files / documents by clicking on the section which says "Drop files here or click to upload".
Note:When uploading files, please keep in mind the following limitations:
i. The maximum file size for any individual file is 100MB.
ii. The total limit for the size of files that you can upload in a single batch is 1 GB, with a maximum of 50 files.
iii. If you have larger files to upload, we recommend splitting them into smaller parts or considering compression to ensure they fit within the specified limits.
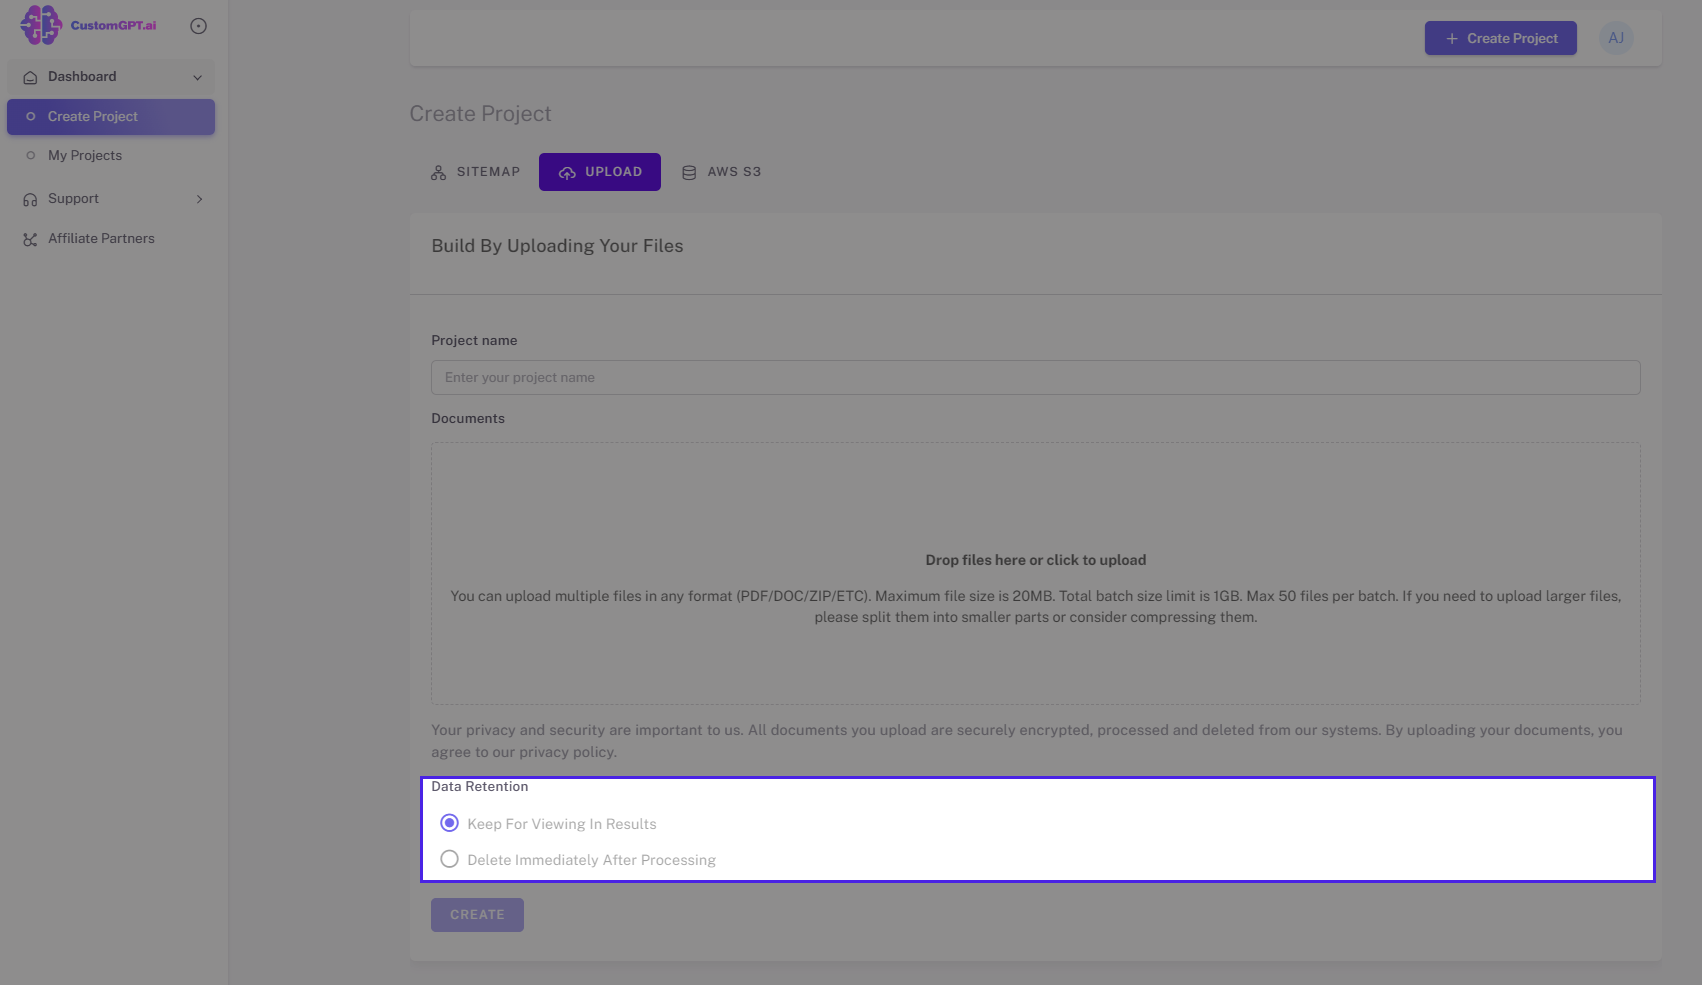
- Select the data retention option that you want. You can choose to "keep the files for viewing in results" or "delete immediately after processing".
Tip: If extra security is a concern for your documents, you should select the "Delete Immediately After Processing" option. This deletes the files from our systems immediately after they are processed and indexed.
- Click "Create" to confirm the project creation.
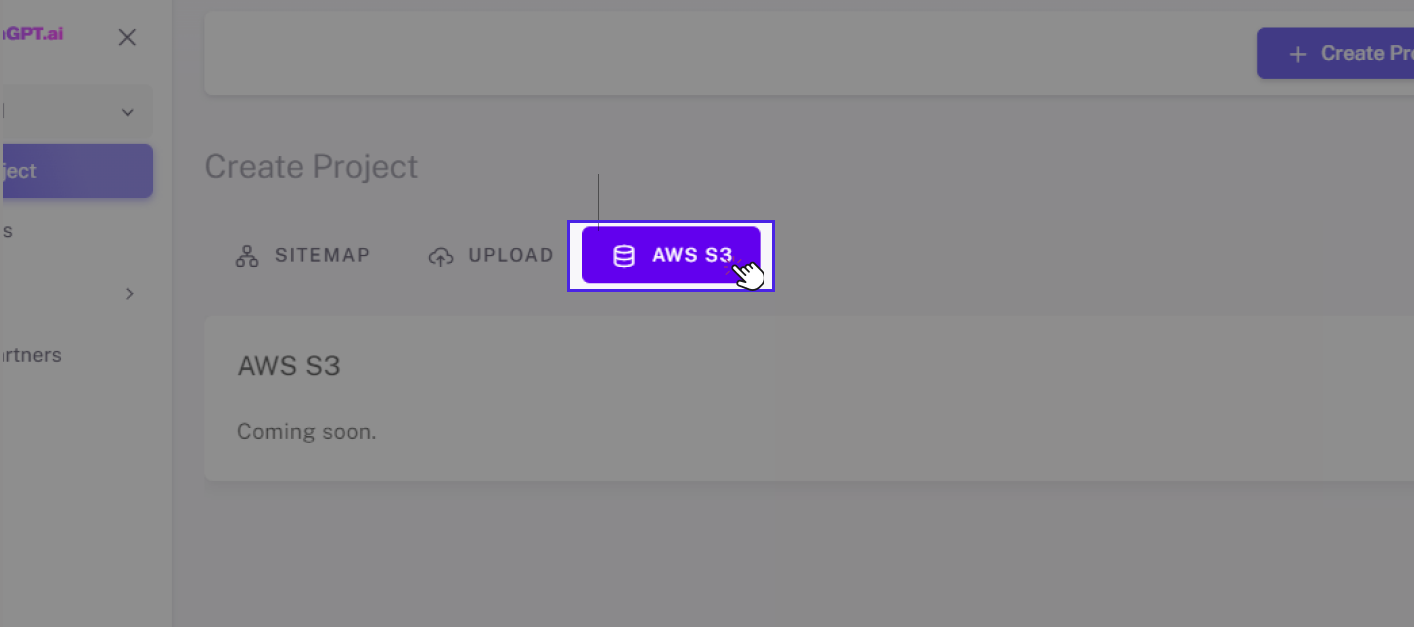
AWS S3
Using this option, CustomGPT can securely ingest your documents with end-to-end encryption. The documents sit encrypted-at-rest in your AWS VPC.
🔜 Coming soon!
We're excited to share that an AWS S3 option for creating projects will be available soon!
Congratulations on successfully creating your CustomGPT Chatbot/Project using files/documents. ✅
Updated 12 months ago
