Customize the information you want to capture
This guide explains how to define what information your agent should collect through the Lead Capture feature.
What is Lead capture configuration?
The Lead capture configuration option lets you decide exactly which details your agent should gather during conversations.
By default, the agent collects common contact fields such as Name, Email, Phone number, and Company.
You can extend this by adding up to 10 custom fields, allowing your agent to capture information specific to your business — like Job title, Budget, or Project type.
At any time, you can have up to 8 active fields, combining defaults and customs in any way you prefer. Default fields can also be turned off entirely if you only want to use custom ones.
Why configure lead fields
Configuring which information your agent collects helps you focus on what matters most for your business.
With Lead Capture configuration, you can:
- Capture details that align with your CRM or marketing goals.
- Simplify data exports by including only relevant fields.
- Exclude unnecessary fields to keep your lead data clean.
- Collect richer, more actionable information for every contact.
- Export leads in a predictable format.
- Agent will know exactly what it needs to ask for, and what to look for in user messages - with no Persona setup required.
Tip:Setting up high-quality lead capture-oriented Persona, for example by defining agent's style, personality and purpose, may still contribute greatly to the amount and quality of leads your agent will collect!
How to configure lead capture
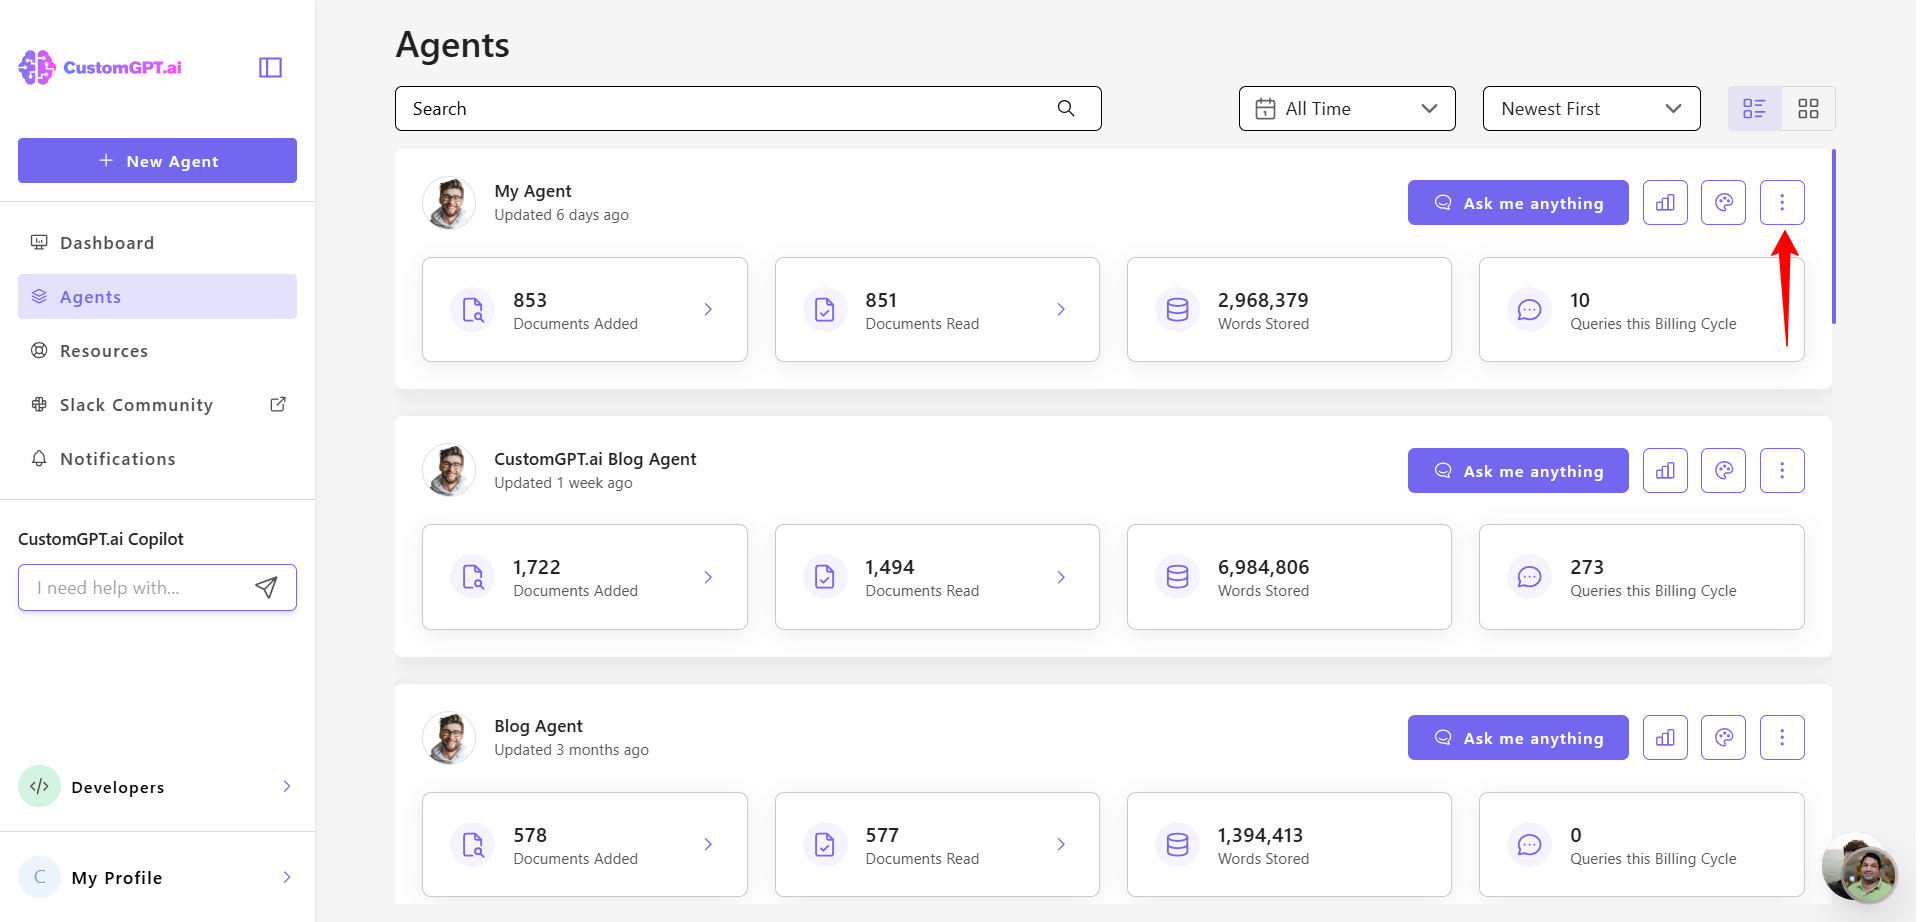
- In your CustomGPT.ai dashboard, click the three dots (⋮) next to your agent’s name.
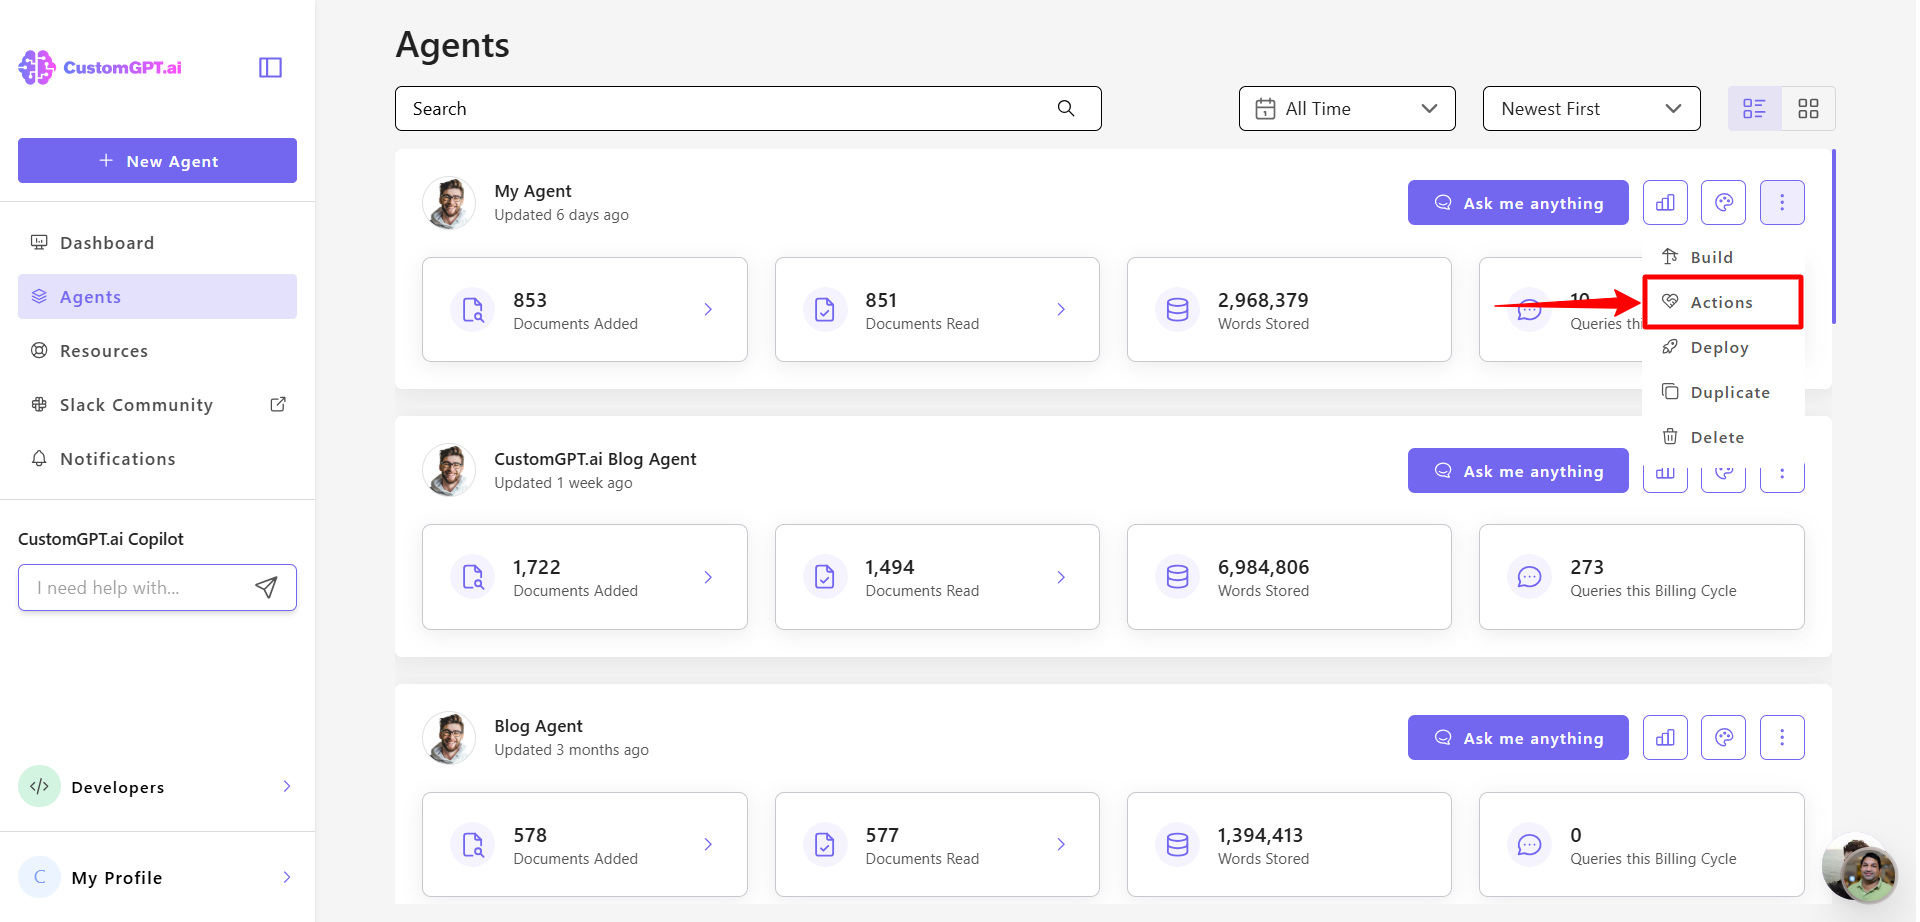
- Select Actions from the dropdown menu.
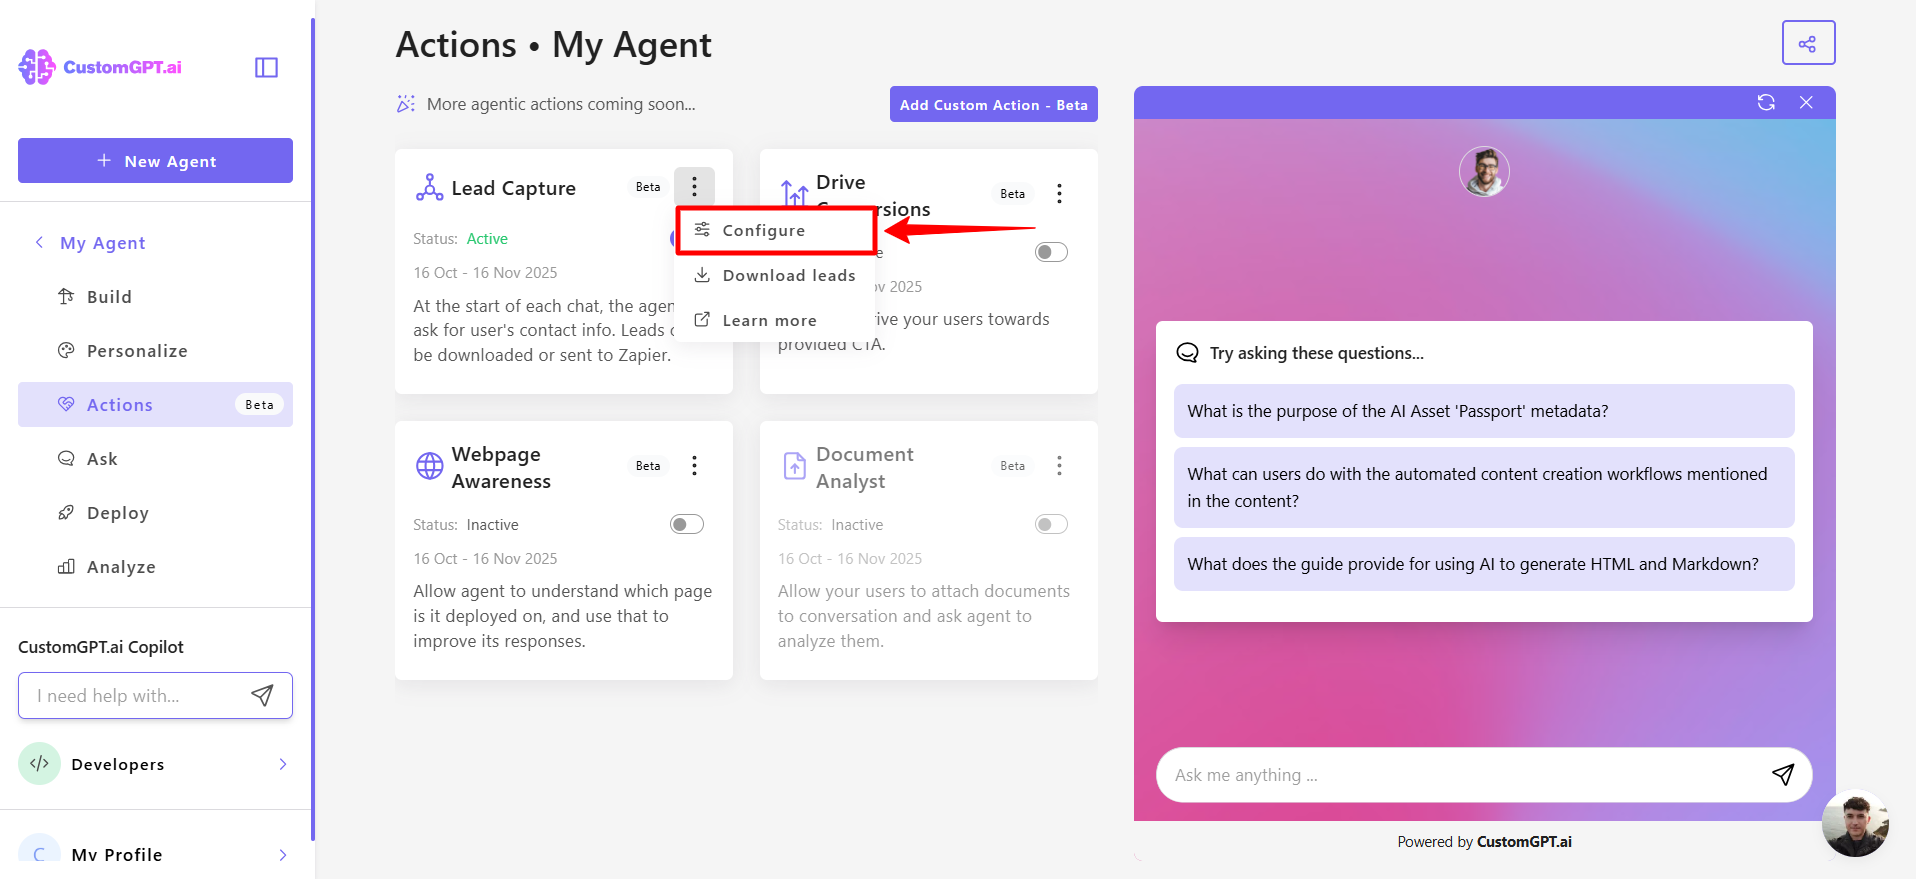
- In the Lead Capture section, click the three dots (⋮) and select Configure.
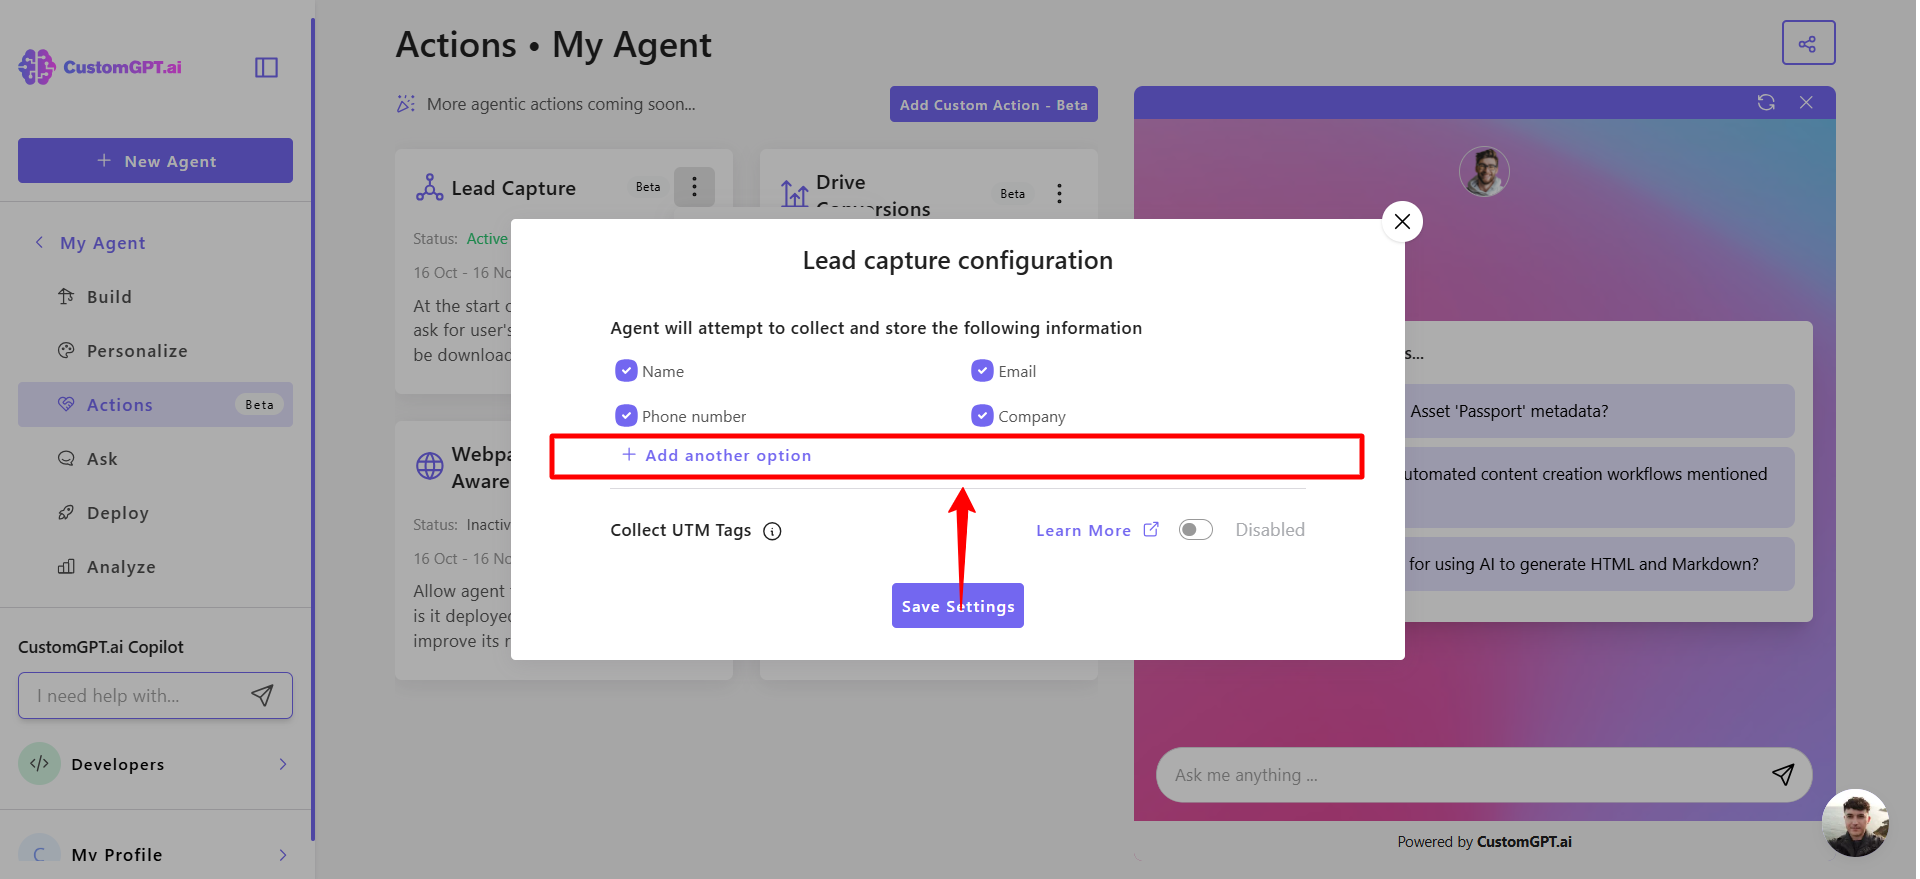
- Review the default fields and click any field you want to enable or disable.
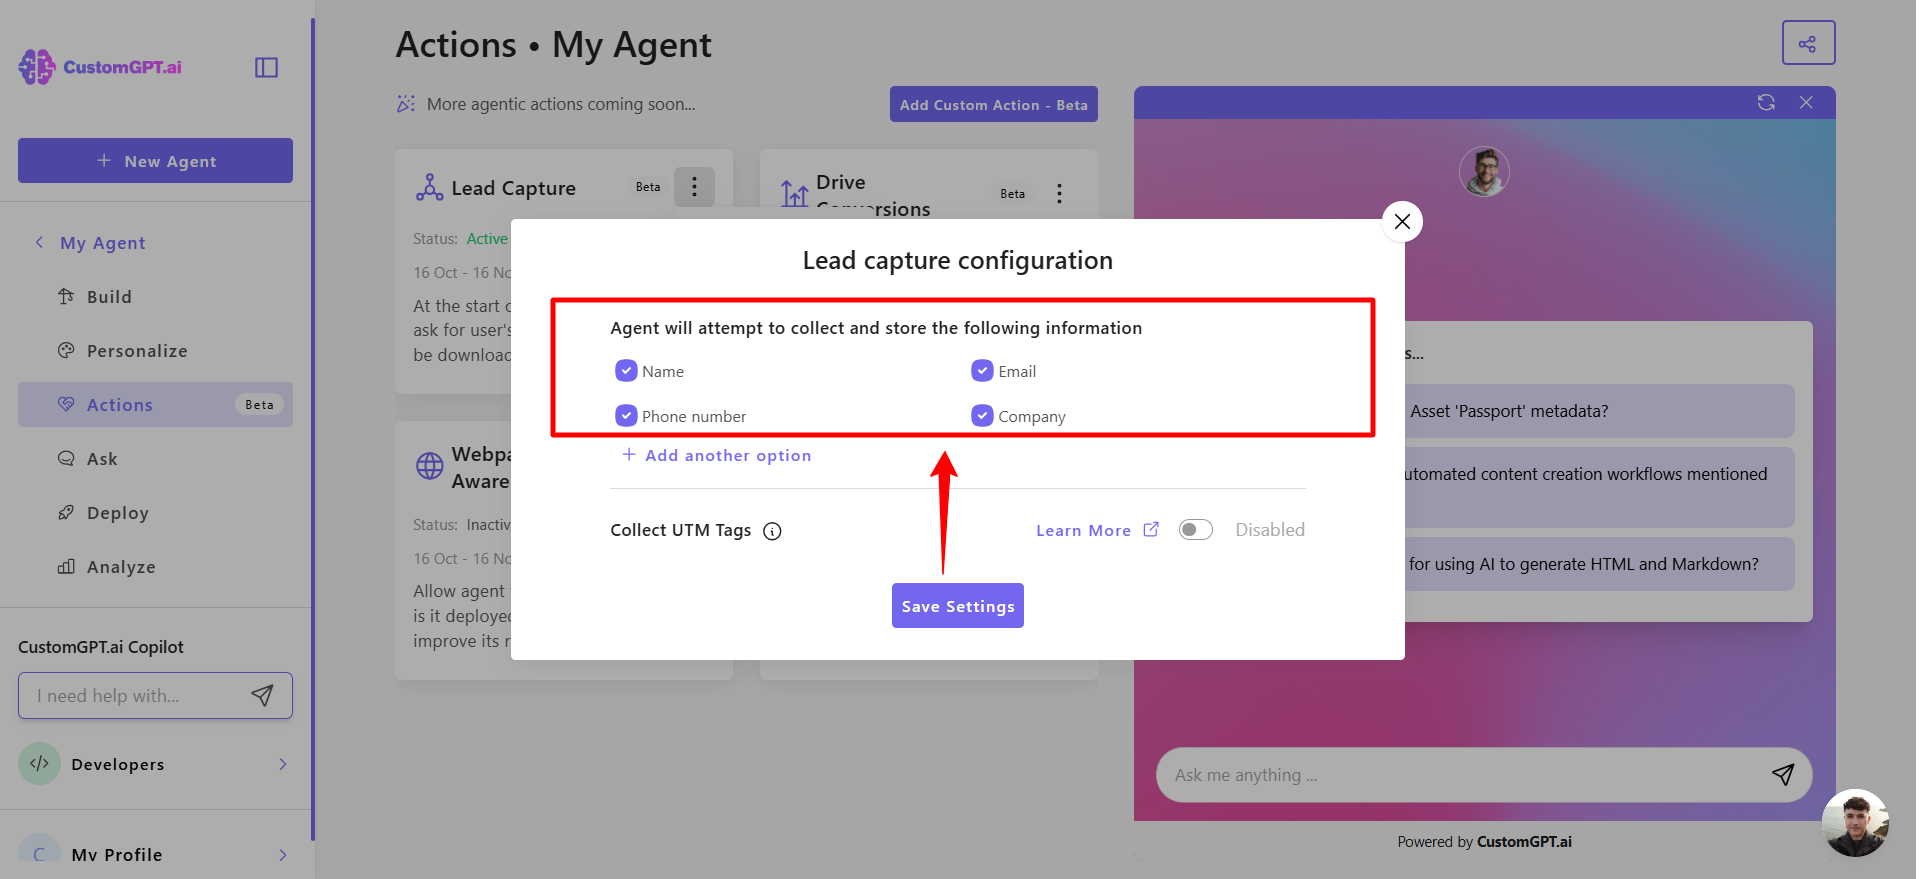
- Click Add another option to create additional fields (up to 10).
Note:Make sure the total number of active fields (default + custom) does not exceed 8.
- Enter the name of the custom field you want to add.
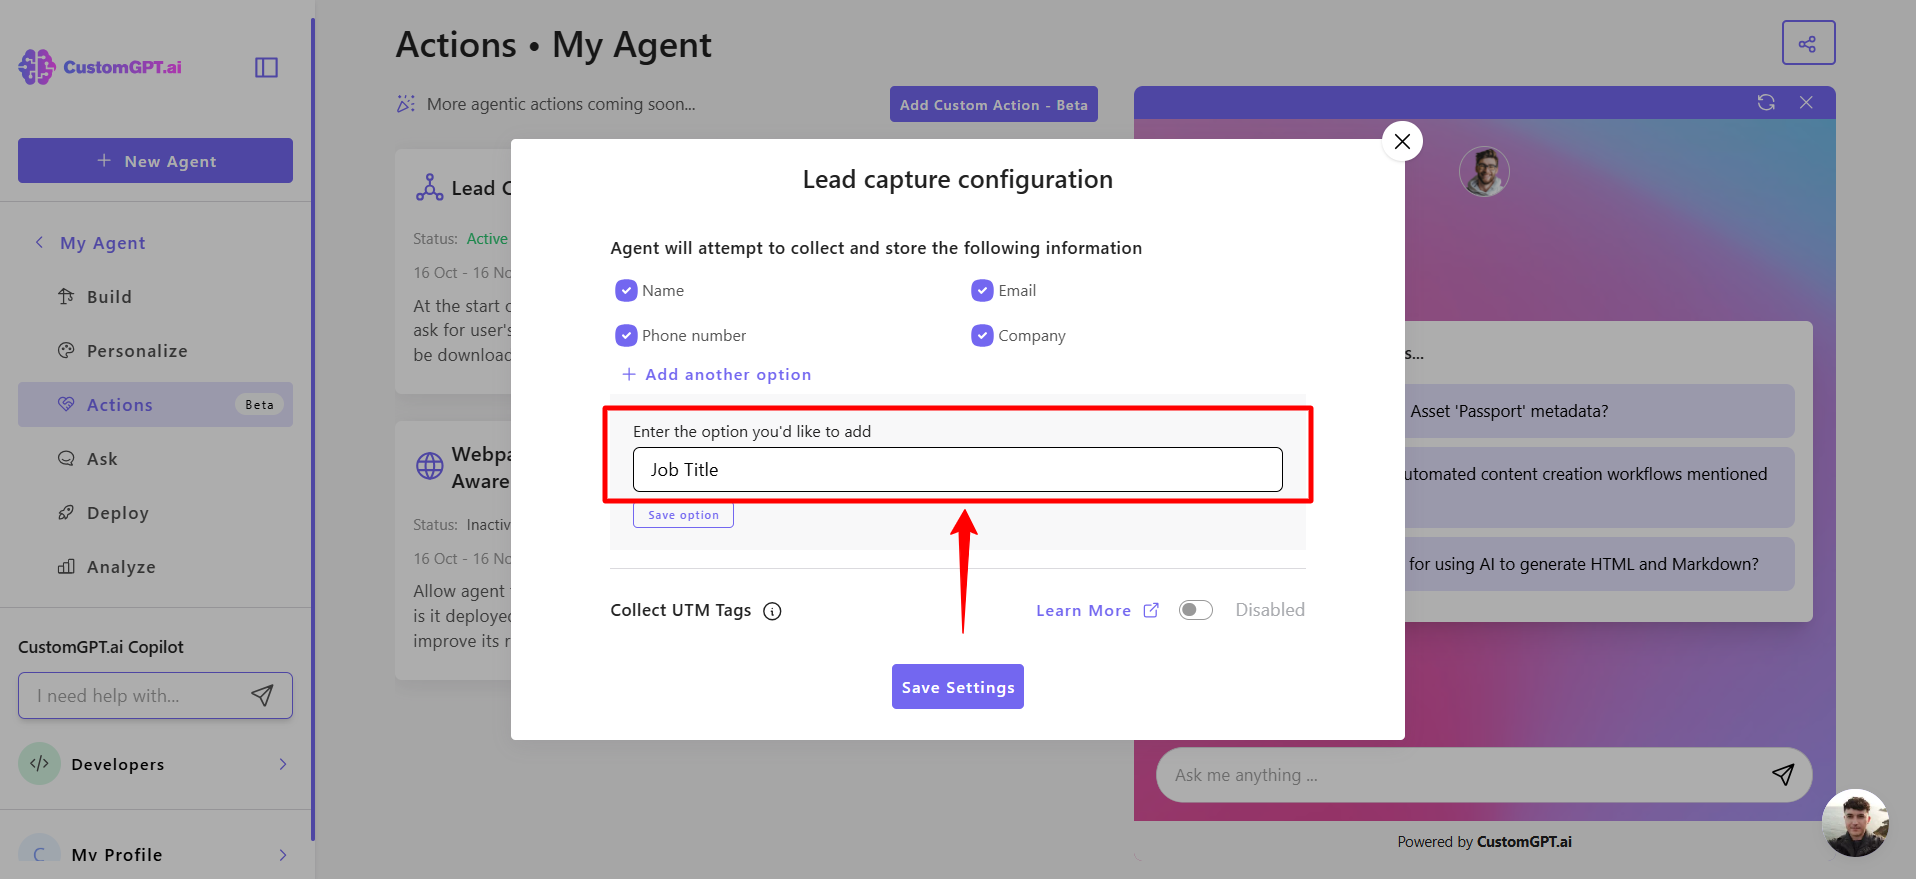
- Click Save options to confirm.

- Click Save settings to apply all changes.

Note:All captured information is stored automatically and exported as JSON when downloading or sending leads. To learn more about exporting lead data, see Export captured leads.
Related articles
Updated 9 months ago