Create a new agent using Zapier
What is the Create Agent action?
The Create Agent action allows Zapier to instruct CustomGPT.ai to generate a new agent in your workspace. This means that when a specific event happens in another app (your “trigger”), CustomGPT will automatically create an agent with the name you provide—without any manual setup.
What this does
When executed, this action adds a new agent to your CustomGPT.ai dashboard. You can use it to:
- Automatically create agents with personalized names (e.g., one per customer).
- Launch multiple projects without needing to log into CustomGPT.
- Integrate agent creation into existing tools like CRMs, form tools, or spreadsheets.
The newly created agent will be empty by default and can be updated or configured further using other actions like Update Agent Settings or Upload File.
How to configure this action in Zapier
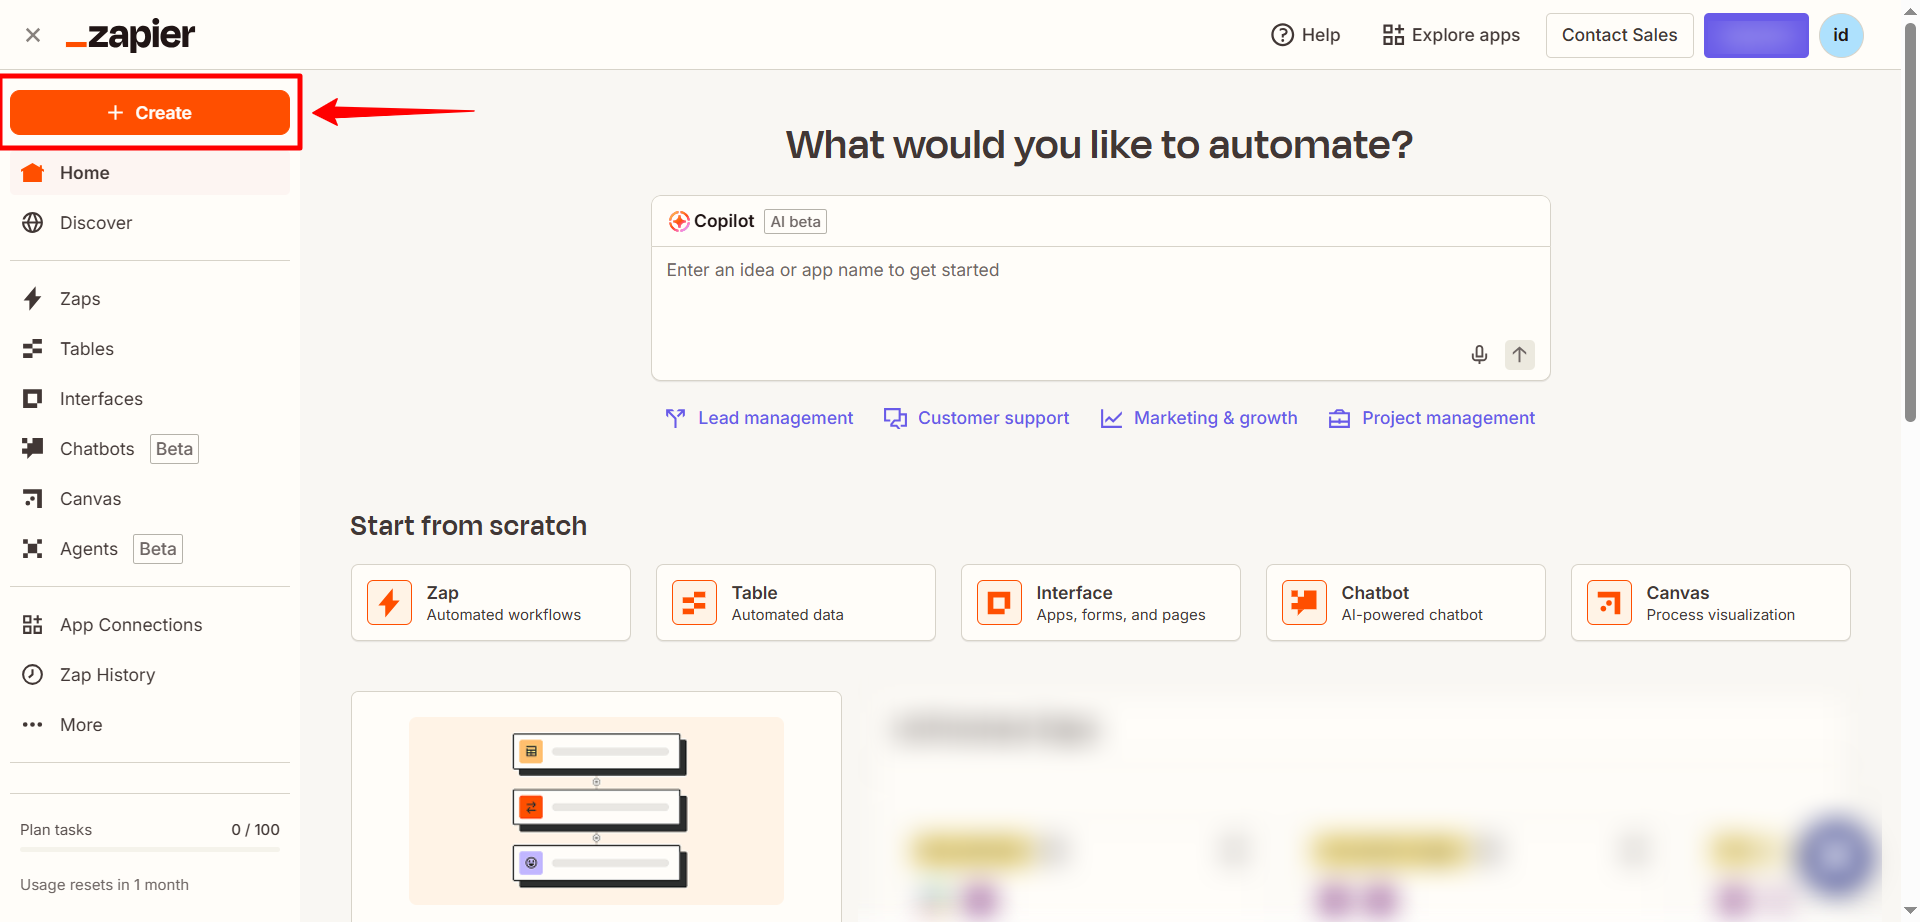
- Log in to your Zapier account and click Create Zap.
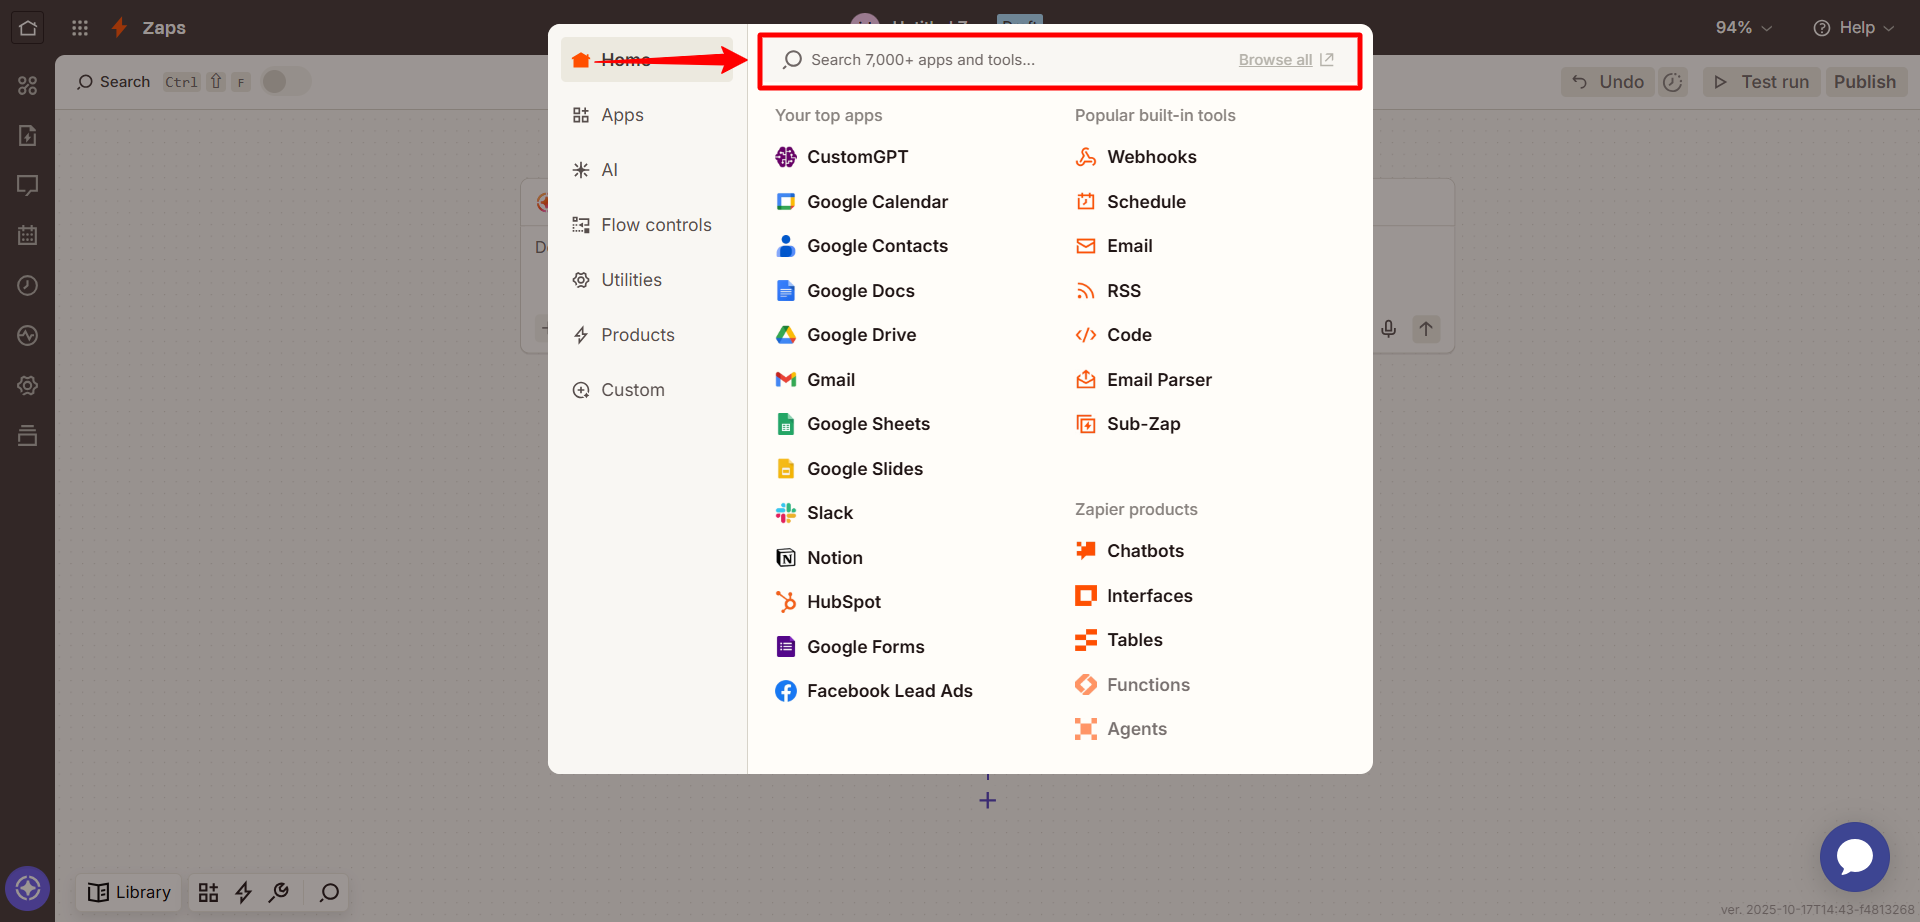
- In the Trigger section, select the app that will start the workflow (e.g., Slack, Google Drive, orany supported Zapier app trigger. ).
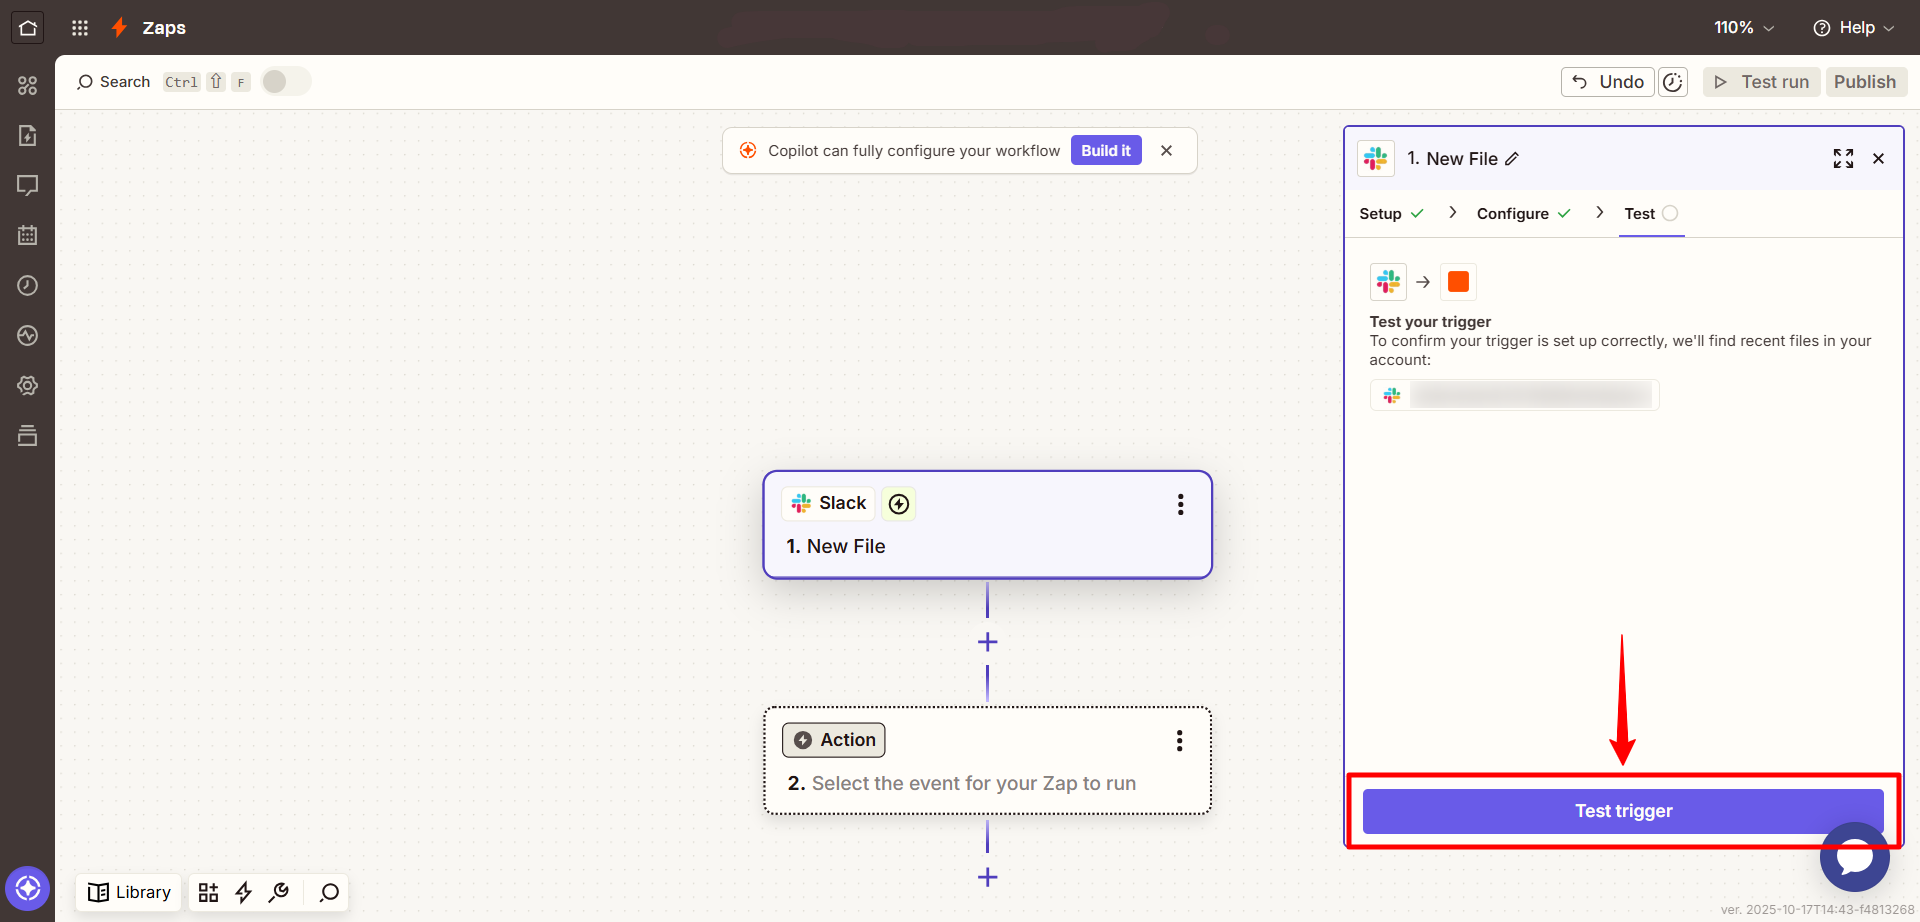
- Choose a trigger event such as New file, New message, or Form submission and test the trigger to make sure it’s working correctly.
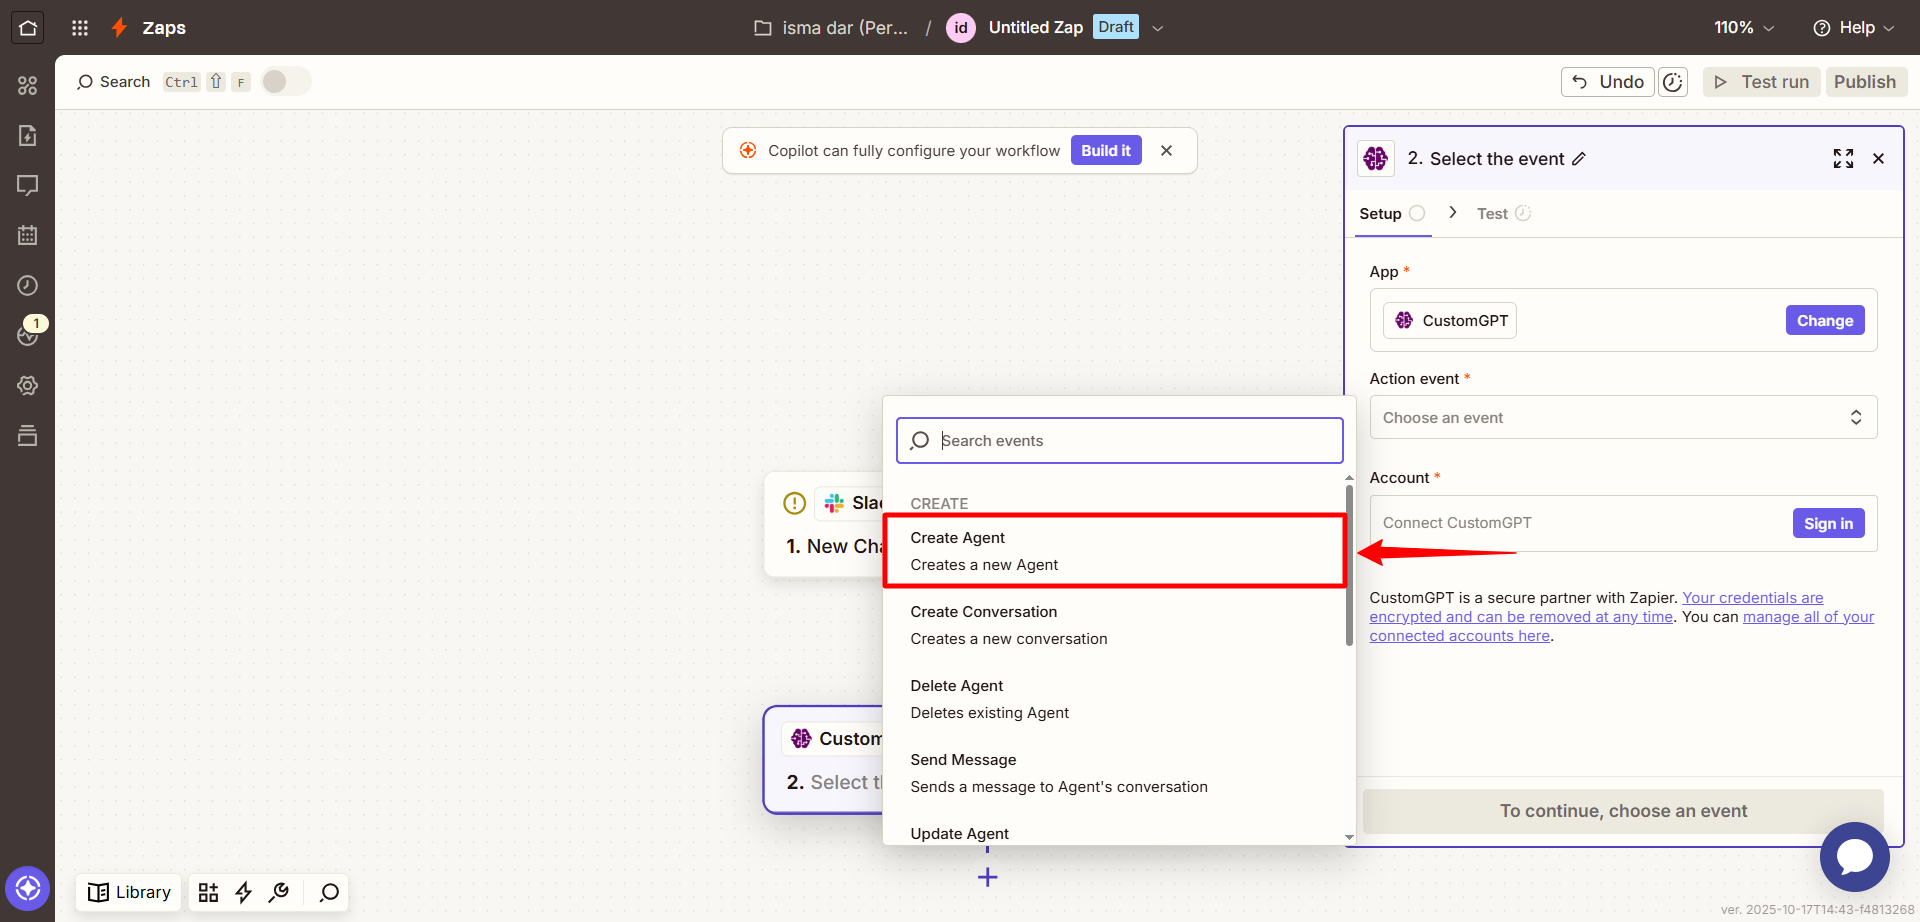
- In the Action step, search for CustomGPT.
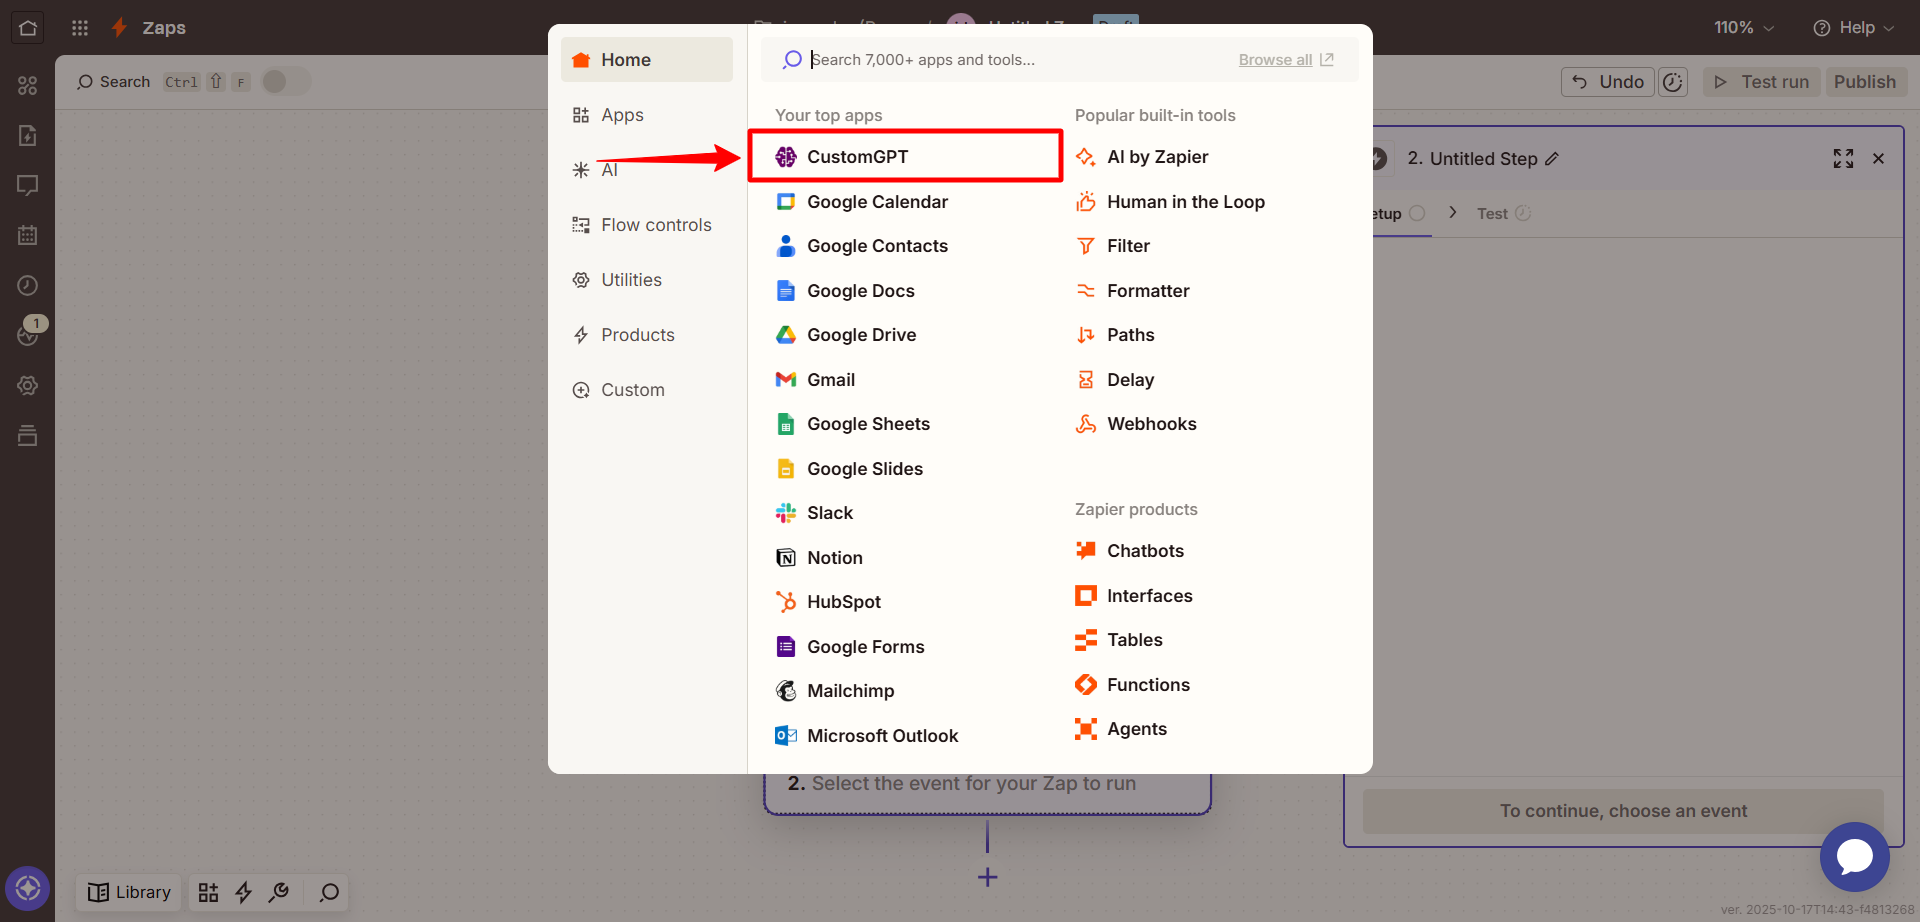
- Choose the Create Agent action from the list.
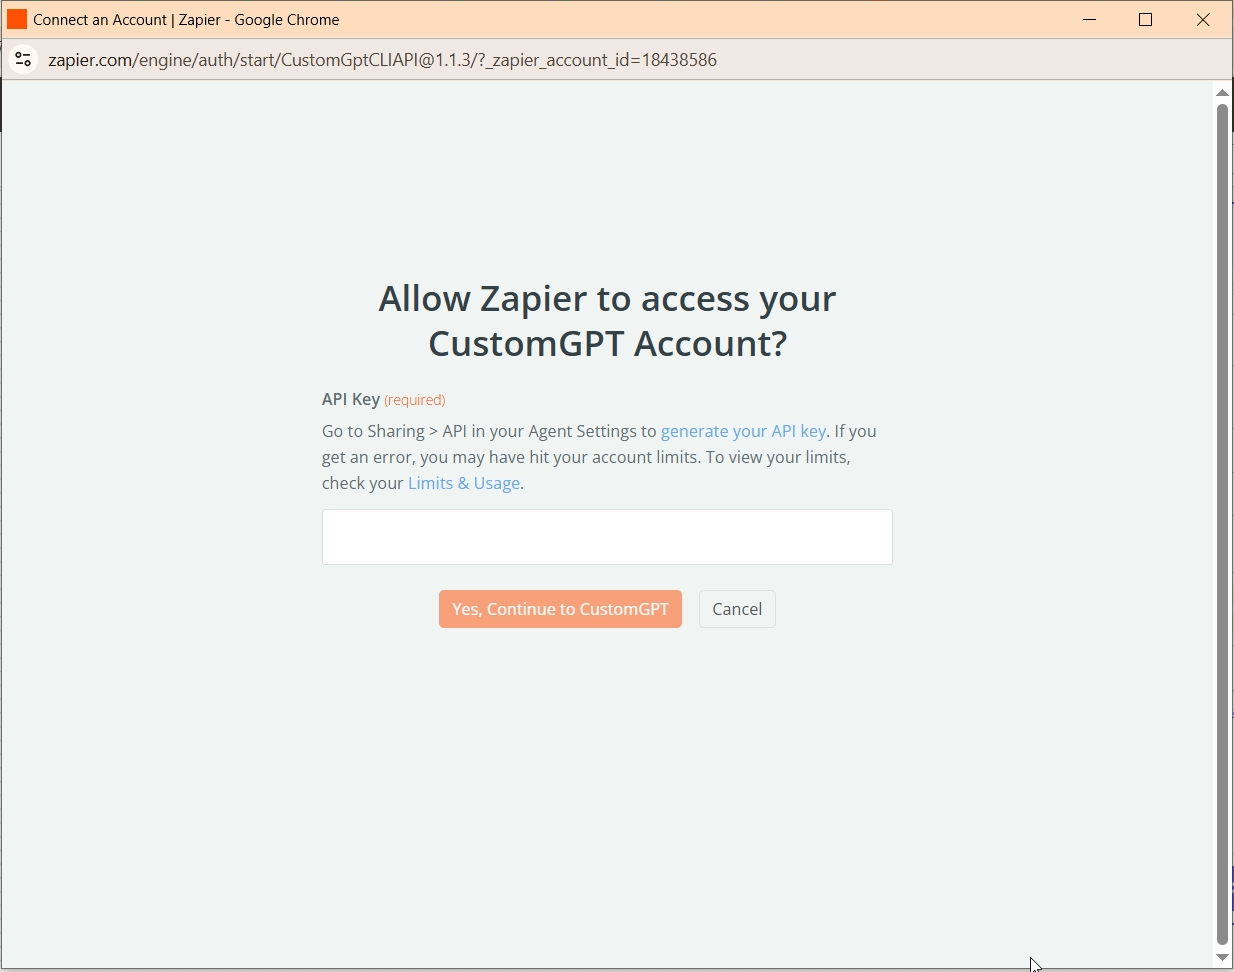
- When prompted, sign in to CustomGPT by clicking Sign In and entering your API key. To get your API key, see the API Key Guide .
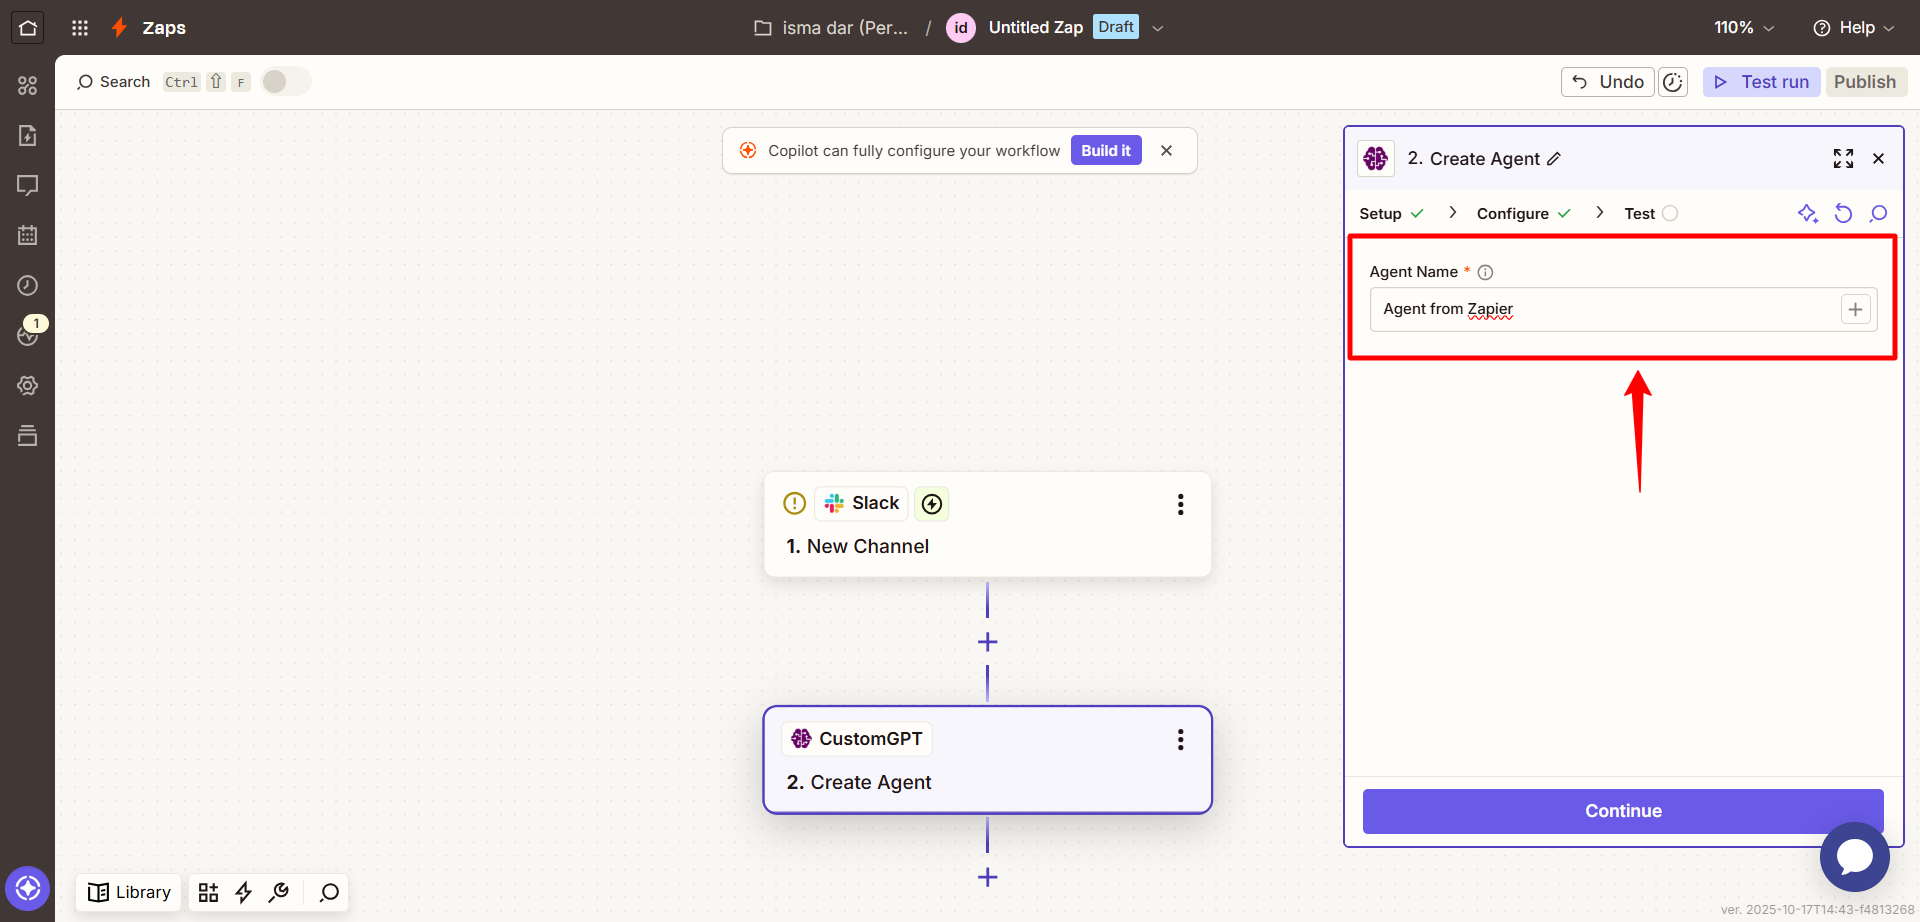
- Under Set up action, you’ll see a field labeled Agent Name. Provide a static name (like “MarketingBot”) or dynamically map the name from your trigger app (e.g., the full name of a form submitter).
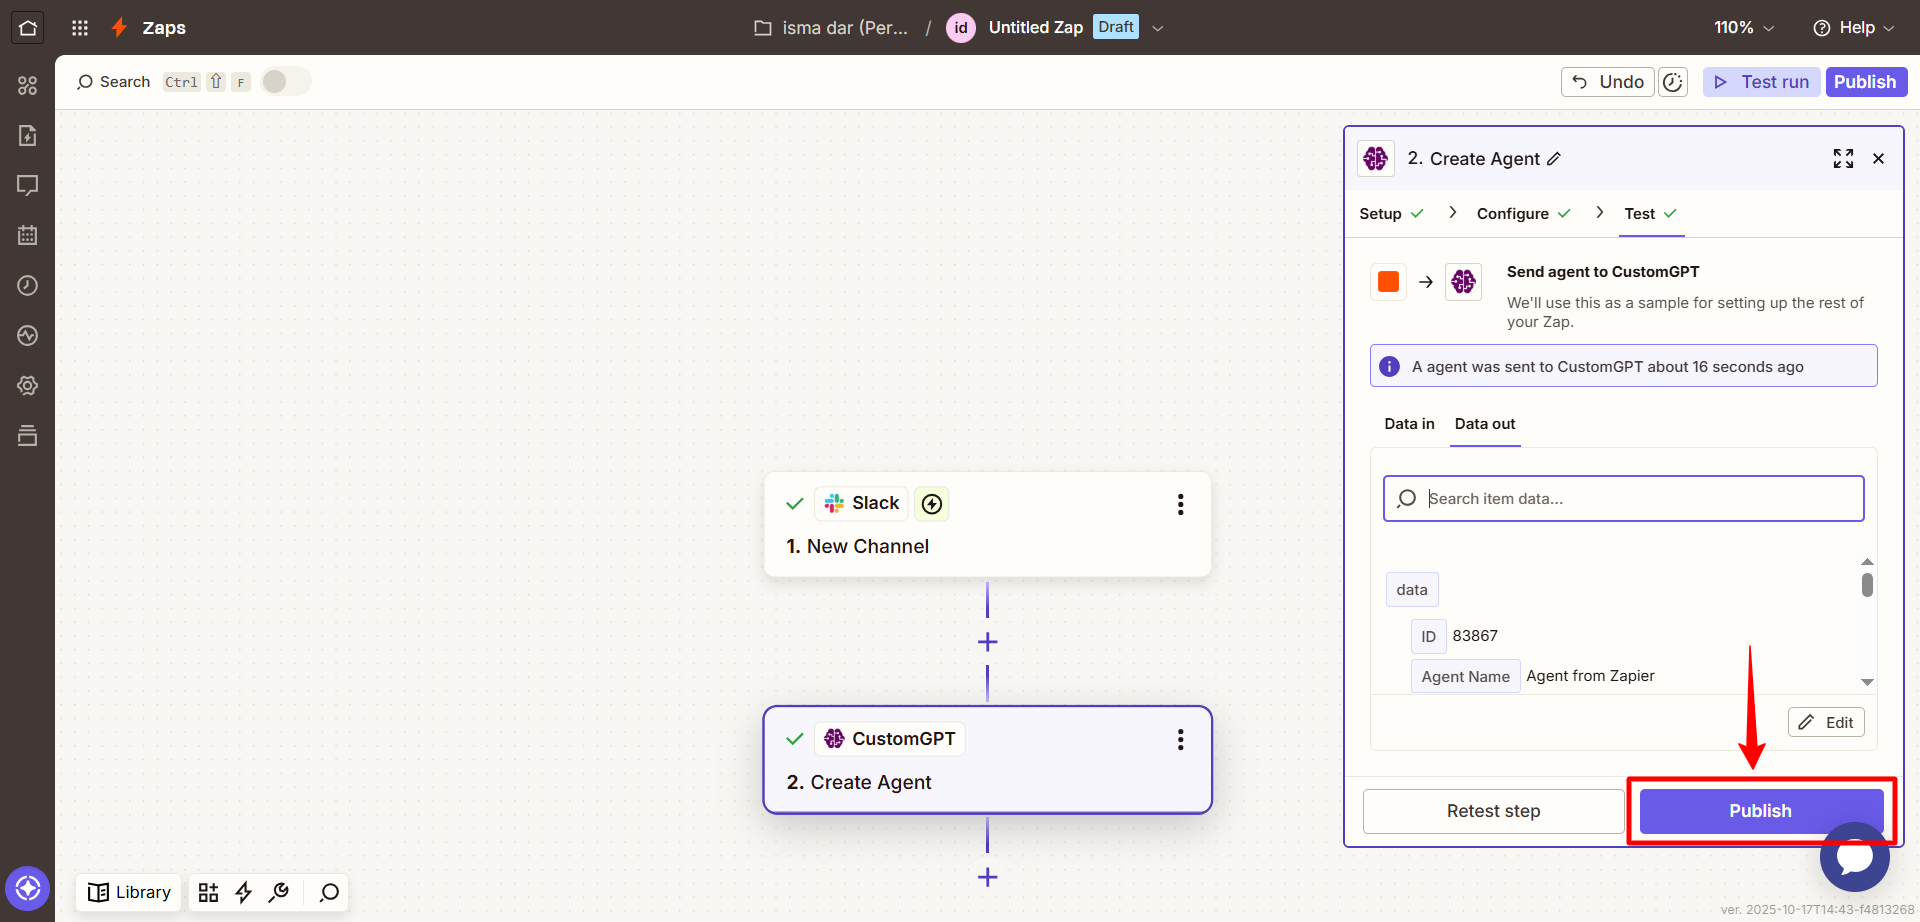
- Click Test to verify that the agent is successfully created.
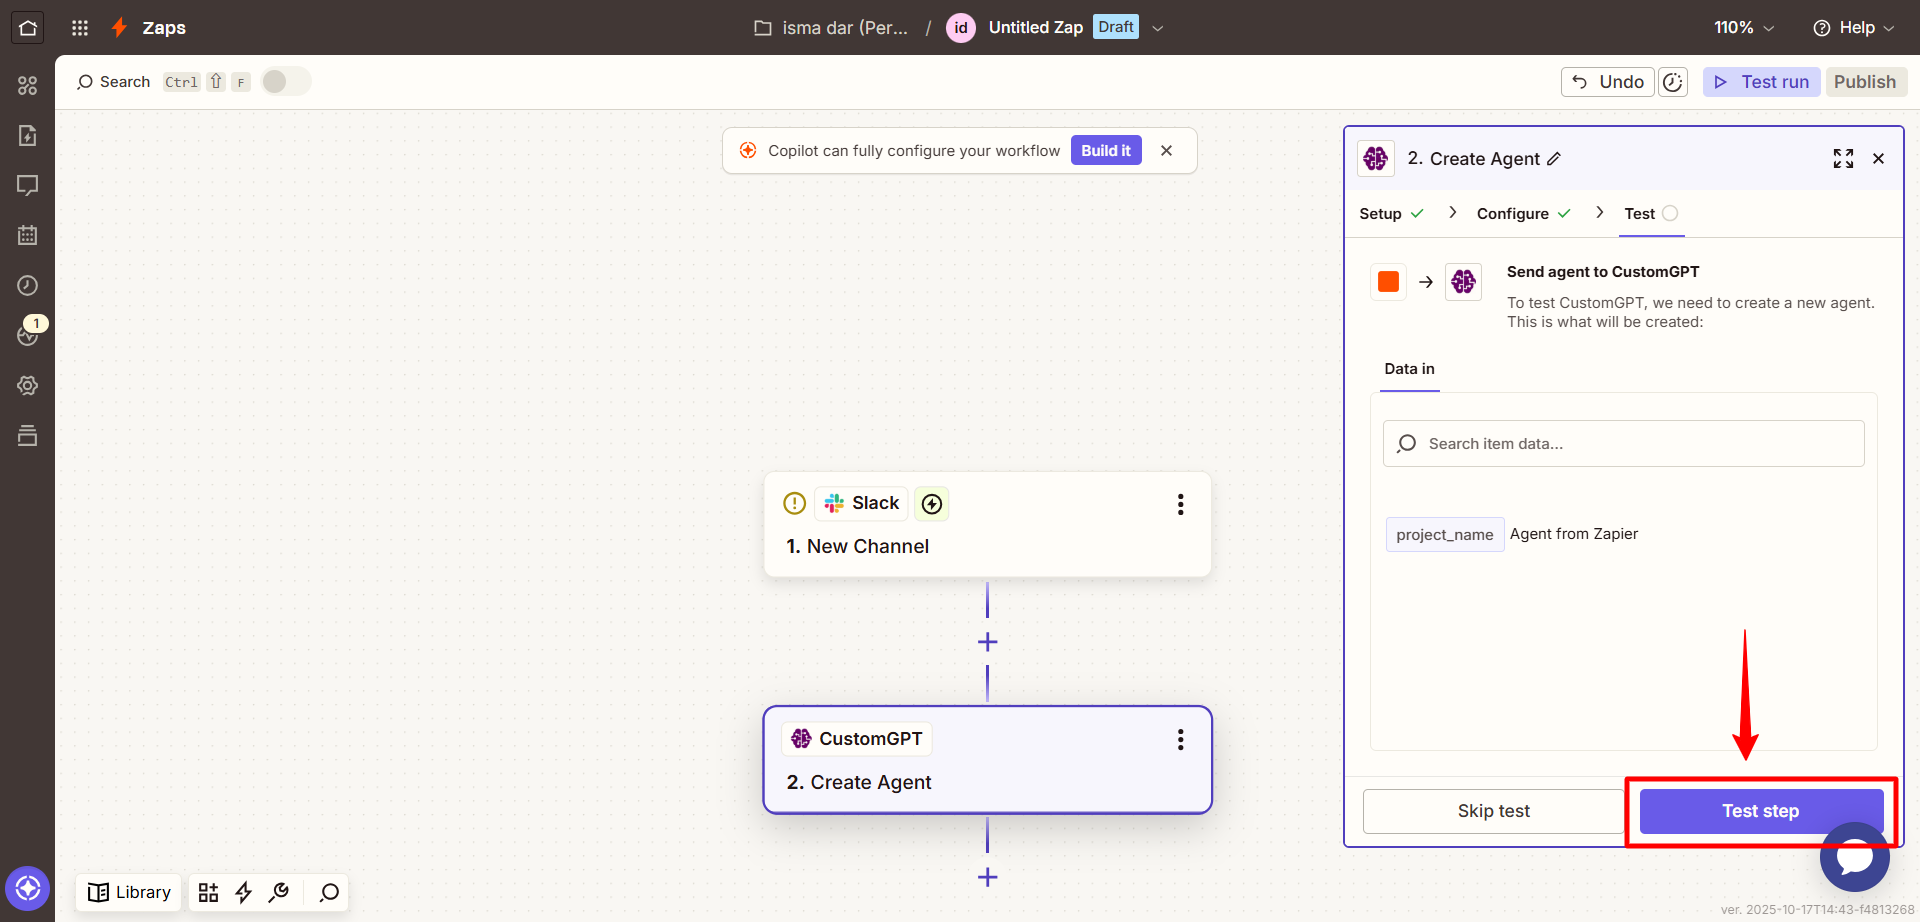
- If everything looks good, click Publish to activate your automation.
Input parameters
| Field | Description |
|---|---|
| Agent Name | The name for the new agent. You can type a fixed name or use dynamic fields from the trigger app (e.g., “{{Company Name}} Bot”). |
Updated 9 months ago
Did this page help you?