Query an agent using Zapier
This guide explains how to use the Send Message action in Zapier to send messages to your CustomGPT agent, enabling automated conversations and responses triggered by any app supported by Zapier.
What is the Send Message action?
The Send Message action allows you to send a user query to an agent's conversation directly from Zapier. This is useful when you want to automate chatbot replies, enrich CRM records, or trigger AI-powered responses from workflows like form submissions, chat messages, or new user events.
What this does
When this action runs:
- A message (or query) is sent to a selected agent and conversation.
- The agent processes the query and generates a response.
- You can pass external IDs to associate the conversation with CRM records or external systems.
You can combine this with other Zapier steps like Create Conversation, Upload File, or Send Email to build rich AI-driven automations.
How to configure this action in Zapier
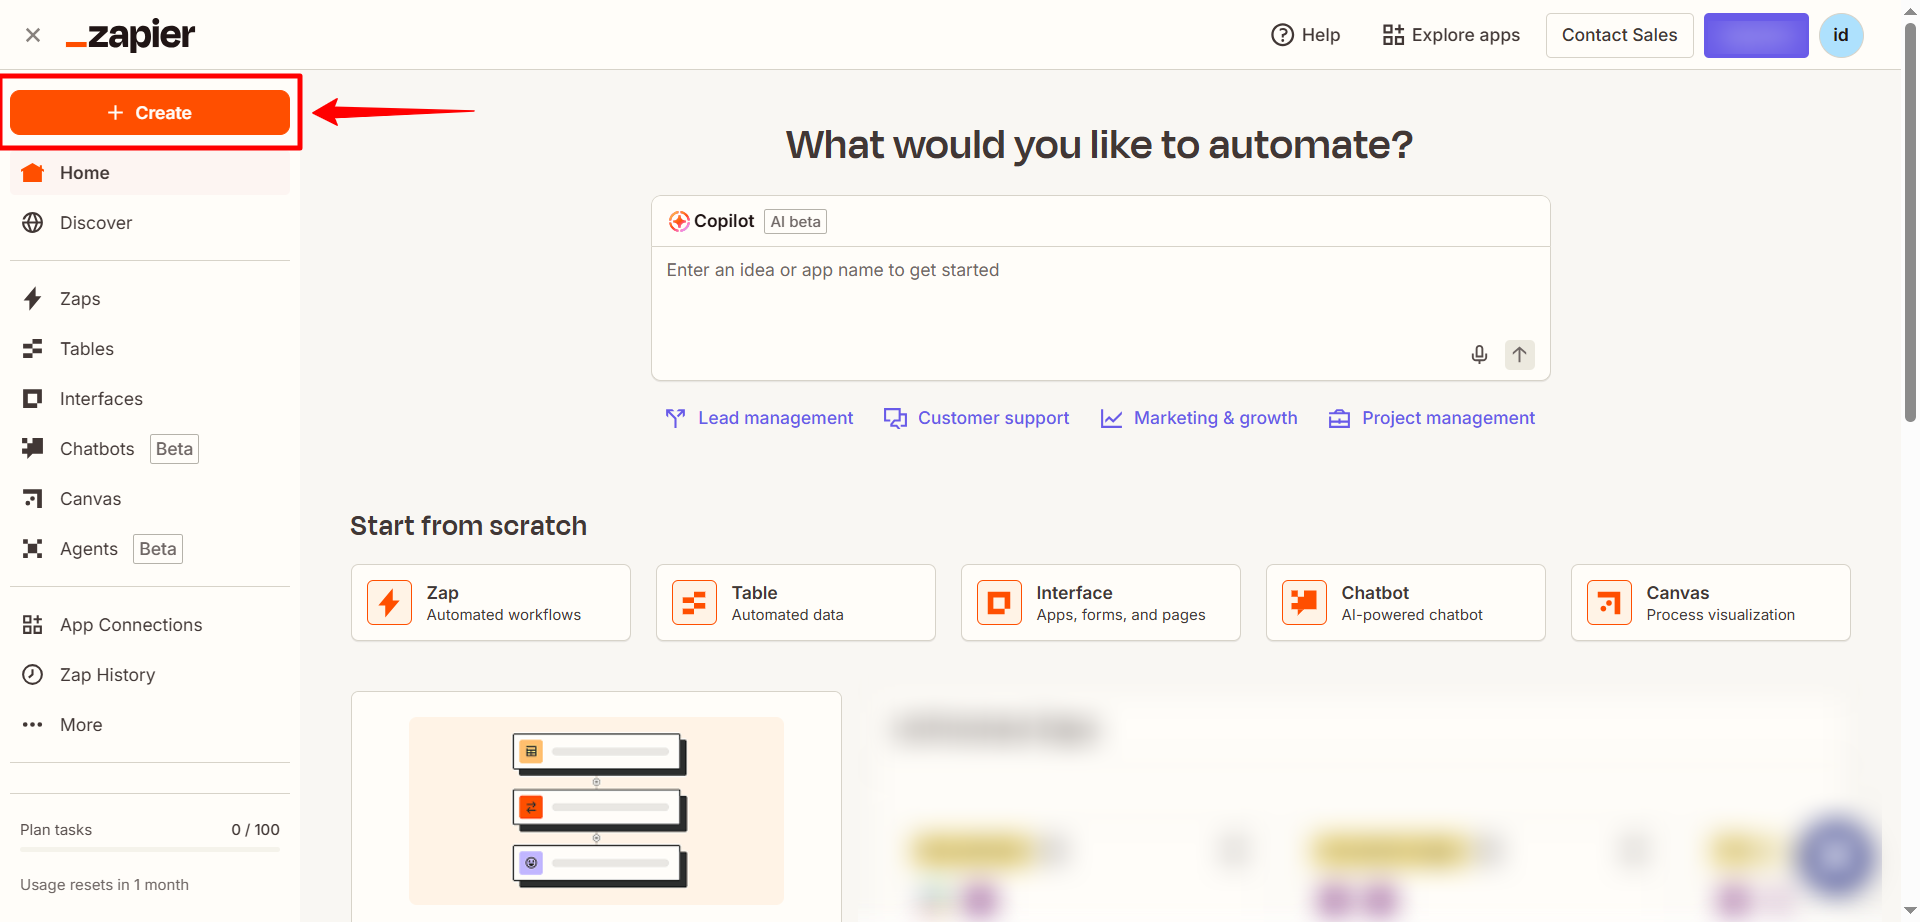
- Log in to your Zapier account and click Create Zap.
- In the Trigger section, select the app that will start the workflow (e.g., Slack, Google Drive, orany supported Zapier app trigger. ).
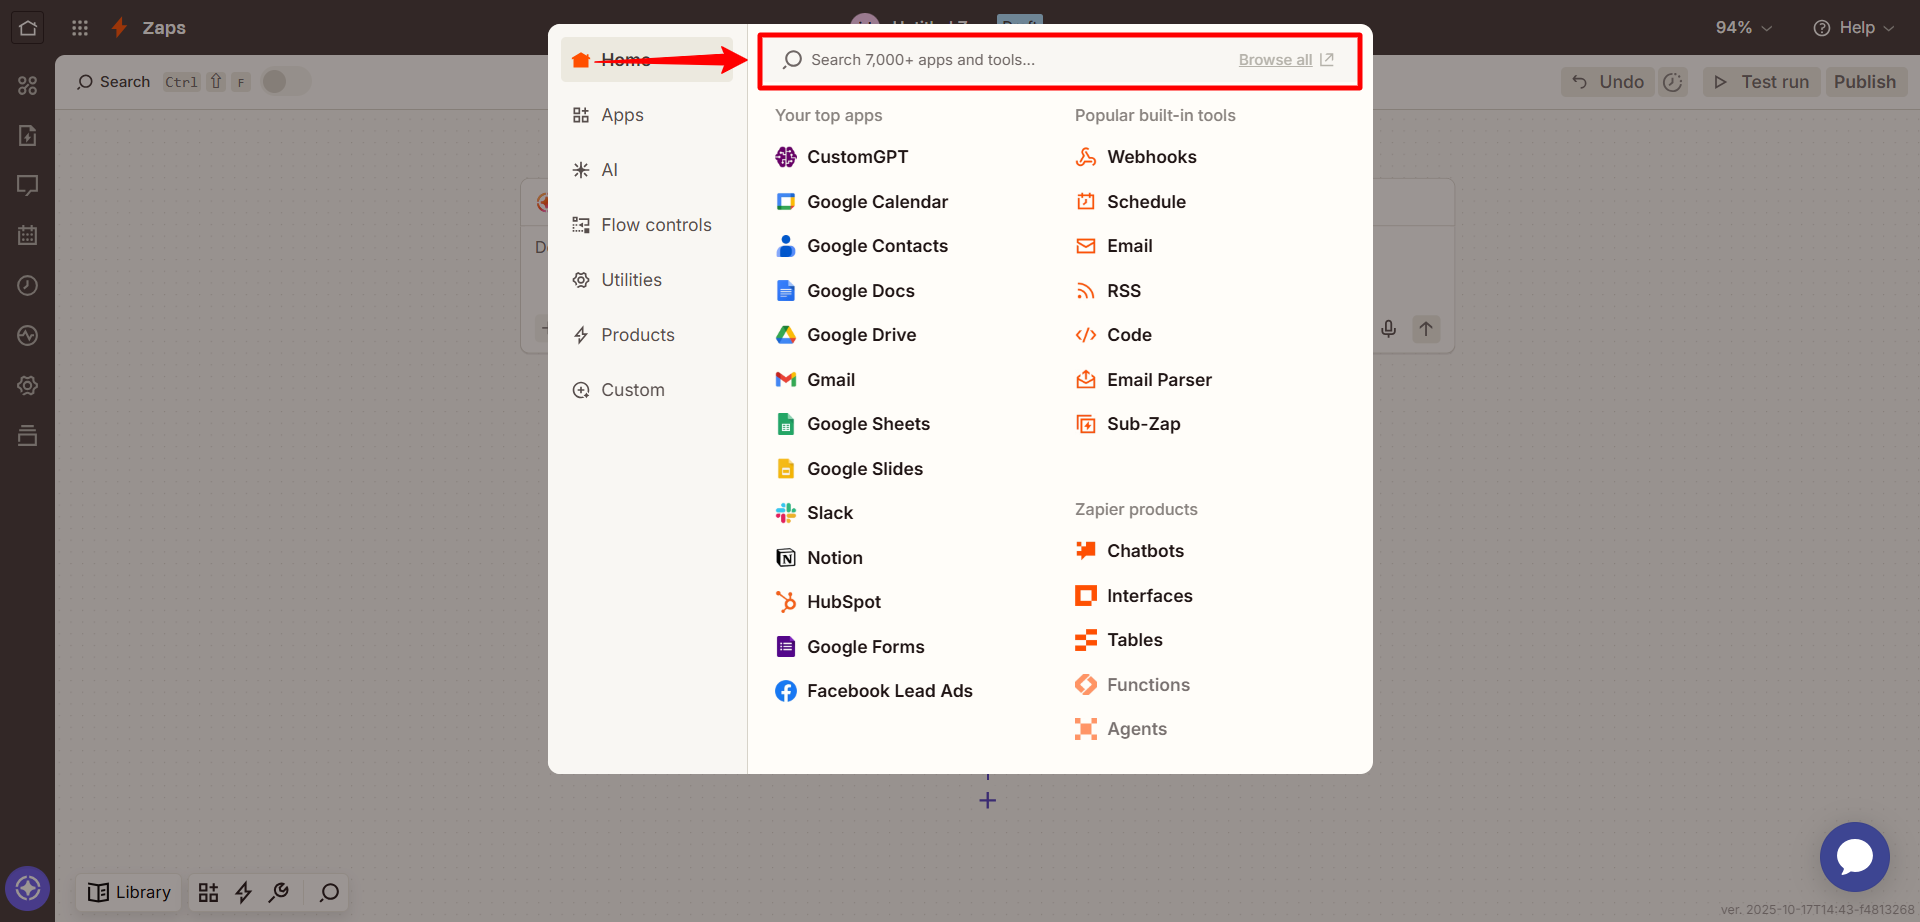
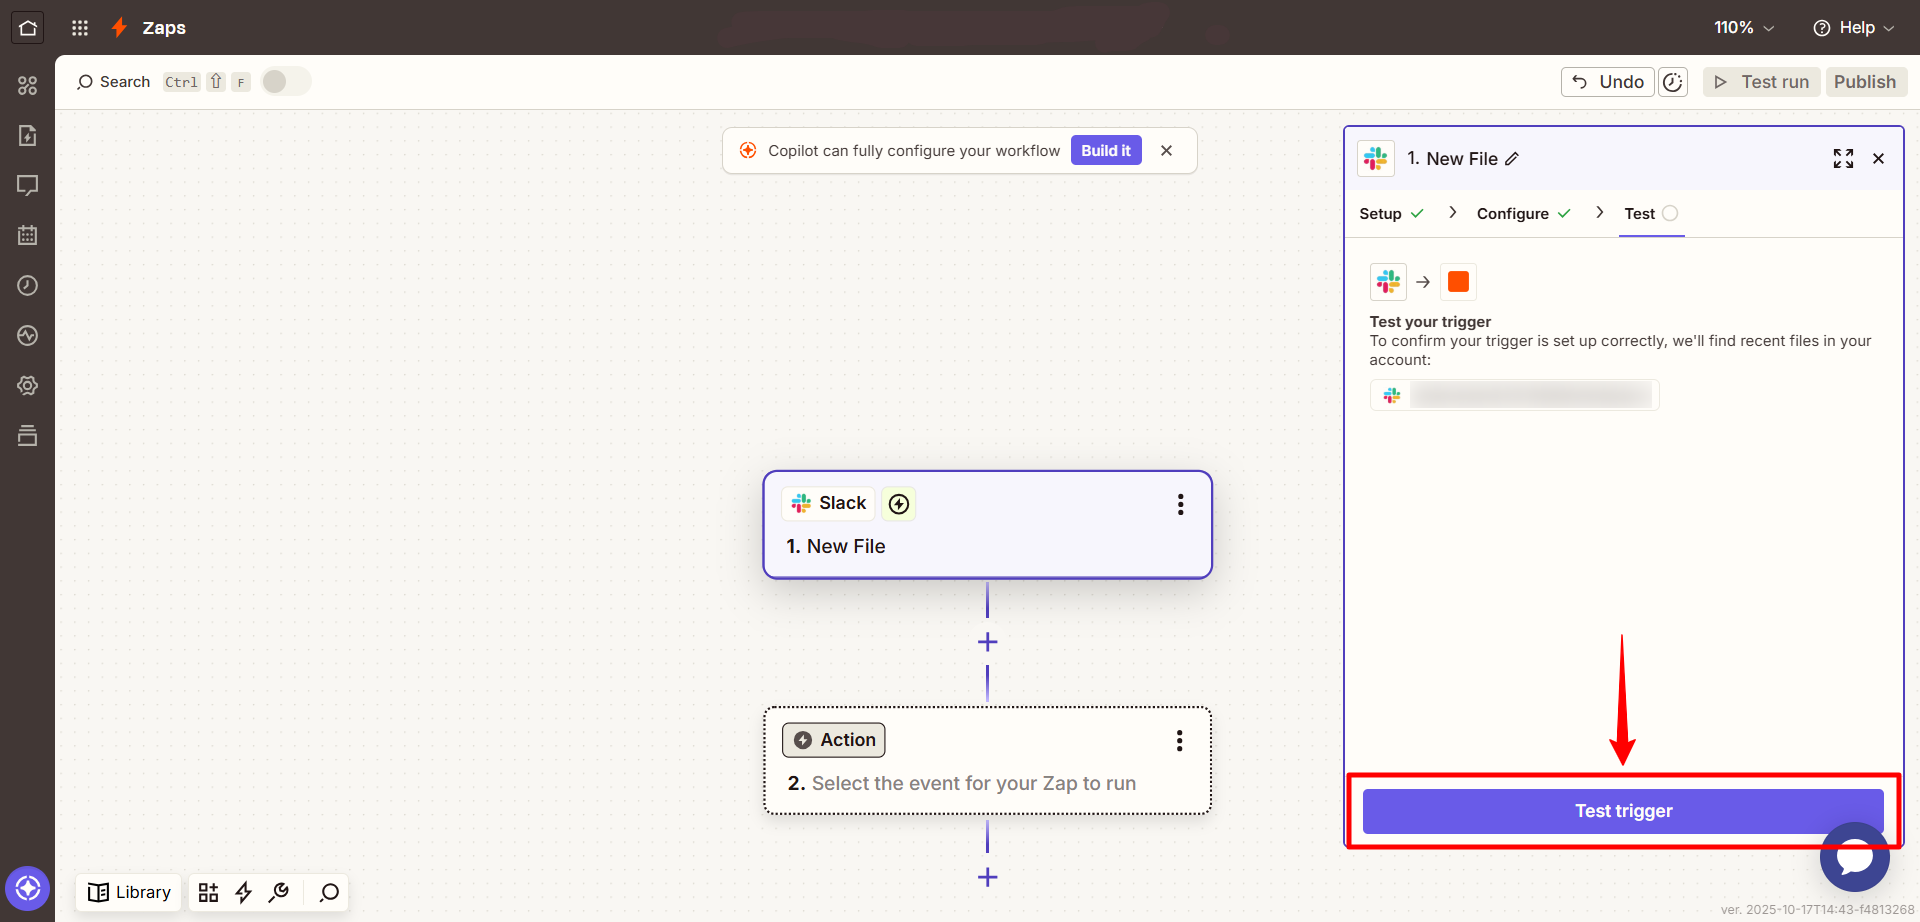
- Choose a trigger event such as New file, New message, or Form submission and test the trigger to make sure it’s working correctly.
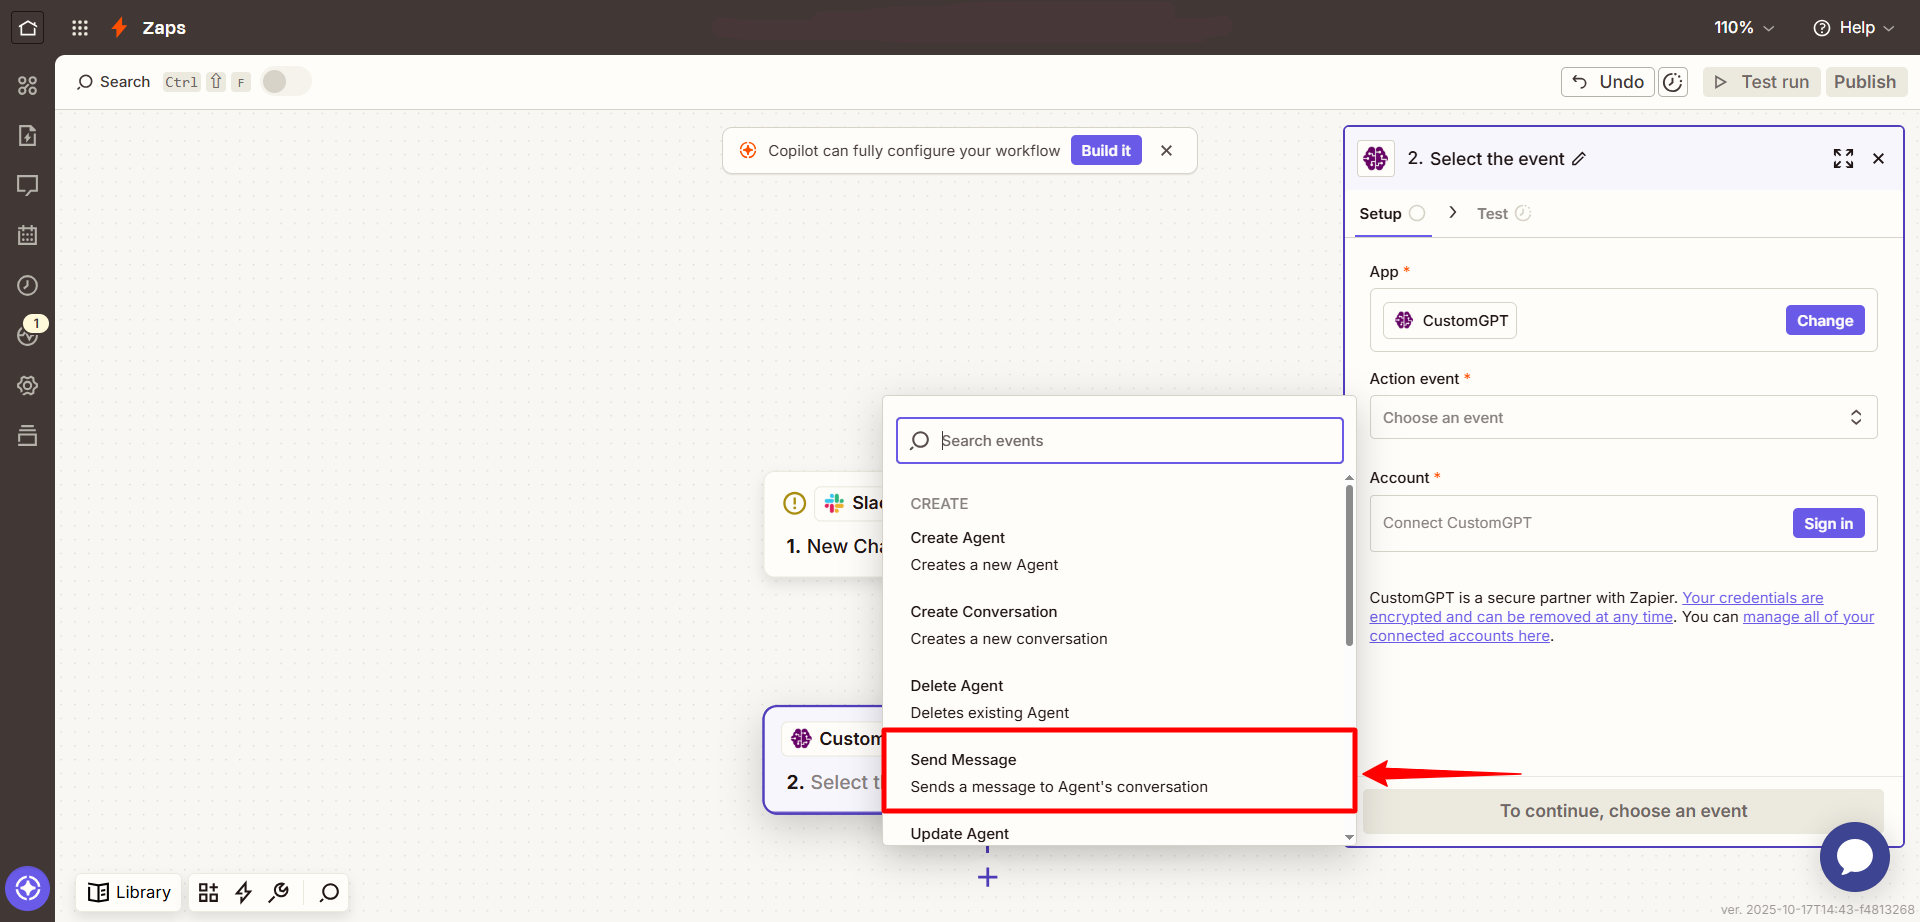
- In the Action step, search for CustomGPT.
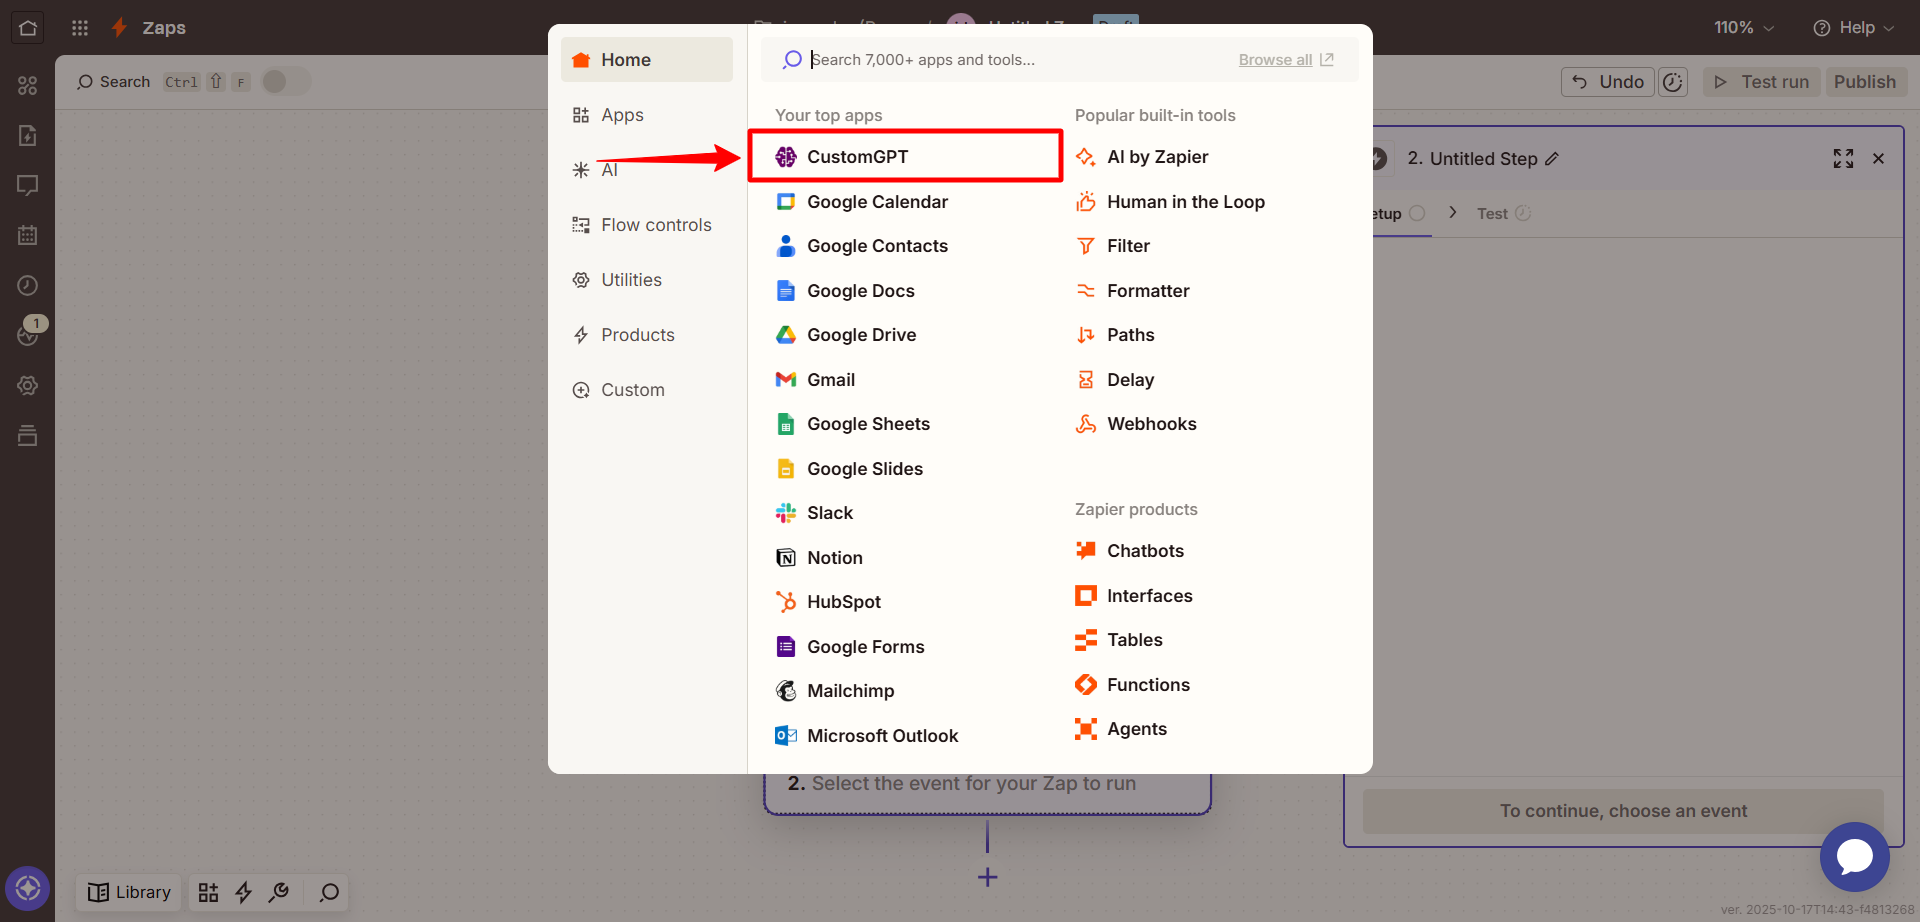
- Select the Send Message action.
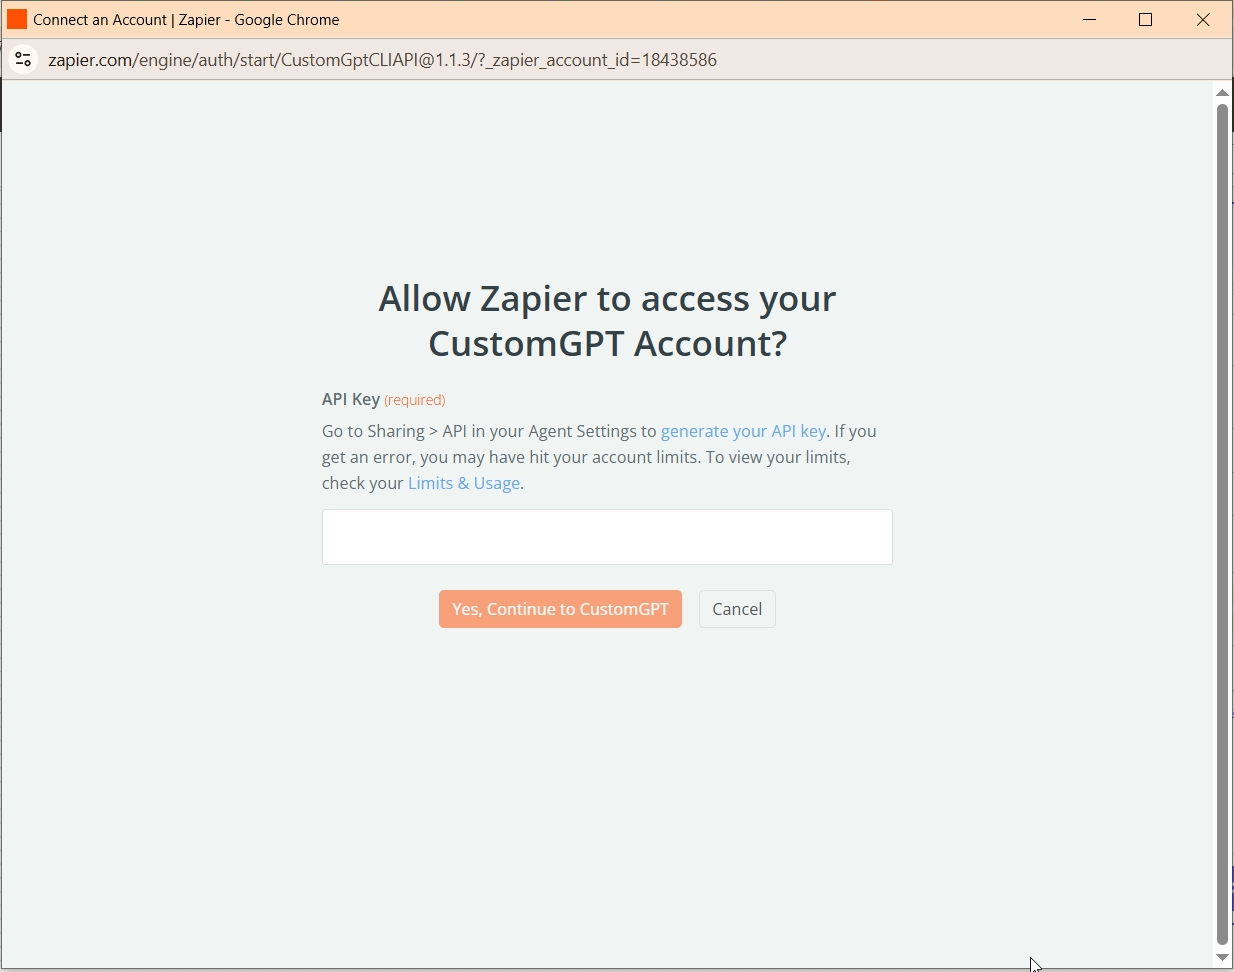
- When prompted, sign in to CustomGPT by clicking Sign In and entering your API key. To get your API key, see the API Key Guide .
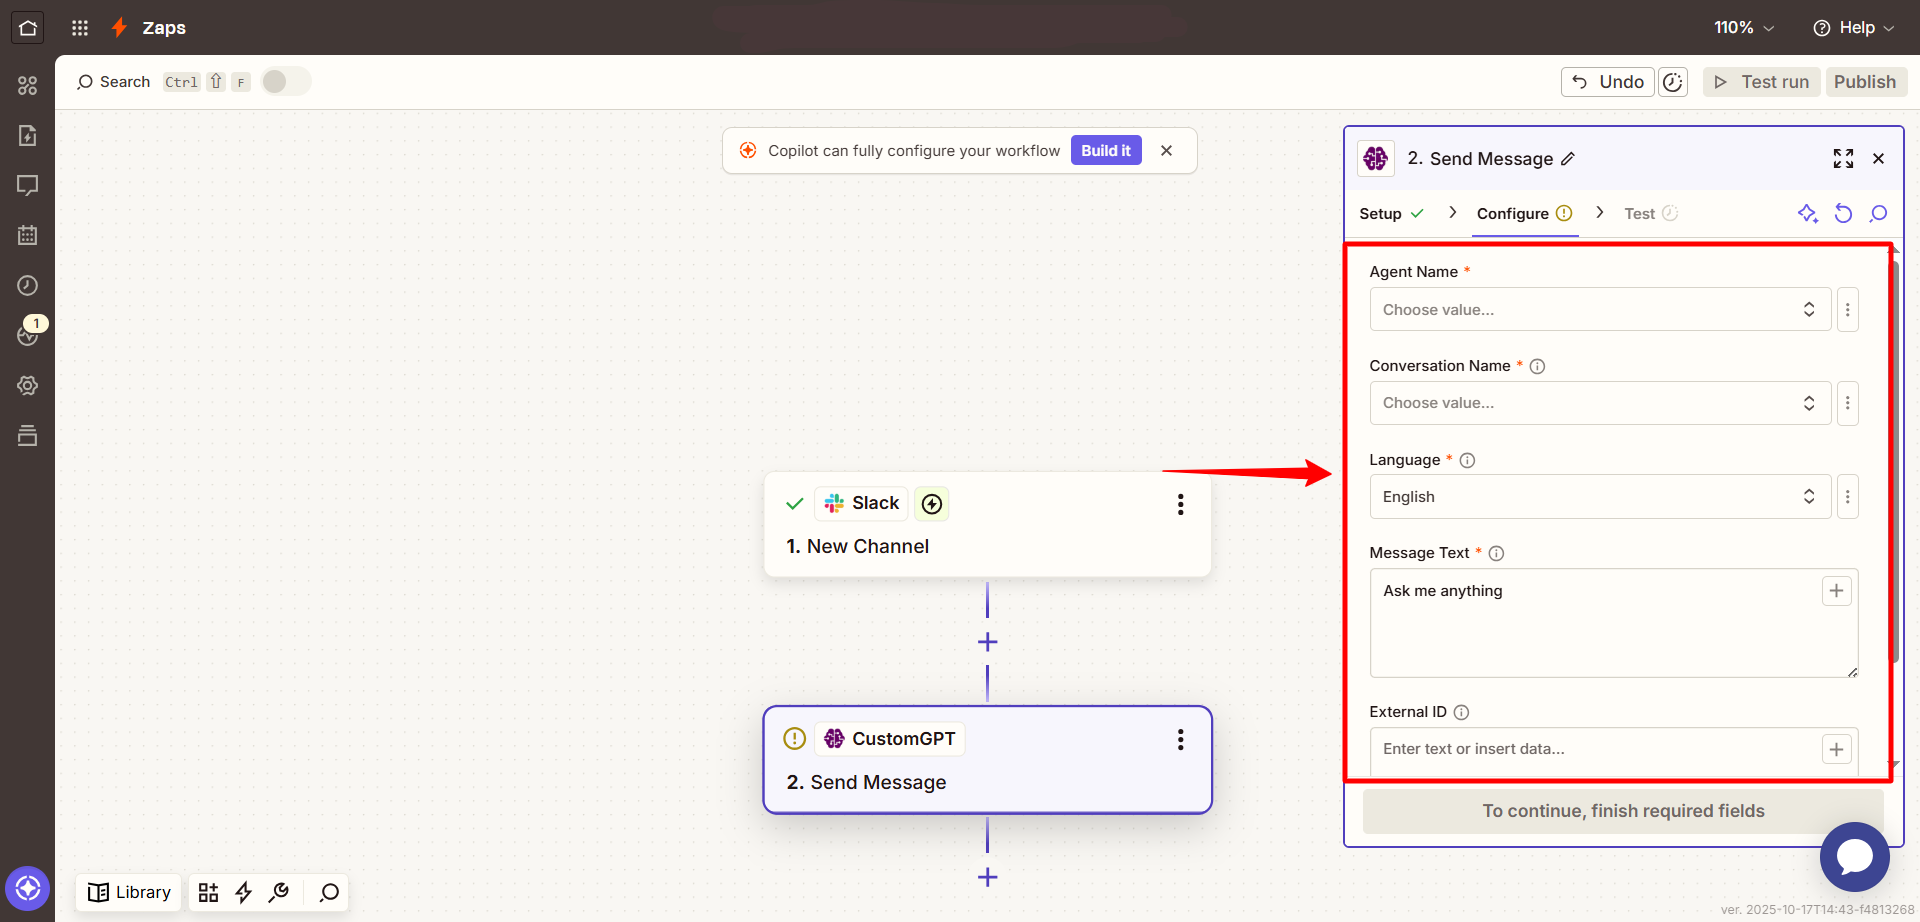
- In the Set up action section, fill out the following fields:
- Agent Name: Choose the agent that should process the message.
- Conversation Name: Select an existing conversation or use a mapped field (like user email or ID) to create consistency in responses.
- Message Text: Enter the actual message to send. This could be a static message or pulled dynamically from your trigger step.
- External ID (optional): Use this field to associate the message with an external record (like a CRM ID or ticket number). Learn more about CRM integration and External ID →
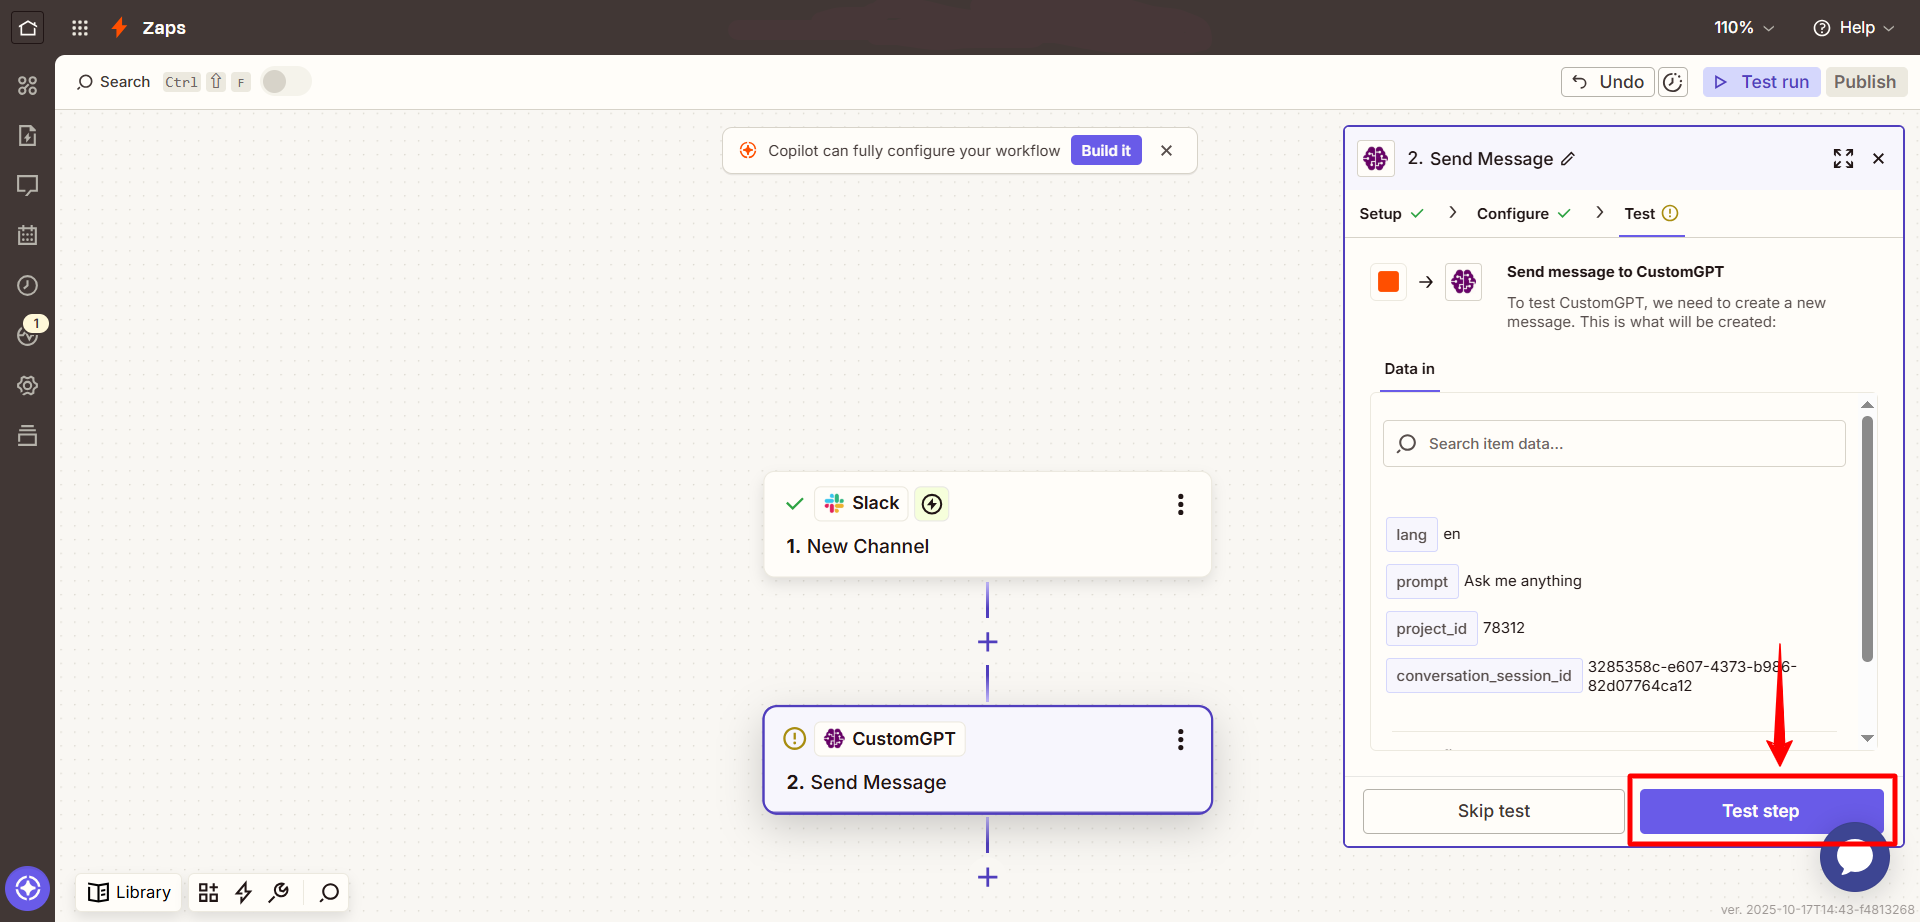
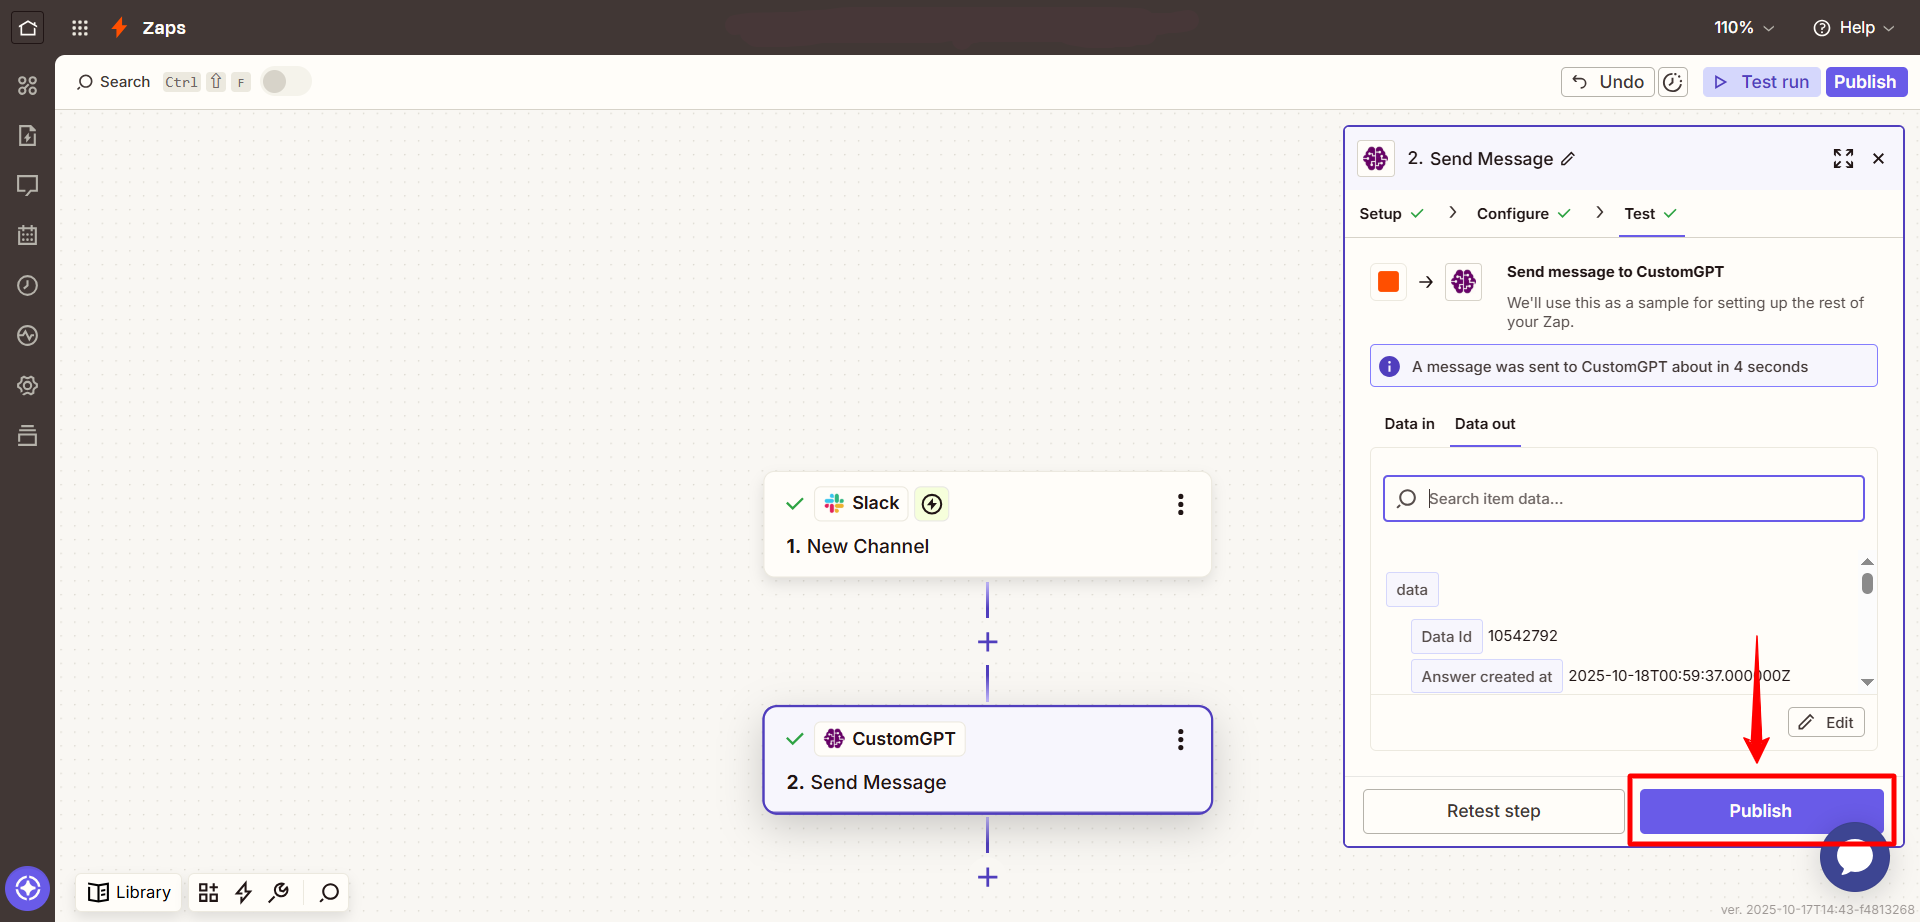
- Click Continue, then use Test to confirm that the action runs as expected.
- Once confirmed, click Publish to activate your Zap.
Input parameters
| Field | Description |
|---|---|
| Agent Name | Select the agent that will handle the message. |
| Conversation Name | Choose a conversation or create one dynamically for context tracking. |
| Message Text | The content of the user query to send to the agent. |
| External ID | (Optional) A unique ID used to sync with CRM records or other tools. |
Updated 9 months ago
Did this page help you?