Update agent’s settings using Zapier
This guide shows you how to use the Update Agent Settings action in Zapier to dynamically change an agent’s configuration in your CustomGPT.ai account.
What is the Update Agent Settings action?
The Update Agent Settings action lets you programmatically modify configuration details of an existing agent using a Zapier workflow. This is ideal for managing agent behavior at scale—such as updating the Persona, Sources, or Prompt Instructions based on events in external tools like CRMs or forms..
What this does
When triggered, this action updates selected settings for an agent. You can change one or more of the following parameters:
- Branding visibility
- Message prompts
- GPT model selection
- Sharing/export permissions
- Source citation behavior
This allows for personalized and dynamic automation workflows where agent behavior adapts to changing inputs.
How to configure this action in Zapier
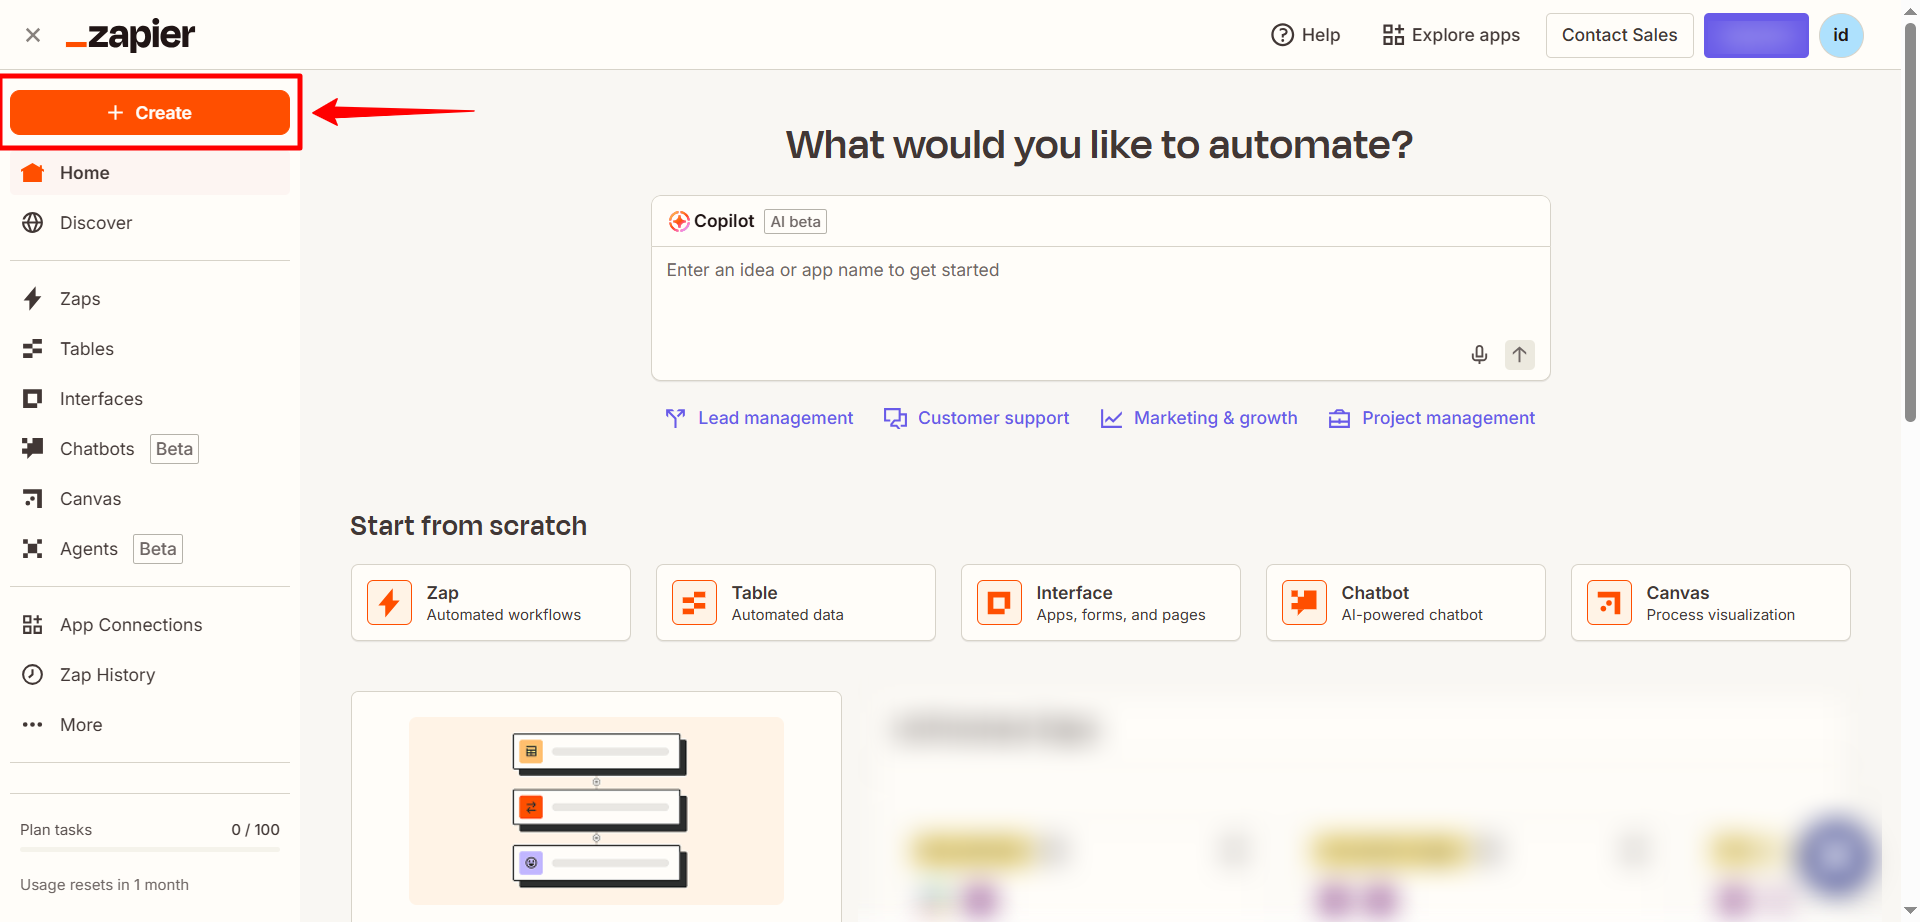
- Log in to your Zapier account and click Create Zap.
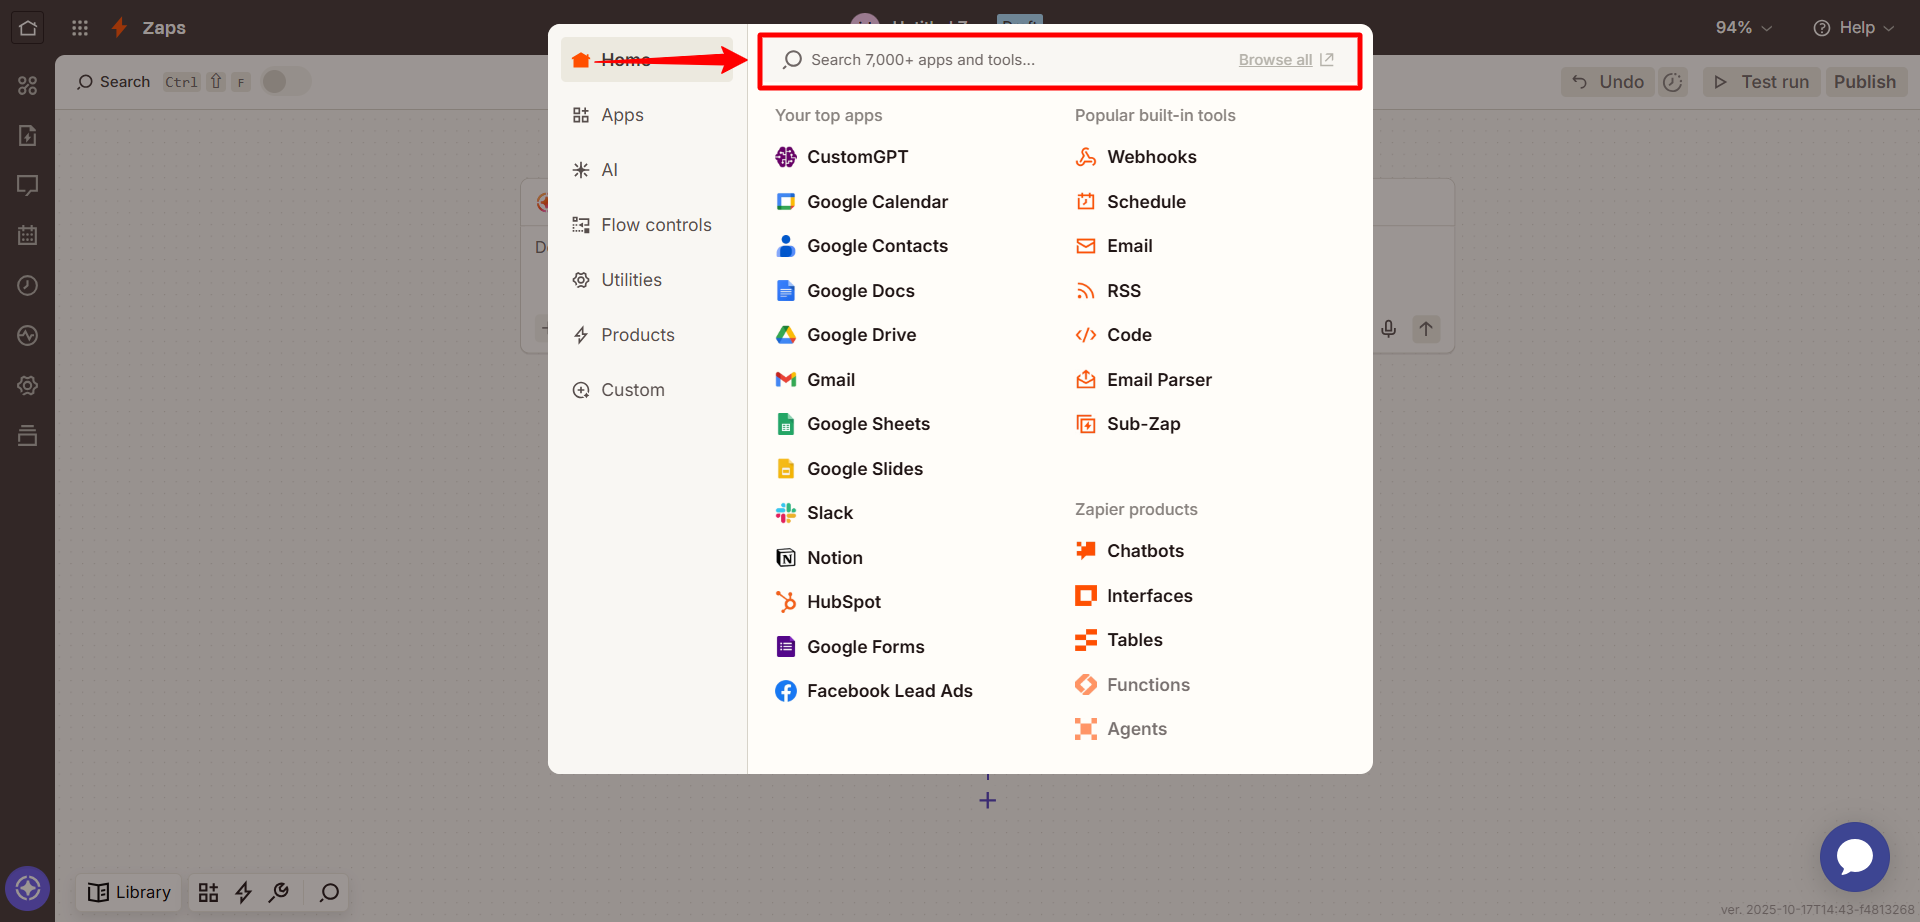
- In the Trigger section, select the app that will start the workflow (e.g., Slack, Google Drive, orany supported Zapier app trigger. ).
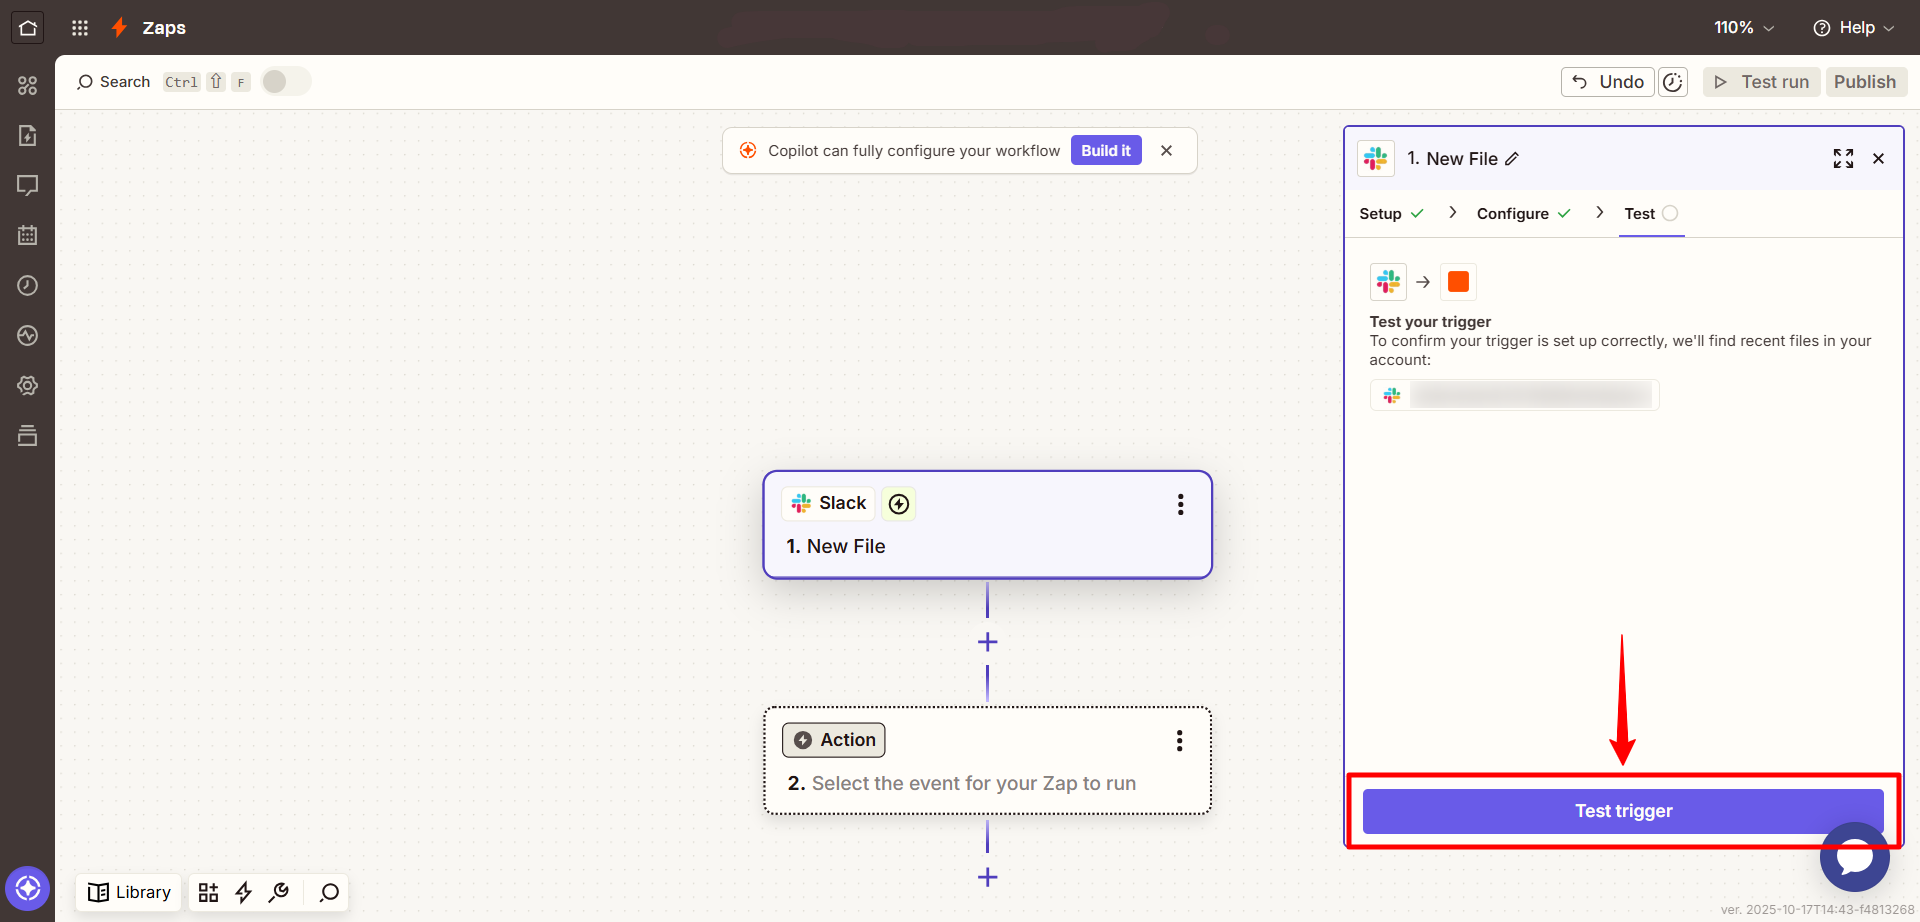
- Choose a trigger event such as New file, New message, or Form submission and test the trigger to make sure it’s working correctly.
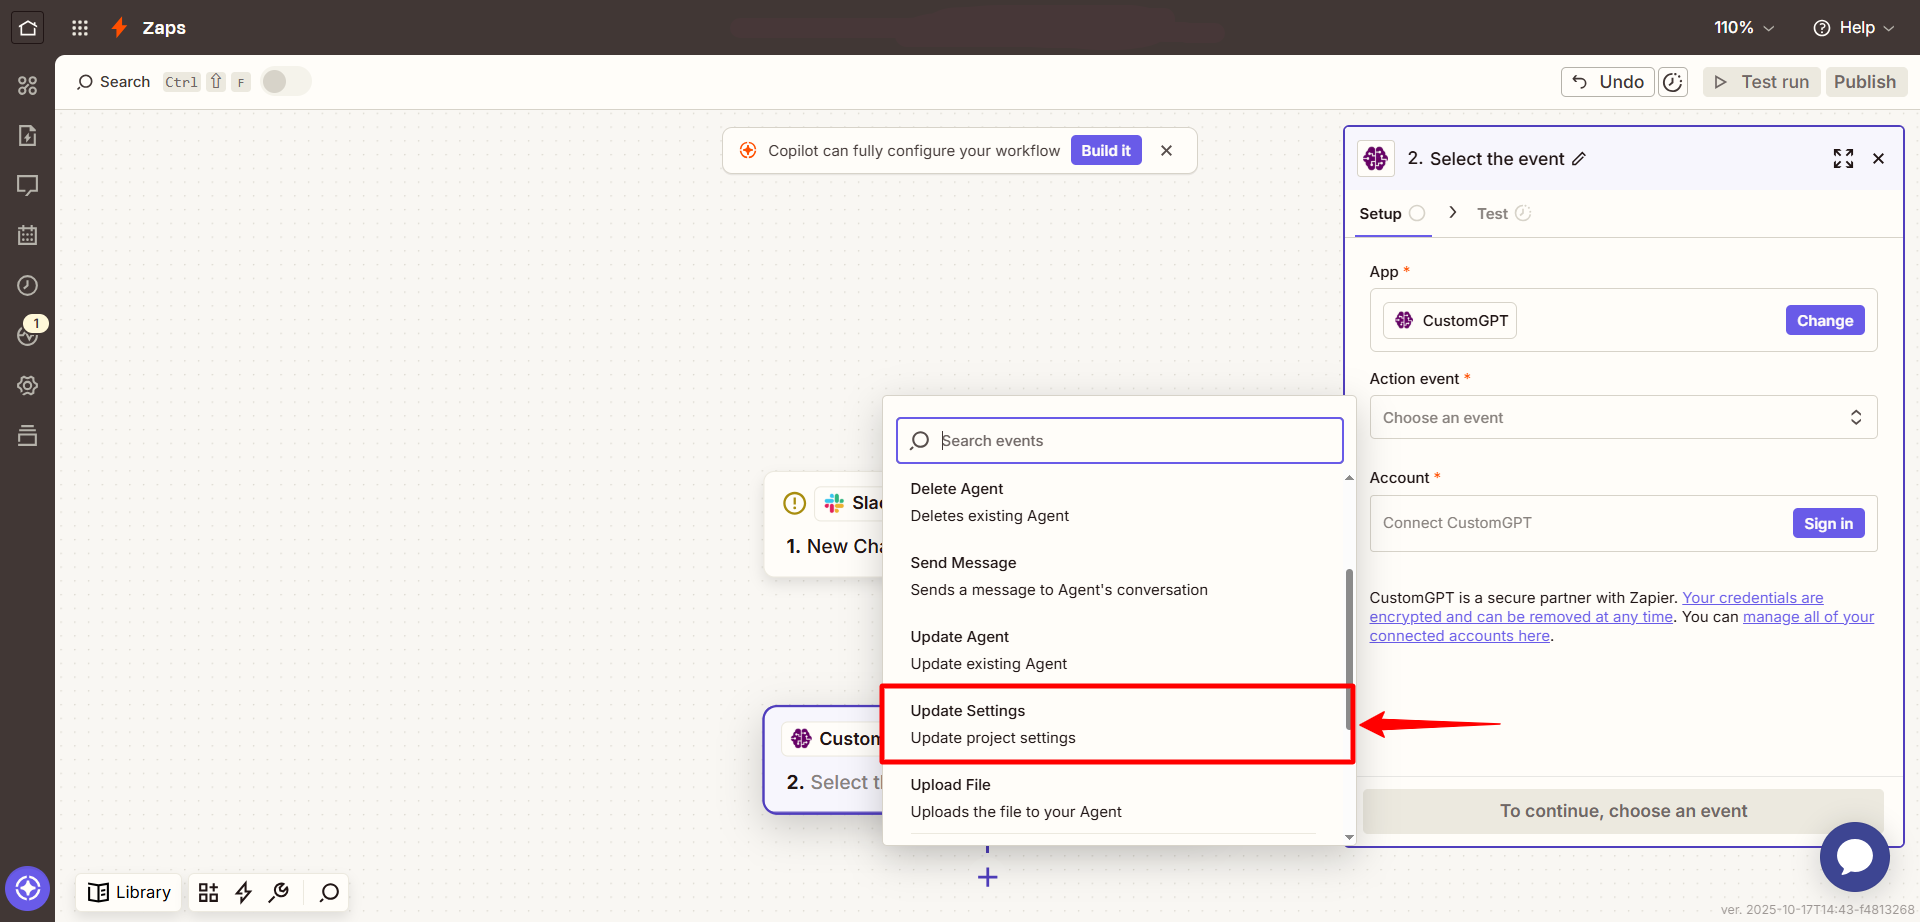
- In the Action step, search for CustomGPT.
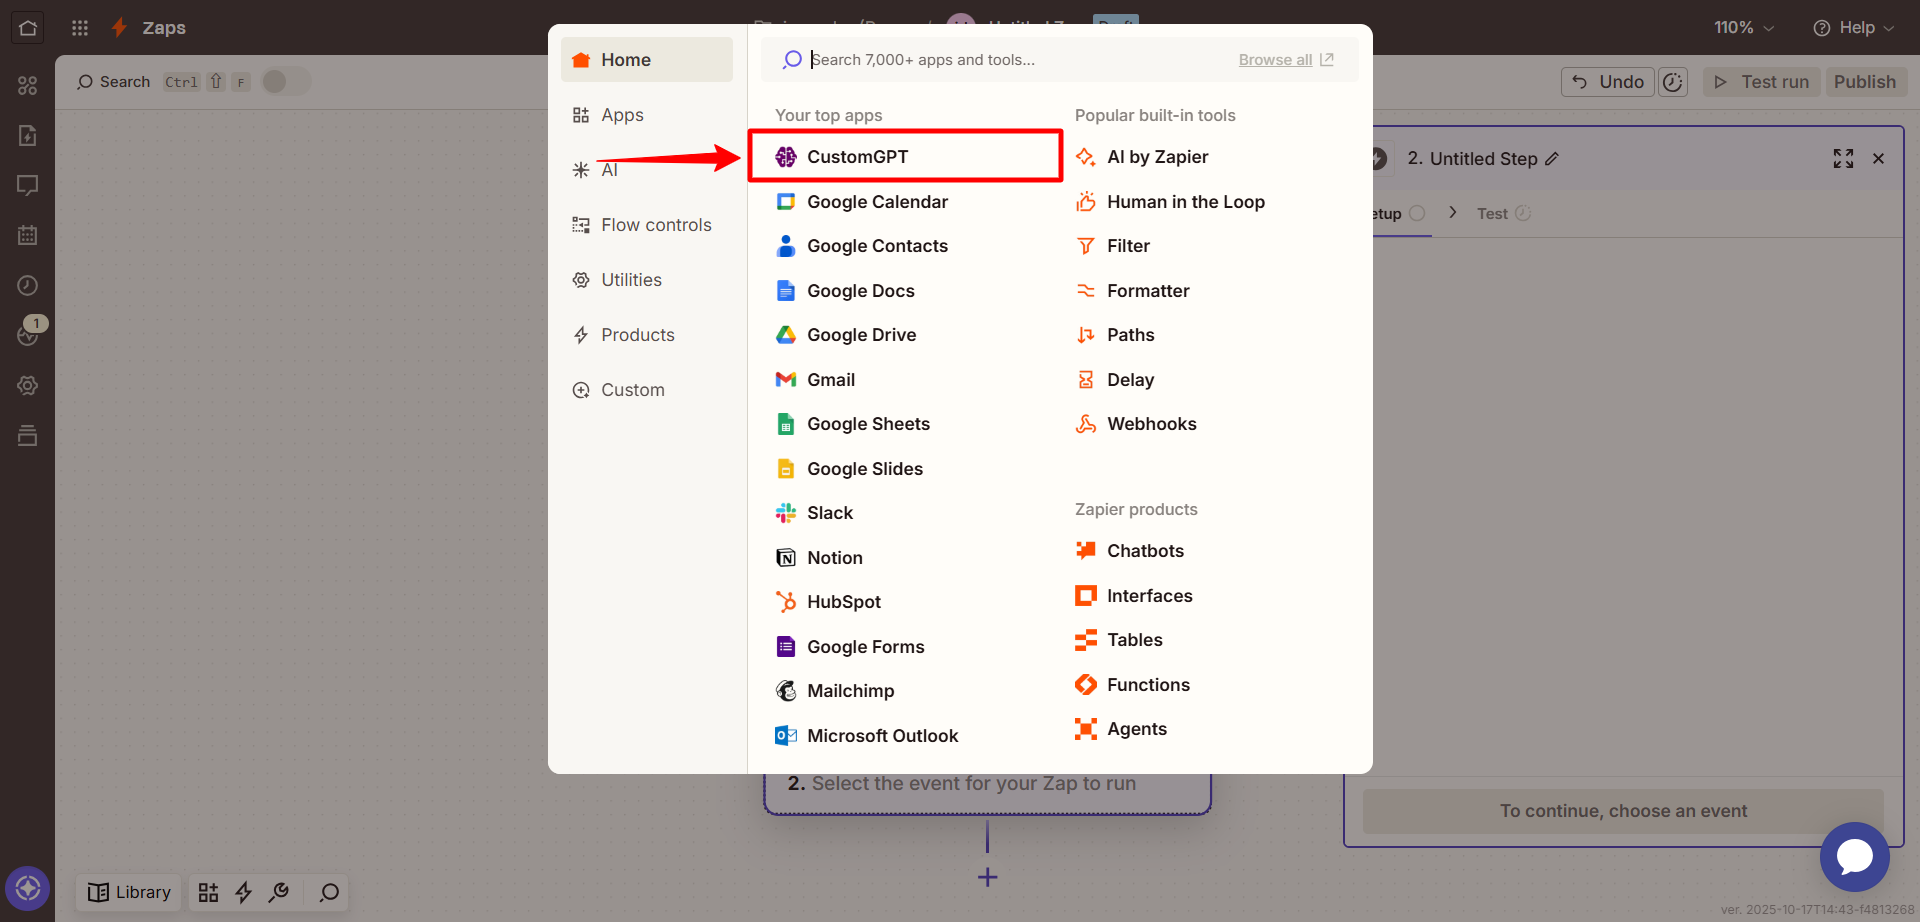
- Select the Update Agent Settings action
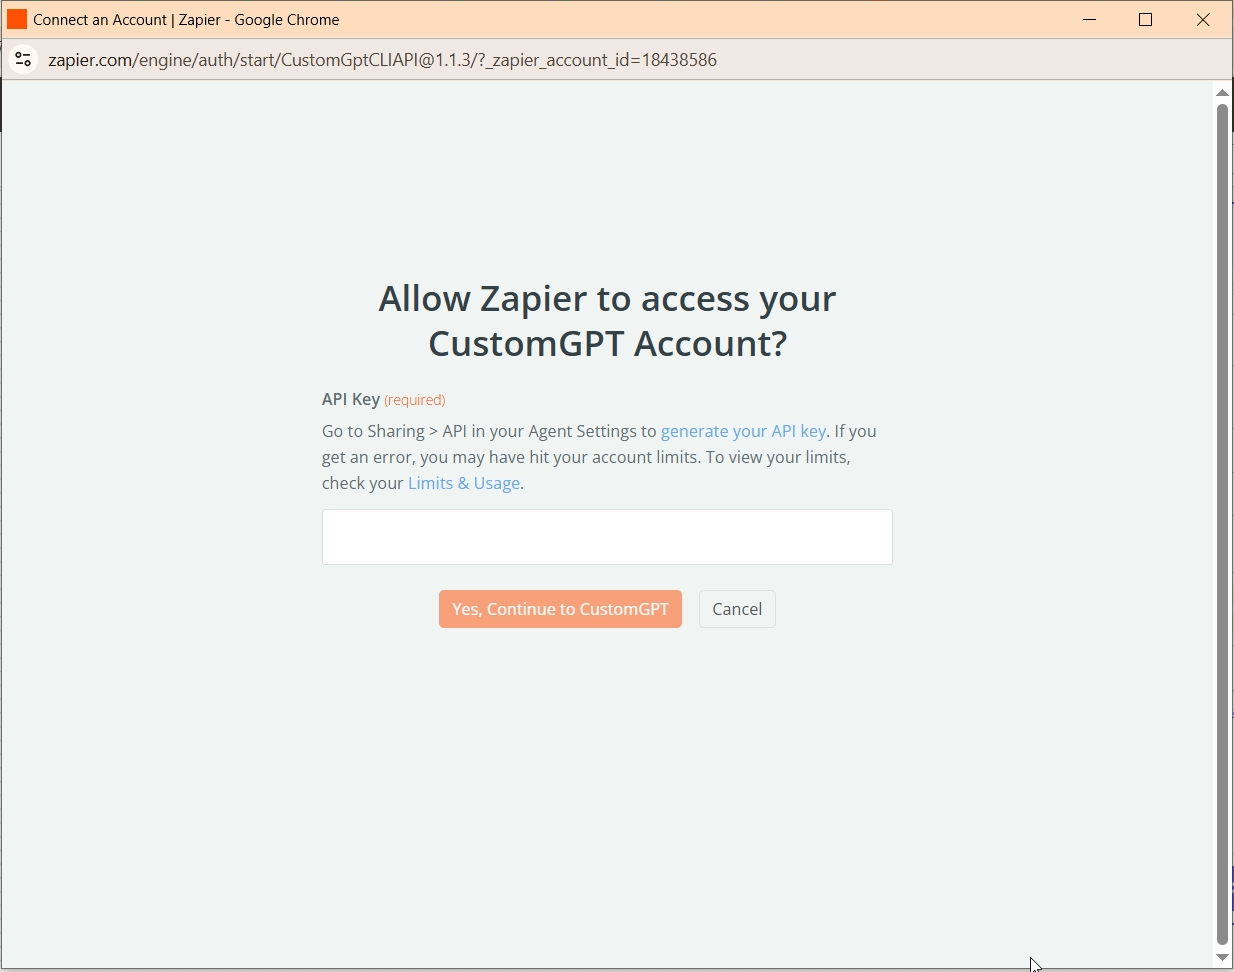
- When prompted, sign in to CustomGPT by clicking Sign In and entering your API key. To get your API key, see the API Key Guide .
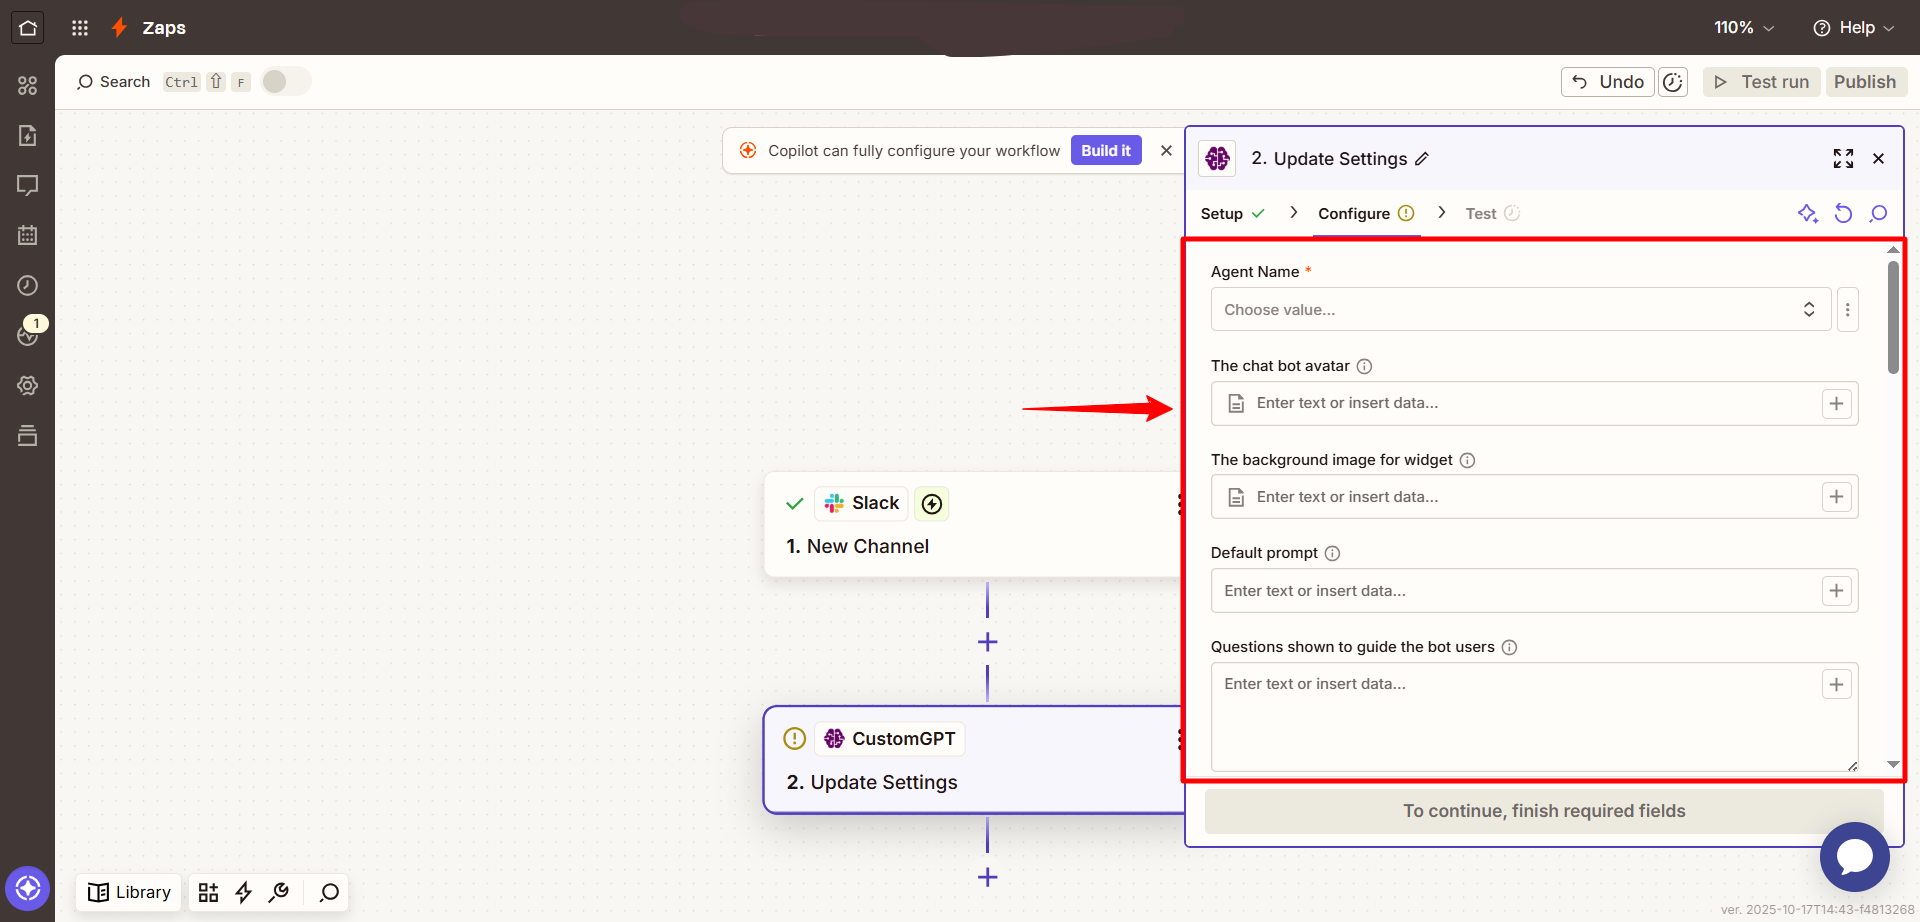
- In the Set up action section, configure the fields you want to update:
- Agent Name (required): Choose the agent to update.
- Questions: Add any questions that should be shown to guide users when they start a chat.
- Ending Message: Set the message that will appear at the end of the conversation.
- Remove Branding: Choose to remove CustomGPT branding or keep it.
- Chatbot GPT Model: Select the model used for this agent (e.g., GPT-3.5, GPT-4).
- Allow Conversation Sharing: Choose to let users share conversations or disable sharing.
- Allow Conversation Export: Choose to allow exports or prevent it.
- Allow Agent to Mention Sources: Choose to allow source references or disable citations.
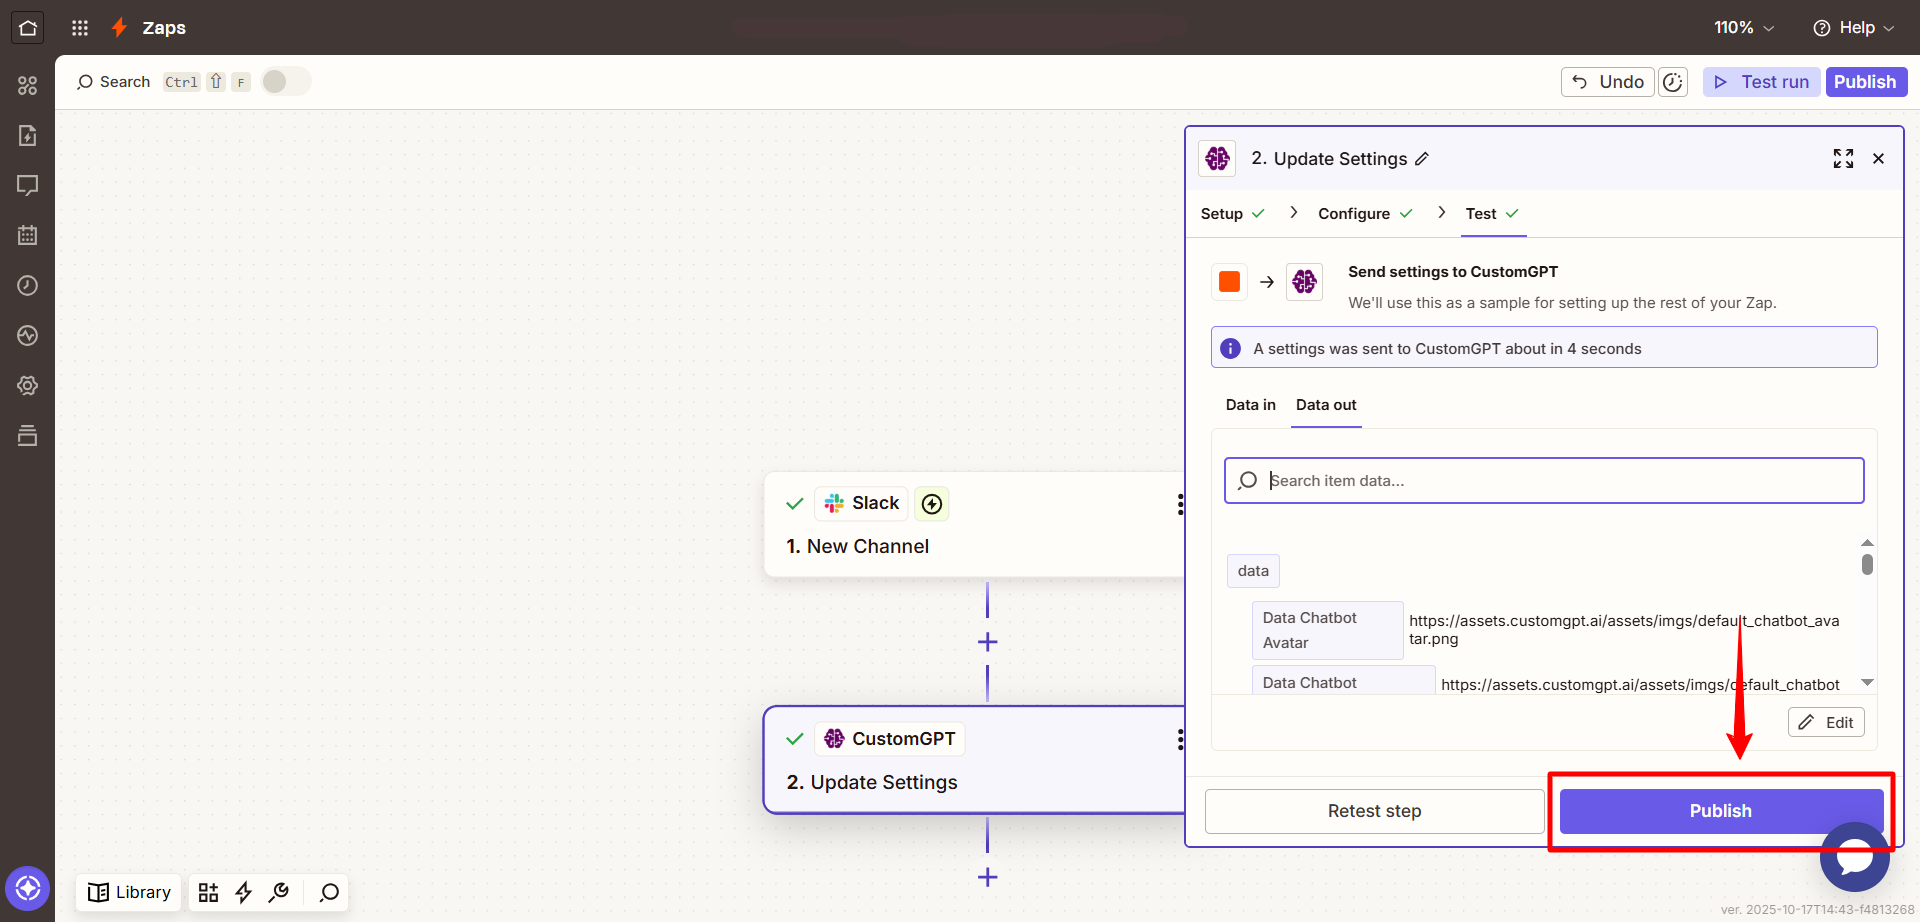
- Click Continue, then use Test to confirm that the action runs as expected.
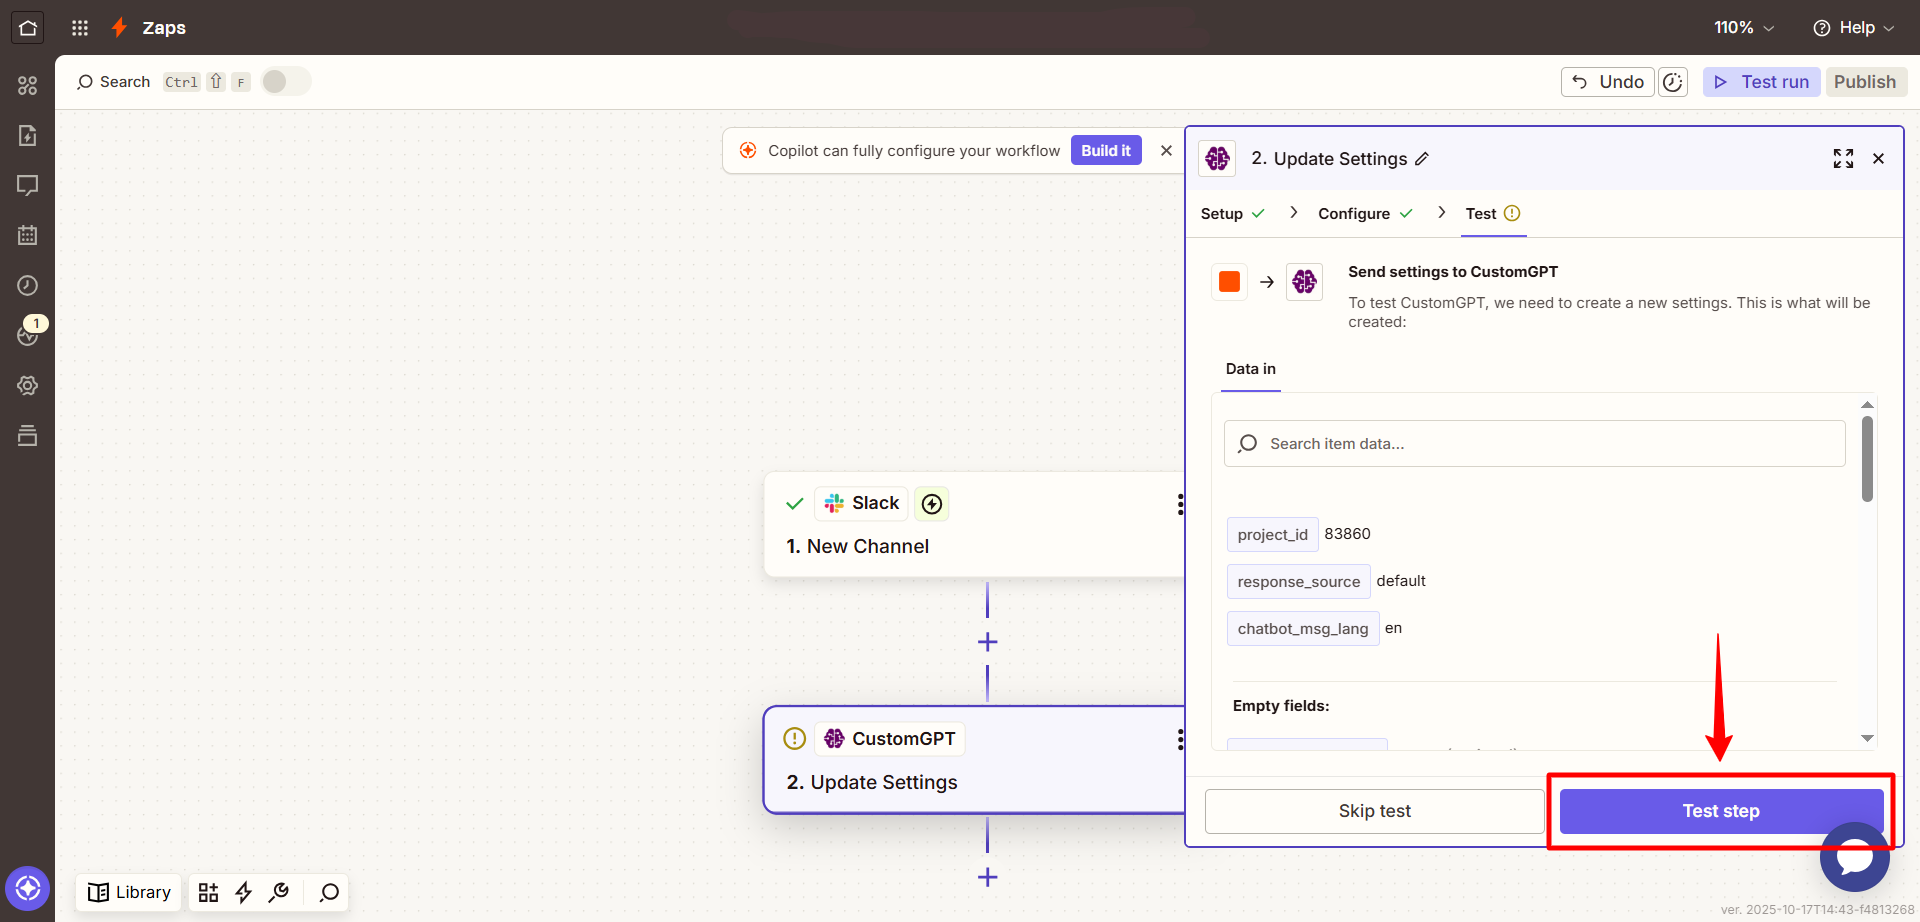
- Once confirmed, click Publish to activate your Zap.
Input parameters
| Field | Description |
|---|---|
| Agent Name | Select the agent you want to update. |
| Questions | Add any questions to guide users when they start a chat. |
| Ending Message | Define the message that will appear at the end of the conversation. |
| Remove Branding | Choose Yes to remove CustomGPT branding or No to keep it. |
| Chatbot GPT Model | Select which GPT model your agent should use (for example, GPT‑3.5 or GPT‑4). |
| Allow Conversation Sharing | Choose Yes to let users share conversations or No to disable it. |
| Allow Conversation Export | Choose Yes to allow exports or No to prevent them. |
| Allow Agent to Mention Sources | Choose Yes to allow the agent to cite sources or No to disable it. |
Updated 9 months ago
Did this page help you?