Enable Lead Capture
This step-by-step guide explains how to enable the Lead Capture Agentic Action for your CustomGPT.ai agent so it can automatically collect and store user contact information during conversations.
What is Lead Capture?
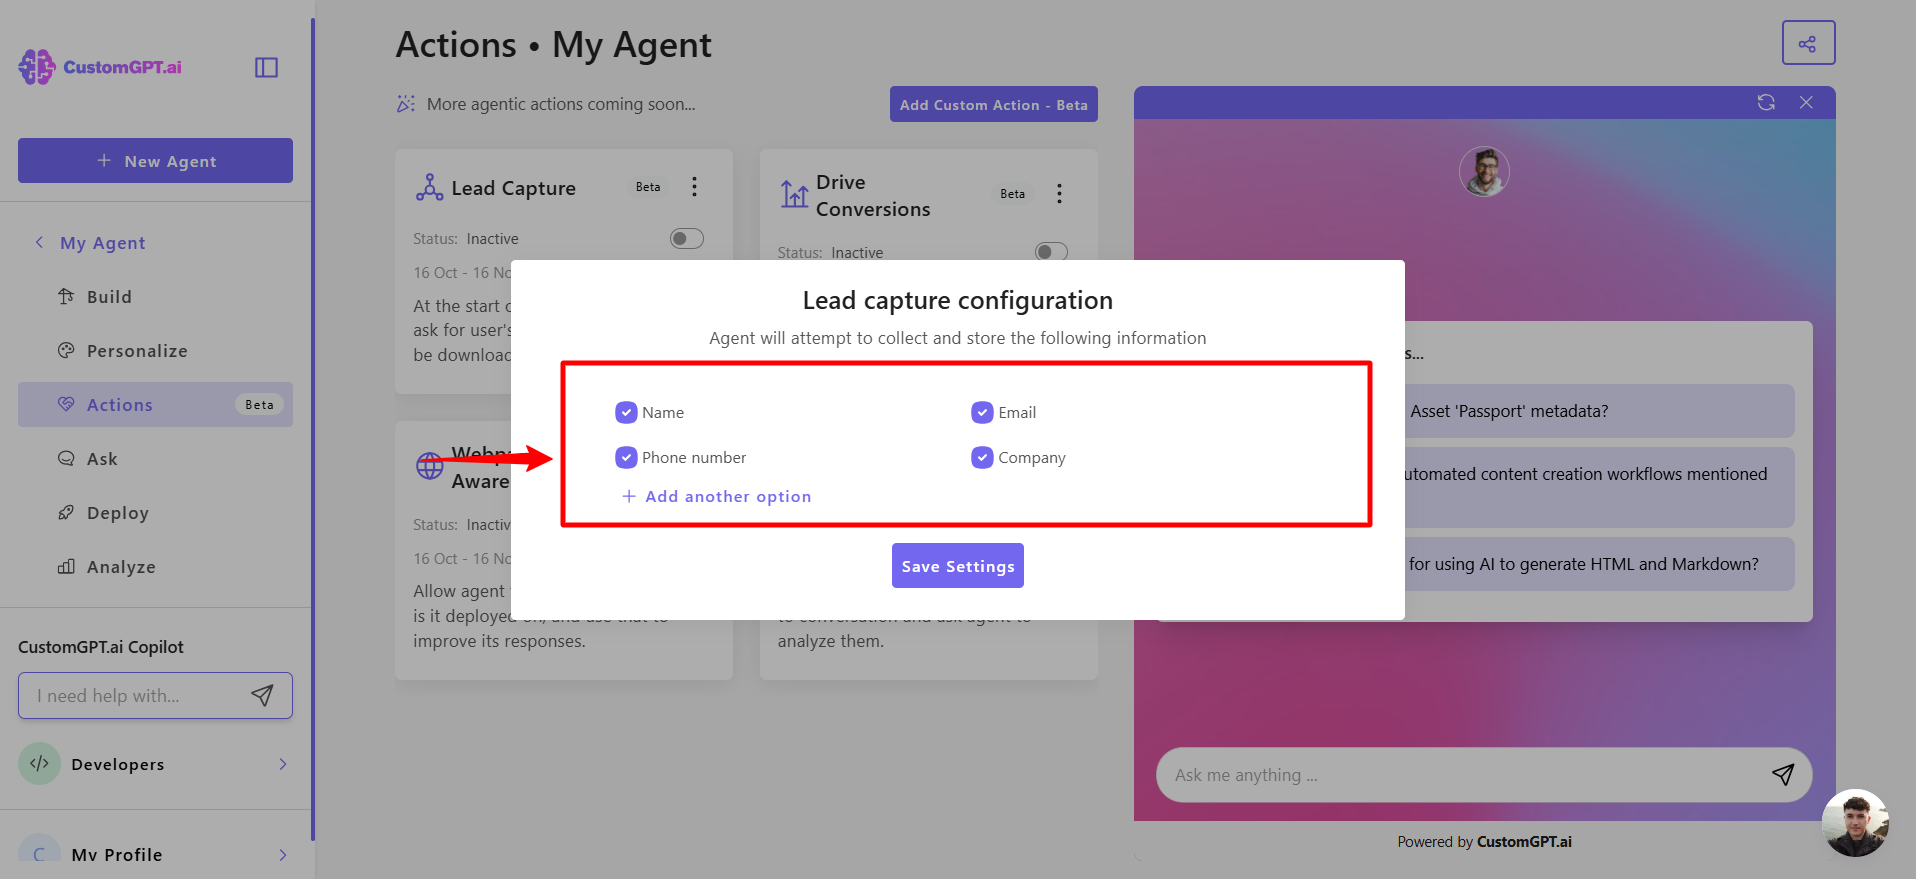
The Lead Capture feature allows your agent to ask for and record visitor details such as Name, Email, and Company, along with any additional context it detects (for example, job title, use case, or region).
Once enabled, your agent automatically scans every conversation to identify and save new contact details, turning chat sessions into qualified lead opportunities.
👉 Learn more in Lead Capture overview
How to enable Lead Capture
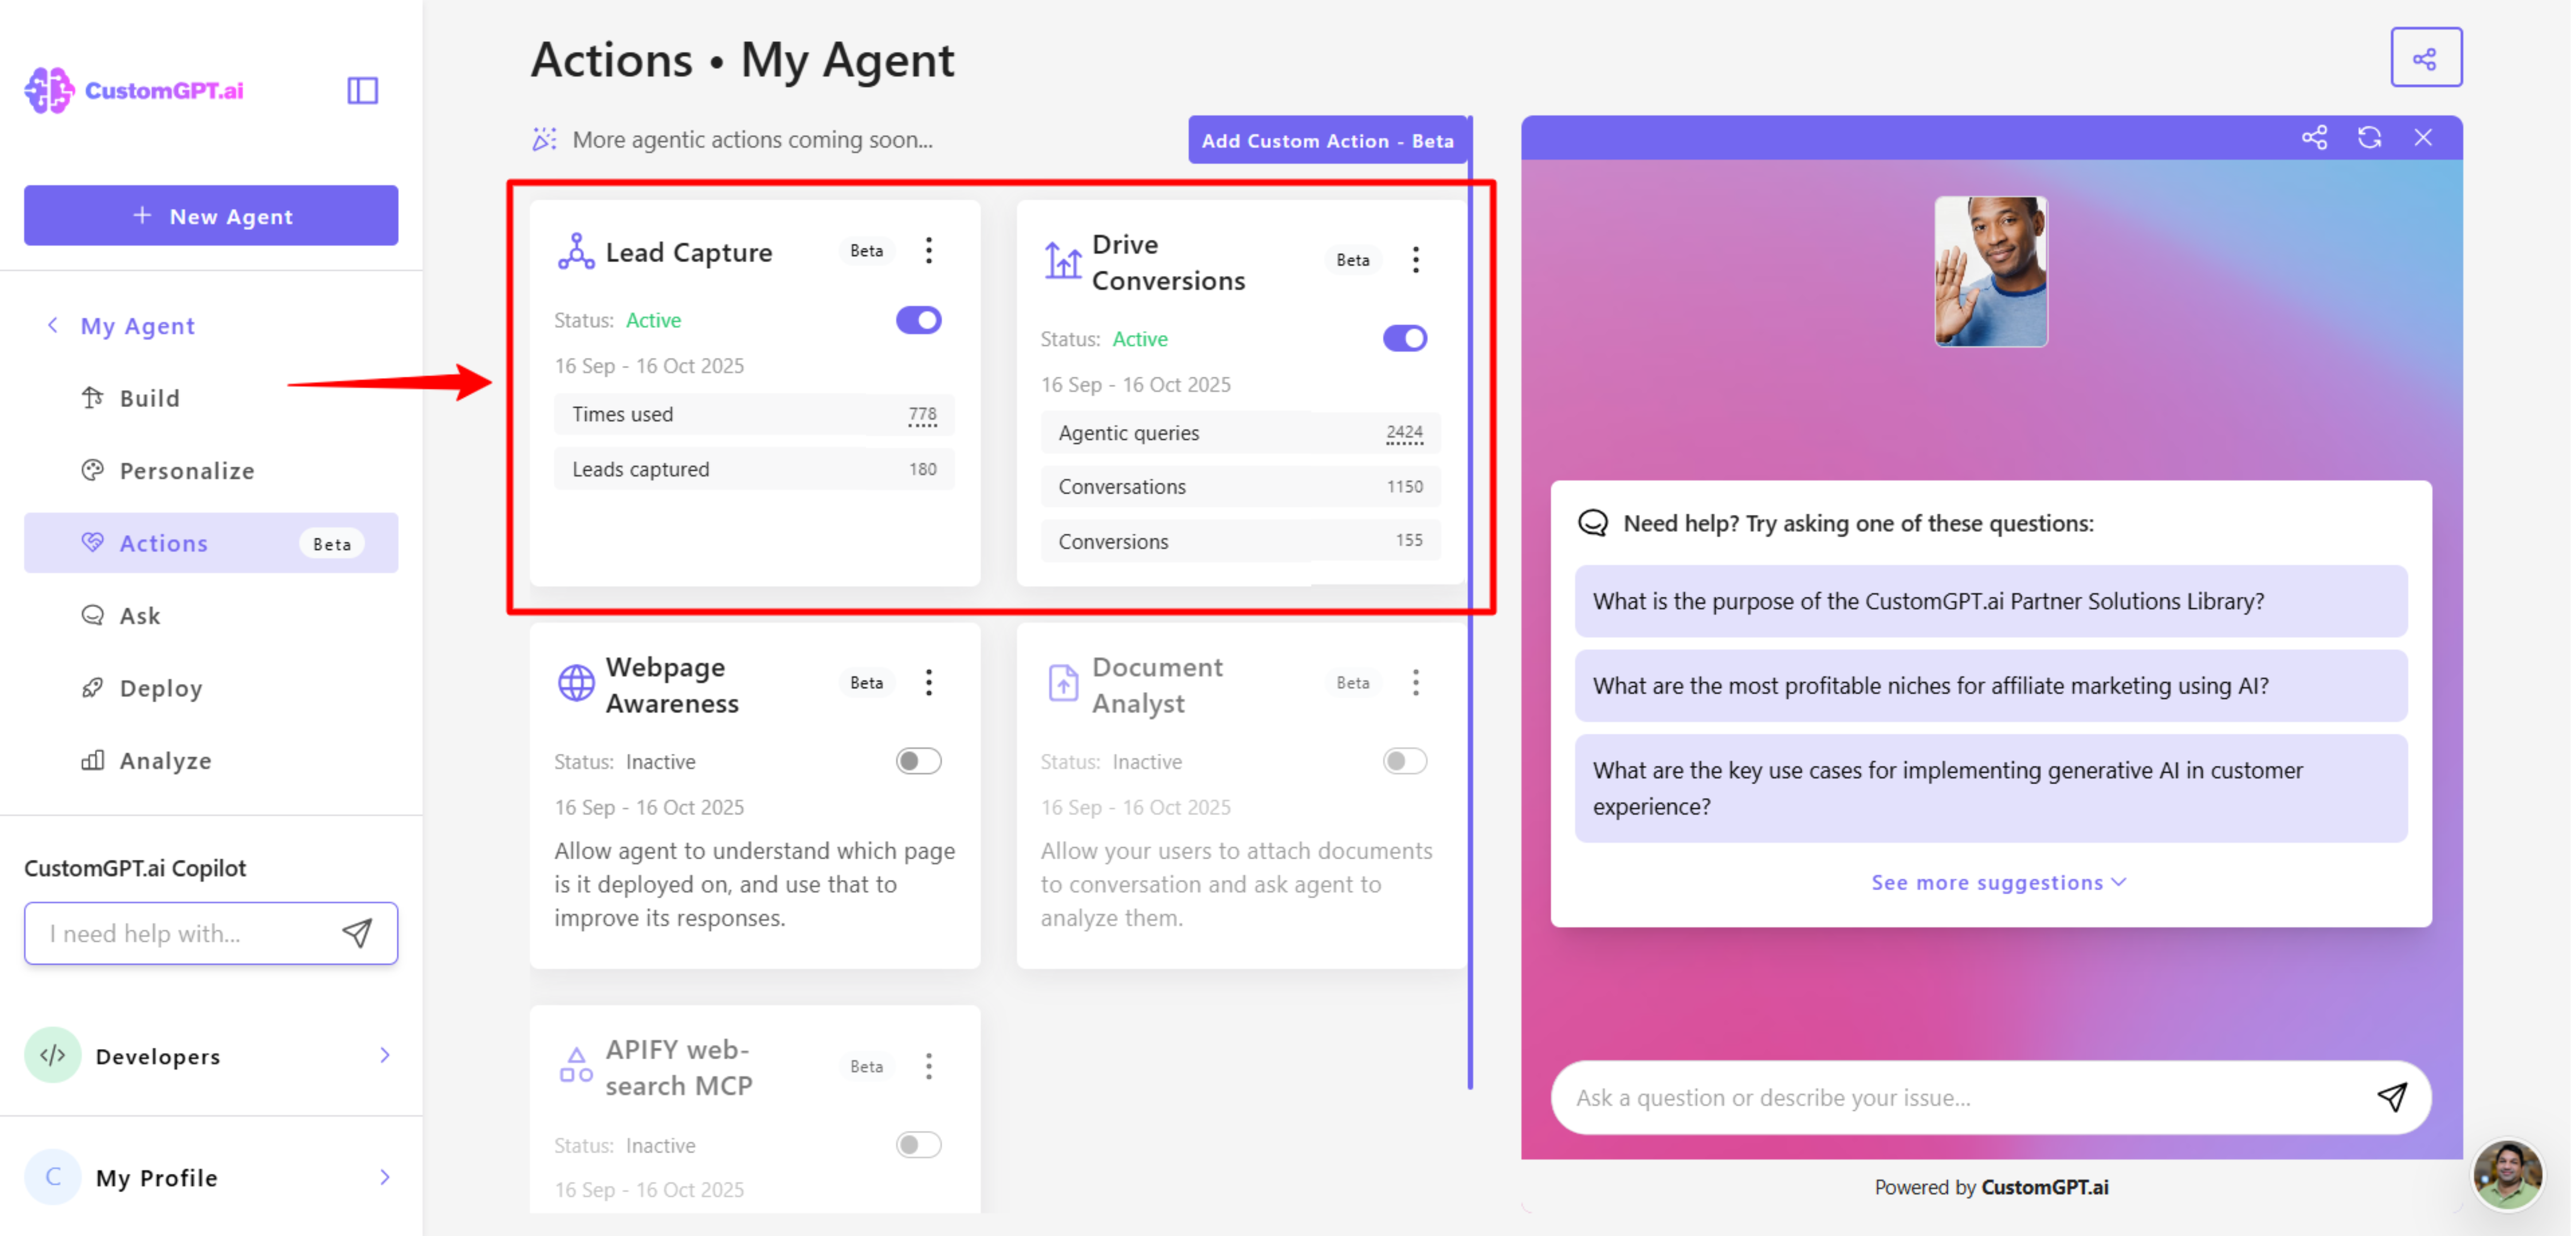
- Click the three dots next to the agent you want to configure.
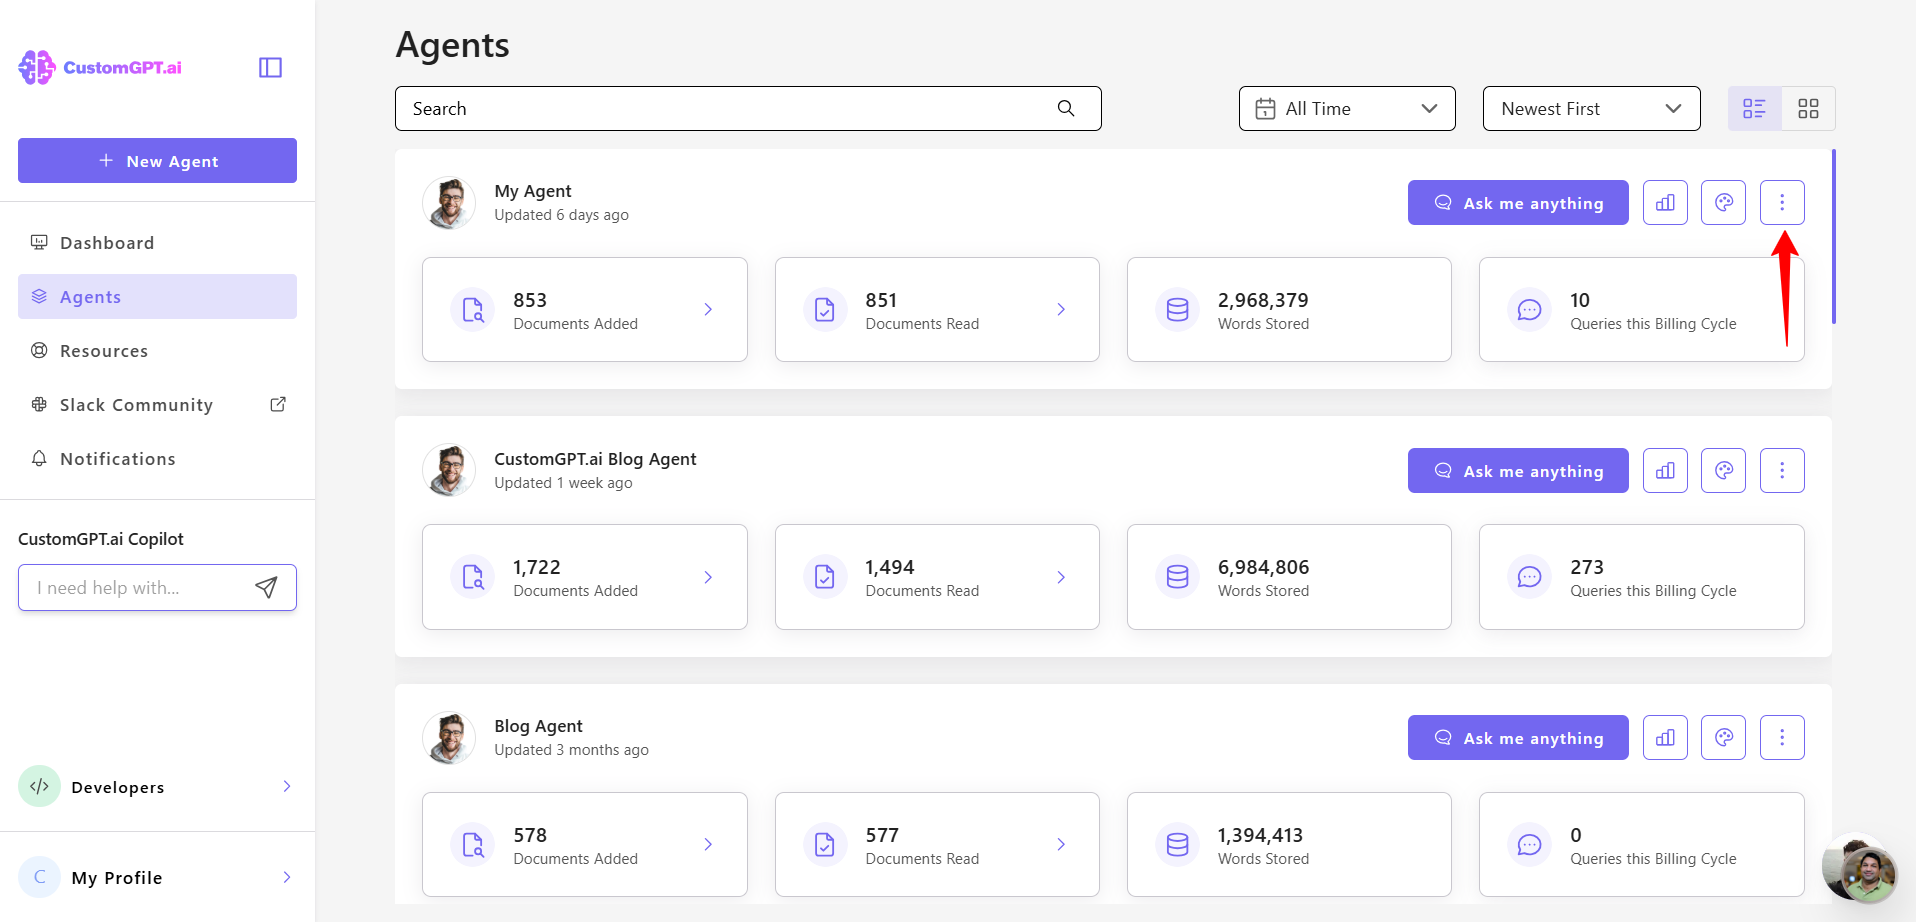
- Select Actions from the dropdown menu.

- In the Actions list, locate Lead Capture and toggle to enable the Lead Capture action.
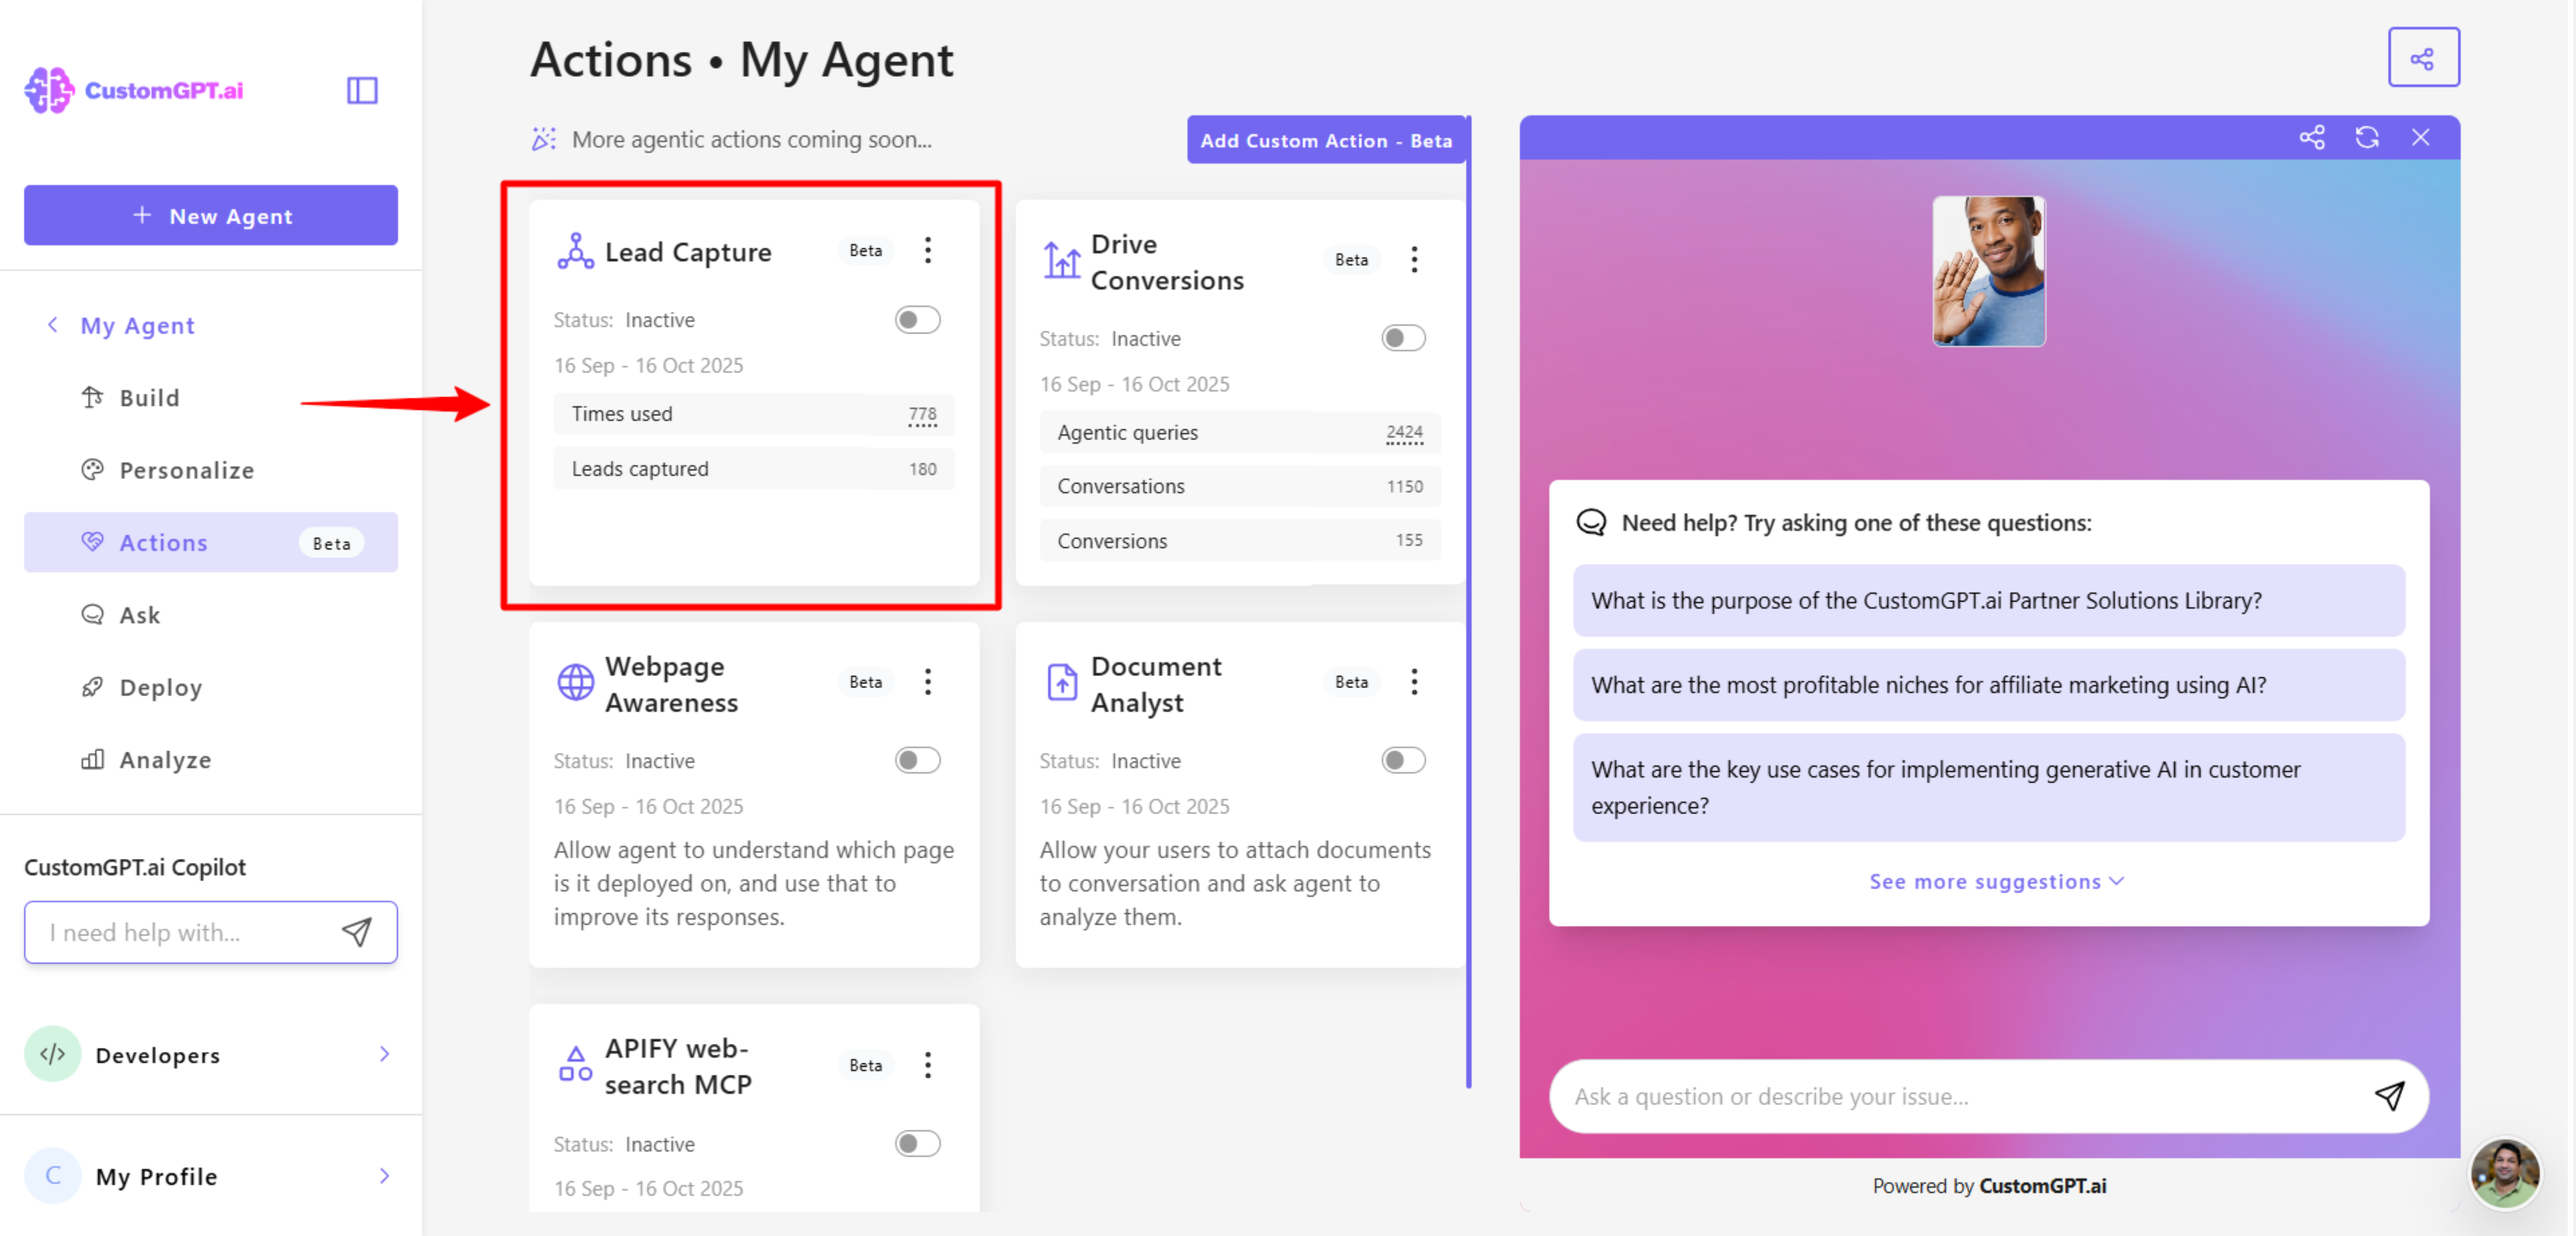
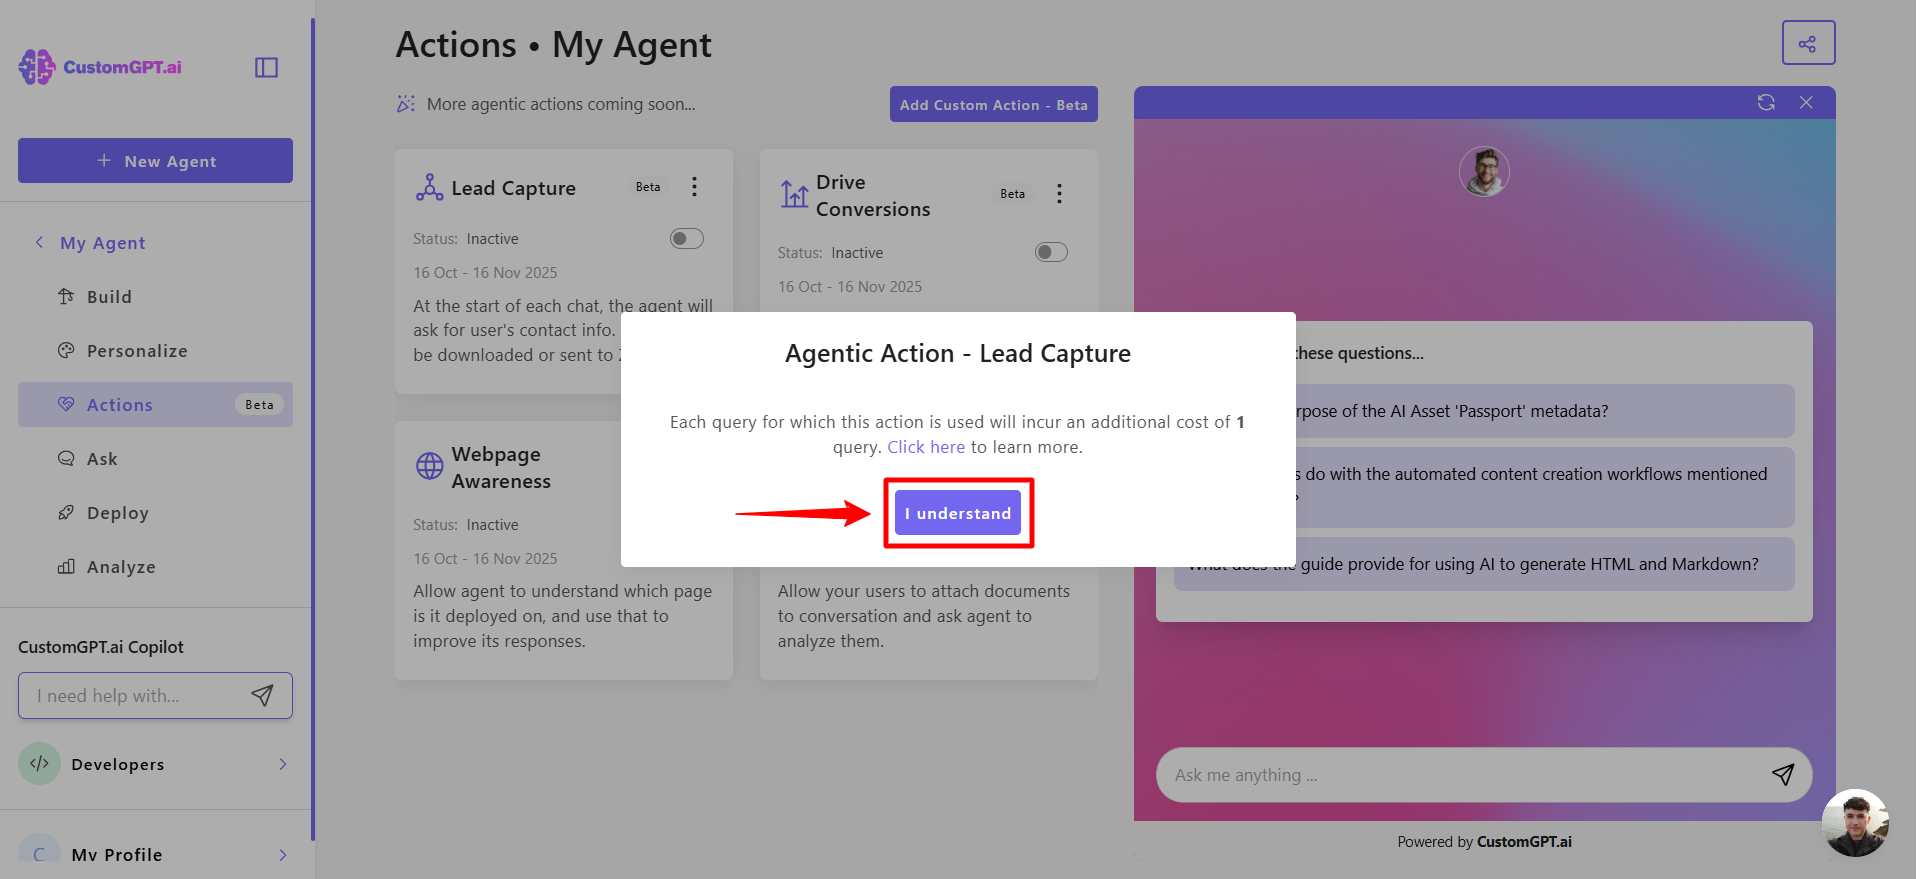
- When prompted, click I understand to confirm activation.
- You can also configure which information your agent collects. To learn how, see Customize the information you want to capture.
- If you also use Drive Conversions, enable both features together for more natural, ongoing lead collection.
How lead detection works
Once enabled, your agent scans every user message to detect and update lead information.
- The agent identifies data such as Name, Email, Company, or other relevant details.
- When new information is detected, it’s saved to the lead record.
- Each update sends a structured Zapier event (if integration is active).
- If no new data is found, no additional query or event is triggered.
Note:While Lead Capture Action is enabled, each query will have the cost of 1 additional query credit. On the Standard plan, Lead Capture will have the cost of 2 additional query credits. Learn more in Track collected leads and usage.
Related articles
Updated about 2 months ago