Enable and use labels for your agent
This step-by-step guide explains how to enable and use labels to filter and organize your agent's knowledge base, allowing you to serve specific content based on context at query time.
This is an enterprise-only feature and must be specifically enabled for your account. Contact your account manager or support team to request access.
Default availability
- Works on the following deployment types: API, Embed, Live Chat, Website Copilot, Instant Viewer, and Search Generative Experience (SGE).
- No additional setup beyond enabling the toggle and adding the parameters to your deployment code.
- Labels are evaluated at query time and do not permanently filter your knowledge base.
- Label data is used only during that request to preserve privacy. The agent does not store label selections.
Note: Before you can use labels for filtering, you must first assign labels to your pages in your knowledge base. You can do this directly in the builder (no API access required) or through the API for programmatic workflows. Labels can be assigned both manually and automatically. For detailed instructions on how to create and assign labels to your documents, refer to Labels API documentation.
How to enable and use labels
Step 1: Enable labels in deployment settings
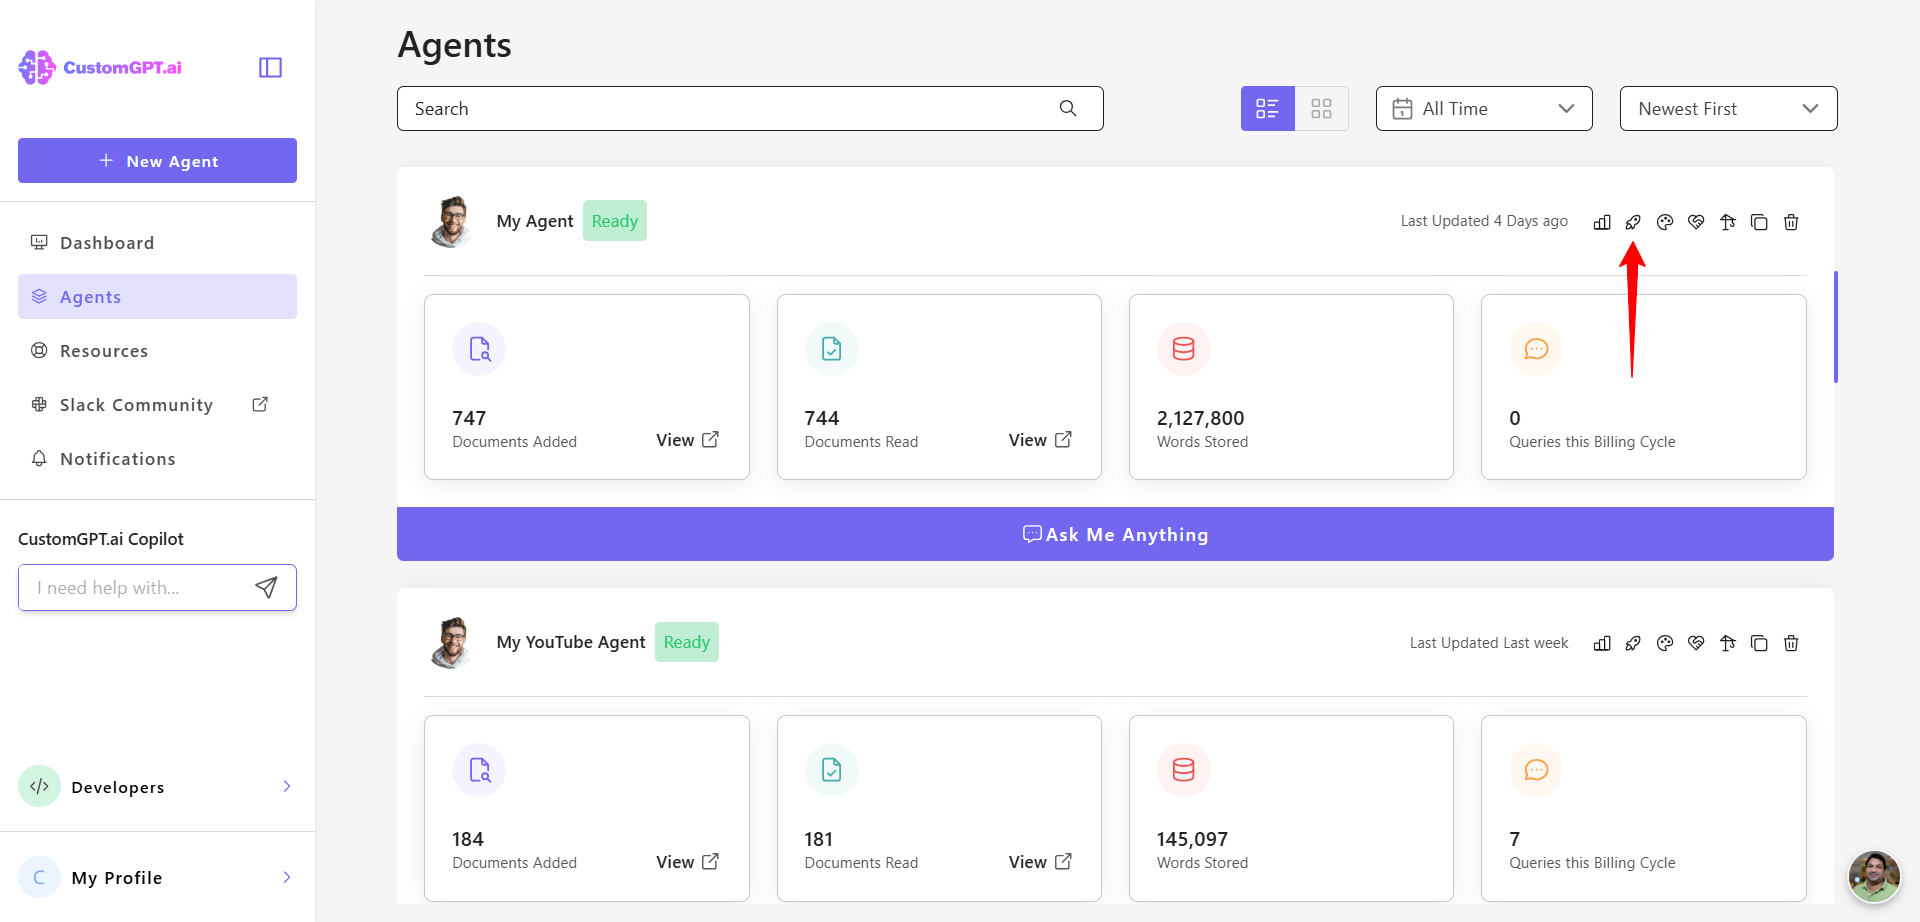
- Select the agent you want to update and click the Deploy Agent icon.
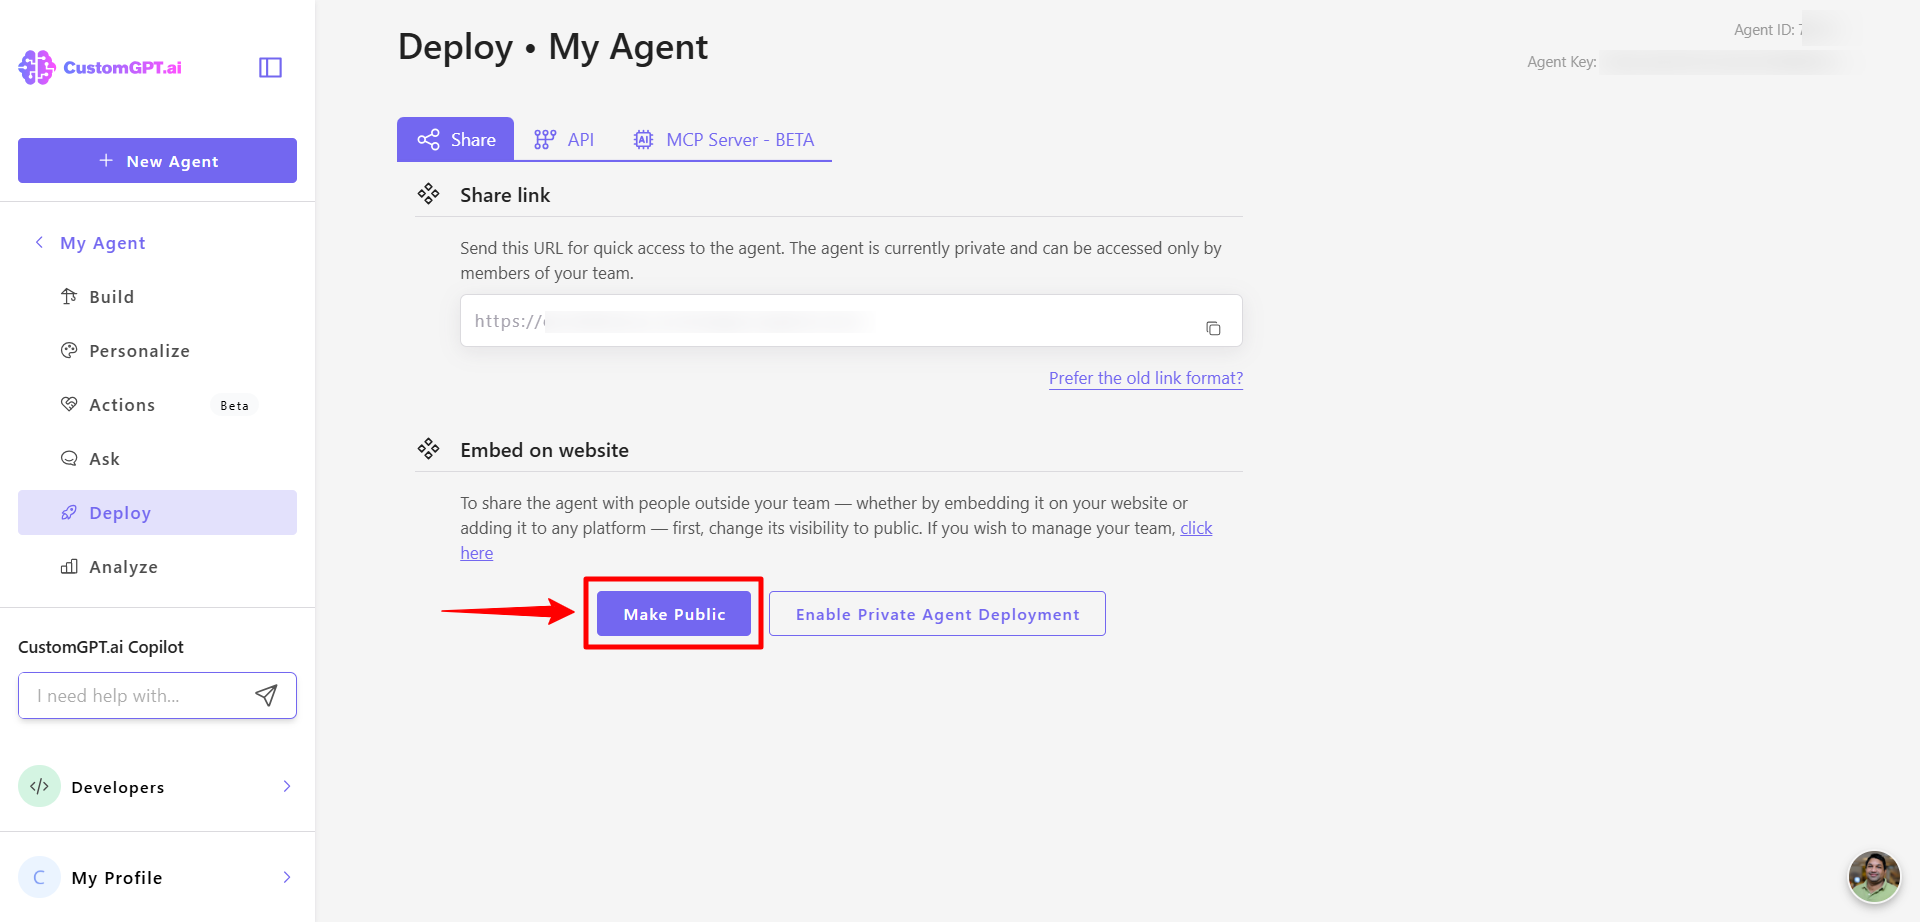
- If your agent is private, click Make Public. If it's already public, continue to the next step.
- Select your preferred deployment method, then click the Settings (gear) icon.
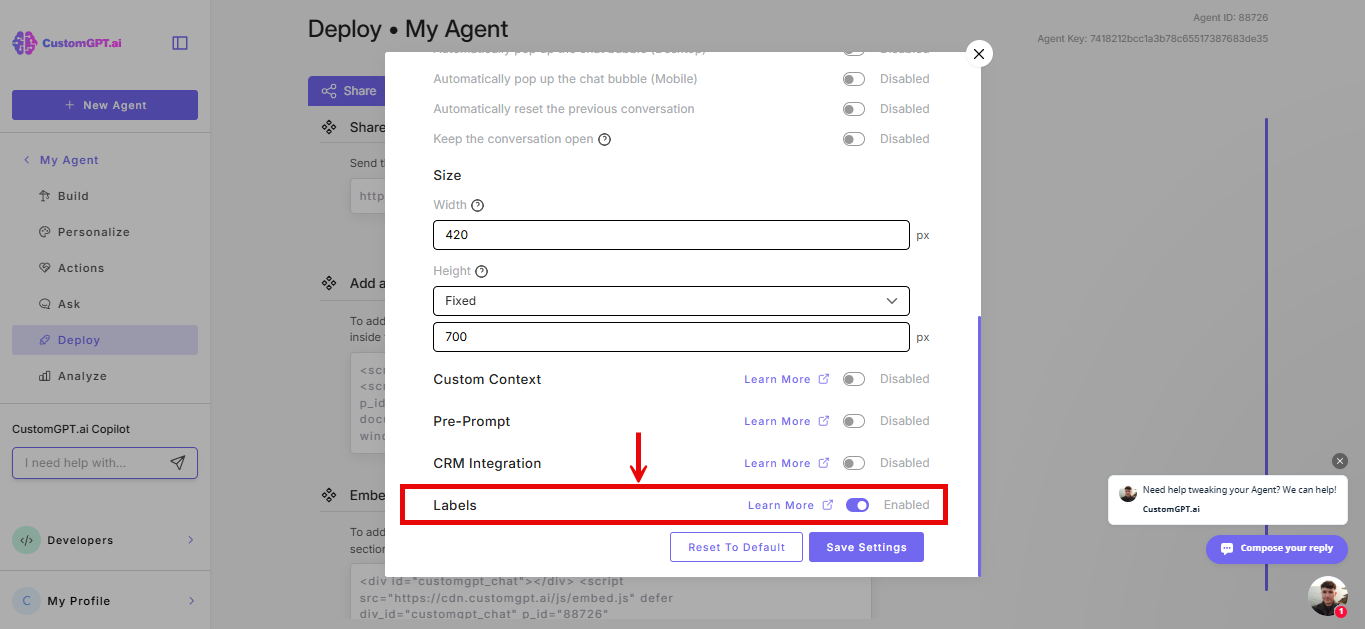
- On the configuration page, turn on the Labels integration.
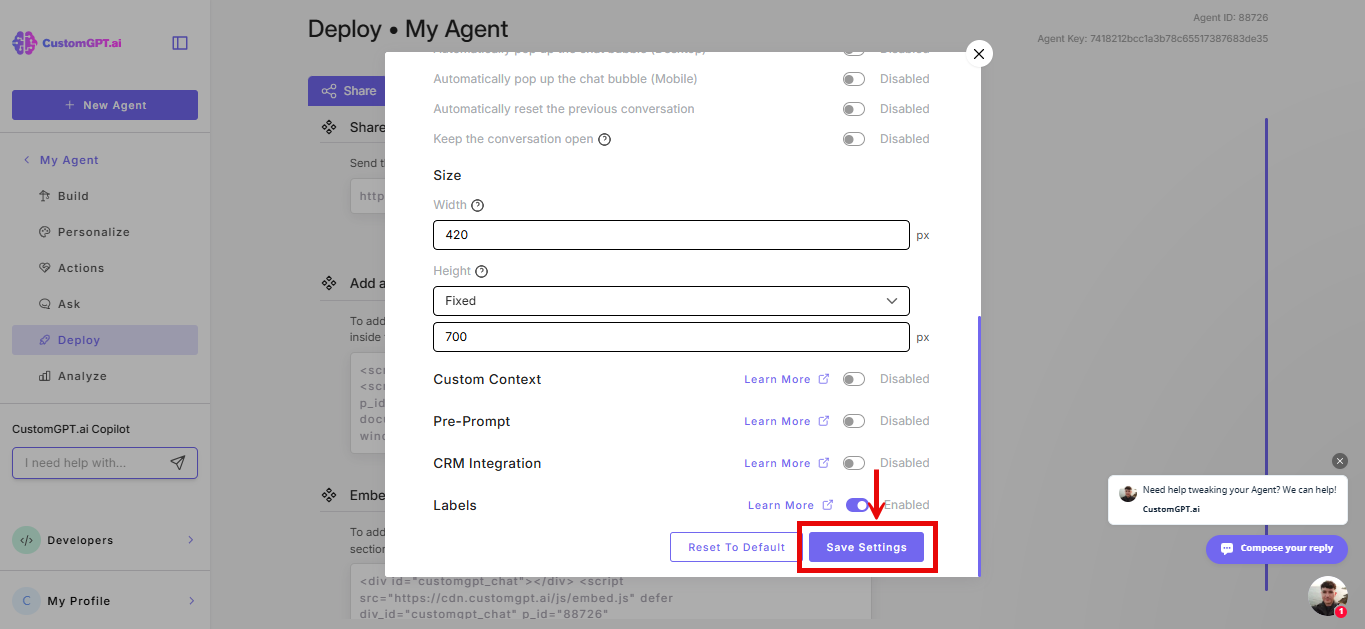
- Click Save Settings to apply the changes.
Step 2: Add label parameters to your embed script
Open your web page template, locate the embed code, and add the label parameters to the embed snippet. Then save the template.
Parameters
-
labels- A comma-separated list of label names.- Format:
labels="label1,label2,label3" - Example with names:
labels="English,Sales,ProductA"
Note:
Label values are always treated as strings. Always pass label names. Numeric IDs are not supported.
If you are dynamically passing labels based on user actions (for example, via query string or session data), use label names. If a label is renamed in the builder, update your code to match the new name.
- Format:
-
labels_exclusive- Controls whether unlabelled documents are included (optional, boolean).- Format:
labels_exclusive="true"orlabels_exclusive="false" - When
true: Only documents with matching labels are used (strict filtering) - When
falseor omitted: Documents with matching labels AND documents without any labels are used (permissive filtering) - Default:
false**Note:** To verify your filtering is working as expected, use the test agent in [Test Source Label Filtering](https://docs.customgpt.ai/docs/test-source-label-filtering) to run both exclusive and permissive modes before deploying.
- Format:
Example embed code with labels
<div id="customgpt_chat"></div>
<script src="https://cdn.customgpt.ai/js/embed.js"
defer
div_id="customgpt_chat"
p_id="123456"
p_key="abcdefgh"
labels="English,Sales"
labels_exclusive="true"></script>
Note:Replace the values of
p_id,p_key, andlabelswith your specific Agent ID, key, and desired label filters. In the above example, the agent will use only documents labelled with "English" or "Sales", and will exclude any unlabelled documents becauselabels_exclusiveis set totrue.
Using labels with the API
Labels are also available when querying your agent via the Send Message API endpoint. Include the labels and labels_exclusive parameters in your API request to filter content programmatically.
For complete API documentation and examples, visit the Labels API reference.
Related articles
- What is Source Labeling
- Source Label Parameters
- Test Source Label Filtering
- Assign Labels to Your Knowledge Base Pages
- Enable and use CRM integration
- Deploy using an MCP server
Updated 2 months ago