Enable Custom Button
This step-by-step guide explains how to enable the Custom Button Agentic Action for your CustomGPT.ai agent.
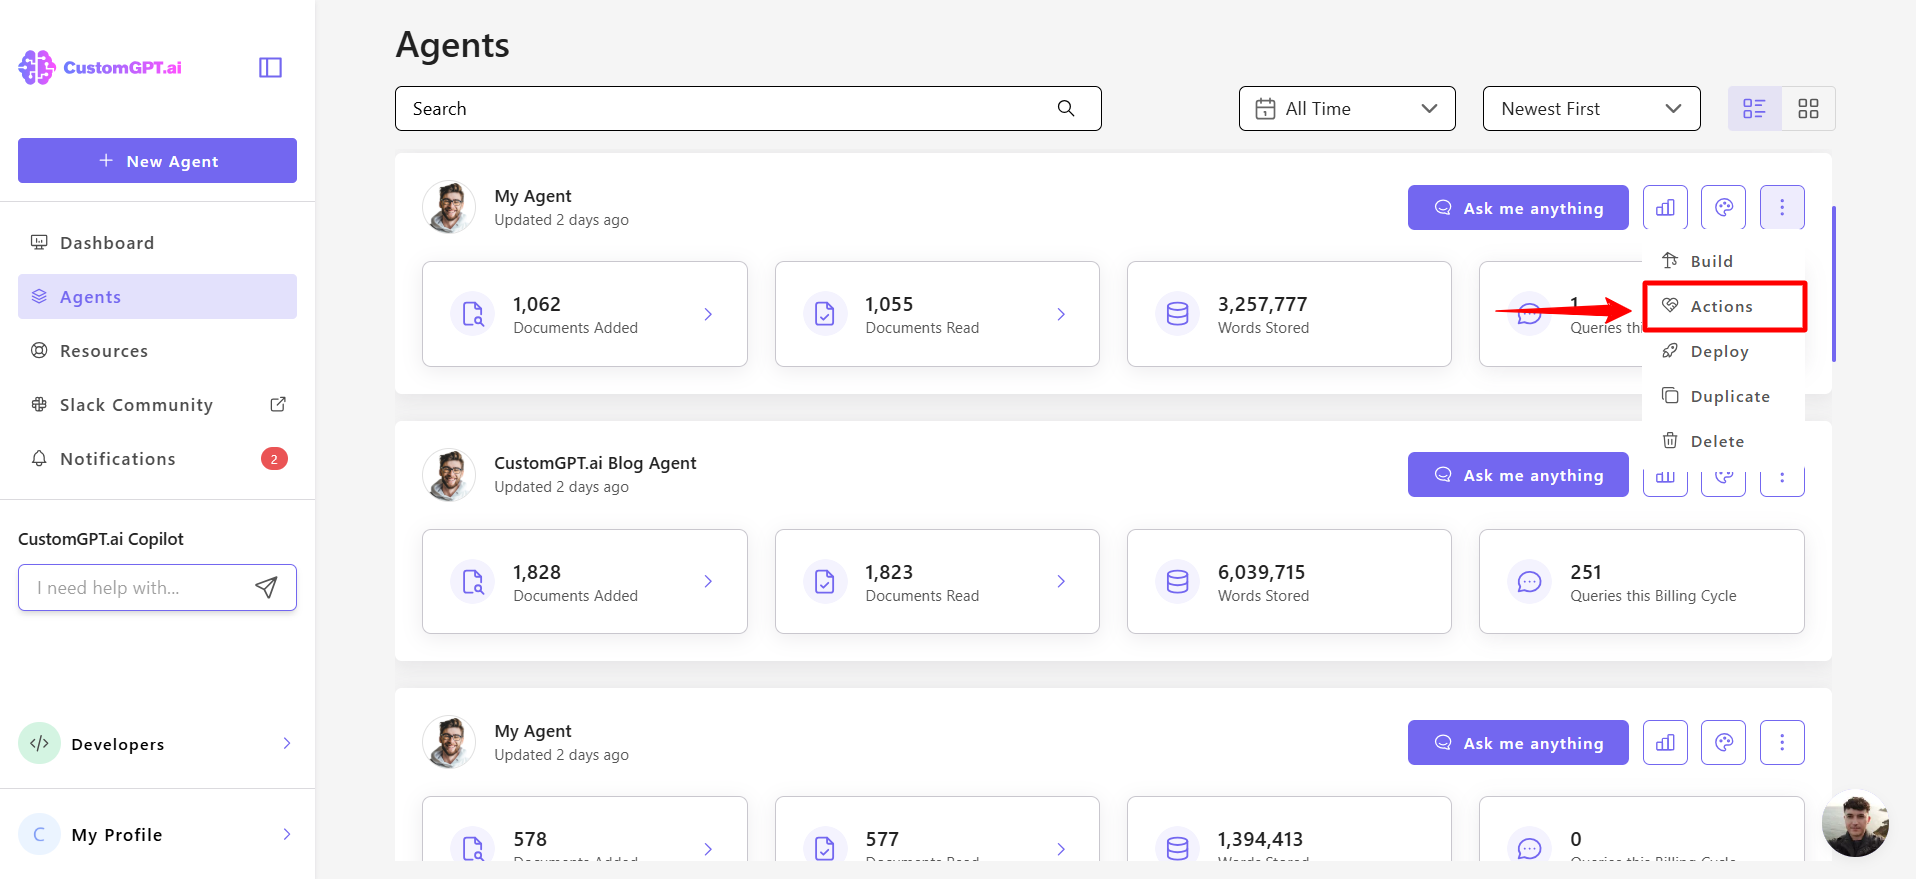
- Click the three dots (⋮) next to the agent you want to configure and select Actions from the dropdown menu
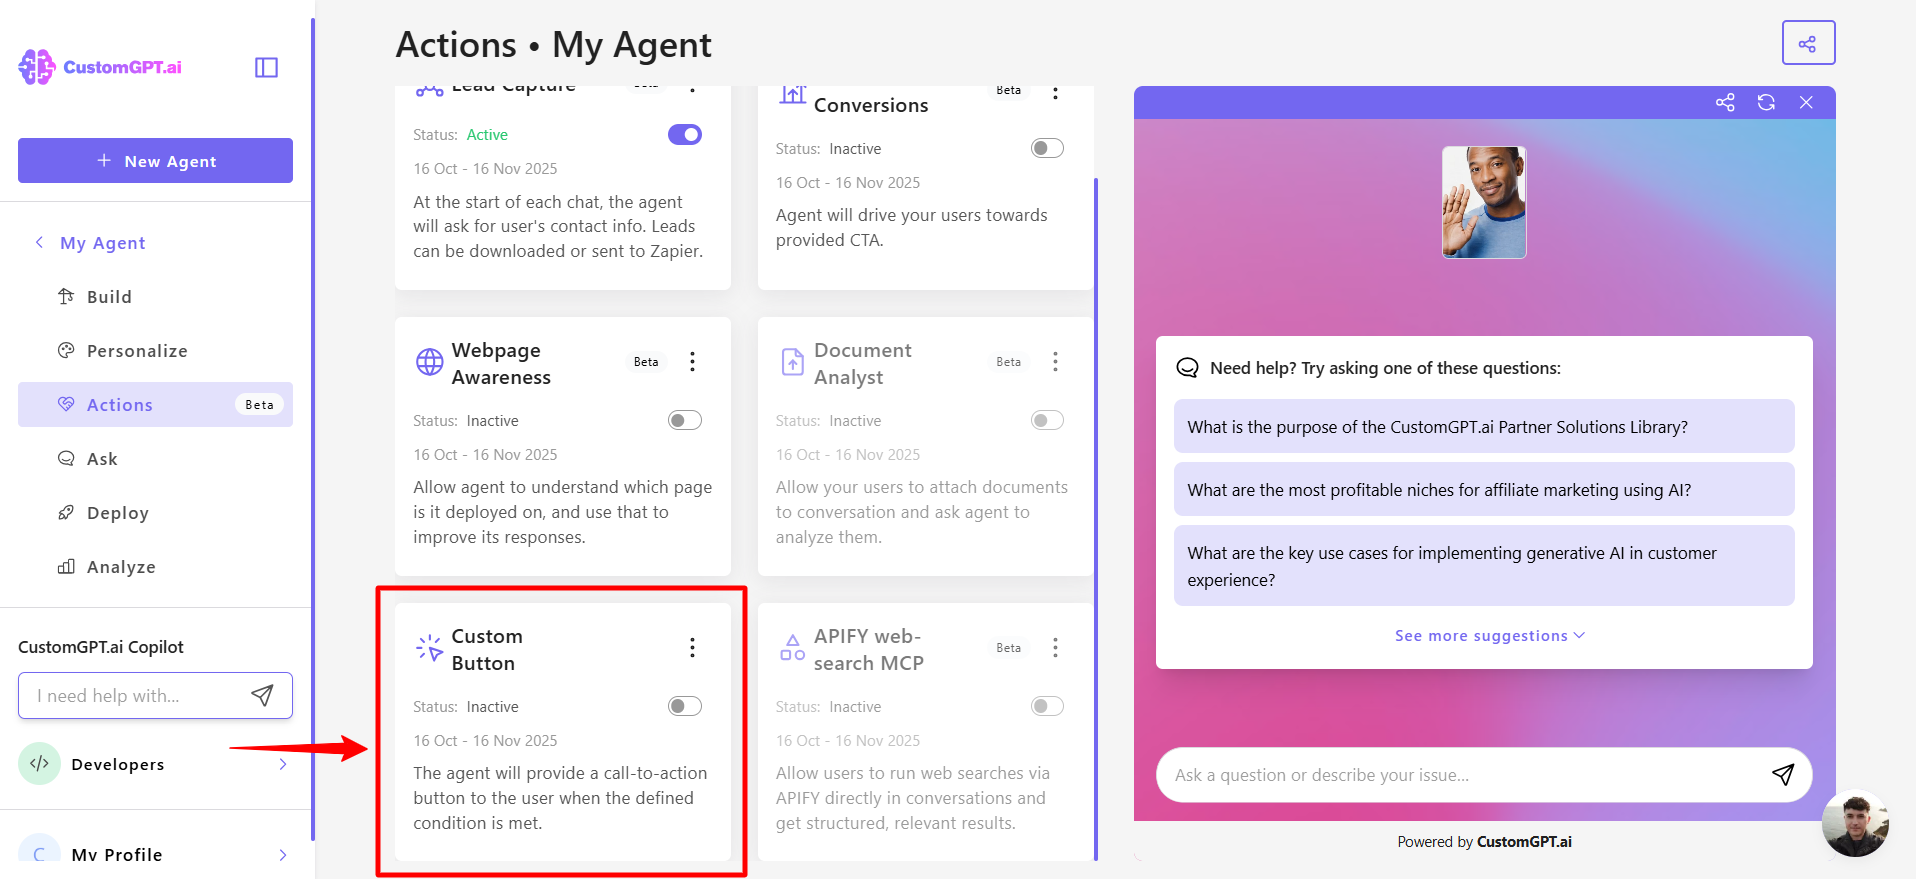
- Scroll down to find Custom Button in the Actions list and toggle the switch to enable the feature.
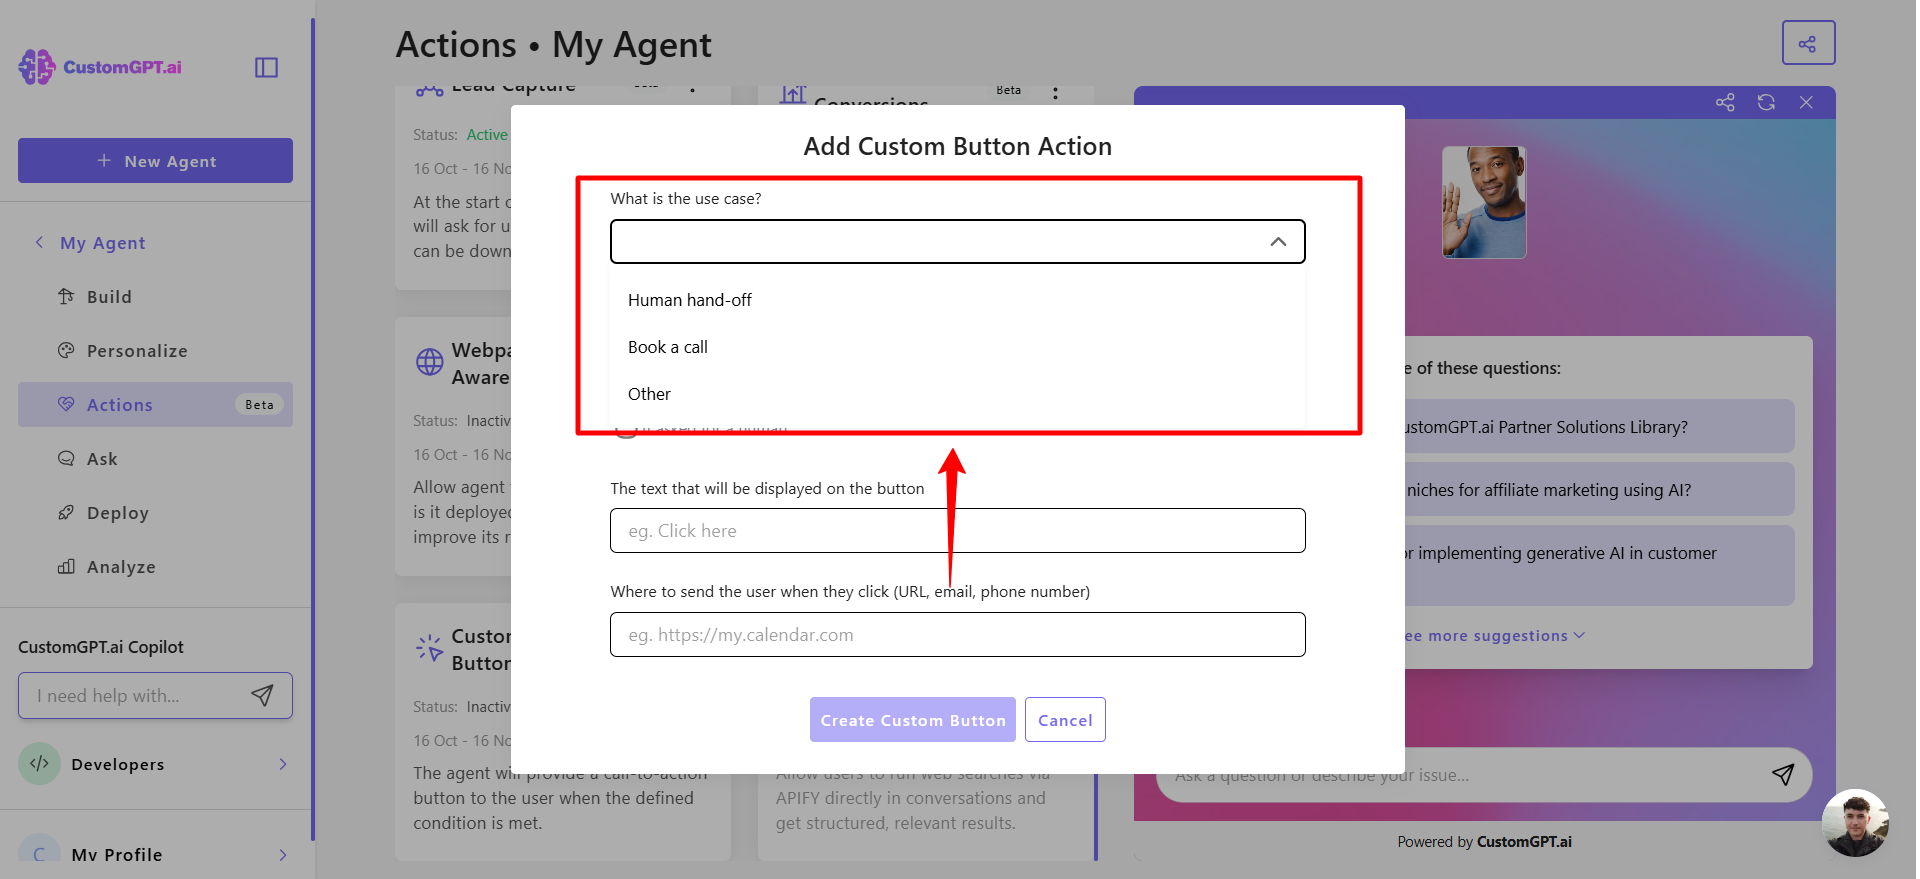
- Select your use case — choose from:
- Human hand-off
- Book a call
- Other (you can enter your own purpose)
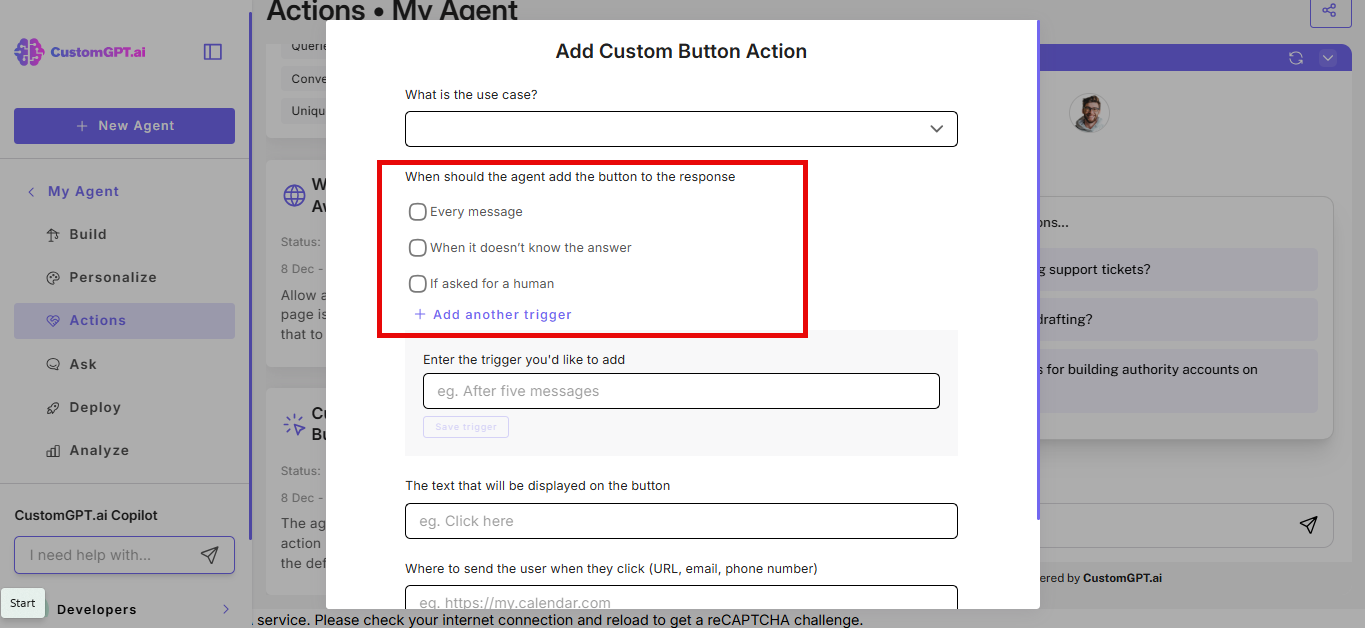
- Choose when the agent should add the button to its responses:
- Every message
- When it doesn't know the answer
- If asked for a human
- (Optional): Click Add custom trigger to create your own conditions. You can add up to 3 custom triggers (max 50 characters each), and edit or delete them anytime.
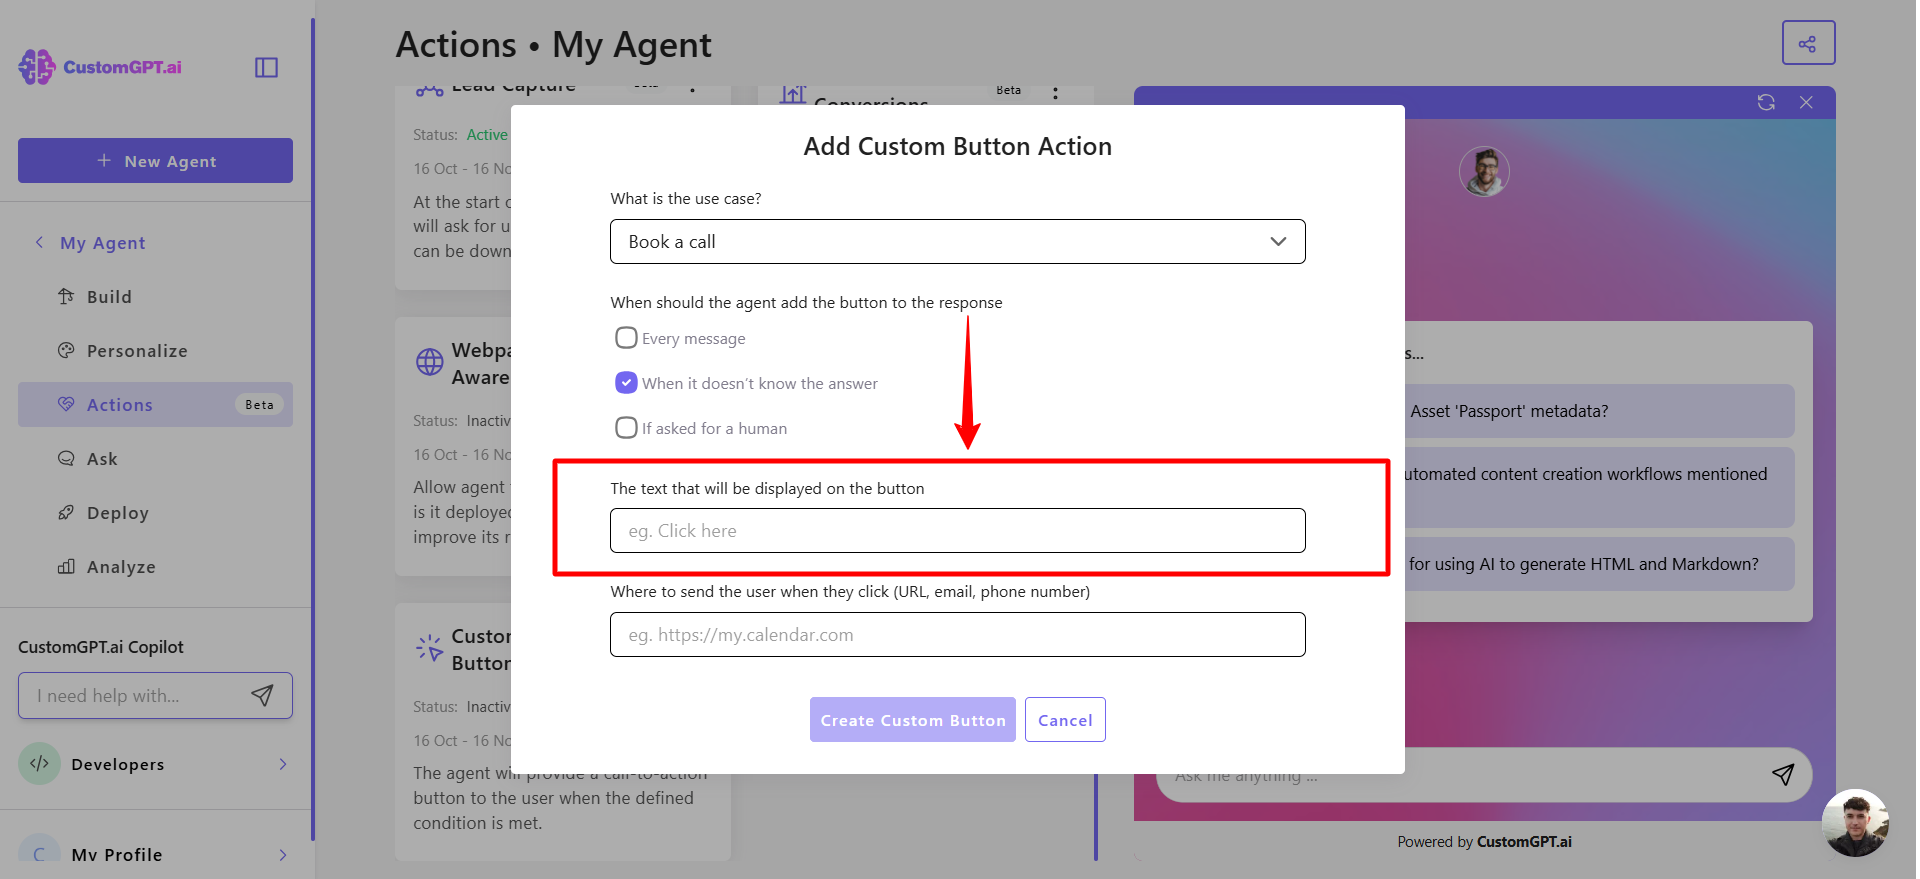
- Enter the button text (the label users will see).
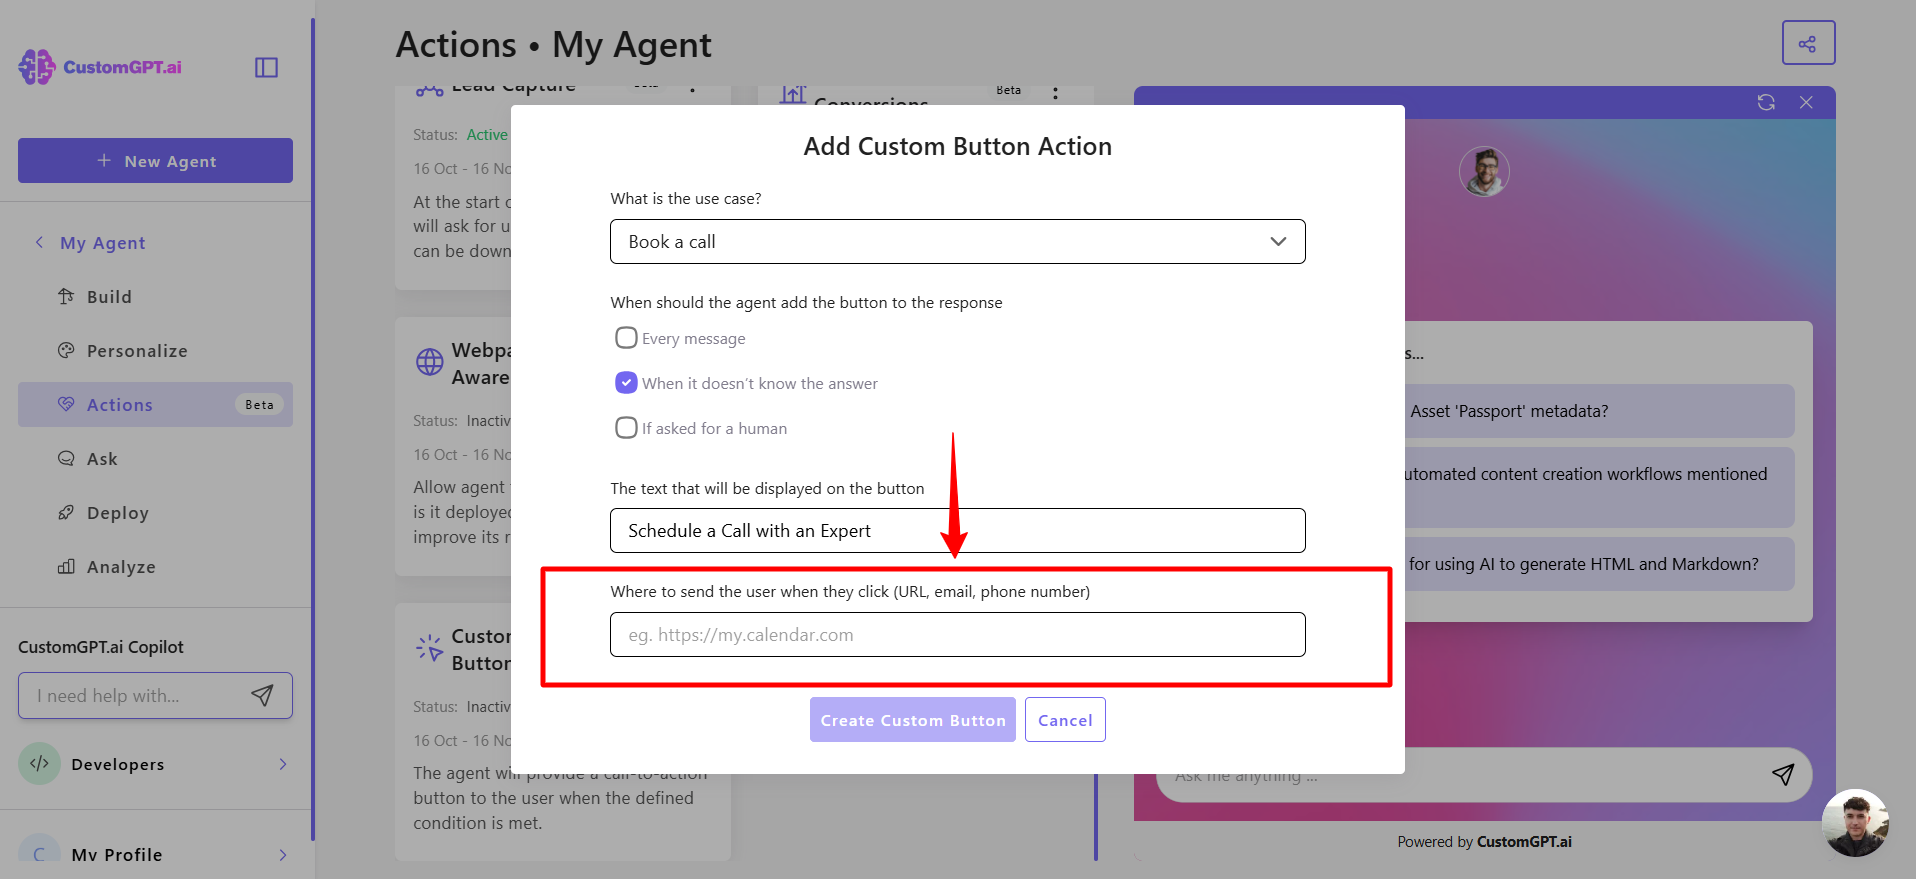
- Enter the destination — where users should be sent when they click the button:
- A URL (e.g., booking page or form)
- An email address
- A phone number
- Click Create Custom Button to finalize and save your setup.
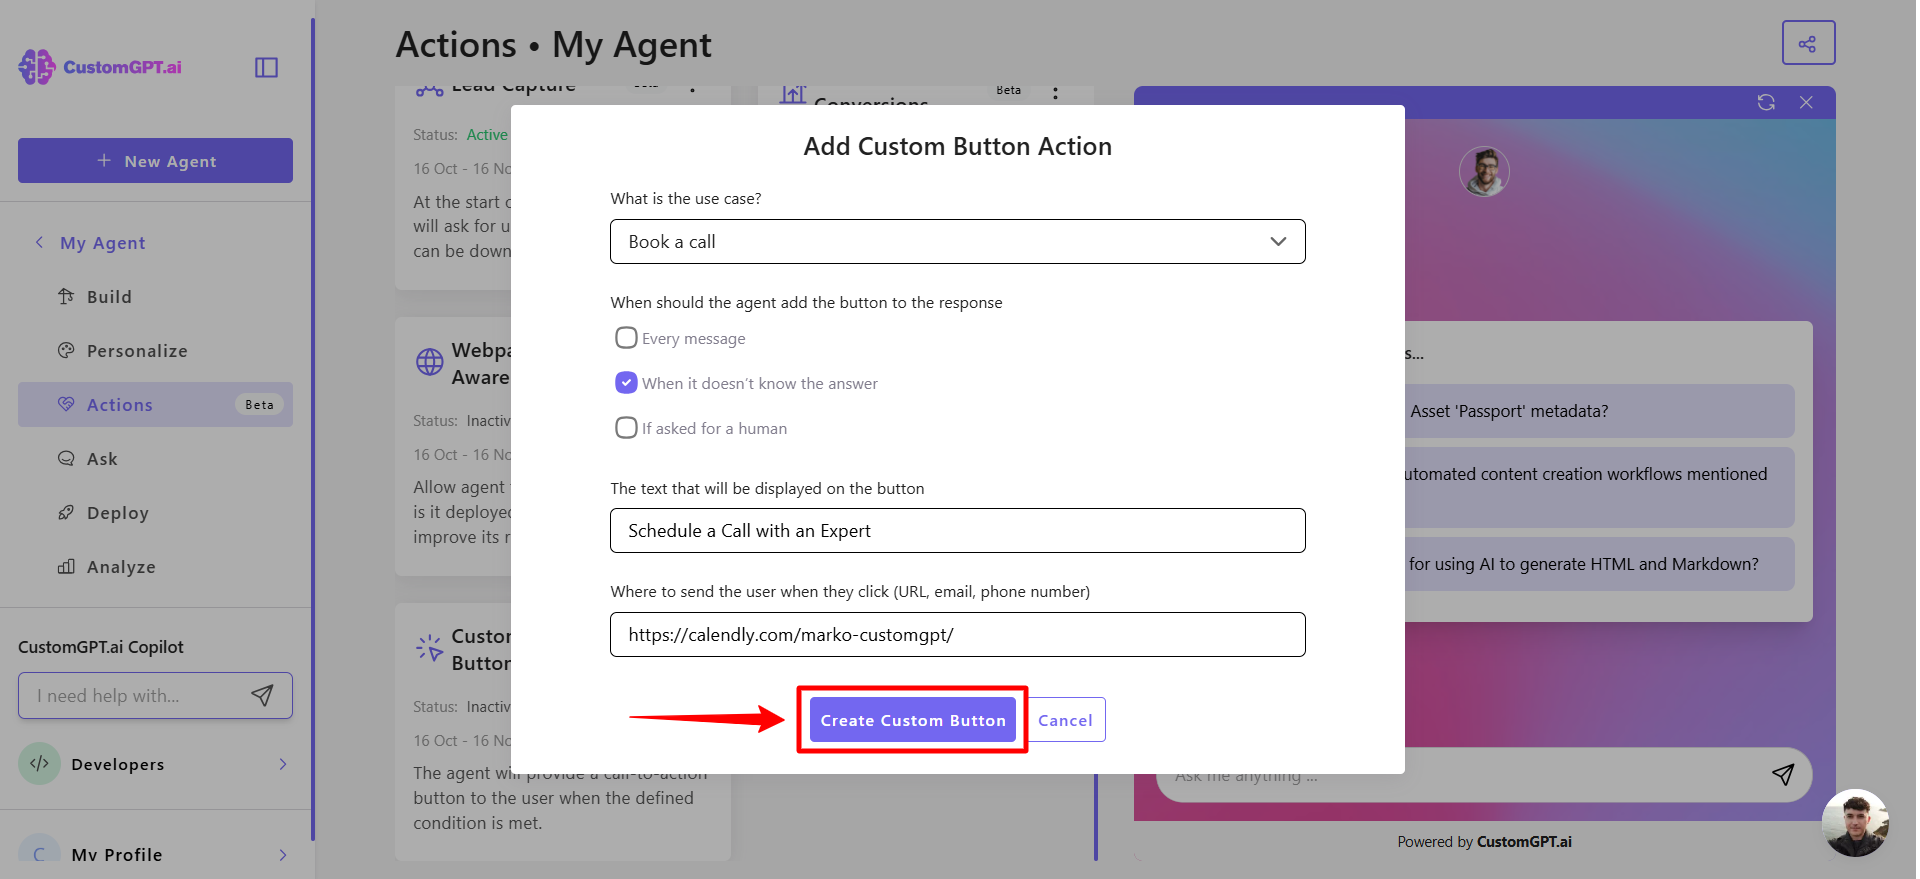
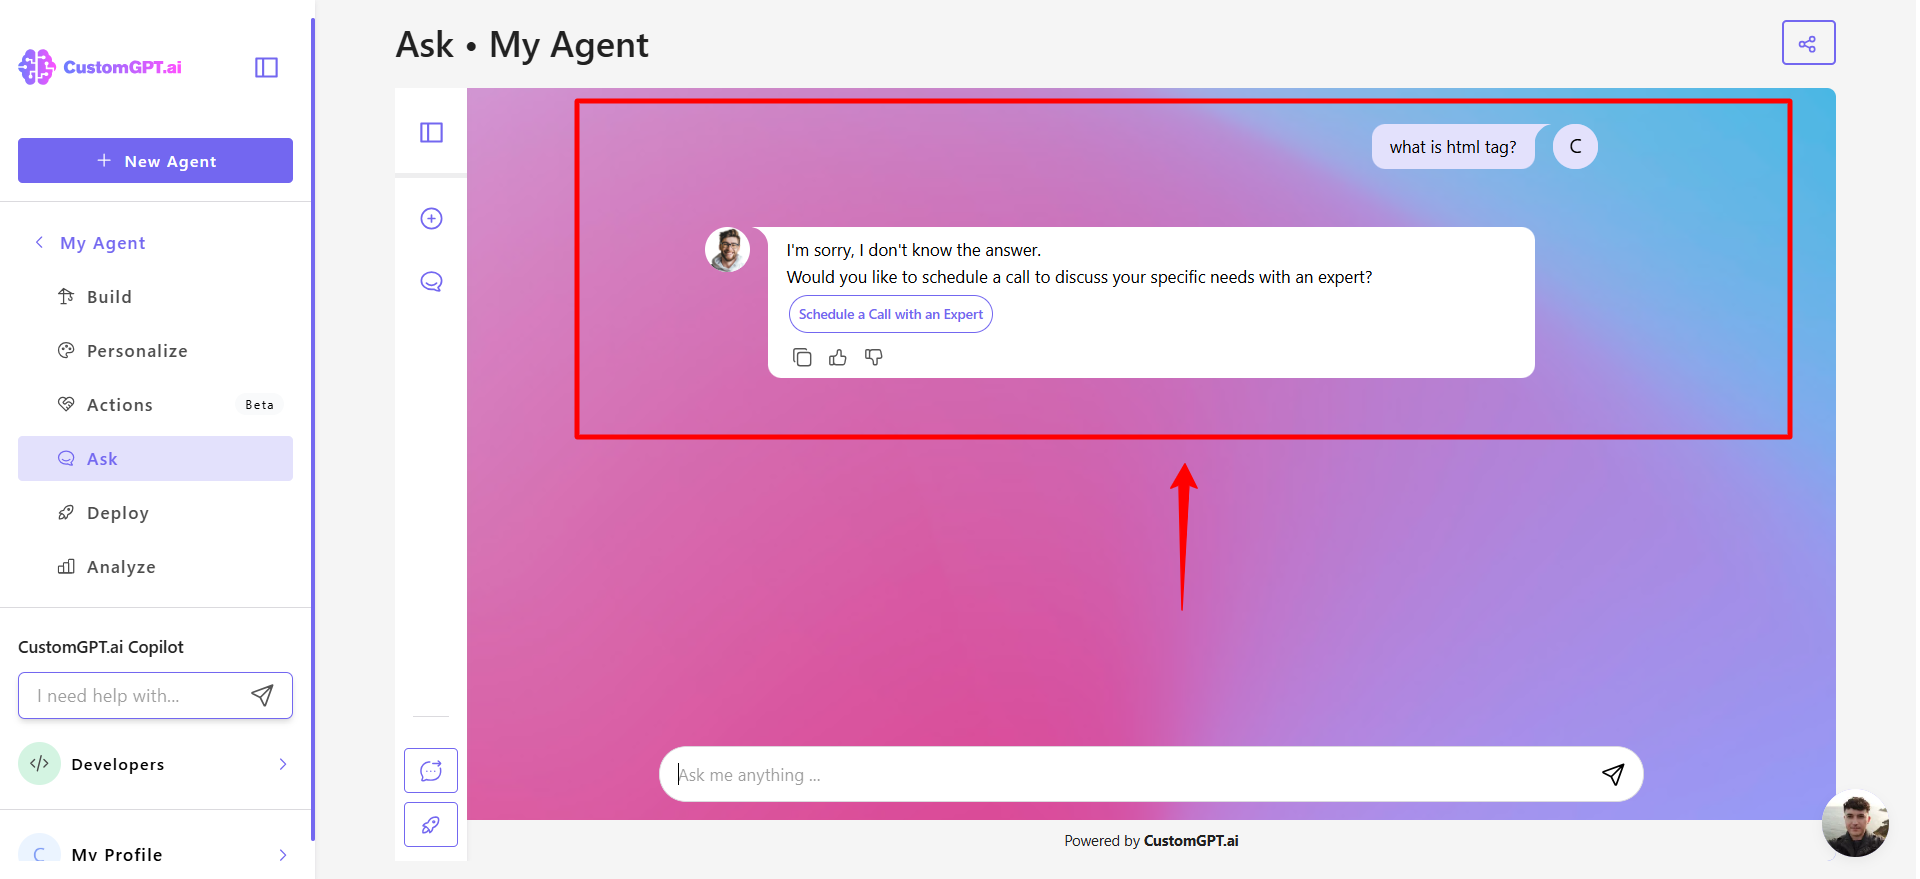
- Your button will now appear in the agent’s responses according to your selected rules.
Related articles
Updated 7 months ago
Did this page help you?