Deploy IdP-access controlled agent to external website
This guide explains how to embed a private CustomGPT.ai agent on an external web page so that only users authenticated through your organization's Identity Provider (IdP) can access it.
If you have not yet set up IdP end-user access, complete the setup in Deploy AI agents to your entire organization via IdP first. This guide assumes you have already:
- Configured a custom SAML attribute in your IdP
- Created matching roles in CustomGPT with chat-only permissions
- Enabled IdP end-user access in your SSO settings
Prerequisites
Before following this guide, make sure you have:
- A CustomGPT Teams plan with SSO enabled. Contact the sales team if you're not sure whether this is active for your organization.
- IdP end-user access fully configured attribute set up in your IdP, matching role(s) created in CustomGPT, and the feature toggled on in your SSO settings. See Deploy AI agents to your entire organization via IdP for the full setup.
- Account Owner or Admin access in CustomGPT.ai.
Step 1: Set Up IdP End-User Access Control
If you haven't already configured end-user access via your IdP, complete the following steps first.
Create a Role in CustomGPT Teams
Before configuring the IdP connection, create the role that will be assigned to guest users.
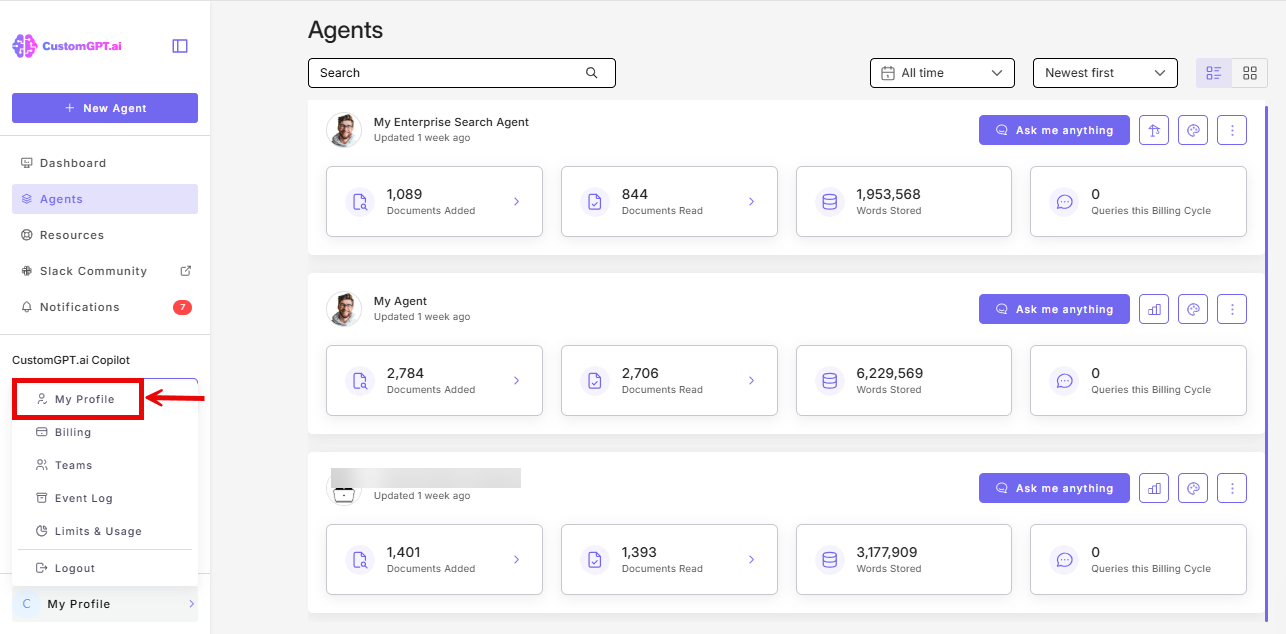
- Click on My Profile.
- Click on Teams.

- Click on the Roles tab.
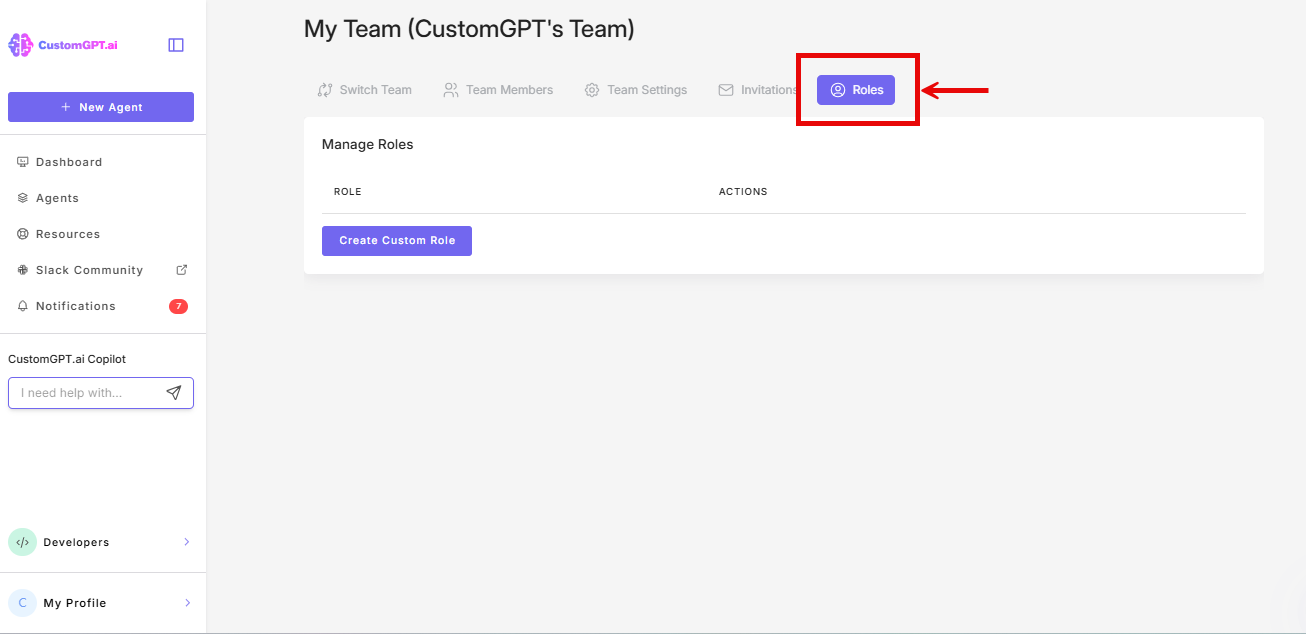
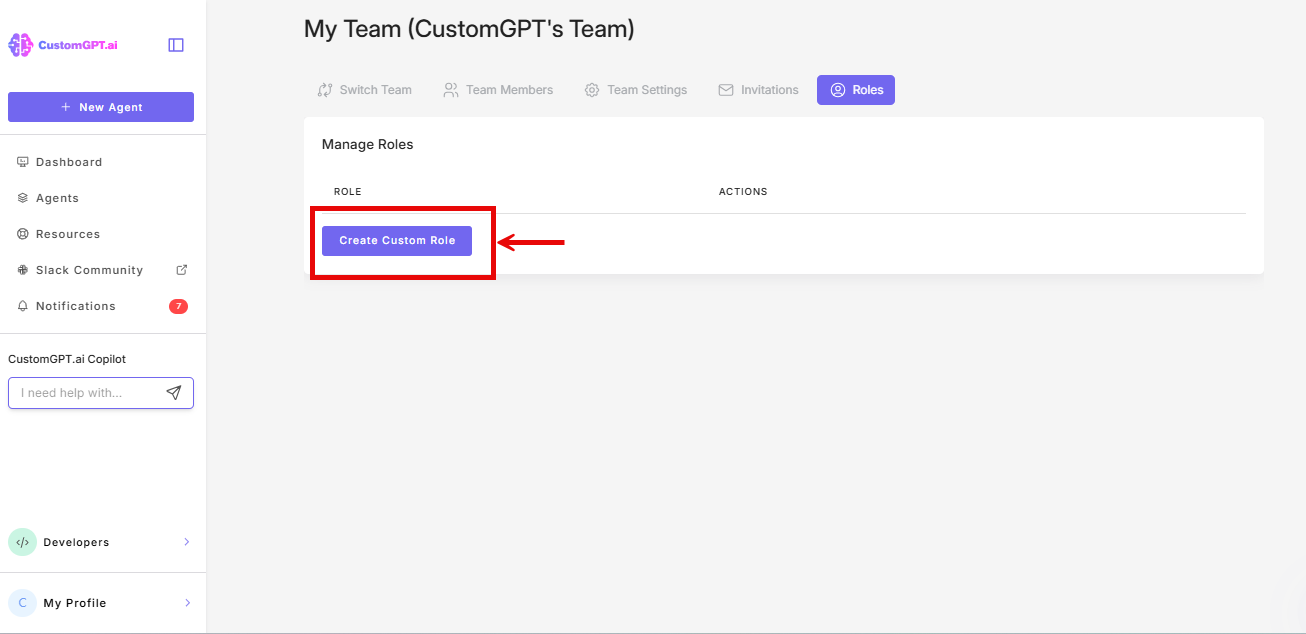
- Click Create Custom Role.
- Enter a Role Name. This must exactly match the attribute value your IdP will send. It is case-sensitive (for example, if your IdP sends
partner-support, the role name must bepartner-support).
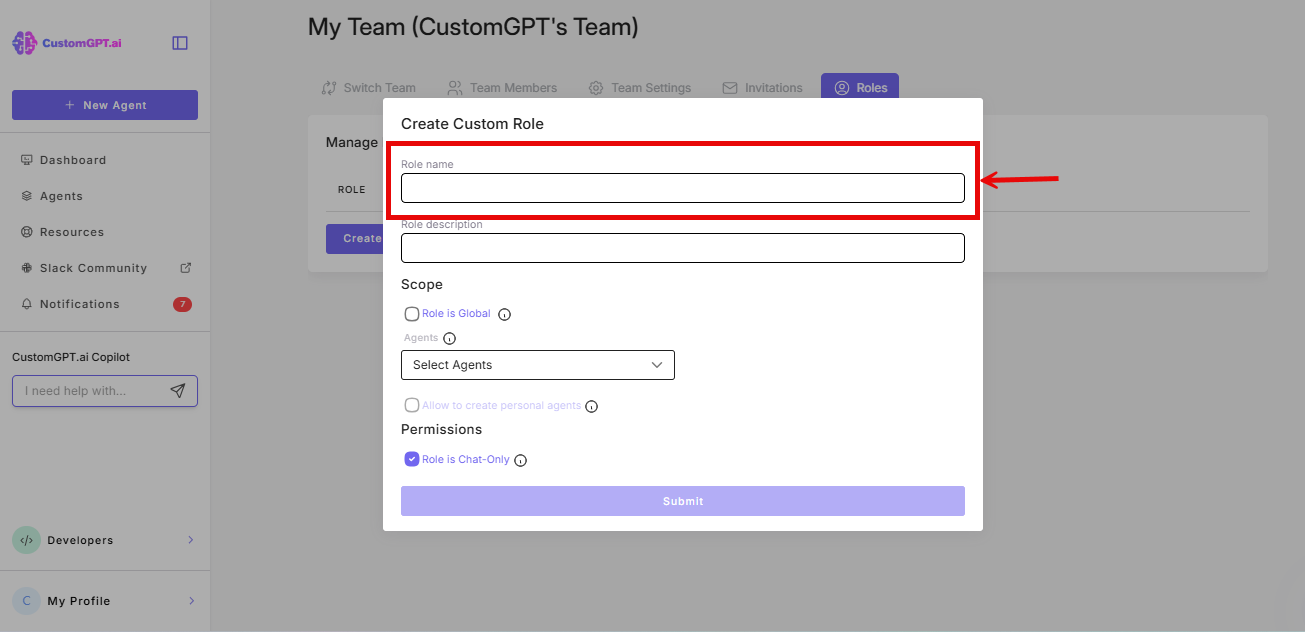
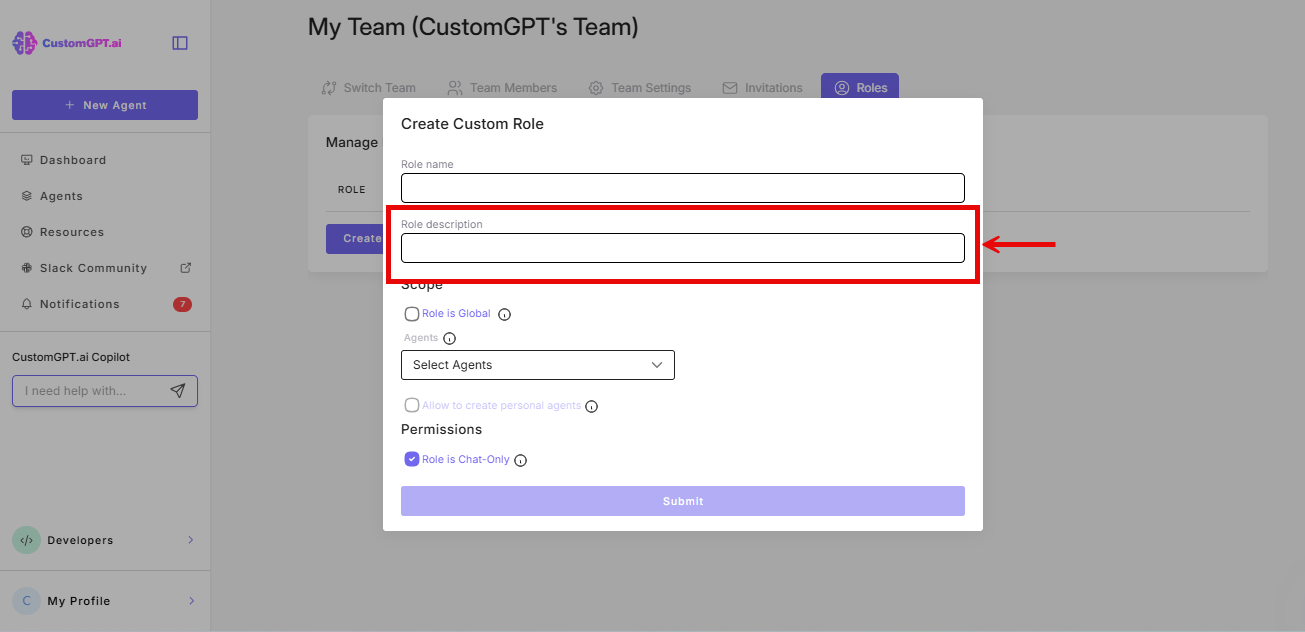
- Enter a Description for the role.
- Deselect Role is Global (strongly recommended). Keeping the role local ensures access is strictly controlled and limited to the intended agents.

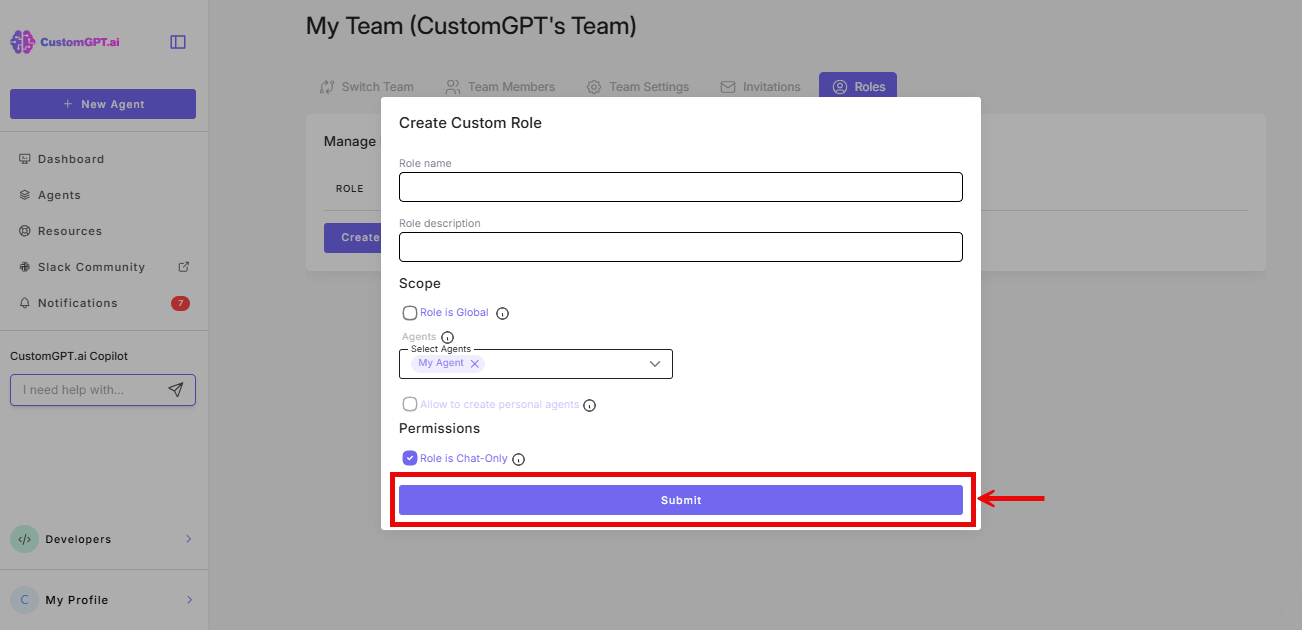
- In the Agents section, select which agents this role can access.

- Set Permission to Chat Only (strongly recommended). This prevents end-users from accessing any settings or configuration.
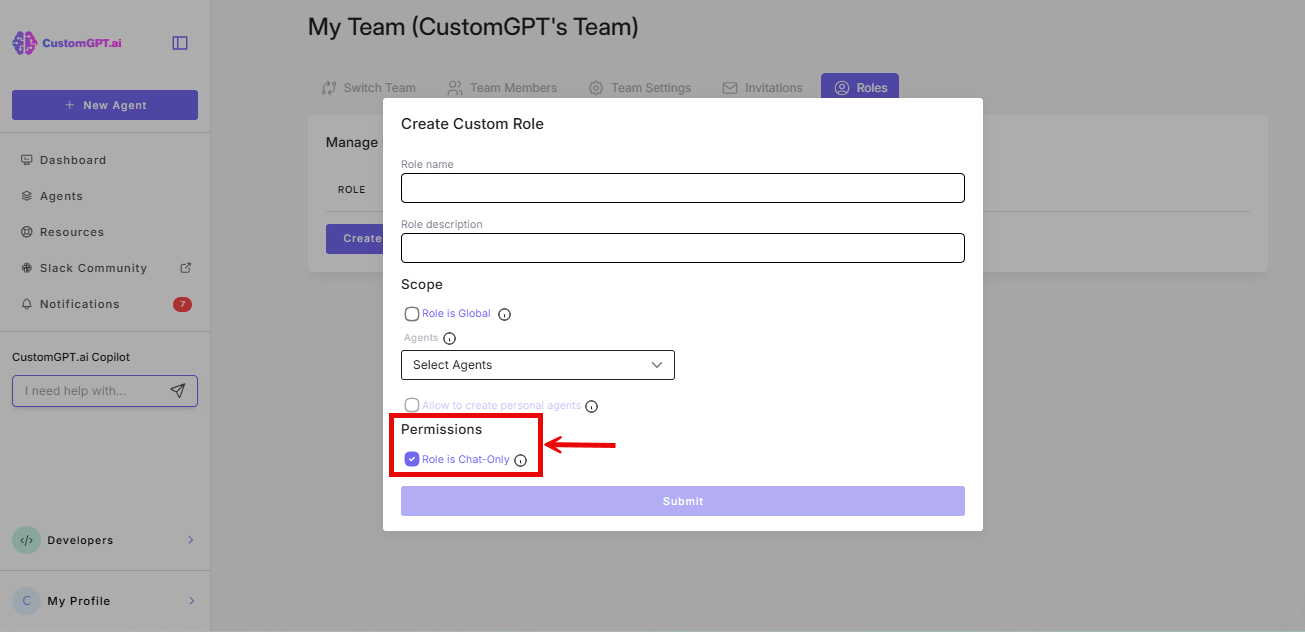
- Click Submit.
Enable IdP End-User Access in CustomGPT.ai
- Click My profile icon in the bottom-left corner
- Click My Profile from the dropdown
- Click the Single Sign On (SSO) tab
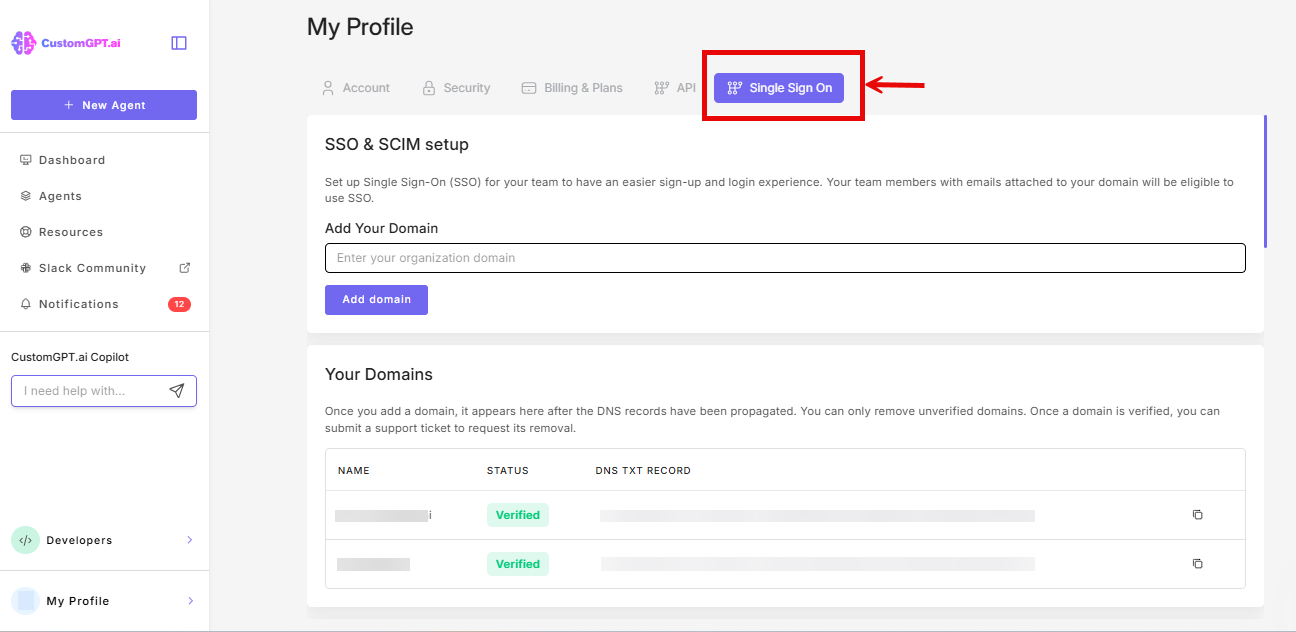
- Scroll to the IdP End-User Access Control section, and toggle On Enable End-User IdP Access
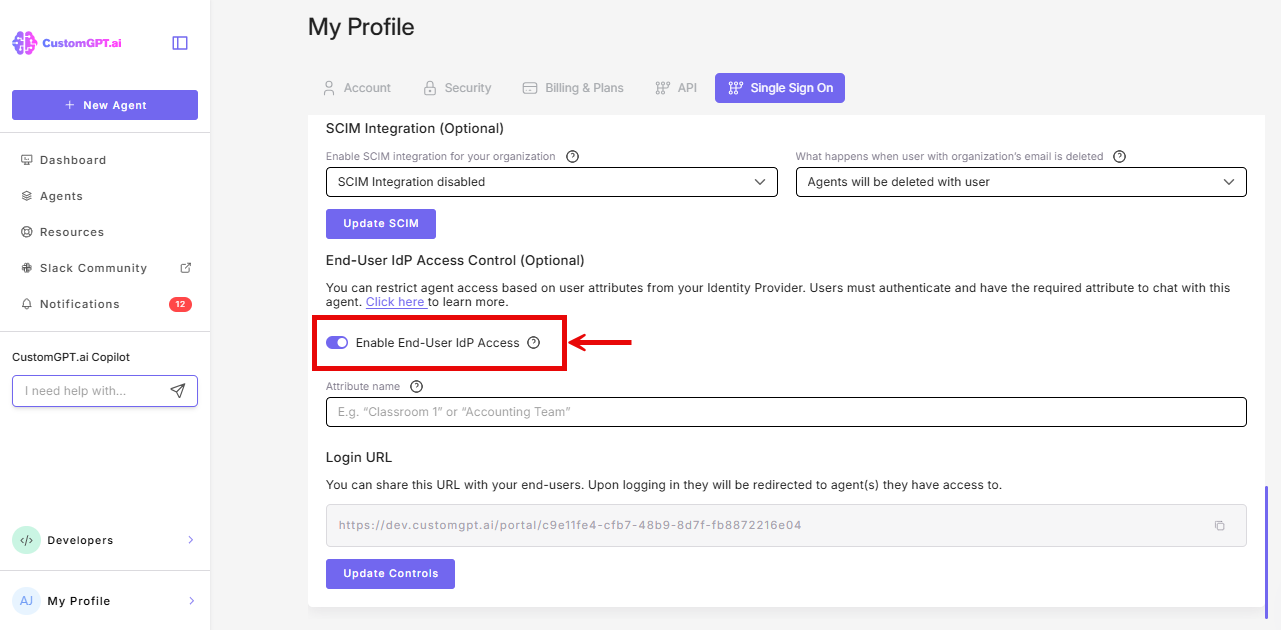
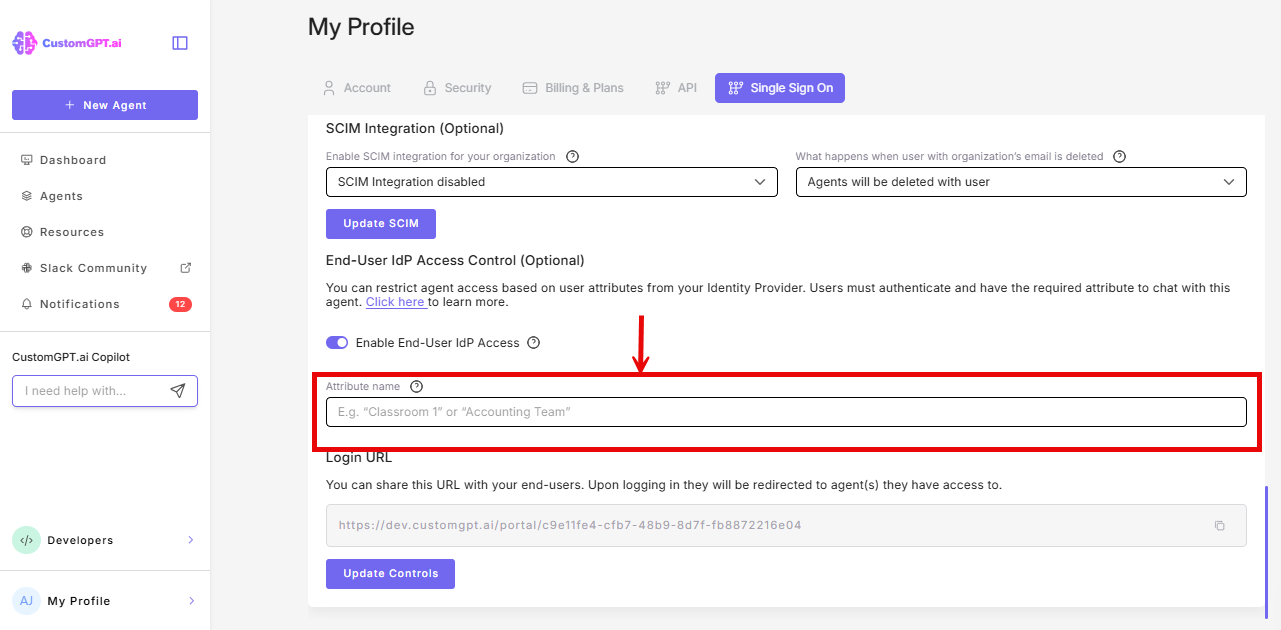
- Enter the attribute name you configured in your IdP (e.g.,
customgpt_role)
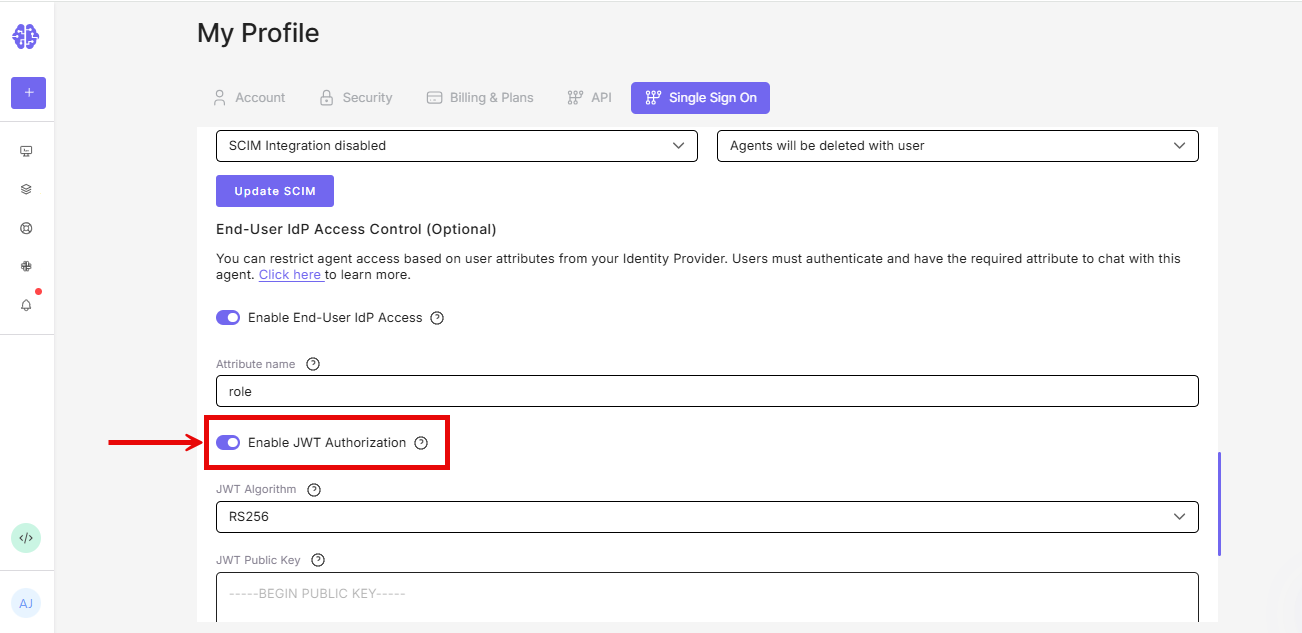
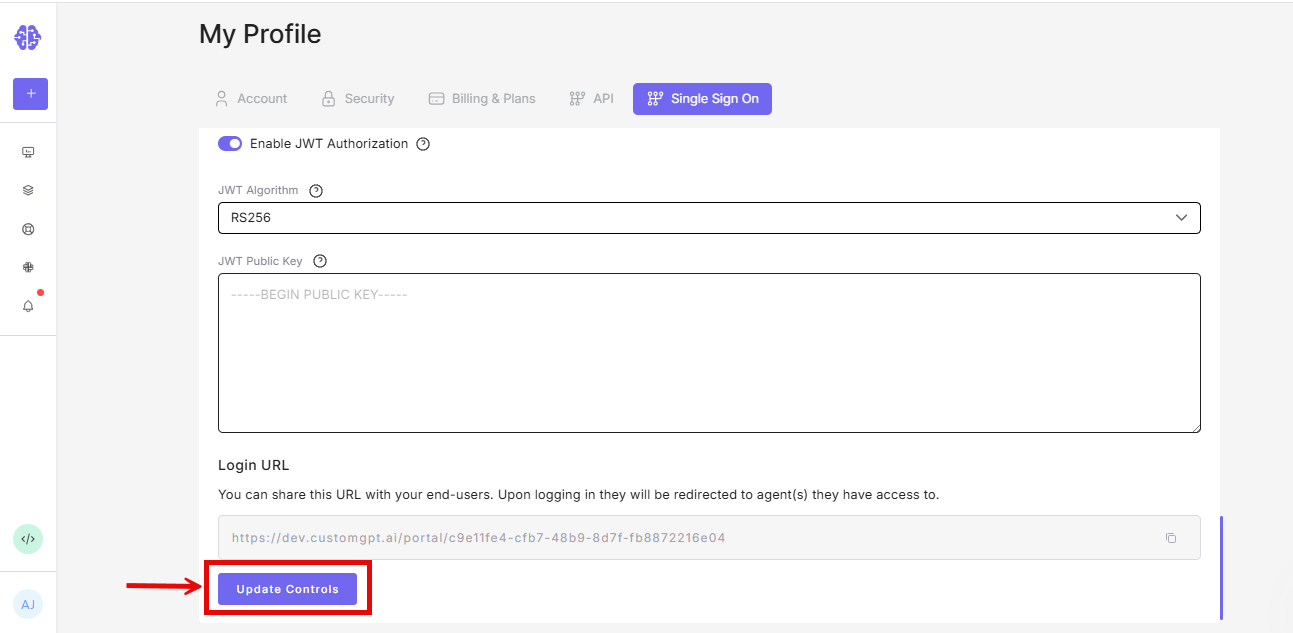
- Optional - JWT auto-login: If your website already authenticates users and you want them signed in to the embedded agent automatically, enable JWT Authorization. Choose a JWT algorithm (RS256 is recommended) and paste the matching public key. See Enable JWT login for embedded agents for the full setup.
- Click Update Controls
Step 2: Enable the IdP Option on Your Agent
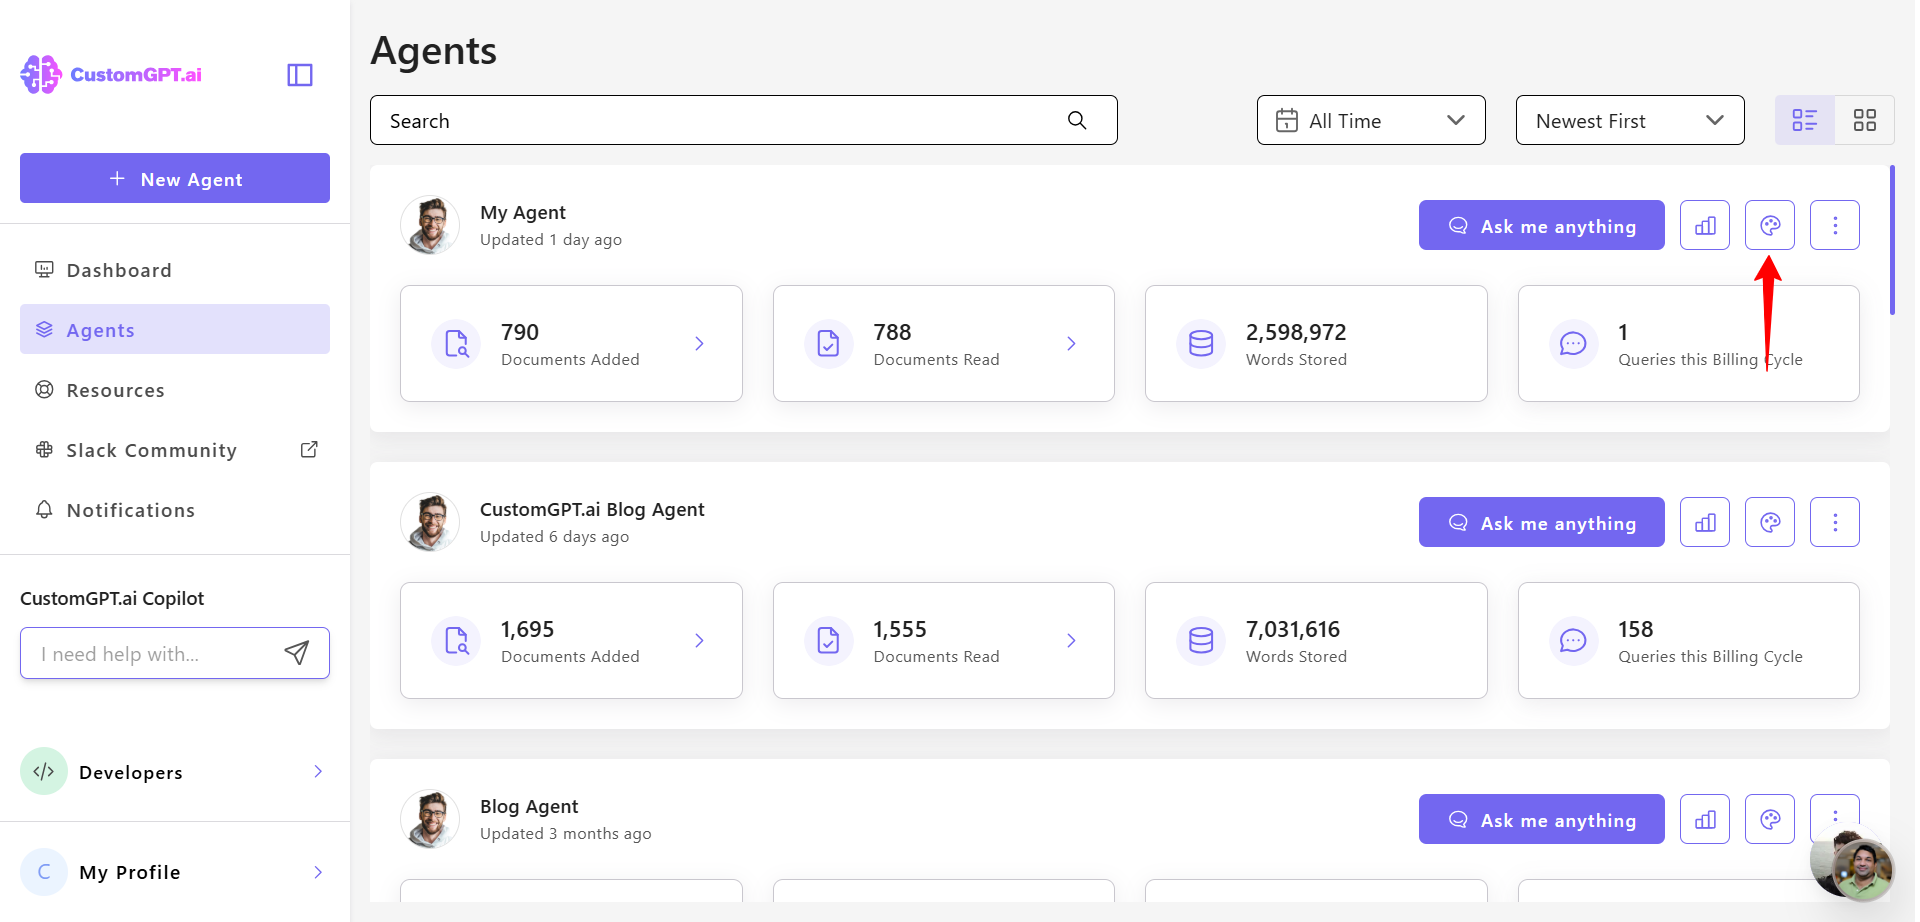
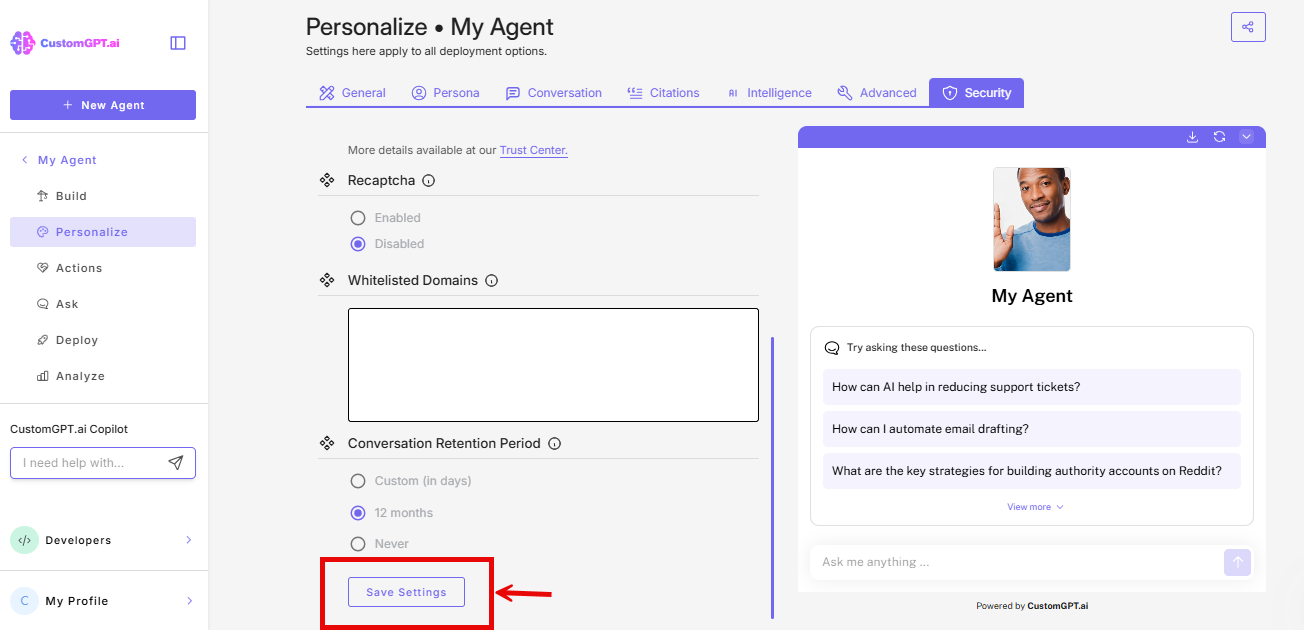
- Go to your agent's Personalize setting
- On the Personalize page, click on the Security tab
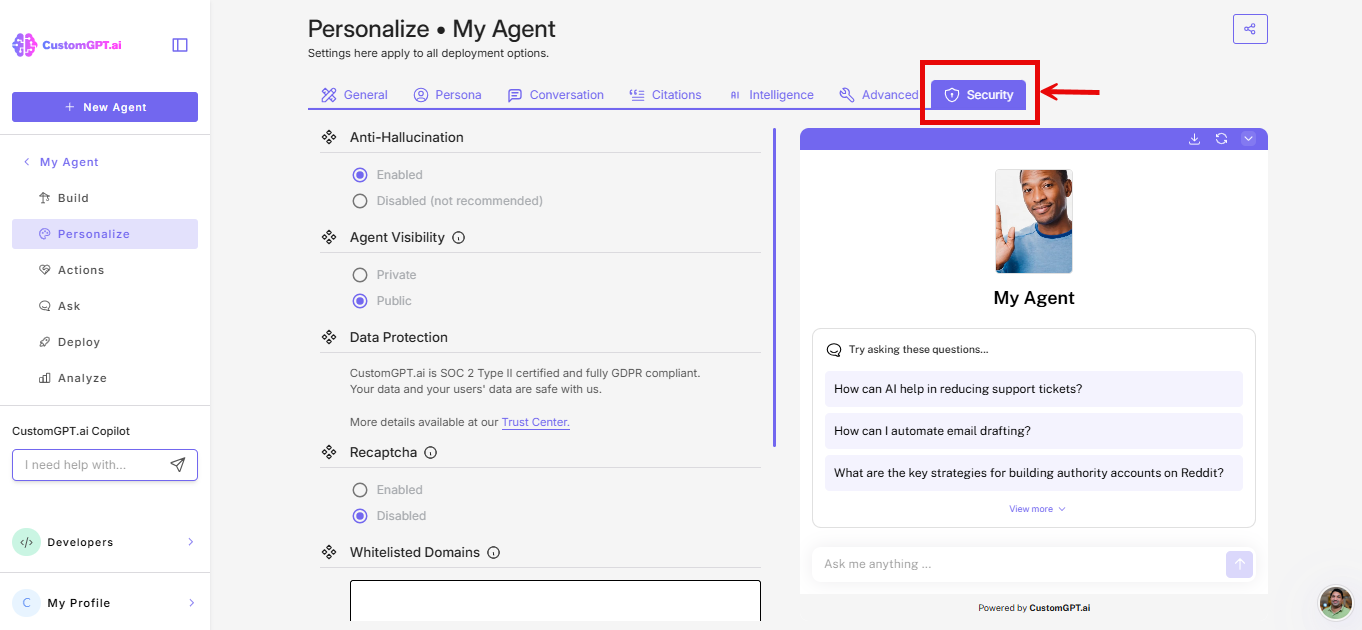
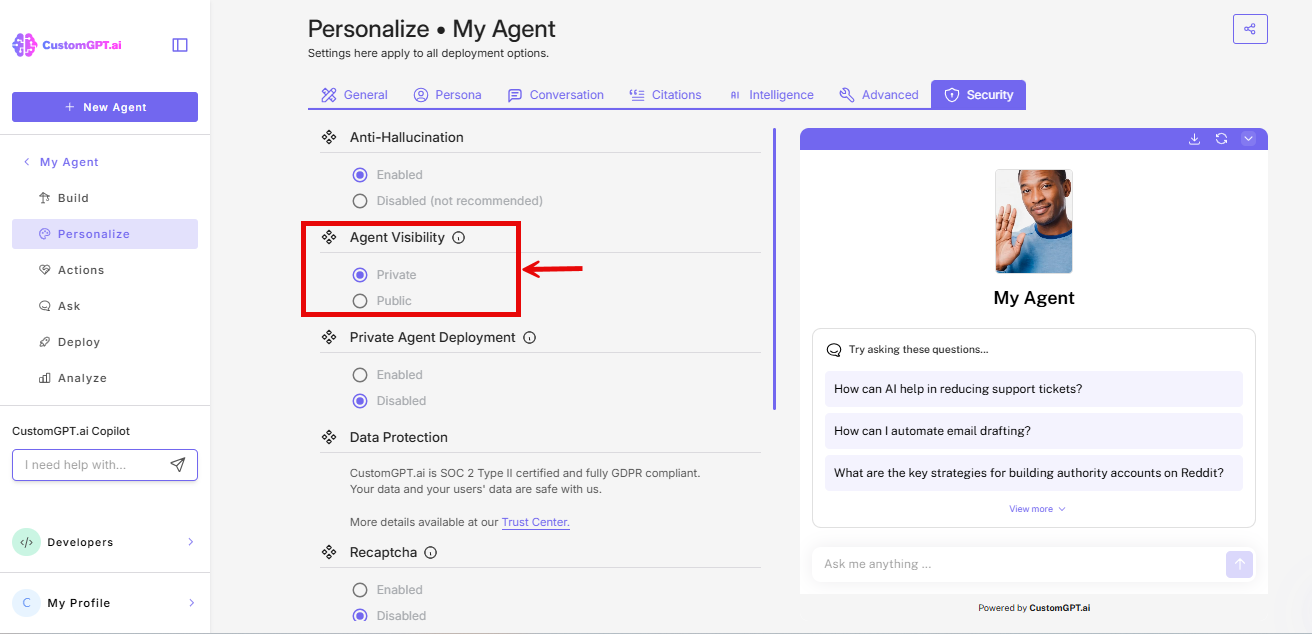
- Scroll to Agent Visibility, select Private
- In the Private Agent Deployment options, select Enabled (IdP).
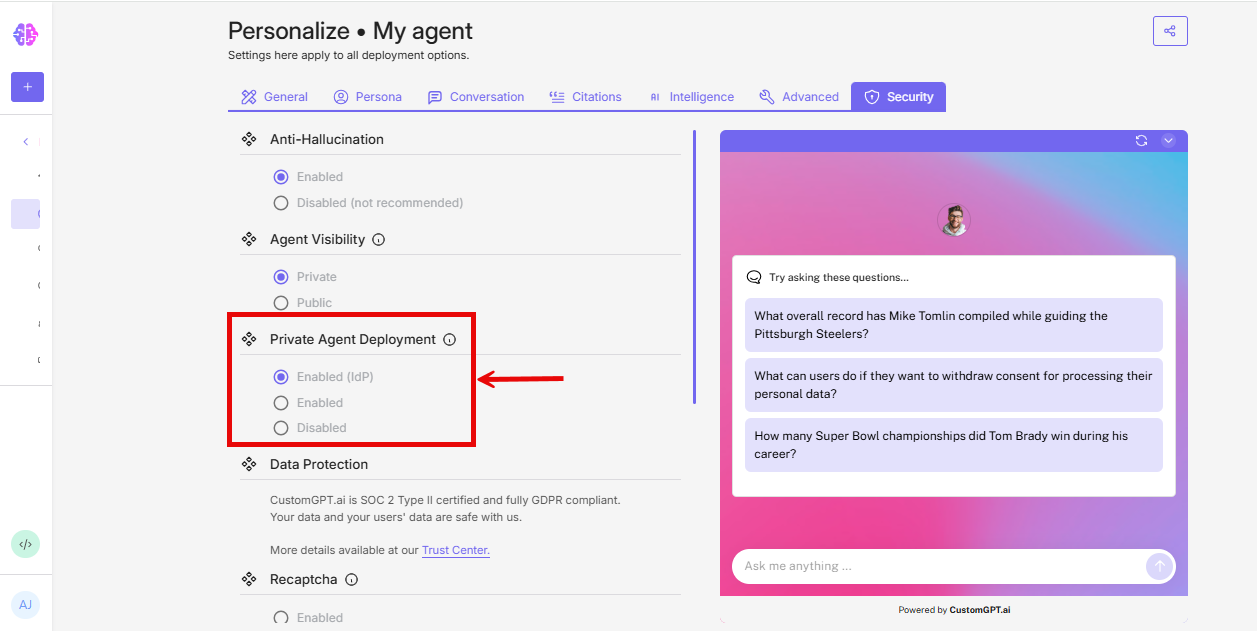
- Click Save Settings
Once this is enabled, you'll see the following notice on your Deploy page:
"Private Agent Deployment is enabled. You can add the agent's code snippet to any website, but users will only be able to access it after signing in with your organization's account."
Important: If you select Private without choosing Enabled (IdP) under Private Agent Deployment, the agent will require CustomGPT.ai login credentials instead of IdP authentication. Make sure Enabled (IdP) is selected.
Step 3: Embed the Agent on Your Website
- Go to the Deploy page for your agent.
- Copy the embed code snippet.
- Paste it into the HTML of the page where you want the agent to appear.
No developer is required. This is a no-code process.
Step 4: Test the embedded agent
- Open the page where you embedded the agent in an incognito or private browser window.
- You should see a "Sign in to chat" button where the agent widget appears.
- Click the button. An IdP authentication popup should open, showing your organization's login page.
- Sign in with a test account that has the correct IdP attribute value.
- After authentication, the popup should close automatically and the chat interface should appear in place of the sign-in button.
- Confirm you can send messages and receive responses.
Testing tip
Use an incognito window to simulate a first-time external user experience. If you are logged into CustomGPT.ai in your regular browser, the agent may load differently.
What Your Users Will Experience
- They see a "Sign in to chat" button in the agent widget.
- Clicking it opens a popup with your organization's IdP login page. Not a CustomGPT.ai login screen.
- They sign in with their corporate credentials.
- The popup closes. The chat interface loads in its place. The user never leaves the page.
Sessions last 24 hours from the moment of authentication. After expiry, the user sees the "Sign in to chat" button again and must re-authenticate. Conversations do not carry over between sessions.
Users do not need a CustomGPT.ai account. No account is created, and no personal data is stored.
With JWT auto-login: If you configured JWT Authorization in Step 1, users are signed in automatically - no button, no popup. The chat interface opens directly. Refer to 👉 Enable JWT login for embedded agents to know more.
For a more detailed explanation of the authentication flow, including guidance you can share with your external users before rollout.
Also see: How external users sign in to your agents.
Popup and browser considerations
The embedded IdP flow uses a popup window for authentication. This works seamlessly in most browsers, but there are a few situations to be aware of:
Popup blockers: Some browsers block popups by default. If the authentication popup does not open when a user clicks "Sign in to chat," they should look for a "popup blocked" notification in their browser's address bar and allow popups for the site. If you are deploying to a managed environment (corporate devices, university labs), consider adding the embed page's domain to the popup allow list in your browser management policy.
Popup does not close after authentication: In rare cases, the popup may remain open after the user signs in. If this happens, the user should click away from the popup once and refresh the page. The session should still be active.
Third-party cookie restrictions: Some browsers with strict privacy settings may block the cookies needed for the authentication flow. If users report being unable to sign in, check whether their browser is blocking third-party cookies for your domain.
Troubleshooting
The "Sign in to chat" button does not appear
- Verify the embed code is correctly pasted in your page's HTML.
- Confirm the agent's visibility is set to Private with Enabled (IdP) selected under Private Agent Deployment.
- Check your browser's developer console for JavaScript errors.
The authentication popup does not open
- The user's browser may be blocking popups. Look for a "popup blocked" notification in the address bar.
- If deploying to managed devices, check whether popup policies are restricting the authentication flow.
The popup opens but the user sees an error after signing in
- Verify the user's IdP attribute value exactly matches a role name in CustomGPT (case-sensitive, no extra whitespace).
- Confirm the matching role has at least one agent assigned.
- Confirm the assigned agent is set to Private visibility.
The popup does not close after authentication
- Ask the user to click away from the popup and refresh the page. The session should still be active.
- If this happens consistently, it may be related to third-party cookie restrictions in the user's browser.
The chat interface loads but the user cannot send messages
- The matched role may not have chat permissions. Edit the role in Teams → Roles and confirm Permissions is set to Chat Only with the create conversation permission enabled.
For persistent issues, contact CustomGPT.ai support.
Related Articles
Updated about 1 month ago