Create agent-specific custom roles
This step-by-step guide explains how to create agent-specific custom roles so that team members can only access selected agent(s).
Note:Agent-specific roles are part of the CustomGPT for Teams package. If you are interested in activating it, please contact our sales team.
What are agent-specific custom roles?
Agent-specific roles let you assign permissions that apply only to chosen agent(s). This helps you give access to contractors, departments, or external collaborators without exposing your entire account.
Agent-specific roles let you
- Protect sensitive agents by limiting access.
- Share agents with the right people while keeping full control.
- Combine with other roles for flexible permission management.
- Align access with business needs, not just account boundaries.
👉 If you need a role that applies across your whole account, see Create custom roles.
Note:Account-level permissions are never available in agent-specific roles. For example, you cannot allow users to create new agents, add team members, or view subscription details. However, administrators can now optionally allow selected members to create their own personal agents through this role.
How to create agent-specific custom roles
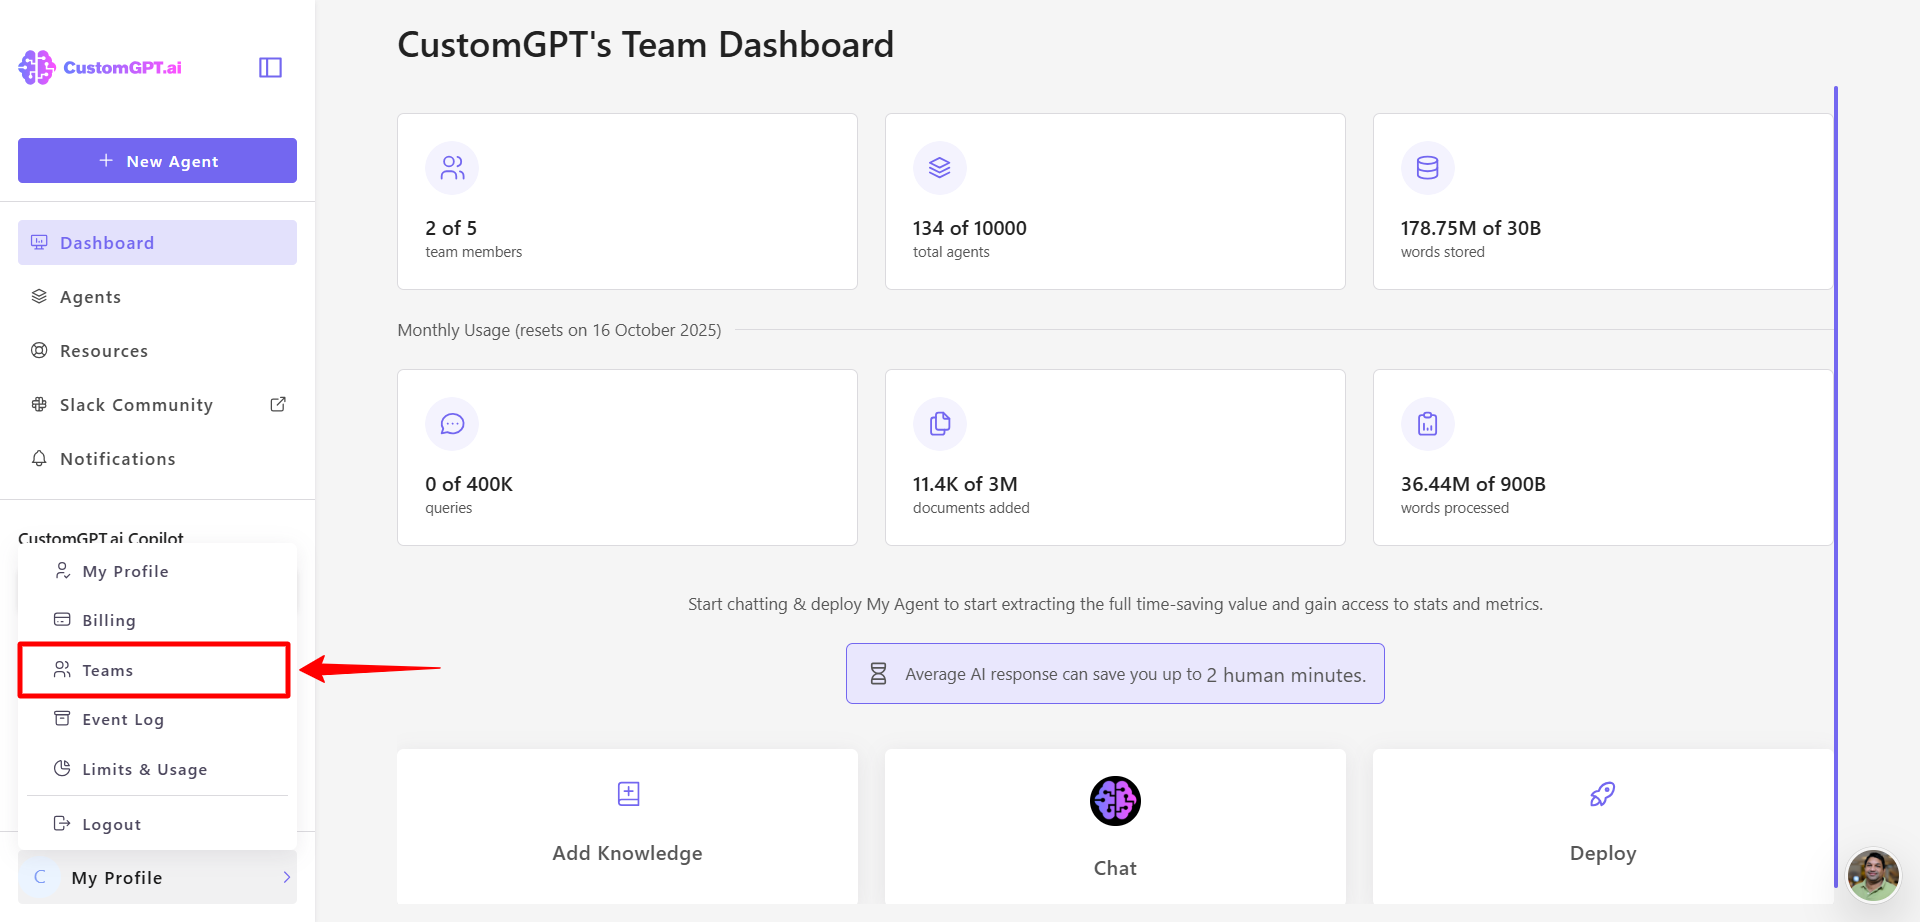
- Click your profile icon in the bottom-left corner of the dashboard, then select Teams.
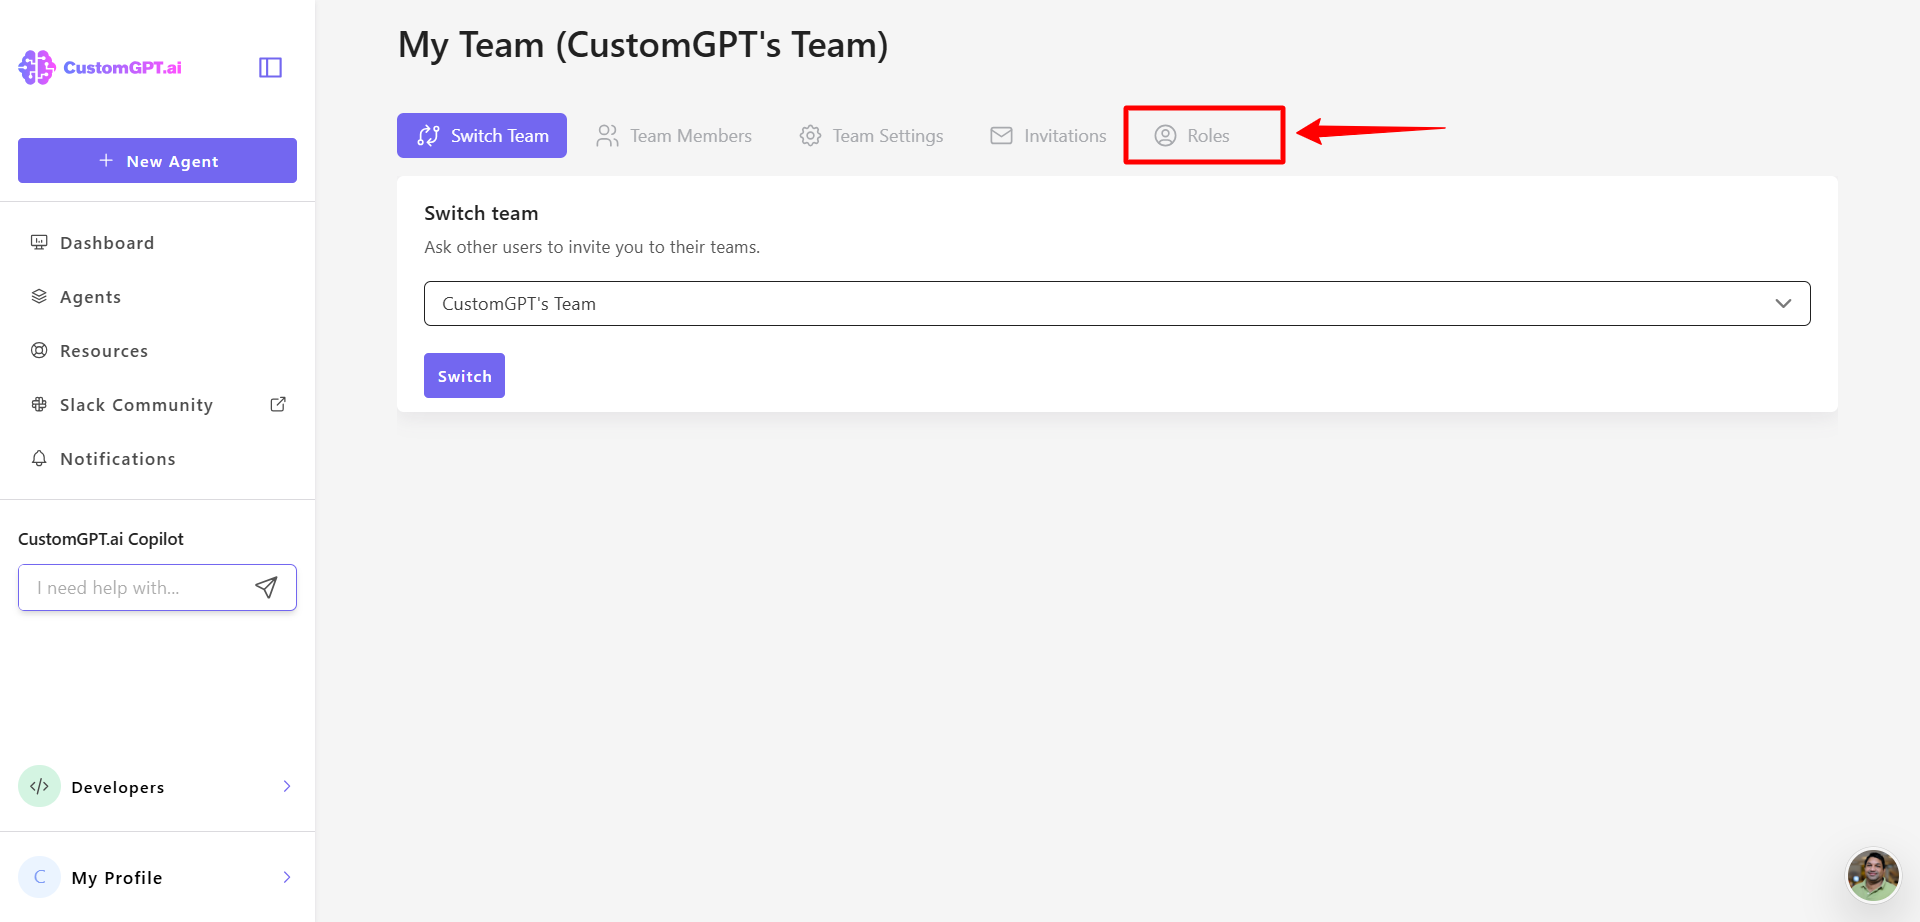
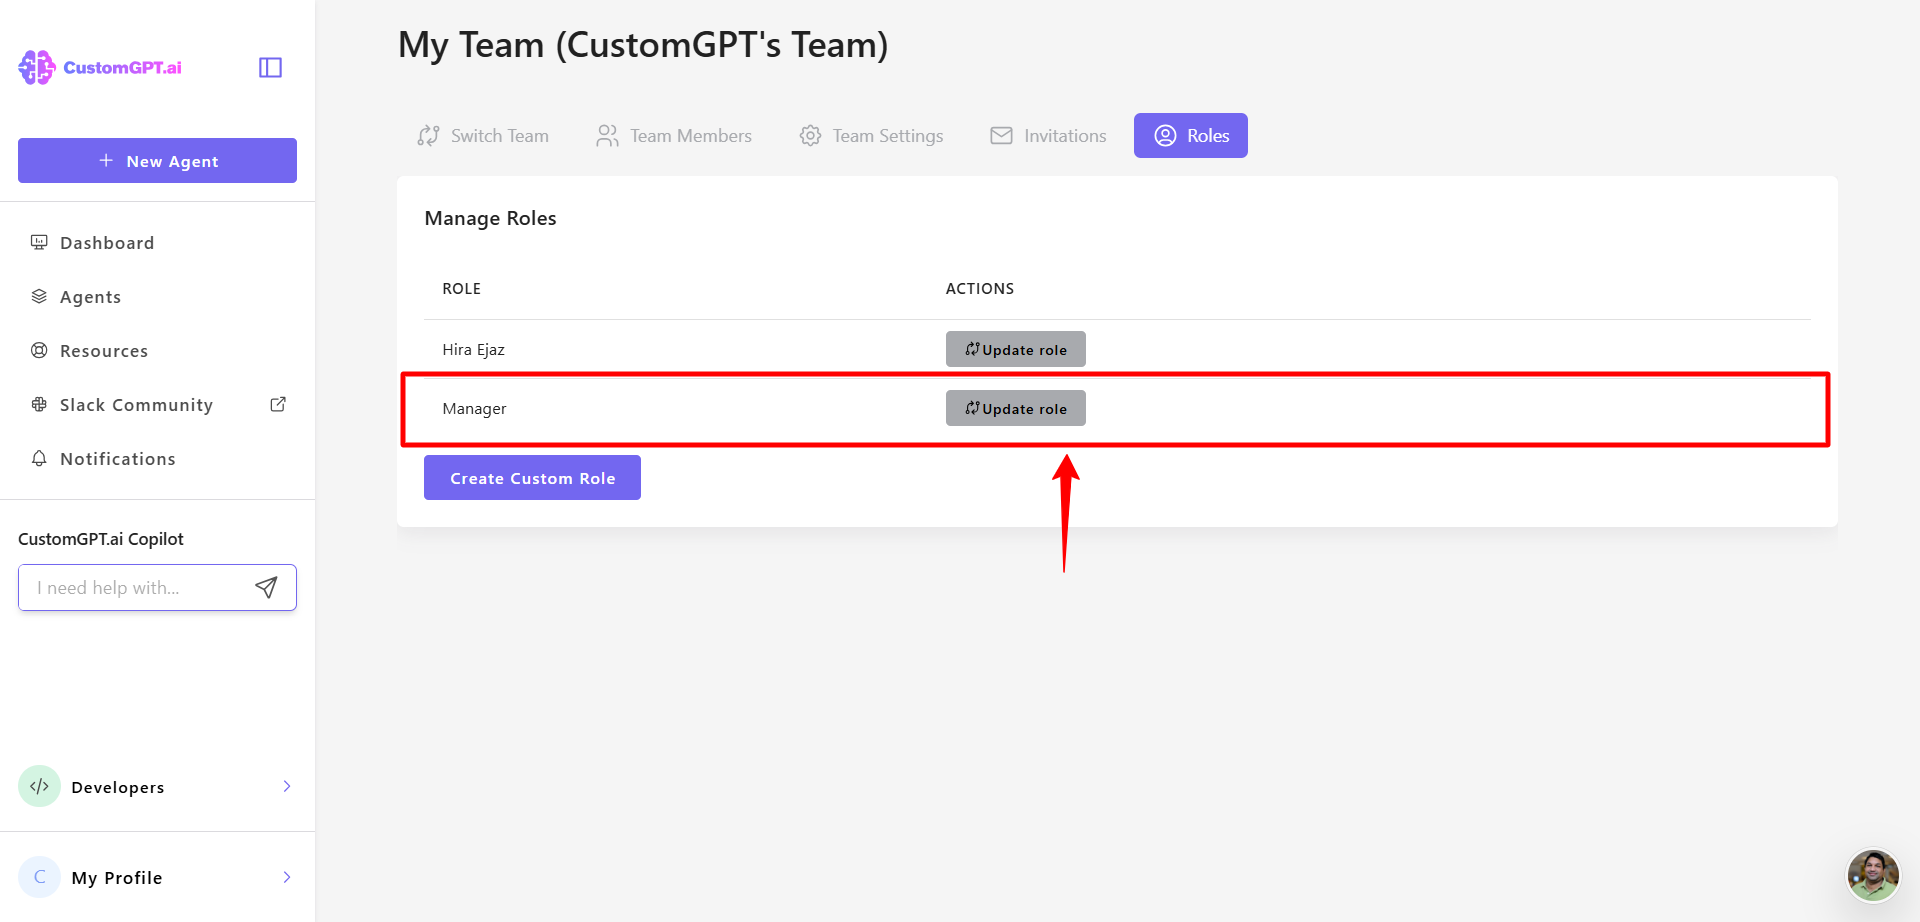
- In the team settings, click the Roles tab.
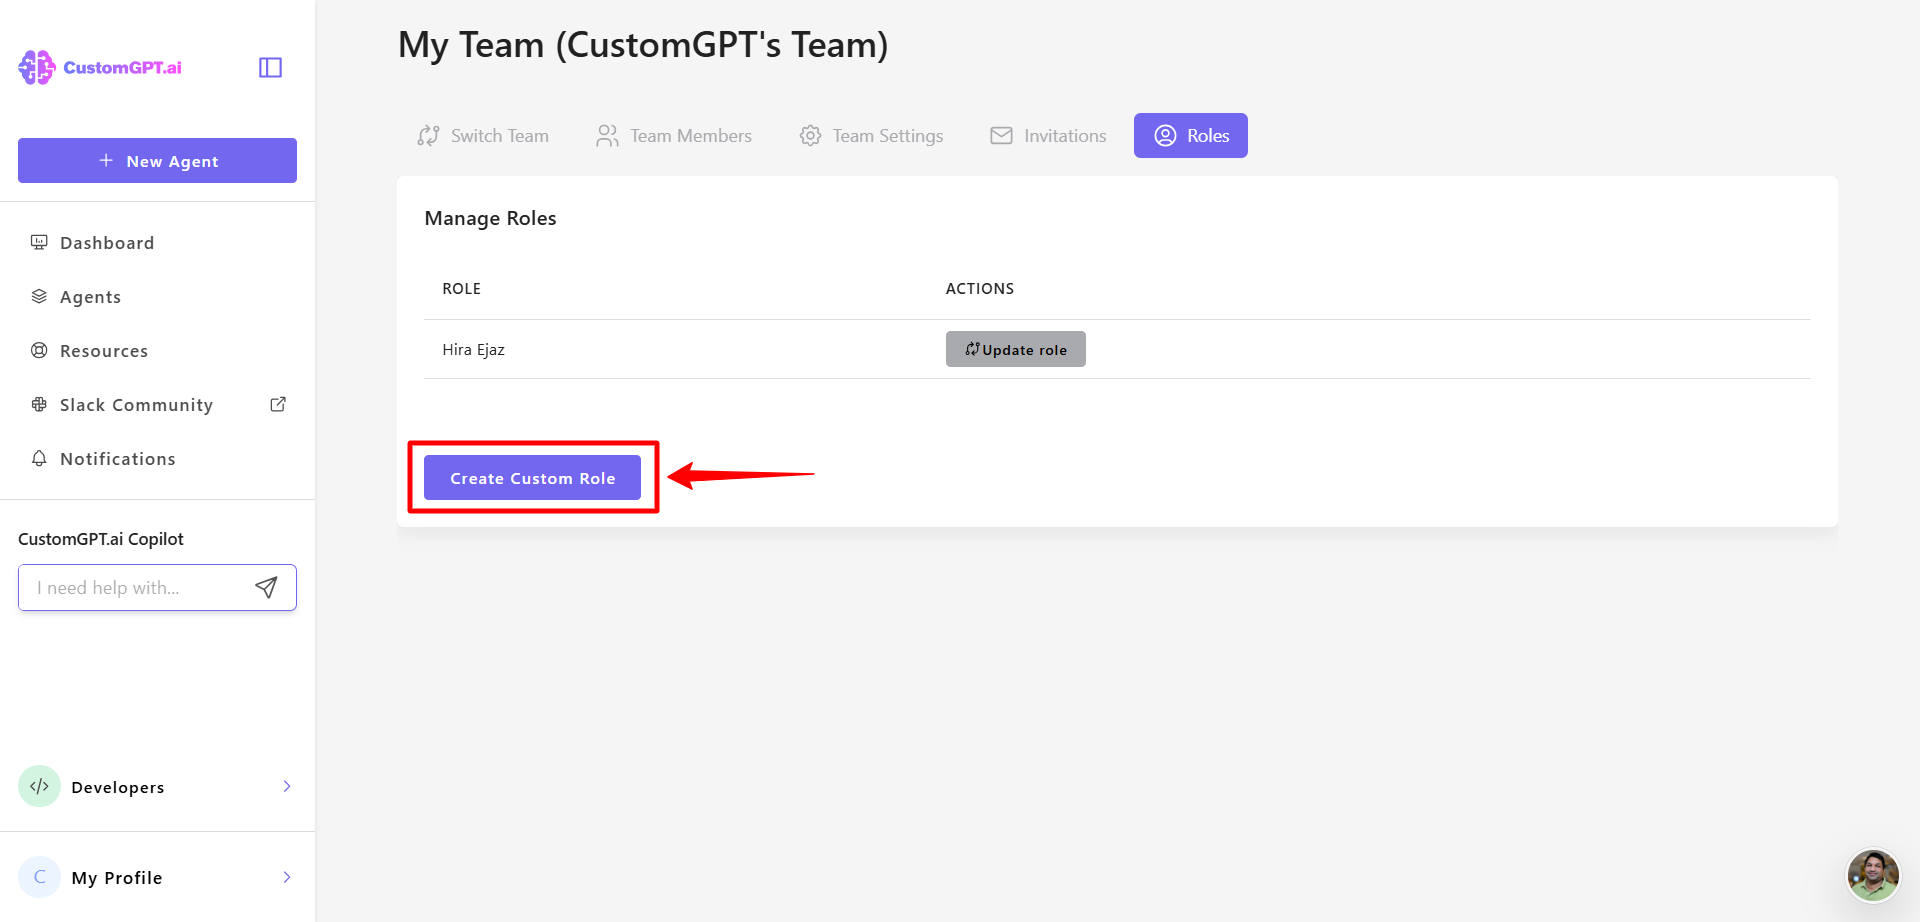
- Click Create Custom Role.
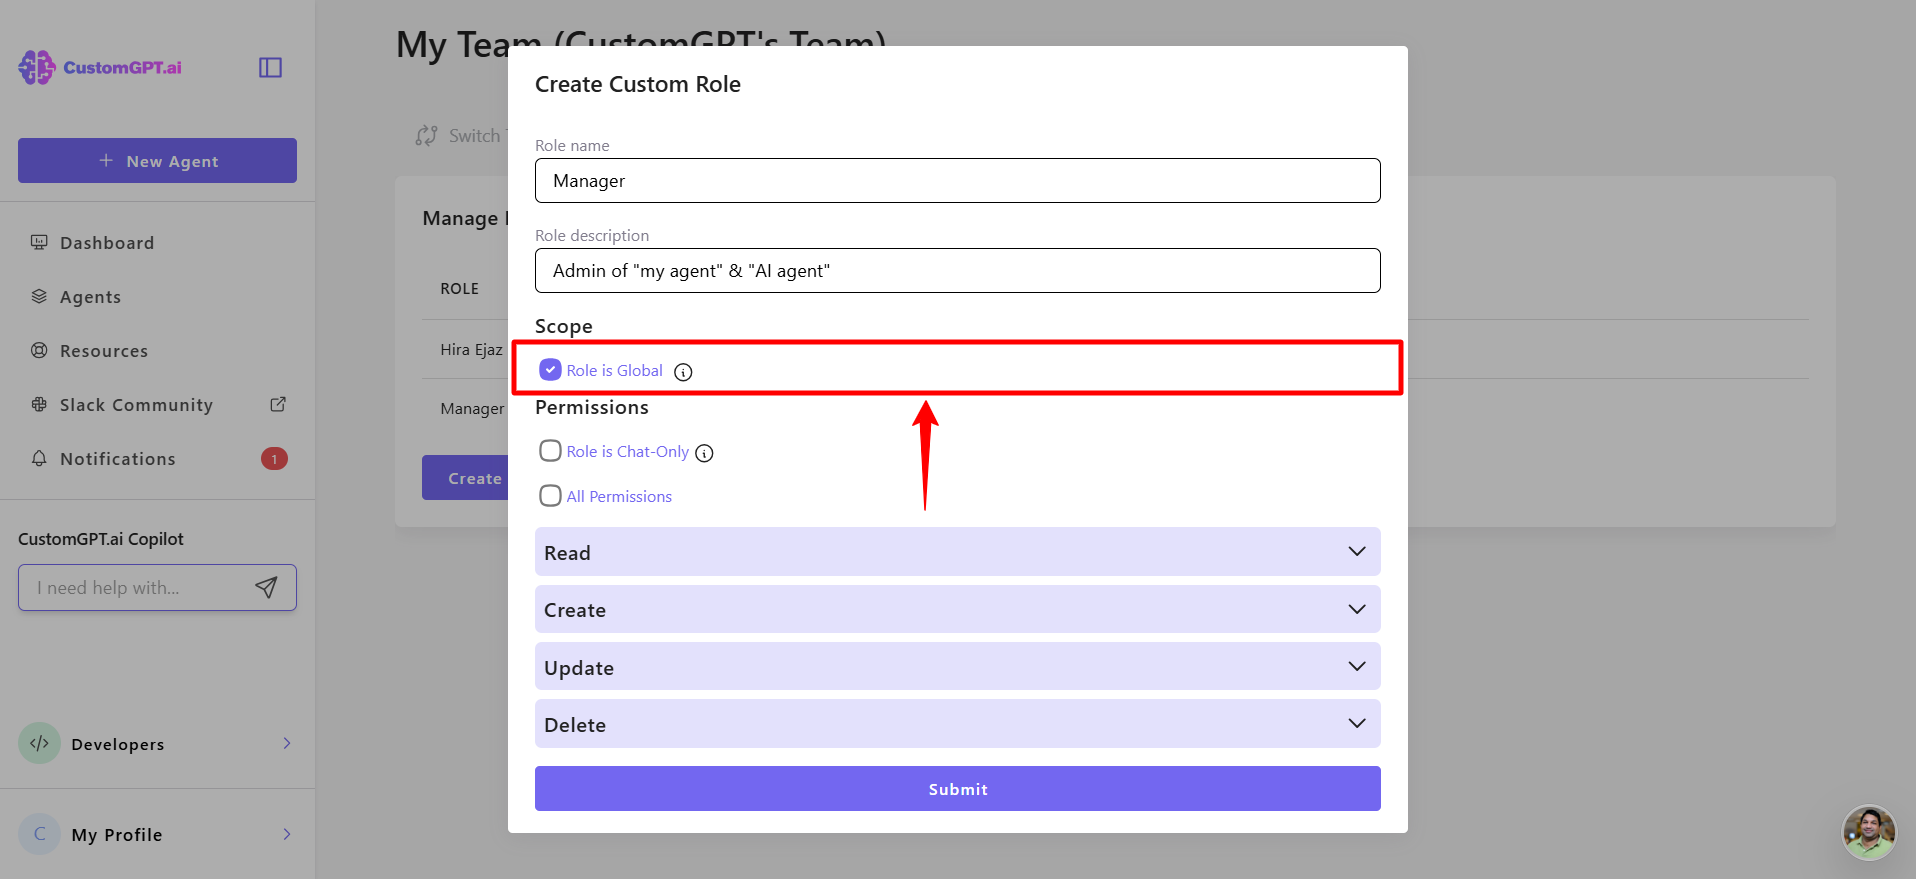
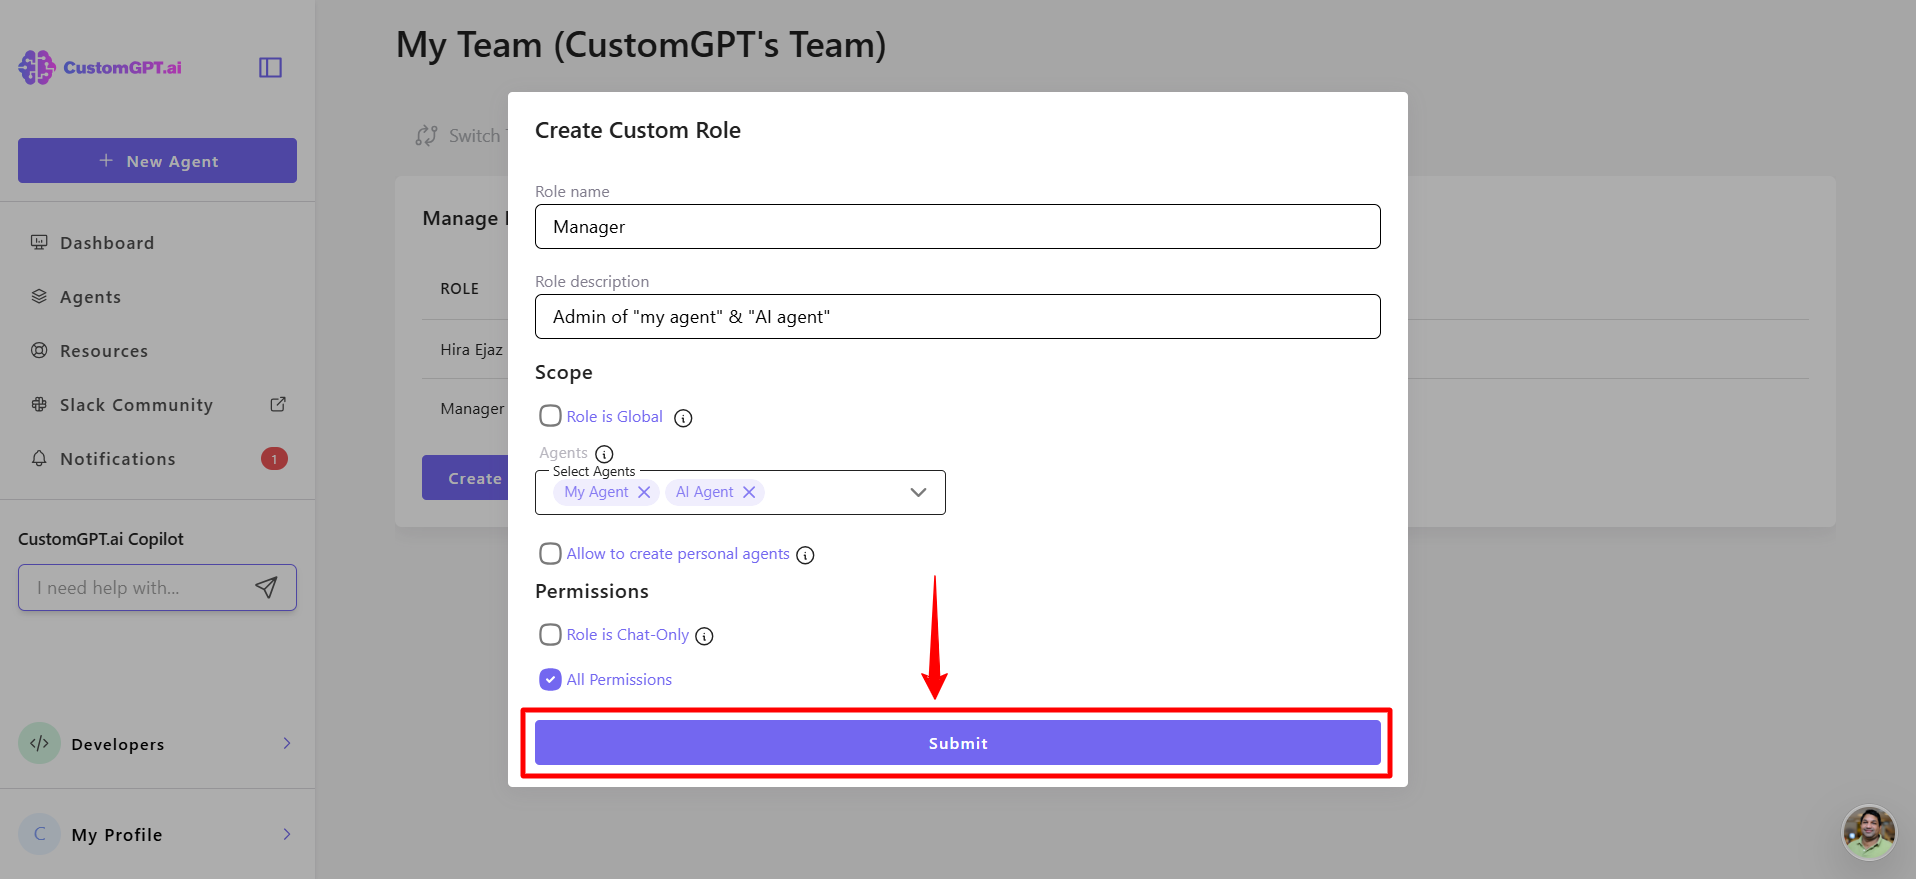
- Enter a role name and a short description.
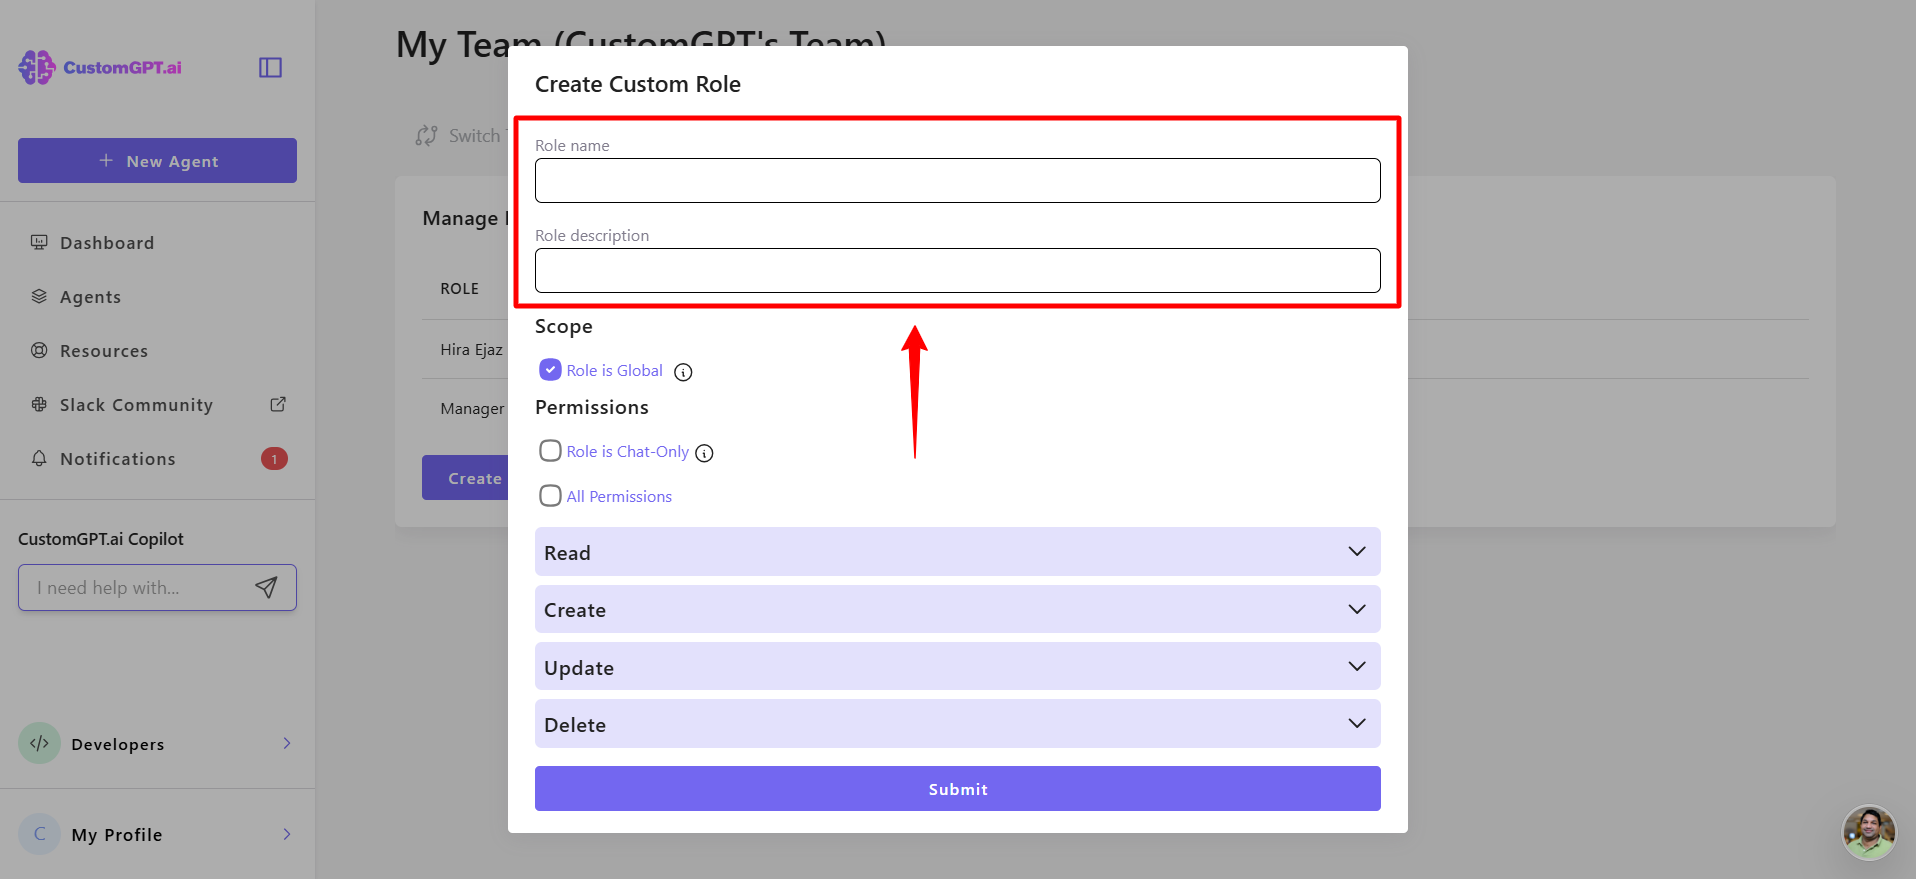
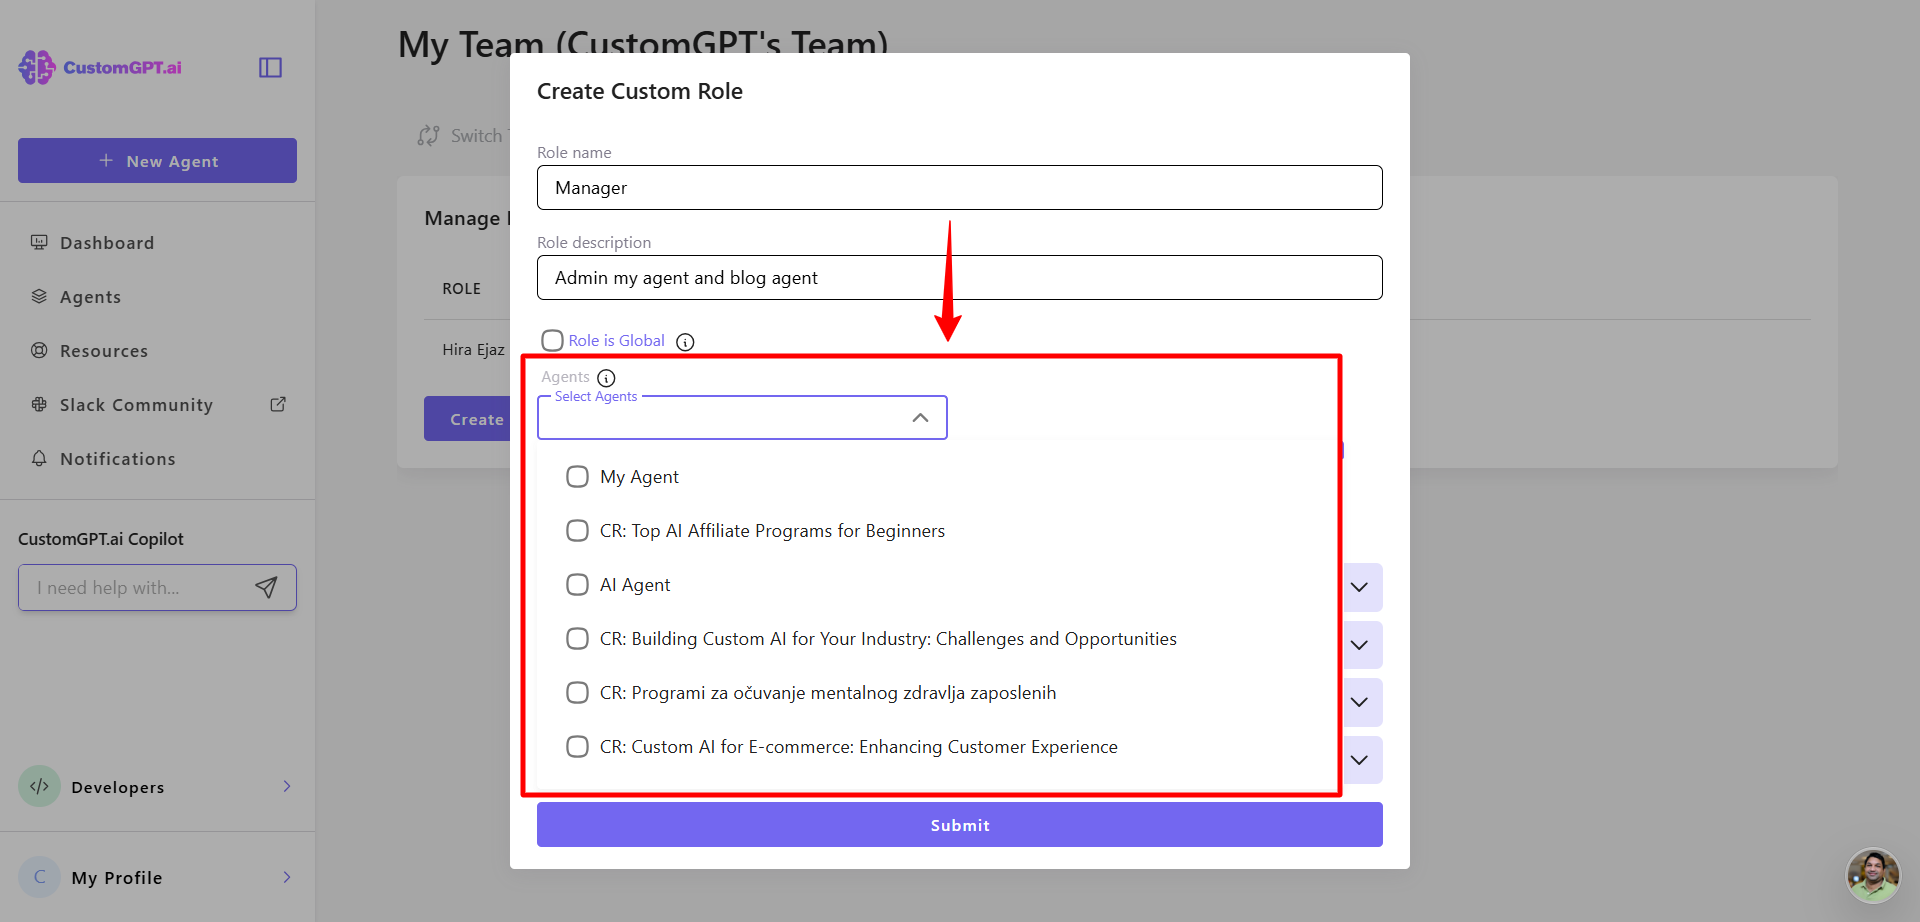
- By default, a role is global. Clear the global role option to make it agent-specific.
- Select the agent(s) this role should apply to.
- If you want members in this role to create their own agents, check Allow to create personal agents. (Learn more in Allow users to create their personal agents).
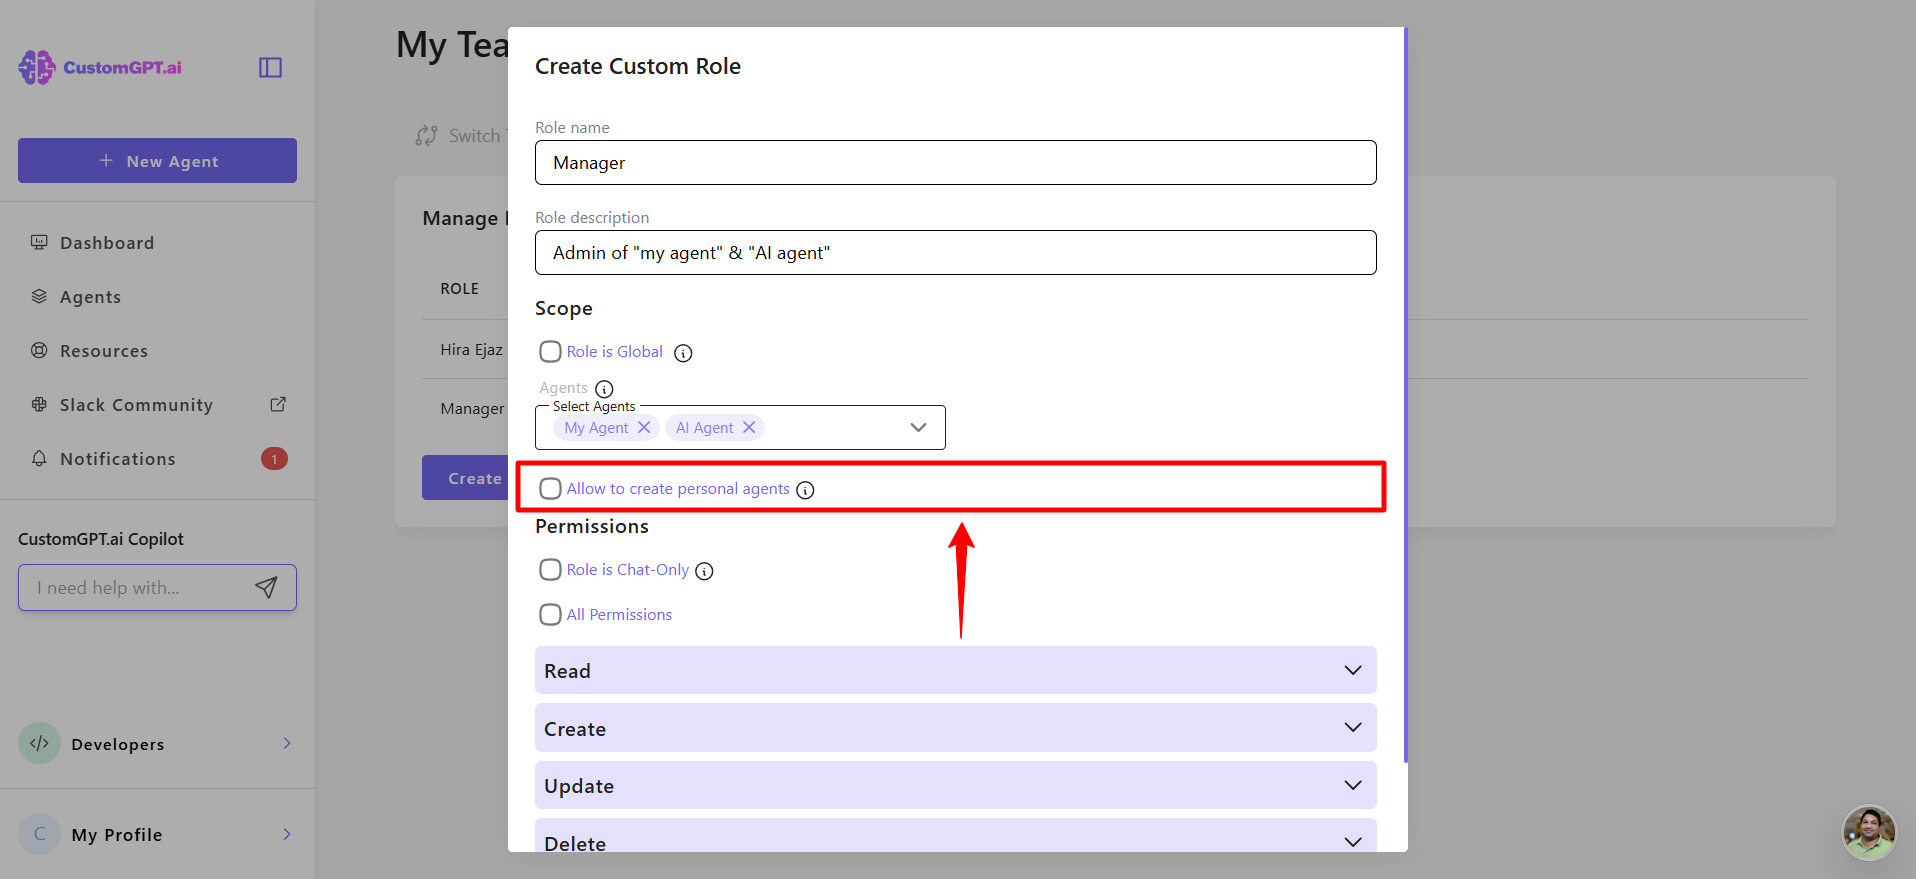
Note:Members with this permission can create and manage their own agents. These agents remain private to the creator until an administrator grants share or publish permissions. Administrators receive a notification whenever a member creates a personal agent.
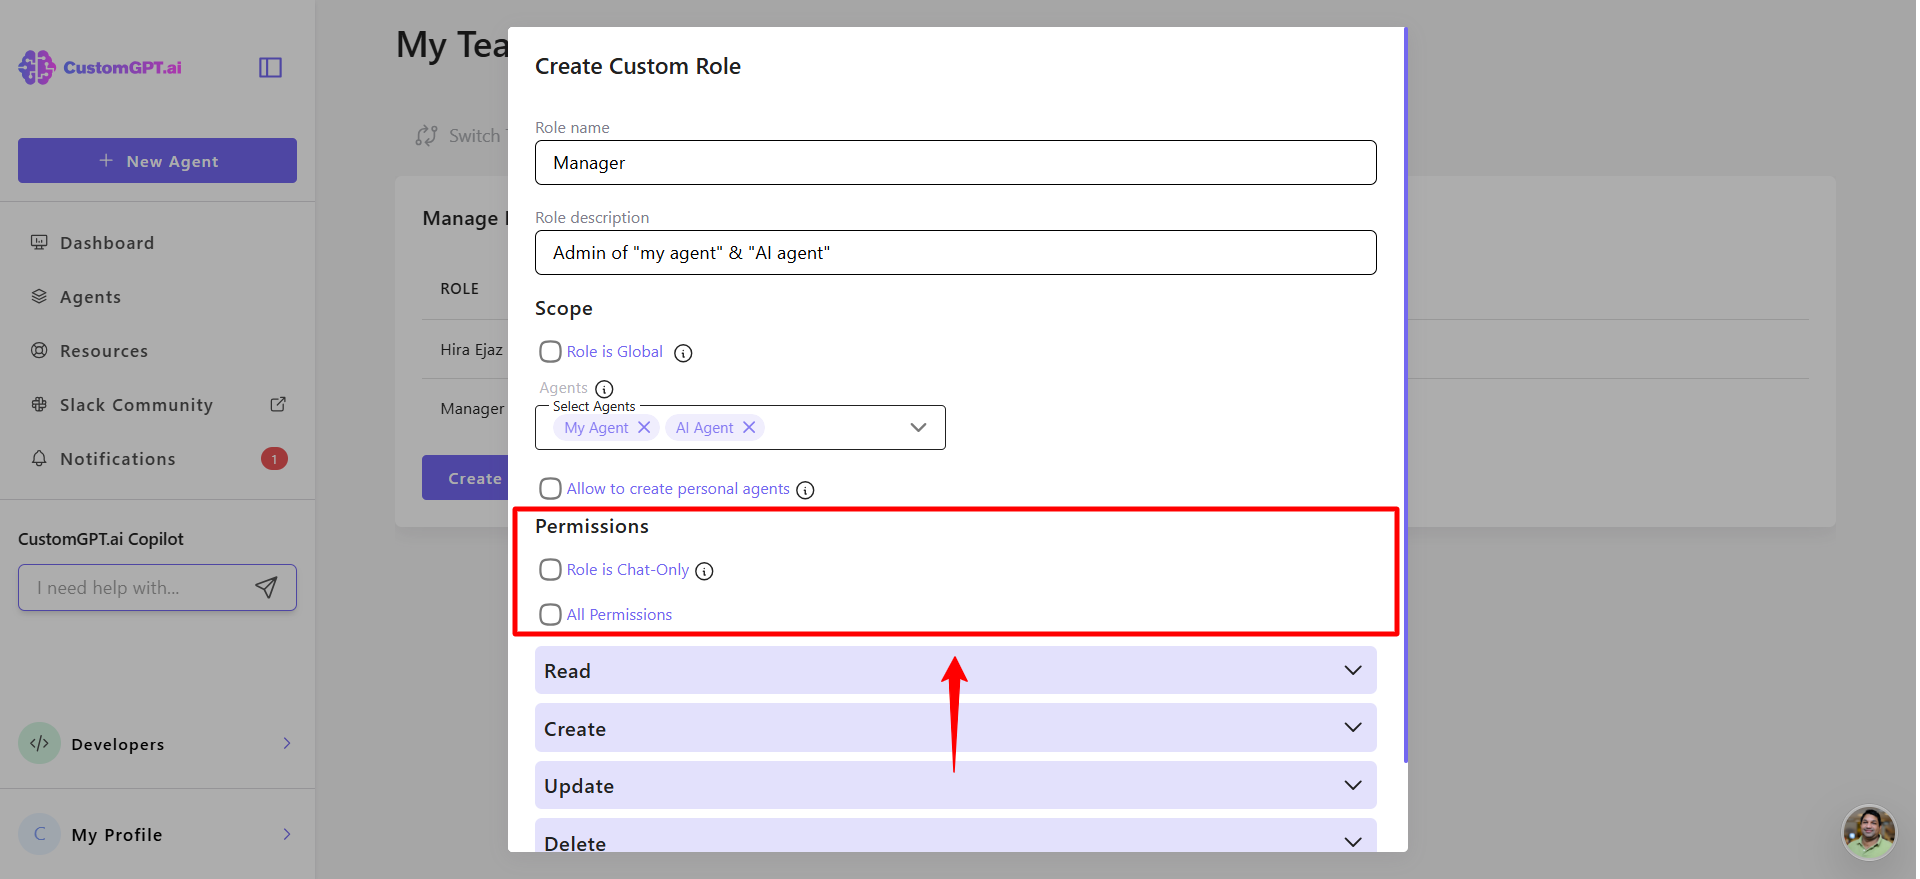
- Expand the Permissions section to define what actions this role can perform. You can grant read, create, update, or delete access based on what responsibilities the role should have.
Note:When you use API keys, both the role permissions and the API key scopes apply. The request must be allowed by both layers, or it will be blocked.
👉 Learn more in API key permissions.
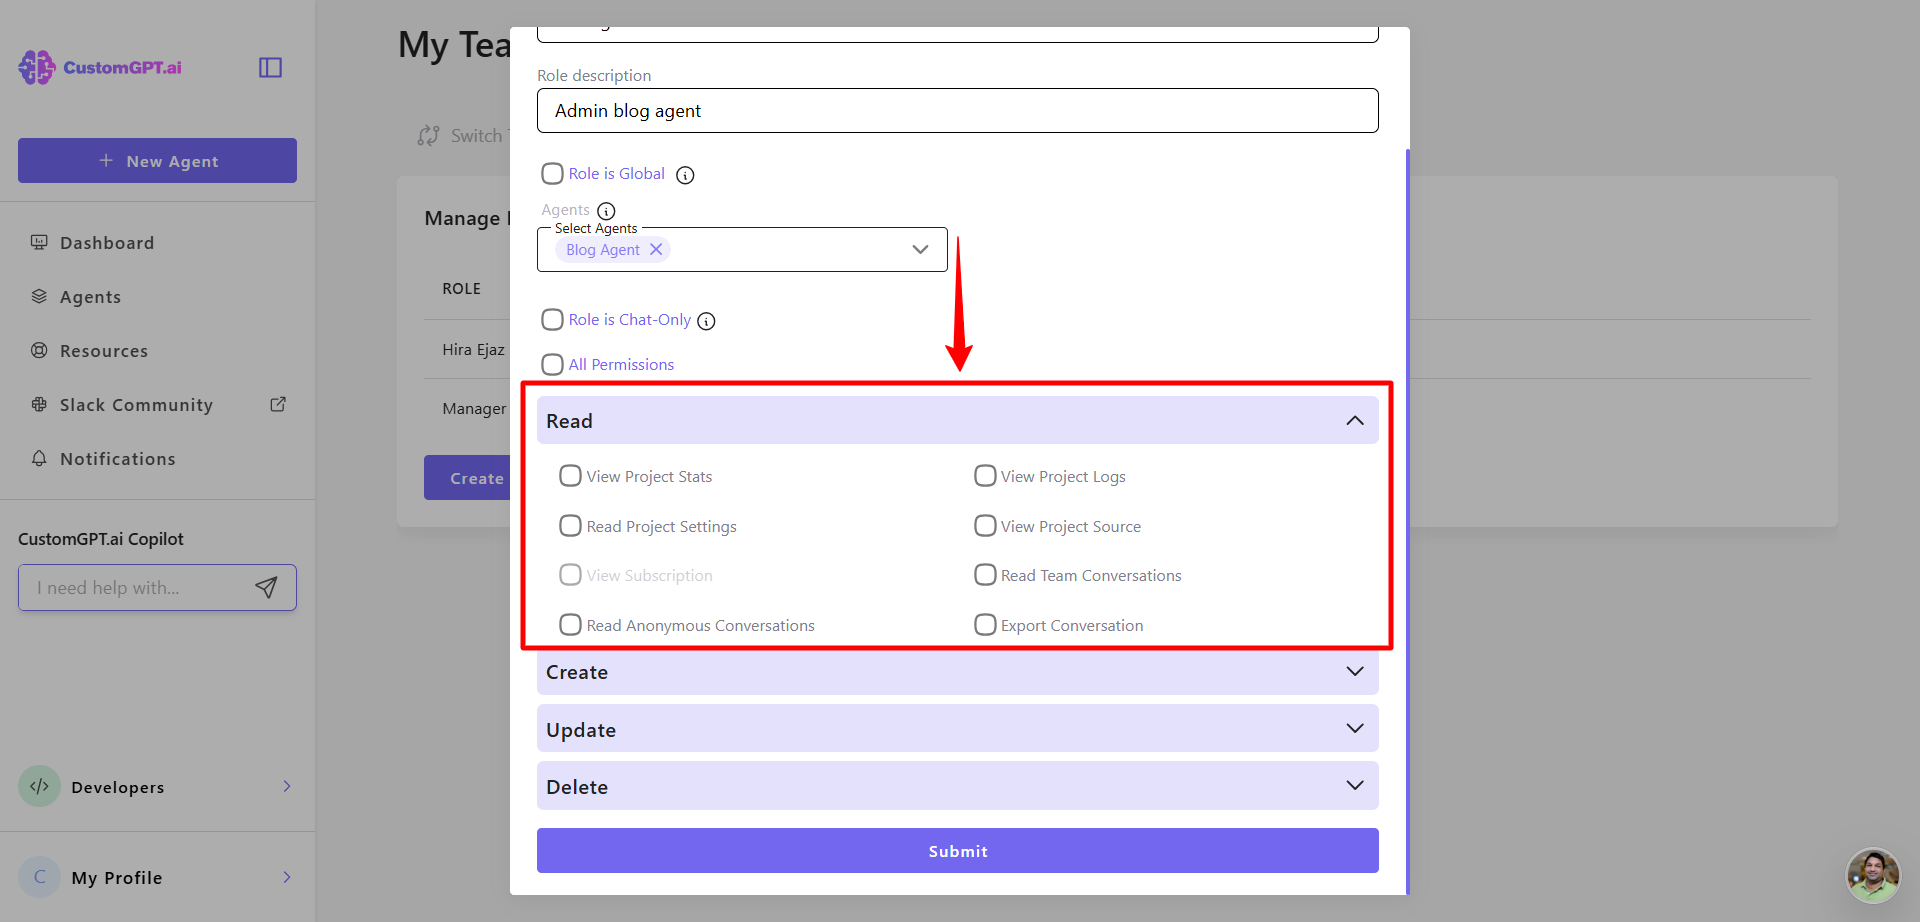
- In the Permissions section, choose what the role can do:
Read permissions
- View agent stats
- View agent logs
- Read agent settings
- View agent source
- Read team conversations
- Read anonymous conversations
- Export conversations
Create permissions
- Create agent source
- Create conversations

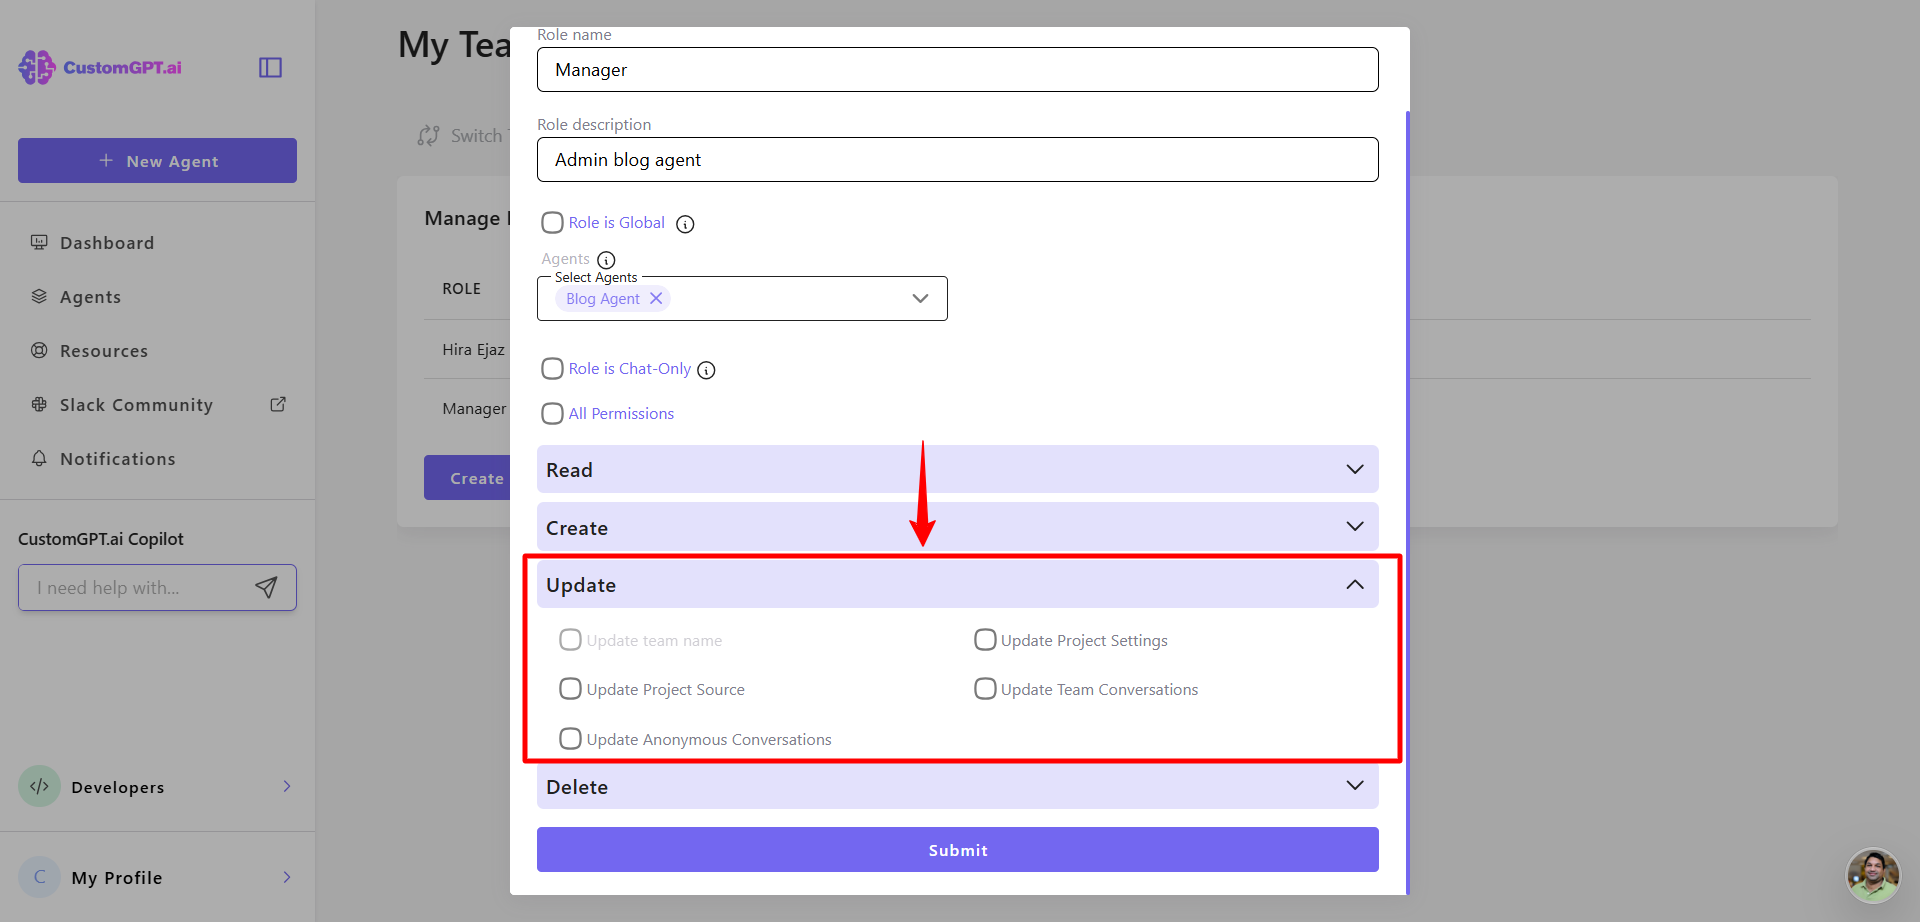
Update permissions:
- Update agent settings
- Update agent source
- Update team conversations
- Update anonymous conversations
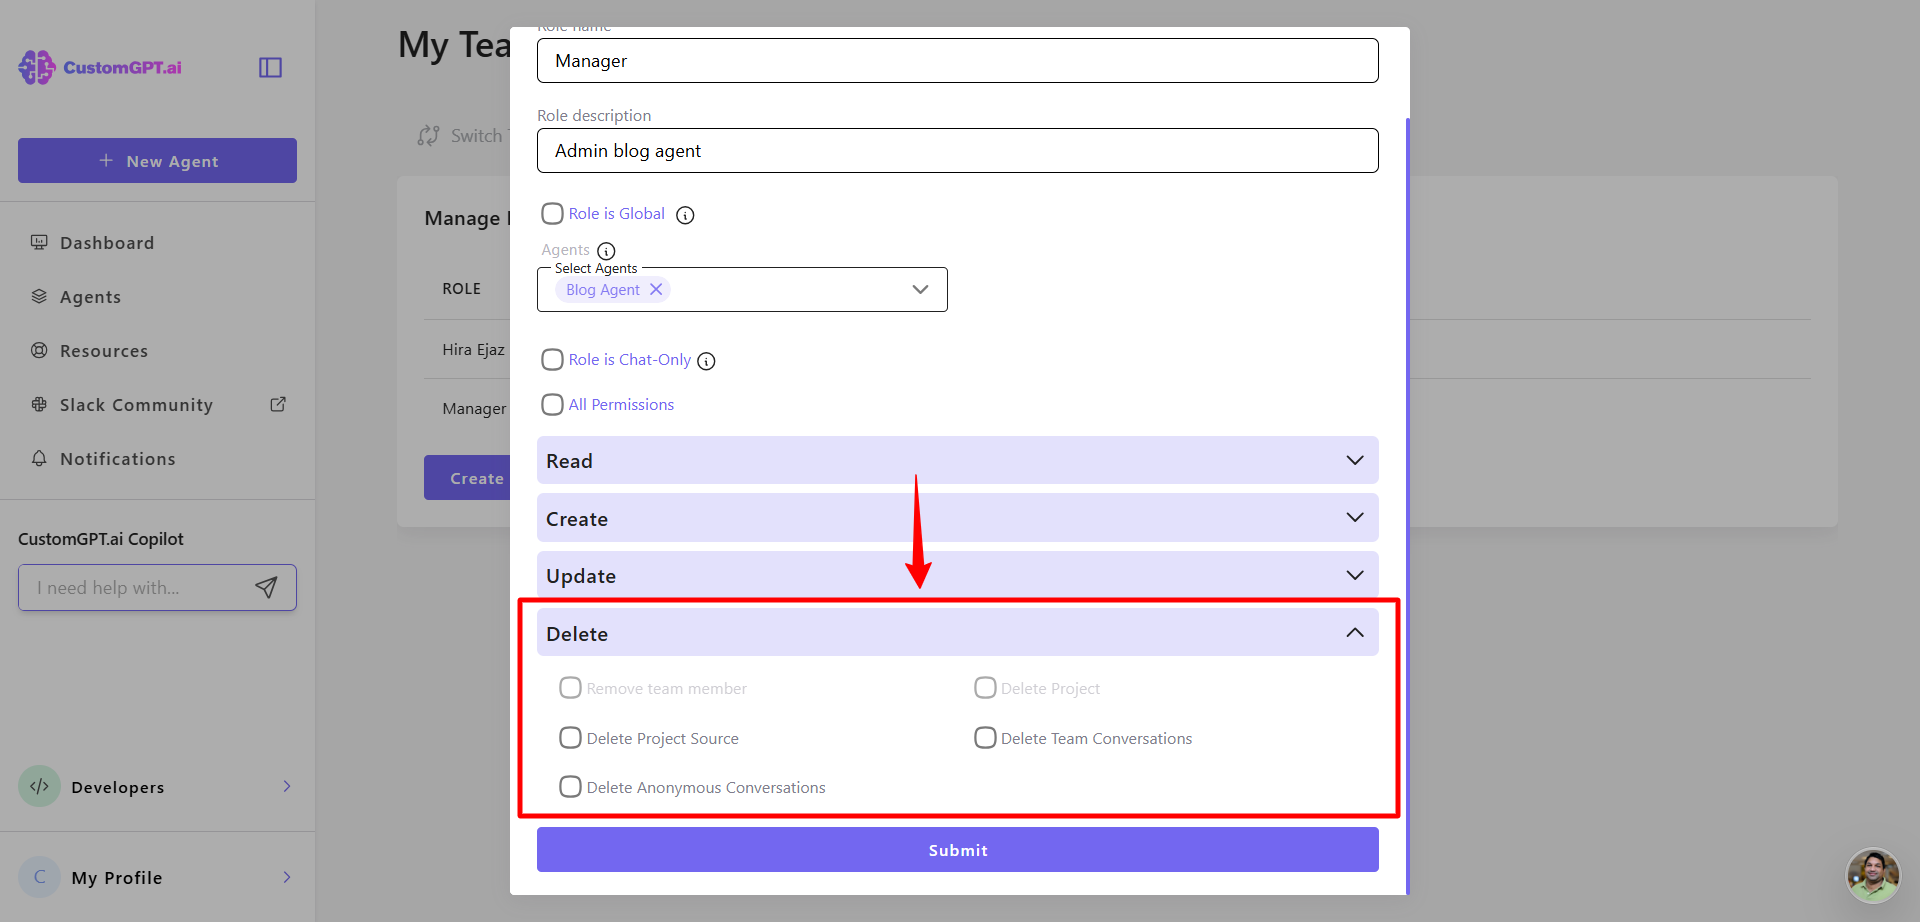
Delete permissions
- Delete agent source
- Delete team conversations
- Delete anonymous conversations
- Click Submit to save.
- Assign the role to team members who should have access to the selected agent(s).
Related guides
Updated 4 months ago