Upload a file to the agent using Zapier
This step-by-step guide explains how to use the Upload File action in Zapier to automatically add files to your agent's knowledge base.
What is the Upload File action?
The Upload File action lets you automatically add files to your agent using a Zapier workflow. When triggered, your agent receives the file and can use its content to answer questions.
This is useful for:
- Adding email attachments to your agent automatically
- Syncing new documents from Google Drive, Dropbox, or OneDrive
- Processing files when specific events happen in connected apps
You can configure:
- Which agent receives the file
- Whether the original file is kept or deleted after processing
- The filename used for storage
- The file content to process
This allows your agent's knowledge base to grow automatically based on incoming data from connected apps.
How to configure this action in Zapier
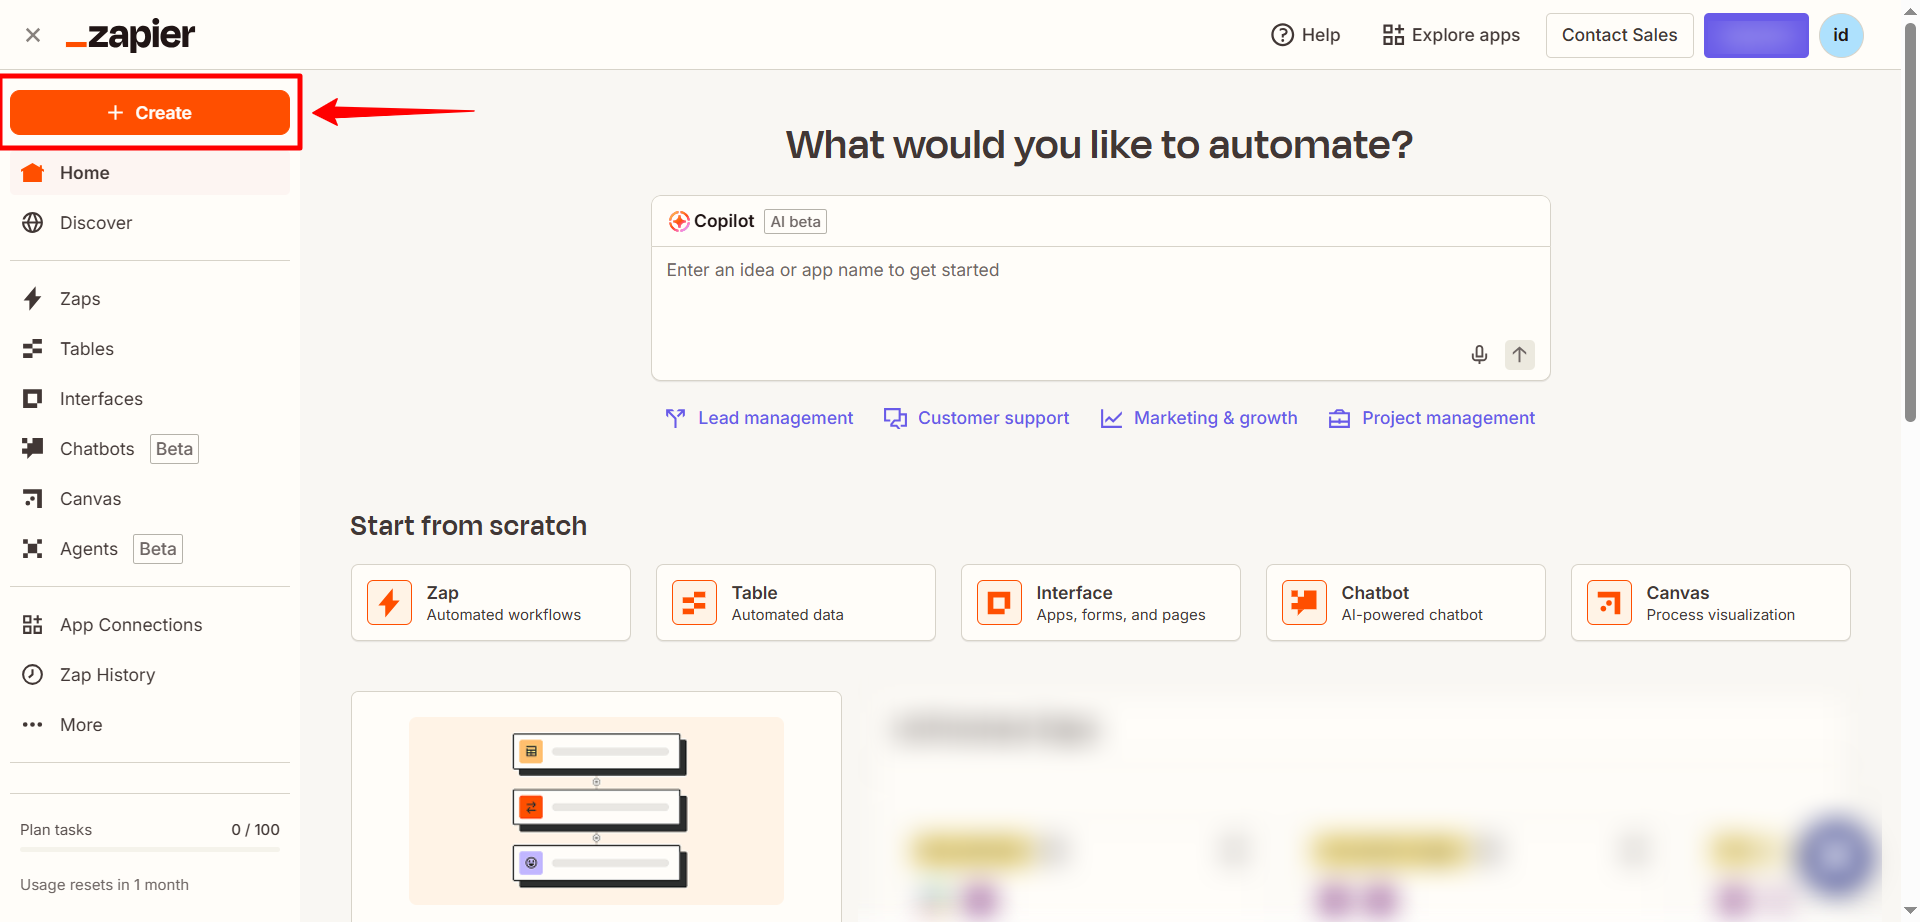
- Log in to your Zapier account and click Create Zap.
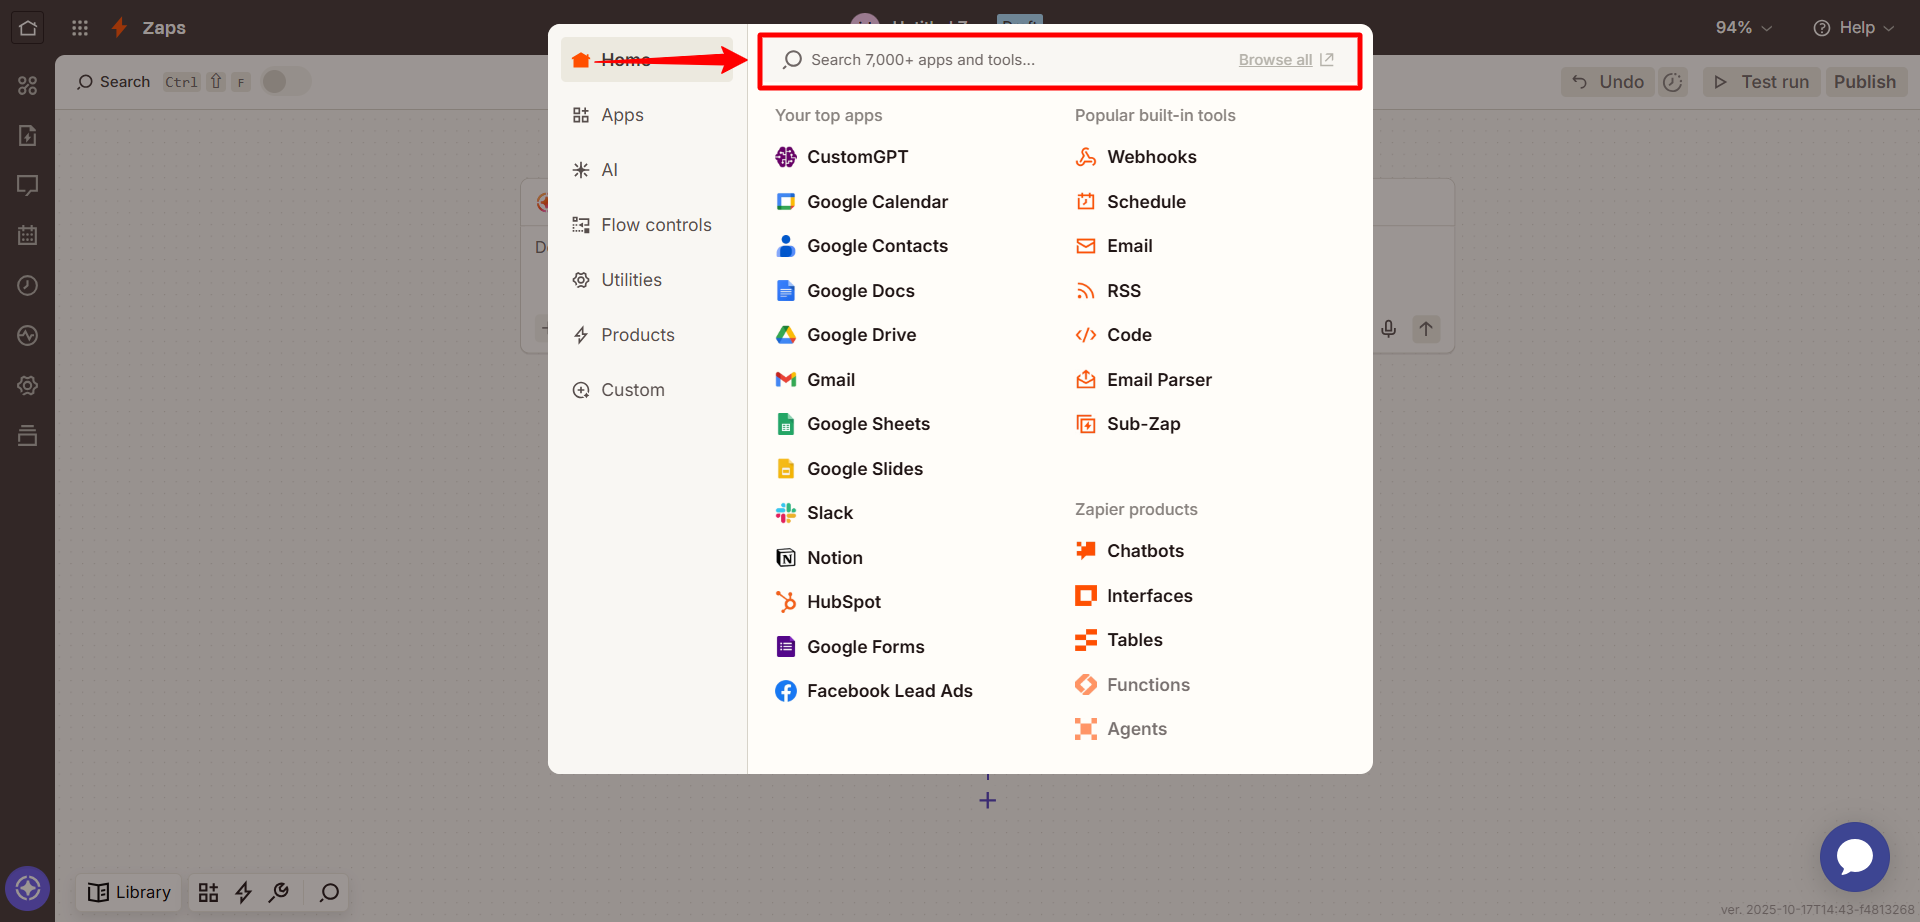
- In the Trigger section, select the app that will start the workflow (e.g., Slack, Google Drive, orany supported Zapier app trigger. ).
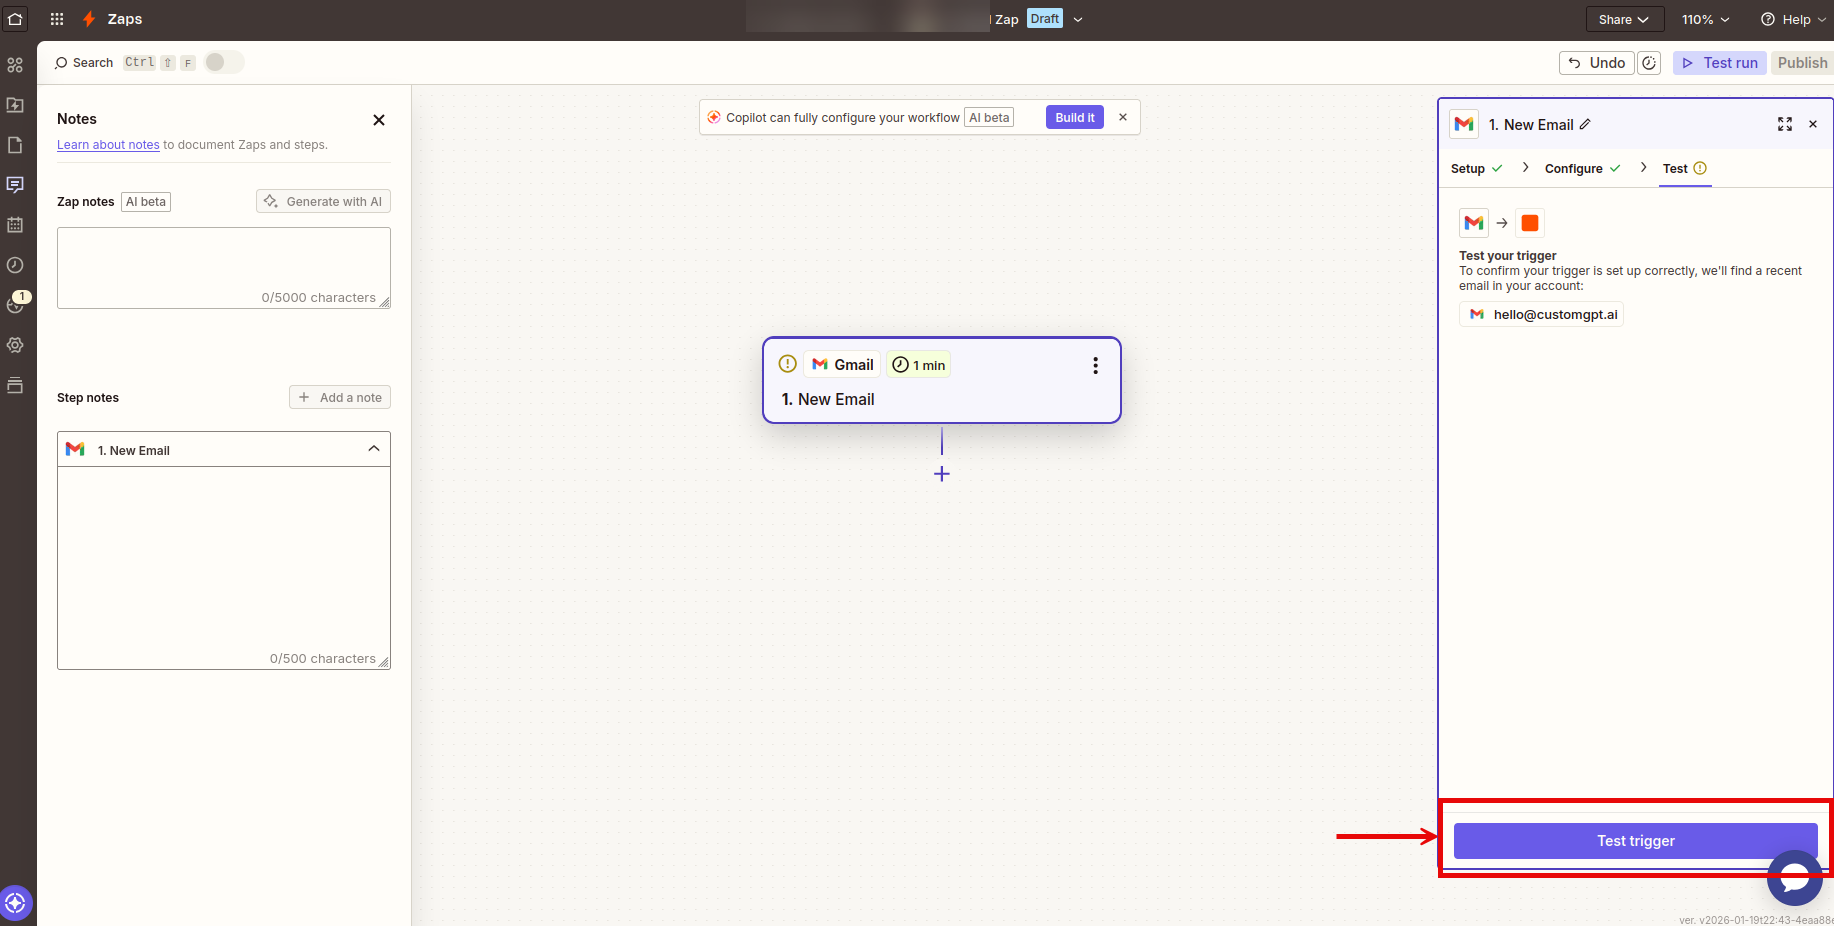
- Choose a trigger event such as New Email, New File in Folder, or New Attachment and test the trigger to make sure it's working correctly.
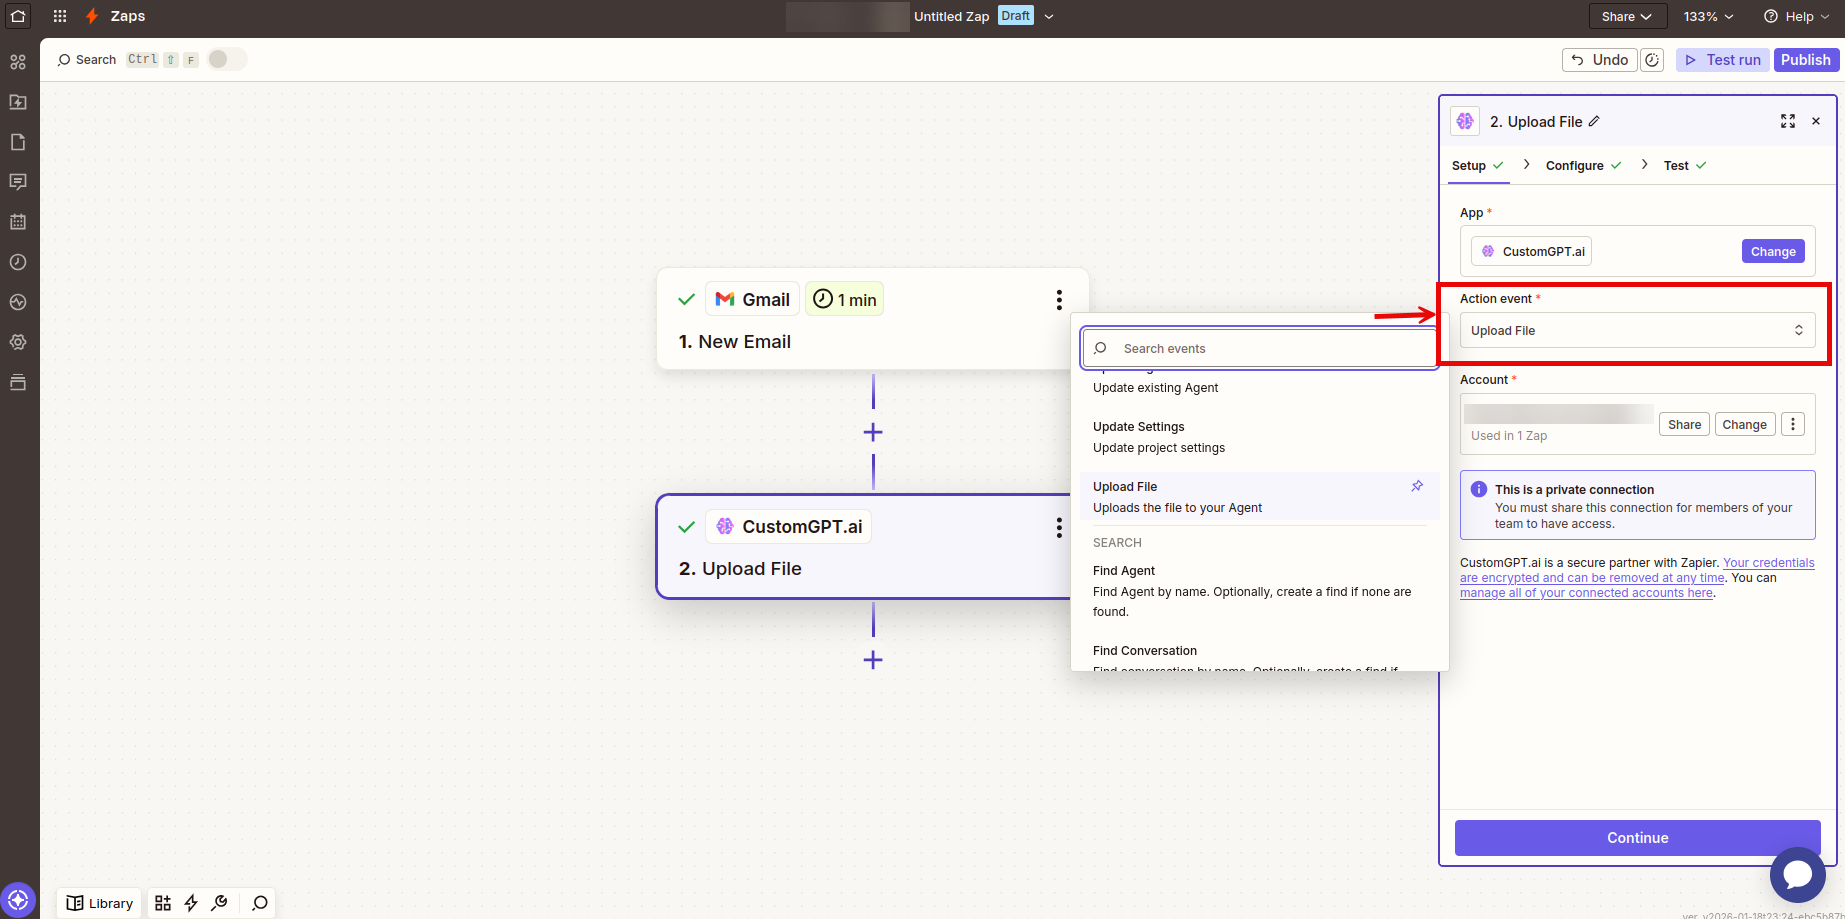
- In the Action step, search for CustomGPT.
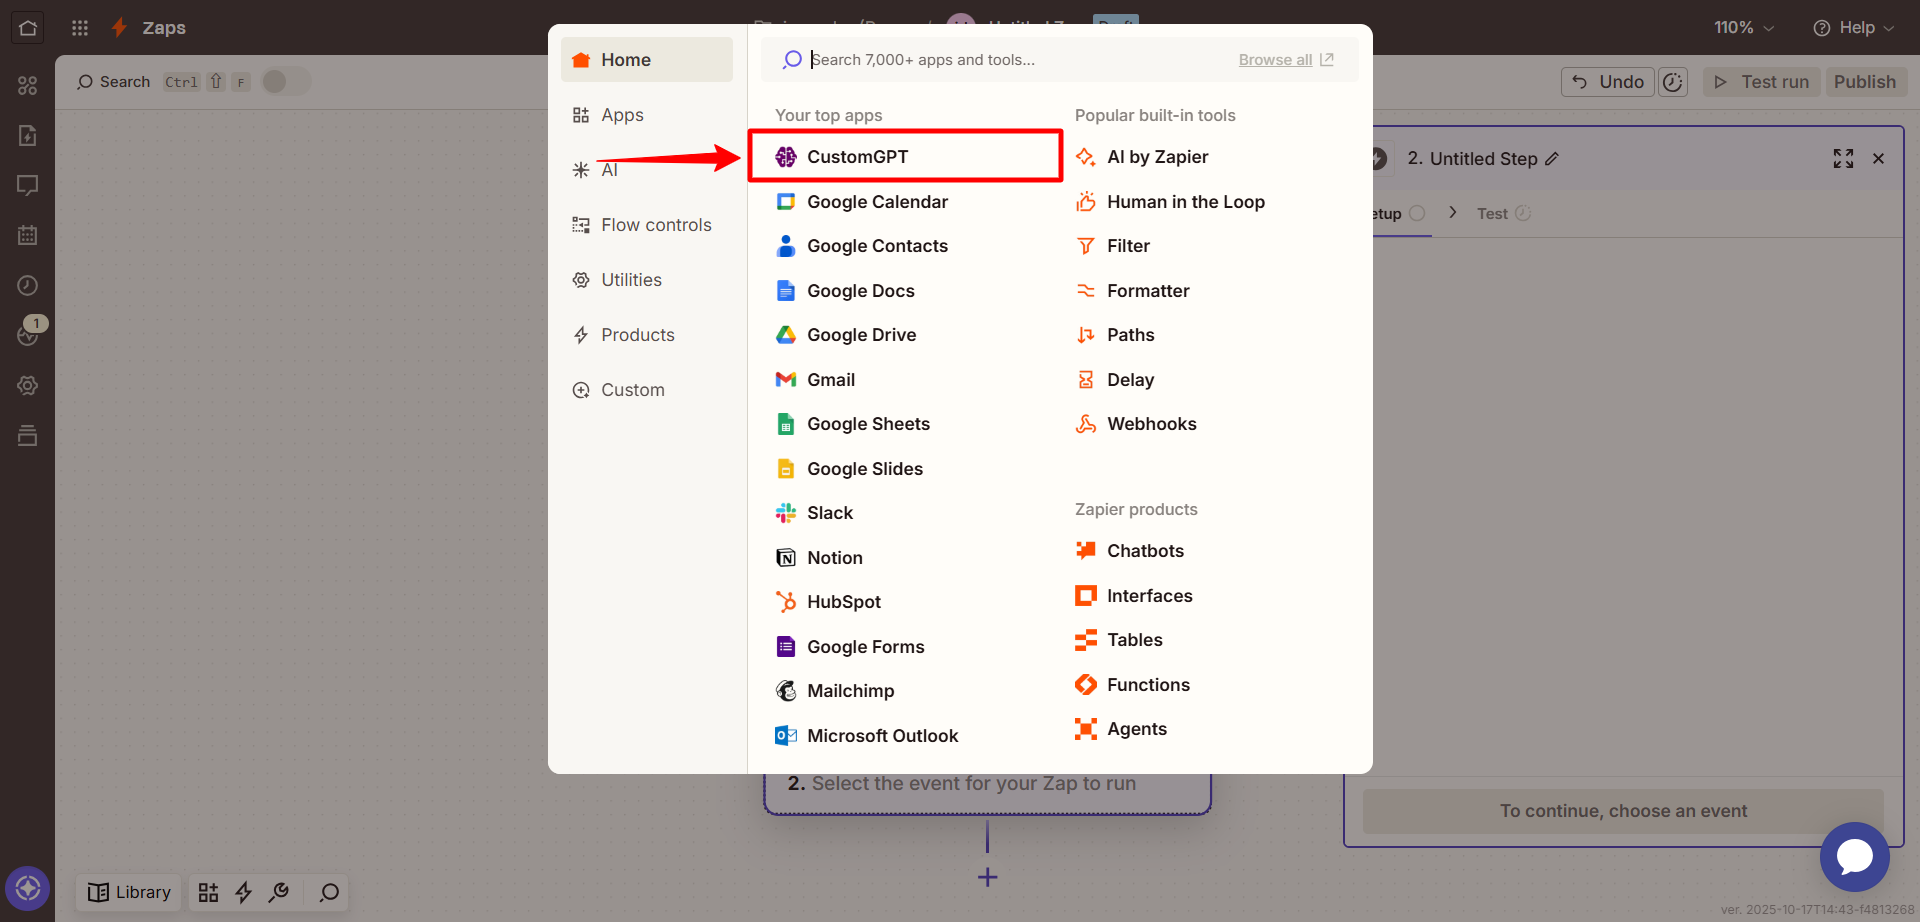
- Select the Upload File action
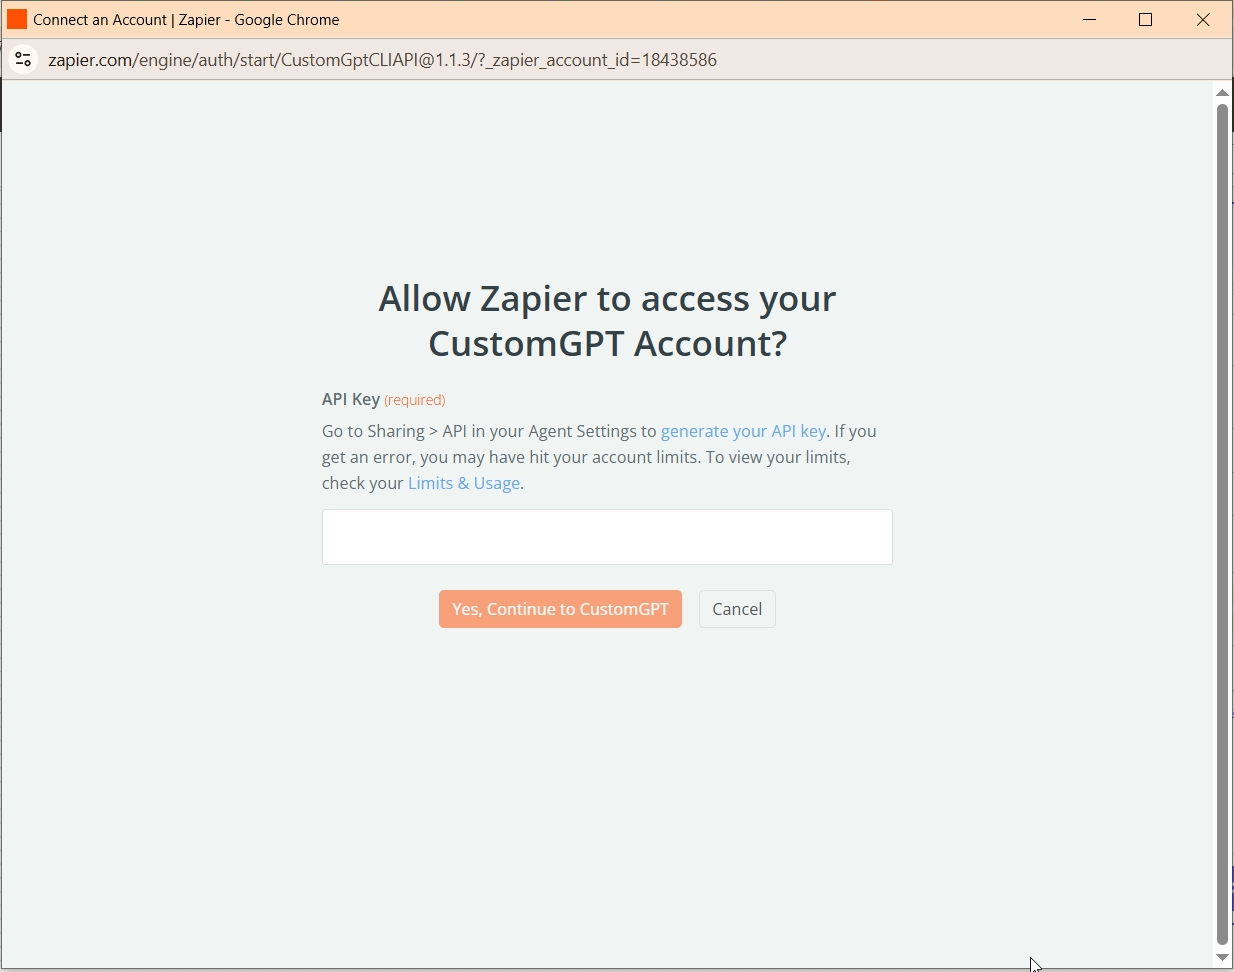
- When prompted, sign in to CustomGPT by clicking Sign In and entering your API key. To get your API key, see the API Key Guide .
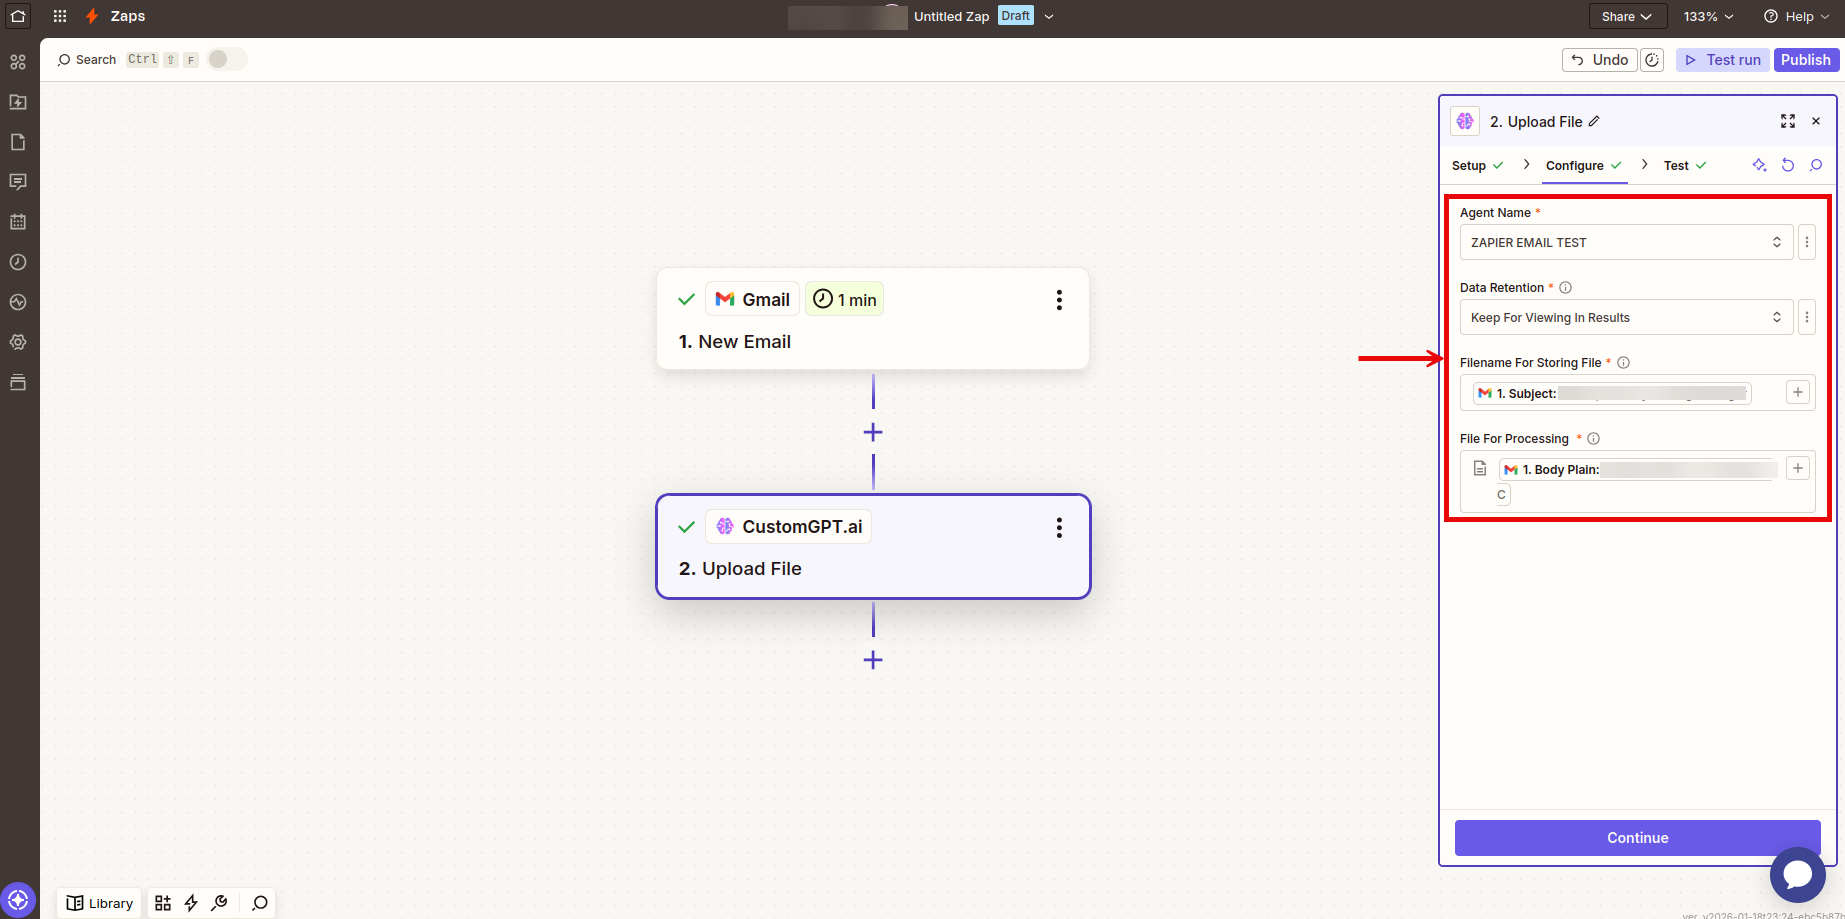
- In the Set up action section, configure the fields you want to update:
- Agent Name (required): Choose the agent where the file will be uploaded.
- Data Retention (required): Select how to handle the file after processing.
- Filename For Storing File (required): Specify the name for the uploaded file.
- File For Processing (required): Select the file content from your trigger step.
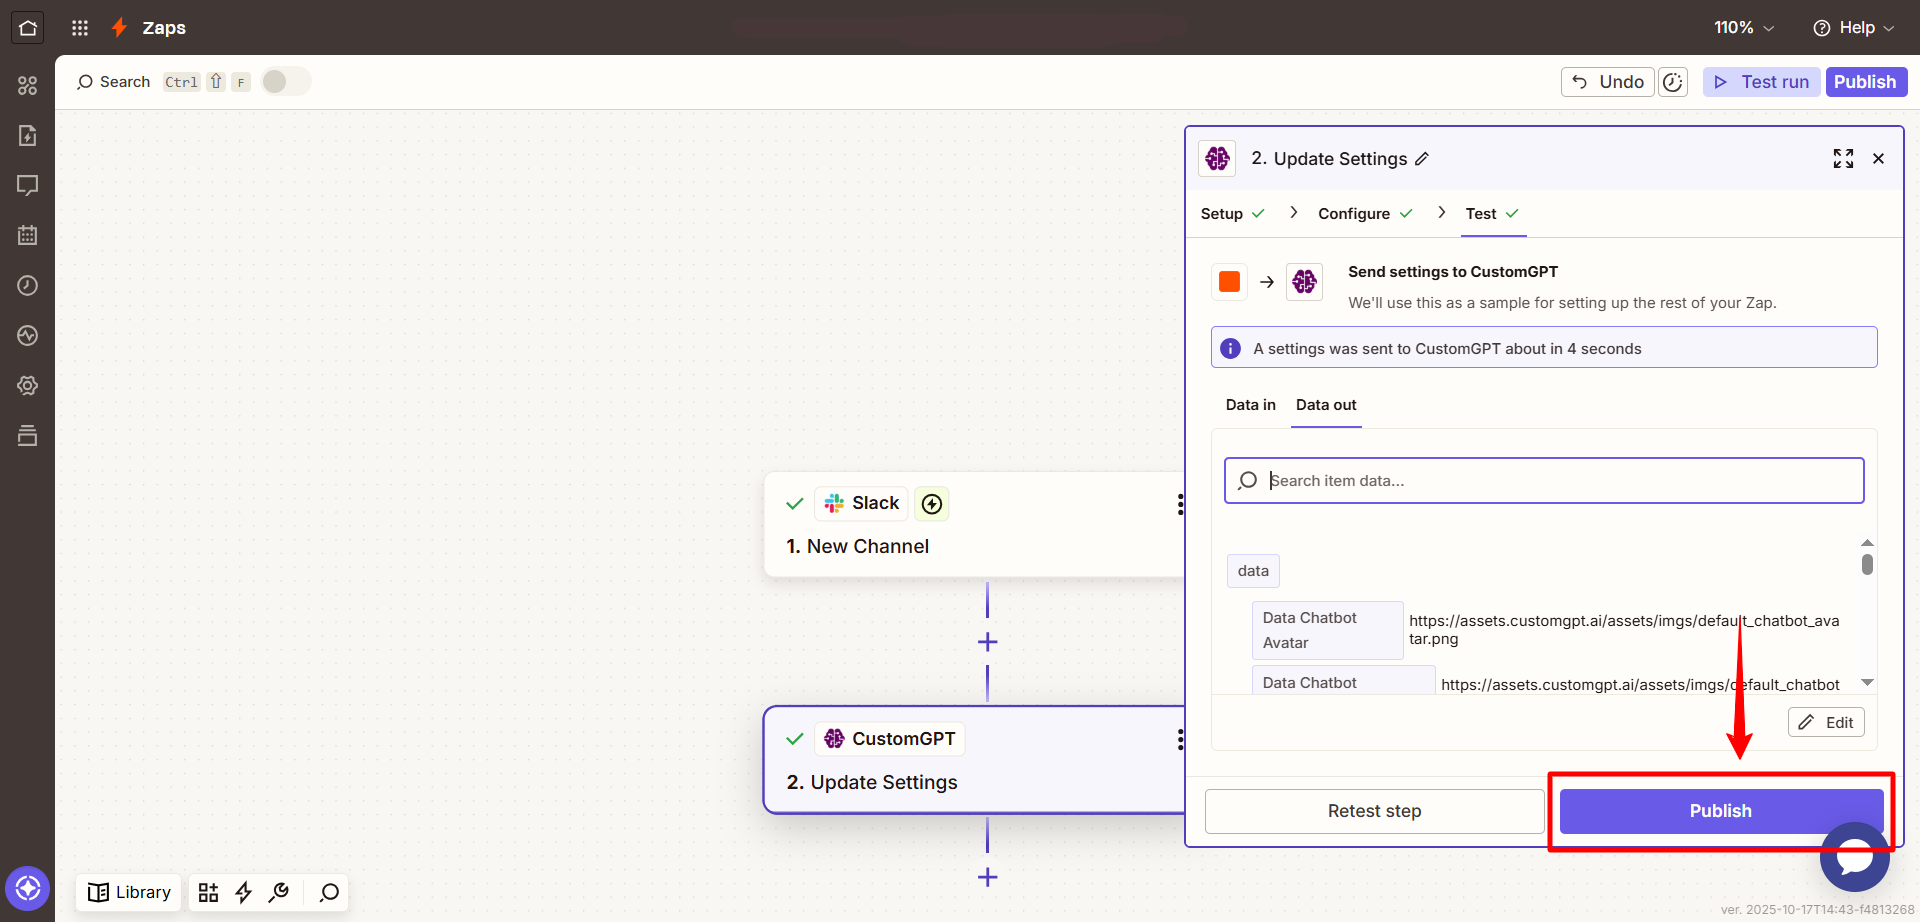
- Click Continue, then use Test to confirm that the action runs as expected.
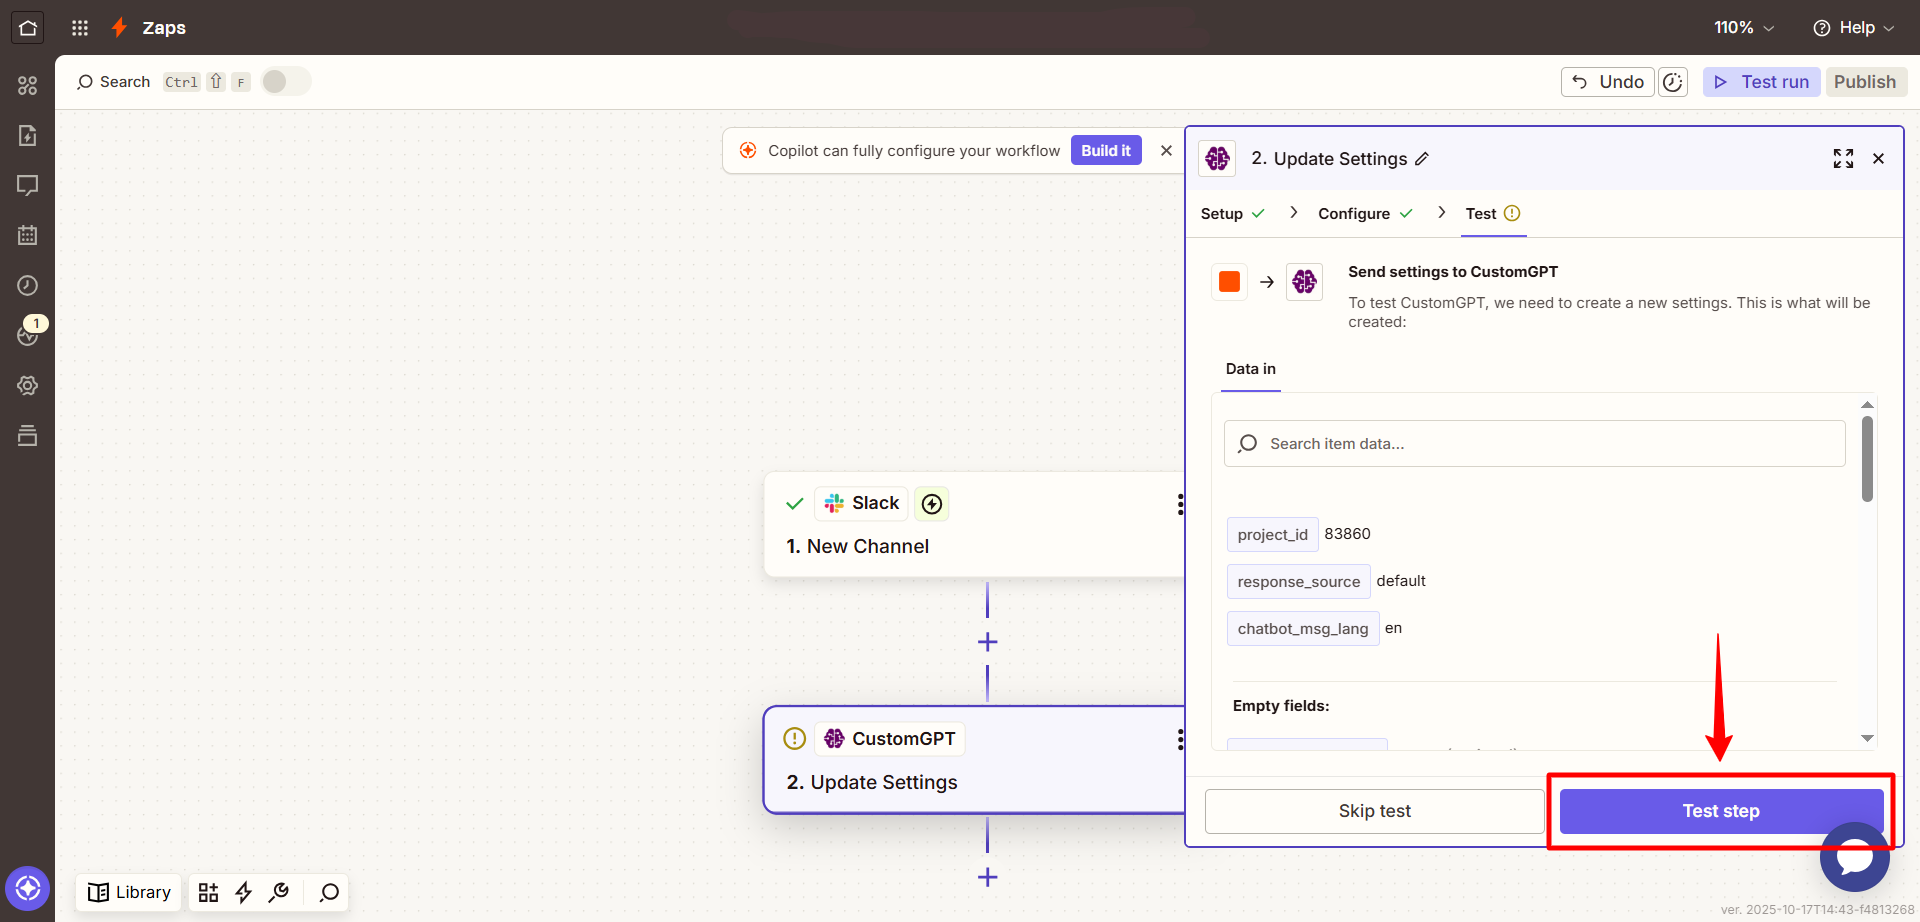
- Once confirmed, click Publish to activate your Zap.
Input parameters
| Field | Description |
|---|---|
| Agent Name | Select the agent that will receive the file. |
| Data Retention | Choose how the file is stored after processing. Keep For Viewing In Results: The file is saved and end users can view or download the original. Delete Immediately After Processing: Your agent learns from the file content, but the original file is deleted. End users cannot view or download the file. |
| Filename For Storing File | Enter a name for the uploaded file. You can type a static name or use dynamic data from your trigger step (e.g., email subject, original filename). |
| File For Processing | Select the file content from your trigger step. This could be an email attachment from Gmail, or a file from Google Drive, Dropbox, or OneDrive. |
Updated 6 months ago
Did this page help you?