
Send collected leads to HubSpot
This step-by-step guide covers how to configure the new lead event and map key lead details like name, email, and company directly into your HubSpot CRM.
Step 1: Set Up Lead Capture in CustomGPT
- Click on your agent
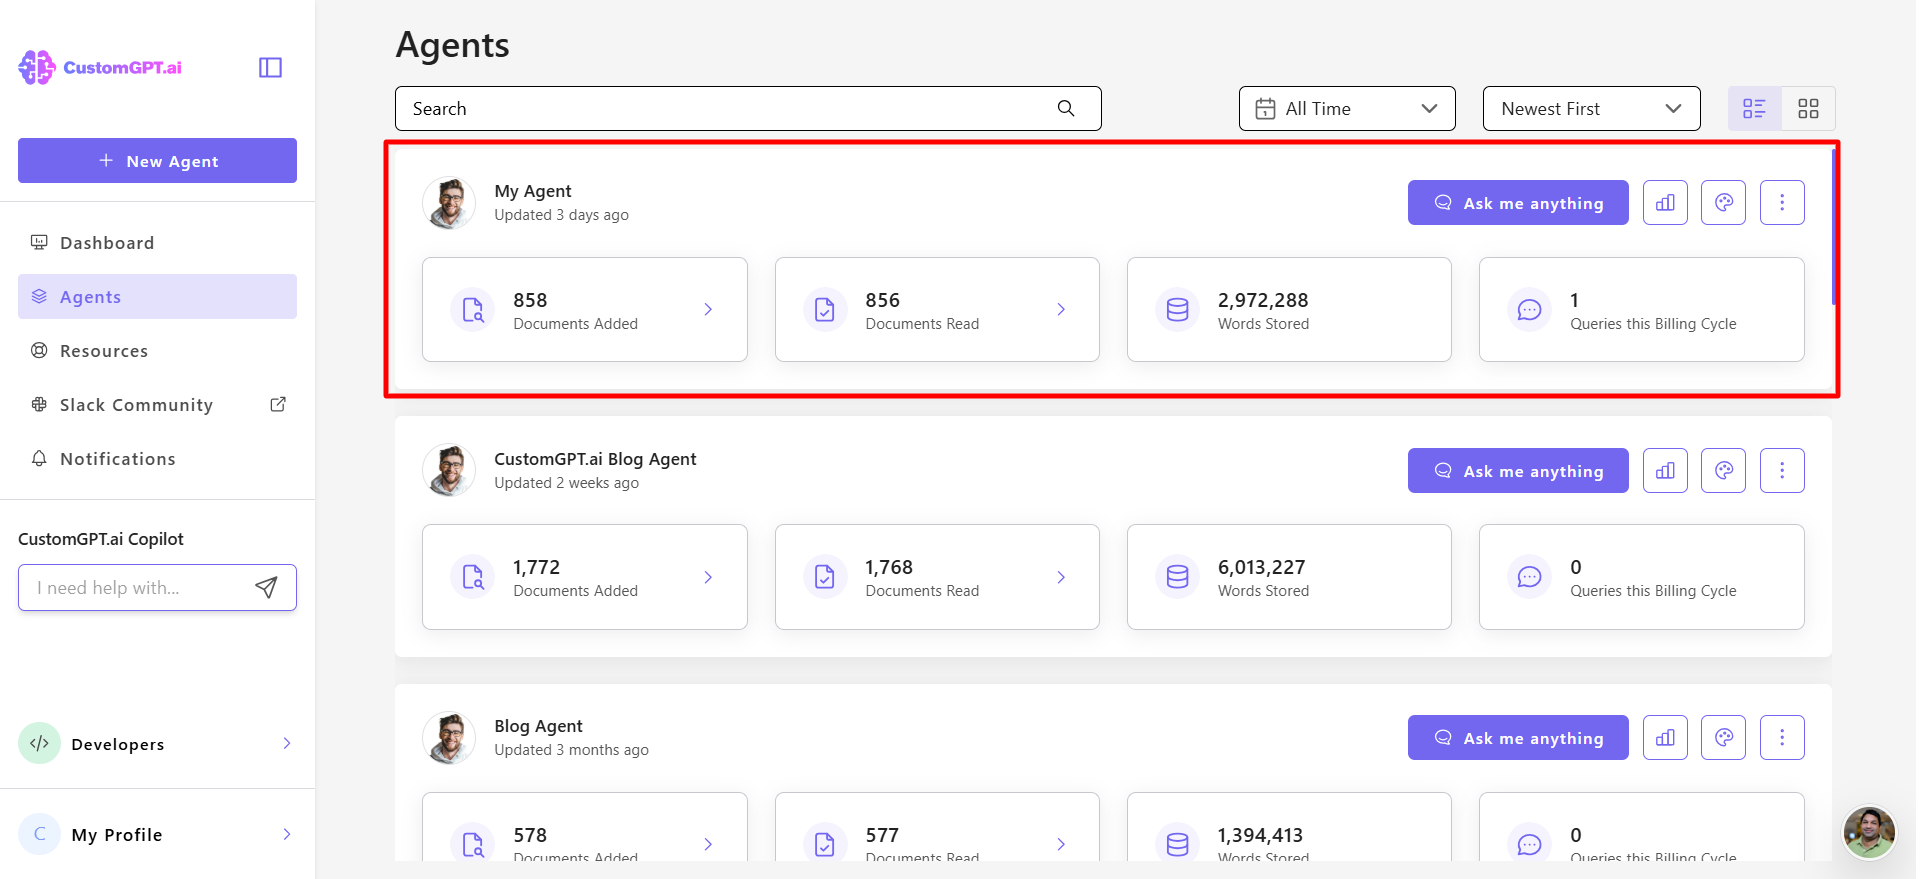
- Go to Actions
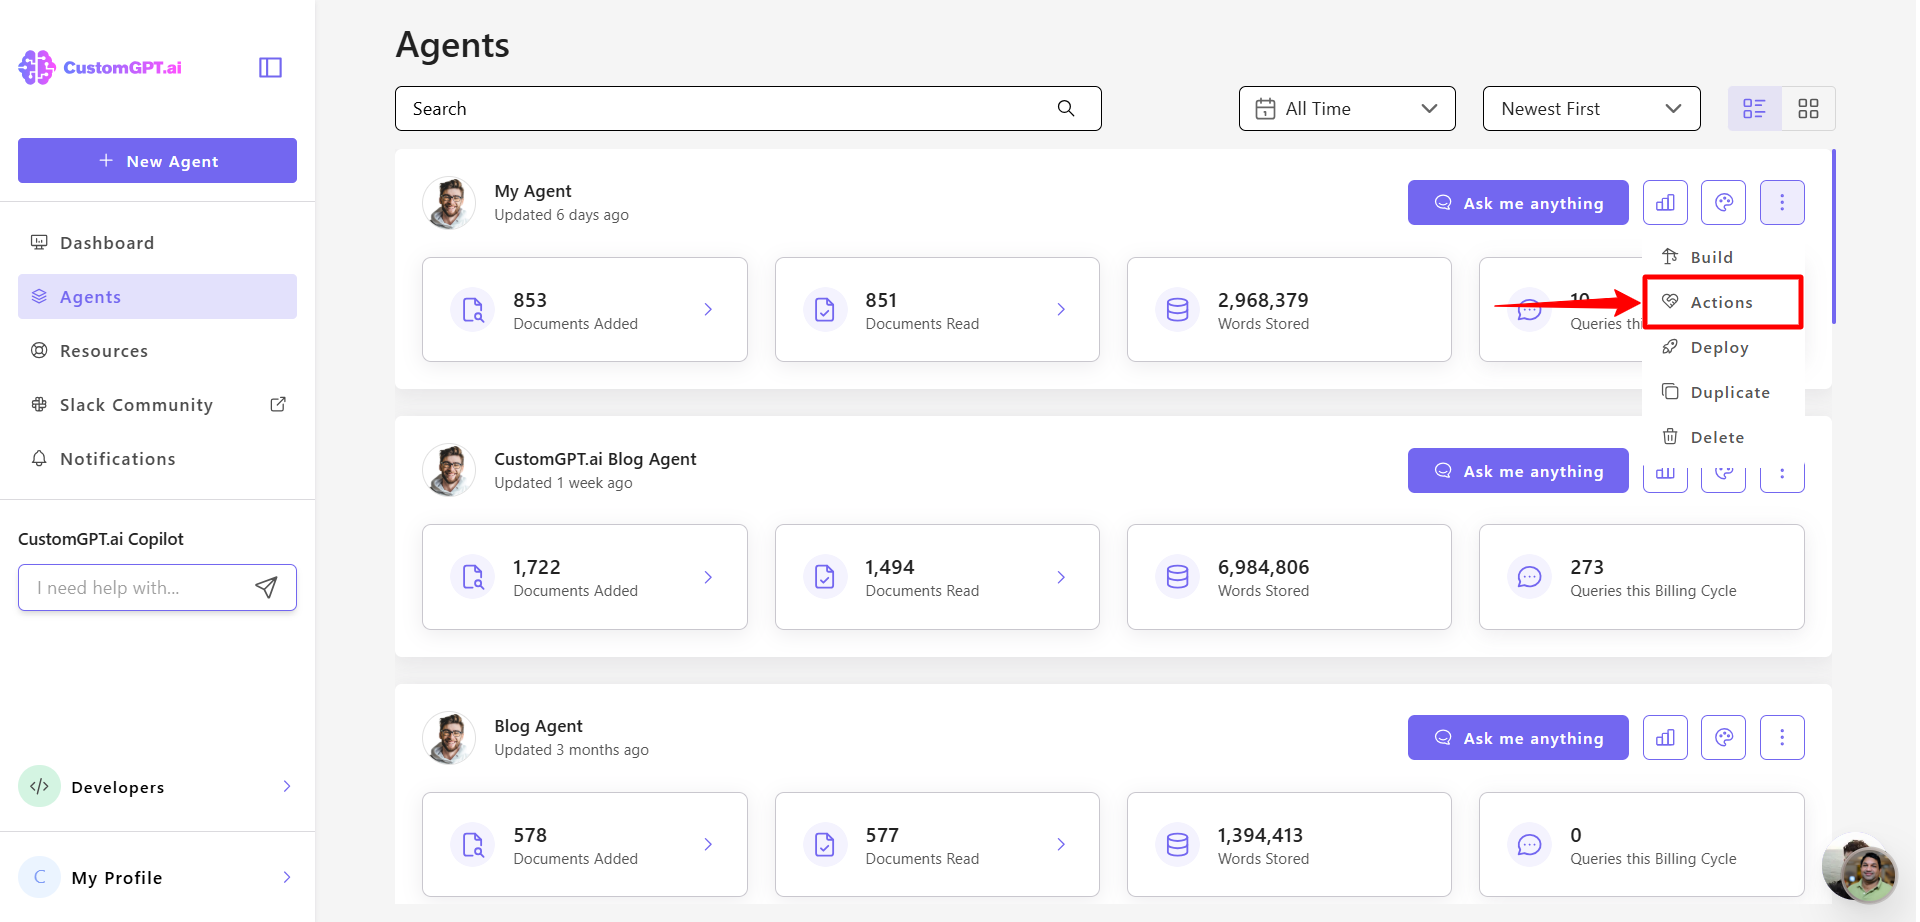
- Turn on Lead Capture by clicking the toggle
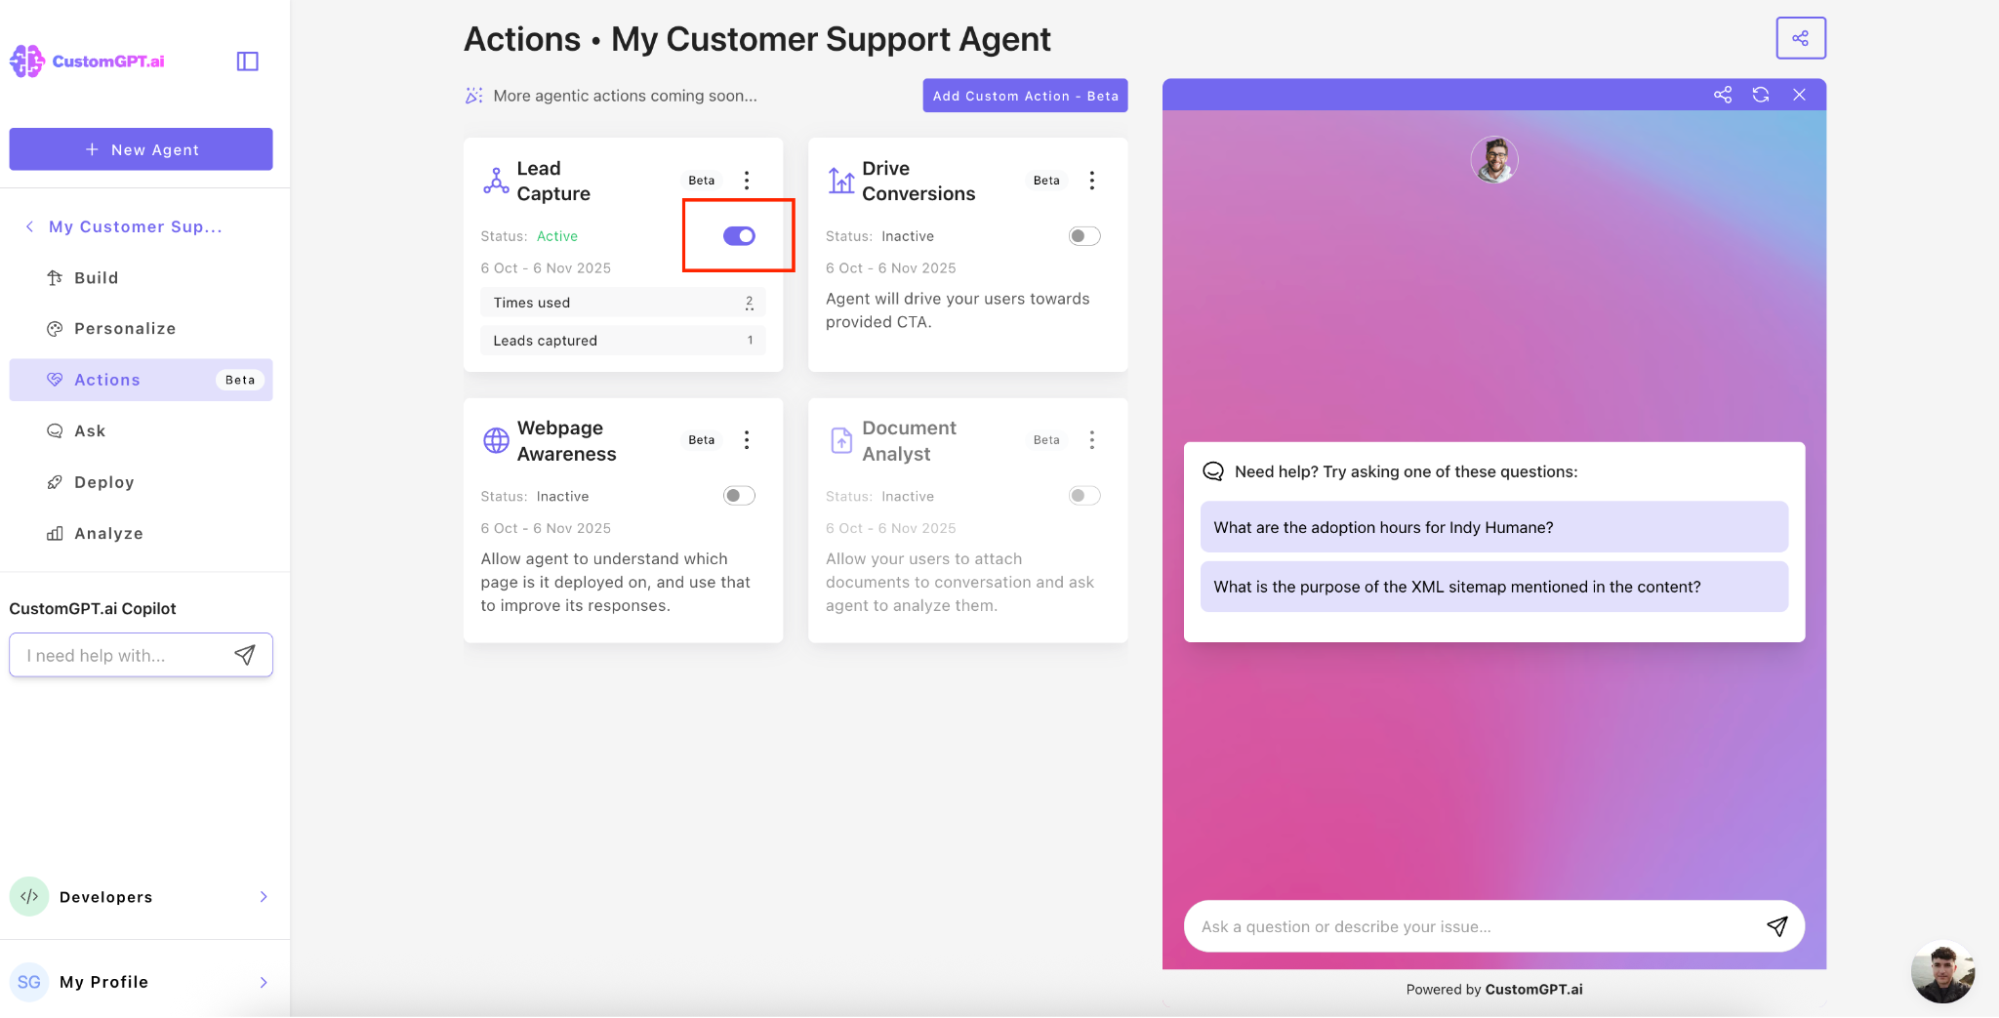
Step 2: Create Your Zap (Trigger)
- Click on Trigger
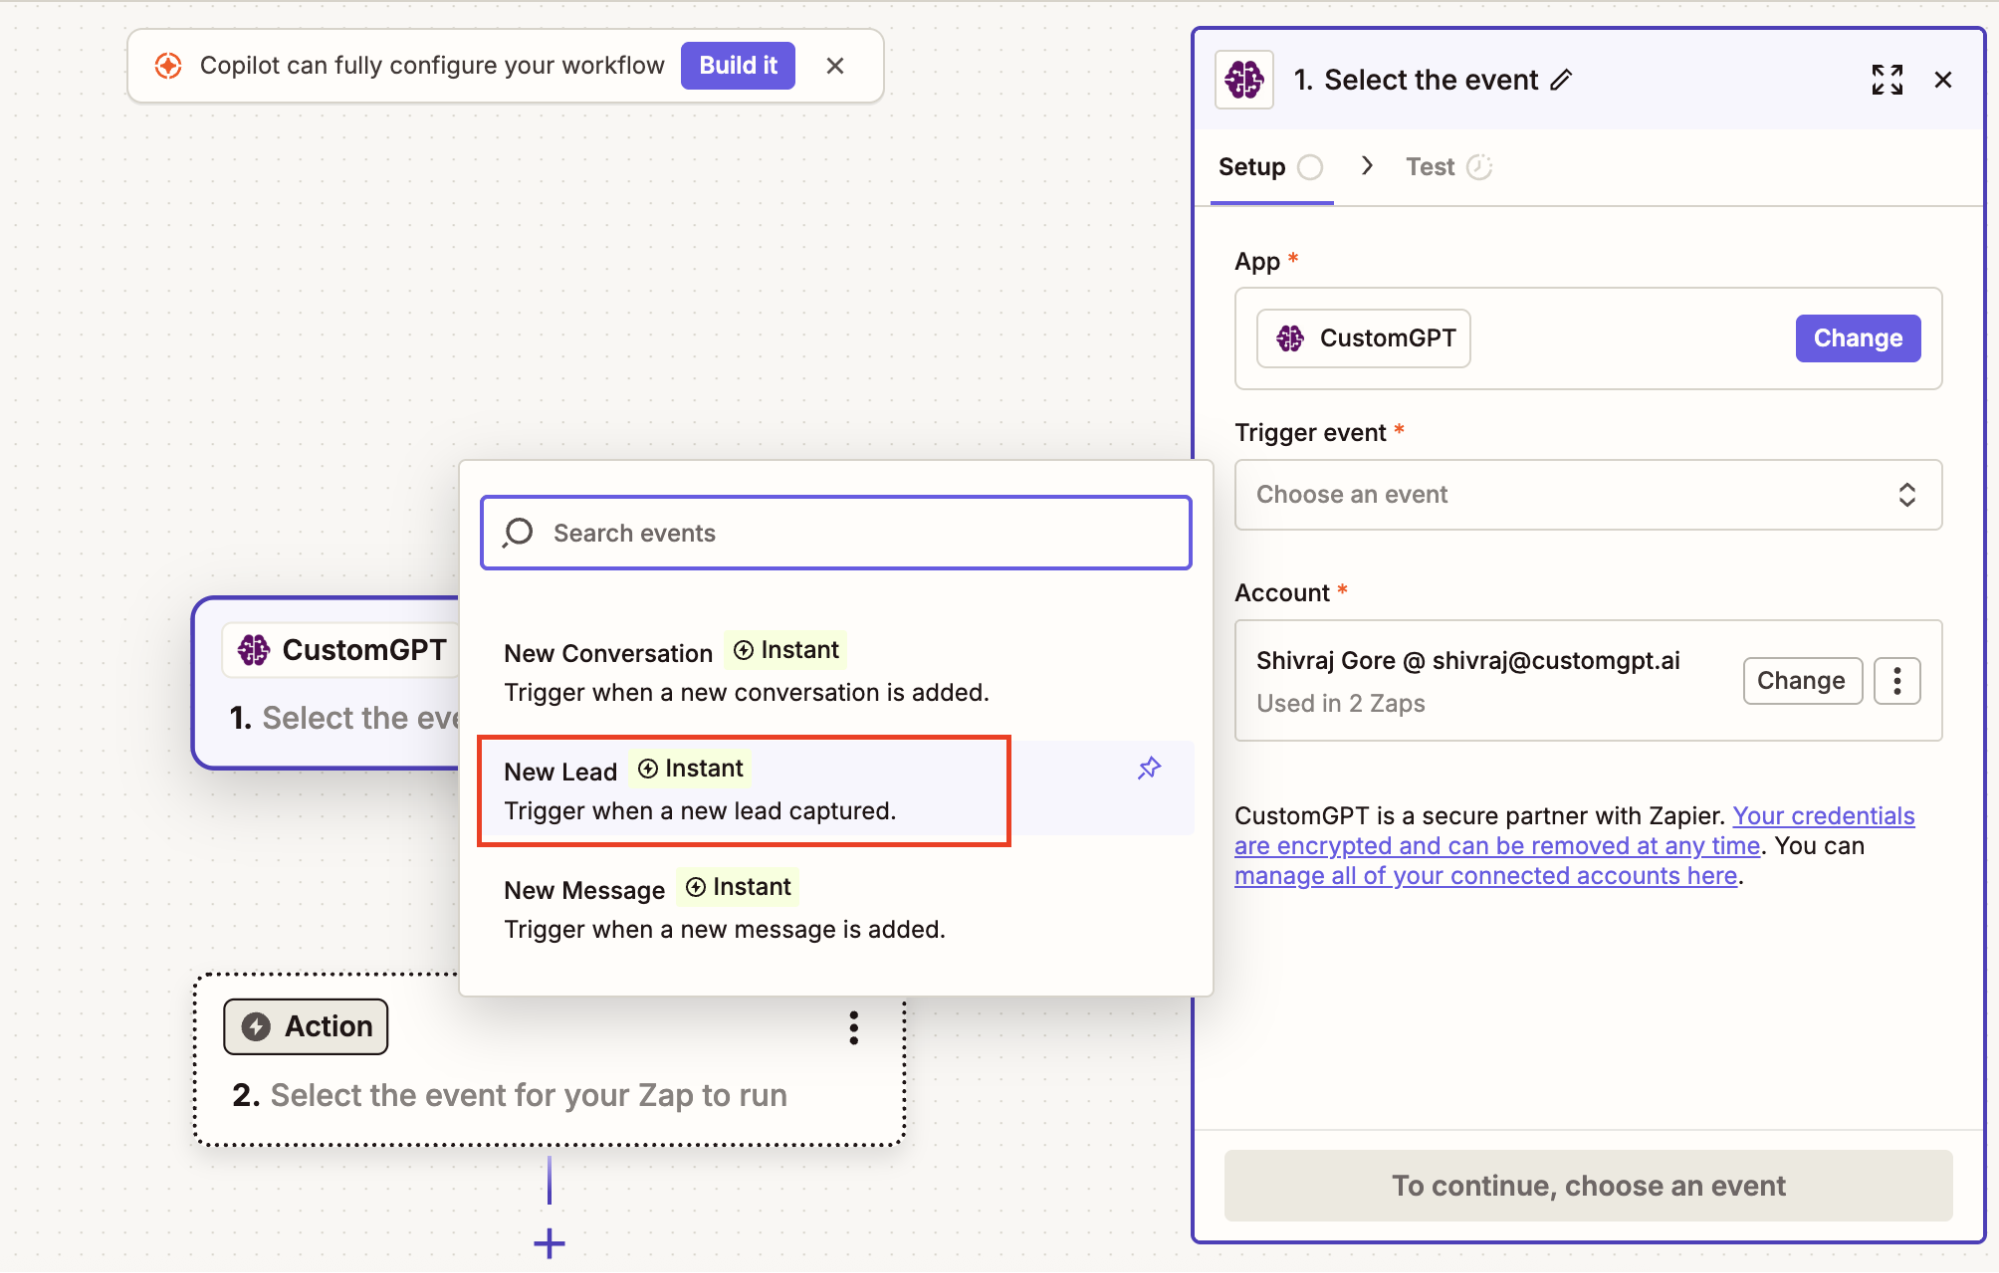
- Search for CustomGPT and select it

- Choose your trigger event from the dropdown menu
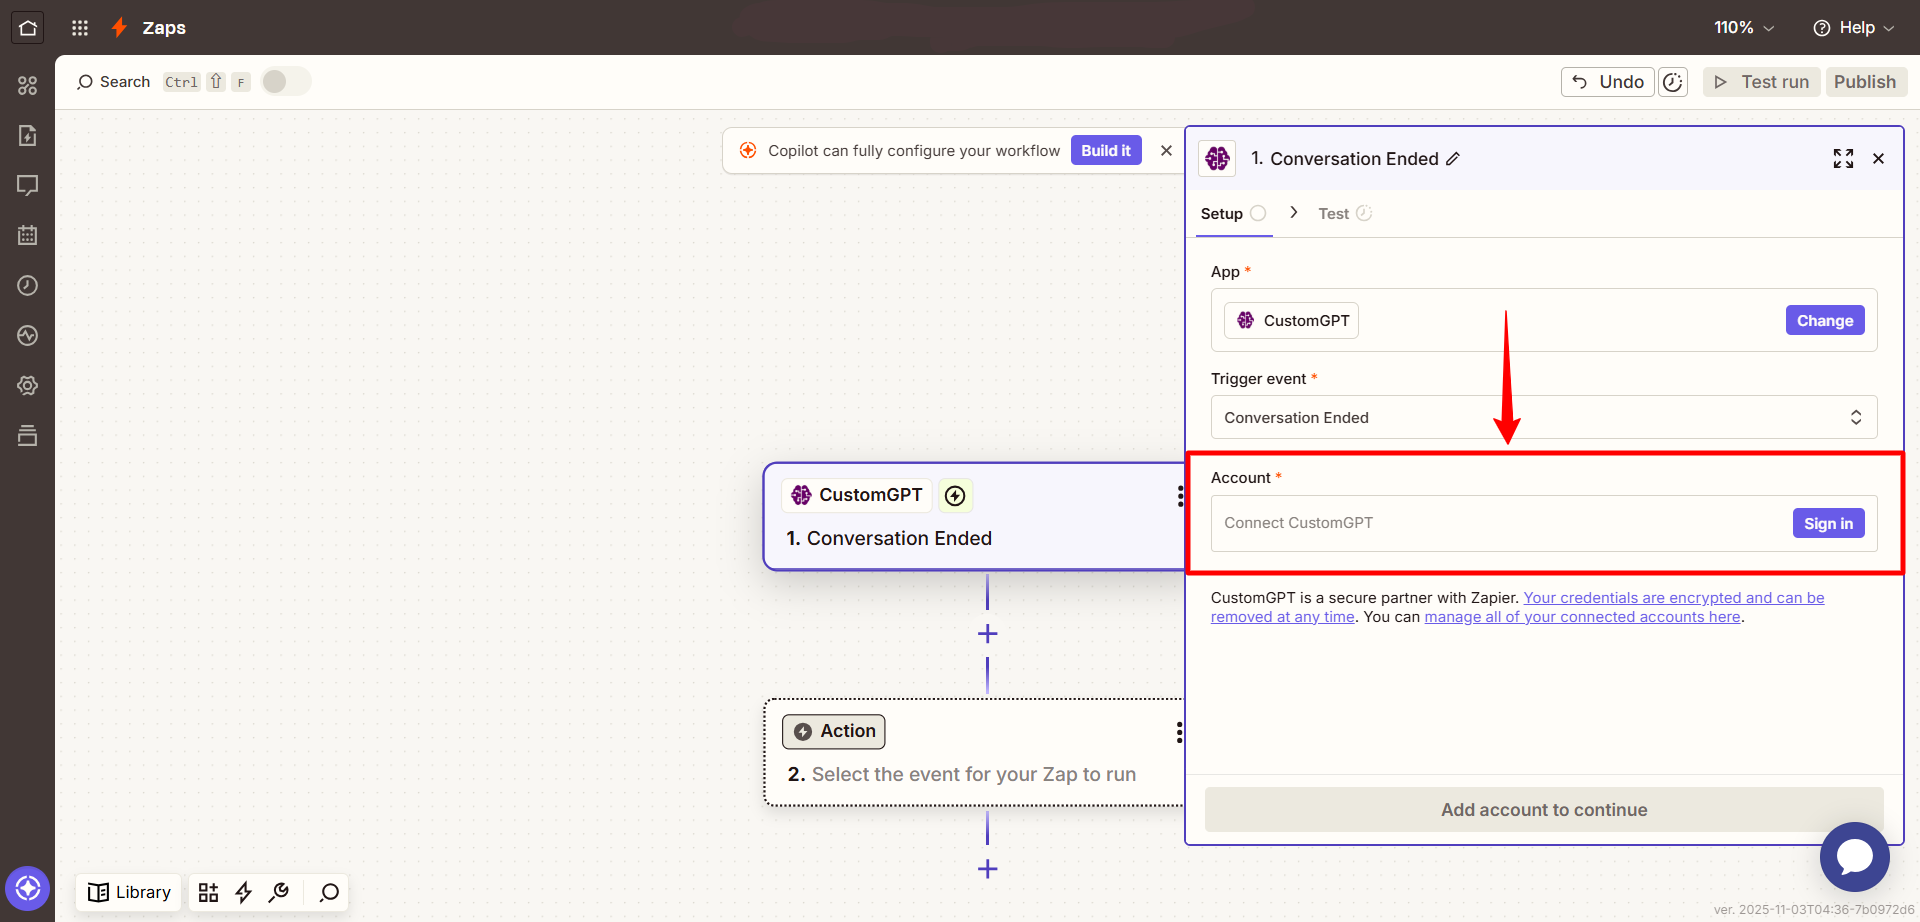
- Sign in to your CustomGPT.ai account using OAuth.
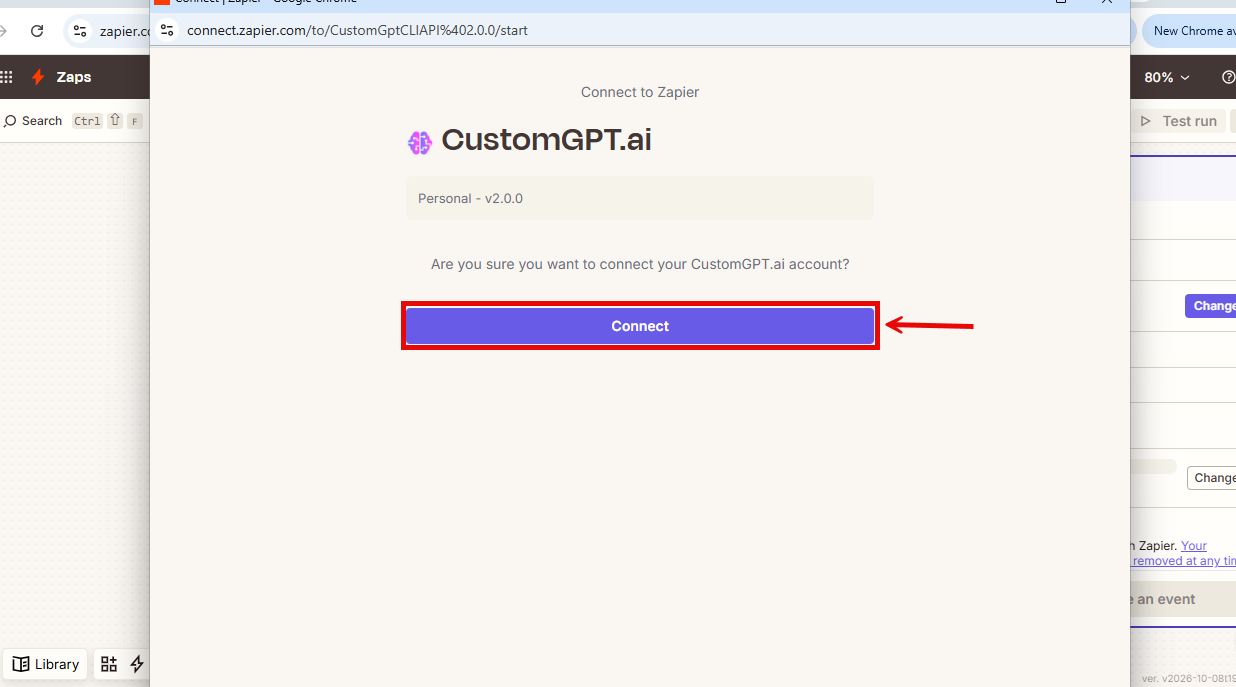
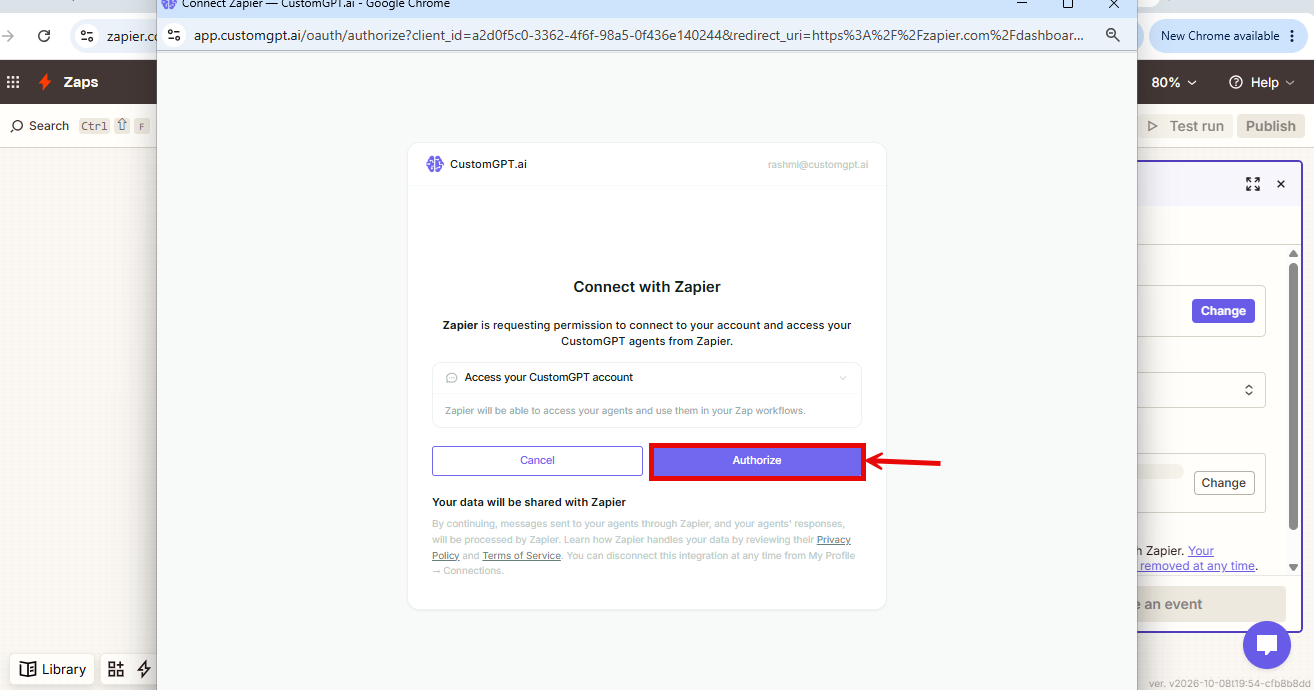
- On the CustomGPT.ai authorization screen, click Authorize
Note: Legacy connection: Connections you made earlier with an API key keep working. New connections use this sign-in.
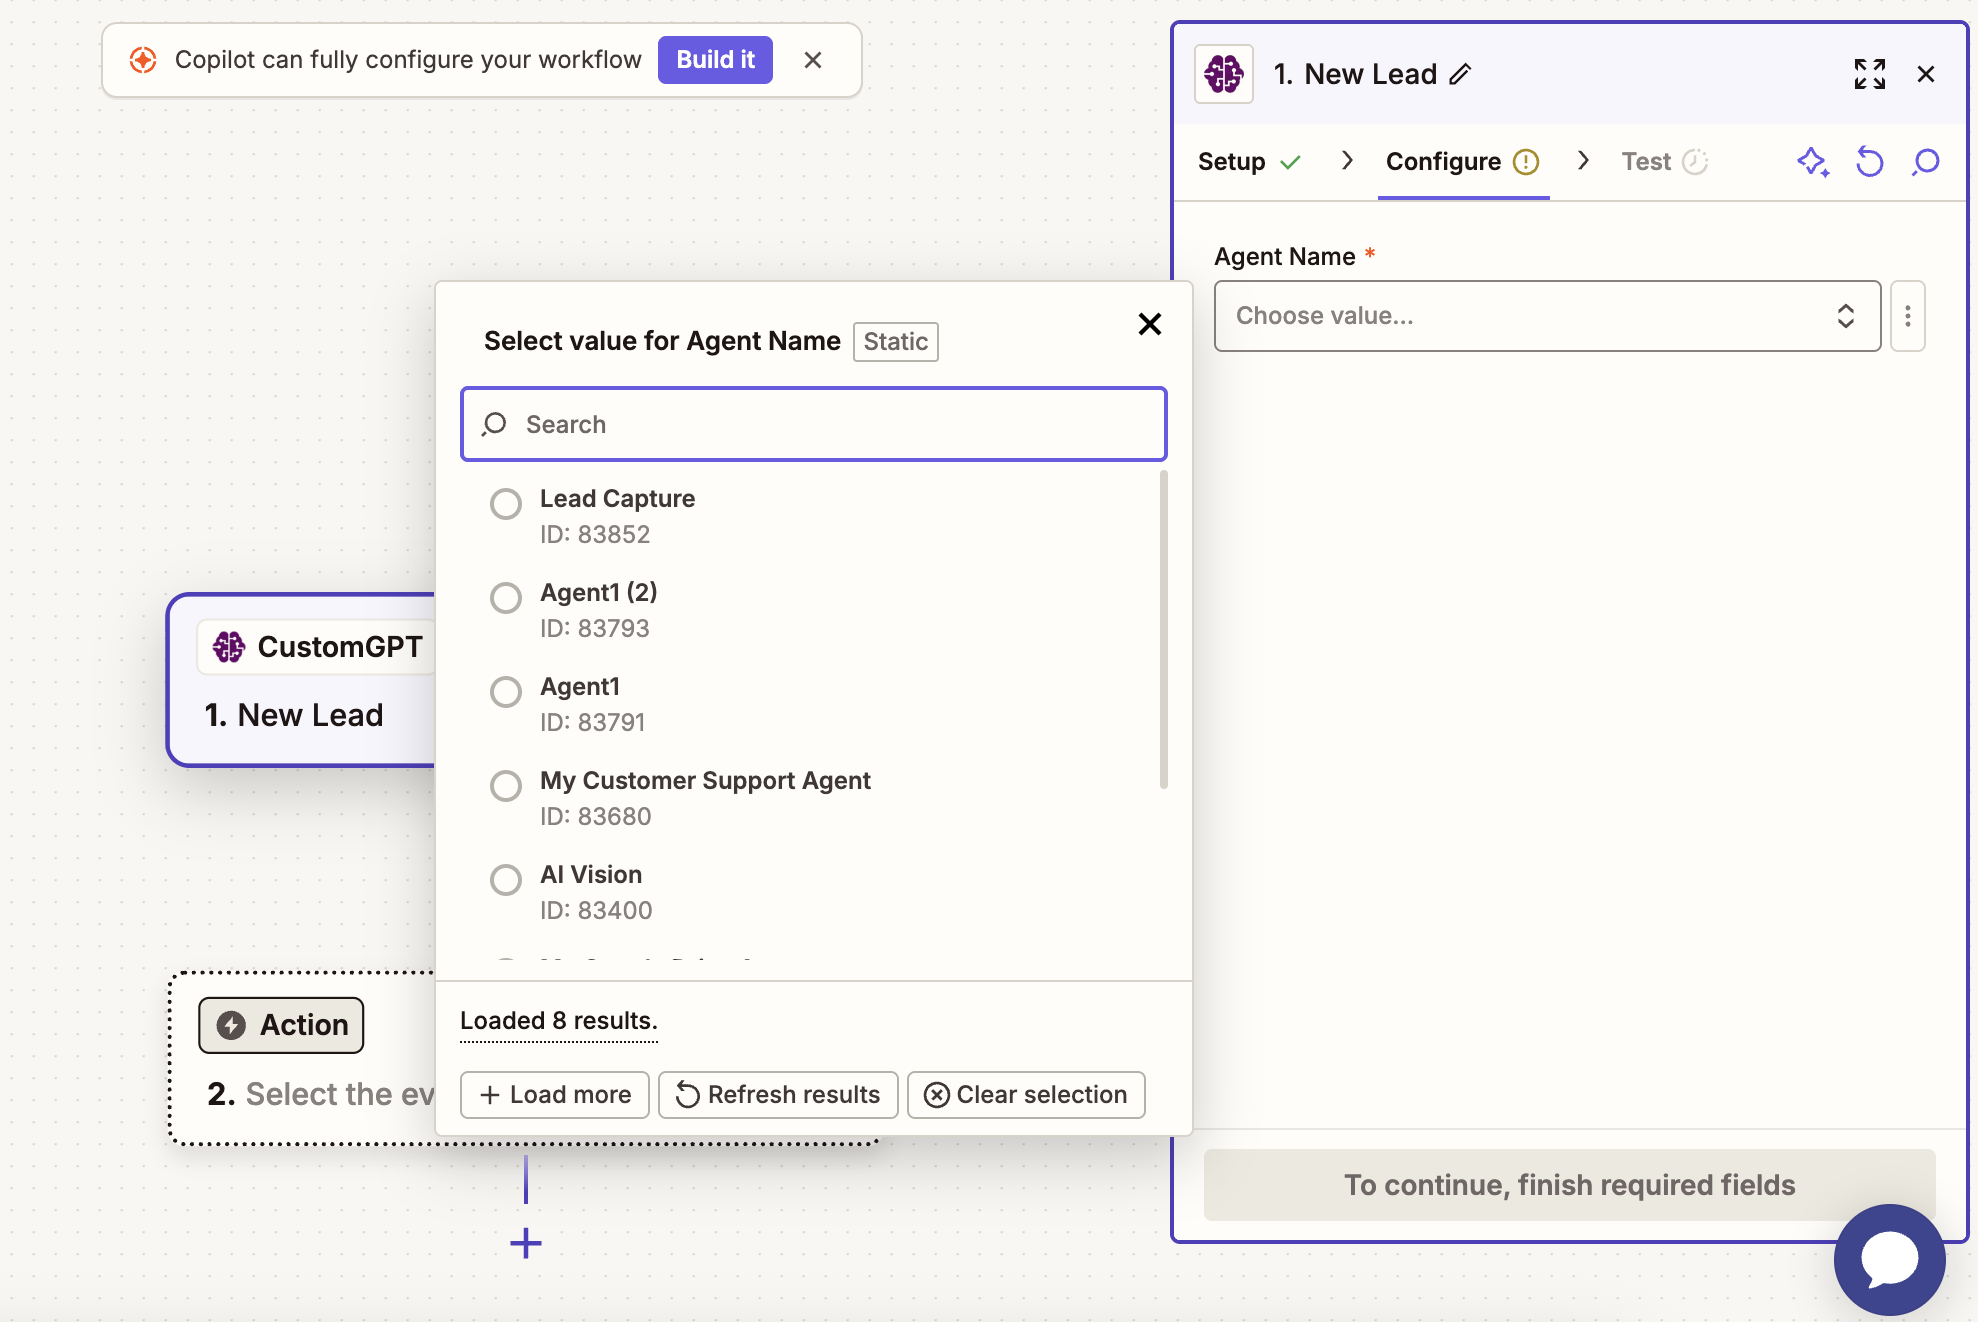
- Select your agent name from the dropdown, then click Continue
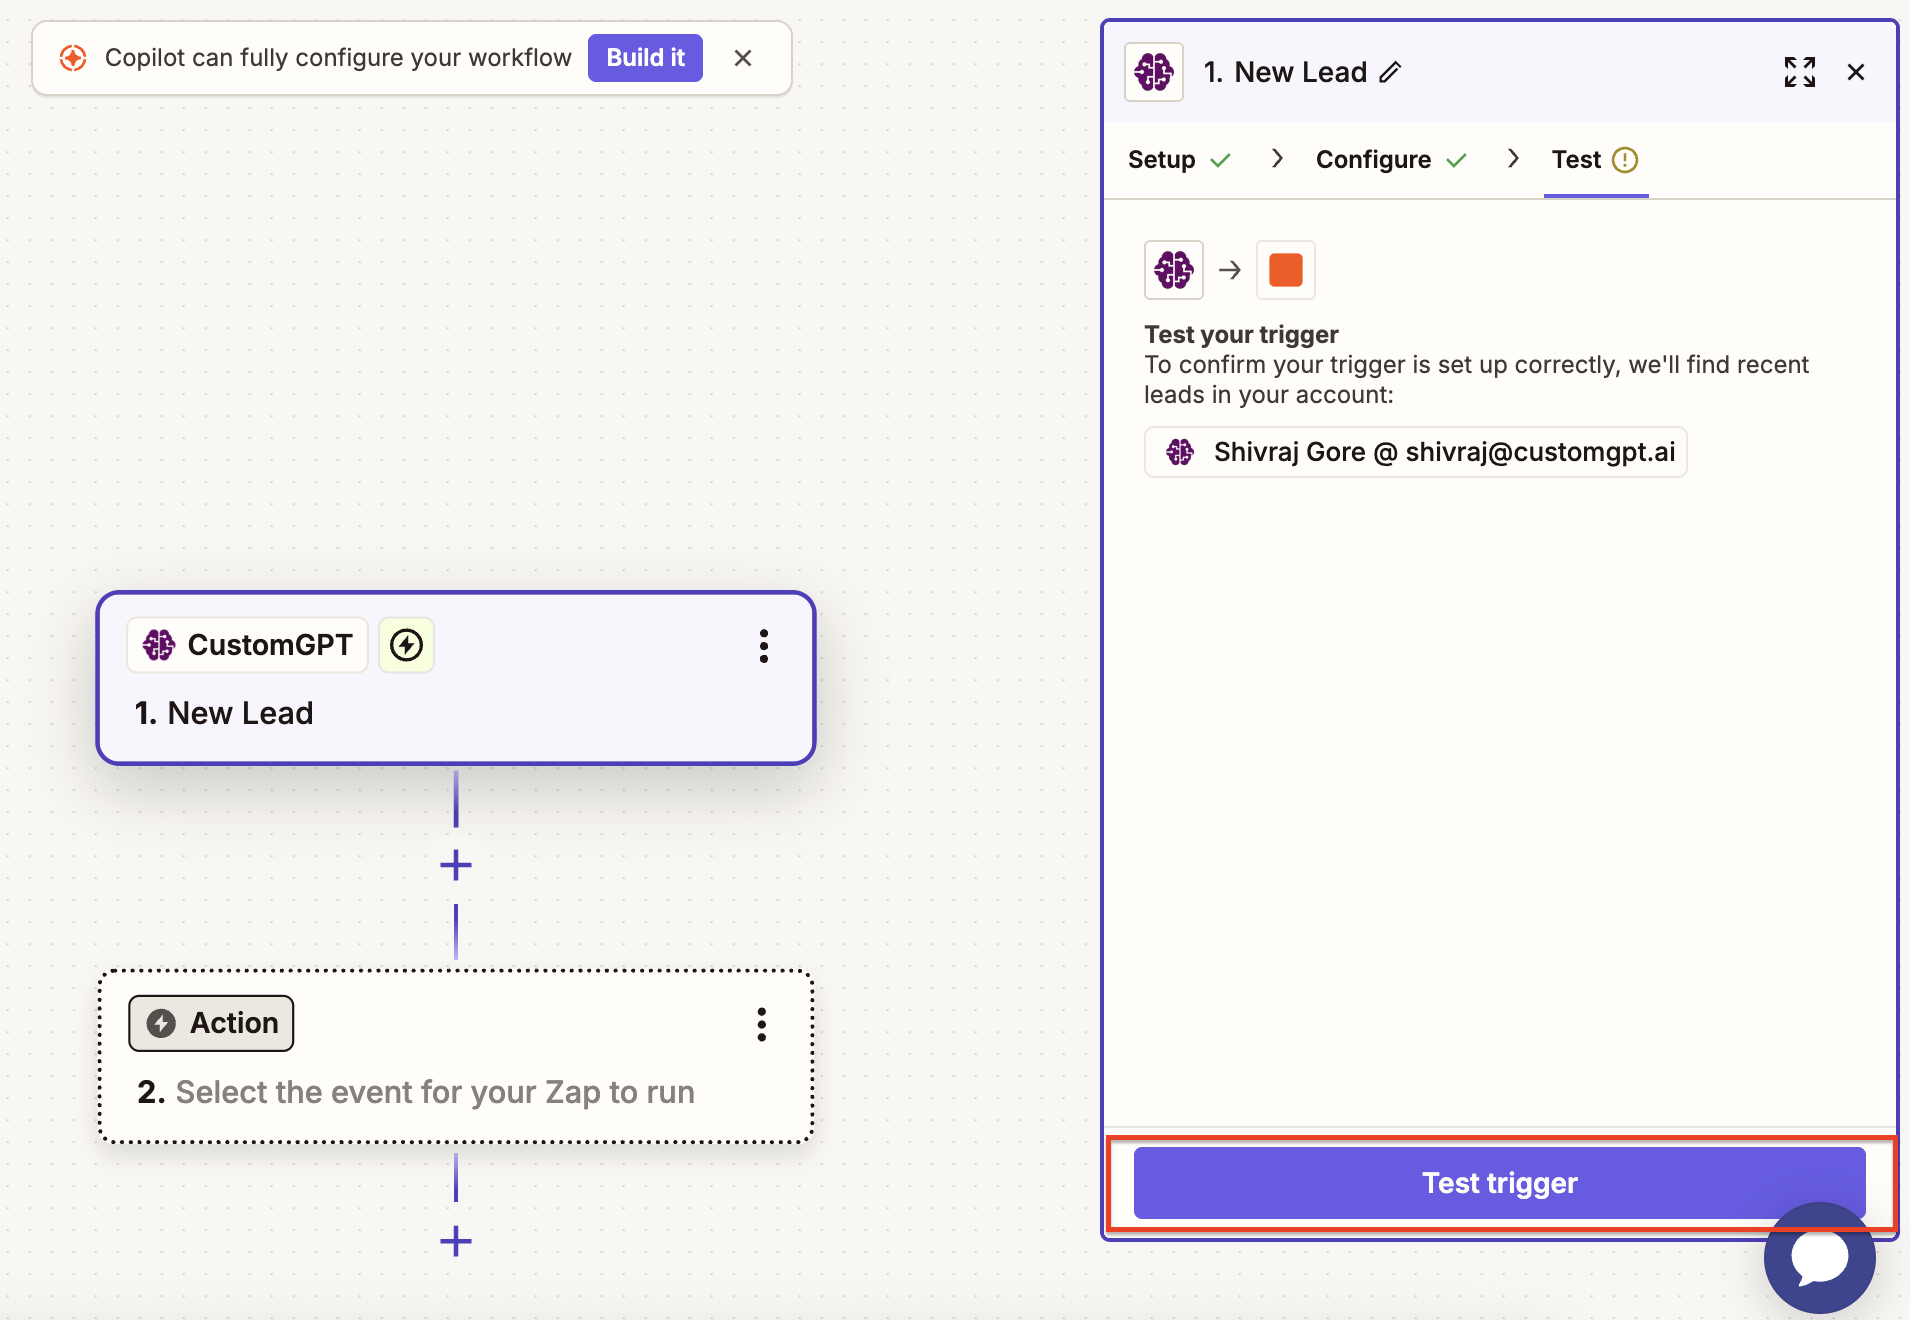
- Click Test trigger to make sure everything works
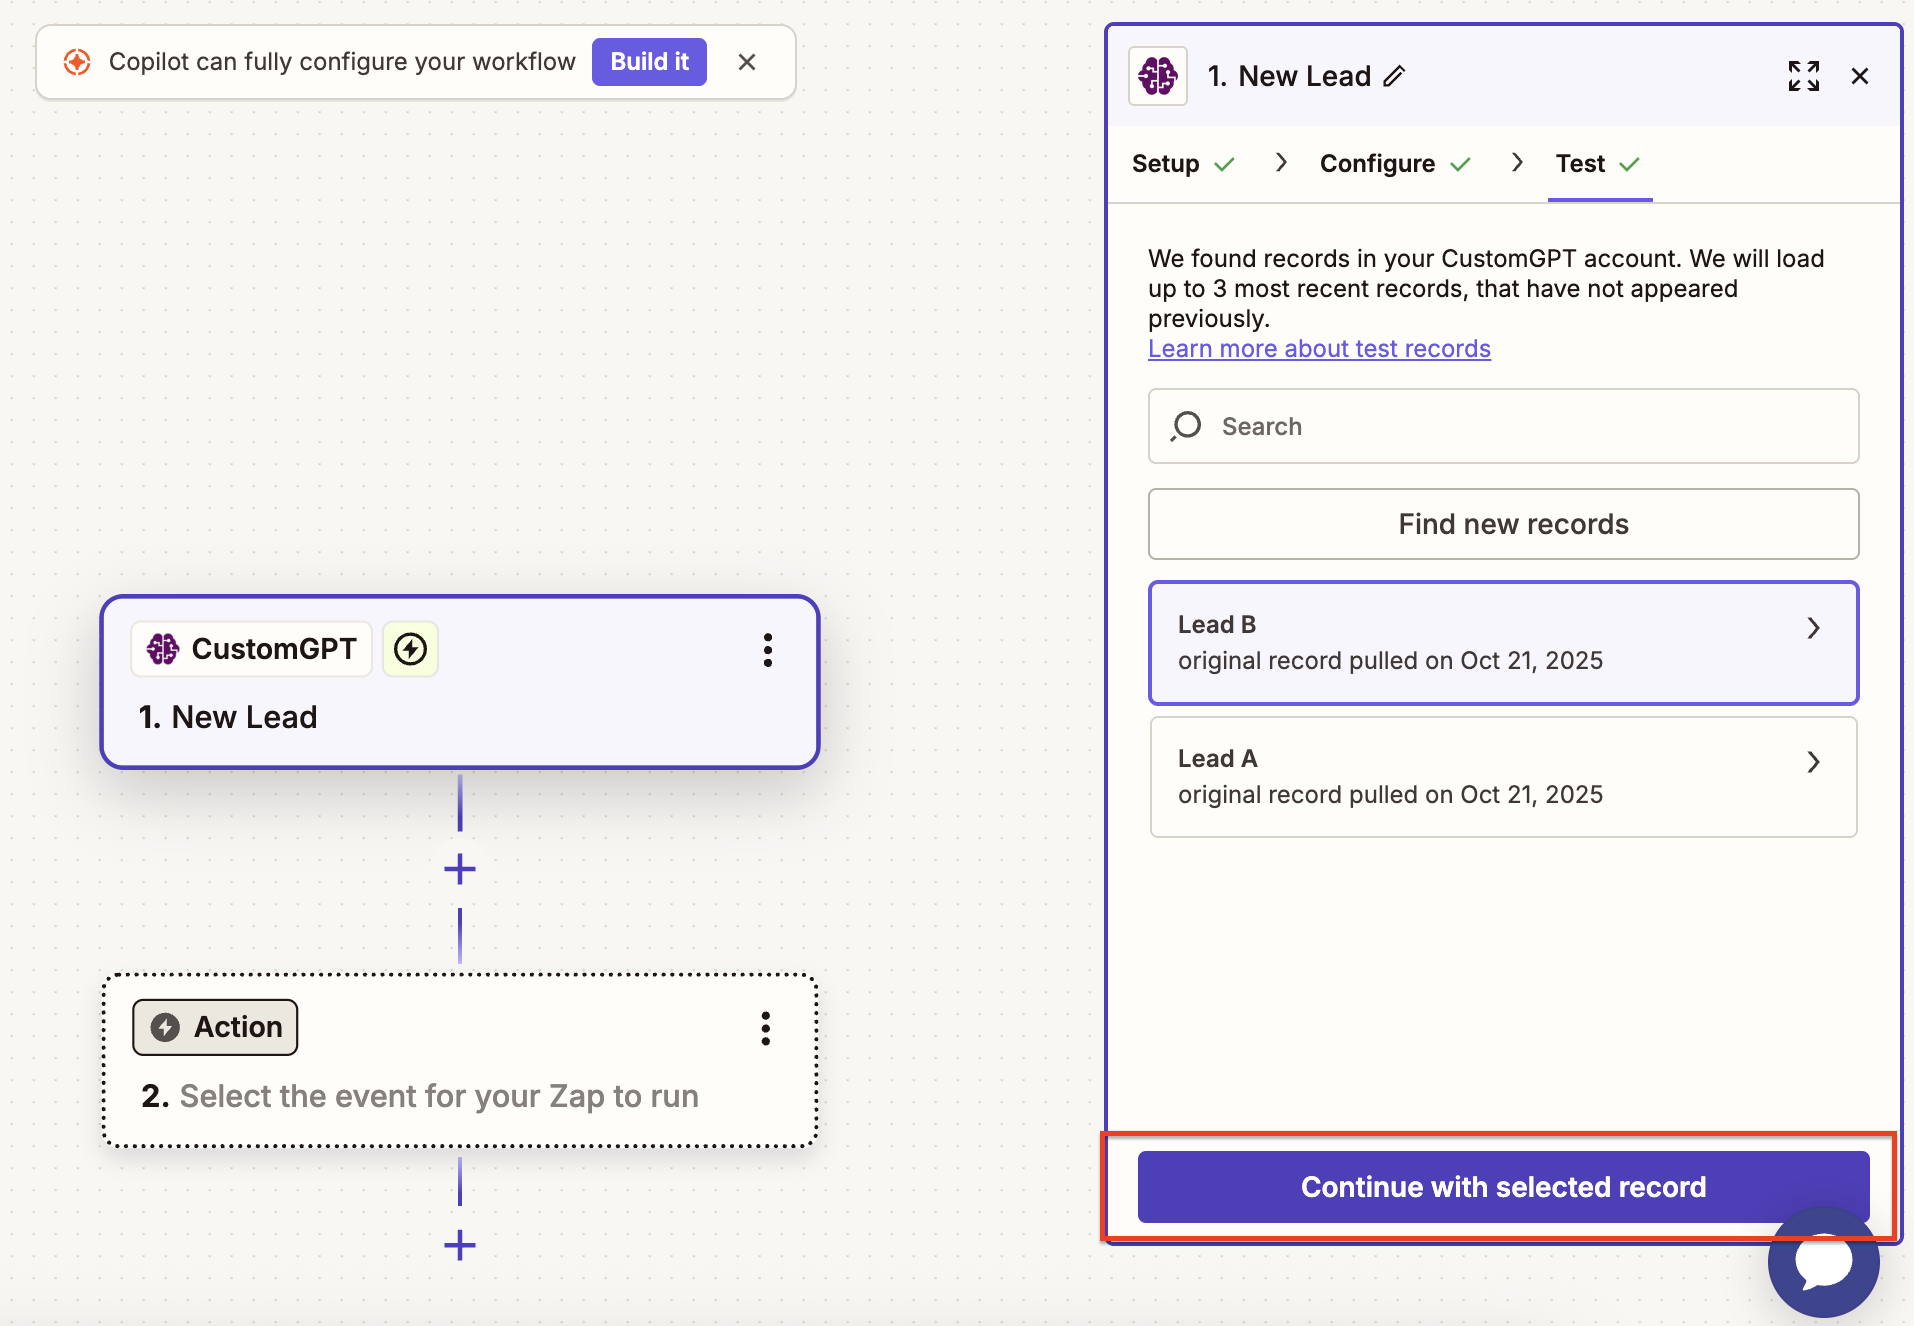
- Click Continue with selected record
Step 3: Connect to HubSpot (Action)
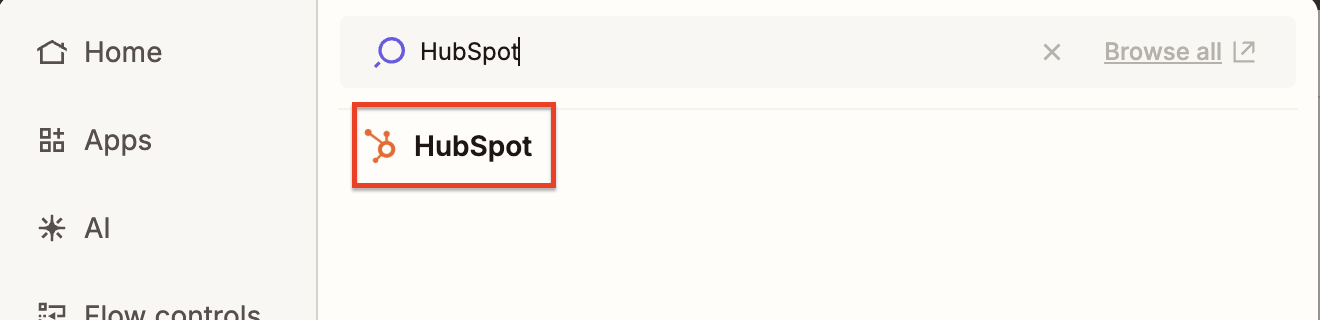
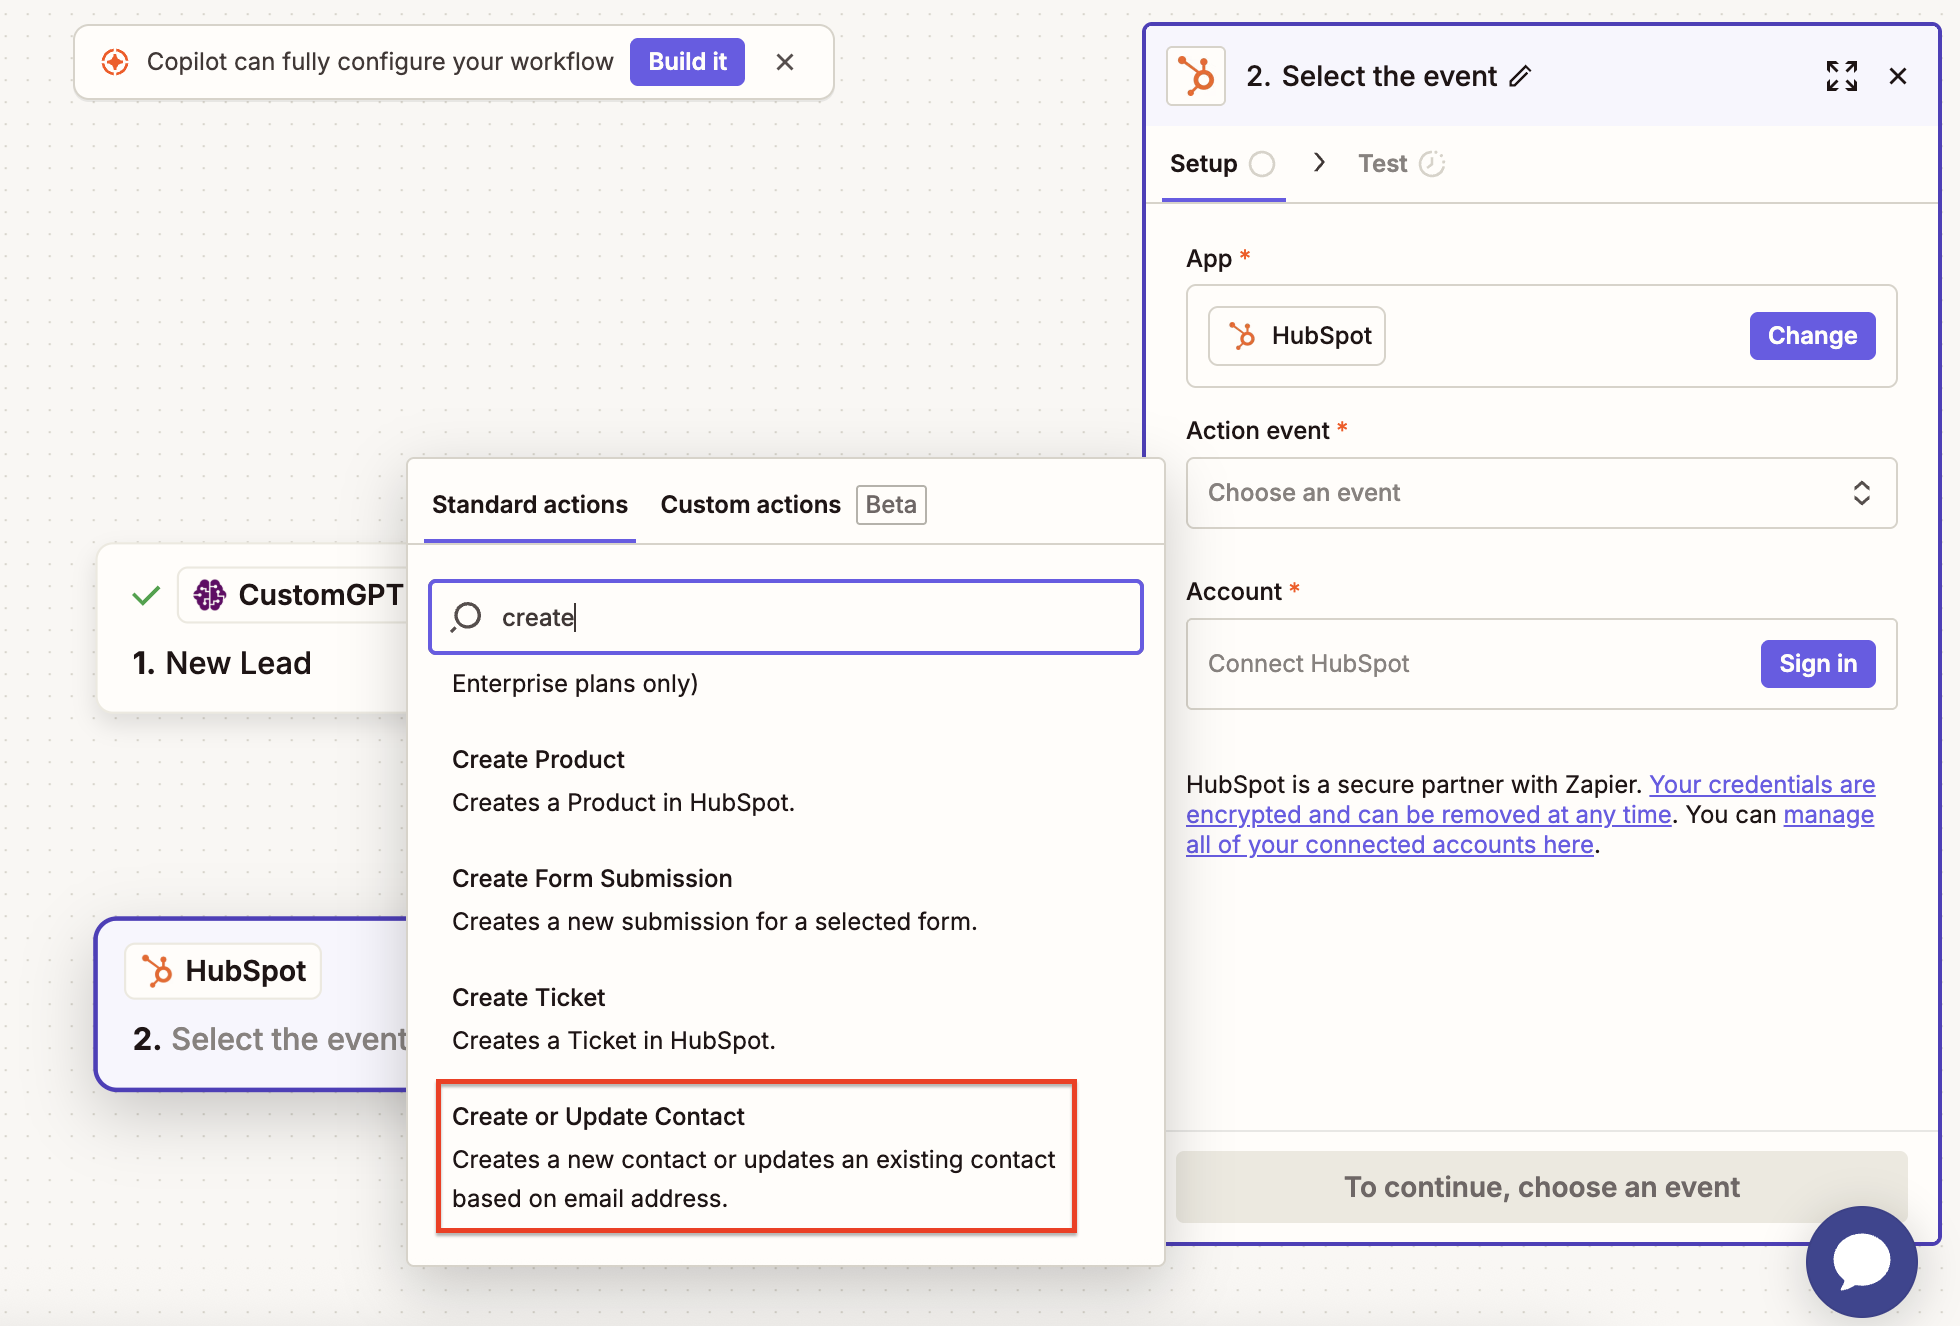
- Search for HubSpot and select it
- From the Action event dropdown, select Create or Update Contact
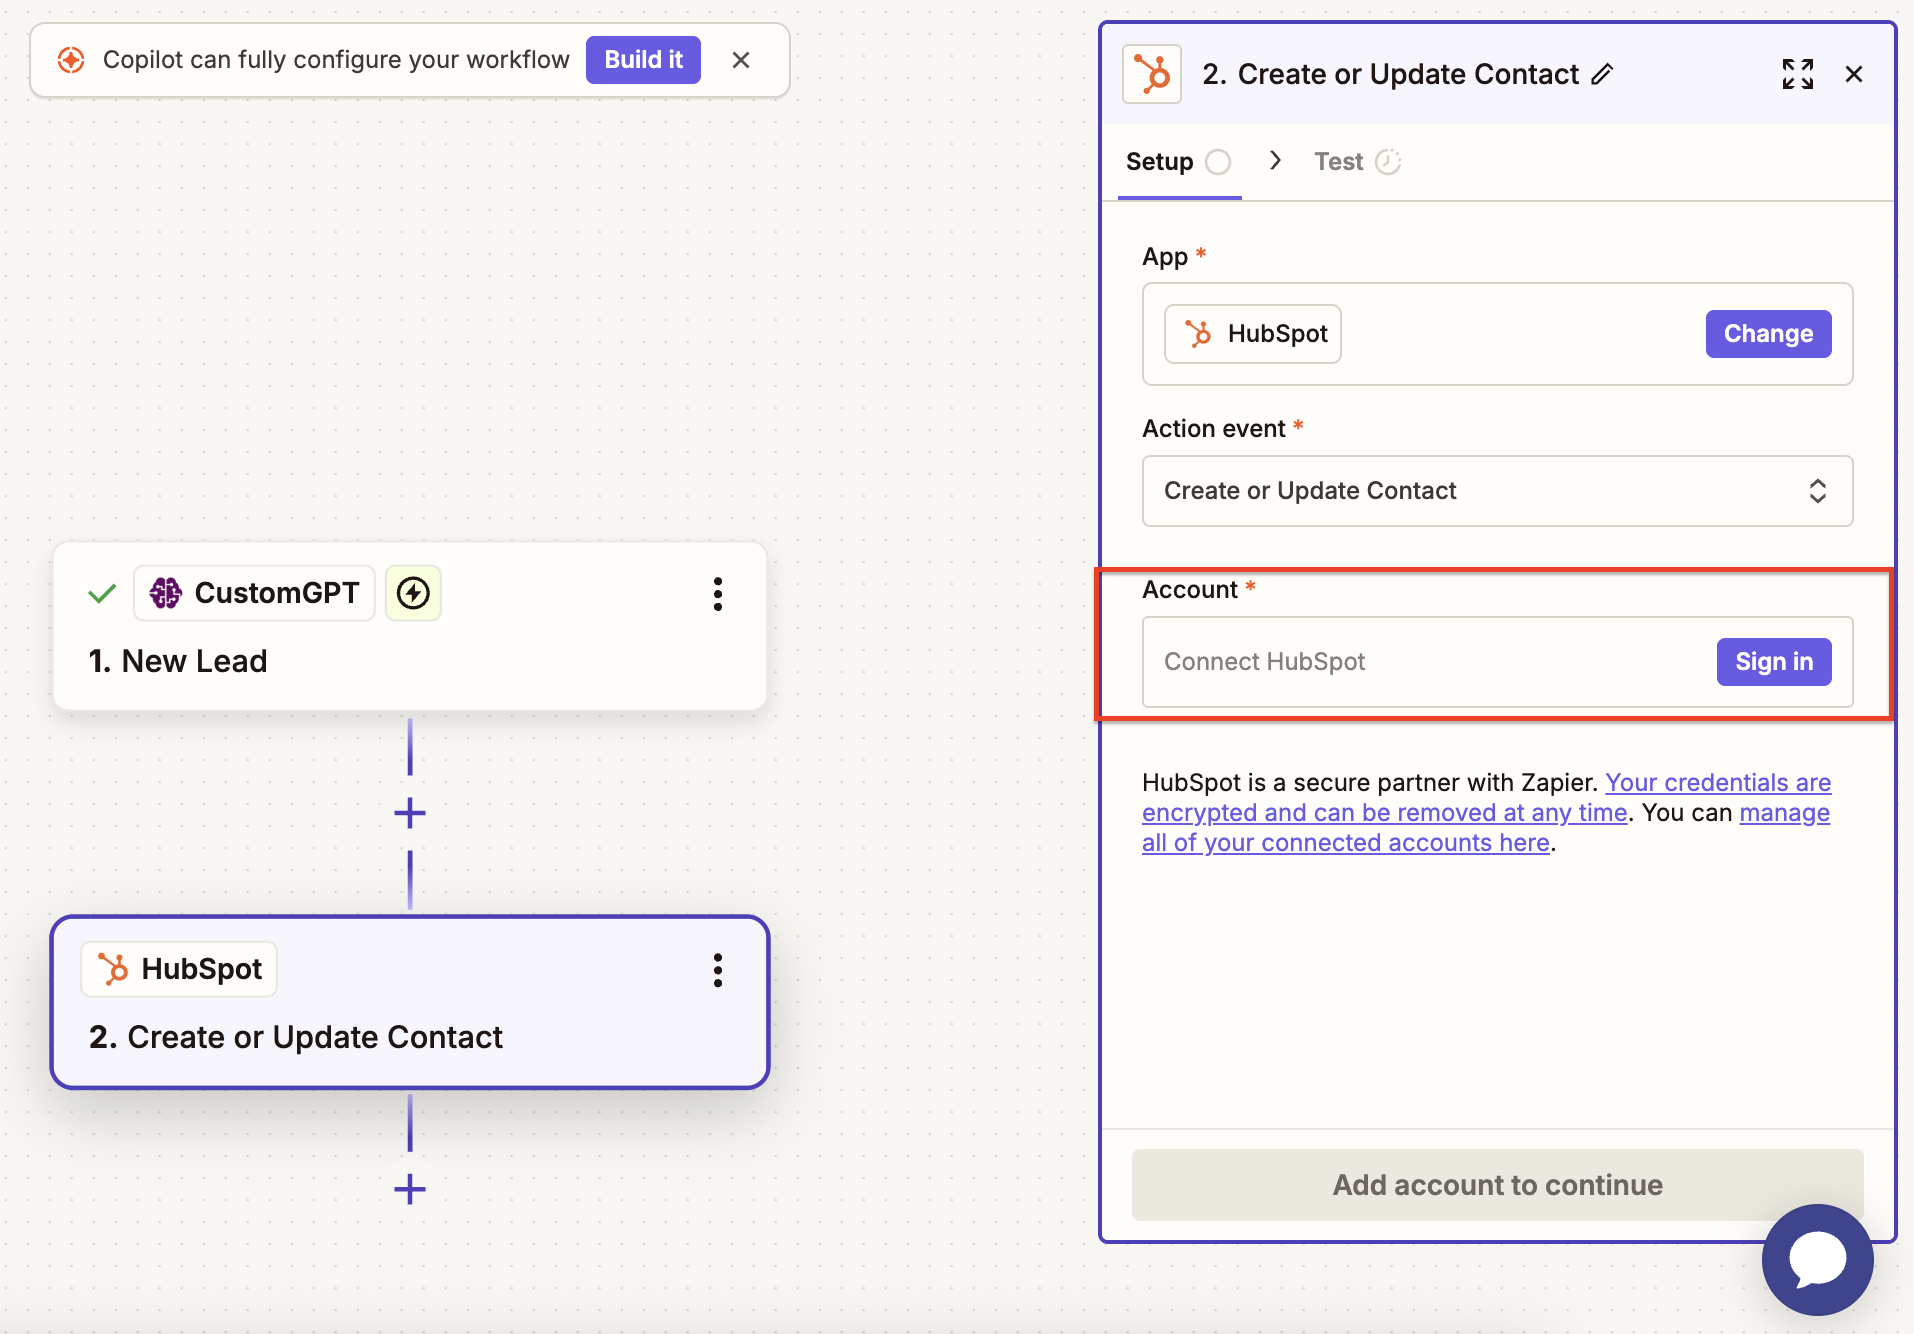
- Sign in to your HubSpot account
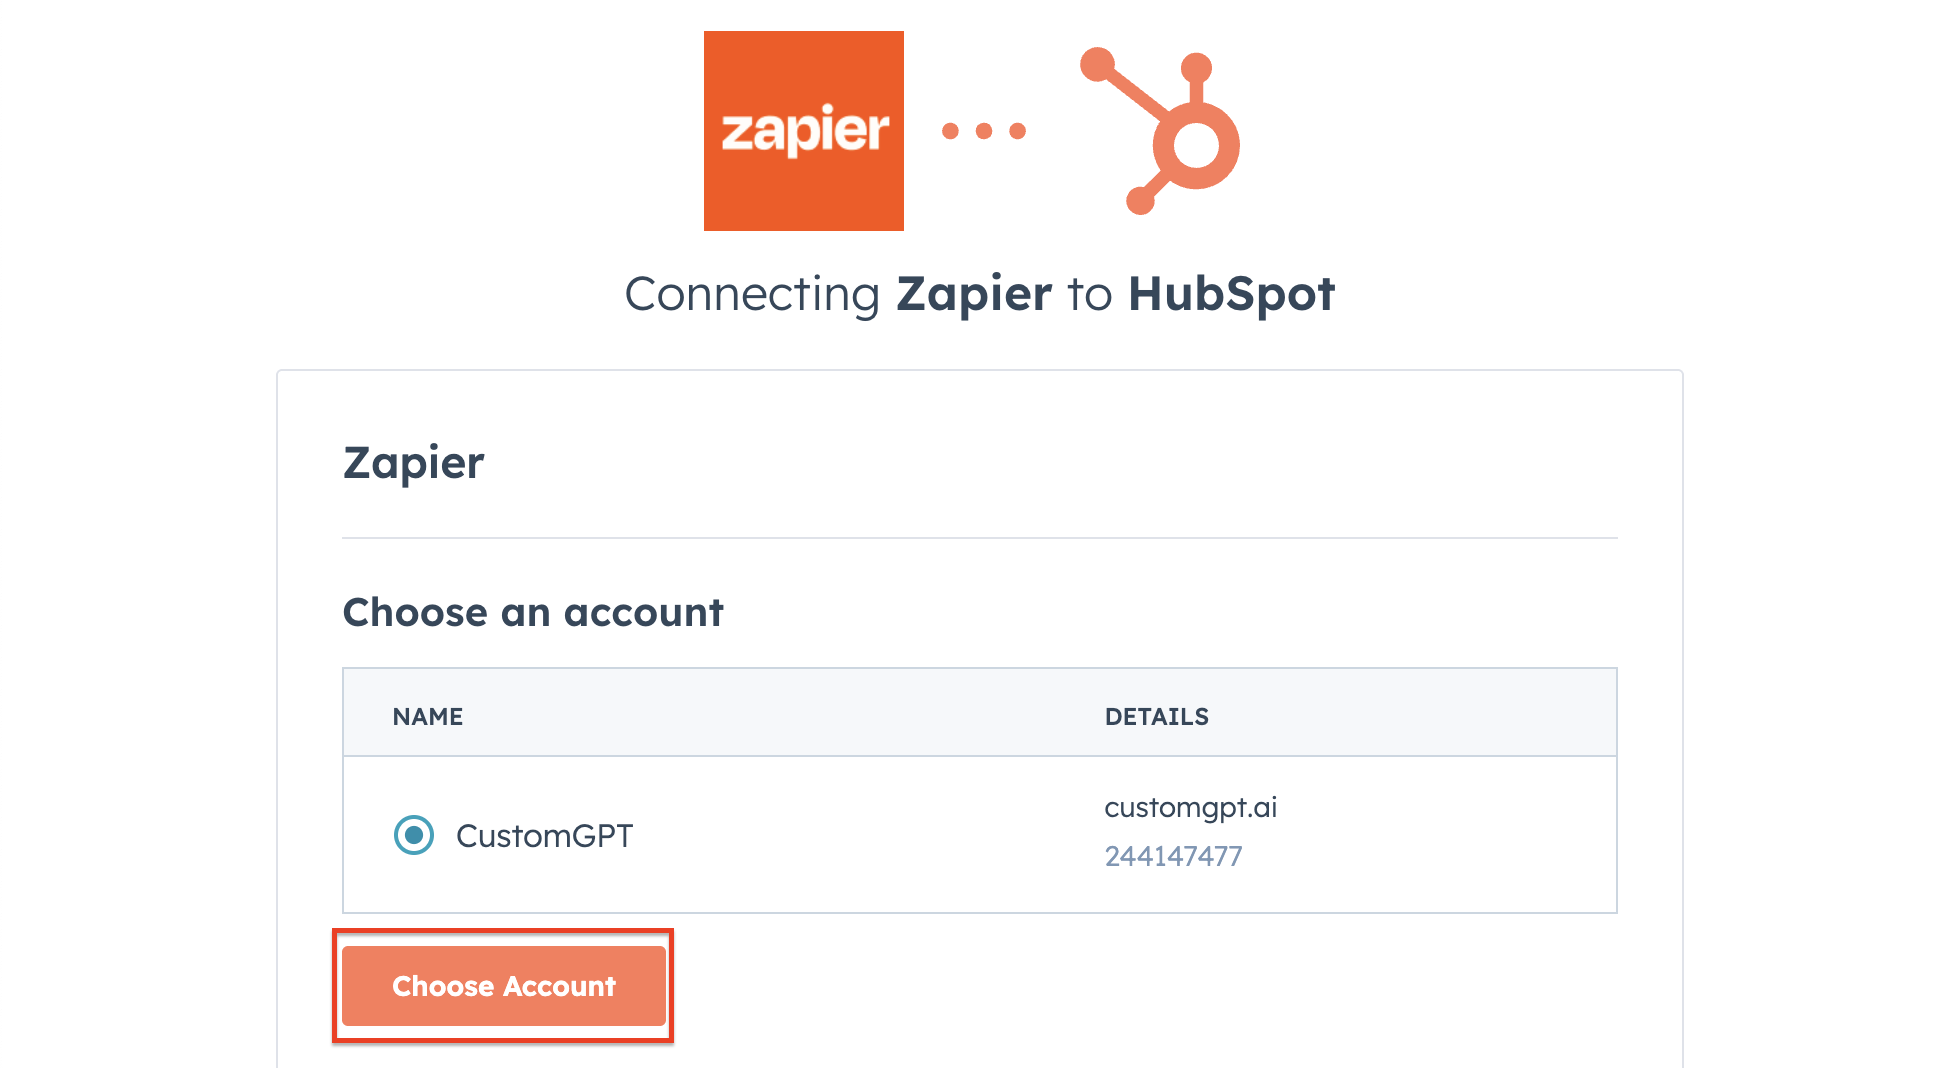
- Choose your HubSpot account and click Connect app
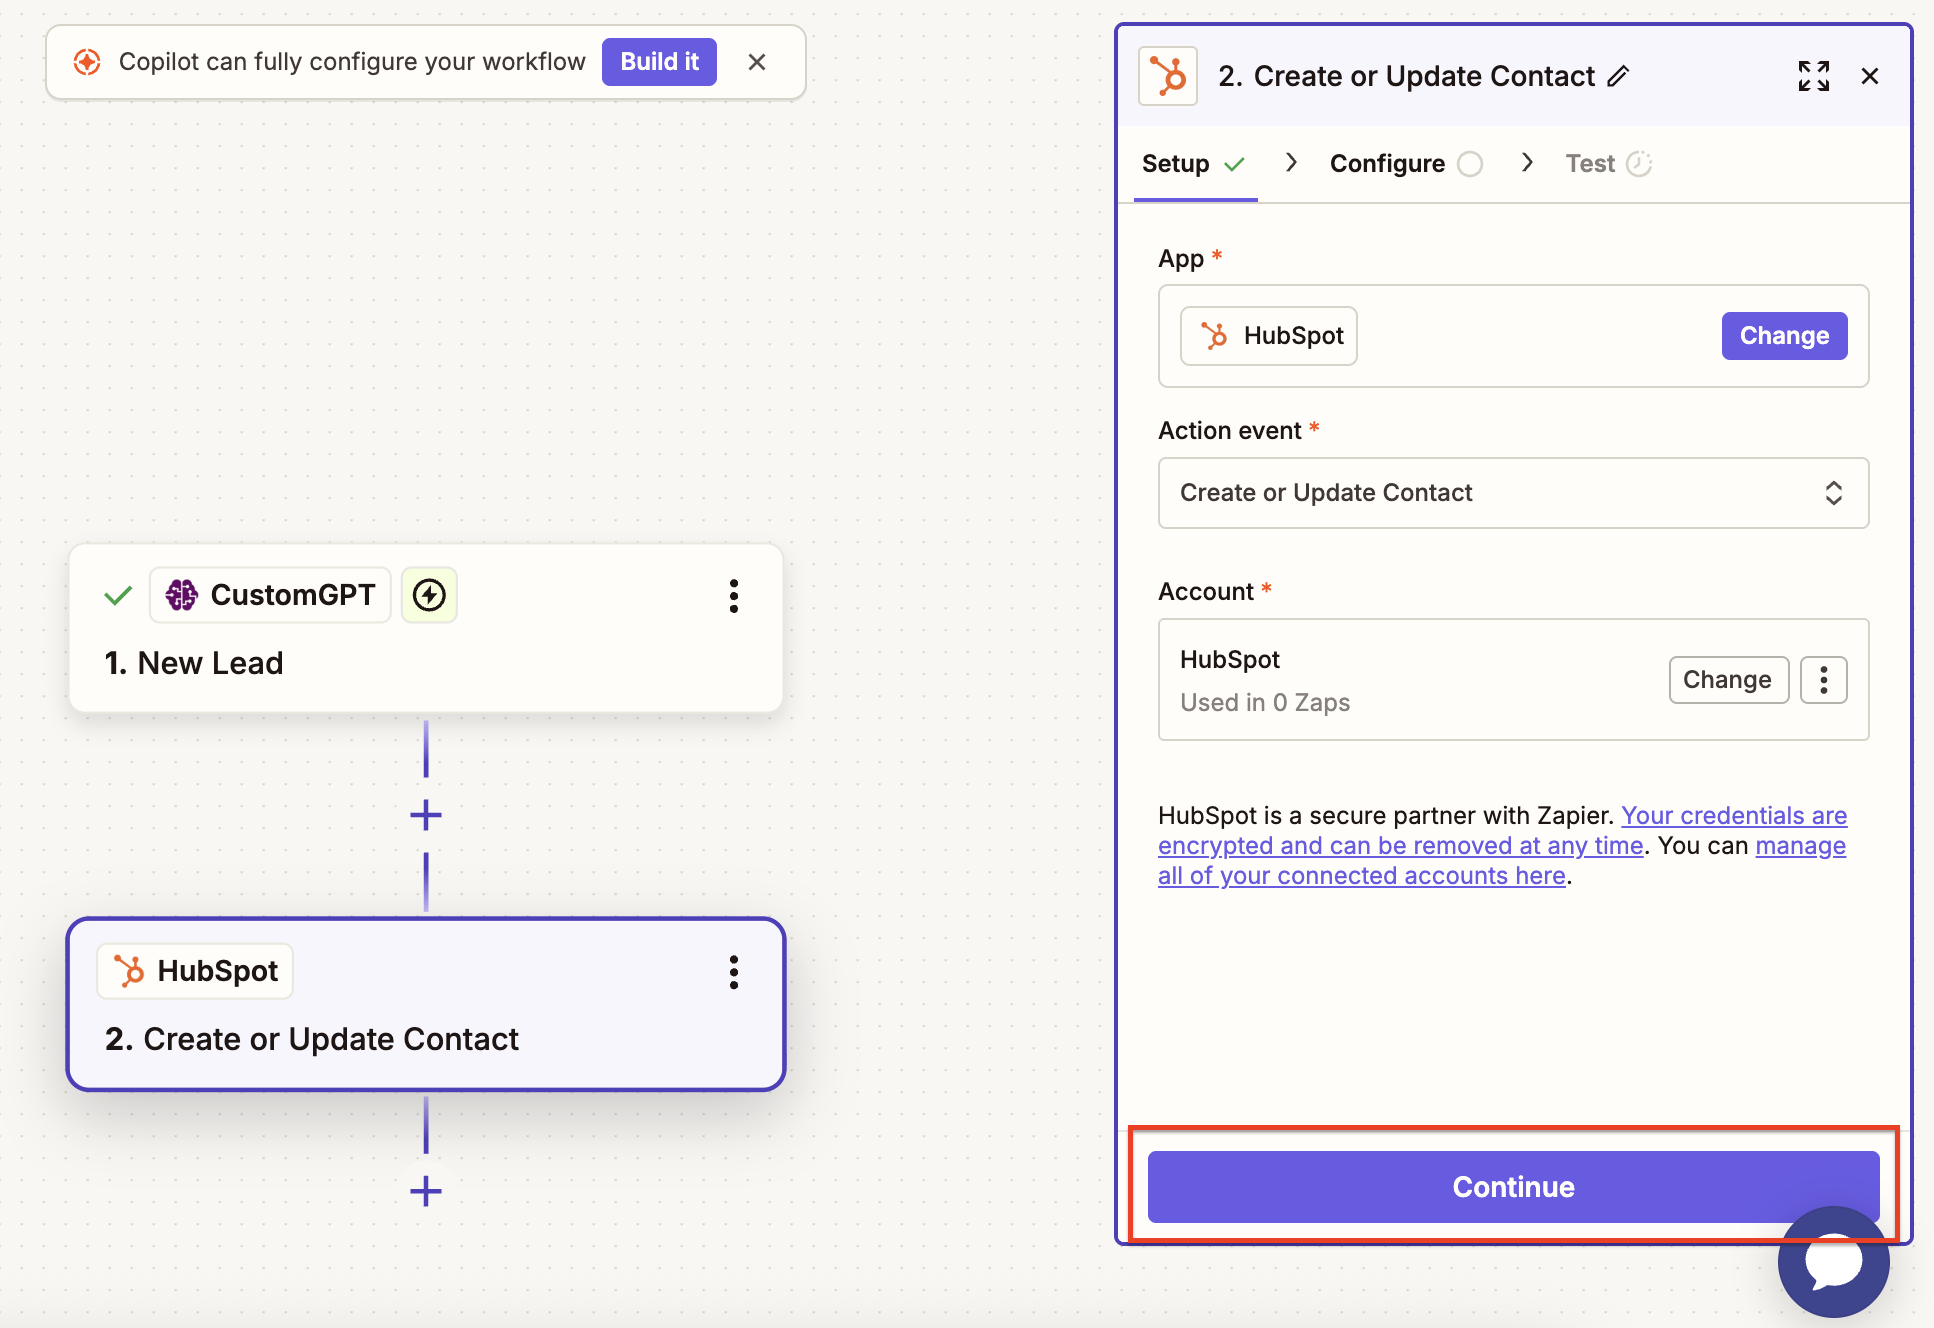
- Click Continue
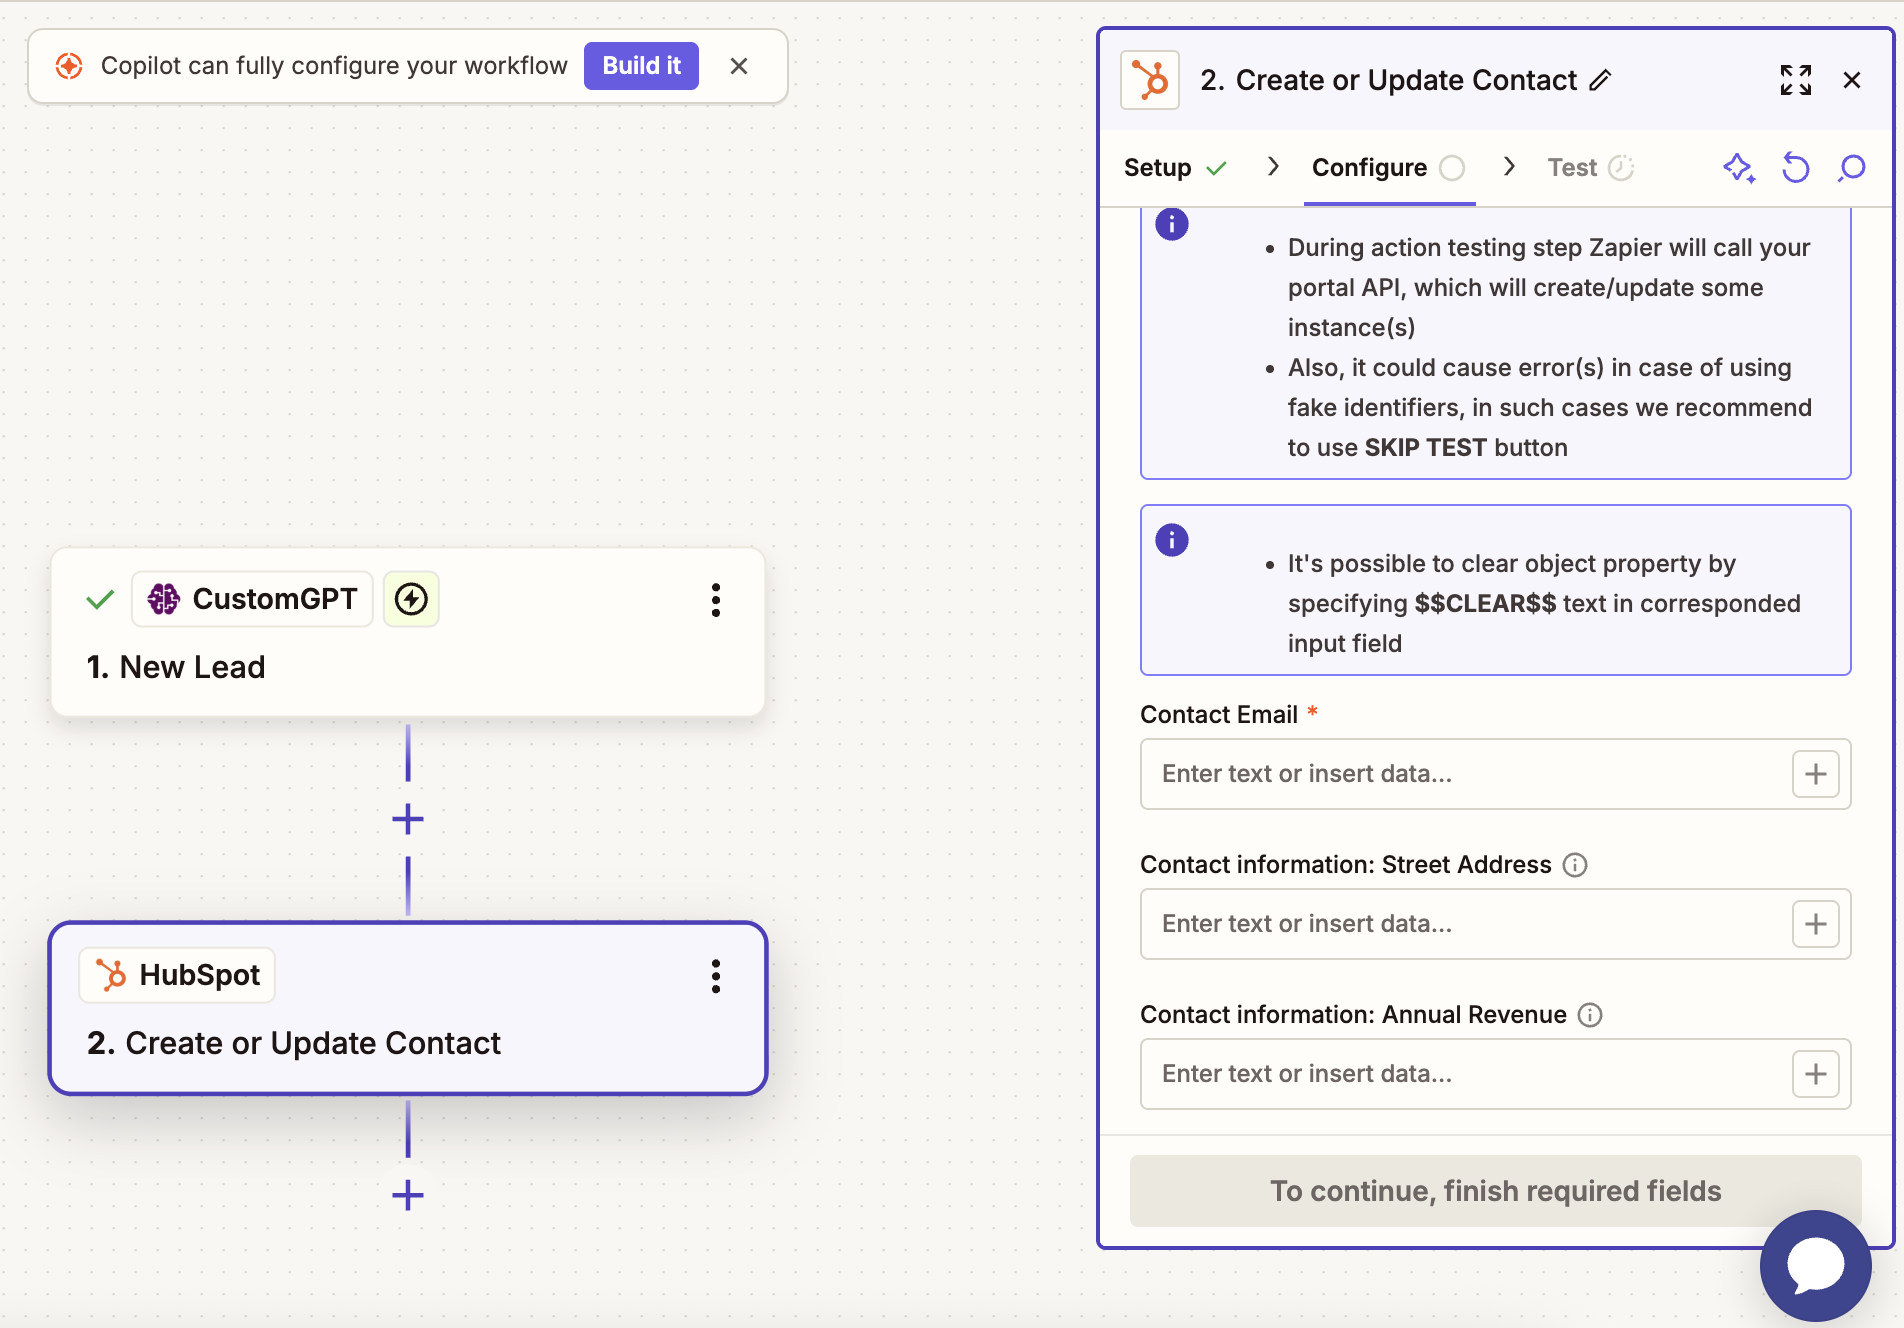
- Fill in the required fields (like email, name, etc.), then click Continue
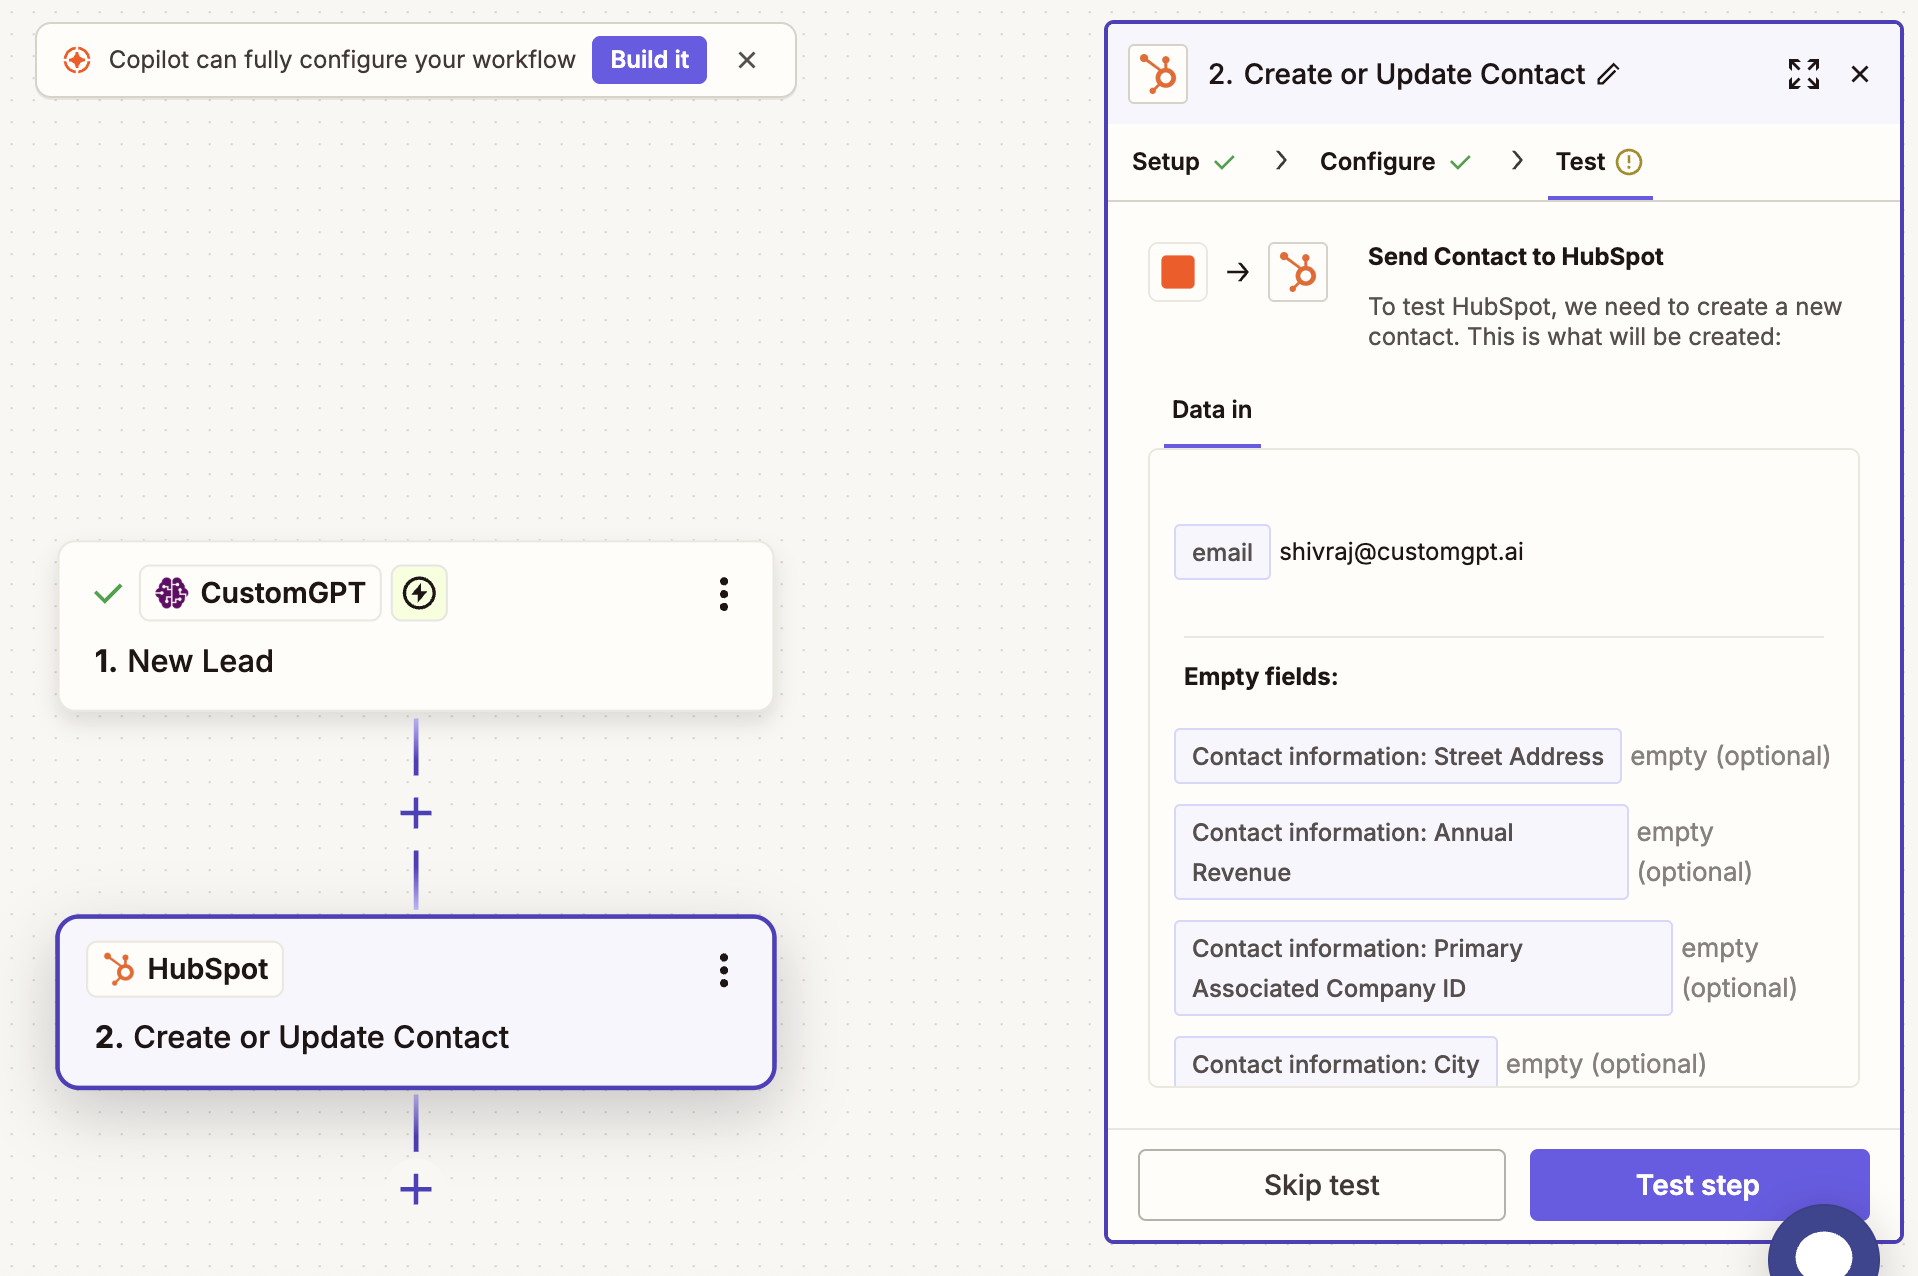
- Click Test step to make sure it works
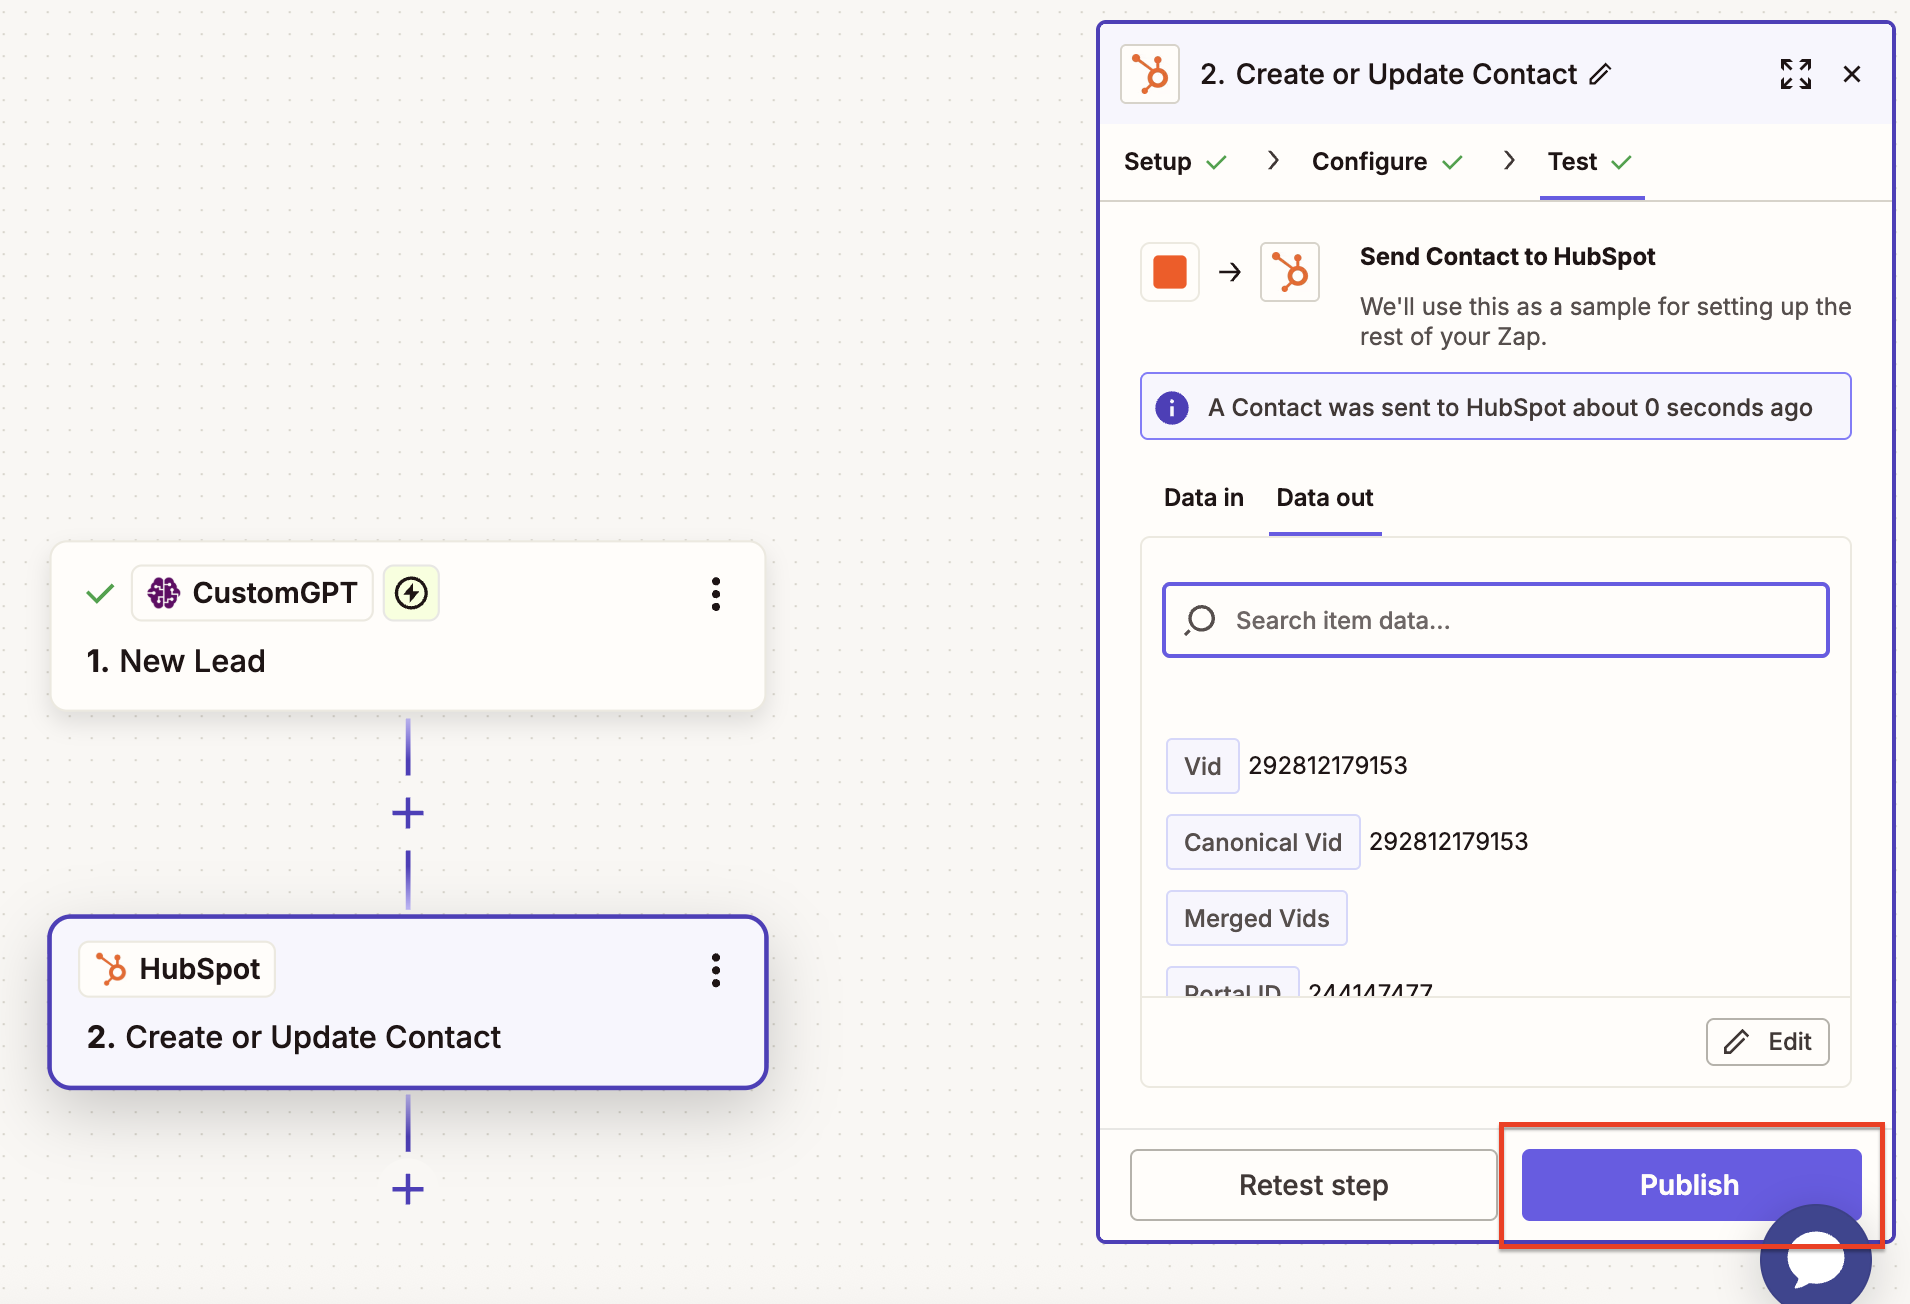
- Click Publish
Updated 16 days ago
Did this page help you?